
Here’s an easy project you can enjoy during spring or St Patrick’s Day! Create thisrainbow suncatcher craftwith children for an entertaining, mess-free activity. It’s also simple for kids to complete using our free printable template, available at the end of the post.
RELATED: Heart Suncatcher
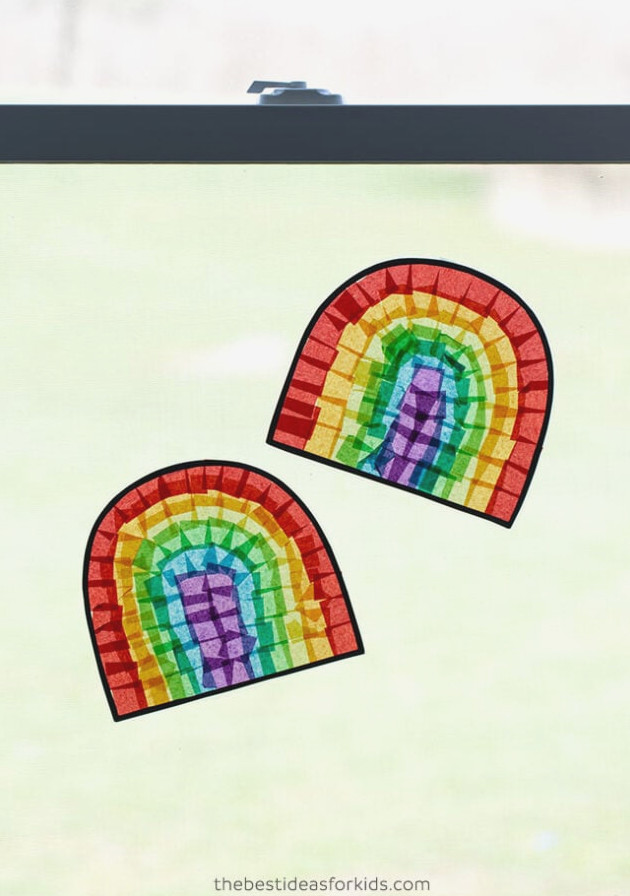
Brighten your windows with these lovely rainbows!
These suncatchers call for just a handful of supplies you may already have at home. All you need is laminating paper, tissue paper, scissors and ourfree printable rainbow template. Of course, you can sketch your own rainbow pattern as well!
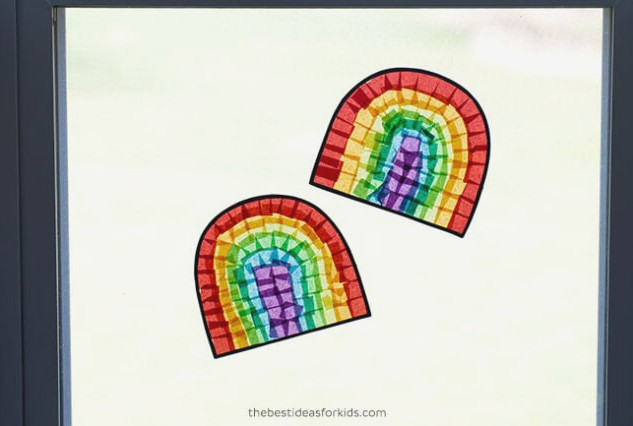
Watch the Video Guide Here
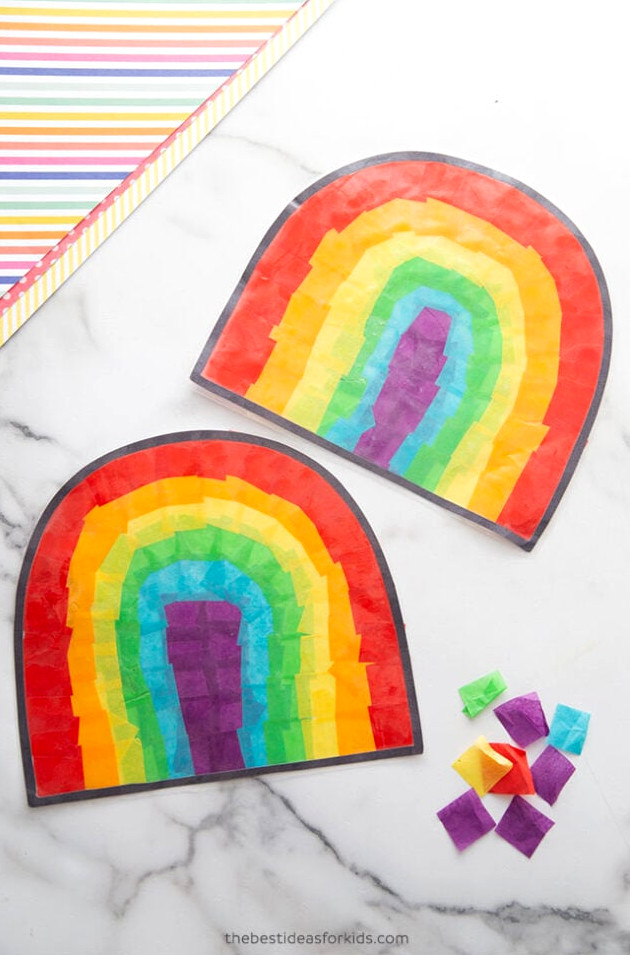
Making a Rainbow Suncatcher
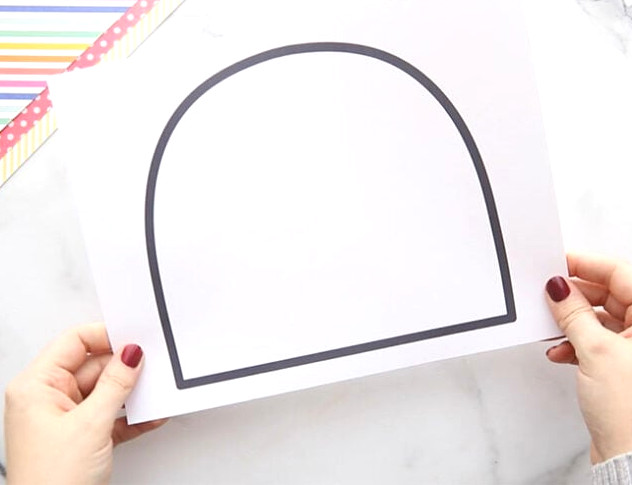
1. Print the free rainbow template.
The template is available at the end of this post.
Another option is to sketch a rainbow on black construction paper and cut it out as an outline.
Children can also form the rainbow shape themselves using tissue paper.
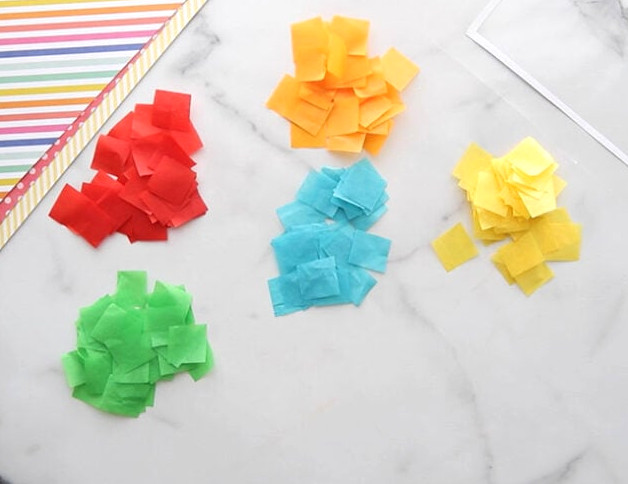
2. Snip the tissue paper into little squares.
For our rainbow, we chose red, orange, yellow, green, blue and purple. Feel free to select any shades you prefer!
Pre-cut tissue paper squares are another convenient option.
Keep tissue paper from presents, since it can be reused for all sorts of suncatcher projects like these!
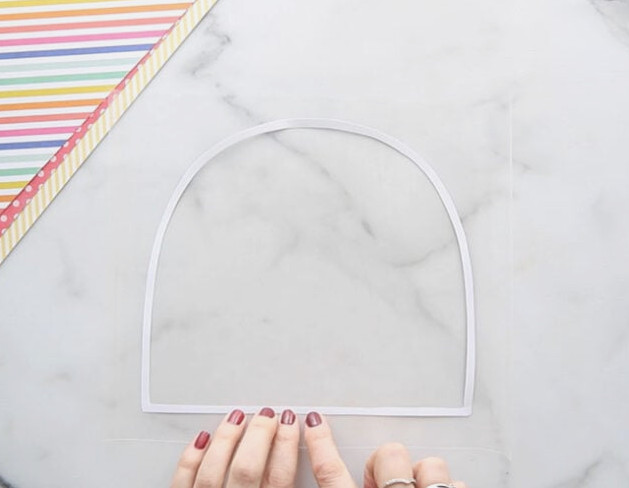
3. Trim the template.
Cut along the black border and through the inside of the rainbow.
To reach the center, gently fold the paper and make a small opening in that section.
Note– young children may find cutting the templates difficult. An adult should assist with this part. Alternatively, children can sketch their own rainbows on black construction paper. They may also arrange the tissue paper directly into a rainbow shape without using a template.
4. Then, set a self-laminating sheet or Contact paper on the table with the adhesive side facing upward.
Position the rainbow template with the black side facing down, leaving the white side visible. This allows the black border to appear above the tissue paper once it is cut out.
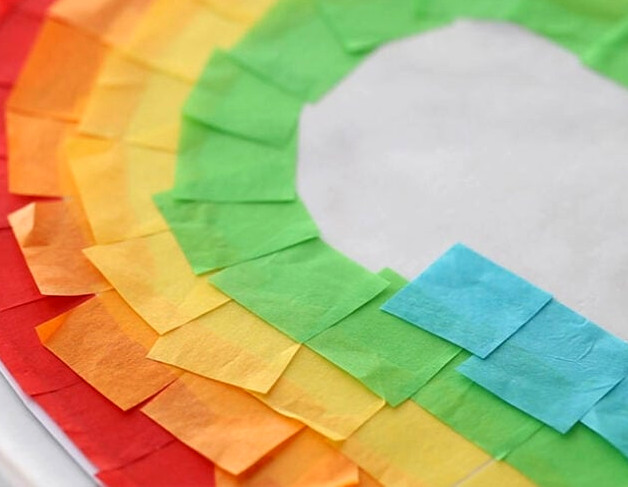
5. Begin placing tissue paper onto the adhesive laminating sheet.
It’s perfectly fine if pieces extend beyond the edges, because the excess will be cut away afterward.
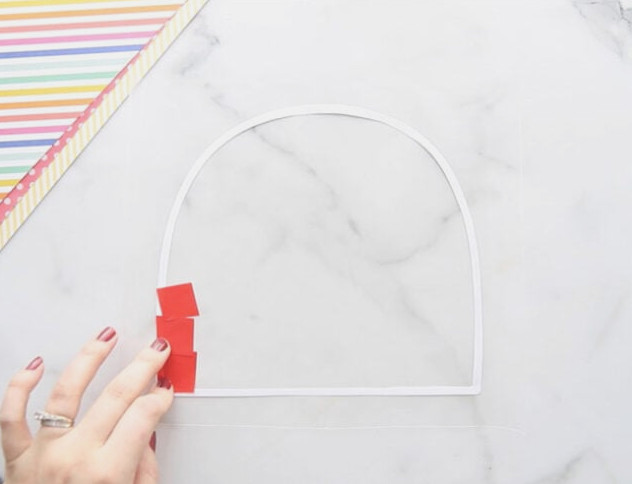
Continue adding pieces until the entire rainbow pattern is covered with tissue paper.
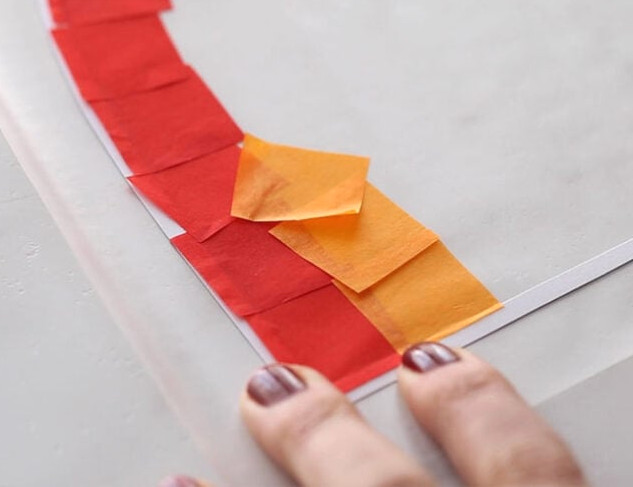
We matched the rainbow’s bands, though children can make wider stripes with fewer colors if they wish.
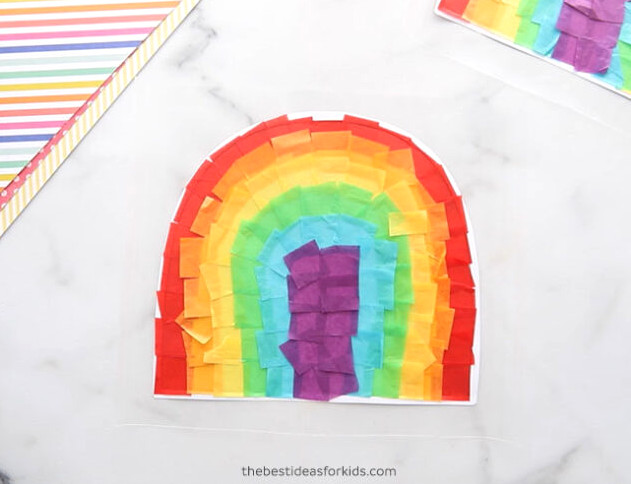
6. Gently place a second sheet of Contact paper or self-laminating paper over the rainbow, adhesive side down.
Press and smooth it gradually to remove wrinkles and trapped air bubbles.
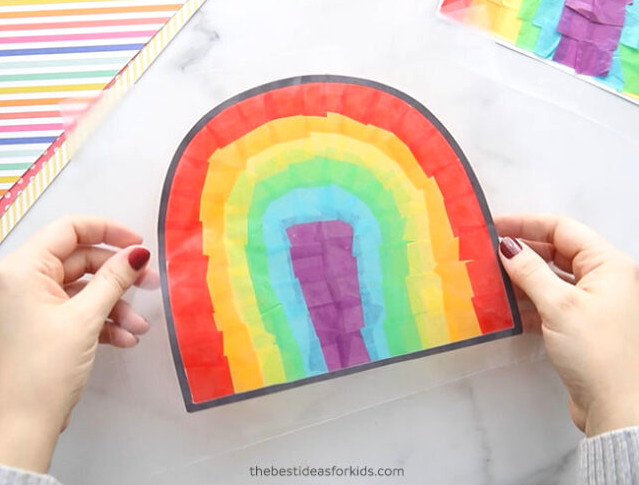
7. Trim around your suncatchers.
8. Attach them to the window with tape or adhesive dots, such as glue dots.
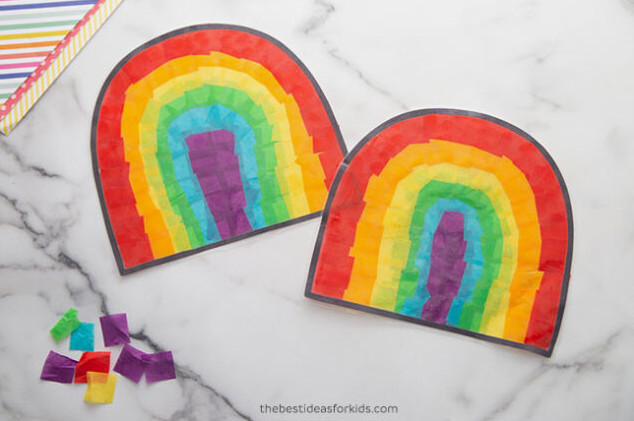
We adore the vivid colors these suncatchers bring to the window! Children will enjoy creating them and putting them on display afterward.