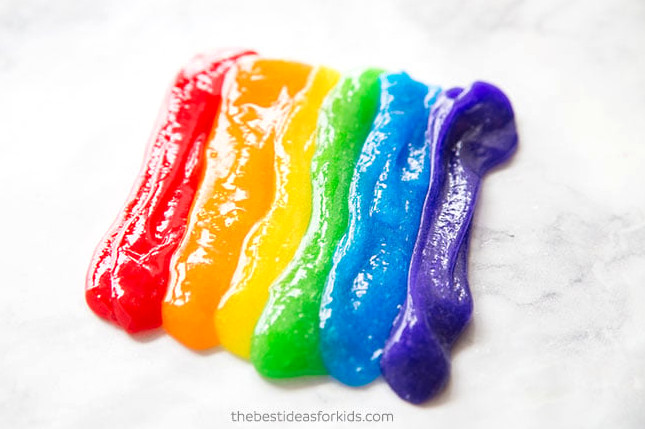
If rainbows make you smile, you’re sure to enjoy creating this rainbow slime! Children will have fun combining different shades to build this colorful slime. It’s an excellent spring craft, St Patrick’s Day project, or simple indoor activity for a rainy afternoon!
RELATED: Fluffy Slime
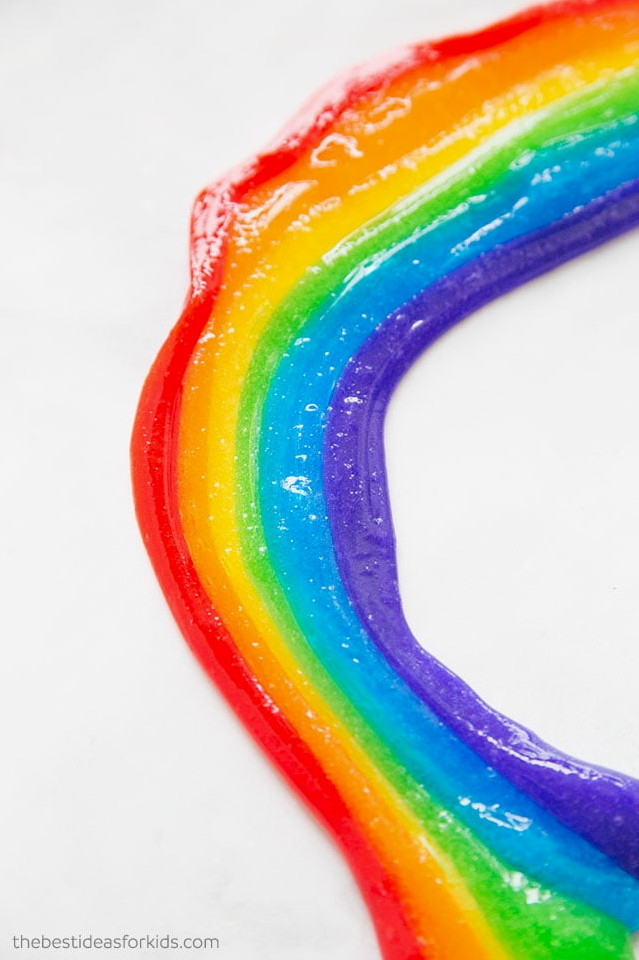
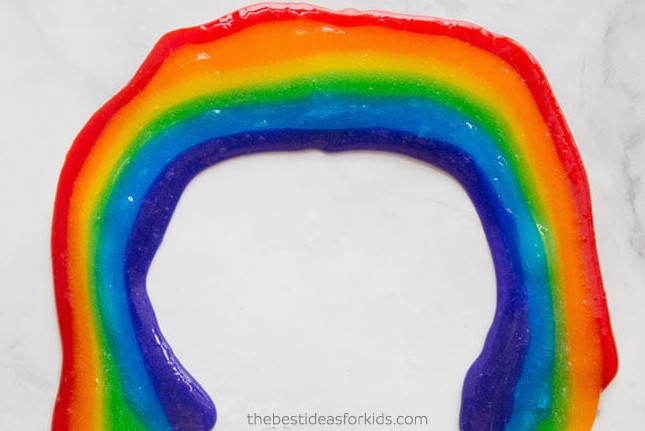
This rainbow slime is incredibly bright and enjoyable to create! Kids will be excited to help prepare it. We especially adore the vivid shades it produces!
This project can help explain the science of slime as well as how rainbows are formed.
The Science Behind Slime
Adding contact lens solution to the glue changes the mixture and creates a thick, stretchy slime that can be pulled and molded. The slime develops as the glue molecules connect with the borate ions. This bond prevents the larger molecules from sliding freely over each other, unlike their behavior in glue. The result is the slime mixture!
What is Slime?
Slime belongs to a group of materials called polymers. Jell-O, chewing gum, and rubber bands are a few other polymer examples. White glue is another polymer. Polymers consist of lengthy chains of polyvinyl acetate molecules. Because these chains move easily, the material remains glue-like and pours more readily.
Watch the Video Tutorial!
Supplies Needed
Listed below are the ingredients required to prepare a single color (if you intend to create all 6 colors, repeat the recipe for every shade you wish to make).
- 6 oz of Elmers Clear Glue – we prefer purchasing this gallon size of transparent glue because it costs much less and can be used for additional batches.
Note: We suggest choosing Elmer’s glue. Unbranded alternatives may not perform as effectively. Elmer’s white glue is also suitable, though the finished slime will appear less see-through.
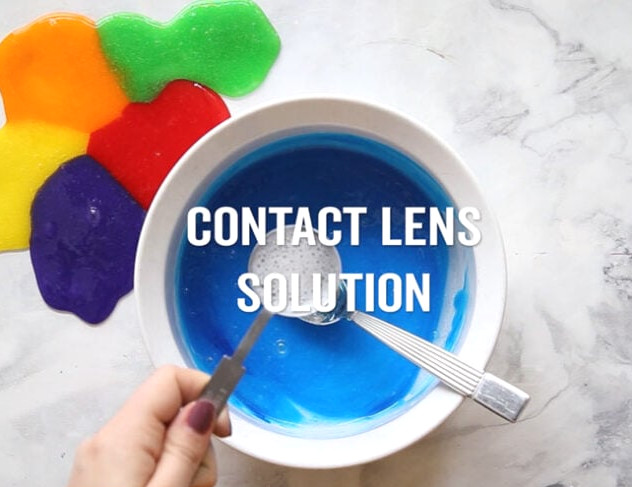
- 1.5 TablespoonsContact Lens Solution –*Important: the contact lens solution you choose needs to list boric acid and sodium borate among its ingredients. These components react with the glue and create the slime. Our favorite is this brand.
- Liquid Food Coloring – this set includes many brilliant shades that can make your slime as colorful as the example shown.
NOTE: We typically mix a small amount of water (1/4 cup) into our slime recipes. However, because these colors need to be joined together, the slime works better when it is less stretchy. For this reason, leave out the water this time. If you intend to play with each color separately, you may add water if desired.
How Long Will the Slime Last?
When kept in an airtight container or bag, this slime should remain usable for at least a week. We’ve noticed it can often last even longer, provided it isn’t left exposed to air between uses. A Ziploc bag is our preferred storage method because you can easily squeeze out the excess air.
How to Make Rainbow Slime
1. Use the instructions below to prepare one slime color.
Afterward, repeat the process for every shade you want in your rainbow.
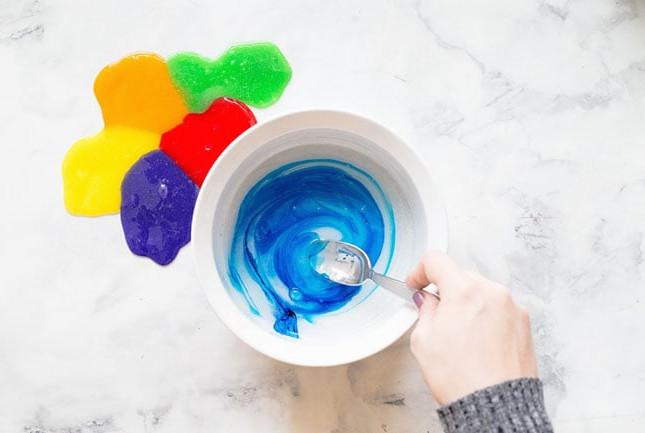
2. Prepare 6 separate slime batches by following the recipe, with one batch for every color.
Place each batch in its own jar before assembling the rainbow slime.
3. Arrange all the colors next to one another.
You do not have to use an entire batch of every shade when arranging them, so reserve some mixture to repeat the activity several times.
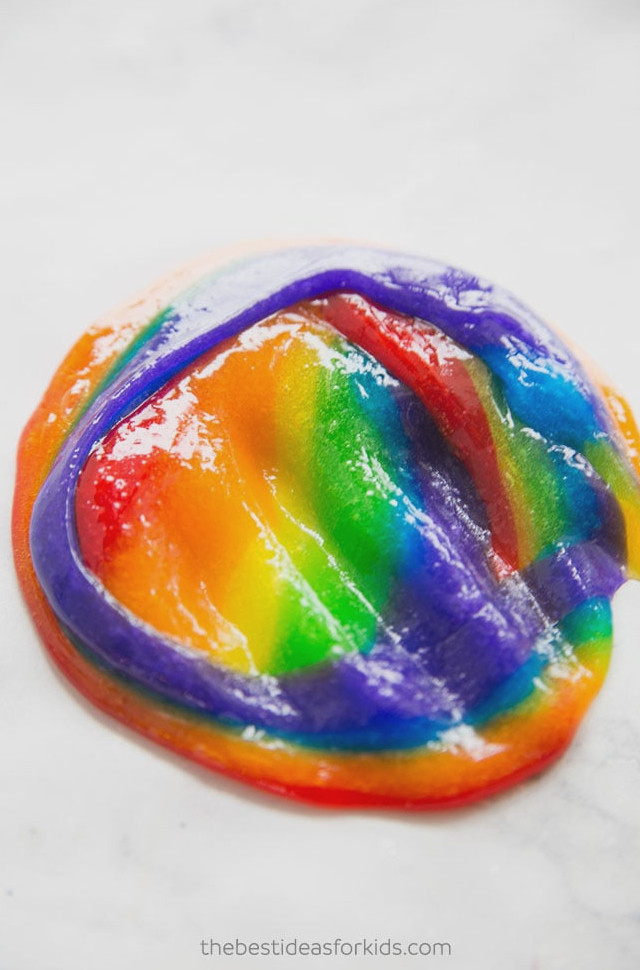
Note: After the colors begin blending, they will probably become brown. Like playdough, slime colors combine whenever they are mixed. Even so, we think making and blending various shades is still enjoyable!
Steps to Make One Color of the Slime
class=”wp-block-paragraph”>*Do this again for every color you wish to create
1. Begin by selecting a bowl for combining the slime ingredients.
2. Pour 6 oz of transparent glue into the bowl.
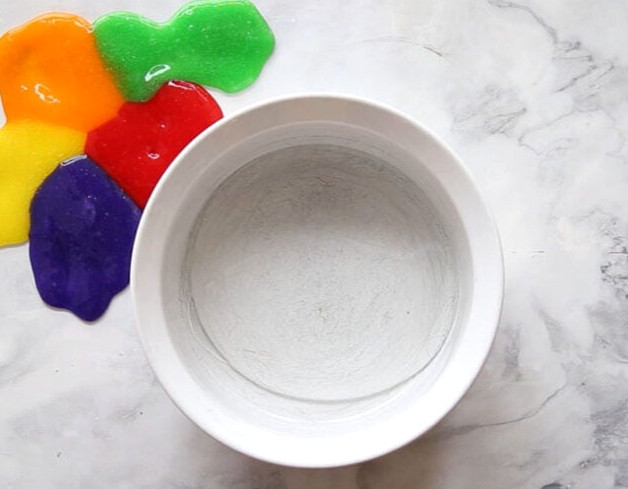
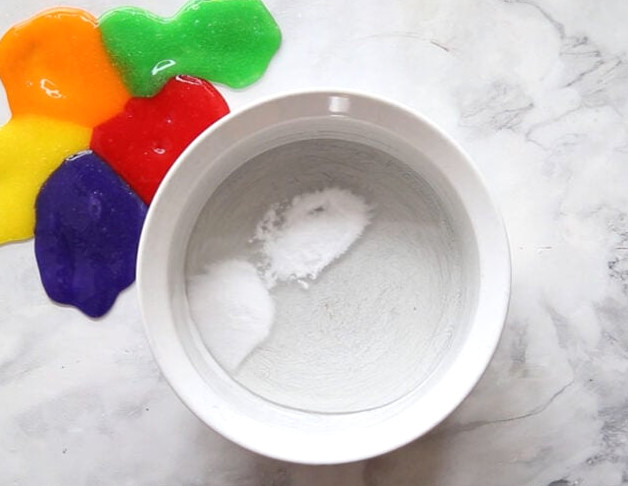
3. Thoroughly stir in 1/2 teaspoon of baking soda.
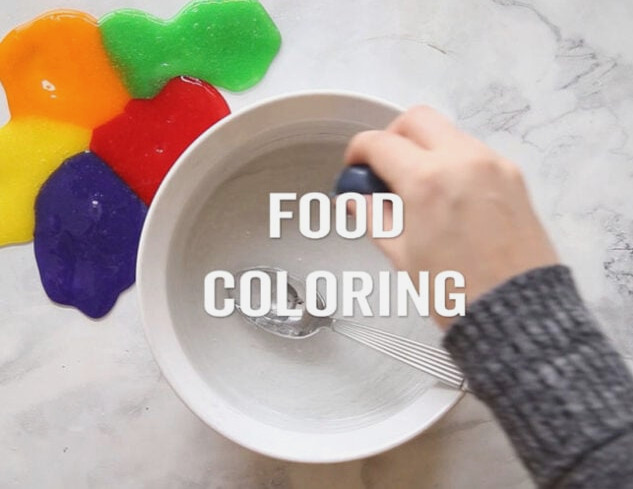
4. Mix in 2-3 drops of food coloring.
Begin with 1-2 drops, then add additional coloring if you prefer a deeper shade.
5. Gradually pour in the contact lens solution.
Reminder: the contact lens solution must include boric acid and sodium borate, otherwise the slime will not come together.
Add several teaspoons of contact solution at a time, stirring after each addition. When the slime begins separating from the bowl, remove it and knead it by hand. It may remain sticky at this stage, which is completely normal. Continue kneading it.
Should the slime remain excessively sticky after kneading, try applying baby oil or lotion to your hands. You may also add extra contact lens solution if needed. However, be careful not to use too much, as it can make the slime firmer and less stretchy during play.
6. Follow the steps above again for every color you wish to create.
After preparing all the colors, twist them together to create rainbow slime.

Explore these additional slime recipes:
Slime Safety & Precautions
- An adult should prepare the slime
- Read and follow the instructions on all products used.
- Wash your hands before and after handling the slime.
- Stop using the slime immediately if you experience any skin irritation. Those with sensitive skin should wear gloves while making and playing with it.
Additional Slime Recipes
Have you made fluffy slime before? It is enjoyable to create, and its texture is wonderfully “fluffy”!
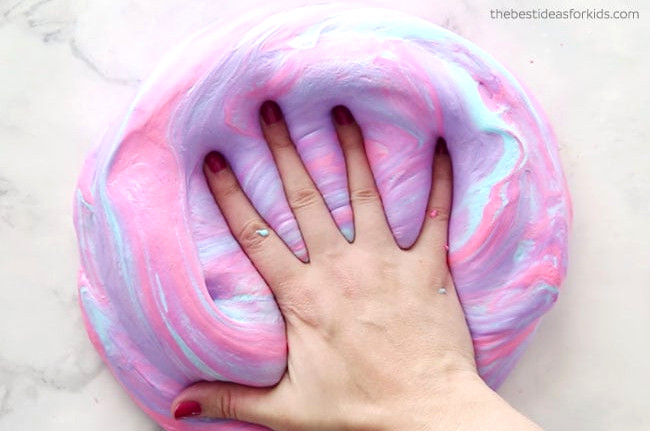
Take a look at our Unicorn Slime Recipe – our most-loved slime recipe!