This easy dry erase marker snowflake activity is a wonderful winter project for children! All you need is a blue dry erase marker, a bowl, a spoon and some water! With this straightforward experiment, kids can discover how to make their artwork float!
RELATED: Dry Erase Marker Activity
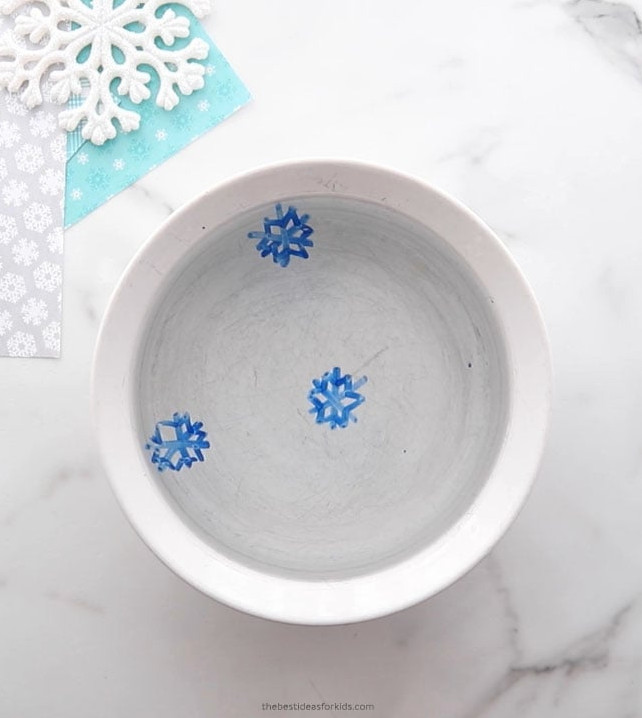
Have you ever wondered how to make your drawings float? Now you can find out!
Take a look at this incredible floating snowflake!
What Science Is Involved?
Dry erase markers include an oily silicone polymer. As a result, the ink can be wiped easily from nonporous materials like whiteboards, glass, metal and ceramic. This polymer gives the ink a slick texture and keeps it from adhering to the whiteboard.
A permanent marker, on the other hand, contains an acrylic polymer, causing the ink to cling to the surface rather than remain slippery.
How Does This Work?
A dry erase marker can make your drawings float. After you draw on the spoon (or a plate), the solvent that mixes with the ink components evaporates. The color pigment and polymer are then left behind on the spoon. Because the mixture contains an oily silicone polymer, however, it does not attach to the spoon.
As you lower the spoon into the water, the water slides beneath the drawing because the polymer stops it from sticking to the spoon. Since the ink weighs less than the water, it rises and floats!
Turn this into a science investigation by comparing a dry erase marker with a washable marker. Ask children to predict which drawing will float and explain their reasoning.
Supplies You’ll Need
- Blue Dry Erase Marker – we tried both the Ikea and EXPO brands. Our current favorite dry erase markers are the Crayola take note. They are odorless, making them much nicer than traditional markers. Check that the dry erase marker is not labeled washable – these types generally do not perform as well.
- A round bowl or dish
- Metal spoon
- Water – we used ordinary tap water. The water was cold, and we did not try this with hot water.
- Straw – for blowing them around
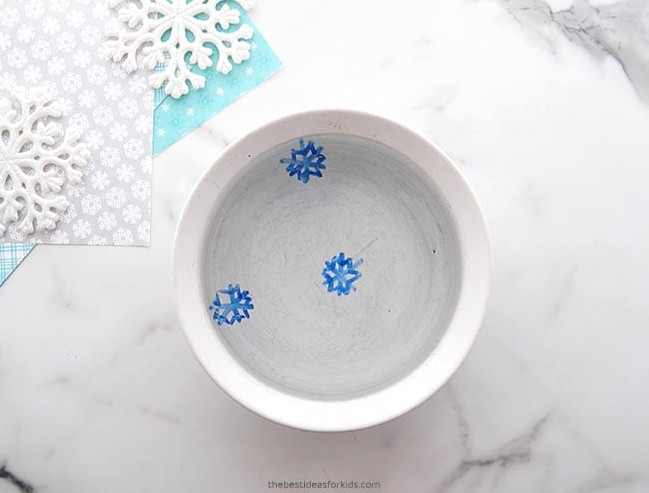
Watch the Video Guide Here
How to Create Floating Snowflakes
1. Pour water into a bowl
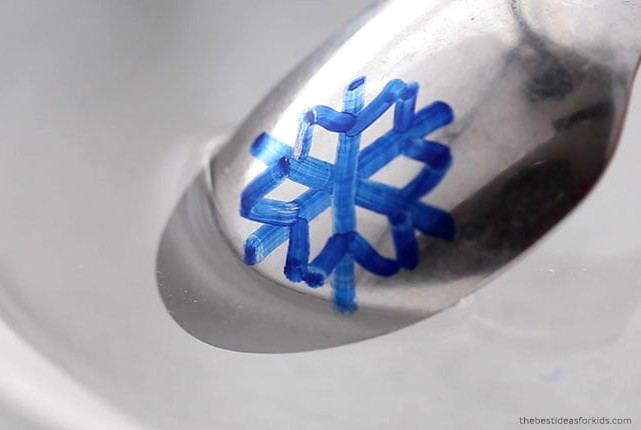
2. First, use the dry erase marker to draw a snowflake on the metal spoon.
Helpful advice (you may need several attempts before it works!):
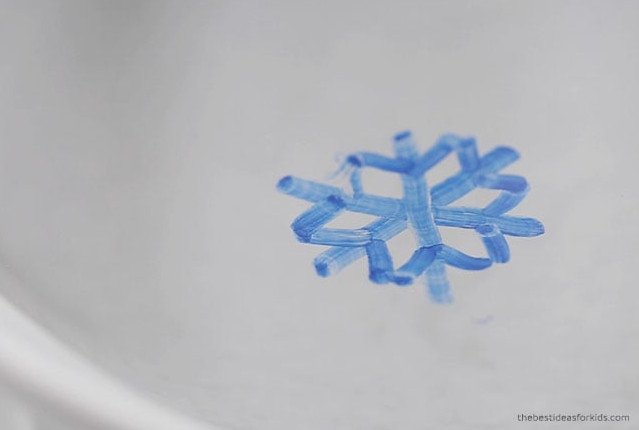
- Use wider strokes
- Check that every line joins the others
- Apply firm pressure so plenty of ink is released (if the drawing is too faint, it may not be thick enough to stay intact)
If your drawing breaks apart before you can fully place it in the water, simply take it off and make another attempt!
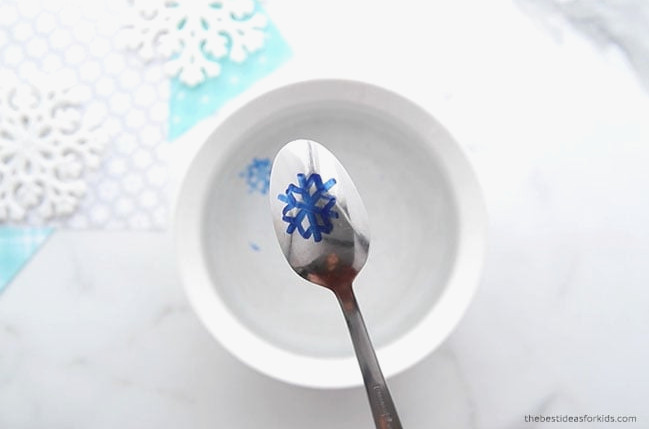
3. Carefully lower the spoon into the water.
Move the spoon into the water slowly and gently, allowing the drawing to come away. This step can be a little challenging and may require several tries to place 3 snowflakes in the bowl.
Should any snowflakes tear while you are transferring them to the water, scoop them out and give it another try.
Refer to the tips above for creating the snowflake.
Take your time and gently shake the spoon so the drawing does not fall apart as you move it into the water.
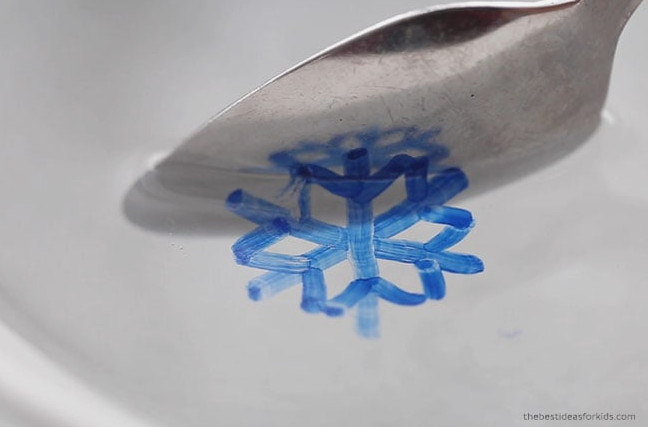
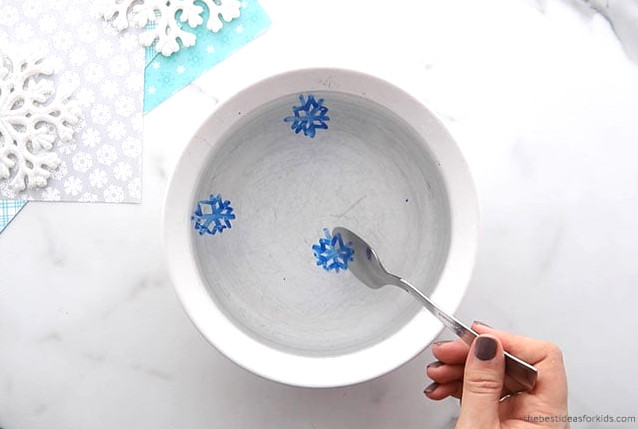
3. Once your snowflakes are floating, gently blow through a straw to send them drifting around the bowl!
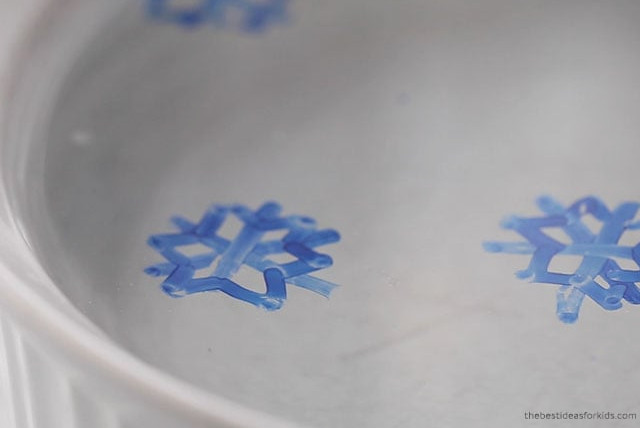
What other pictures could you draw and float instead of snowflakes?
Additional Snowflake Activities
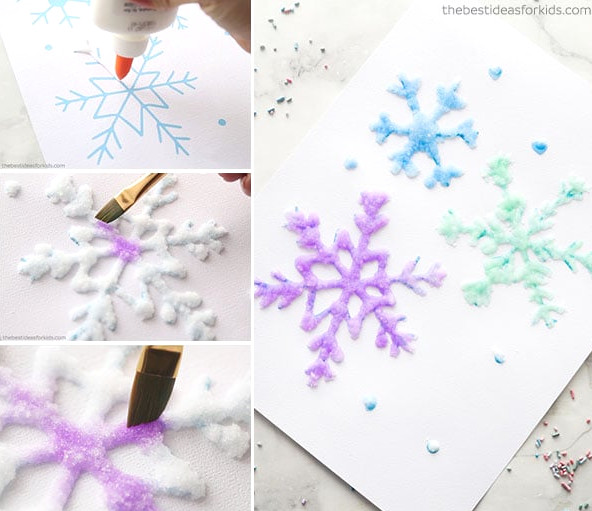
Give this salt-painted snowflake process art project a try!
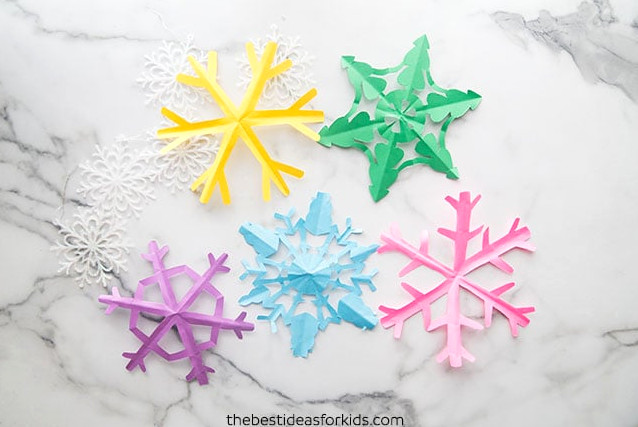
Make personalized paper snowflakes using our free printable snowflake templates!