Make charming handprint leaves with this simple and enjoyable autumn craft! Ideal for children, classrooms, or heartfelt seasonal mementos.
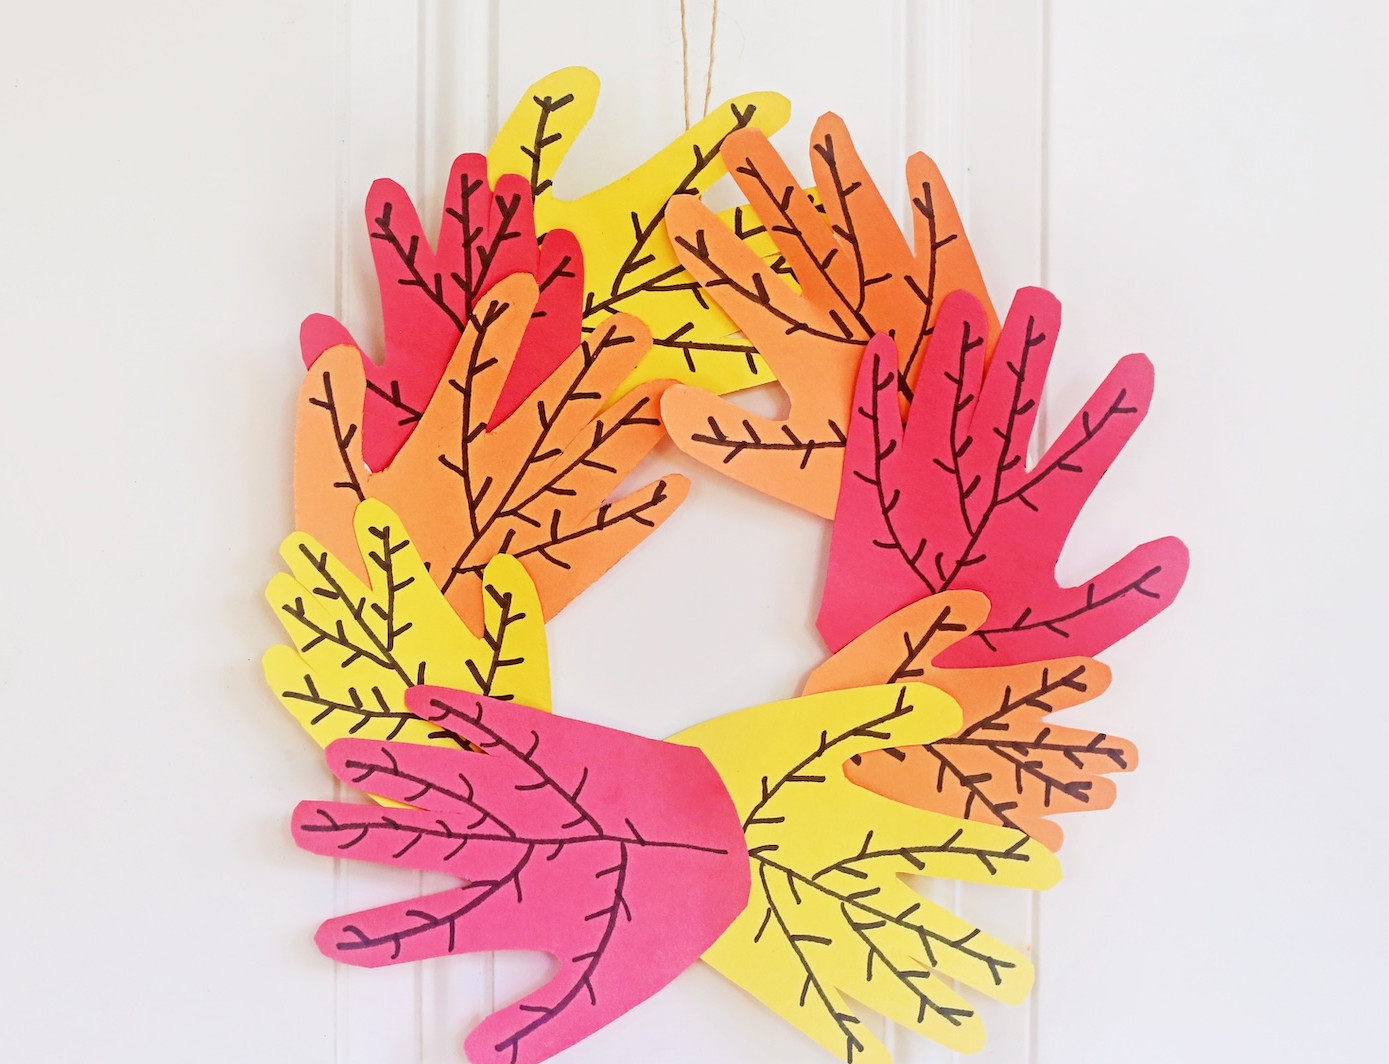
Could anything be sweeter than adorning your home with miniature handprints, particularly when those little hands belong to your favorite small people? This paper plate handprint leaves wreath is more than an adorable autumn project—it’s fall brought to life through crafting.
Picture warm hues, heartfelt charm, and just enough tacky glue-covered fingers to make things exciting. It’s the sort of activity that announces, “Absolutely, I’m the mom who proudly keeps construction paper artwork on display all year.”
When it comes to construction paper, choose the quality option—the shades that evoke pumpkin spice, crisp leaves, and cozy sweater season.
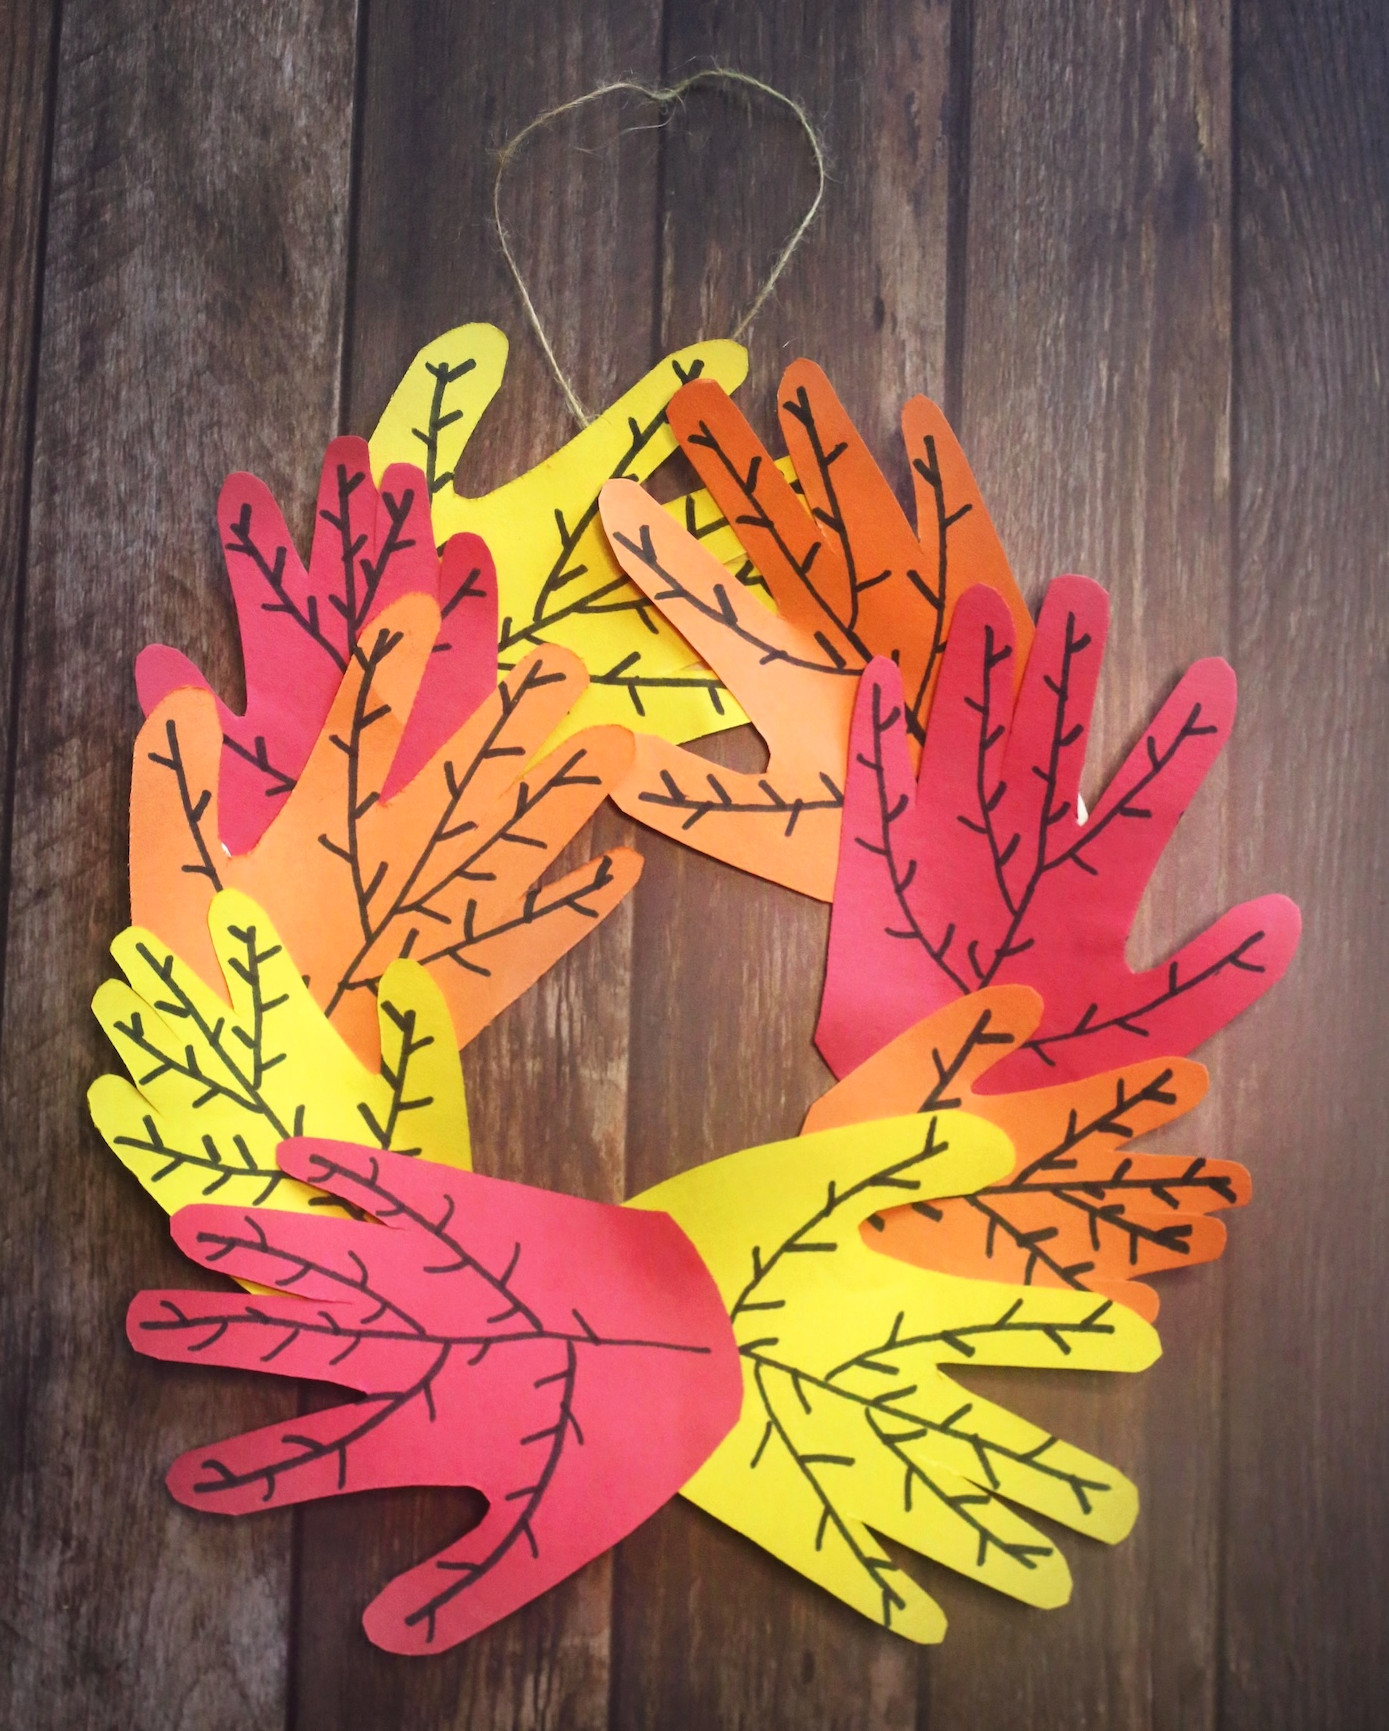
Your little ones will love tracing their fingers onto orange, red, yellow, and brown sheets, then turning those shapes into leaves with a few artistic marker lines,
In no time, you’ll have such a delightful wreath that you’ll be tempted to create several: one for the front door, refrigerator, bathroom mirror, or anywhere with room and an admiring viewer!
Why not? This wreath is a keepsake that fulfills every requirement. It’s lovely, creative, and sentimental enough to warm your heart faster than a cup of hot apple cider.
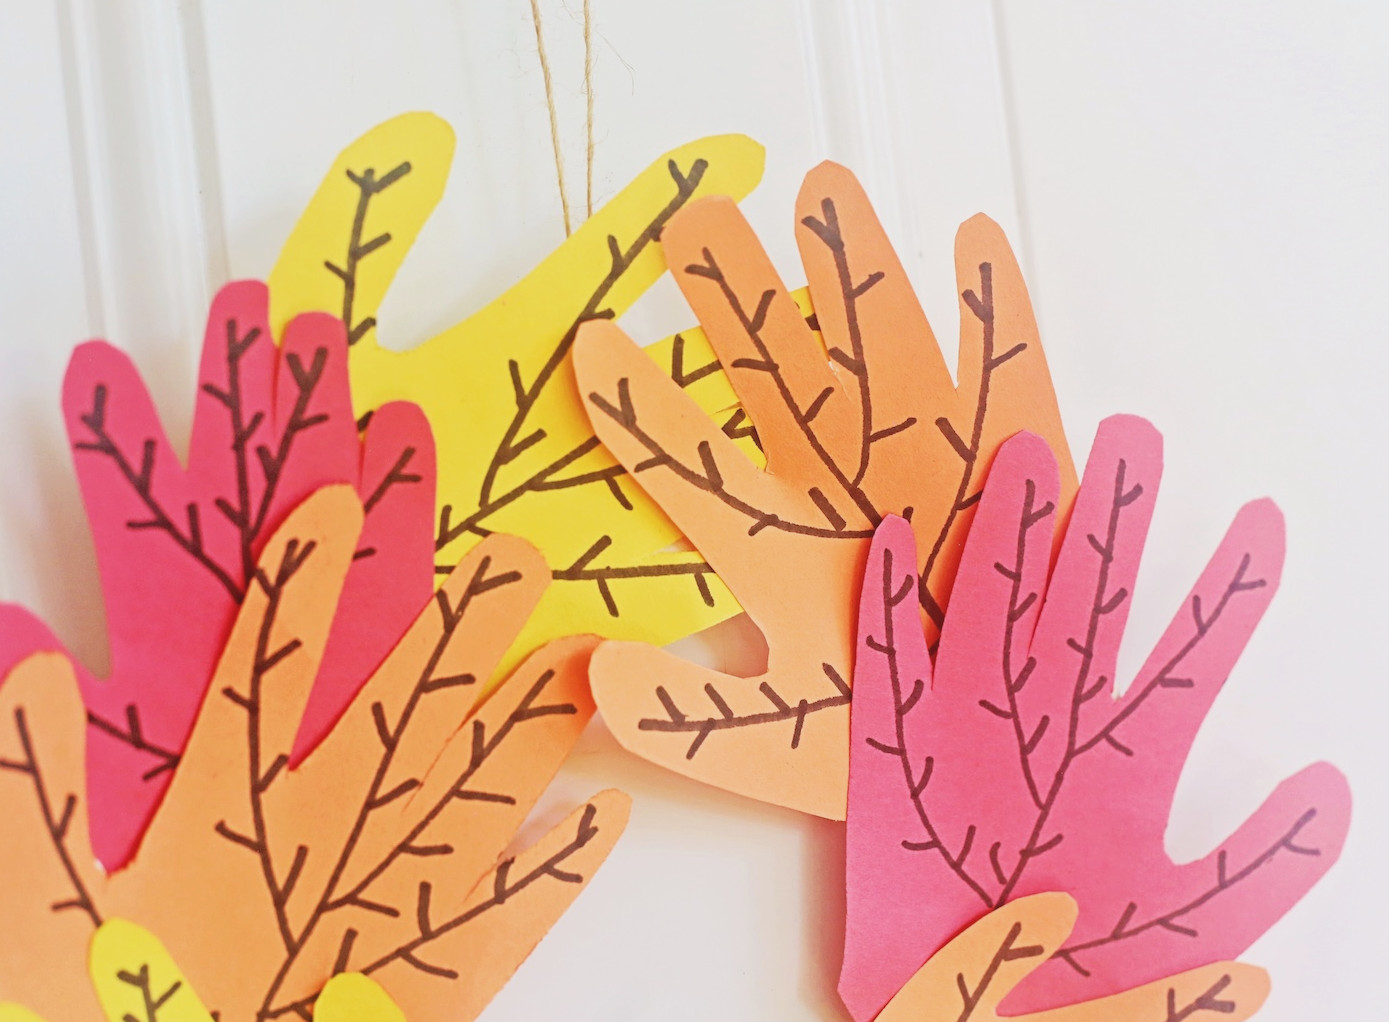
Children also enjoy watching their artwork become the star of the room—it’s almost like having their own private gallery!
Gather your sharpest scissors, the paper, and a durable paper plate. We’re going to make something so charmingly seasonal that you’ll grin whenever you pass by it—perhaps through December (or, honestly, maybe even March).
Find the printable instruction card below:
Handprint Leaf Wreath
This autumn handprint project is enjoyable for children and grown-ups alike! It’s a wonderful tradition to create each year.
Yield: 1 wreath
Cost: $2
-
Trace your child’s hand on one of the paper sheets. Be certain that their fingers are spread widely apart.
-
Place all the papers in a stack before cutting. Folding them in half is another option to create twice as many leaves. Cut through the entire stack to remove the handprint.
-
Use the black marker to sketch veins on every leaf you created.
-
Remove the paper plate’s middle circle by cutting it out, then discard it.
-
Adhere the leaves around the plate’s outside ring. Allow them to dry.
-
Attach the string to the rear of the plate with glue (or tape). Leave it to dry.
Did this project appeal to you? Share your thoughts in the comments! I’d also be delighted for you to explore these other adorable crafts and articles:
Clay Leaves • Decorate Paper Craft Pumpkins • DIY Pumpkin Garland • Fall Gnomes • Melted Crayon Pumpkin • Paper Pumpkins • Pumpkin Perler Beads • Wine Cork Pumpkins