Discover how to create attractive DIY-style pipe shelving with black iron pipe and wood. This affordable industrial bookcase costs roughly $475 and can be tailored to your needs. Updated June 2026
If you’ve looked at the prices for industrial pipe shelving recently, you already realize it doesn’t come cheap. One bookcase may cost several hundred dollars, while covering an entire wall with shelves can quickly reach thousands.
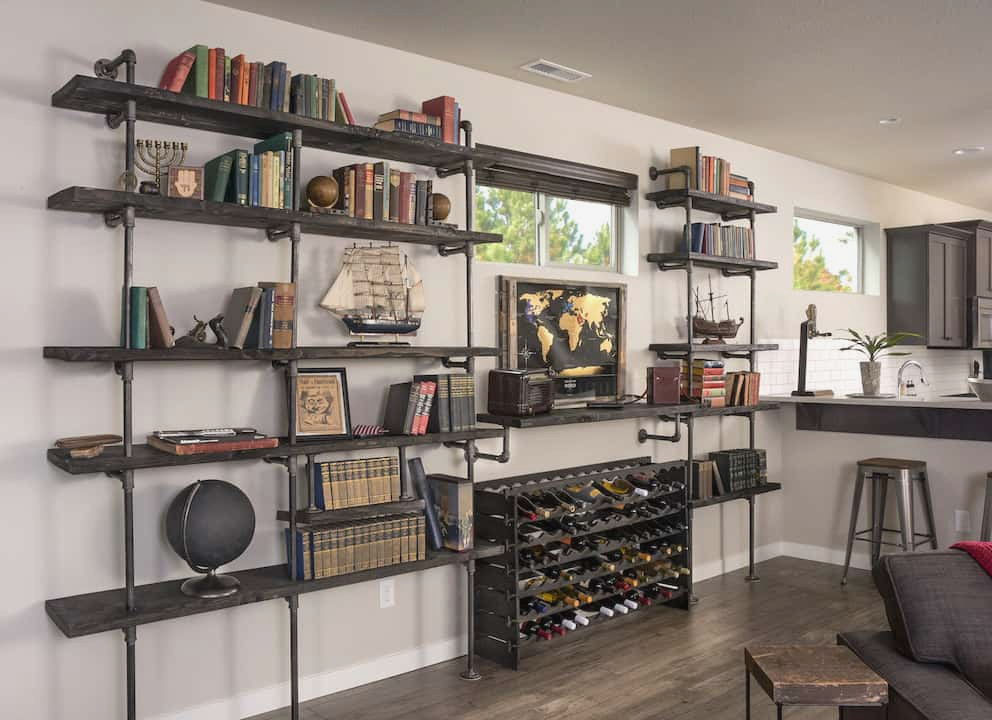
That’s why I was particularly amazed when I visited my neighbor and noticed this homemade pipe shelving. It covered a complete wall, had the appearance of an expensive furniture-store piece, and I instantly figured he had paid a fortune for it.
Not at all.
He completed the entire project himself during one weekend for approximately $350. Note – this was the original price he built it for. Because of rising costs, it’s about $475 now.
And there’s more. After he explained how the pieces connected, I understood that this project is far easier than it first appears. If you’re able to drill several holes, apply stain to wood, and join pipe fittings with screws, you can definitely make these shelves.
I’ll explain the full project from beginning to end—including where to find reasonably priced pipe, how to adjust the measurements for your room, and several helpful tips that can reduce your workload (and prevent you from ruining a board or two).
Industrial Pipe Shelves
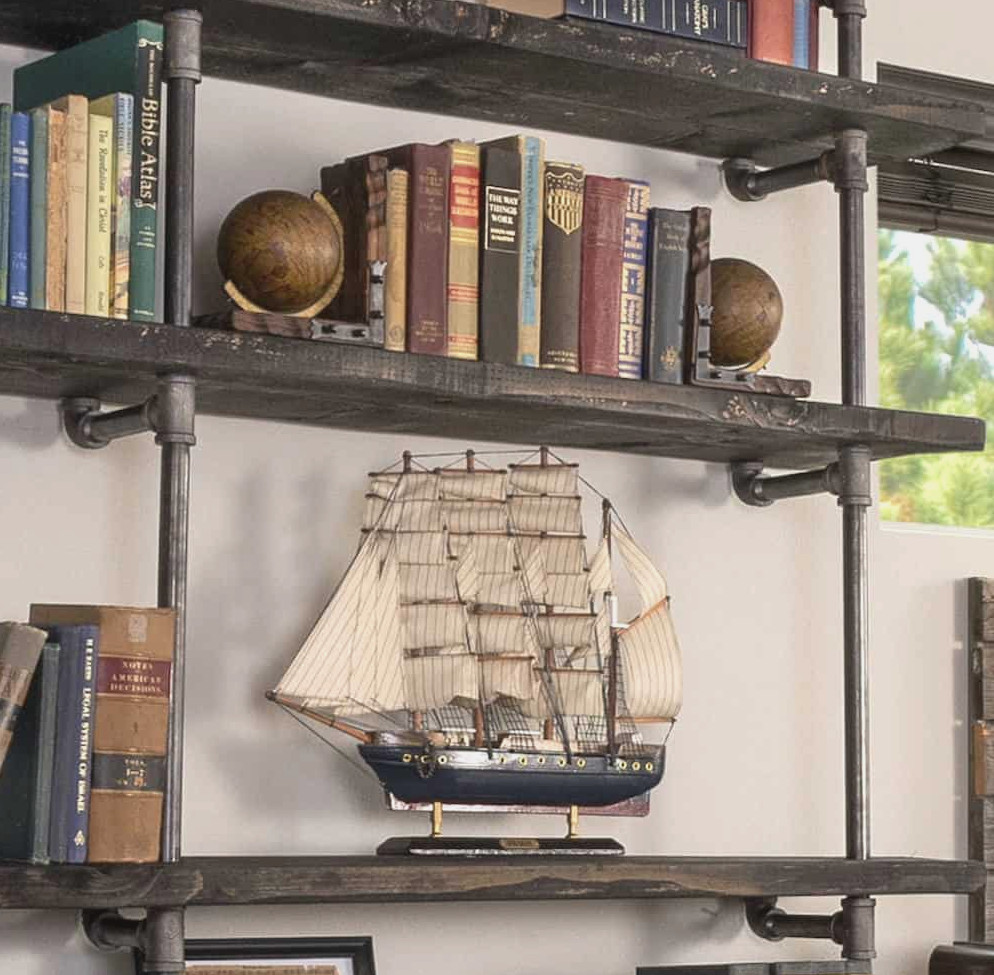
This industrial pipe shelving setup consists of three individual sections:
- Left shelving unit: five shelves, 70 inches in length
- Center shelf: one shelf, 53 5/8 inches in length
- Right shelving unit: five shelves, 36 inches in length
Every shelf is about 11 inches deep, although you can readily modify the measurements to suit your wall.
One feature I especially like about this design is that the wooden shelves are secured to the wall only at the top with floor flanges. As a result, there’s no need to drill into the floor, yet the bookcase remains remarkably strong.
Planning Your Pipe Shelving DIY Project
Before purchasing any pipe or lumber, take a little time to map out your arrangement.
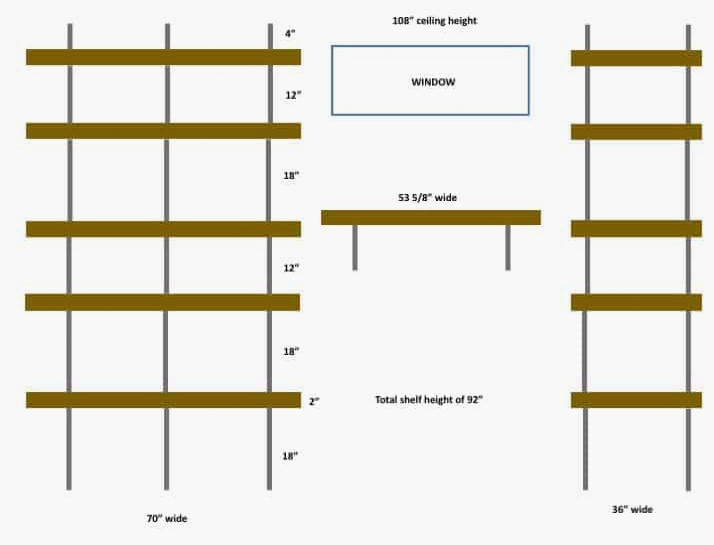
For a basic shelf, this preparation may not be essential. However, when creating wall-length wooden shelves like these, a fast drawing can help prevent costly errors.
Photograph your wall, then sketch the shelving design over the image. PowerPoint, Canva, or graph paper can all work—choose whichever option feels easiest. Your plan should help you determine a few straightforward things:
- Will the shelving fit properly on the wall?
- Can it be arranged around windows or trim?
- Will the shelves be high enough for books or decorations?
- What quantity of wood and pipe is truly required?
There’s no need for professional architectural plans—just create a basic layout before visiting the store or ordering online.
A Quick Note About Pipe Sizes
Black pipe fittings may seem somewhat confusing since the printed size does not match the actual outside diameter.
Provided that each fitting you purchase is marked 3/4-inch, they will connect correctly—even though their outside diameter exceeds 3/4 inch. Refer to this chart.
Before leaving the store, verify that every flange, tee, elbow, and pipe nipple carries the same labeled size.
Where to Buy Pipe
Since pipe is by far the costliest component of this project, comparing prices is worthwhile.
For a sizable shelving project like this, I suggest ordering through Supply House or visiting a nearby plumbing supply shop. Their prices are frequently 50–75% lower than those at large home improvement chains.
When making just one compact shelf, purchasing all the materials locally could be more practical after shipping expenses are considered.
Here’s another suggestion: black iron pipe generally comes covered in a thin film of oil left over from manufacturing. Wipe each component with degreaser or mineral spirits before putting everything together, or your shelves may end up covered in oily fingerprints.
This is what was bought:
Left Shelving Unit, 70″ in length
Middle Shelf, 53 5/8″ in length
Right Shelving Unit, 36″ in length
Choosing the Lumber
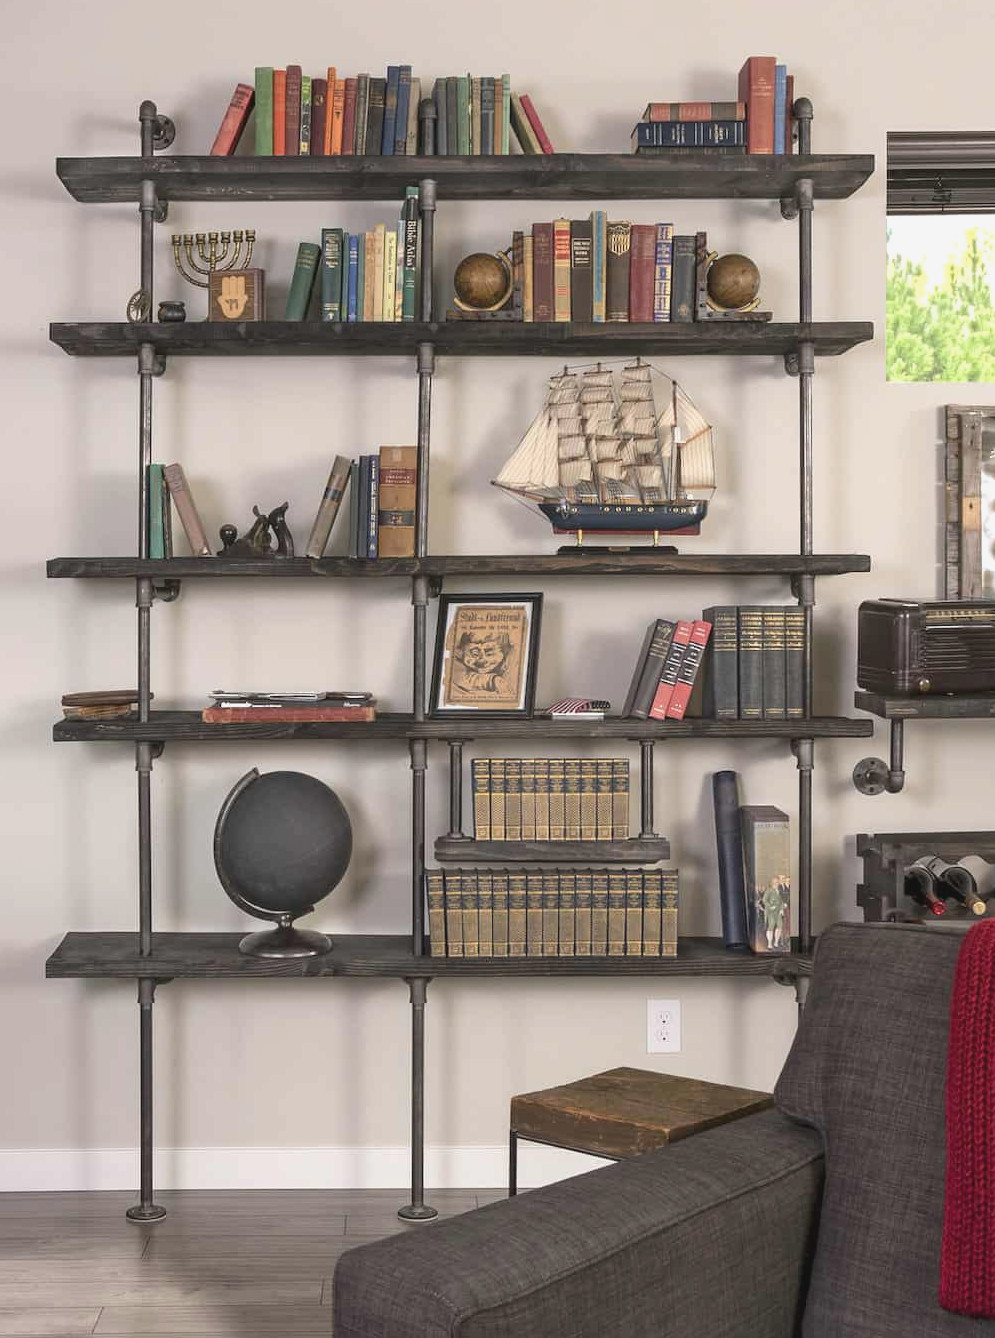
Pine works wonderfully for this project because it’s inexpensive, simple to handle, and accepts stain beautifully. Combining ebony and carbon gray stain gives budget-friendly pine a deep, reclaimed appearance without the high cost of actual reclaimed wood.
For a more refined, furniture-grade surface, consider switching to hardwoods such as poplar or oak. Although they are pricier, they also hold up somewhat better against dents.
No table saw? That doesn’t have to prevent you from starting. Many home improvement stores can cut the lumber to size before you bring it home.
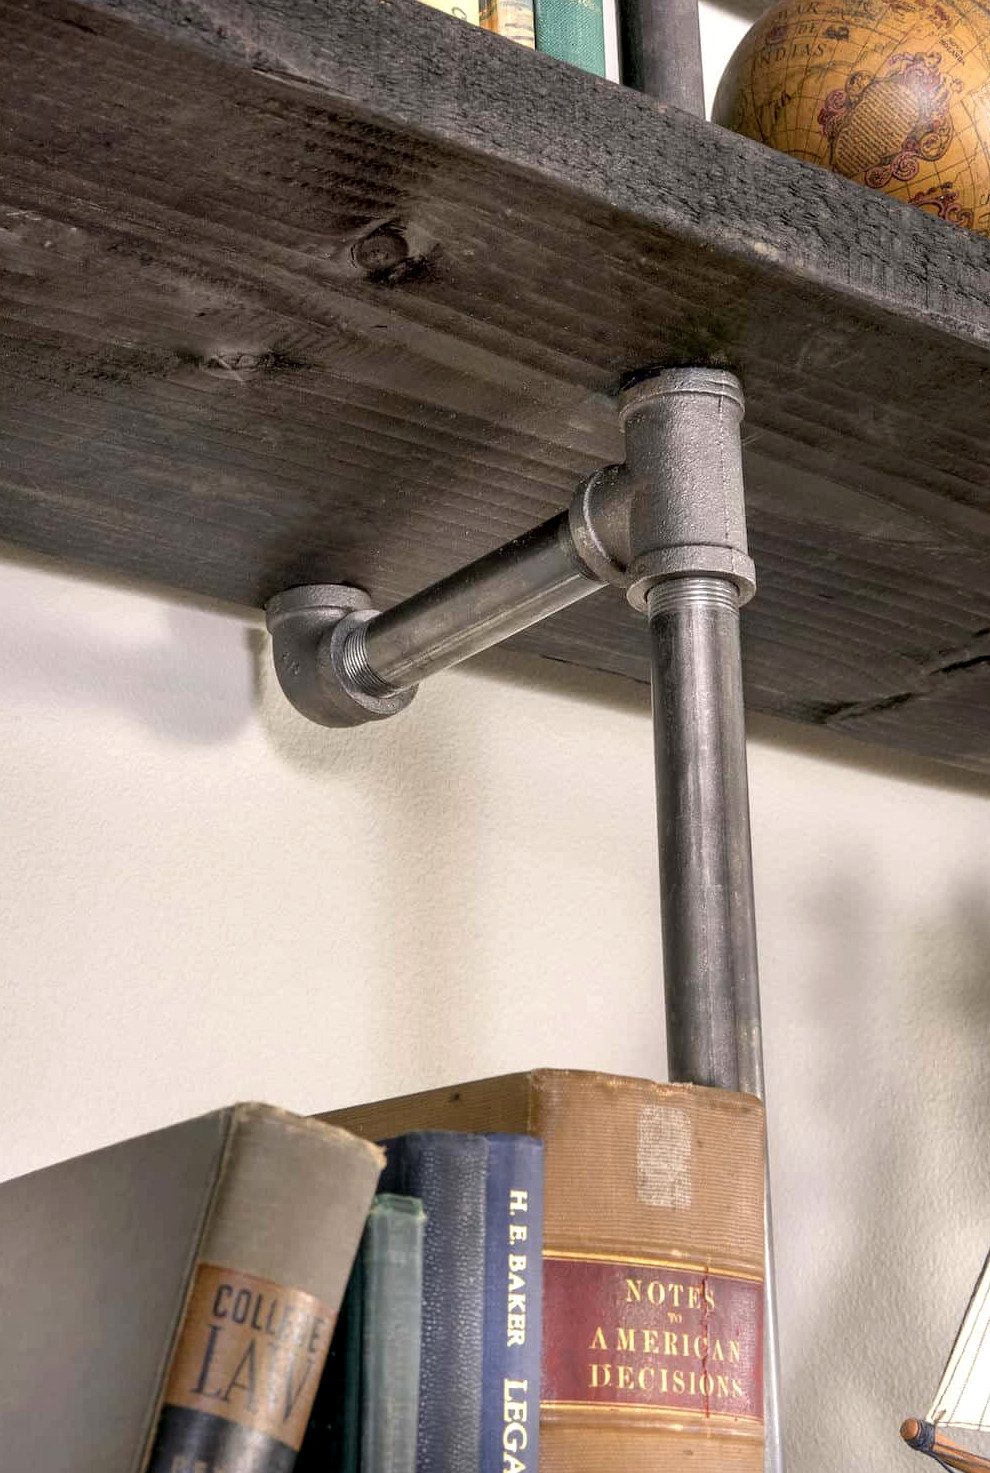
Is This Pipe Shelf Unit Secure?
Yes—provided it is assembled correctly and fastened to the wall using suitable hardware, this shelving is exceptionally strong.
In most homes, attaching the upper flanges to the wall is sufficient. However, if you reside in an earthquake-prone region or simply prefer extra security, you can install additional flanges along the rear of the shelving and secure those to the wall too.
If small children in your home might be tempted to climb onto the shelves, installing extra wall anchors is also a wise precaution.
Regardless of how you mount it, keep in mind that shelving is intended to support books and decorations—not people.
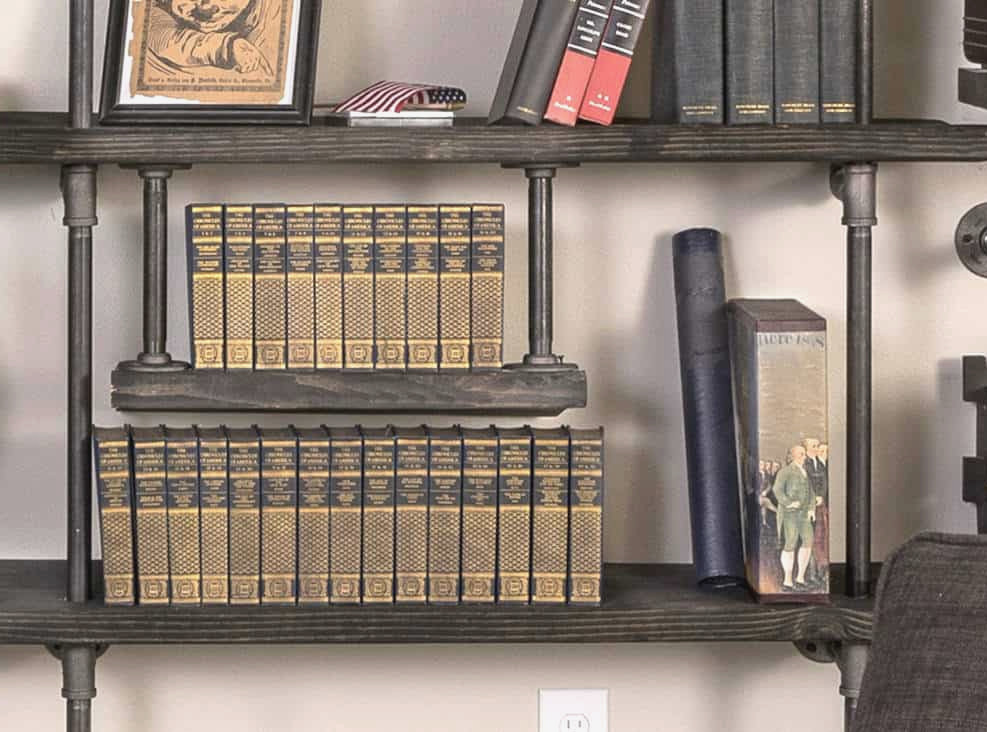
Is It Possible to Make It Freestanding?
Yes—but the design will require some adjustments.
Rather than depending on the wall for support, you’ll need matching pipe supports at both the front and rear of the shelves, joined across the top. Since a freestanding unit lacks the wall’s stabilizing assistance, I also suggest keeping it lower—two or three shelves provide a considerably safer height.
When creating a freestanding model, bore corresponding holes at the front and back of each shelf to allow the pipe to run through both sides.
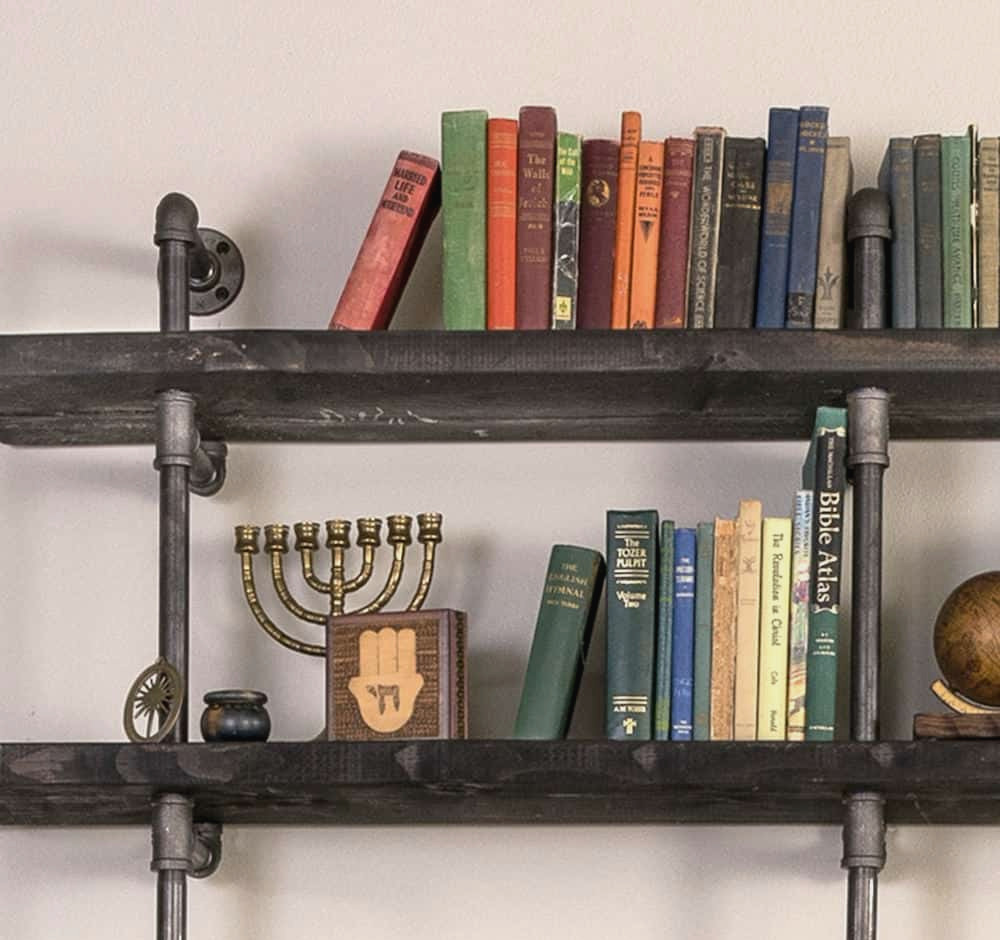
Ready to begin? Follow the directions below!
DIY Industrial Pipe Shelving
Create personalized industrial pipe shelving at a fraction of the store-bought cost! This bookshelf spanning an entire wall pairs black iron pipe with stained wood to create a lovely industrial, farmhouse, or rustic appearance that is surprisingly easy for beginners.
Makes: 1 bookshelf
Price: $475
- Pine boards refer to the Notes section
- 3/4-inch black iron pipe and connectors refer to the Notes section
- 20 Drywall fasteners and screws unless you are fastening into studs (then use wood screws)
- Degreasing cleaner or mineral spirits
- Minwax wood stain we selected Ebony 2718 and Gray 271
- Water-based polyurethane
- Masking tape
-
Use a table saw to cut the shelves to the required dimensions. Refer to the notes for the cutting measurements.
-
With a 1 1/8″ spade bit, drill three openings through each 70″ board and two openings through each 36″ board. Because the boards will be stacked, position the holes identically on all 70″ boards and consistently on all 36″ boards.
-
Smooth every surface by sanding thoroughly.
-
Brush on Ebony stain and let it dry. For a timeworn, reclaimed look, lightly apply Carbon Gray in scattered areas.
-
After the stain has dried, add two or three layers of water-based polyurethane. Let the finish fully cure.
-
Remove the factory oil residue from each pipe fitting by cleaning it with degreaser or mineral spirits.
-
Before placing the shelves, connect the pipe, tee fittings, elbows, and flanges to build the pipe sections.
-
Start with the lowest shelf, sliding each one onto the assembled pipes as you stack upward until the unit is finished.
-
Adjust the shelving until it is level, then attach the upper flanges to the wall with suitable screws. For the strongest hold, fasten them directly into a wall stud whenever feasible.
Left Shelving Unit, 70″ long
- Pine boards, 2 x 12, 6 feet long – 5
- 3/4″ black floor flange – 6
- 3/4″ black elbow – 18
- 3/4″ black tee – 15
- 3/4″ 4″ black nipple – 3
- 3/4″ 6″ black nipple – 18
- 3/4″ 12″ black nipple – 6
- 3/4″ 18″ black nipple – 9
Middle Shelf, 53 5/8″ long
- Pine board, 2″ x 12″ x 6′, trimmed to suit the opening
- 3/4″ black floor flange – 4
- 3/4″ black elbow – 2
- 3/4″ 6″ black nipple – 4
Right Shelving Unit, 36″ long
- Pine boards, 2 x 12, 3 feet long – 5
- 3/4″ black floor flange – 4
- 3/4″ black elbow – 12
- 3/4″ black tee – 10
- 3/4″ 4″ black nipple – 2
- 3/4″ 6″ black nipple – 12
- 3/4″ 12″ black nipple – 4
- 3/4″ 18″ black nipple – 6
How much weight can these shelves support?
The load limit varies based on shelf length, pipe arrangement, wood type, and the strength of the anchoring. When properly secured to wall studs, these shelves can readily hold books, baskets, and ordinary home accessories. For particularly weighty items, consider reducing the shelf spans and fastening the unit to a stud.
Could I place the holes farther toward the back to remove the rear supports?
No. The rear elbow fittings help maintain the shelves’ stability and level position. Simply relocating the holes will not remove the need for these supports unless the entire pipe arrangement is redesigned.
Is it possible to alter the shelf lengths?
Absolutely! This project is highly adaptable. Modify the board dimensions and pipe counts to suit your area, while maintaining uniform hole placement on shelves that match.
Share your thoughts in the comments! You may also want to explore these additional DIY projects:
Square Coffee Table • Coffee Table with Storage • Hose Holder and Planter • Lack Endtable Hack • Mirror Frame • Modern Headboard • Nolmyra Chair Hack • Outdoor Bench • Outdoor Table • Pallet Shelf • Platform Bed • Stacked Entry Bench • DIY Laminate Table Top • TV Riser • Wood Sign • Wood Step Stool Chair