Create a straightforward dumbbell shelf to lift your weights off the ground.

I enjoy exercising at home and have gradually collected several weights in different sizes.
However, I had grown tired of the stack of dumbbells spread across the floor. Vacuuming became a hassle because I needed to shift every weight out of the way.
That’s when I chose to make a basic weight rack myself. It’s a speedy project built with ordinary construction lumber, and the result turned out fantastic!
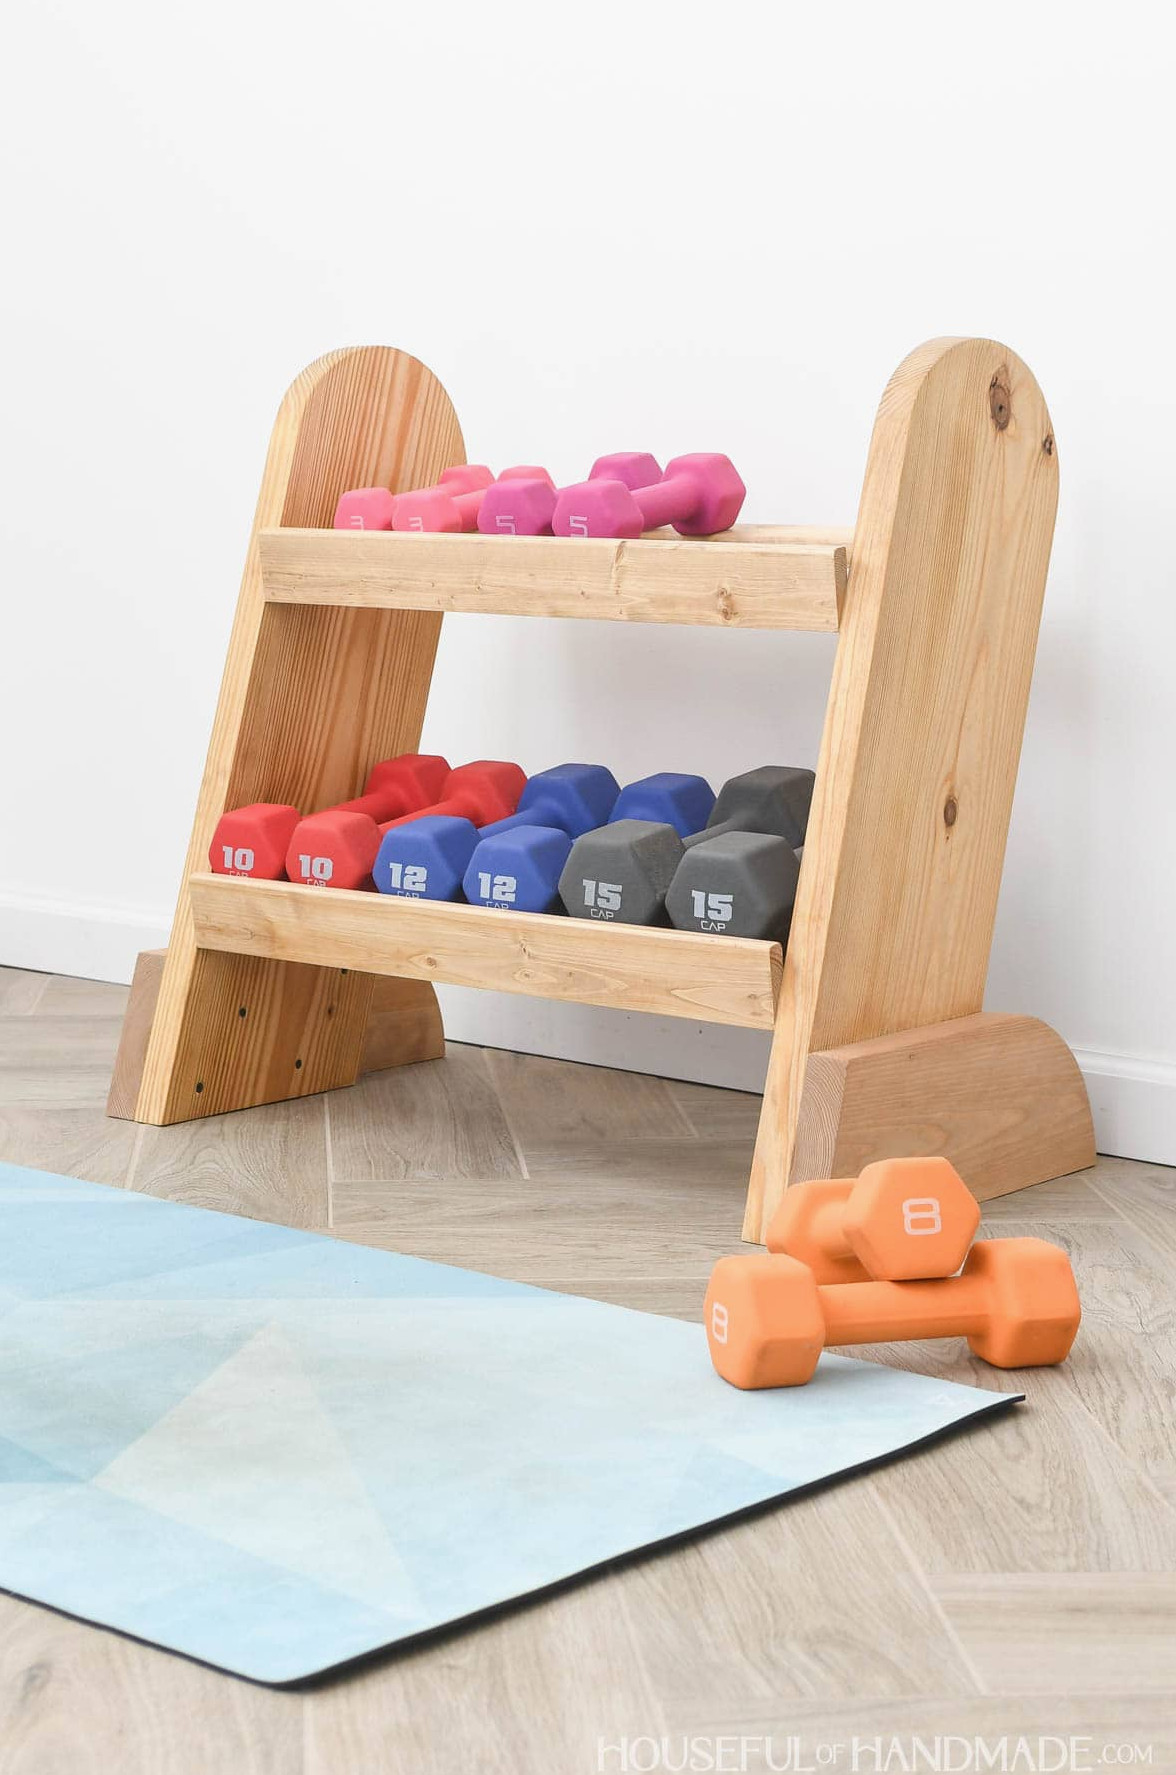
Weight Organization Shelf
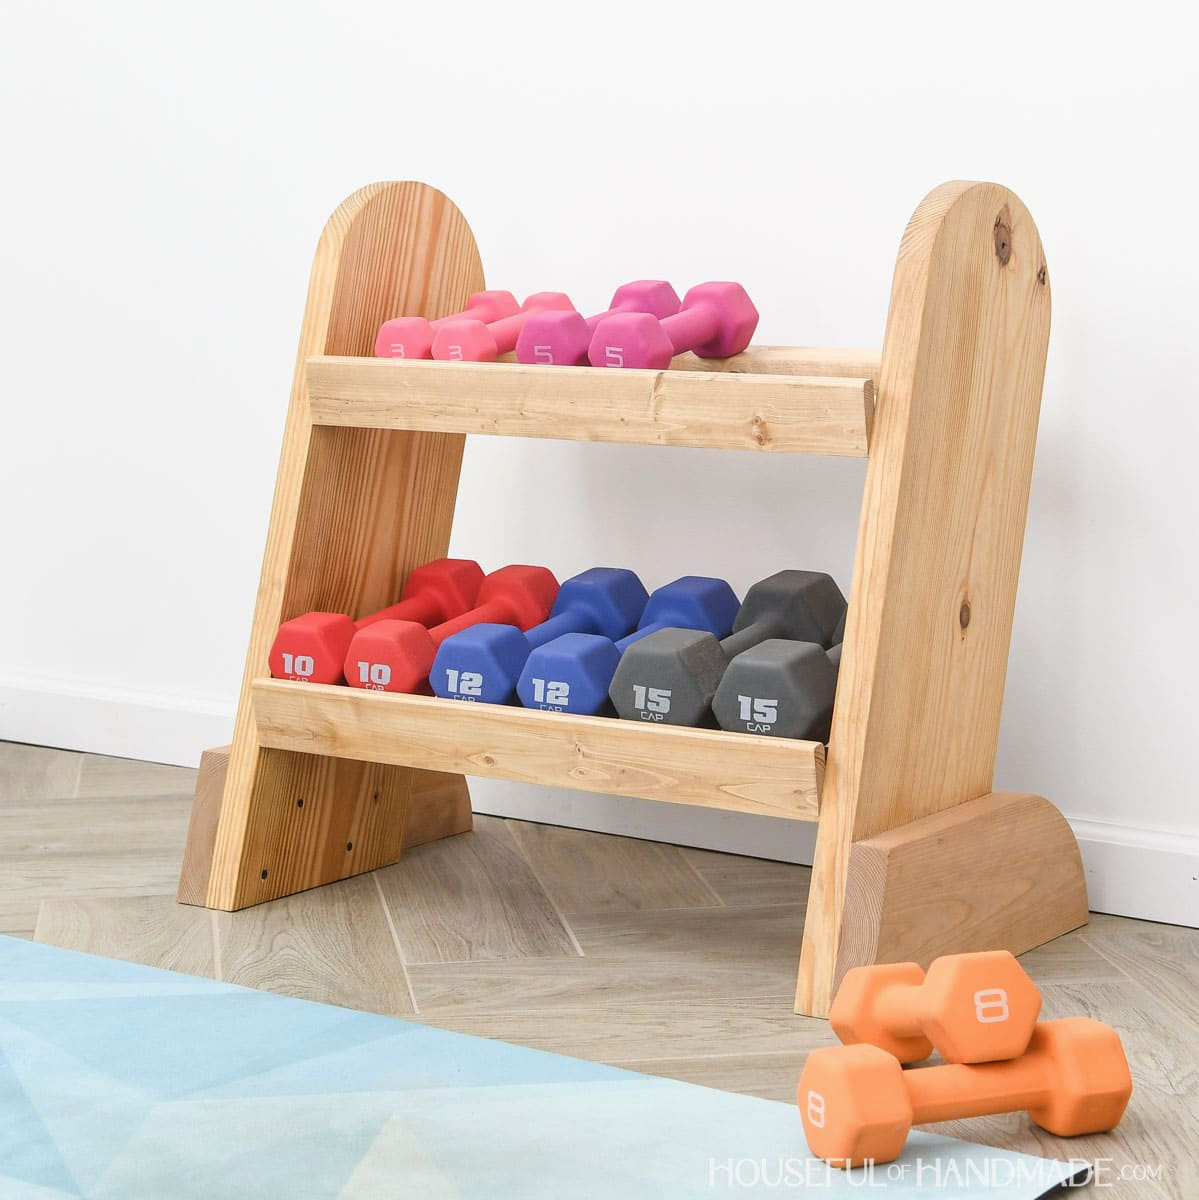
This shelf can comfortably support 6-7 pairs of dumbbells.
The shelves are divided down the middle at the dumbbell handles. This arrangement makes picking up the weights during exercise simpler while helping prevent banged knuckles.
A small raised edge on the front shelf helps keep the dumbbells securely in place.
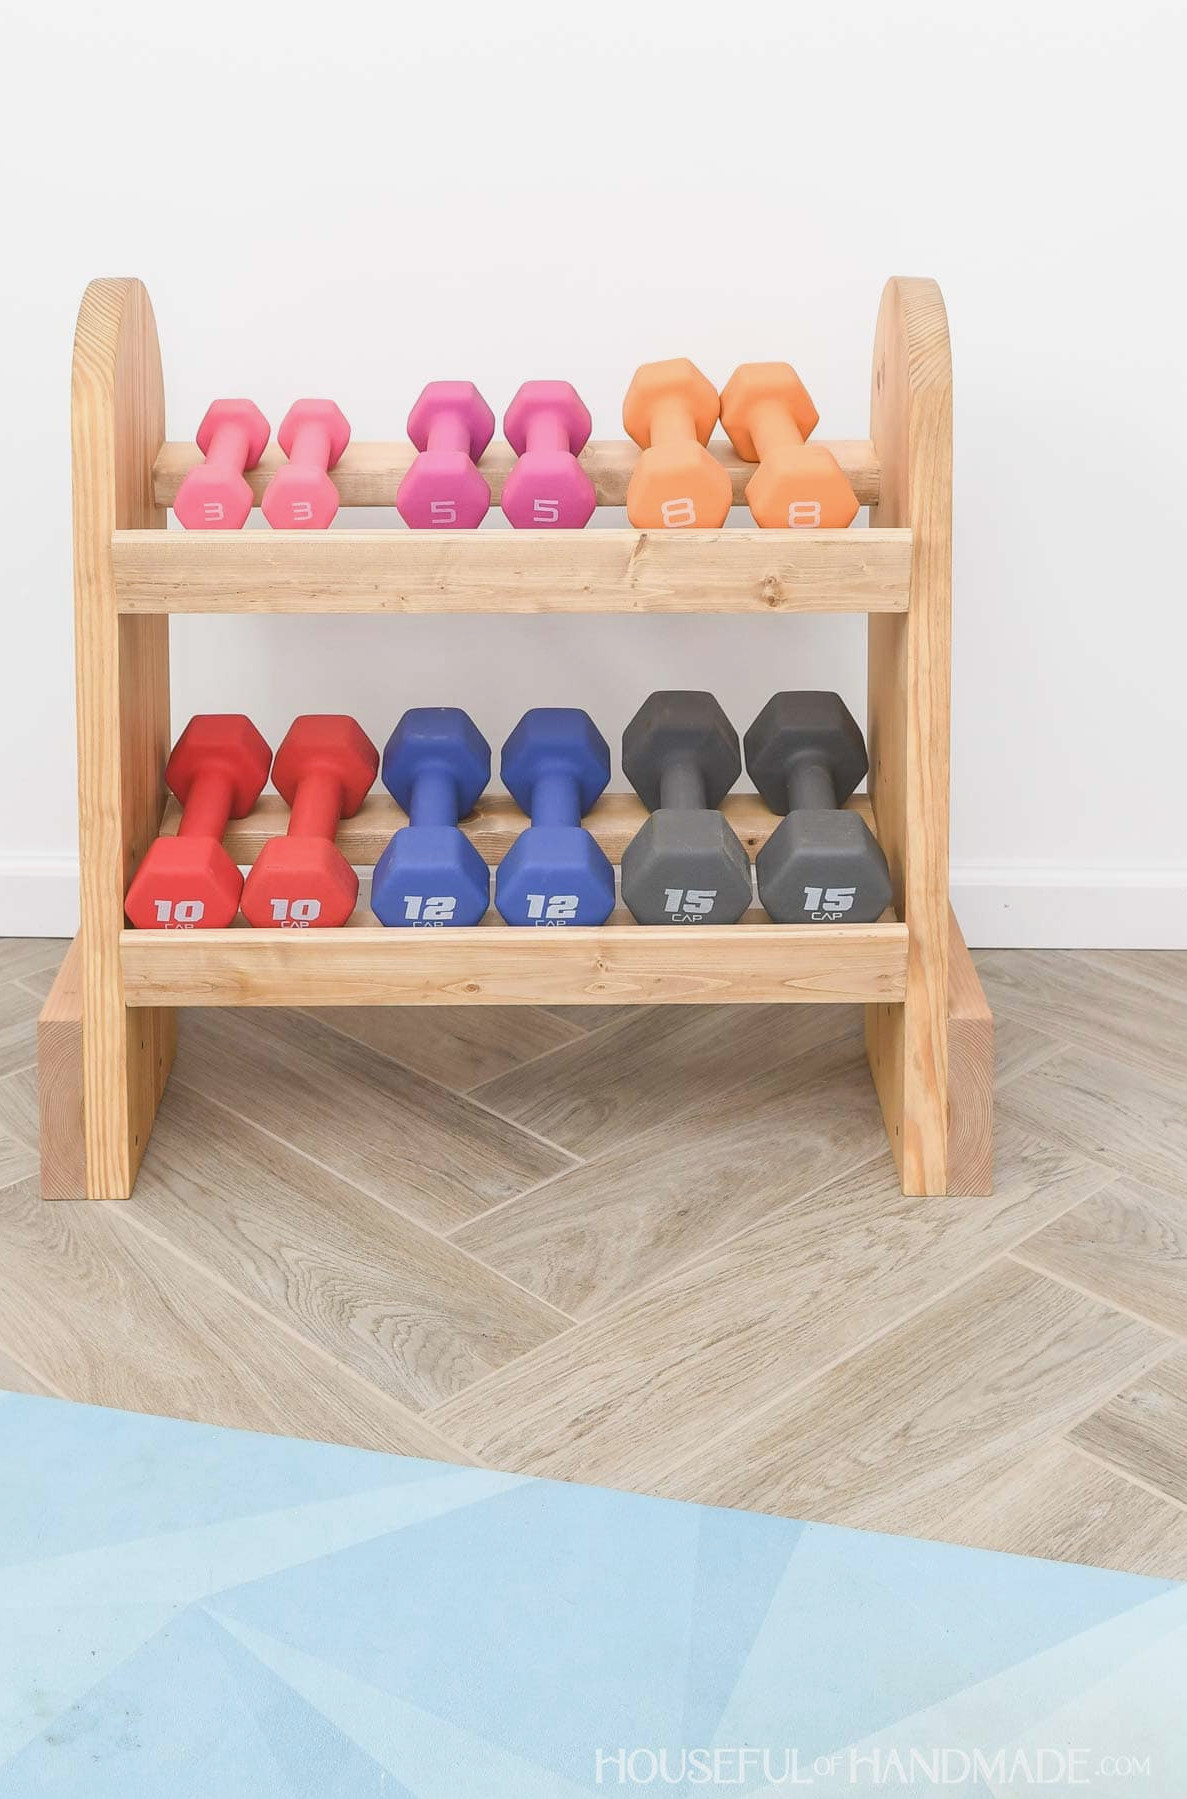
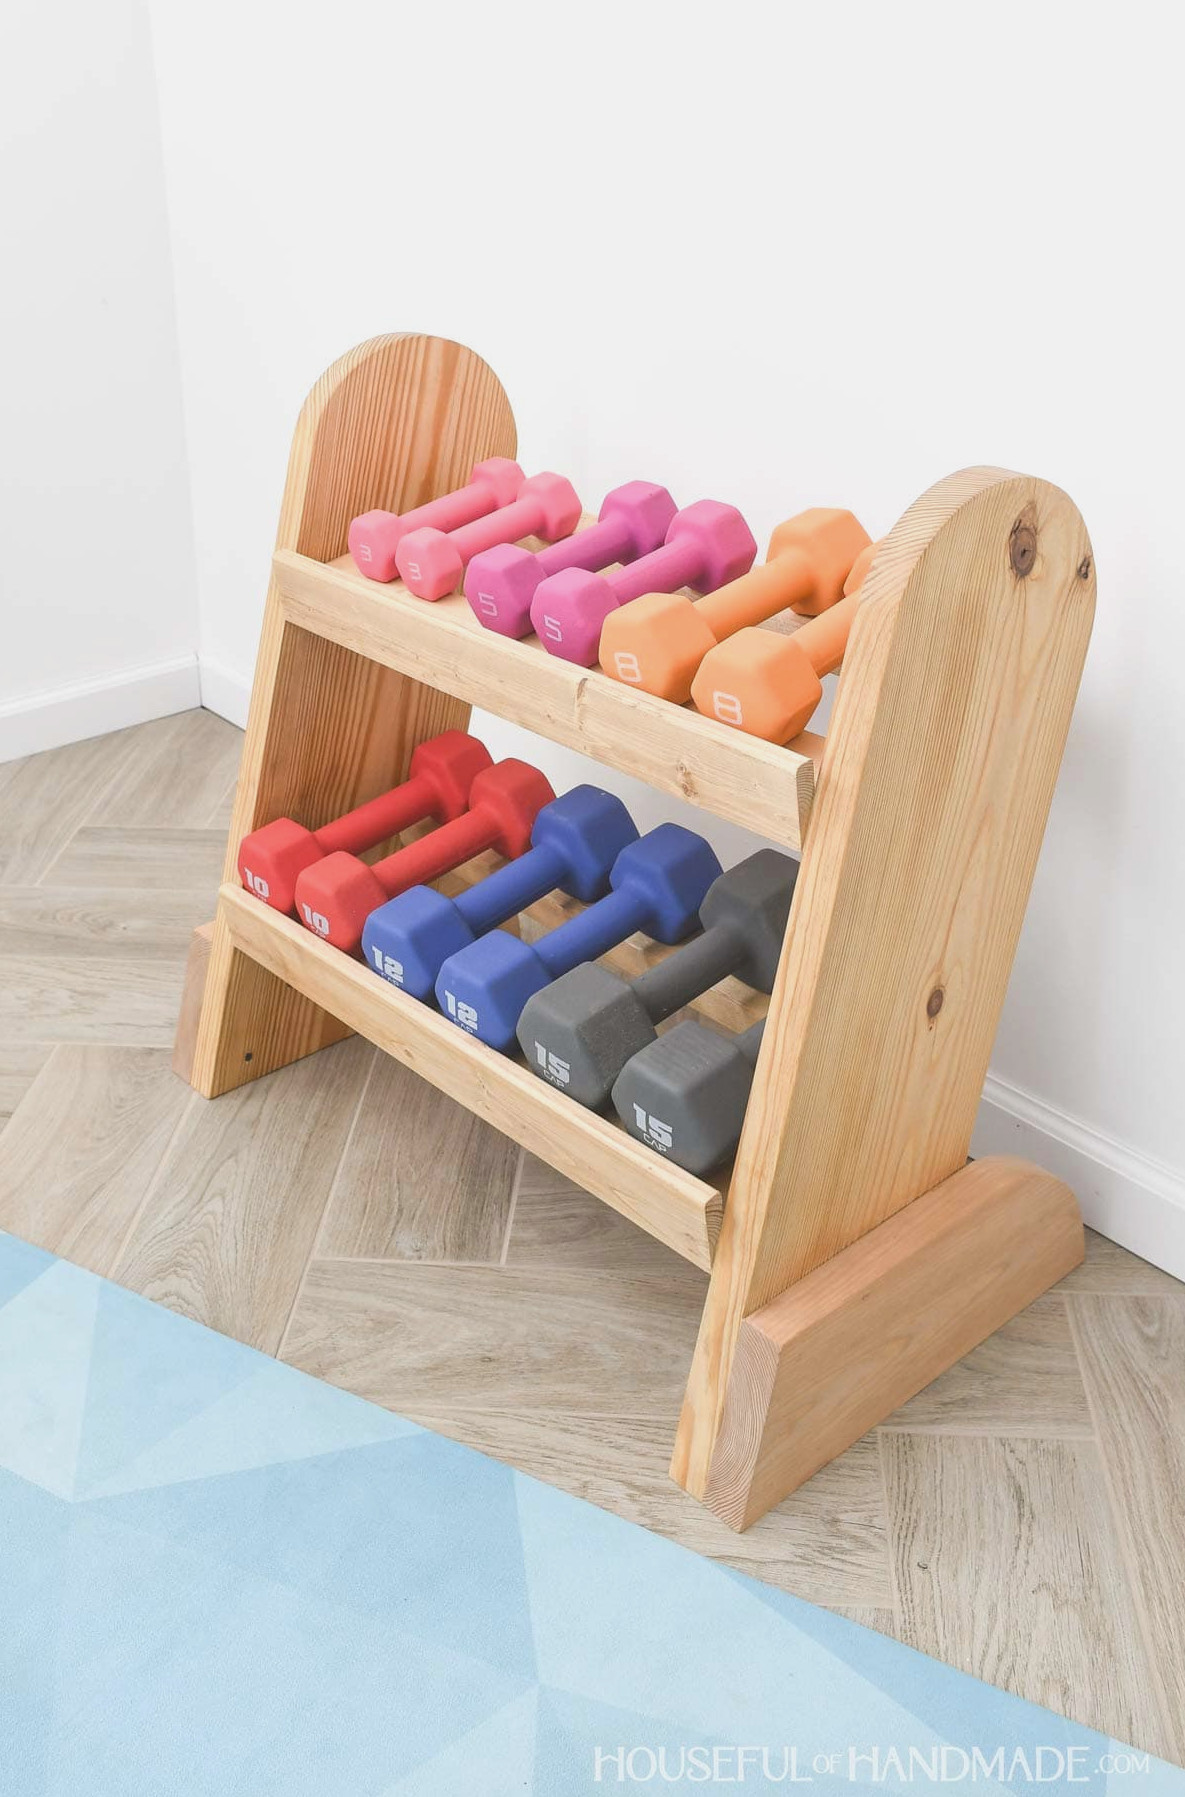
The sides and shelves are both positioned at an angle, so the bottom shelf does not sit concealed beneath the top one.
I especially like that reaching the dumbbells on the lower level is just as simple as grabbing those on the upper level.
Best of all, the rack raises the weights off the floor! Cleaning around my exercise equipment will now be far more convenient.
More Easy Storage Projects
Organizing your home does not require oversized storage or an all-day build. These speedy DIY projects can help tidy your space as well!
Building a Weight Rack
Tools & Supplies
Overall Measurements
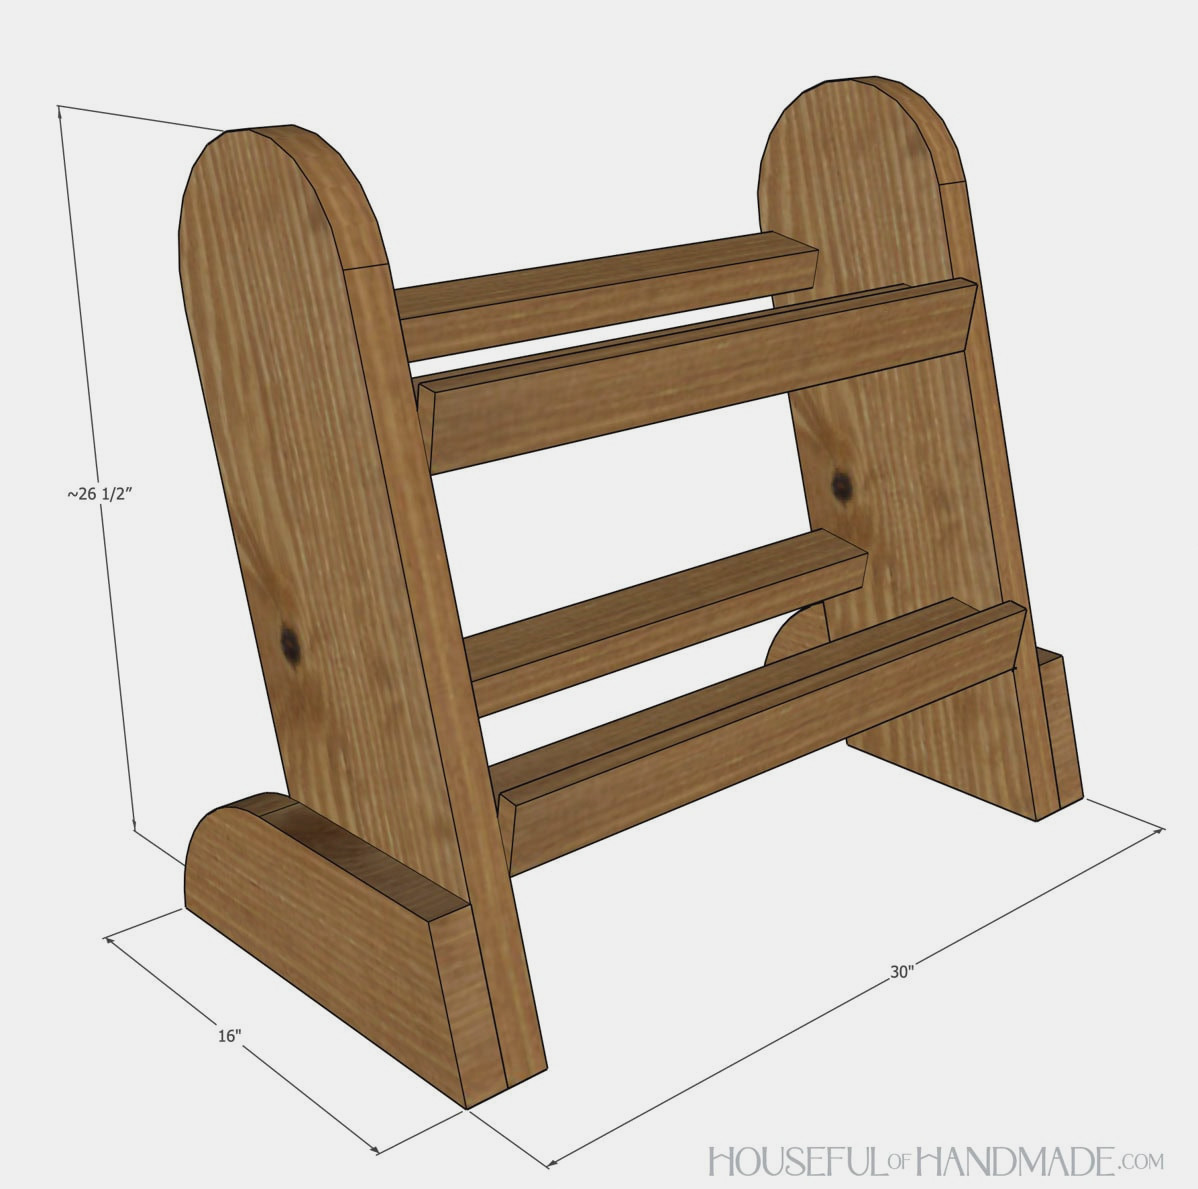
Once complete, the weight rack measures 30″ wide, 16″ deep, and approximately 26 1/2″ tall. Two 24″ shelves provide space for the weights.
You can make the shelves slightly wider if you want room for additional weights. I would likely keep the width below 36″.
Piece List
Prepare the components using the clear, simple chart included in the premium PDF plans.
Download the Premium PDF Woodworking Plans
PDF plans feature- Easy-to-Follow Cut List, Materials List, Suggested Tools, Detailed Instructions with 3D illustrations, & Useful Resources
EXTRA- 3D SketchUp Model
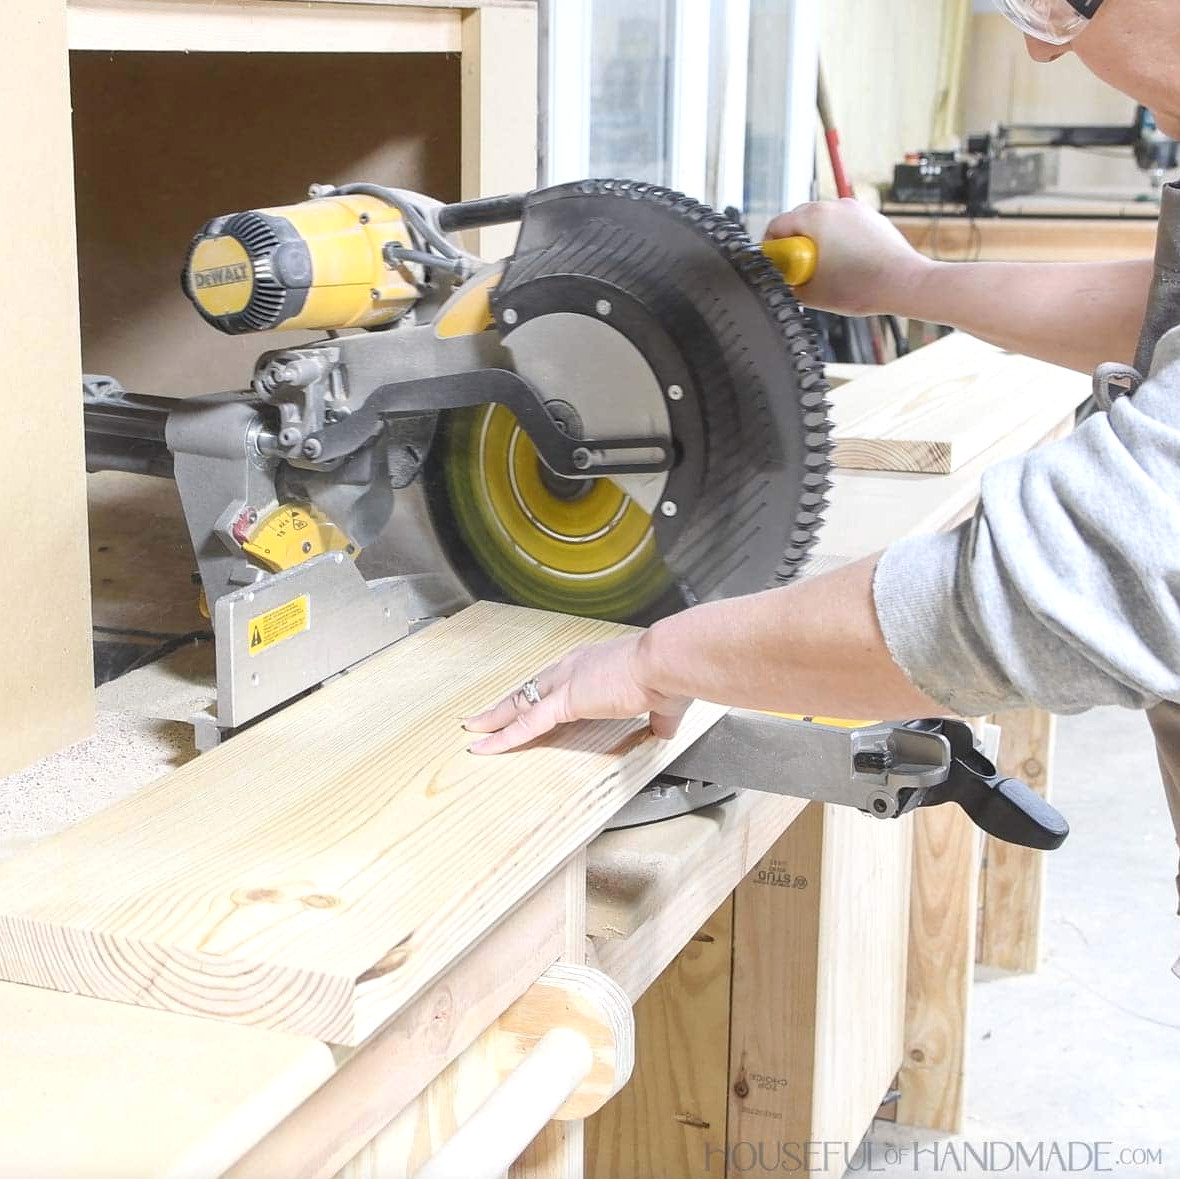
Each side and foot board has one edge trimmed at an angle.
Without a sliding miter saw, a circular saw can be used to angle-cut the 2×10 board.
STEP 1- Shape curves in the sides and feet
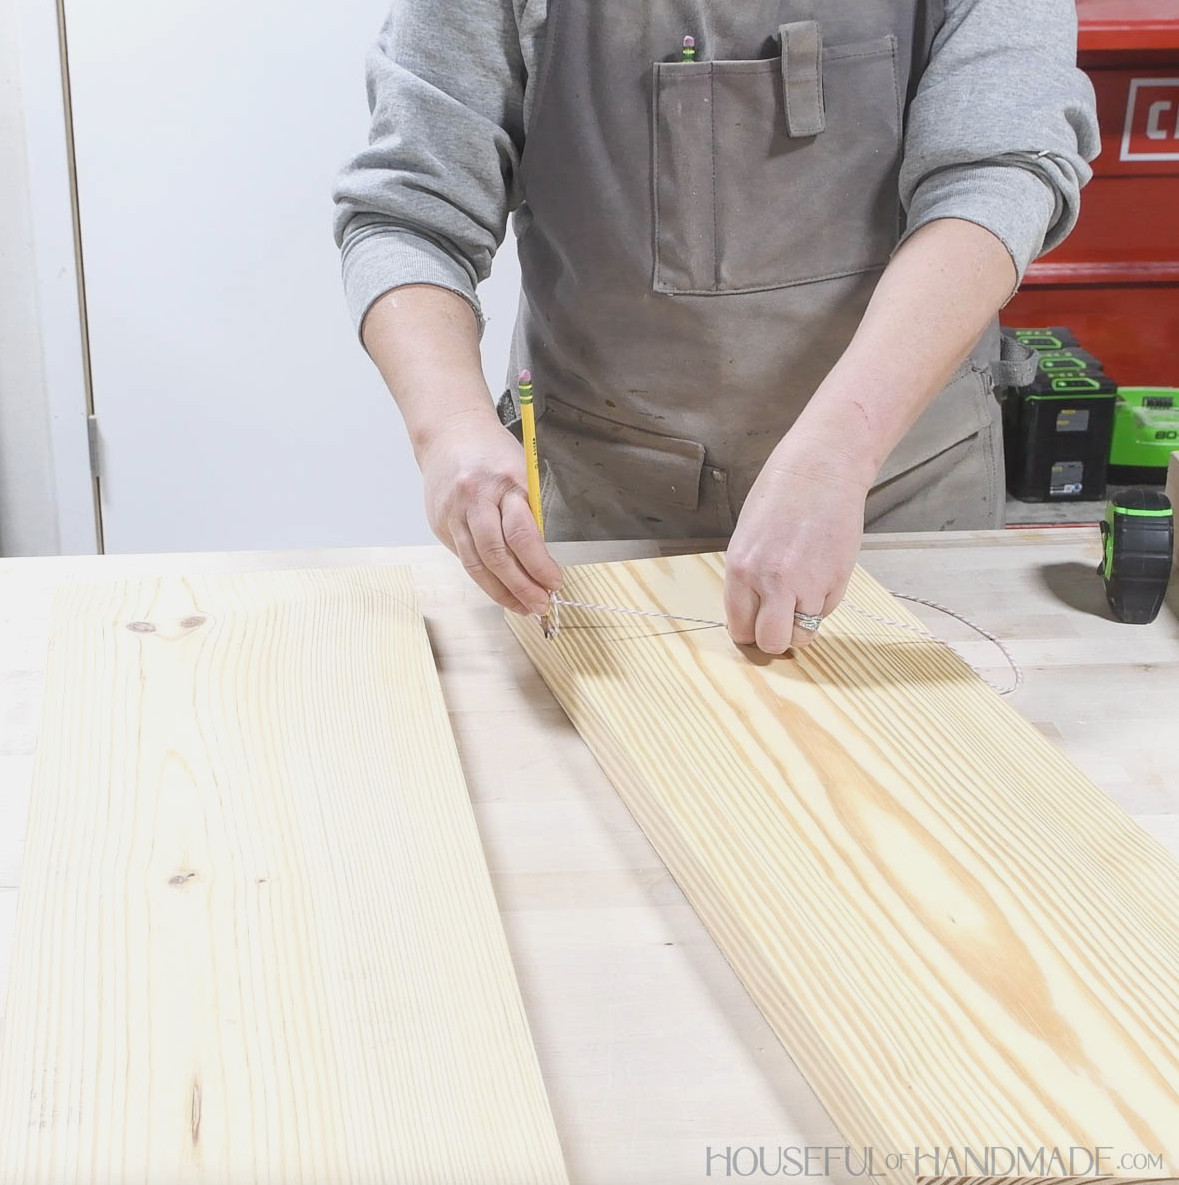
Mark a semicircle across the top of each side board.
To do this, measure 4 5/8” down from the center of the board. Next, attach a string to a pencil, position the string at the center mark, and place the pencil tip along the board’s edge. Keep the pencil pulled firmly toward the center point, then trace the arc.
Use the jig saw to cut away the arch.
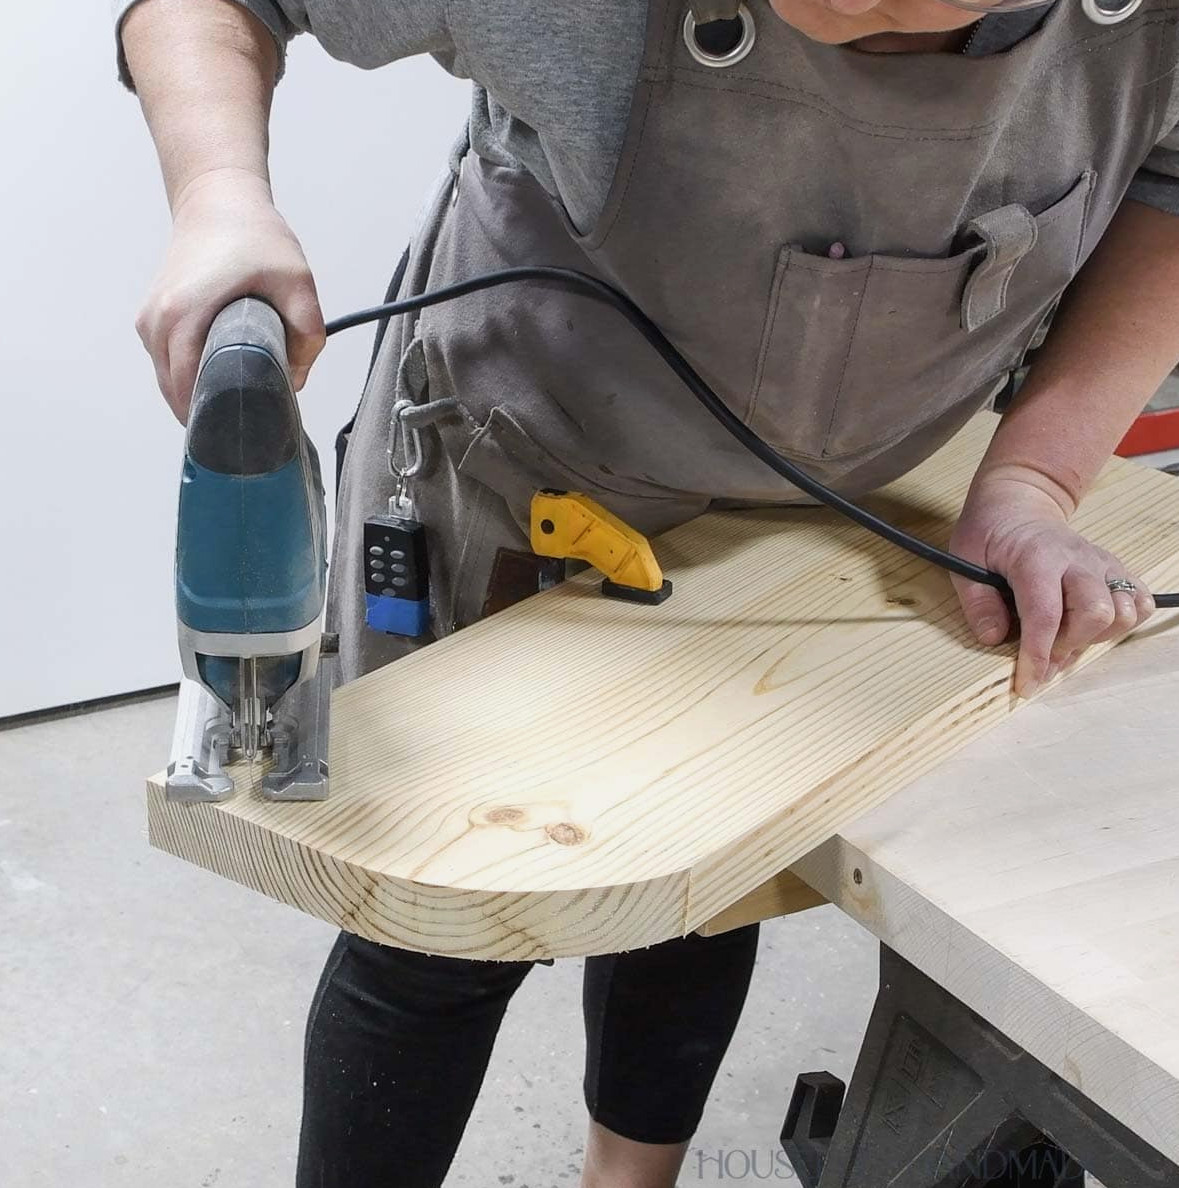
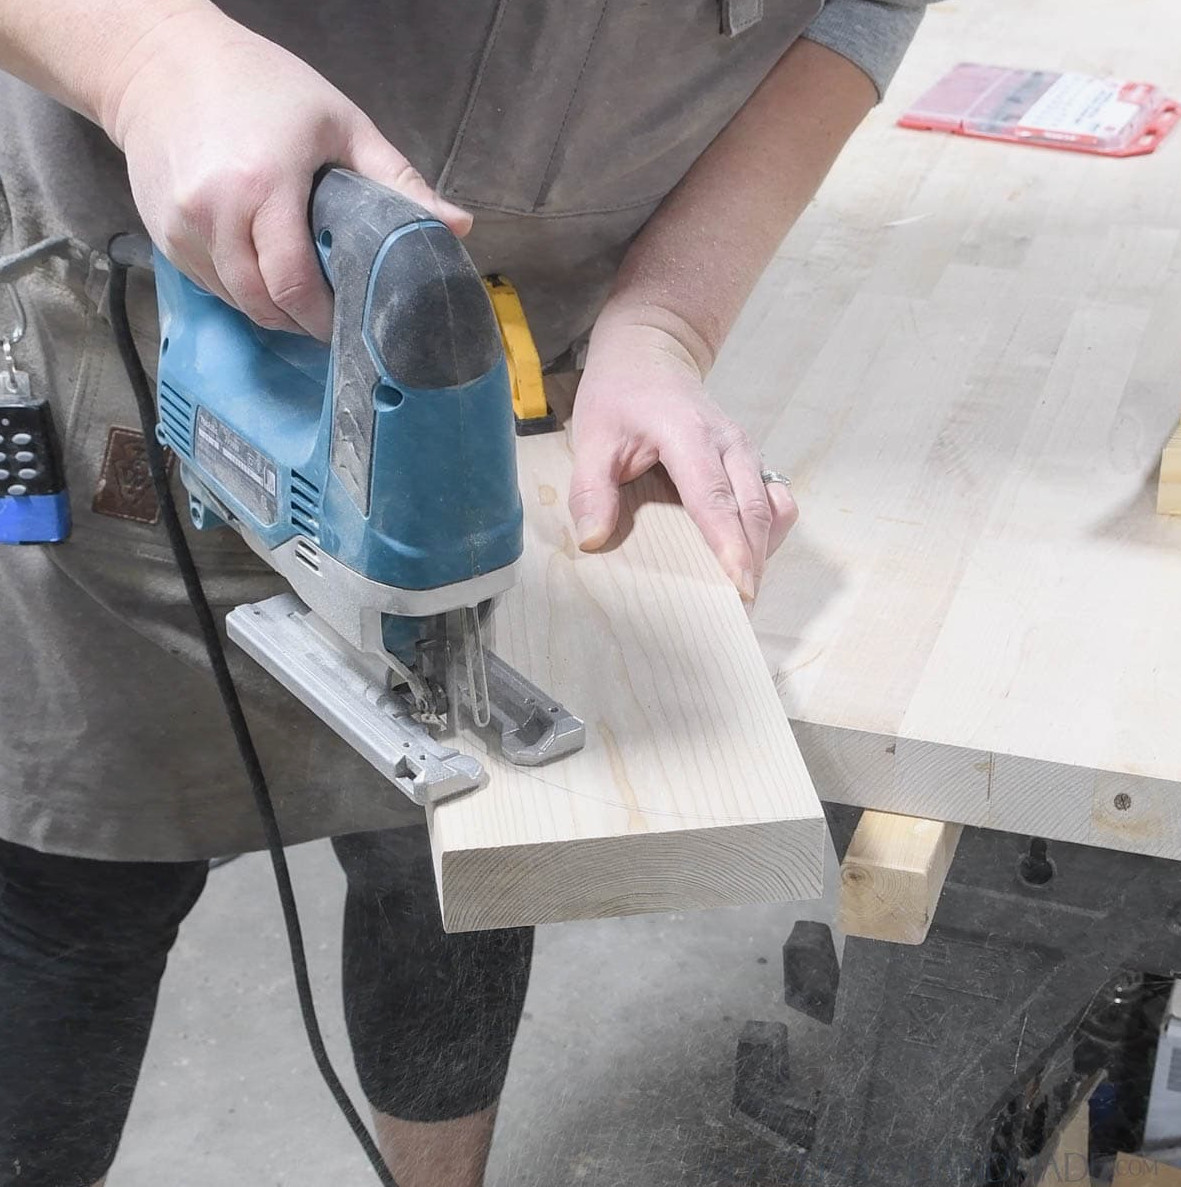
Shape a curve along the rear of every foot board. This is the edge without the angled cut.
Measure5 1/2” from the back along the long edge of the board. Next, use the same string method to trace the half arch.
Use a jigsaw to cut out the curve.
STEP 2- Assemble sides
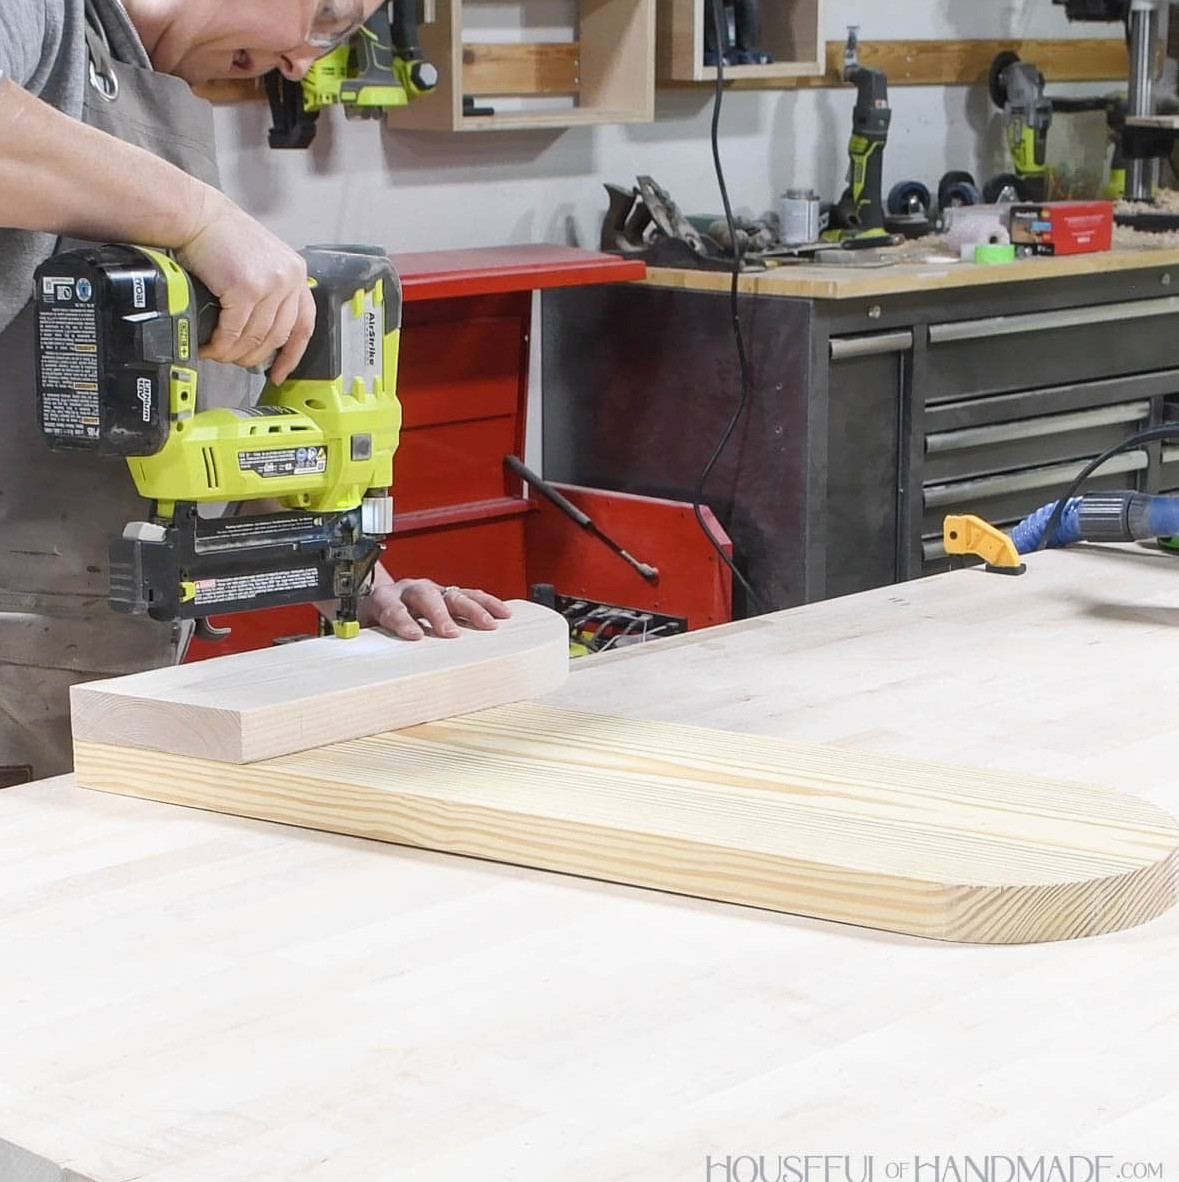
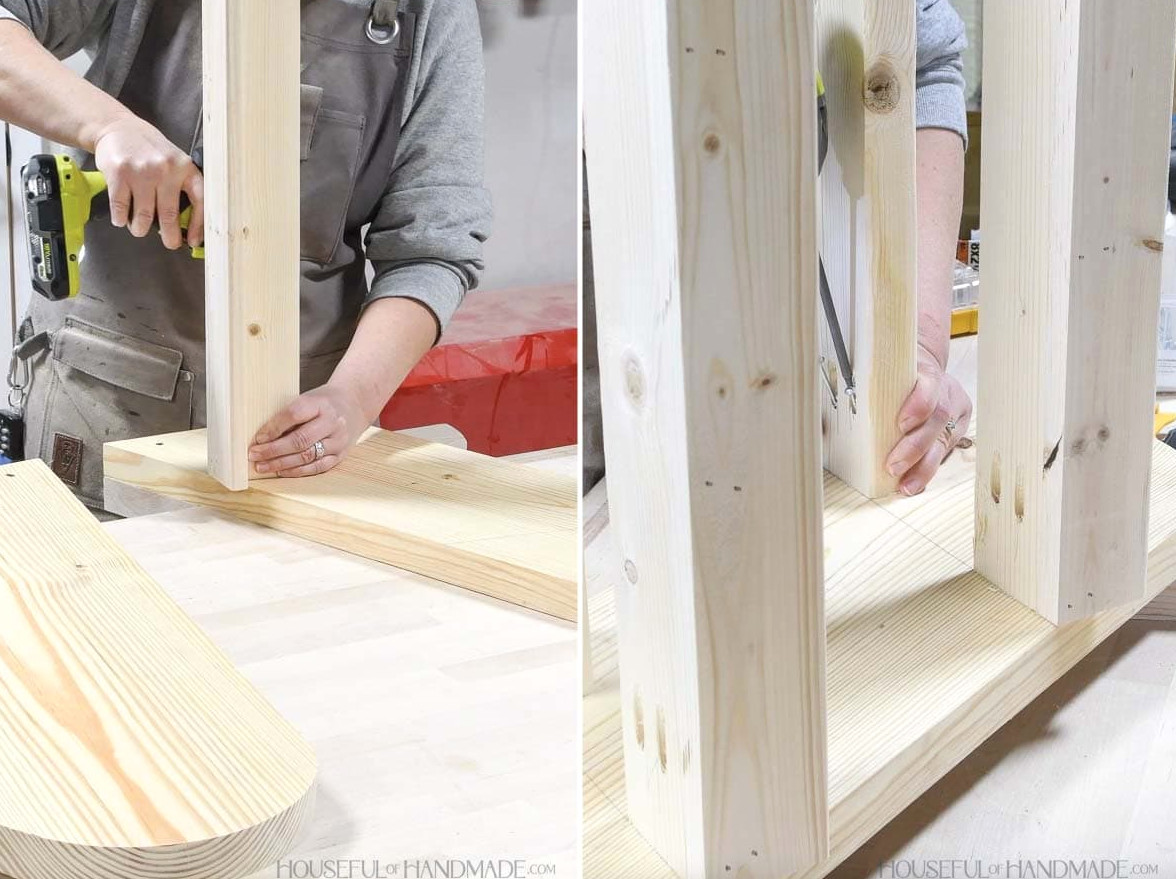
Apply glue to the lower 5” of the side board, then set a foot on top, keeping it even with the bottom and front edges.
Hold it temporarily in place using 2 1/2” brad nails.
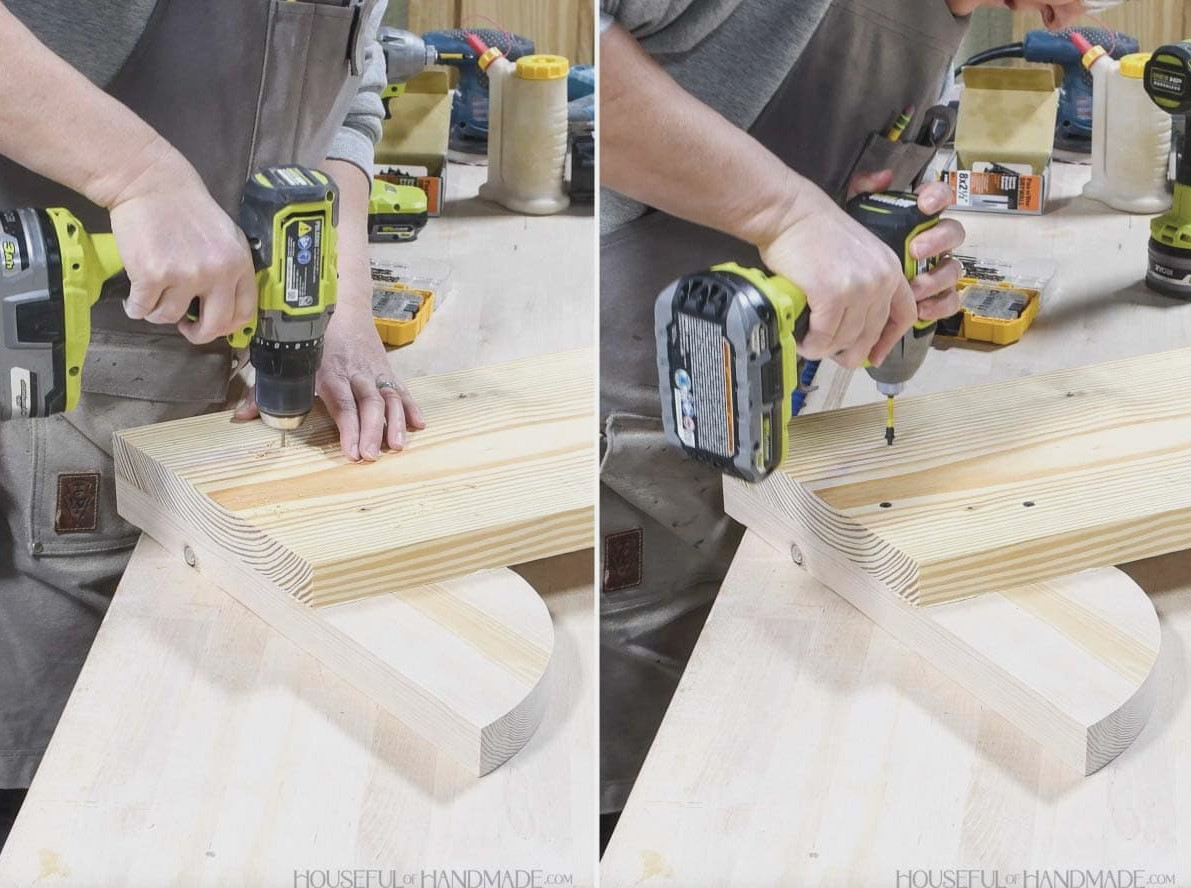
Turn the side over, then fasten the foot permanently with 2 1/2” wood screws. Install 4 screws in each foot.
Do the same for the second side, mirroring the first so the feet face outward when the sides are positioned together.
STEP 3- Install weight shelves
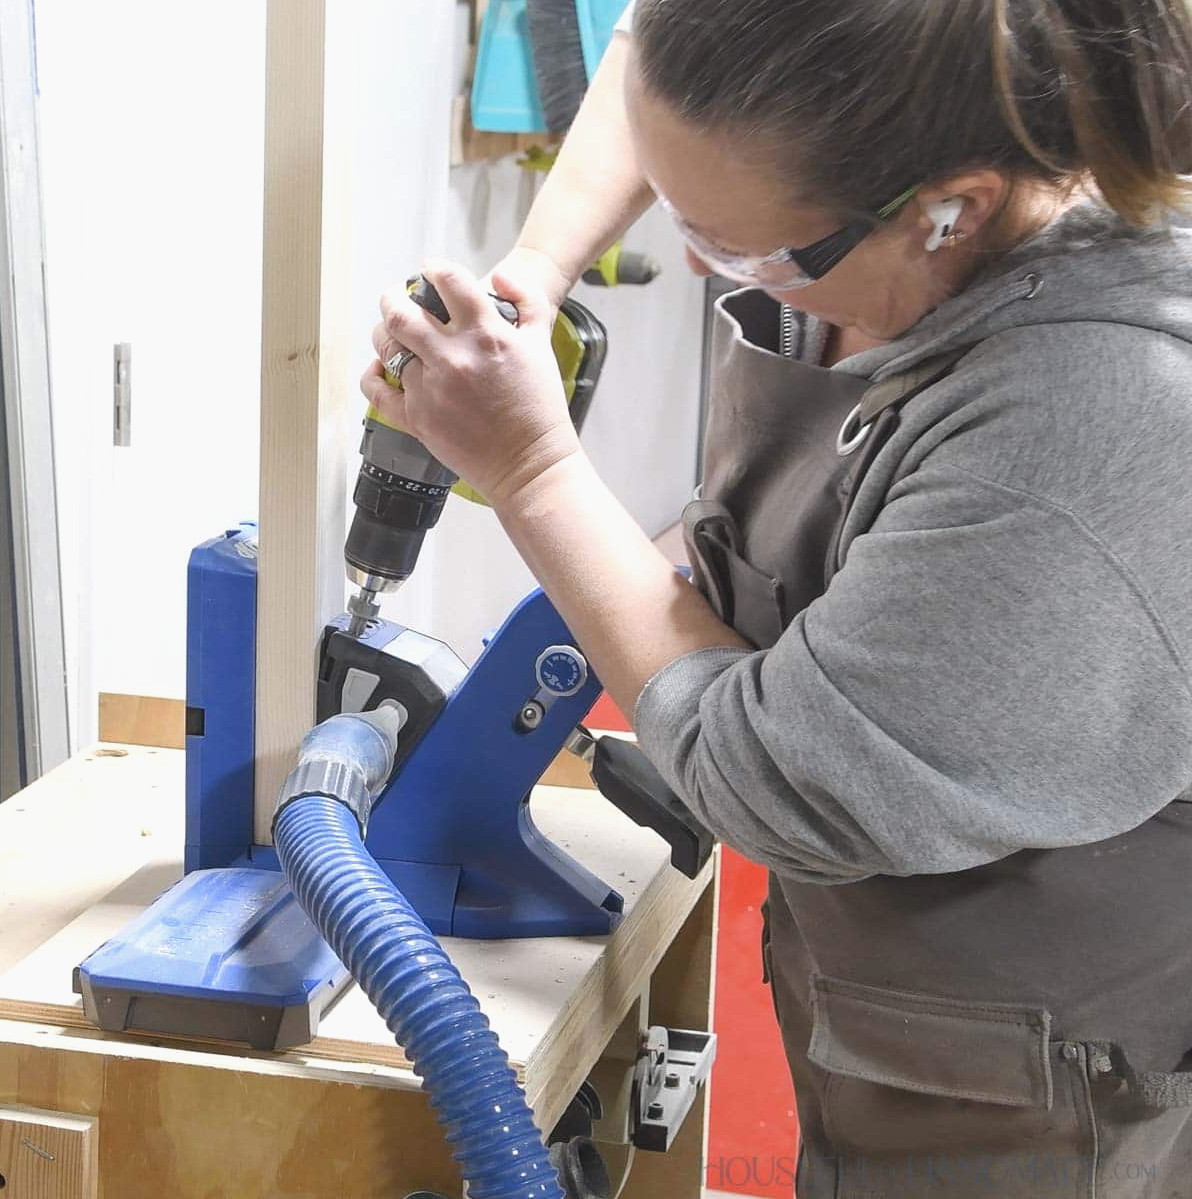
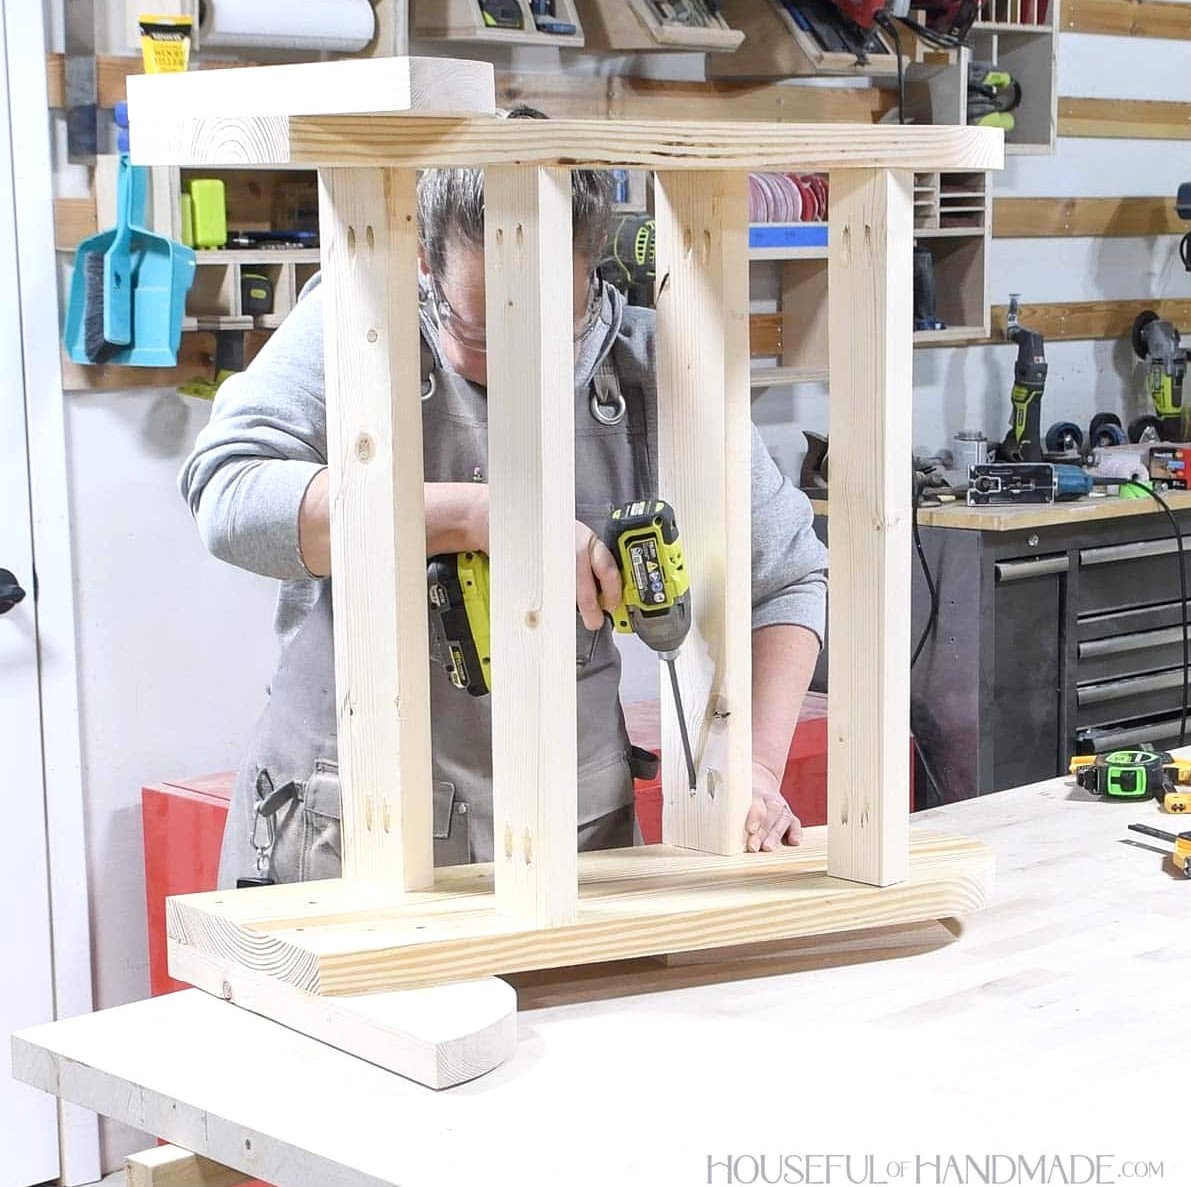
On the underside of all 4 shelf boards, drill 2 pocket holes at both ends, set for 1 1/2” thick material.
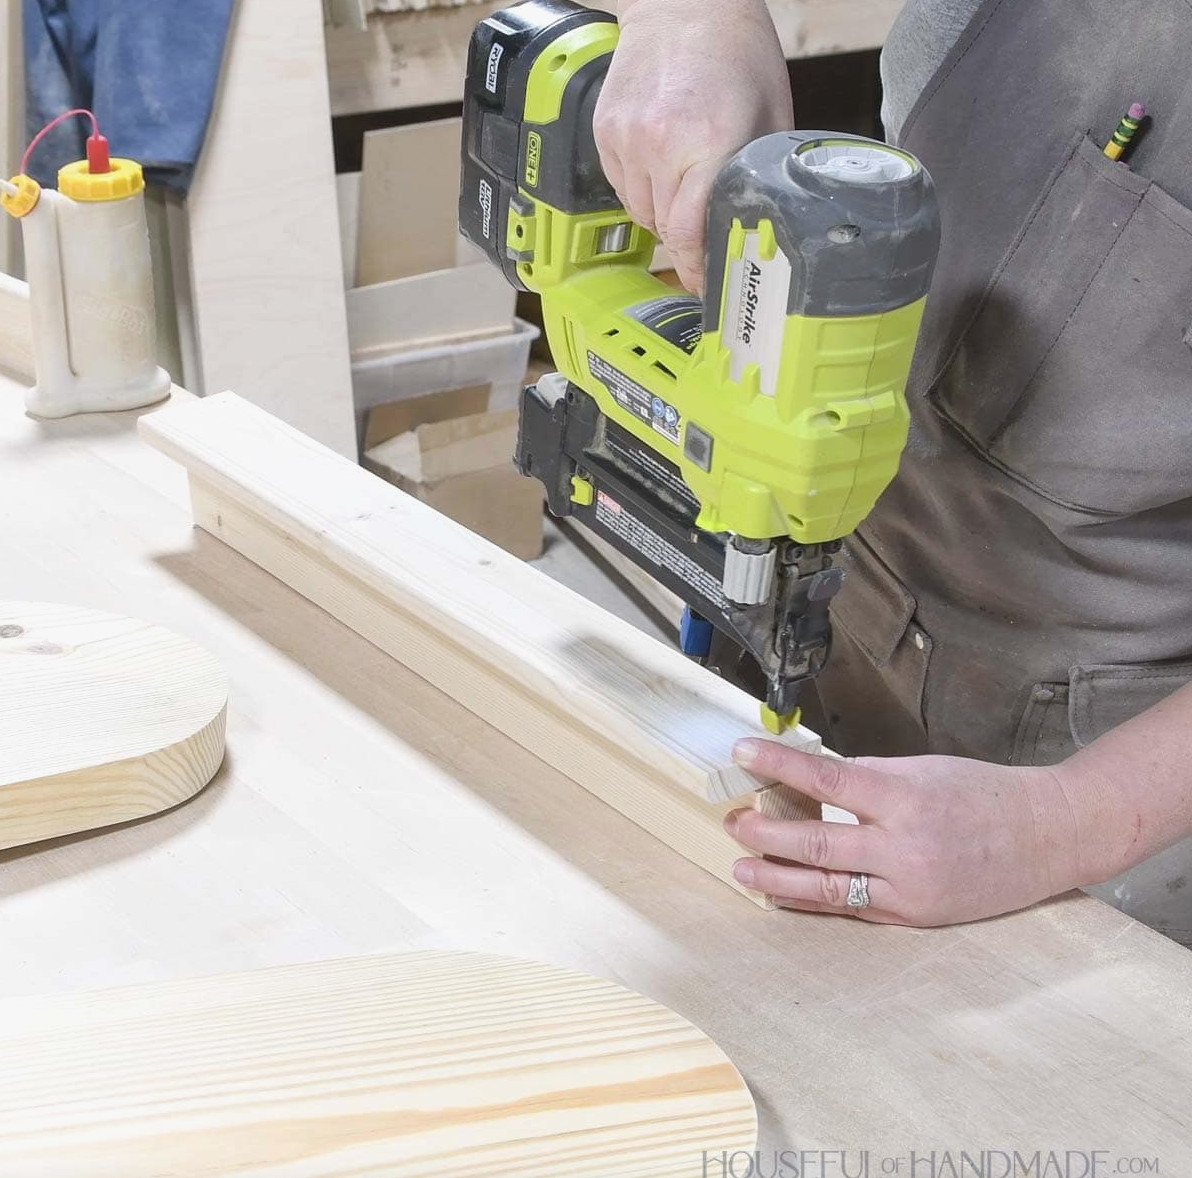
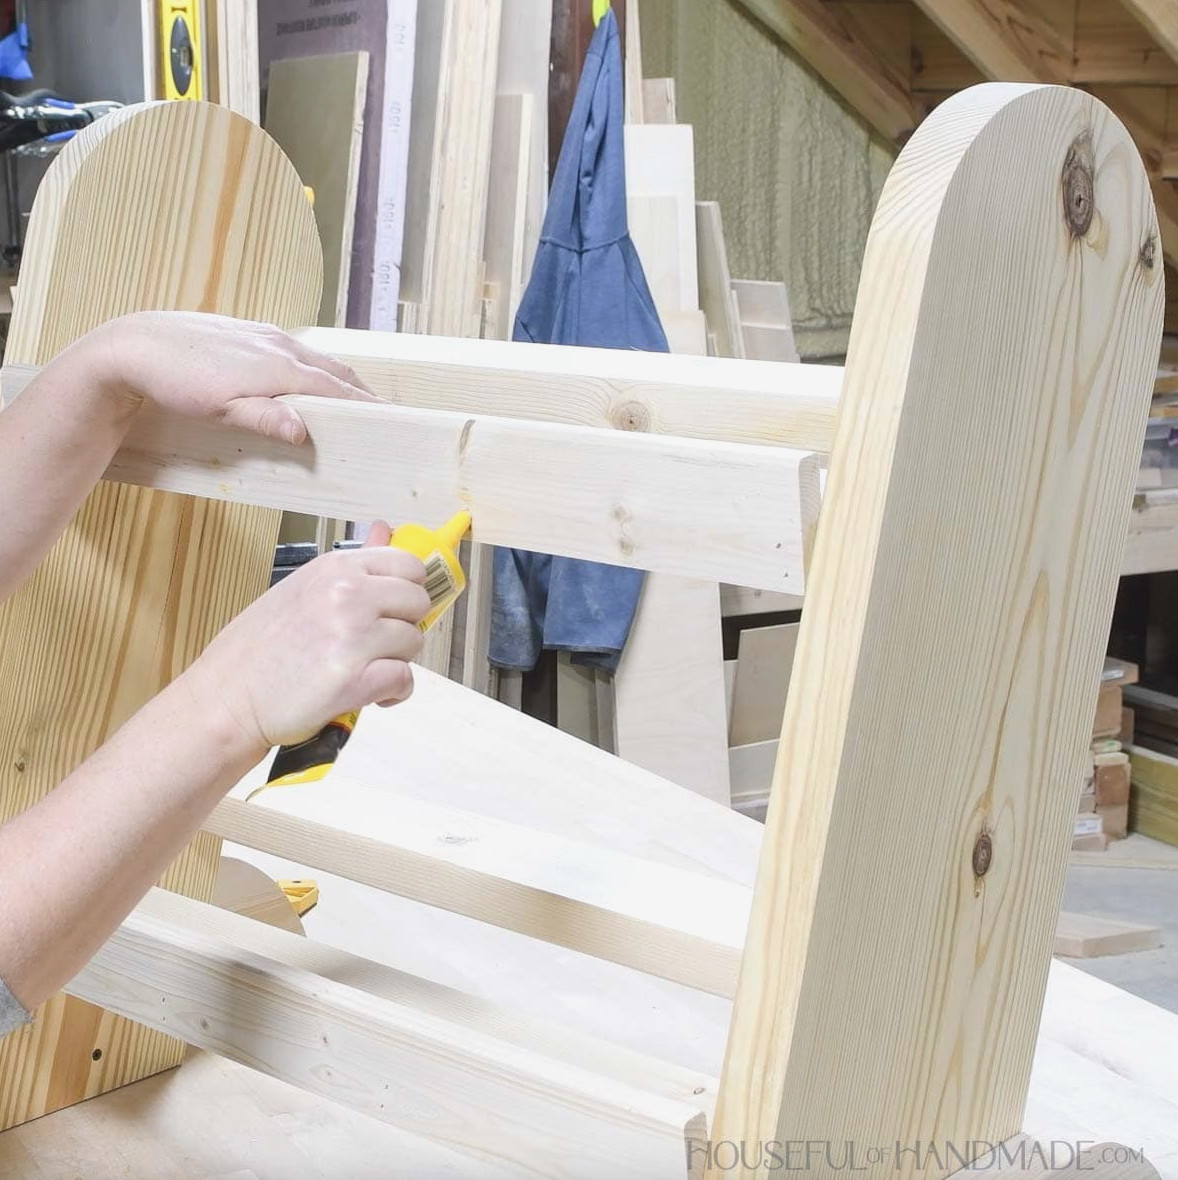
Spread glue across the front of one shelf board.
Position one shelf front board so its sides and bottom are flush. Fasten it with 1 1/4” brad nails.
Repeat the process with another shelf board, creating 2 in total.
Using the diagram in the plans as a guide, measure and mark the shelf locations on the sides. Connect the front and back marks by drawing lines between them.
Fasten the shelves with fronts to one side, aligning the bottom with the line and the lower front corner with the front edge of the side.
Install the other two shelf boards with their bottoms aligned to the line and their lower back corners flush with the back edge of the side.
Secure everything using 2 1/2” pocket hole screws.
Flip the whole assembly onto the remaining side board.
Align the boards with the marked lines just as you did on the first side, then fasten them in place.
STEP 4- Complete
Use wood filler to cover the nail holes.
Afterward, sand the rack and apply your chosen finish.
For my dumbbell shelves, I combined Minwax Weathered Oak and Early American stains.
You’re finished!
Remember to Get the Printable PDF Plans Here!
Premium plans feature:
- Suggested Tools
- Materials shopping list
- Clear cut list table
- Cutting diagrams
- Detailed instructions with 3D renderings
- Useful resources
- BONUS: 3D SketchUp file