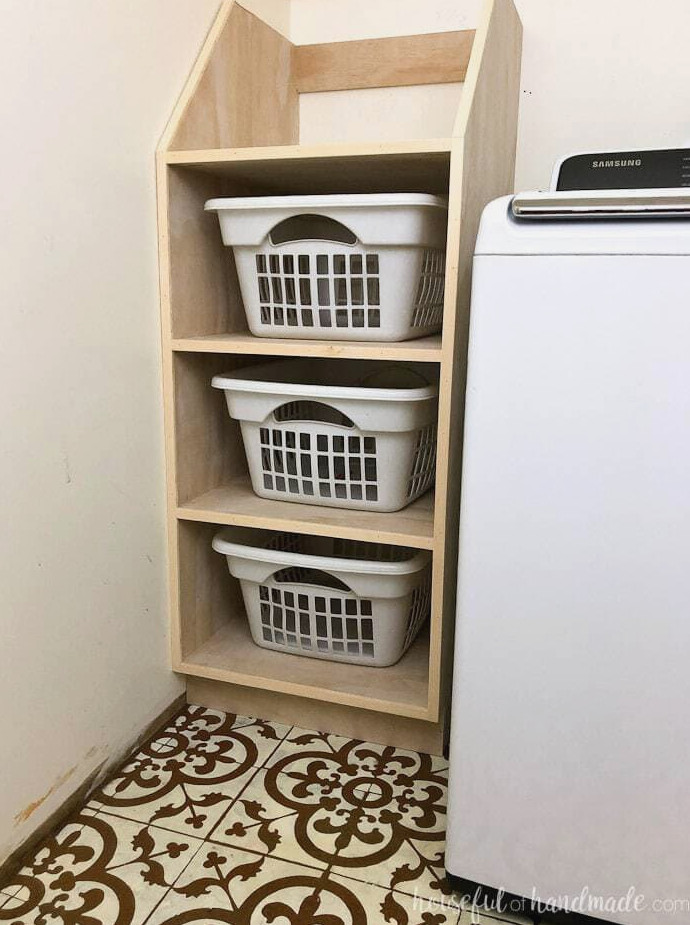
Create a DIY stackable laundry basket shelf to organize your laundry room.
Adequate storage is essential in any laundry room. A stackable laundry basket organizer offers an excellent way to conserve space while bringing plenty of storage and usefulness to a compact laundry room or closet.
This simple-to-construct shelving unit makes an ideal laundry basket organizer, allowing you to keep dirty clothes neatly concealed.
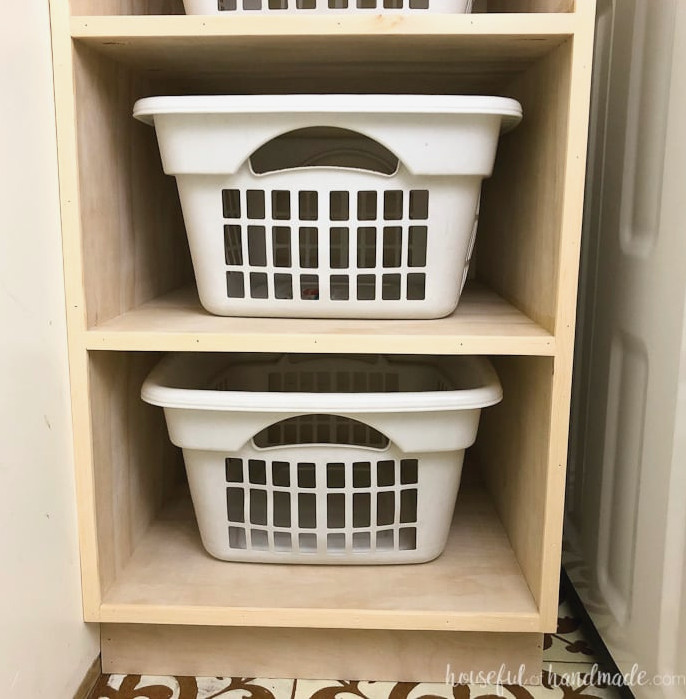
Built quickly, this shelf accommodates 4 laundry baskets, making it easy to separate and hold all your dirty clothing. Even better, it requires only 1 sheet of plywood, keeping the project highly affordable.
Laundry Room Transformation
I created this laundry basket organizer as one part of my $100 laundry room makeover! Yes, I am trying to renovate the whole room while spending only $100.
For this challenge, I can work with items I already have, which means repurposing materials and using plenty of leftover scraps and DIY supplies.
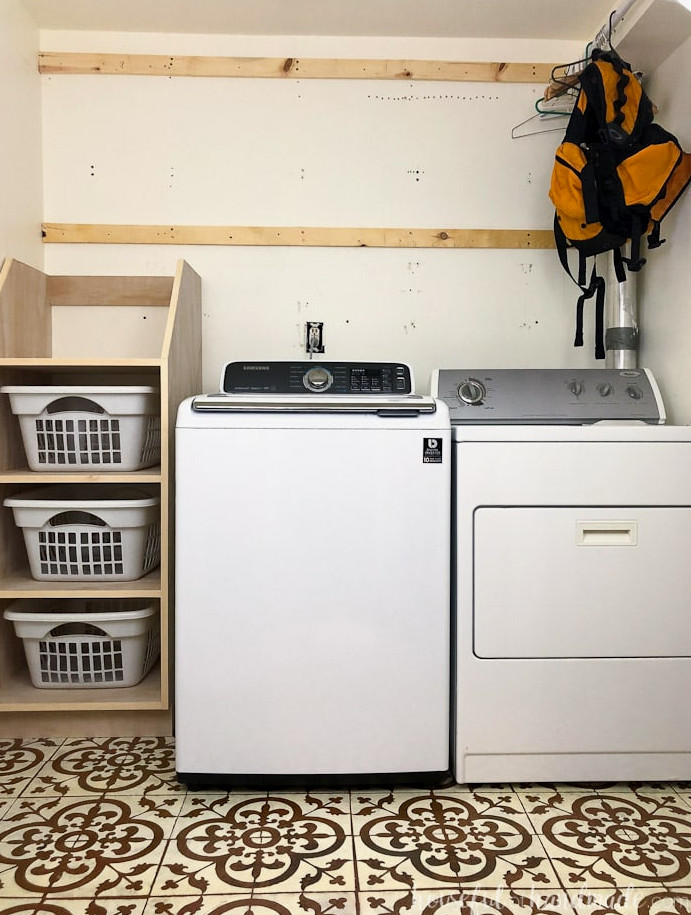
Now, let’s discuss this fantastic stackable laundry basket organizer!
Because there was available space on both sides of our washer and dryer, I knew I wanted to make use of it. At first, I considered installing a broom cabinet to hold cleaning products and similar items.
However, that would mean walking downstairs every day to get my broom when sweeping the kitchen (and that was not happening).
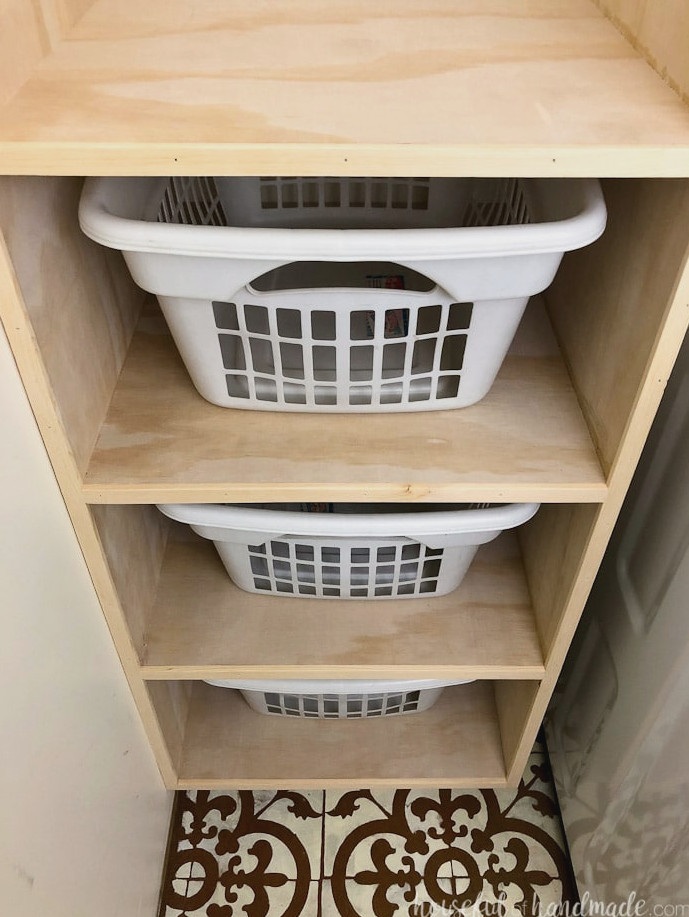
That is when I noticed there was sufficient room for a laundry basket storage unit.
Currently, our laundry baskets sit in the hallway whenever I do laundry. The kids have to weave through piles of clothing and baskets to reach their bedrooms (though I doubt they mind much). Still, it makes me crazy!
So, I chose to convert that unused area into stackable laundry basket storage, giving us a place to sort and hold clothing until it is ready for the washing machine.
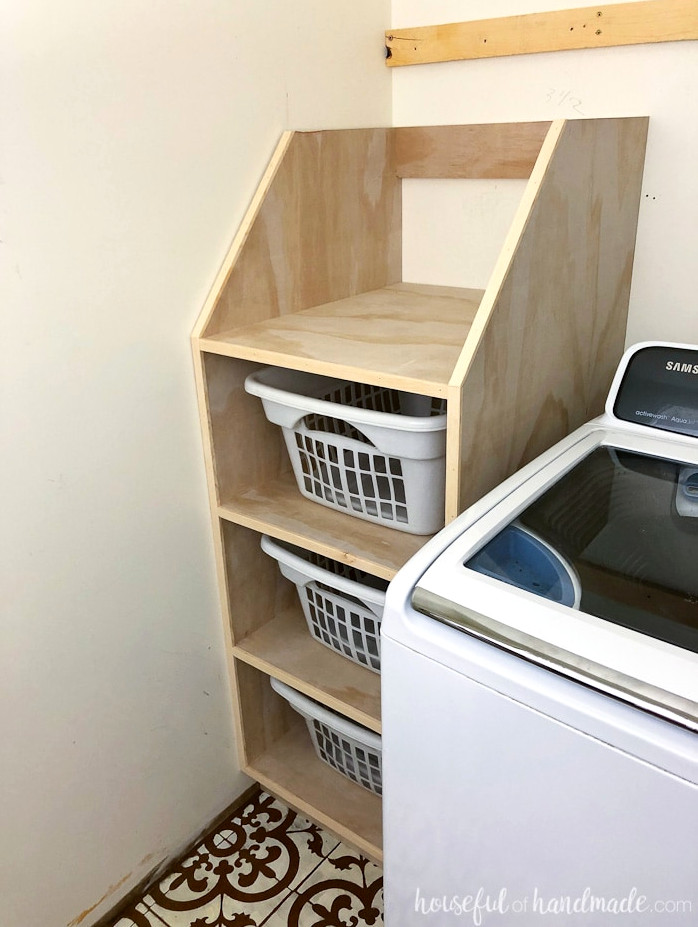
Once I determined how to use the extra space, I headed to the drawing board. I needed to build this wonderful stackable laundry basket organizer without exceeding my $100 budget!
If you recall from the previous week, I had already used $19 on the beautifully stenciled floor, and I still had several other projects I hoped to complete in the room.
I decided to set aside enough money for 1 sheet of plywood so I could build the ideal laundry-sorting shelves.
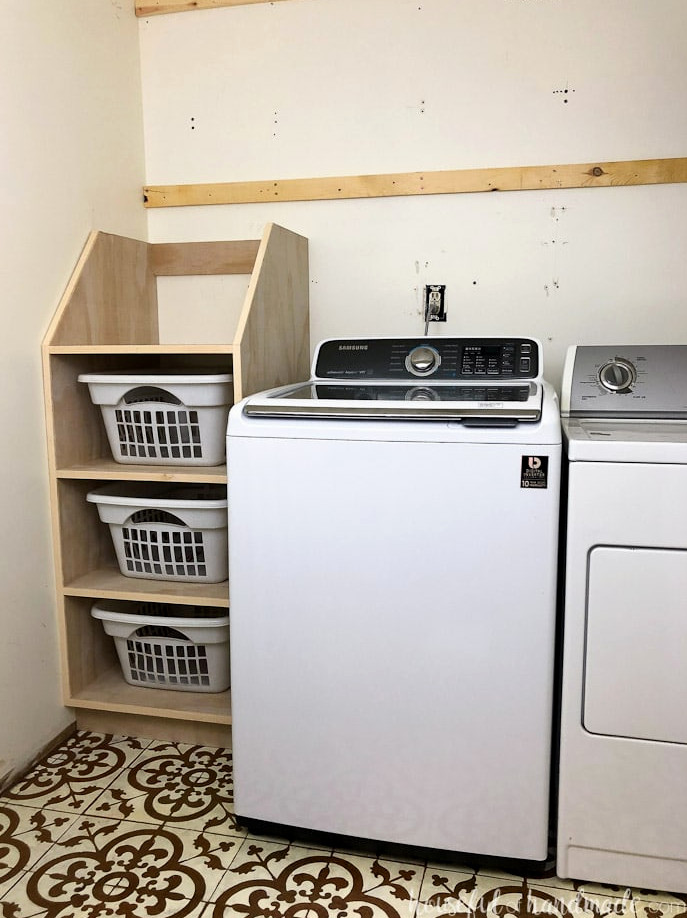
The laundry basket storage shelf requires just a little more wood than the 1 sheet of plywood I had planned to purchase. It also needs 2, 4″ plywood strips for the toe kick and rear support, allowing me to fasten the unit to the wall.
Fortunately, I had a few plywood offcuts in my collection that worked perfectly for this.
If you would like to build your own stackable laundry basket organizer but do not have spare plywood available, a 1×4 board can also be used for these two components. Super simple!
How to Build a Laundry Basket Storage Cabinet
Tools & Supplies
Materials:
- Printable PDF construction plans
- Wood materials
- (1) 3/4″ plywood, 4×8 sheet
- (1) 1×4 board, 4′ long
- 1 1/4″ pocket-hole screws
- 1 1/4″ trim nails
- Wood adhesive
- 23″ x 19″ x 10″ laundry baskets
- Optional: 1/4″ thick wood strips or plywood edge banding for completing the plywood edges.
Finished Measurements
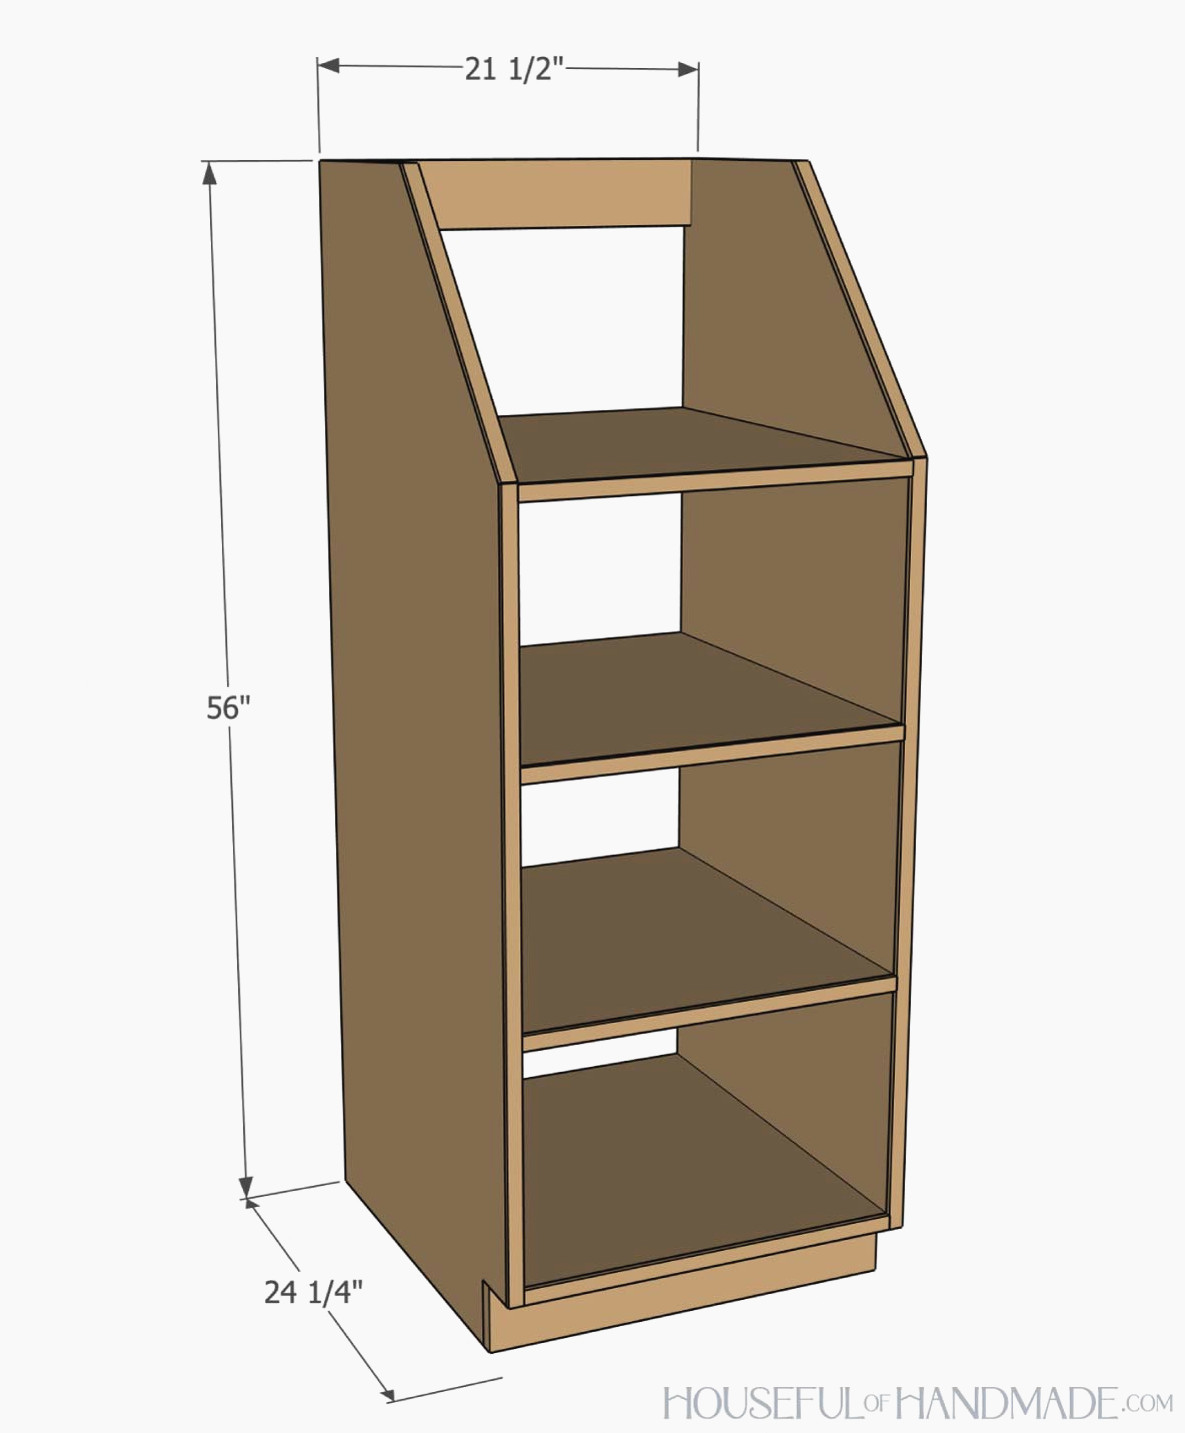
The completed laundry basket cabinet measures 21 1/2″ wide, 24″ deep, and 56″ tall.
The cabinet contains three shelves measuring 20″ wide by 15″ high by 24″ deep for laundry baskets.My laundry baskets measure 23″ x 19″ x 10″.
Piece List
Use the diagram in the premium PDF plans as a guide for cutting the pieces.
You can learn how to cut plywood with a circular saw here.
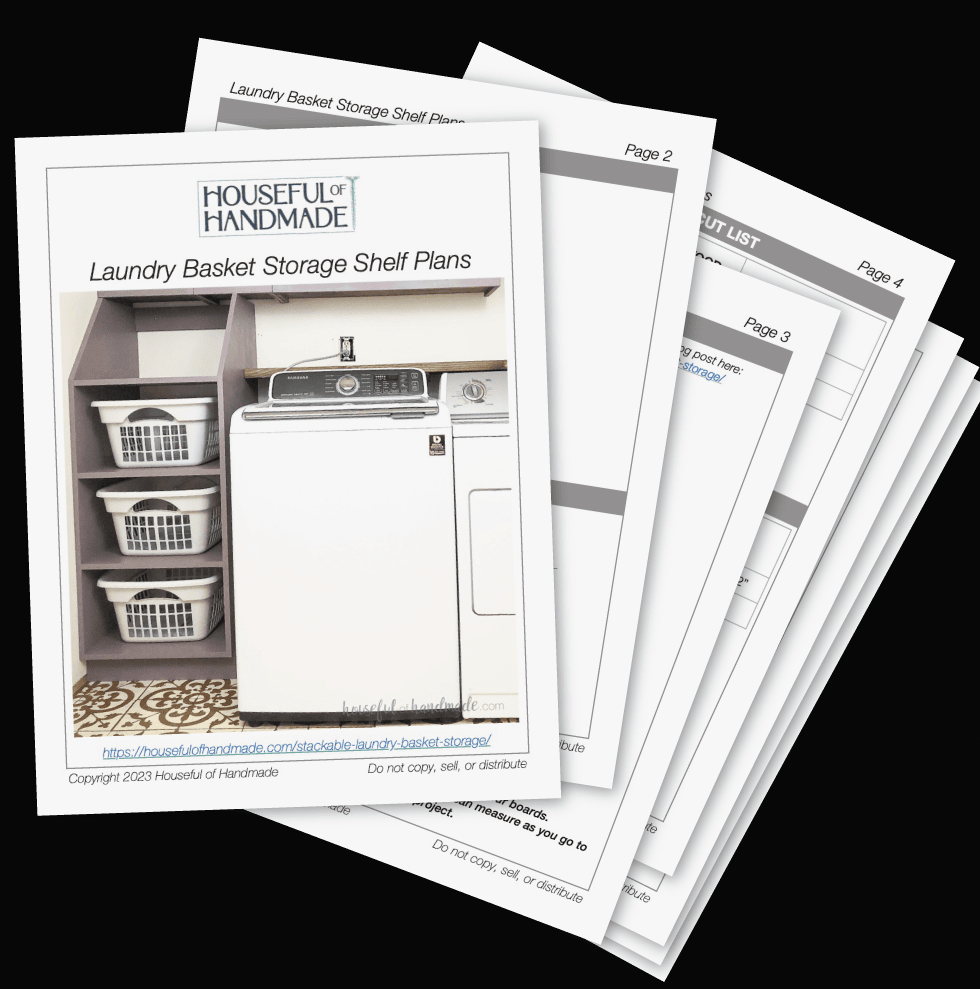
Download the Premium PDF Woodworking Plans
PDF plans contain- Simple Cut List, Materials List, Suggested Tools, Detailed Instructions with 3D illustrations, & Useful Resources
BONUS- 3D SketchUp Model
STEP 1- Put the cabinet together
Make 4 pocket holes along each side of every shelf board.
Adjust the pocket-hole jig for 3/4″-thick material, then use 1 1/4″ pocket-hole screws for each connection.
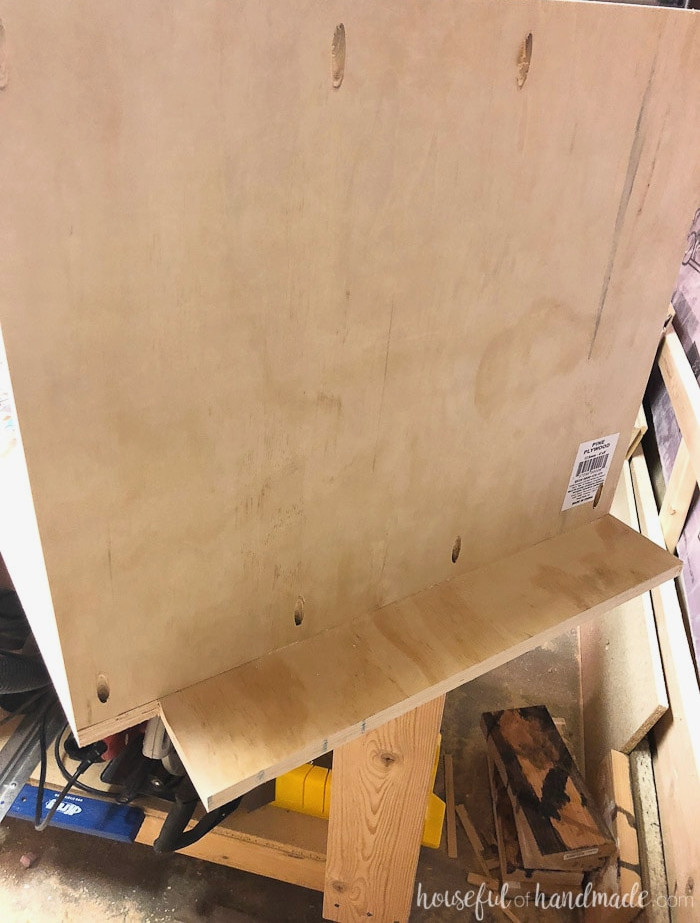
Fasten the shelves to one side panel using pocket-hole screws and wood glue.
Position each shelf with 12″ of space between them.
The lowest shelf should sit even with the upper edge of the toe kick. The highest shelf should be flush with the top shelf board.with the upper edge of the angled section of the side.
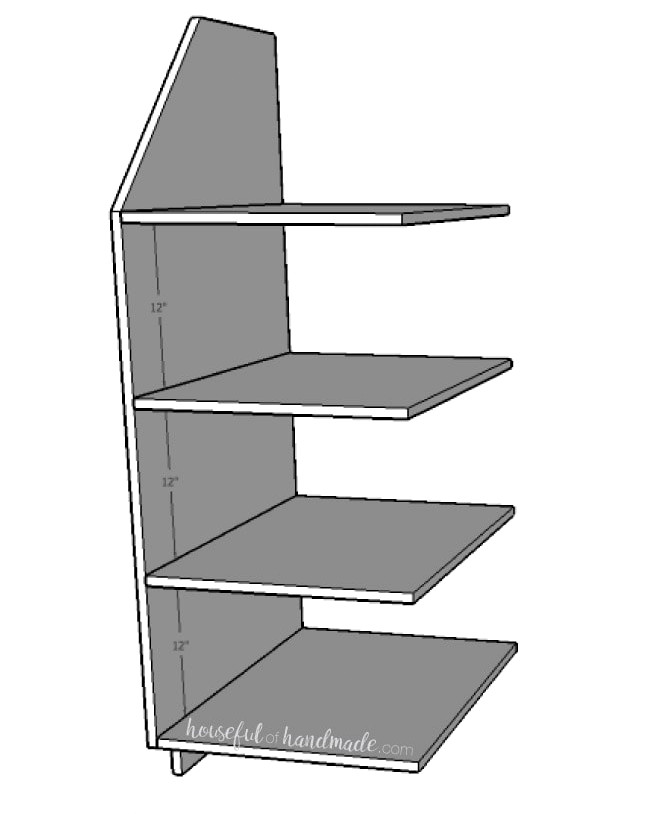
Fasten the remaining side panel with the pocket holes facing the opposite side of the shelves.
Be sure to position the shelves evenly on this side too, so they remain level and square.
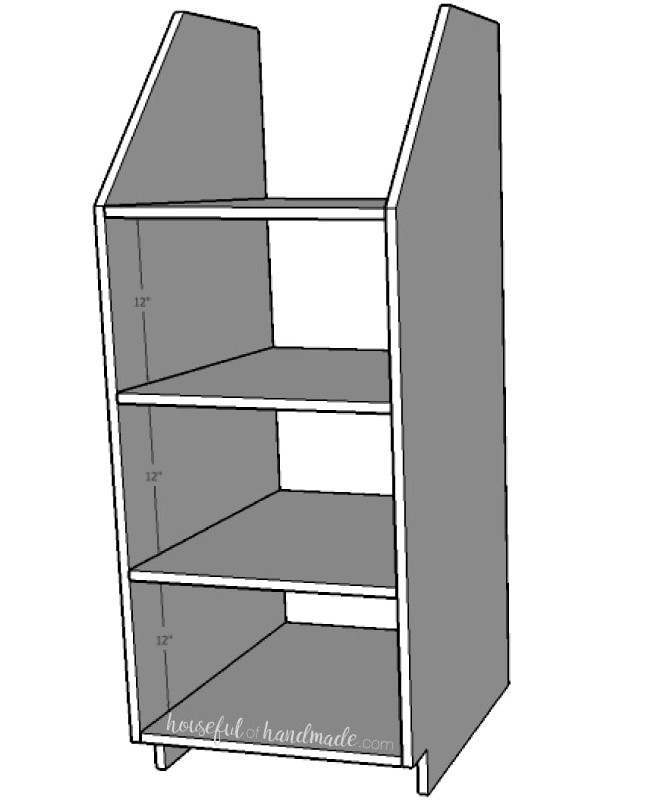
STEP 2- Install toe kick and rear support
Cut the 1×4 board to create the toe kick and back support. Use wood glue and finishing nails to secure the toe kick.
Make two pocket holes at both ends of the back support board.
Position the back support flush against the rear of the shelf unit. Fasten it with glue and 1 1/4″ pocket hole screws.
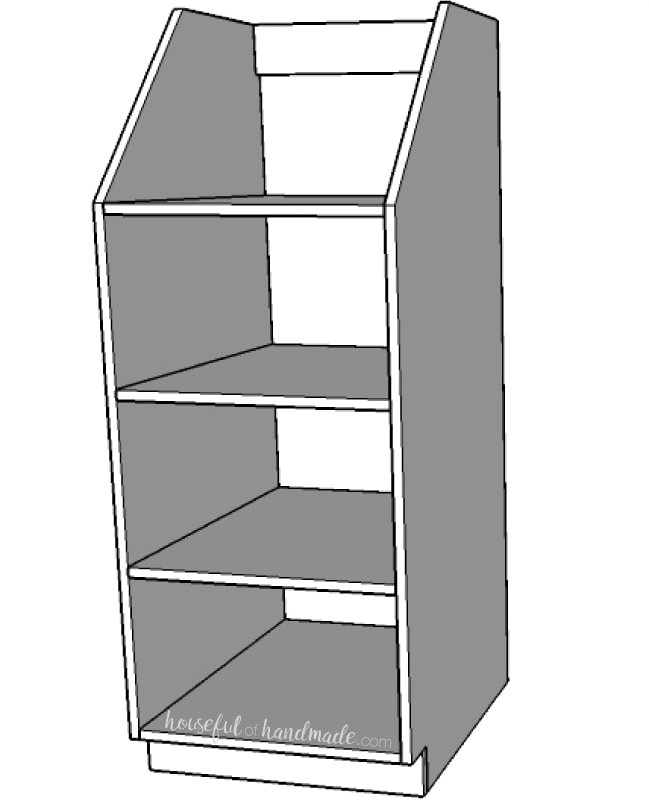
STEP 3- Complete the finish
The shelves can remain unfinished, or you can add a finished edge.
I covered the edges with 1/4″-thick pine strips (I cut them narrower using my table saw, but the AccuCut and circular saw will also work if you brace the AccuCut with wood scraps).
Secure the strips to the front edges of every plywood piece using wood glue and finishing nails.
Another option is to cover the plywood edges with edge banding.
Still, finishing the plywood edges is optional. I left the plywood unfinished in these closet organizers and really enjoy the industrial appearance.
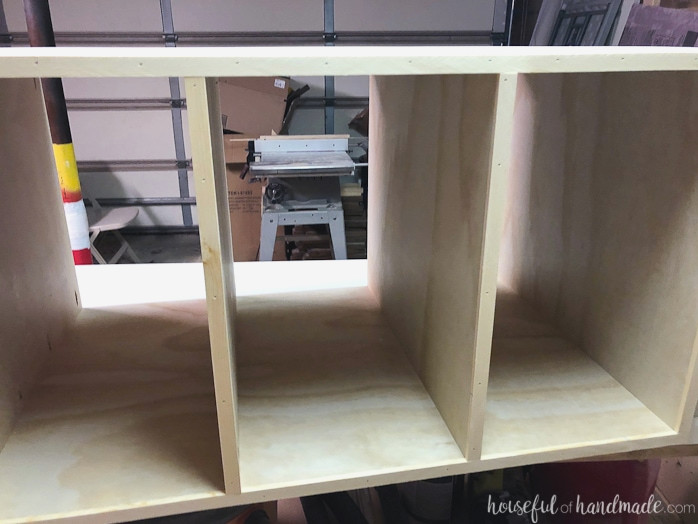
Finally, sand the completed stackable laundry basket organizer, then stain or paint it.
Remember to Get the Printable PDF Plans Here!
Premium plans contain:
- Suggested Tools
- Shopping checklist
- Simple-to-read cut list table
- Cutting diagrams
- Step-by-step directions with 3D renderings
- Useful resources
- BONUS: 3D SketchUp file
This weekend, I’m planning to paint mine along with those unattractive 80s cabinets.
I’m excited to see how different everything looks once the paint is finished!
Cost of Building Stackable Laundry Basket Storage
Before I present the laundry basket storage plans, let’s discuss the budget! Since I only had $100 for the entire room, every dollar matters.
Thankfully, by combining scraps from my garage with my large collection of screws (I never throw one away), I managed to build the ideal stackable laundry basket shelves for just $35!
Laundry Basket Storage:
- Plywood $35
- Additional wood $0 (used a handful of scraps to complete the project)
- Screws, nails, glue $0 (already had these available)
GRAND TOTAL: $35
$100 Laundry Room Renovation Budget
That covers everything spent this week. However, the full laundry room makeover still has a long list of tasks remaining!
With $45 still available, I’m starting to feel slightly concerned about the remaining projects. Wish me luck!
- Stencil laundry room floor $19
- Stackable laundry basket storage $35
- Fill holes and refresh the wall paint
- Lower cabinets and add a new light so all the doors can function
- Construct new cabinet doors
- Paint the cabinets
- Discover a creative solution for hiding the dryer exhaust tube
- Construct a shelf behind the washer & dryer
- Tile the shelf backsplash
- Add plenty of beautiful touches!
This budget-friendly laundry room makeover will be incredible!