Today we are exploring Flower Creativity – I chose to begin our very first Flower Pressing Tutorial with the children. Pressing flowers is another one of those “childhood” traditional crafts that you can try – it issurprisinghow successfully certain flowers press (while, ahem, others don’t).
How to press flowers – 10 excellent tips and tricks
This is a wonderful summer activity for preschoolers AND older children – and it fits perfectly into our Classic Summer Craft series as well.
I therefore decided to share our hands-on flower-pressing guide. There is no specialised equipment required (meaning you don’t need a wooden flower press)!! In fact, I recommend NOT purchasing any supplies, as this is a lovely way to teach children to return to the basics! Crafting really shouldn’t be costly or depend on lots of gadgets!
Materials needed to press flowers
- a book or notebook,
- something weighty to put on top – heavy books at home are ideal),
- paper or a piece of cardboard to shield the book pages (blotting paper is perfect, but optional),
- an assortment of flowers, petals and leaves
When gathering flowers, remember to treat both nature and the place you are picking from with care. Preferably, pick flowers only from your own garden. If collecting wild flowers, follow foraging guidelines, take just a few from different areas, and leave plenty behind for wildlife.
Flowers from a birthday bouquet can be used too!
Top 10 Flower Pressing tips:
Time required:20 minutes
Flower pressing is incredibly simple and enjoyable! These are our best suggestions for excellent pressing results!
- Press your flower as quickly as you can
This helps prevent drooping and wilting. In practical terms, pick flowers on your WAY HOME from a walk, or bring a notebook with some elastic along with you. You can begin pressing the flowers while returning from your outing and then put the notebook beneath heavy objects when you arrive home.
If the flowers have begun to droop, refresh them slightly by placing them in a little vase of water. However, keep the petals dry.
- Choose DRY flowers
Pressing a damp flower may cause it to develop mould – at best, you might see a few small mould spots, while at worst, you could end up with a smelly mouldy page in your boook. Therefore, check that your flowers are dry. Gently dab them with a tissue or a piece of kitchen paper towel.
- Set your flower face down
This is a very straightforward and almost “obvious” suggestion – but arranging the flower face down and laying the second paper sheet over it makes it easier to avoid crushing petals than placing the flower upright and covering it with paper, which is more likely to cause creases.
Pressing the same flower sideways also creates a different result. The simple Daisy looks lovely both “face down” and sideways. Some “thick” flowers press surprisingly well, while others do not – for example, with a large rose, you might choose to press only the petals.
You may also use your finger to carefully flatten it beforehand – this helps position it correctly.
Remember, pressing a few stems along with your flowers is lovely too – it gives you greater creative flexibility when using your pressed flowers in flower-art projects later!
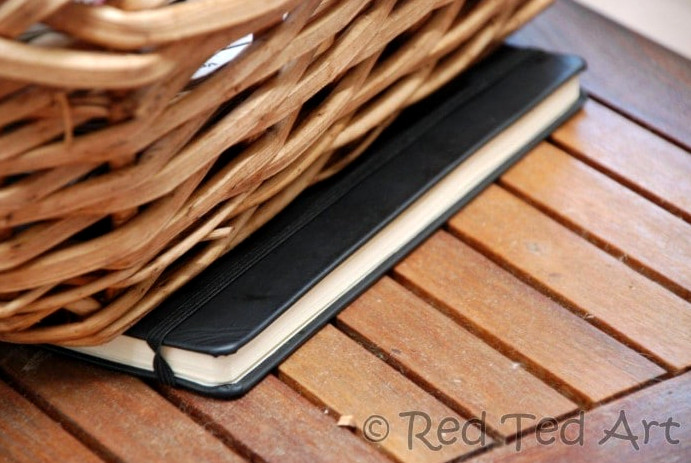
- Choose books and notebooks
There is really no need for “specialist” equipment when pressing flowers; notebooks while travelling and books once you are home work wonderfully. Just check that the flowers cannot slip out!
- Remember leaves and grasses
Press a few leaves and grasses as well – they provide a lovely complement to any finished pressed-flower display.
- Allow 2-4 weeks
Most flowers need 2-4 weeks to become fully pressed and dry. Be patient.
- Try Tissue Paper or Coffee Filters
If you would like to become “more experienced” at flower pressing… place a layer of tissue paper between the flowers and the paper. After 3-4 days, take the flowers out of the tissue paper and carefully position them between two fresh sheets of paper and inside a new book.
The purpose of this is to help moisture escape more effectively and ensure the flowers dry thoroughly. This method is especially helpful for drying larger, “plumper” flowers.
- Microwave Flower Pressing
Did you know that you can accelerate the process using a microwave? Be sure to use a plain book with no gold embossing.
Arrange your flowers between two paper sheets inside the book.
Close it securely… and thenzap it in brief 30-40 second bursts. Carefully open the page so the vapour can escape. Allow the book to cool.
Repeat this around 10 times. The book will become very warm, so make sure you let it cool down. Then transfer the flowers to another book and press them “normally” for 2-3 days.
(Did you know you can also prepare this fun Microwave Salt Dough Recipe as well as this Best Papier Macher Recipe! Aren’t microwaves wonderful!
- Fading over time & preservation
Pressedflowers do fade in colour when they are exposed to the elements – especially sunlight. To keep them looking lovely for as long as possible, it is useful to seal them.
There are specialist preservation sprays available. However, a simpler “low tech” option (although it is not flawless, it works well enough for crafting with children) is ordinary Mod Podge varnish! Mod Podge is excellent because it is available in several finishes – matt, gloss etc. A comparable result can also be achieved with diluted PVA glue (water it down until it reaches a milk-like consistency).
The most important thing, though, is to keep them away from direct sunlight and damp rooms (e.g. bathrooms).
- Experiment
Keep trying different flowers to discover which ones press successfully and which ones do not. We discovered that tiny forget-me-nots look adorable when pressed, although they have very little colour. Dandelions, ahem, turned out terribly (but Red Ted was determined to try them). Rose petals work wonderfully for crafts, collages and more
Which flowers are best for Flower Pressing?
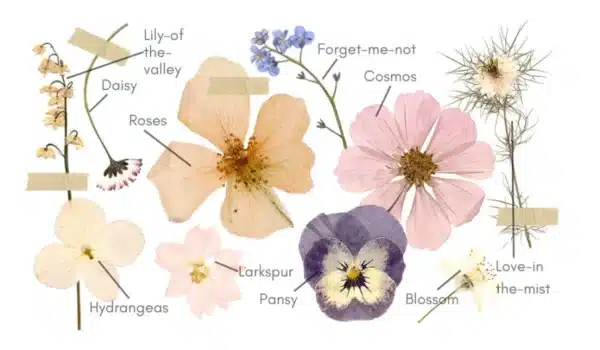
Visit Contempfleury for an excellent collection of flowers suitable for pressing – this image comes from her website and offers a helpful overview. Generally speaking, flowers with flat blooms are the easiest to press – e.g. pansies are a popular choice for this reason (pansies are definitely our favourite).
Things to create with your pressed flowers
The most common way people use pressed flowers is to make simple
- greeting cards decorated with pressed flowers,
- flower bookmarks or
- art displays (framed flower pictures look beautiful)
- you can also use some dried flowers on cakes and cookies (please research this!!)
We also tried making some easy DIY flower tealights.. take a look:
How to make pressed flower tea lights
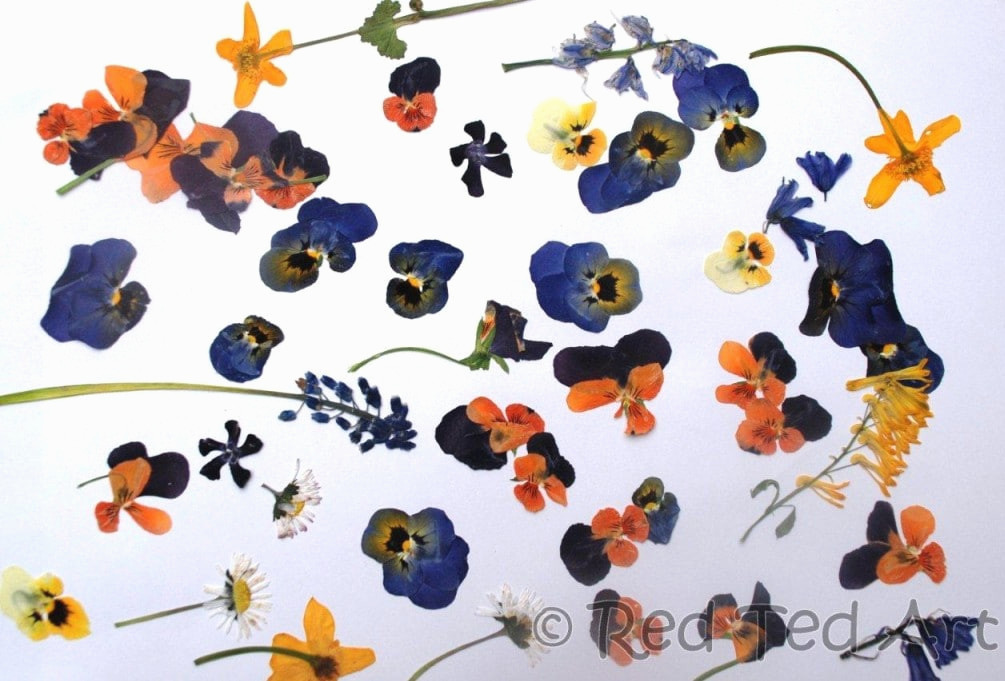
Press and Dry Your Flowers
1) Gently pat your flowers dry (remove any excess moisture) and put them inside your book with a sheet of parchment paper for pressing. Place a few heavy books, such as a dictionary, on top of your homemade flower press. Leave them there for several days.
As you can tell, we especially adore the pansies. The daisies are lovely as well. And I admit, I am not certain what the yellow flower is called..
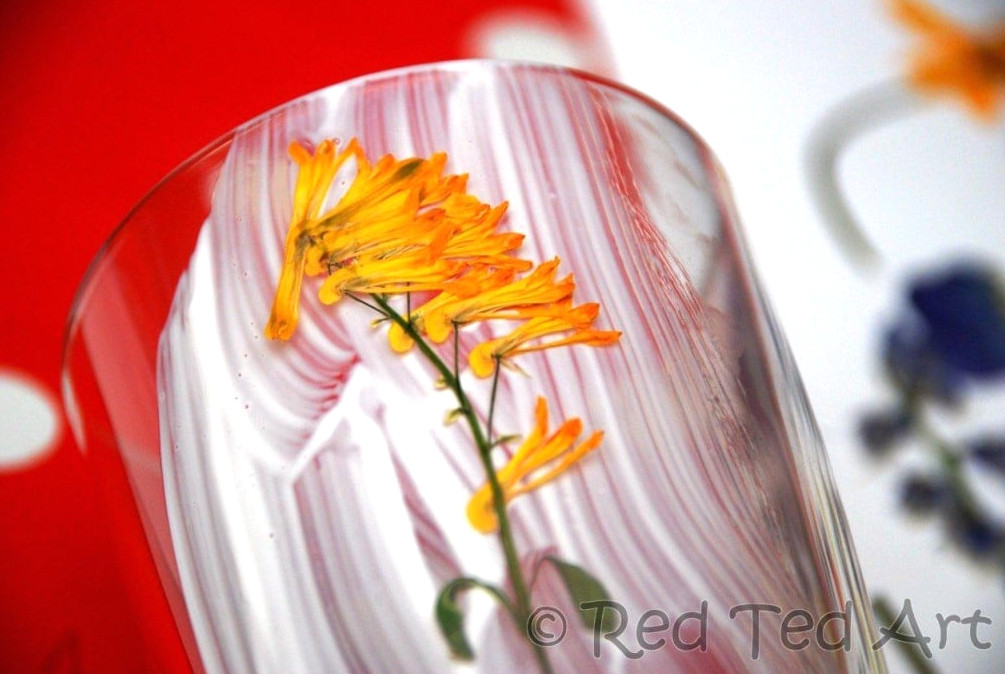
Apply a layer of glue to your jar or recycled glass
2) Brush on a layer of mod podge – you WILL notice the pattern of your brush marks once it has dried – so work carefully if you prefer a “neater” finish. We made these together, so we applied plenty, and I think the brush marks contribute to the finished look! (We used mustard jars with plastic lids – so they have a lovely tidy rim).
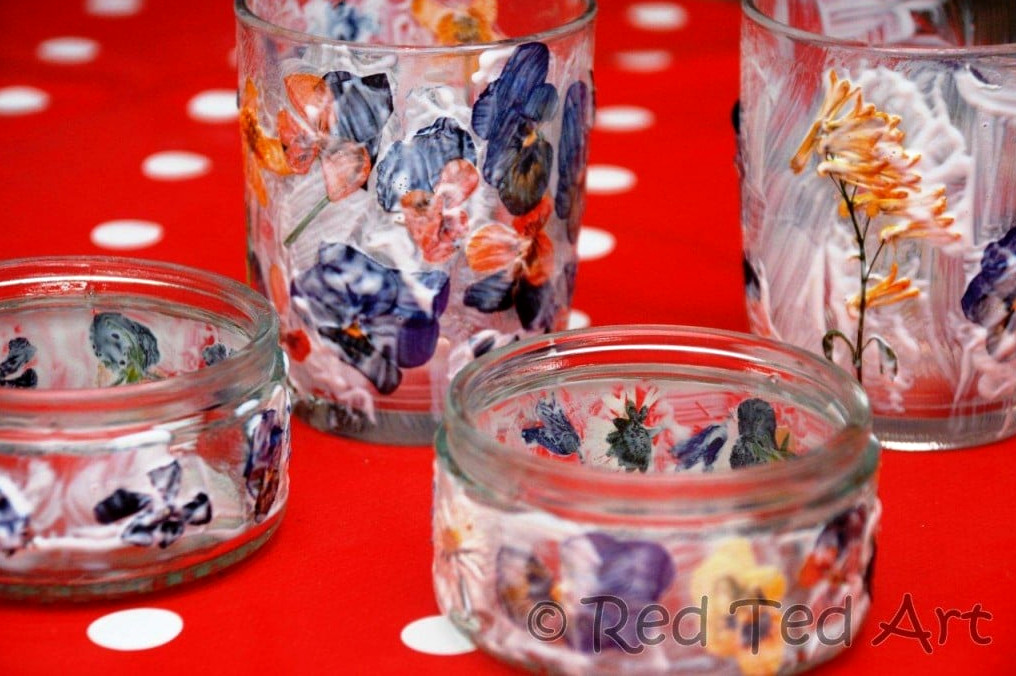
Place in your flowers and add another layer of glue
3) Apply another coat and leave it to dry.
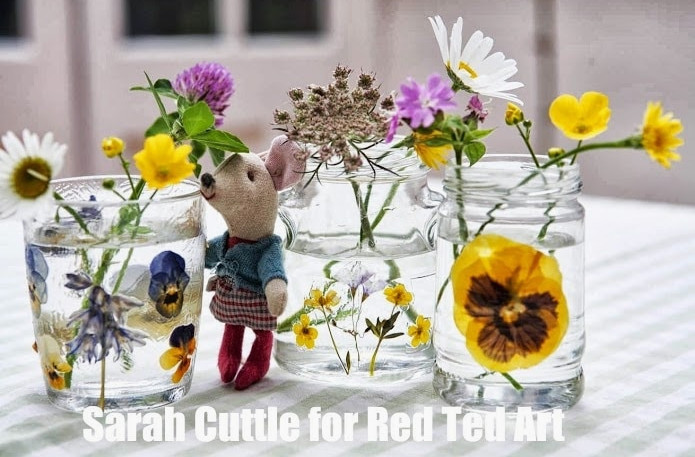
Flower tealights and vases
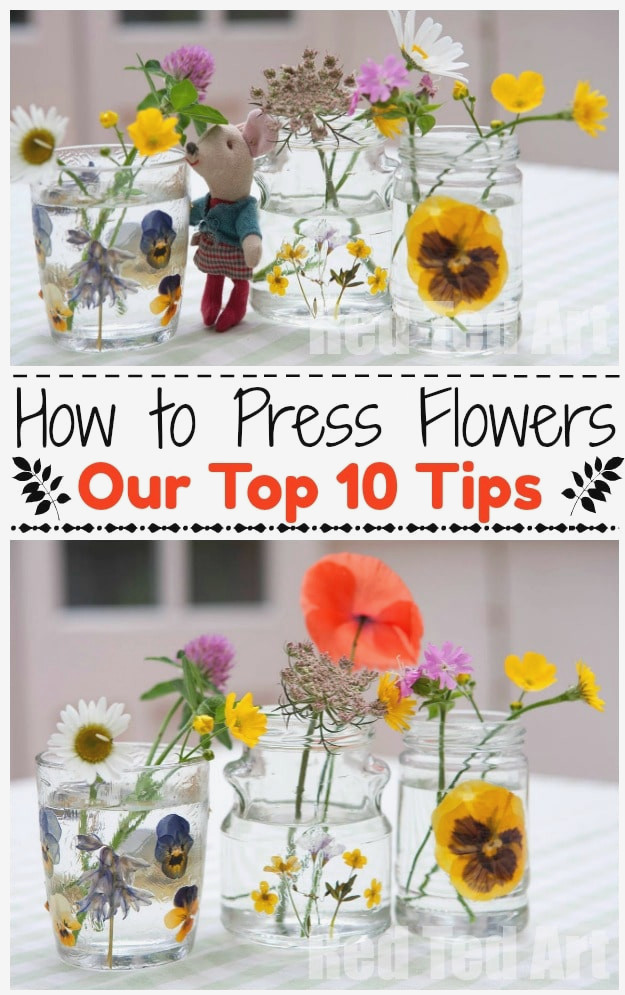
4) Have fun!Use them as tealights or as small vases.
So.. I hope you feel inspired this summer and decide to try thisHow To Press Flowerstutorial!! Have plenty of pretty fun!
More timeless childhood summer classics can be found here: