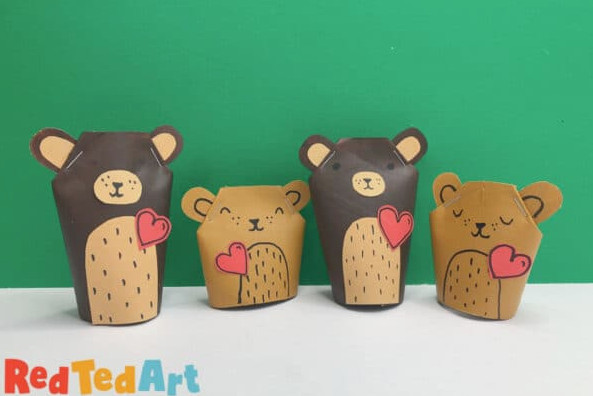
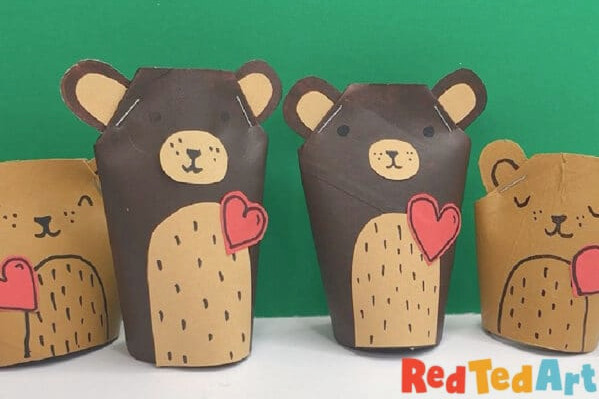
I’m especially fond of today’s charming Toilet Roll Bear Craft! The reason is simple: it makes use of everyday supplies—the humble toilet roll or kitchen towel tube—along with a little paint and paper. Even better, you could technically create these using ONLY toilet rolls and felt-tip pens, making them a low-mess and wonderfully simple alternative! I’ll share some tips as we continue. Oh… AND… did I say that this is not only an adorable bear project, but also works as a sweet Bear Gift Box?? Absolutely!! A useful little craft as well!
Oh.. and did I also say that these belong to the Best Makes Ever series….
All about the Best Makes Ever series
The Best Makes Ever Series is a collection of art and craft videos that Art Crafty Kids and I created for Sky Kids UK between 2020 and 2022. They were intended to introduce enjoyable arts and crafts activities to children, using everyday supplies and limited resources. This allowed everyone to take part and enjoy themselves! Now, 5 years later, we are (gradually) able to share these wonderful creative projects with you on our websites too! So, DO visit our Best Makes Ever Series tab for further details.. or take a look at some of our featured projects here:
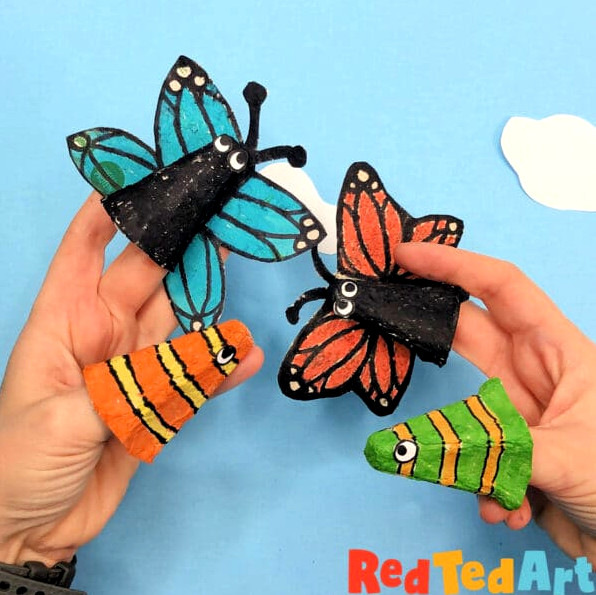
Aren’t they adorable?
Materials required for these sweet little Bear Gift Boxes
I prefer creating this small bear project in pairs, mostly because part of one toilet paper roll is needed to form the other bear’s ears. However, if you only have a single roll, you can still make one—it will simply be the shorter bear shown in my pictures!
- 2 toilet paper rolls or one kitchen paper tube divided in half
- Paint in the colors you prefer (note: you can keep the bears in their original toilet roll shade for a “low mess” version; I think that works nicely too!)
- Colored paper for the darker bear’s nose, tummy, ears and heart (note: felt-tip pens can be used instead—the shorter bear has felt-tip details to demonstrate this!)
- Marker
- Scissors
- Stapler (if you don’t have one, strong glue will work, although you will need to secure the pieces with a clothes peg while they dry)
- Glue stick (if attaching paper details)
- Paintbrushes
- Tissue paper if turning it into a gift box to “close” the bottom
Making a toilet roll bear gift box
Watch the adorable, easy-to-follow bear gift box video tutorial, or use the step-by-step directions below! You can also find this video on YouTube.
Trim the toilet paper rolls to the correct size
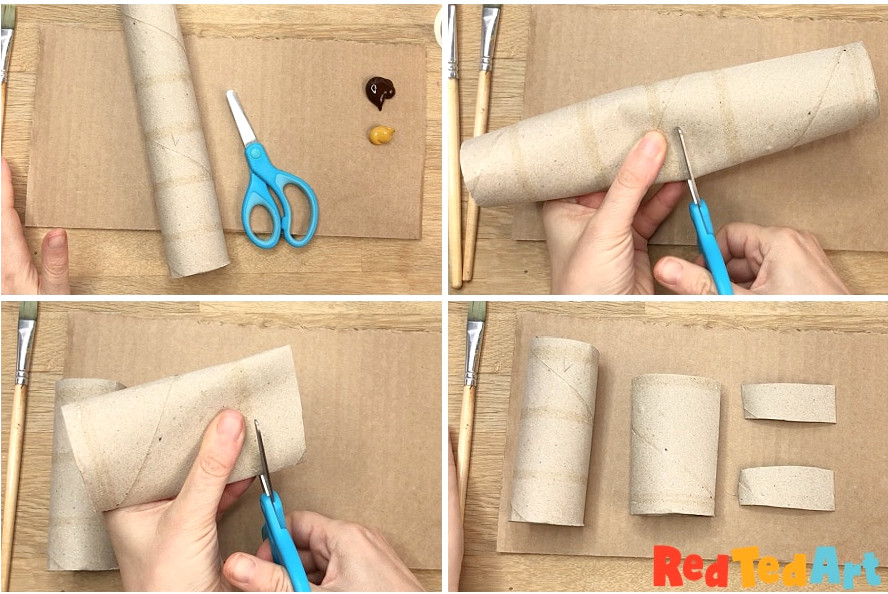
You can either use a kitchen paper tube cut into two sections or two toilet paper rolls to create the bears.
Start by taking one toilet paper roll and cutting away a strip.
Next, divide this strip into two. Each piece will create two ears for each of the two bears! This method gives you one tall bear and one shorter bear!
If you do not have an extra toilet paper roll, you can simply paint some paper in a bear-like shade!
Paint the toilet paper rolls in bear shades
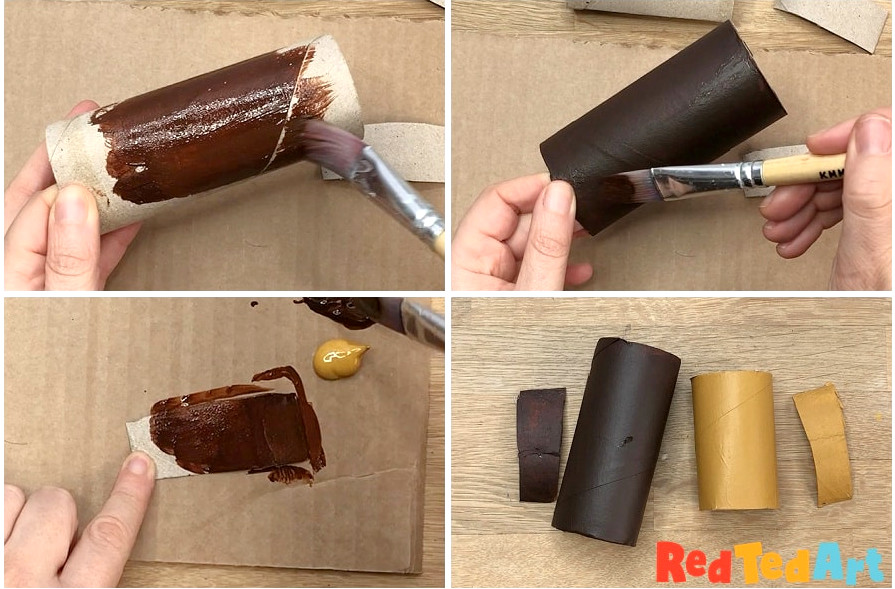
Now paint the toilet paper rolls in your chosen bear colors. I selected more classic shades for the bear gift boxes—browns and beiges—but you can choose absolutely any colors! They would be incredibly cute as Care Bear Toilet Rolls, for example!! If you try that idea, please share some pictures; I’d be delighted to see them.
NOTE: you can also keep the toilet paper roll unpainted—the grey shade works well as a bear color too!
Create a few bear ears
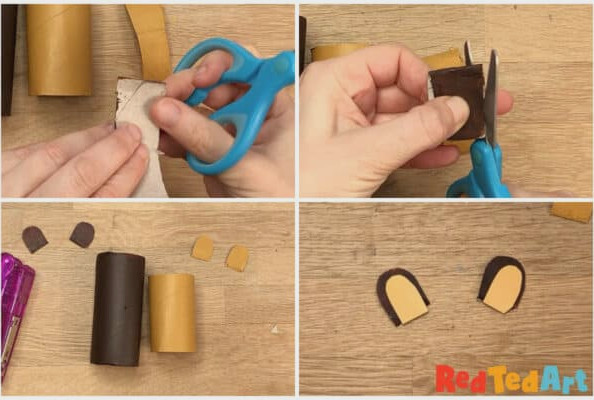
Fold the toilet roll strips in half and cut out two ear shapes. They resemble small rectangles with rounded upper edges.
I also made two contrasting inner-ear pieces from paper, although you could simply draw these details with a felt-tip pen!
Form the toilet roll into the bear’s head
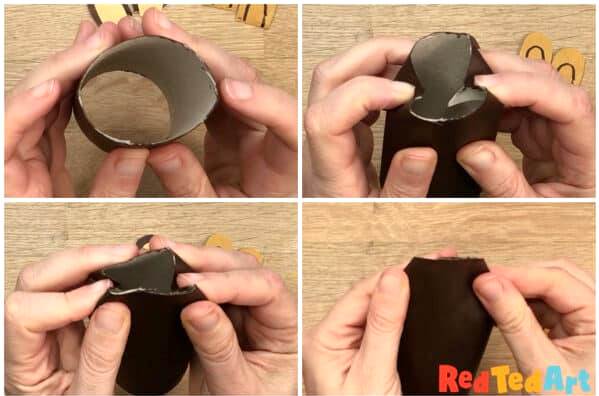
Next, let’s shape the head.
Hold the toilet paper roll with both hands.
Use your index fingers to gently press in the upper sides.
After that, flatten the shape and tidy it up.
Secure the bear ear with a staple
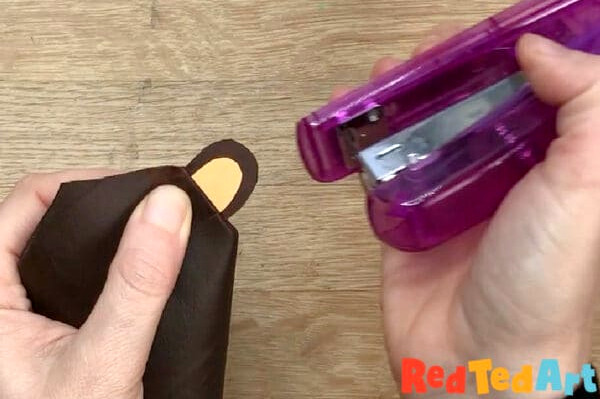
Staple the ears into position. Naturally, you can glue them instead, but you will need either a hot glue gun or some clothes pegs to keep everything secure while the ears dry.
Create bear shapes and add facial details
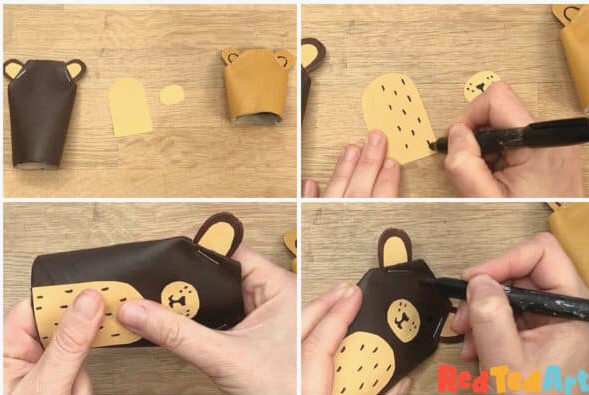
Now comes the fun part: decorating your bear. For the brown bear, I cut out a few additional pieces – an oval for the muzzle and a rectangle with a rounded top for the tummy. You may need to trim these shapes again to make them larger or smaller, so check that you are pleased with their proportions.
Use a black pen to add details to the muzzle and tummy.
This is where Care Bear tummies would be especially fun!
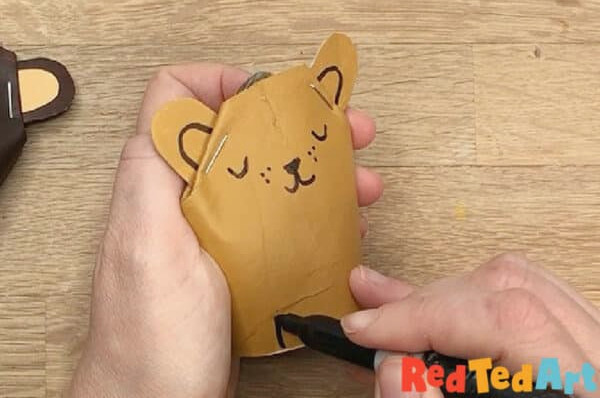
I also created one bear with only a pen, just to show that it can still look really adorable!
Optional: decorate your bear with embellishments
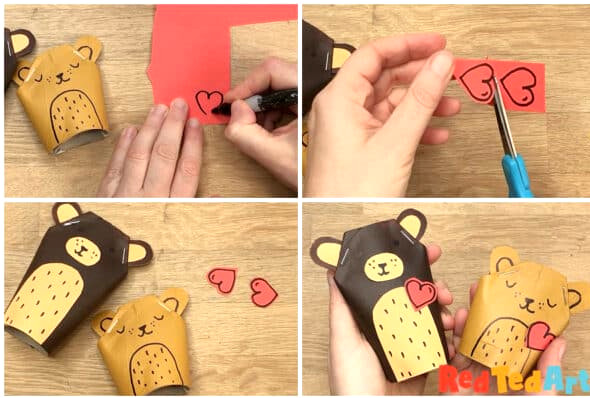
If you like, you can now cut out some extra decorations. I chose to add hearts to my little bears, but you could also attach a flower or bow tie – take inspiration from our sloth pen pots!
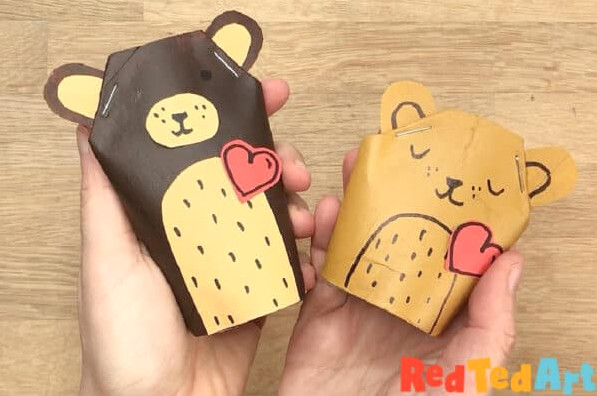
Your bears are finished!
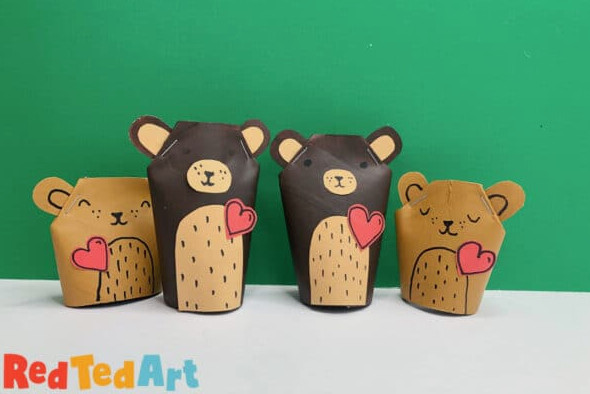
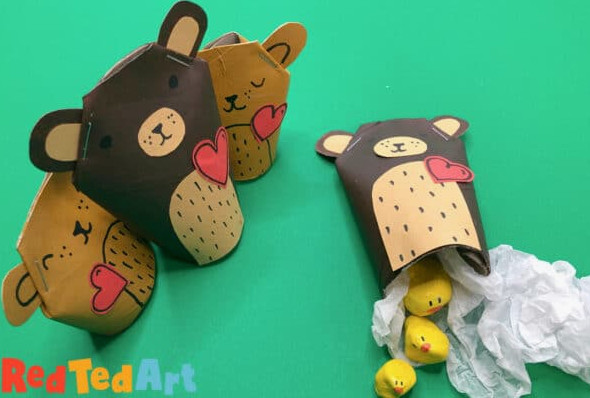
How to use it as a bear gift box
Using these as bear gift boxes is incredibly simple – place your treats inside (I added some adorable hand-painted ducks…) and then pack in some tissue paper. The tissue paper will keep your gifts securely in place! 🙂
Ta-daaaaa! Enjoy making your happy bear crafts!
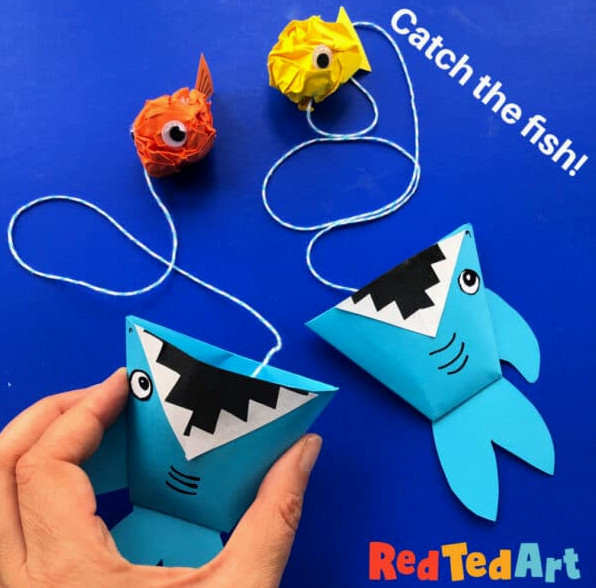
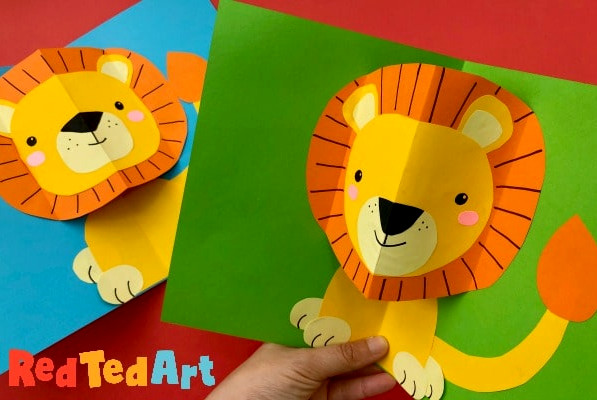
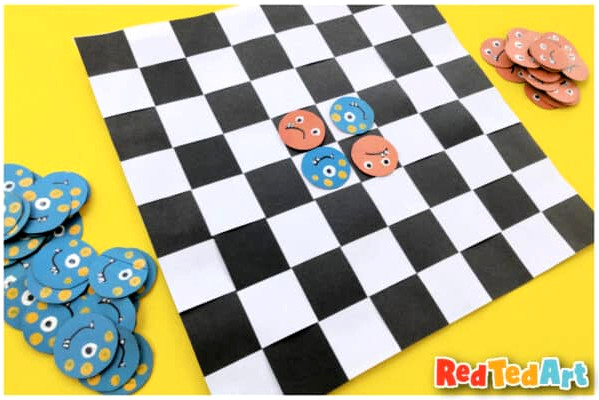
Discover more projects from the Best Makes Ever Series, such as:
Explore more Toilet Paper Roll Crafts here: