
Looking for a simple and enjoyable spring project? Give this cheerful Squeegee Painted Easter Bunny a try! If squeegee painting is new to you – this method is easy and entertaining!
RELATED: Easter Projects for Children
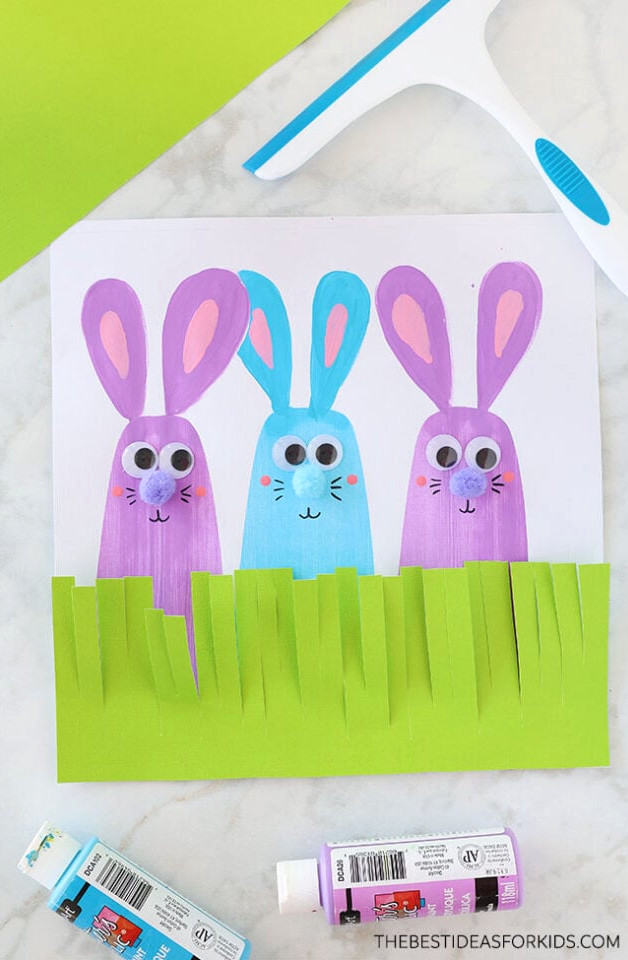
Children will enjoy trying out the squeegee. Even better, the faces can be fully personalized to look any way you want! Kids can use their imagination to create unique bunny faces.
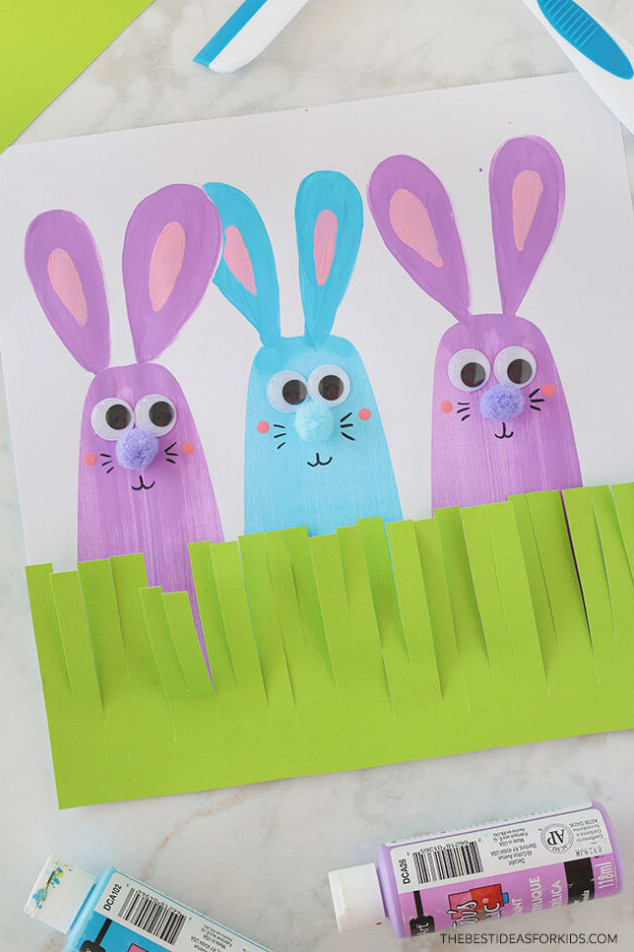
Materials Required
- 12 x 12 white cardstock – a bigger sheet accommodates larger bunnies, though you can also make this on standard-sized paper placed horizontally.
- Paint – we chose purple, blue, and pink
- 12 x 12 green paper – to create the grass
- Squeegee – these are also available at dollar stores
- Paintbrushes
- Large googly eyes – these come in a 25mm size
- Large pom poms – one for each bunny, 1″ size
- Glue
- Pencil
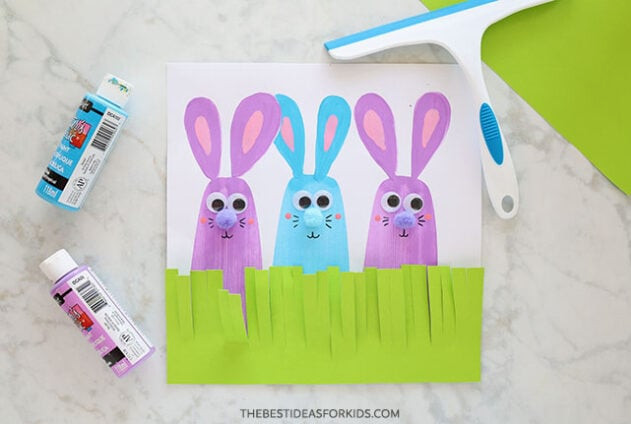
View the Video Guide
Creating a Squeegee Painted Easter Bunny
1. Create the bunny bodies.
On the upper half of your paper, place 3 curved lines of paint – shape the paint like an upside-down U to create the crown of the bunny’s head.
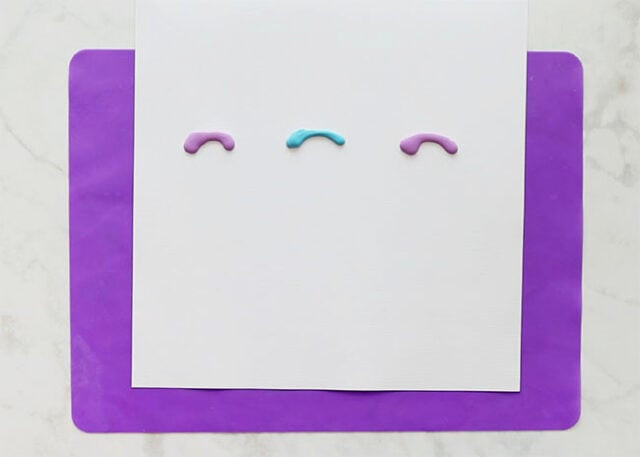
Position the squeegee over the paint, then push it down onto the sheet.
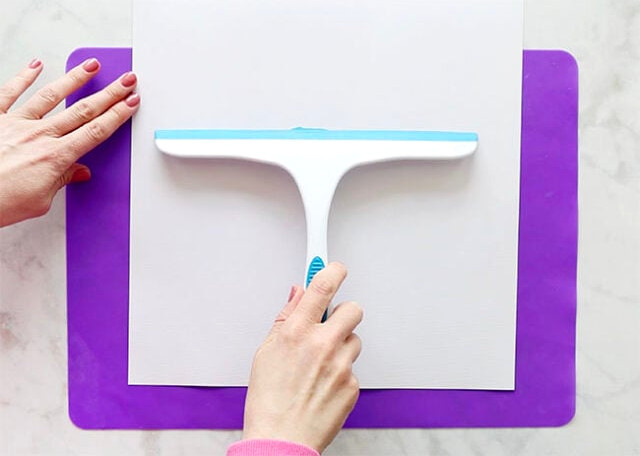
Keeping pressure applied, pull the squeegee toward the bottom of the page.
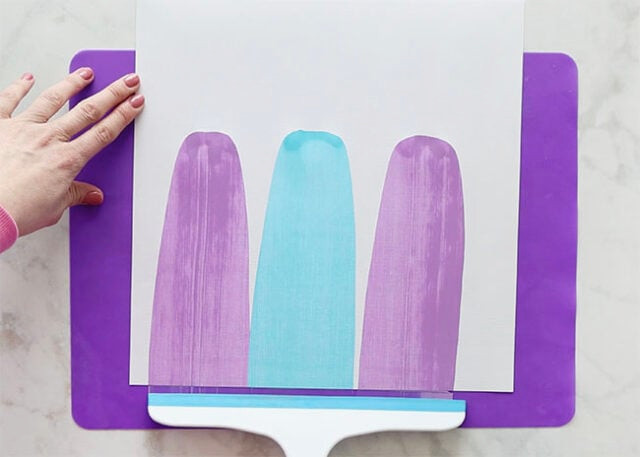
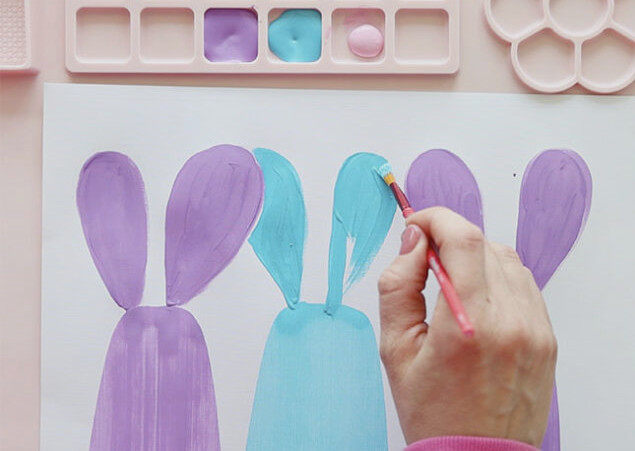
2. Paint the ears.
Add coordinating ears to every bunny.
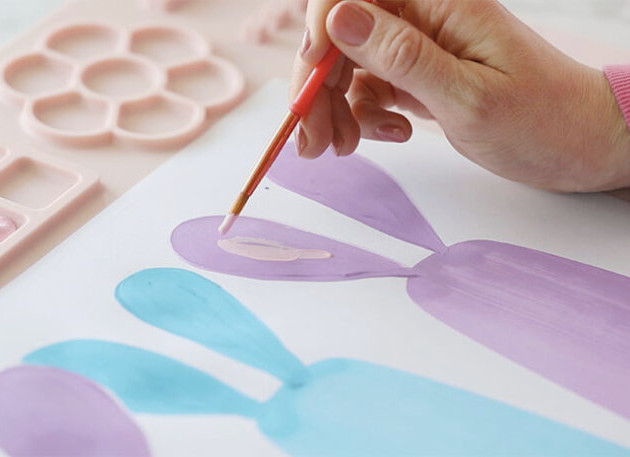
After the paint dries, apply pink accents inside the ears.
3. Create the bunny face.
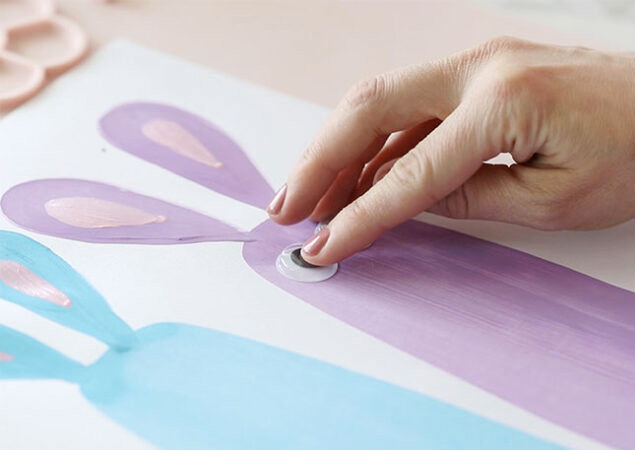
Attach 2 googly eyes to each bunny with glue. Alternatively, paint the eyes as two tiny black dots.
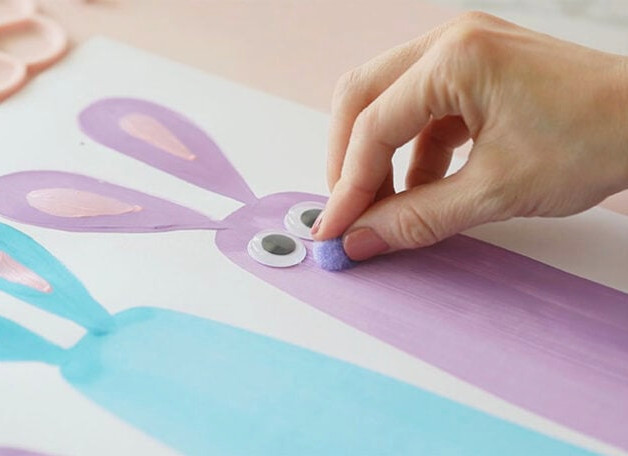
Place a pom pom beneath the eyes to serve as the nose.
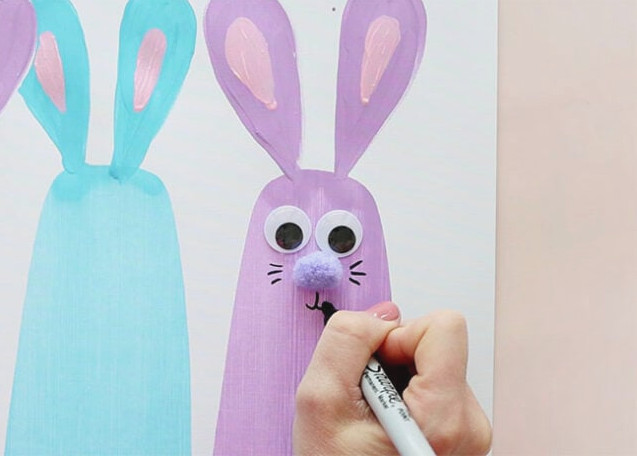
With a black marker, add the whiskers and mouth.
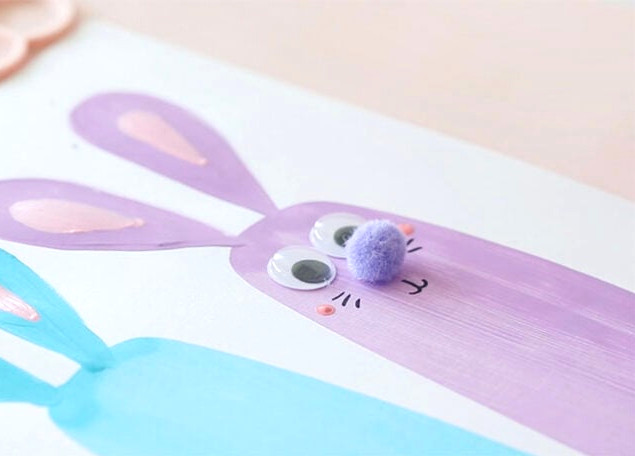
To finish, place a little pink dot on each side of the face for the cheeks. Dip the end of a pencil or paintbrush into pink paint, then dab it onto the face.
4. Add the grass.
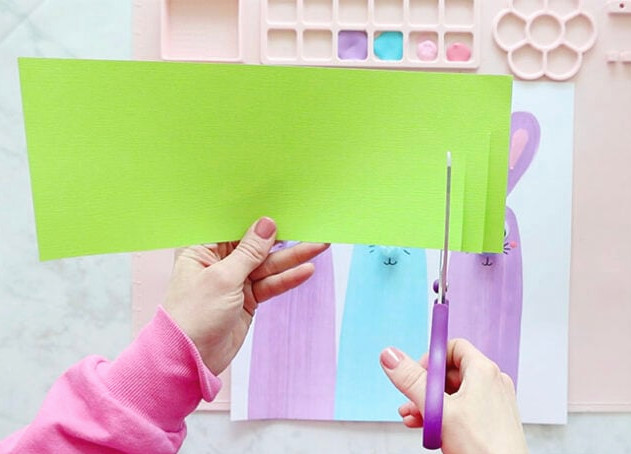
Trim a piece of green paper to match the width of your sheet and make it roughly one-third as tall. Using scissors, cut into one side of the green paper to create grass blades. Avoid cutting completely across, keeping the strip intact.
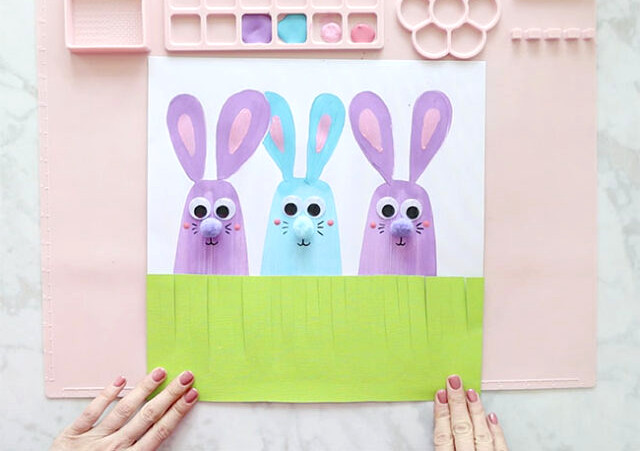
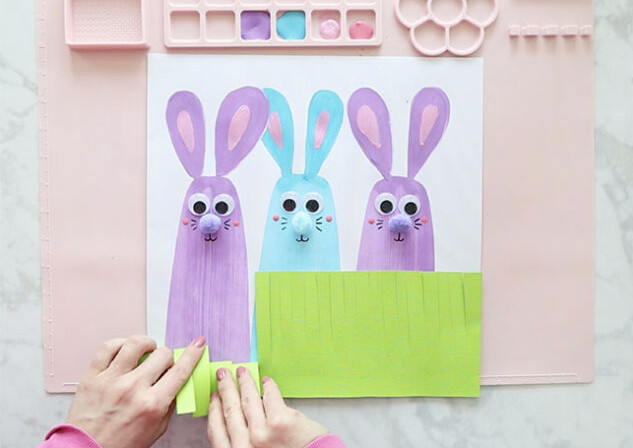
Attach the green paper strip over the painted bunnies with glue.
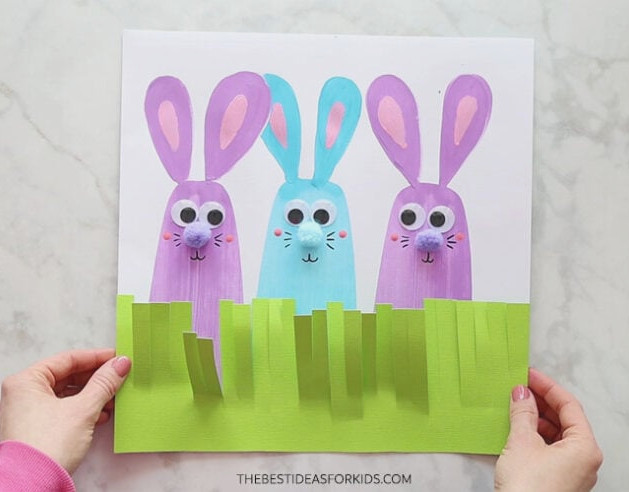
Gently lift and tousle the paper with your fingers so the grass blades are not completely flat, giving the artwork extra dimension.
Your Easter Bunnies are finished!
Children can experiment with different colors, expressions, and bunny quantities! This is an enjoyable Easter art activity to explore!
For additional simple Easter projects, browse our Easter crafts for kids.