
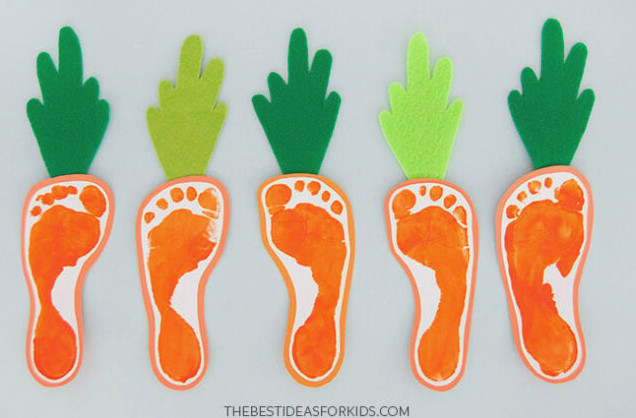
Mark the Easter season by creating a footprint bunny and a footprint carrot with your children this spring! The bunnies and carrots can both be made within minutes, creating adorable Easter decorations and keepsakes that will last for years!
RELATED: Easter Handprint Cards
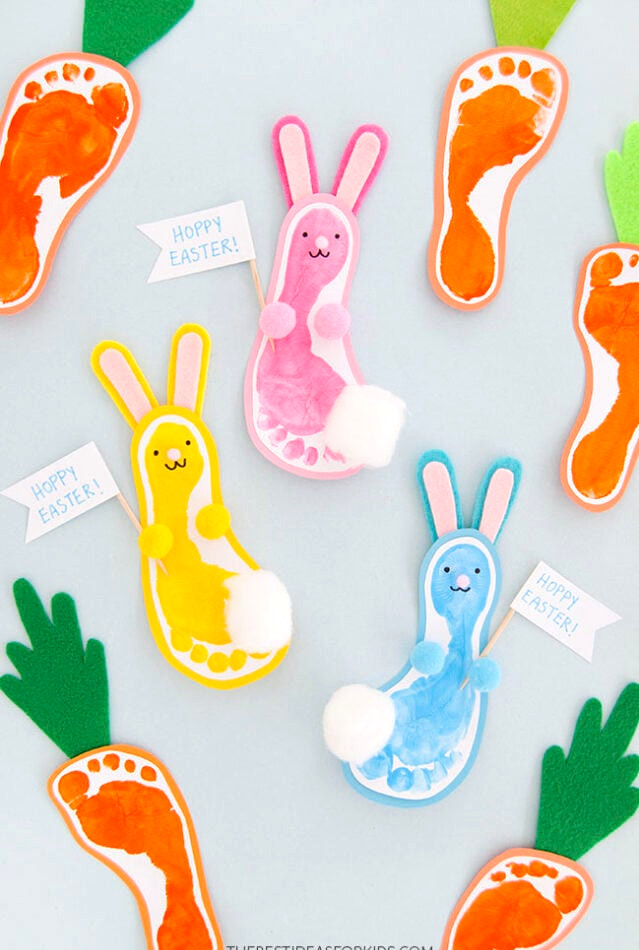
Footprint Bunny Project
Display them on your refrigerator or wall, or attach a length of string to their backs to create a simple Easter garland!
They can also be included with Easter cards or presents.
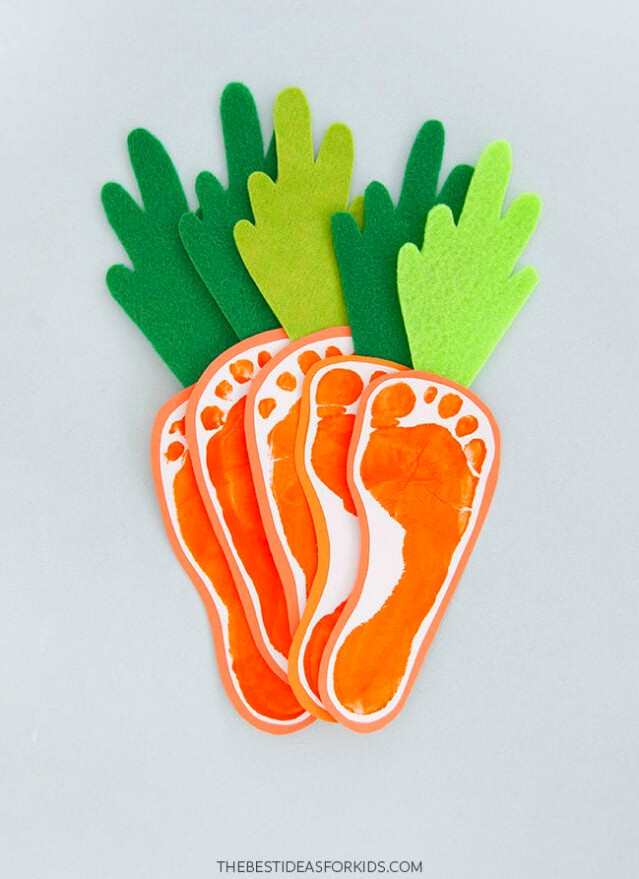
We especially like how these serve as both festive decorations and treasured keepsakes.
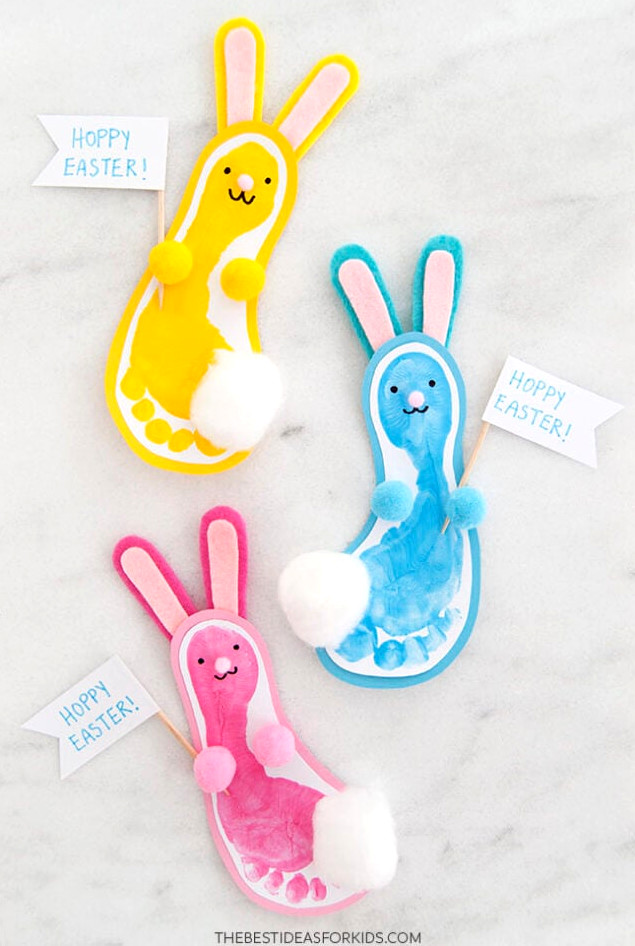
Put your child’s name and the date on the back of each craft. Then, when you pull them from the Easter storage box in years to come, you’ll remember how old they were when they created them.
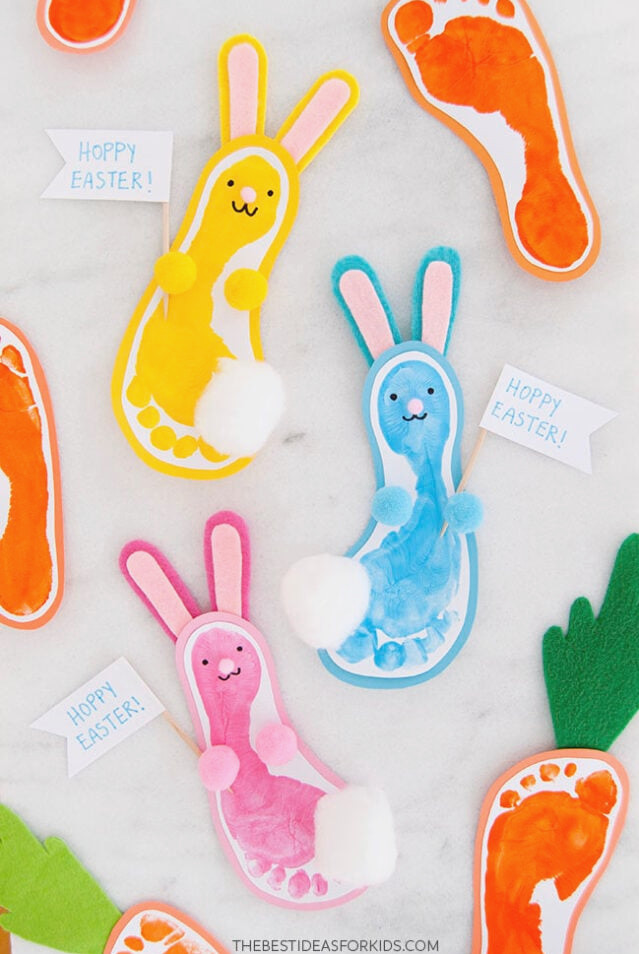
Required Supplies
- Tempera paint – washable and safe, we chose orange, pink, blue, and yellow
- Paintbrushes – medium-sized brushes for applying paint to your child’s foot
- Cardstock – white for the footprints, with orange, pink, blue, and yellow for the backing
- Glue stick – for securing the cardstock layers together
- Felt – green for carrot leaves, plus pink, blue, and yellow for the bunny ears
- Chalk – for tracing the printable patterns onto felt. A chalk marker or regular marker can also be used.
- Pom poms – tiny ones for the bunny noses, and 5/8″ ones for the bunny feet, in shades that coordinate with the bodies and ears.
- Markers – for drawing the bunny’s features and writing your Easter greeting.
- Toothpicks – for creating the sign
- Printable templates – for the carrot tops, bunny ears,and Easter banner. Find the complimentary templates at the end of this post.
Painting Suggestions
- Don’t be concerned if the entire layer of paint doesn’t transfer when you press the footprint down. Use a paintbrush to fill in any missed areas.
- While painting a child’s foot, have them sit in a chair. For a baby footprint, an extra adult might be necessary to hold the baby as you paint their foot.
- Before stamping, cover the foot with as much paint as possible. The child can stand from the chair and press their foot onto the paper. With babies, hold them upright while guiding their foot onto the paper.
- When pressing the foot onto the paper, check that it lies flat and every toe touches the surface.
After stamping, carefully lift the foot straight up. - Clean the feet right away to make tidying up easier. I prefer to place a small bowl of dish soap and water nearby, then use a washcloth or baby wipe to clean the feet afterward.
How to Create a Footprint Bunny
1. Create the footprint.
Set up your work area – keep wet wipes and several cloths or rags within reach. Collect white cardstock, tempera paint, and paintbrushes.
Brush paint over the underside of your child’s foot. We chose pink, blue, and yellow, though any colors you prefer will work.
Guide your child’s foot onto the cardstock to create the print. We were able to make 2 good footprints with a single coat of paint.
Whenever you change paint shades, wash your child’s foot thoroughly – wet wipes are helpful initially, but a cloth and soapy water clean it most effectively. Keeping a small bowl filled with a little soapy water and a cloth nearby makes cleaning easier than carrying your child to the sink.
Place the completed footprints to one side and allow them to dry fully.
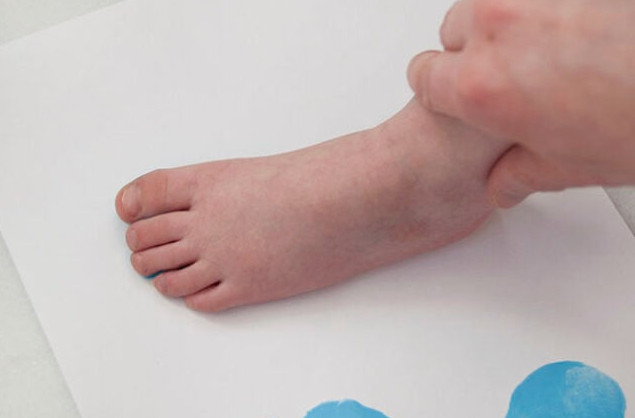
2. Create the bunny’s body.
Trim around the footprints, leaving approximately 1/8″ from the painted outline.
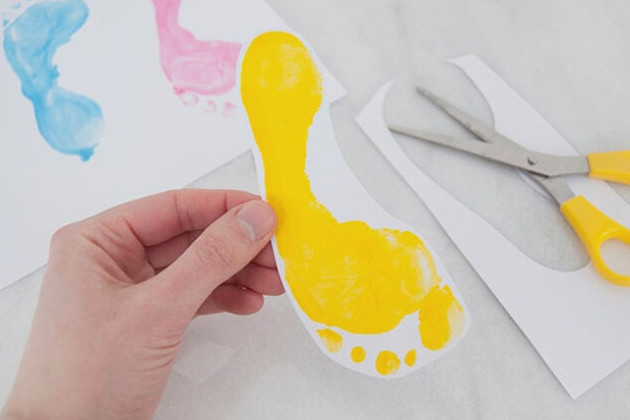
Adhere the painted footprint to cardstock in a coordinating color.
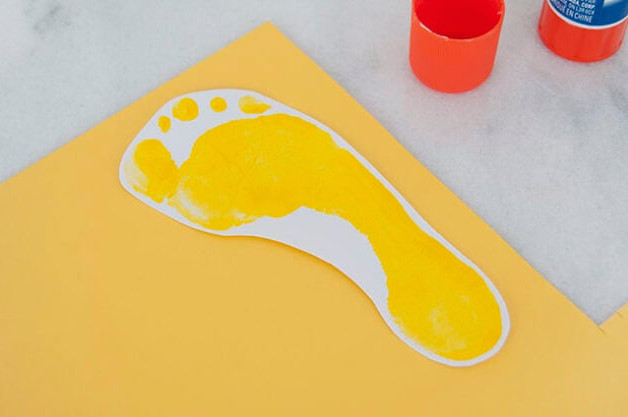
Next, cut around the footprint again, approximately 1/4″ beyond the white cardstock’s edge.
3. Create the bunny’s ears.
From the printable templates at the end of the post, print and trim the bunny ear patterns.
Trace the inner ear shapes onto light pink felt with chalk or a marker, then trace the outer ears onto felt that coordinates with the bunny’s body. Cut out all the pieces.
Spread glue over the pink inner ears and position them in the middle of the outer ear pieces.
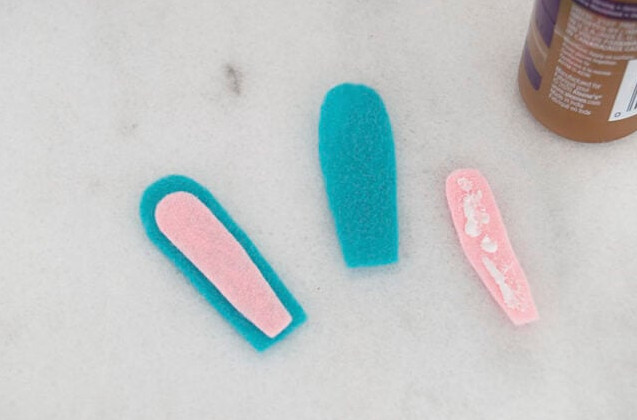
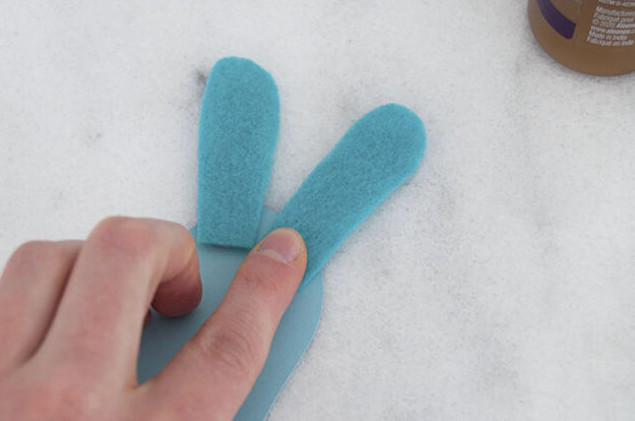
On the heel side of the cardstock footprint, place 2 small dots of tacky glue.
Set the ears into the glue and push gently so they stay attached.
4. Create the bunny’s face.
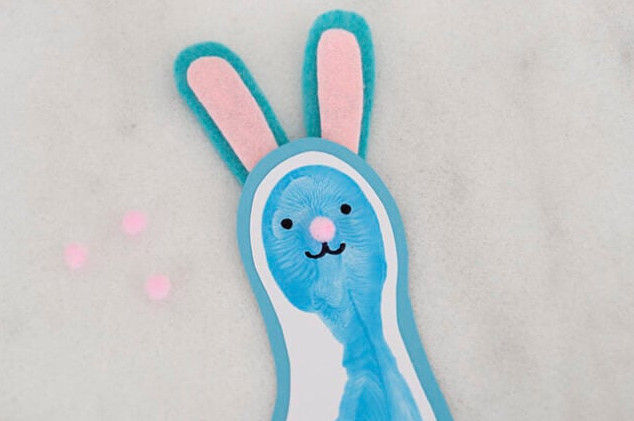
With a black marker, sketch the bunny’s eyes and mouth.
Add a very small amount of tacky glue above the mouth, then place a tiny pom pom there as the nose.
Should tiny pom poms be unavailable, simply draw the nose instead.
5. Attach the tail.
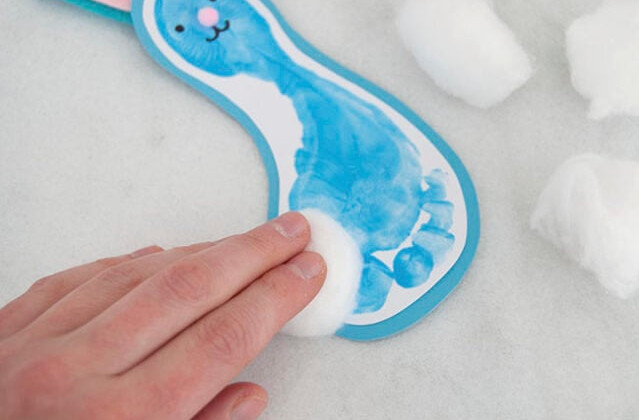
Place a small dab of tacky glue at the bottom of the bunny’s body, along the edge beside the big toe.
Push a cotton ball into the glue to form the bunny’s tail. A large pom pom can be used here as an alternative.
6. Create the Easter banner.
Print the flag pattern from the free printable at the end of the post, then cut it out.
Trace the pattern onto white cardstock as many times as necessary, then trim out each piece.
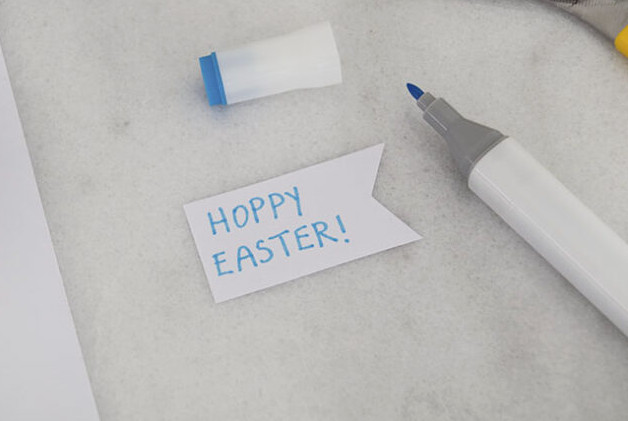
Write a greeting on the flag with a marker – we used “Hoppy Easter!”
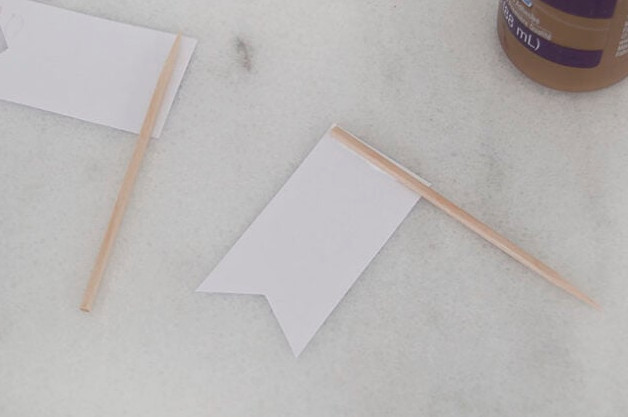
Run a narrow strip of tacky glue along the flag’s edge, then secure a toothpick to it.
7. Complete the bunny.
Put a tiny dab of tacky glue on the toothpick’s tip, then attach it to the footprint body near the foot’s arch.
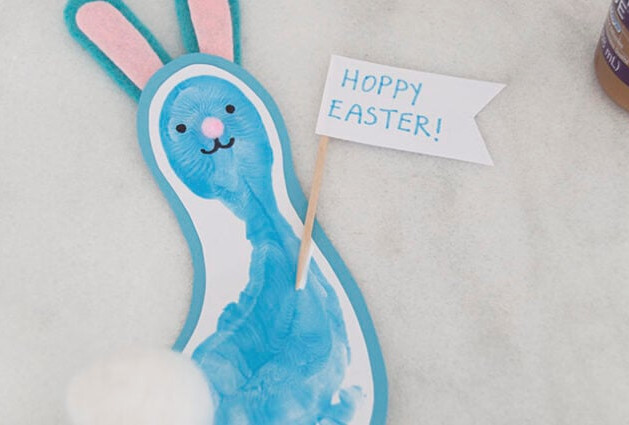
Add two small dots of tacky glue, placing one over the toothpick and the second about 1″ awayon the other side of the bunny.
Push one pom pom onto each spot of glue to create the bunny’s paws. Should the pom poms fail to remain in place, add a little hot glue or a glue dot to hold them securely.
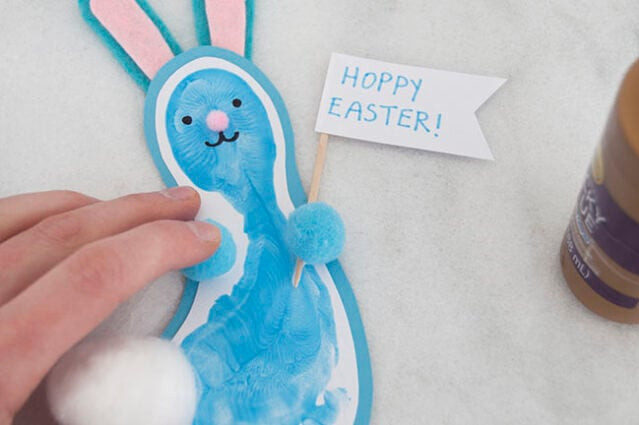
Make as many bunnies as you want by repeating the steps!
How to Create a Footprint Carrot
1. Create the footprints.
Set up your area: keep wet wipes and several cloths or rags nearby, together with your white cardstock, orange paint, and paintbrush.
Brush orange tempera paint onto the underside of your child’s foot, then help them press it onto the white cardstock. We discovered that one layer of paint makes 2 good-quality footprints.
Add more paint to their foot whenever you want to create additional footprints. Put them aside until they are fully dry.
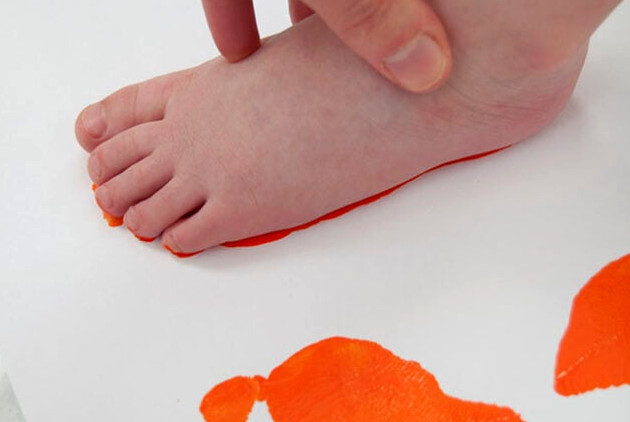
2. Create the carrot.
With scissors, trim around the orange footprints, leaving about 1/8″ between the print’s edge and the cut.
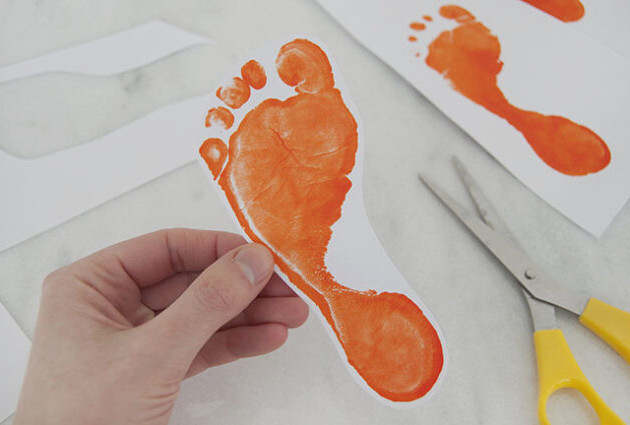
Attach the footprint to the orange cardstock with glue.
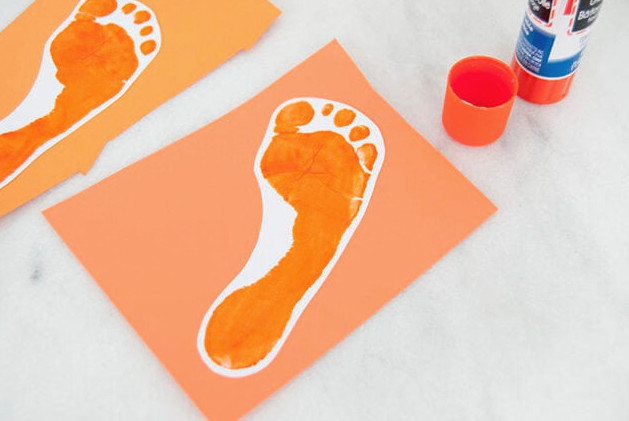
Trim around the footprint once more, leaving approximately 1/4″ from the white paper’s edge.
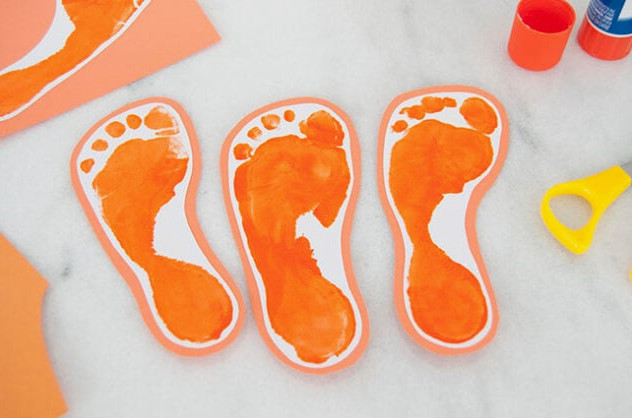
3. Create the carrot tops.
Print the carrot top template, supplied at the end of the post, and cut it out.
Using chalk or a marker, outline it on the green felt.
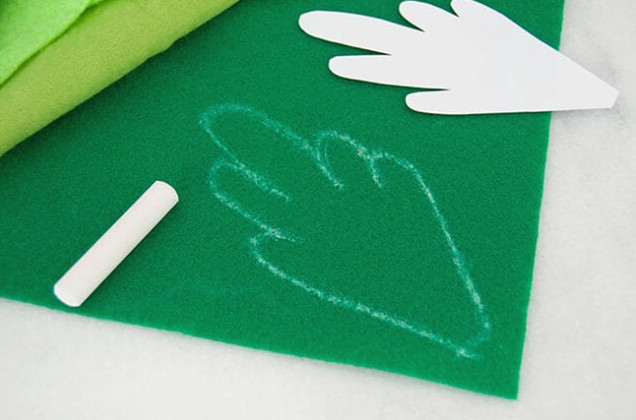
Trim out the felt carrot tops.
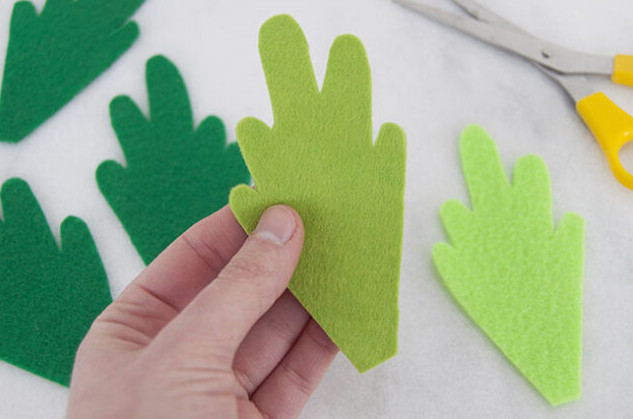
4. Put the carrots together.
Place a small amount of tacky glue on the back of the orange cardstock, at the end with the toes.
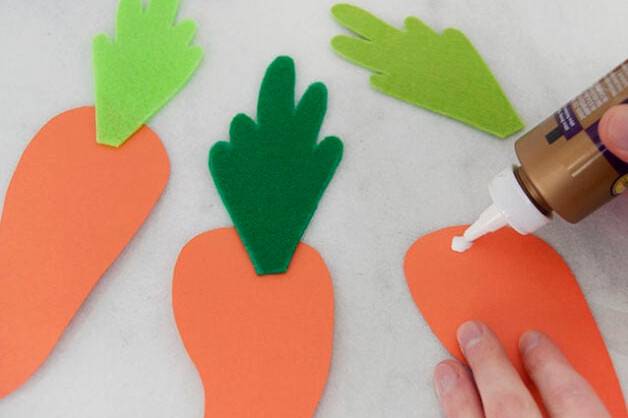
Press the felt carrot top onto the glue so it stays attached. Leave it aside until fully dry.
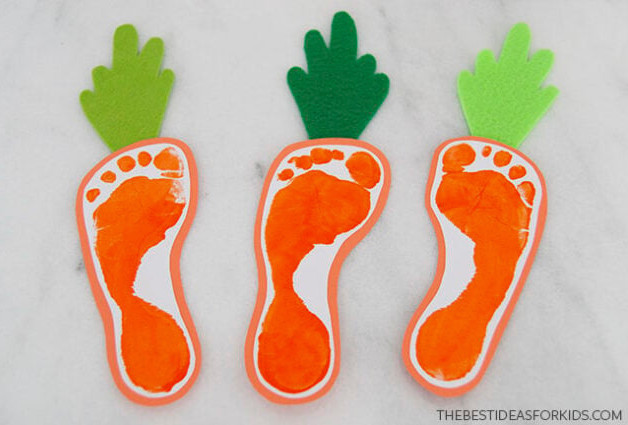
These Easter bunny footprints are incredibly adorable, and we also love how simple the carrots are to create!
Remember to put your child’s name and the date on the back of every bunny and carrot!