
Looking for simple Valentine’s science activities? Try these 3 Valentine’s Day Science Experiments. Children will enjoy making magic milk, a Skittles heart, and borax heart crystals. Each one is easy to prepare and needs only a small number of materials.
RELATED: Valentine’s Day Slime
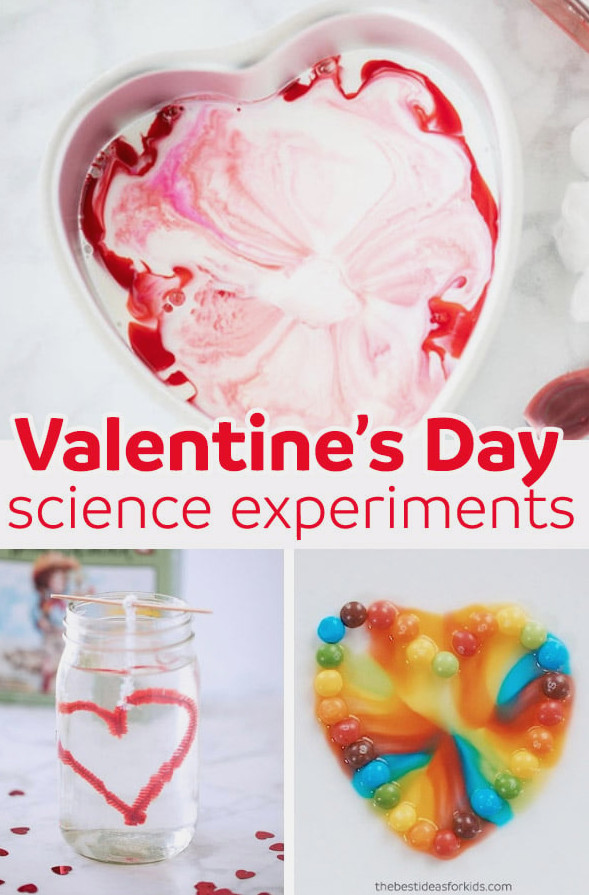
Valentine Science Experiments for Kids
We’re presenting 3 super-simple Valentine science experiments for children. Be sure to watch the video so you can see each experiment happening!
Enjoy conducting these 3 science activities with the kids – they’re all straightforward, and you likely already have everything needed at home!
Remember that grown-up supervision is necessary – particularly while working with borax. Check the safety advice at the end of the post.
Watch the Video Tutorial
Magic Milk Heart Experiment
The first activity we’ll demonstrate is a heart-shaped magic milk experiment.
Here’s what you’ll need:
- Milk – milk with a higher fat content works best (we used 3.25%)
- Dishwashing soap
- Food Coloring – red and pink
- Heart-shaped cake pan or an ordinary pan – small heart cookie cutters work as well
- Cotton swabs or cotton balls
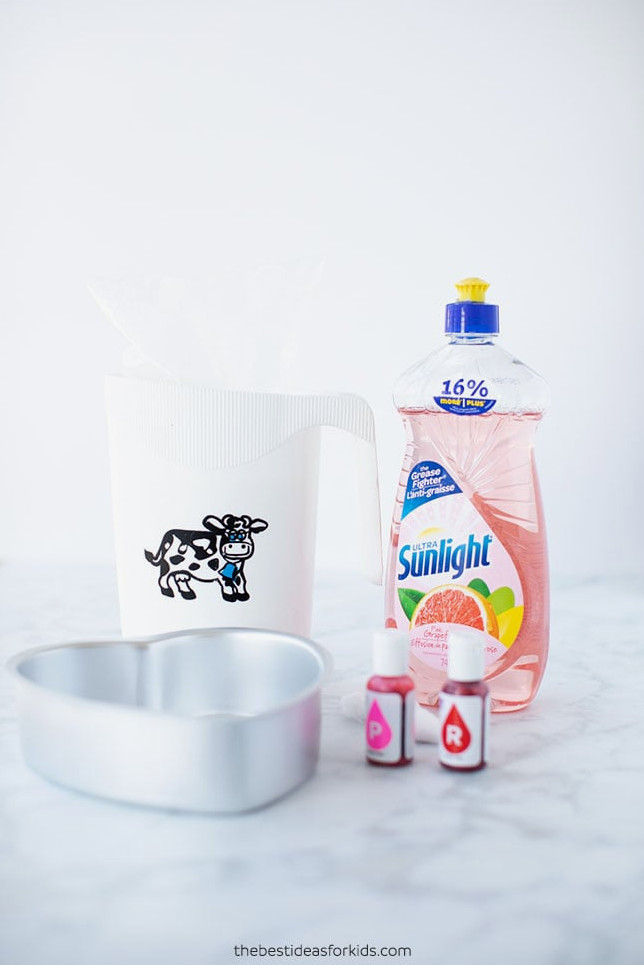
Steps to do a Magic Milk Experiment
1. Begin by pouring a little milk into the heart-shaped cake pan. Only a thin layer is necessary.
2. Place a few drops of food coloring into the milk.
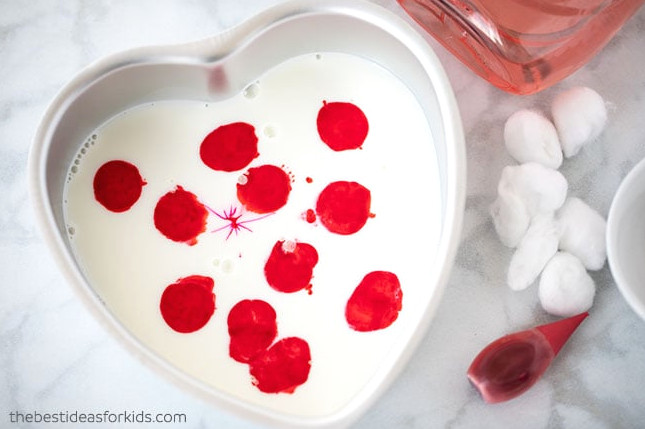
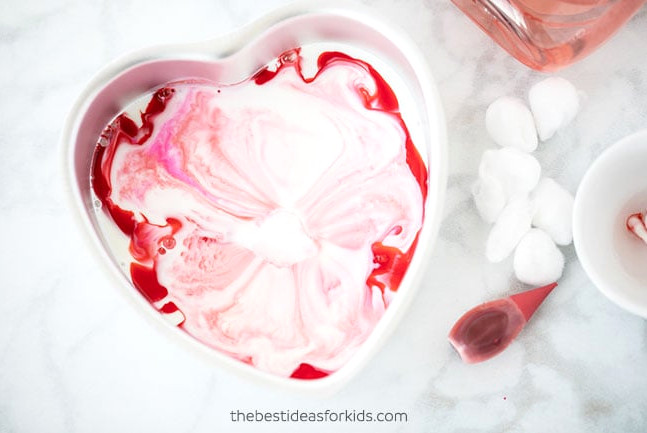
3. Next, dip a cotton swab into dish soap, or saturate a cotton ball instead. Lightly touch the cotton swab to the food coloring, or place the cotton ball into the milk. Then watch the magic happen! You can include additional shades, such as purple.
The science behind it:
Milk contains small amounts of fat, while the soap creates the exciting reaction. After soap enters the milk, its molecules move around as they attempt to connect with the fat molecules.
As this occurs, the food coloring molecules are pushed around, allowing us to see the interaction between the milk fat and soap.
When the soap and milk have blended evenly, the food coloring stops moving.
Milk with a greater fat content creates a bigger reaction because it contains more fat for the soap to interact with.
Skittles Heart Experiment
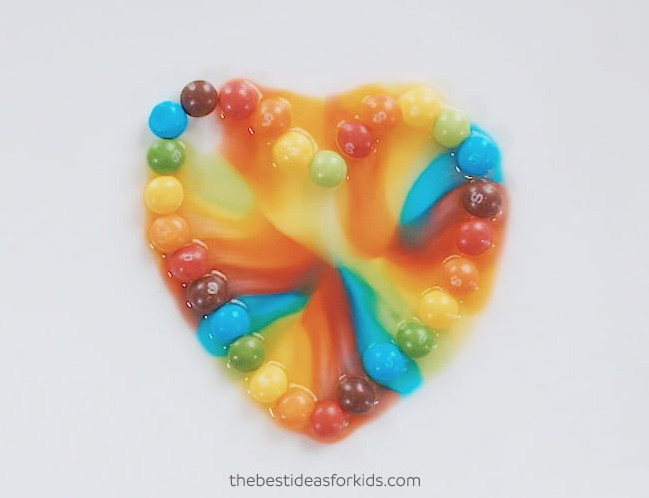
For our second Valentine’s Day science activity, we’ll create a heart from Skittles candies. You’ll be able to watch the candy colors dissolve and notice that the dyes remain separate as they spread.
Here’s what you’ll need:
Steps to do a Skittles Experiment
1. Arrange the Skittles in a heart shape on a dish that curves slightly toward the middle. This curved surface allows the candy colors to flow into the center. Choose red and pink candies, or create a rainbow design. We were thrilled with how the rainbow version turned out!
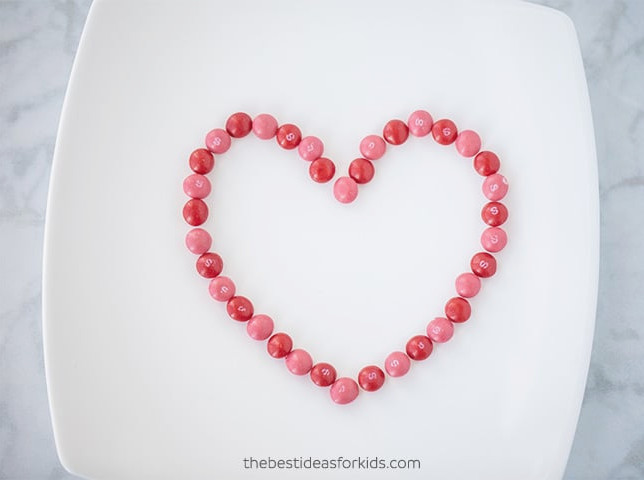
2. Gradually pour warm water into the middle of the heart. Be careful not to let the water spread past the Skittles.
Now observe the magic!
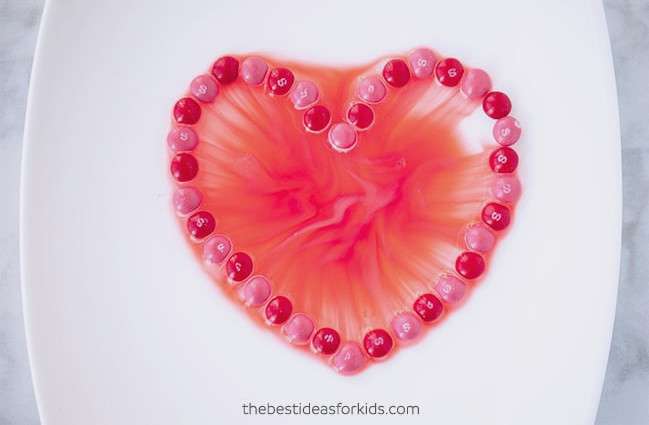
The candy coating will gradually dissolve, carrying its color from the candies toward the center of the dish.
The science behind it:
Here’s what you’ll observe: the food coloring from the Skittles does not mix with the water right away.
Although the Skittles dissolve, their colors initially remain separate from one another.The food colours converge at the centre of the plate without mixing at first because an equal quantity of sugar is dissolving from each Skittle.
Follow-up Experiments: Ask children what they believe will occur and have them share their predictions when you alter the activity. Experiment with variables such as using chilled water, trying another type of candy, or placing sugar cube barriers in the plate to observe the results.
Borax Crystal Hearts
For our last Valentine’s Day science activity, you can grow your own borax crystal hearts. Crystals will begin appearing within 24 hours, making this an exciting experiment for children to watch!
Here is what you will need:
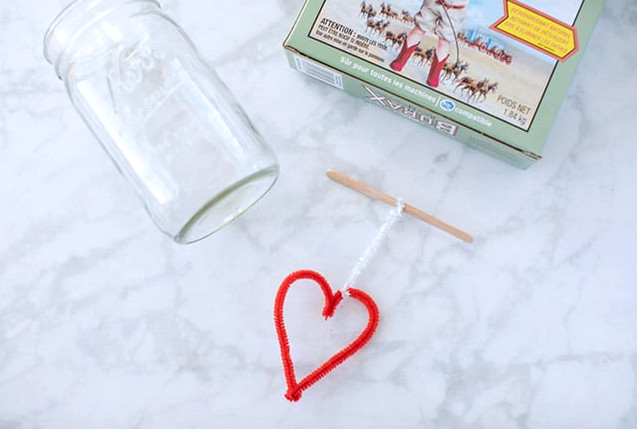
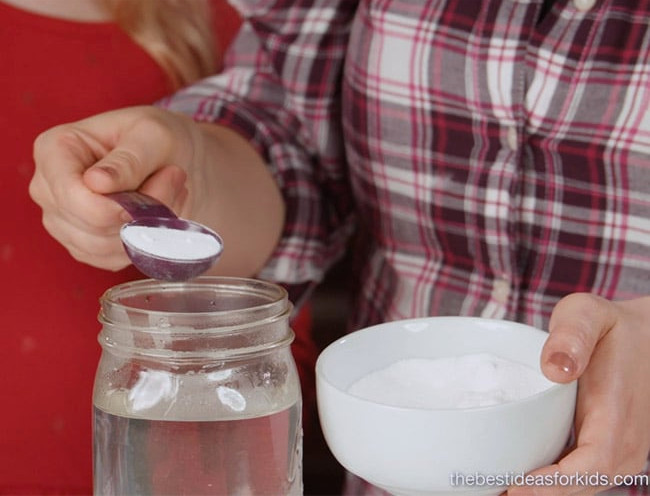
1. For each cup of boiled water, place 3 tablespoons of borax powder into a mason jar.
Mix thoroughly until the borax has completely dissolved in the water.
Only adults should complete this step—the water in the jar will be extremely hot, and borax is a chemical that must be handled by adults. Keep the borax away from young children. Wearing protective eyewear during this step is also recommended.
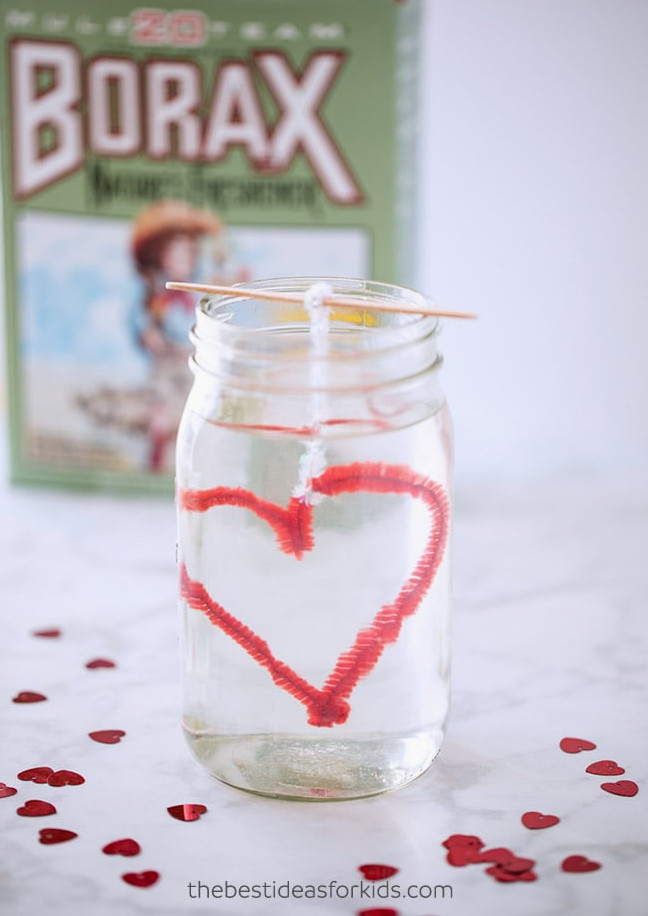
2. Shape a pipe cleaner into a heart. Twist a second pipe cleaner around it and attach it to a popsicle stick. The stick will sit across the top of the mason jar, allowing the heart to dangle inside the solution.
Ensure the heart is small enough to fit inside the mason jar while leaving room for the crystals to develop. This will make it easier to take the crystal heart out of the jar after the crystals have completely formed.
3. Place your heart-shaped pipe cleaner into the jar of borax solution and leave it undisturbed for 24 hours.
Observe it during the day to watch the crystals gradually develop on the pipe cleaner!
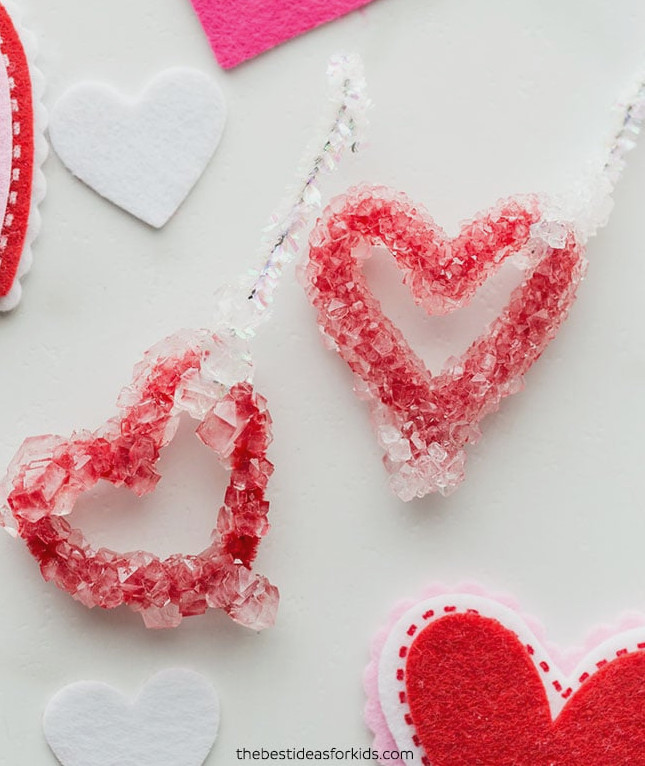
4. Once 24 hours have passed, crystals should be completely developed on your heart! You might also notice crystals growing along the bottom of the jar.
The science behind it:
Combining borax powder with hot water makes the water molecules move very quickly, enabling a greater amount of borax to dissolve.
As the solution begins cooling, the water molecules slow down and draw nearer to one another.
Consequently, there is not as much space for the dissolved borax, so it starts separating from the water.
As the borax “drops” from the solution, it joins with other borax particles and begins forming crystals on the pipe cleaner heart. Crystallization continues until the heart is taken out of the water.
Follow-up experiments: Repeat the activity with your crystal heart and observe the outcome. Do additional crystals grow on the top? What happens if you keep the heart submerged for 48 hours—will the crystal heart become larger? Will crystals develop if you dissolve the borax in lukewarm or cold water?
Working with Borax Safety Reminders:
- Only adults should use the borax. Always read and follow the instructions on the product labels.
- Borax may be dangerous if swallowed, breathed in, or exposed to your eyes.
- To reduce the amount of borax dust released into the air during this activity, put the water into the container first, followed by the borax.
We hope you have fun with these 3 simple Valentine science experiments!