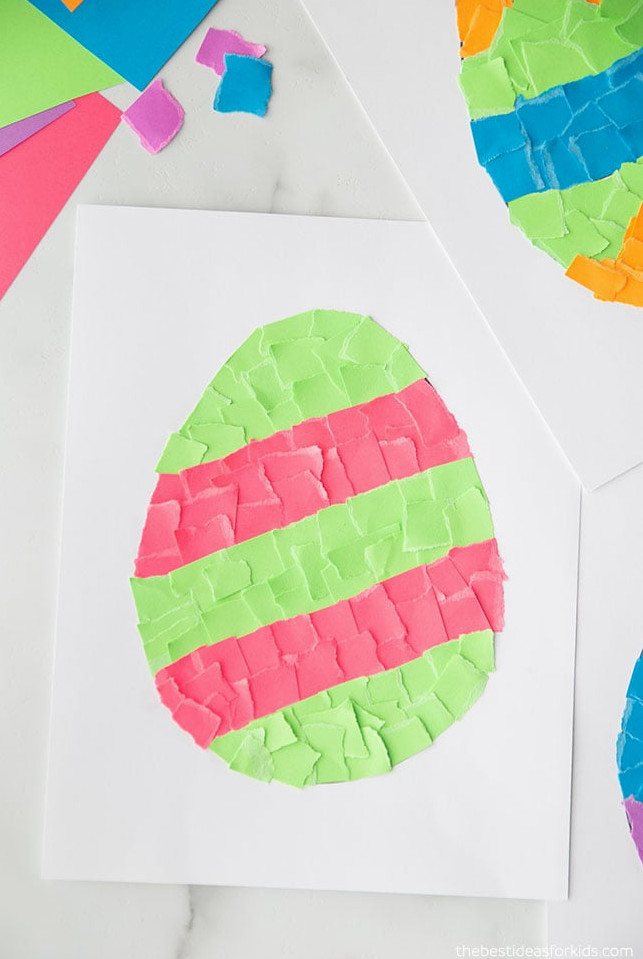
Do you have leftover paper on hand? Here’s a wonderful way to transform it into upcycled Easter artwork! Children can make their own ripped-paper Easter eggs with scrap paper and our complimentary printable patterns. Best of all, this activity is mess-free!
ALSO TRY: Paper Plate Snail
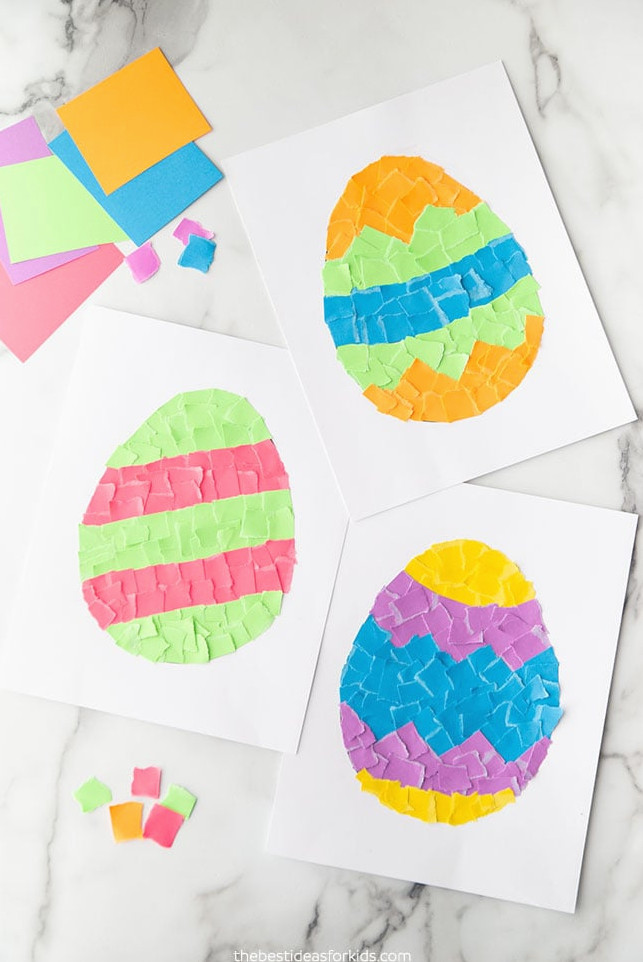
Keep the extra paper from previous craft activities, since those leftover pieces can become torn-paper artwork! This project is ideal for using up all the small scraps and odd bits of paper you have around.
You can also make a paper plate snail or a ripped paper rainbow with this same method! If recycled crafts are your favorite, take a look at my book – Fun and Easy Crafting with Recycled Materials.
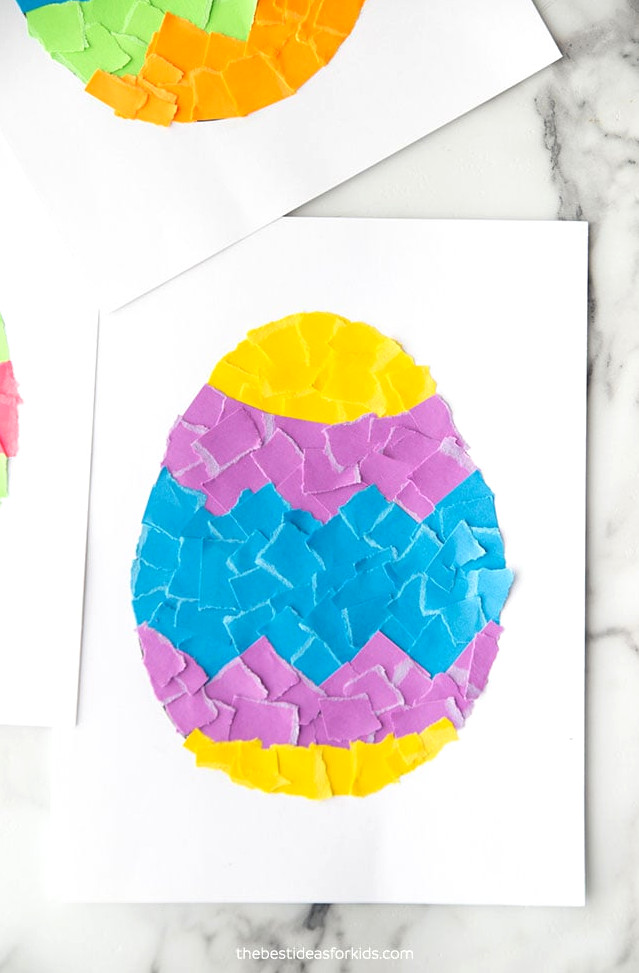
There are so many reasons we adore this activity – it strengthens fine motor abilities, gives scrap paper a second use and stays mess-free!
Instead of using torn paper, children can decorate the Easter egg patterns with crayons, paint or dimensional paint!
Materials Required
- White Cardstock
- Scrap Paper – we chose pink, purple, lime green, blue, orange and yellow
- Glue – paper works well with a glue stick, or place a little white glue in a bowl and let children brush it on with a paintbrush – this is much simpler for younger children.
- Easter Egg Templates – the free patterns are available at the end of the post
View the Video Guide
Creating Torn Paper Easter Eggs
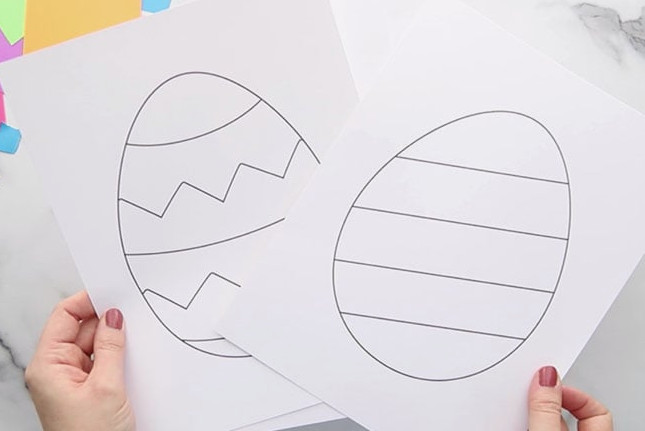
1. Print the free Easter egg templates. We used white cardstock for printing.
The complimentary templates can be found at the bottom of this post.
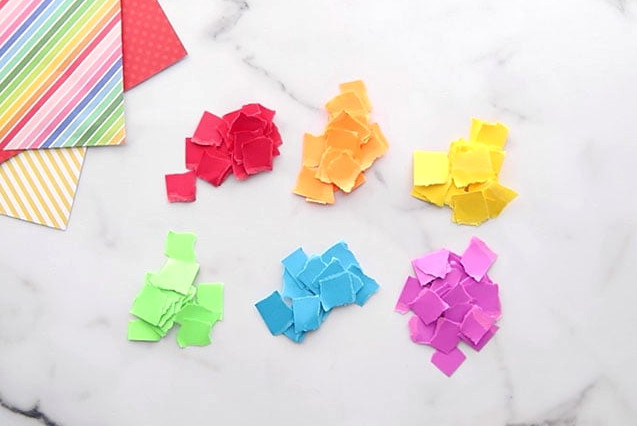
2. Collect your scrap paper, or snip it into small sections that are easy to handle.
Ask children to rip the scrap paper into smaller square-shaped pieces. They do not need to be exact, and irregular pieces are perfectly fine as well. After they are glued together, the different shapes will not be noticeable.
Younger children might require a little assistance during this part.
3. Let children attach the torn paper pieces to the template with glue.
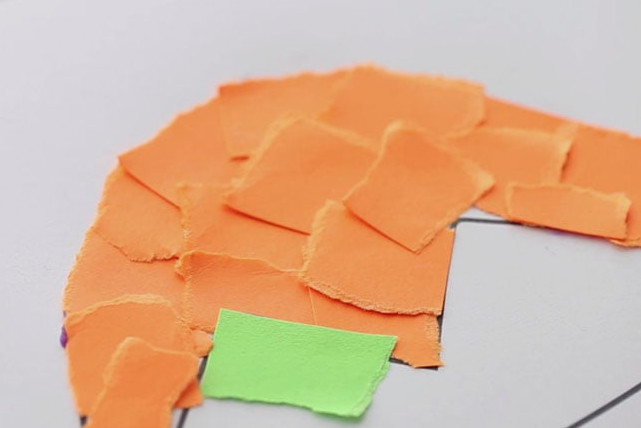
Continue adding glue and paper until the entire egg is covered.
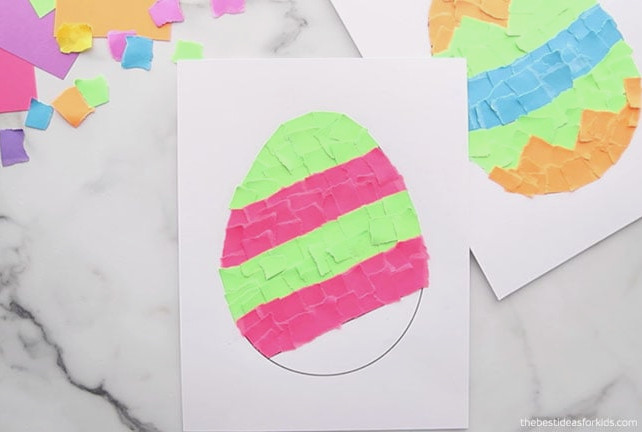
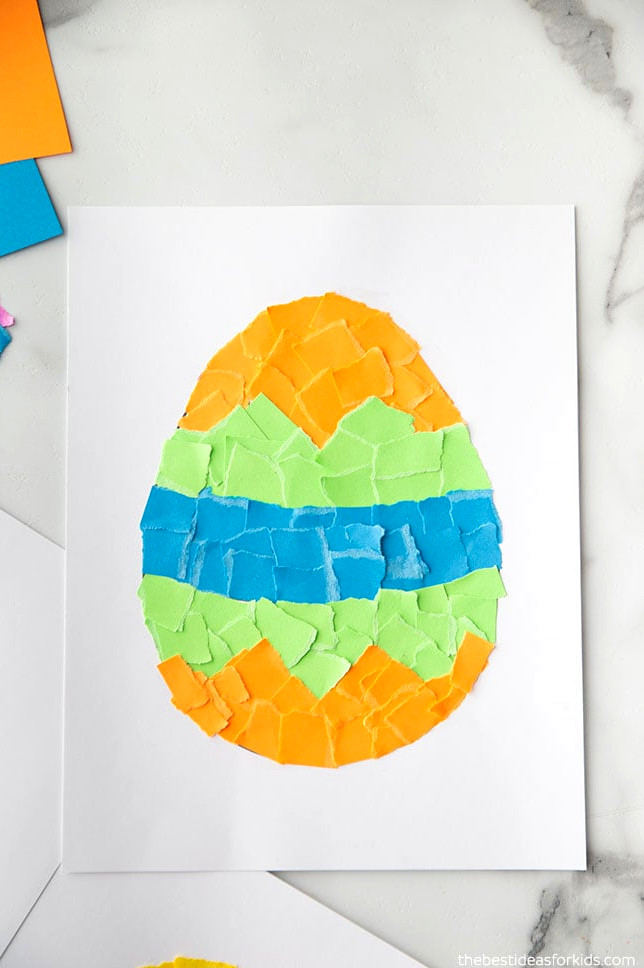
For little ones, I suggest choosing the easier diagonal pattern. If gluing feels too difficult, they can first decorate the egg with crayons or paint before layering the paper pieces over it.
For a simpler process with young children, pour a bit of white glue into a dish and let them spread it with a paintbrush.
Older children may enjoy attempting the more detailed Easter egg patterns.
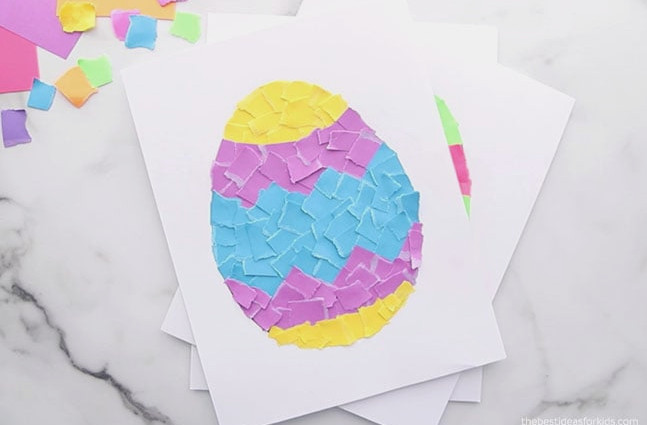
This project is wonderful for children of every age! Older kids can enjoy designing intricate Easter patterns, while younger children practice fine motor coordination by gluing and positioning the tiny paper pieces.
Additional Easter Crafts for Children
Explore more than 25+ simpleEaster Craft Ideas for Kids.
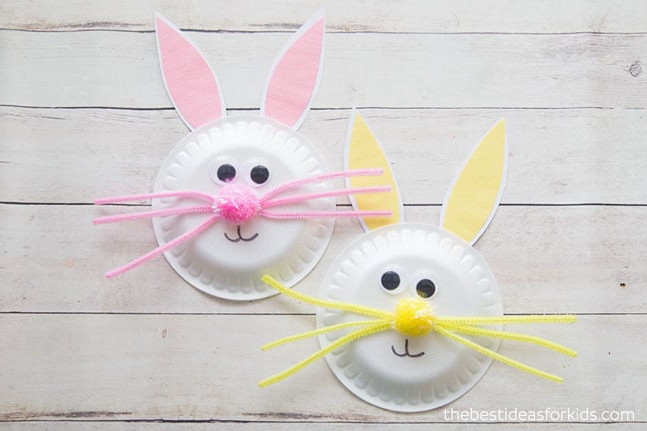
Take a look at these cute Easter Bunny Paper Plates – they are incredibly easy and enjoyable to create!
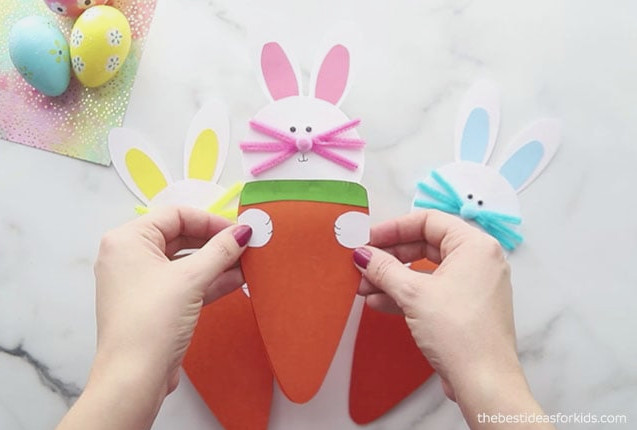
Learn how to create coordinating paper Easter bunny and carrot cards!