
Welcome Easter with this charming mini Pine Cone Easter Bunny! Once the weather begins to warm, take a stroll through your neighborhood and gather pine cones for this project – then check out our tips below for preparing them before crafting!
RELATED: Easter Projects for Children
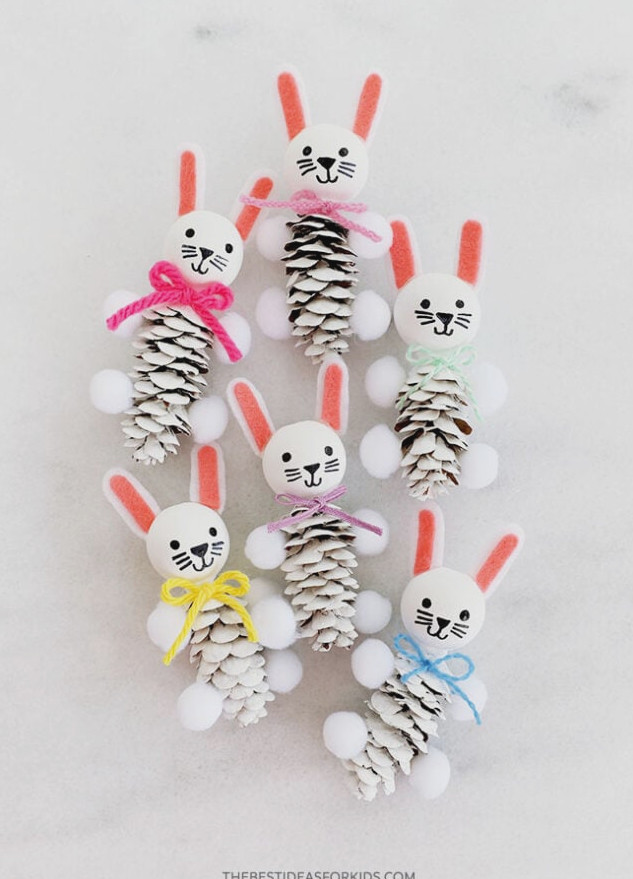
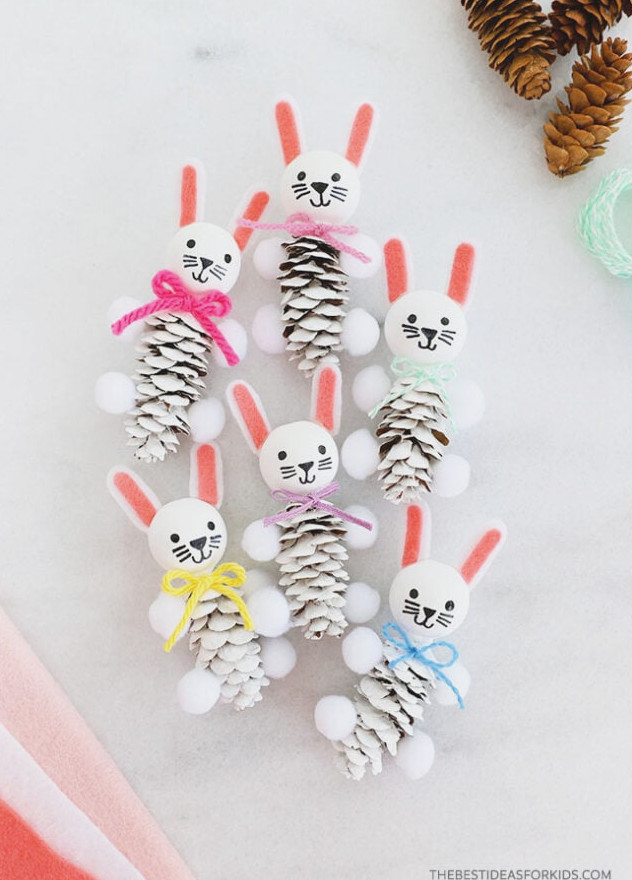
Give the bunnies their own look by choosing bows in assorted colors – only a small amount is needed, making this an excellent project for using leftover scraps from your craft supplies!
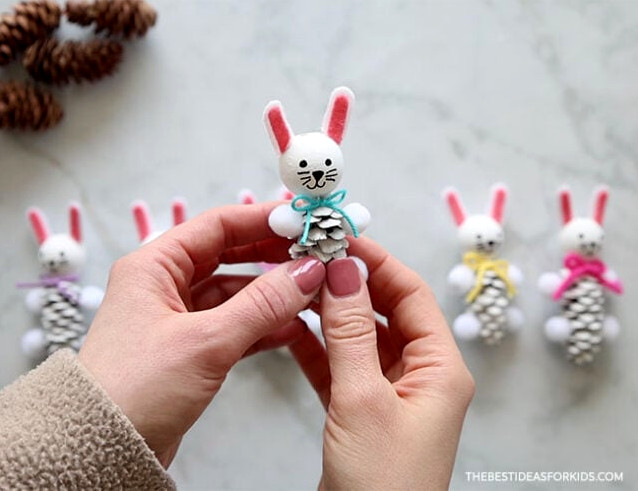
This craft is quick to complete, so children will enjoy creating an entire group of bunnies for Easter!
View the Video Guide
Materials Required
- Pine cones – 1 for each bunny (choose smaller pine cones; if yours are larger, take a look at our other pine cone bunny here).
- Felt – in white and pink
- Fine yarn – or cord, in assorted colors
- White pom poms – 10mm wide, 4 for each bunny
- Wood bead – 1″ in diameter, 1 for each bunny
- Black permanent marker – featuring a sharp, fine point or a black acrylic paint pen
- Hot glue gun – use with help from an adult
- Tacky glue – alternatively, white glue
- White paint
- Paintbrush – medium in size
Reminder
When working with pine cones gathered outdoors, make certain they are fully dry and suitable for crafting. Baking them in an oven at 250 degrees Fahrenheit for 10-20 minutes on a baking sheet covered with parchment paper or foil can be useful (adults only). This helps accelerate the drying time and ensures no insects remain inside the pine cones. Watch them carefully while they bake, and allow them to cool completely before beginning your project.
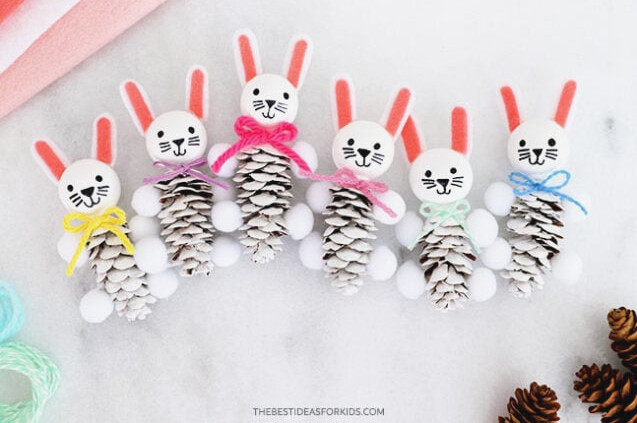
Making a Pine Cone Easter Bunny
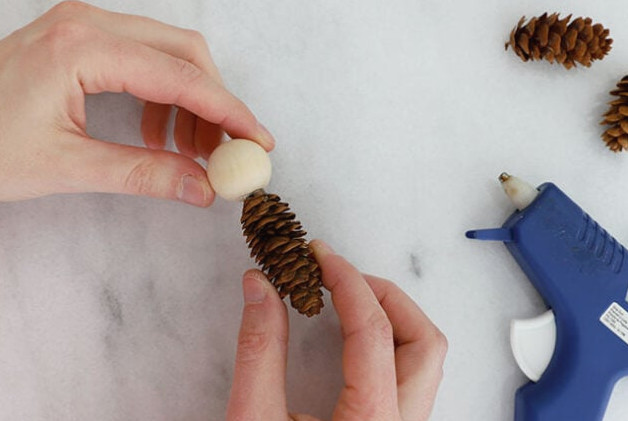
1. Build the bunny bodies.
With help from an adult, use a hot glue gun to secure a wood bead to the end of a pine cone, keeping it steady while the glue sets.
Another option is to paint the pine cones and wood beads individually before joining them with glue. However, attaching the bead to the pine cone first can make painting the wood bead simpler.
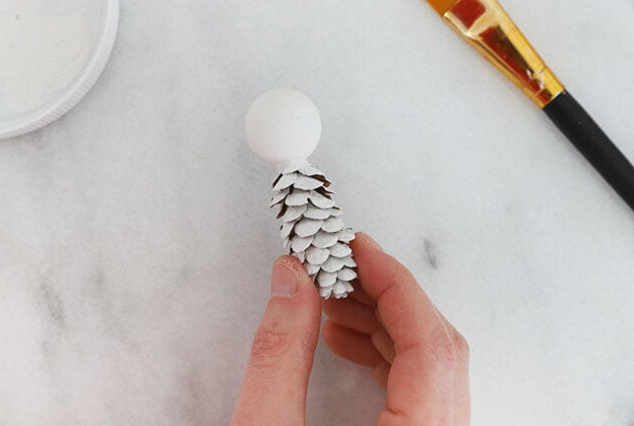
2. Paint the bunny’s body.
Brush white paint over the entire pine cone and wood bead. Leave the pieces aside until they are fully dry.
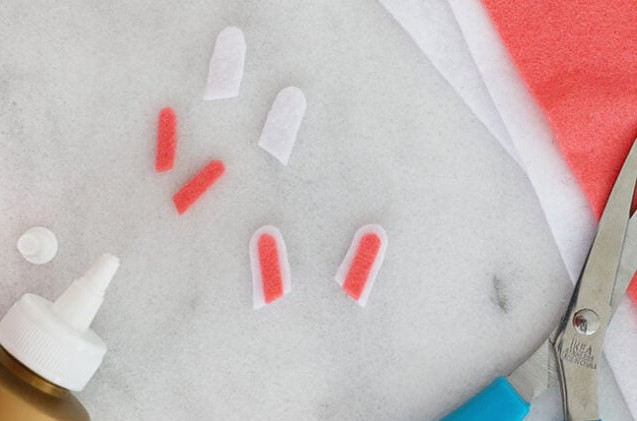
3. Create the bunny ears.
Cut one inner ear piece and one outer ear piece for each ear. We chose white for the outer sections and pink for the inner sections. Attach the inner ears to the outer ears with tacky glue or white glue.
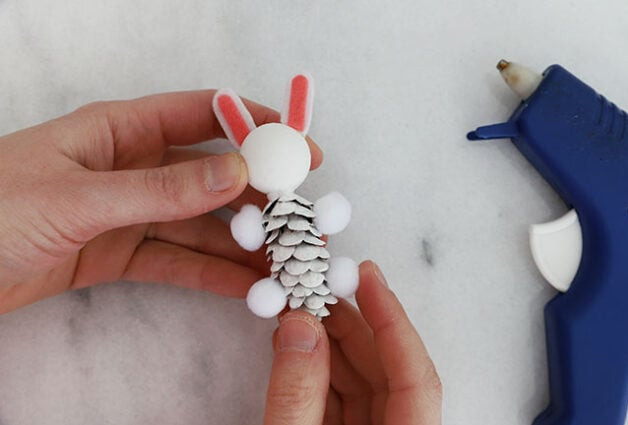
4. Secure the ears and arms to the bunny.
With adult supervision, use hot glue to attach the felt ears to the wood bead head and the 4 pom poms to the pine cone body.
You may use white glue or tacky glue for this part instead, though the pieces will need to be held in position while they dry.
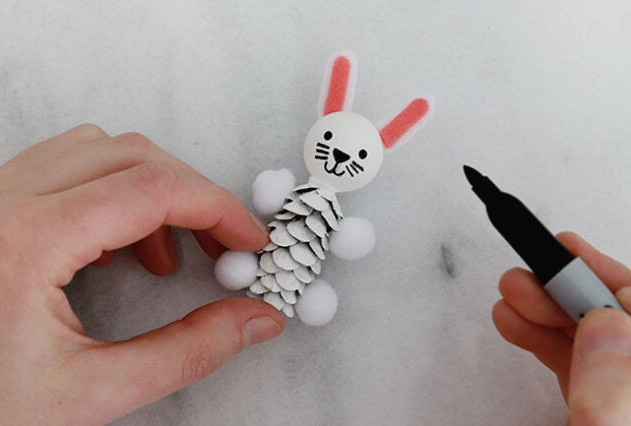
5. Draw the face.
Using a new fine-point permanent marker or black acrylic paint pen, draw the eyes, nose, mouth, and whiskers on the bunny’s face.
Tip: first lightly outline the features with a pencil to position them properly – once finished, you can erase the pencil marks.
6. Fasten the bow.
Snip a piece of fine yarn approximately 4″ long, tie it into a small bow, and trim the ends if necessary.
Put a very small amount of tacky glue on the back of the bow’s knot, then position it on top of the pine cone just beneath the bead head. Let it dry fully.
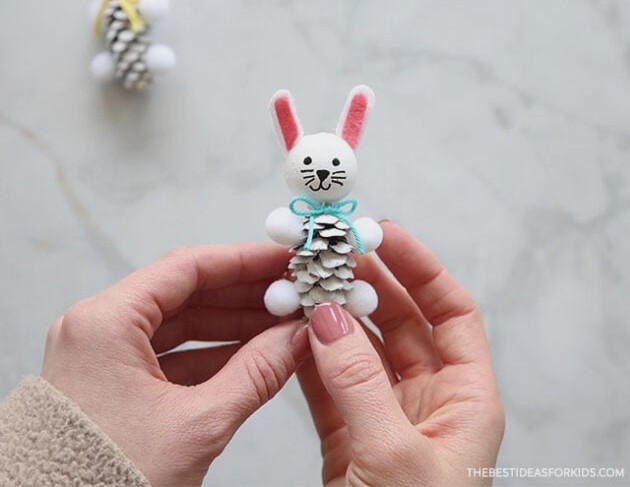
Your pine cone Easter bunny is finished!
Discover more Easter projects for children.