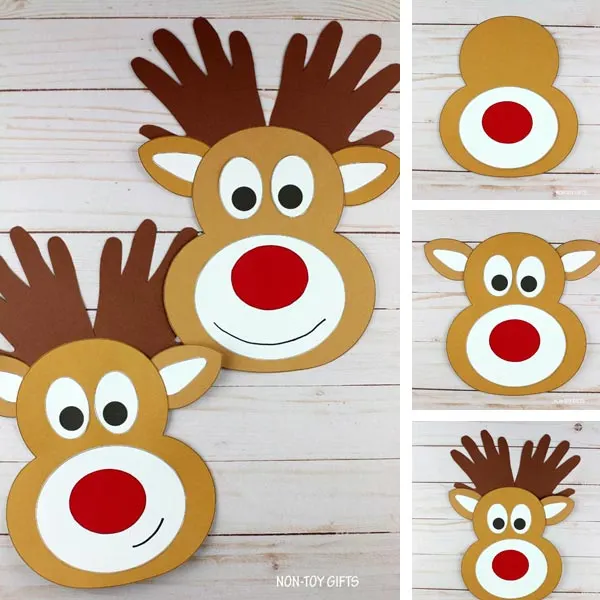
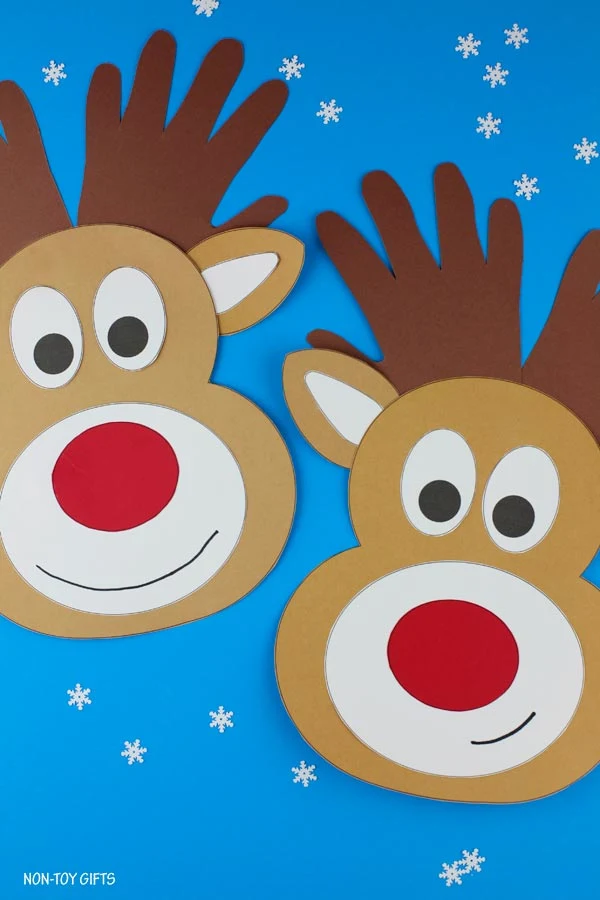
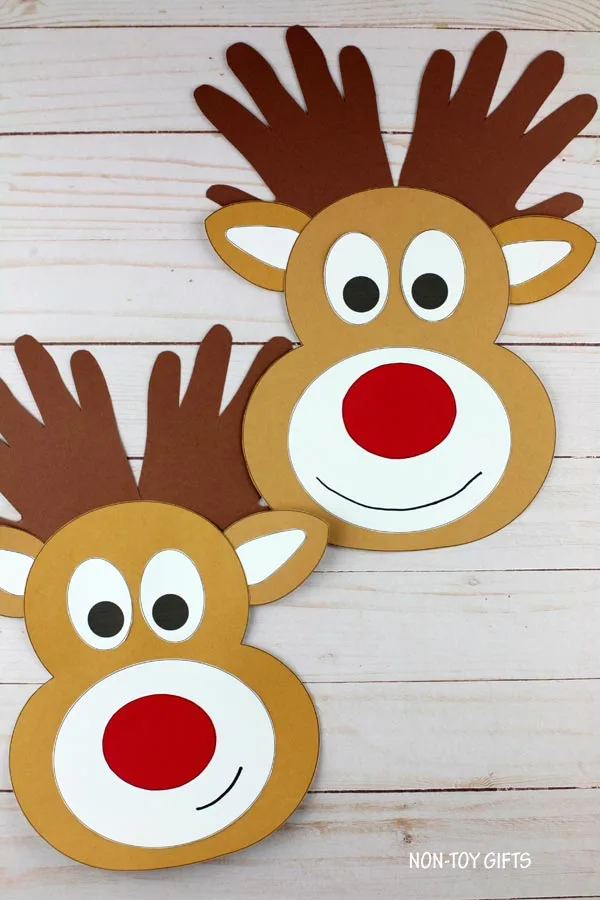
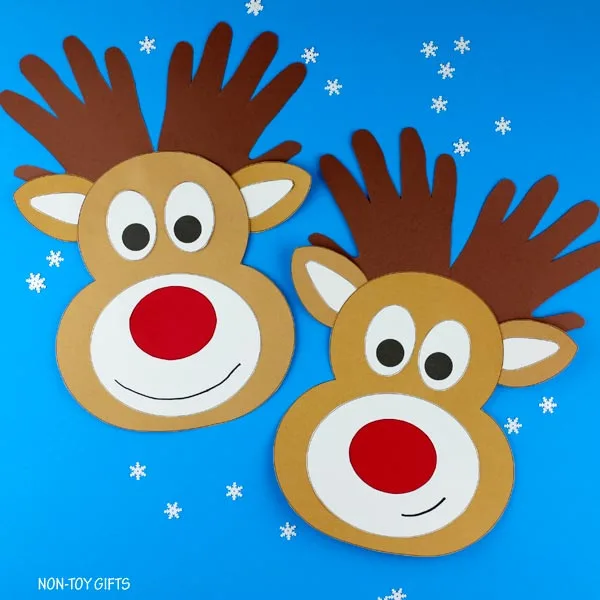
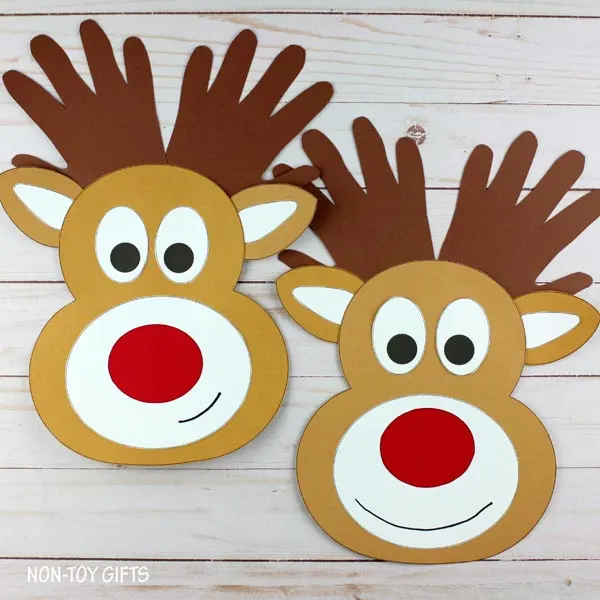
Let’s create a simple handprint reindeer craft this Christmas and gift Rudolf a pair of handprint antlers – the finest ones!
Christmas crafting with children should feature at least one reindeer project. This handprint reindeer is incredibly easy to make, which makes it ideal for preschoolers, kindergartners and older children.
A printable template is included, making it suitable for use at home or in the classroom.
Over the years, we have made numerous reindeer, including this beloved paper reindeer and this paper plate reindeer unicorn.
Both children and adults enjoy Christmas crafts. Set aside some time during the holidays to create with your children, and you’ll make wonderful family memories—ones you’ll treasure forever.
My boys are grown now and would rather be outdoors with their friends than spend time with their mom, so crafting together isn’t as effortless as it was when they were little. Still, I manage to bring the whole family together (yes, my husband too) around the table for a few Christmas crafts.
Handprint projects are particularly charming, and if you’d like more inspiration, be sure to explore these handprint Christmas crafts or these handprint Christmas ornaments for children.
Interesting facts about reindeer
Before beginning the craft directions, let’s discover a few intriguing facts about reindeer:
- In North America, reindeer are also called caribou.
- Both male and female reindeer grow antlers. This is unusual because, in most deer species, only the males have antlers.
- Antlers shed and grow back larger every year.
- Their nose is entirely covered in hair, which helps warm the air before it reaches the reindeer’s lungs.
Materials:
Making a handprint reindeer project
The reindeer template includes two choices:
1. Option 1: print straight onto colored paper
2. Option 2: trace the designs onto colored paper
As a result, you can easily complete this craft with one or two children or with an entire classroom of students.
Instructions, step by step
Take a sheet of dark brown paper, fold it in half, trace the child’s handprint along one side, and cut out the shapes.
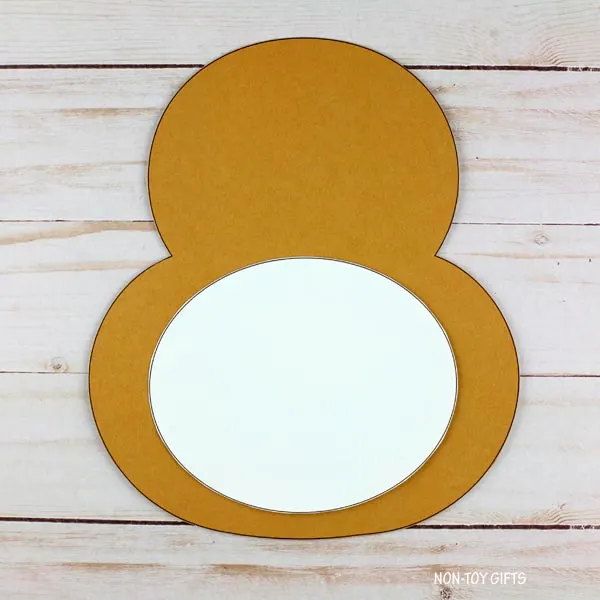
Attach the white muzzle to the lower part of the head.
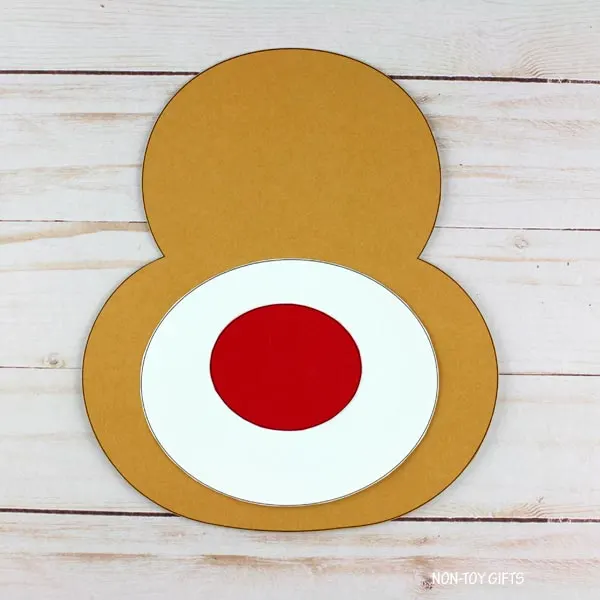
Place the nose on the muzzle with glue. (TIP: Avoid gluing it too near the muzzle’s bottom edge so there is enough space for the mouth.)
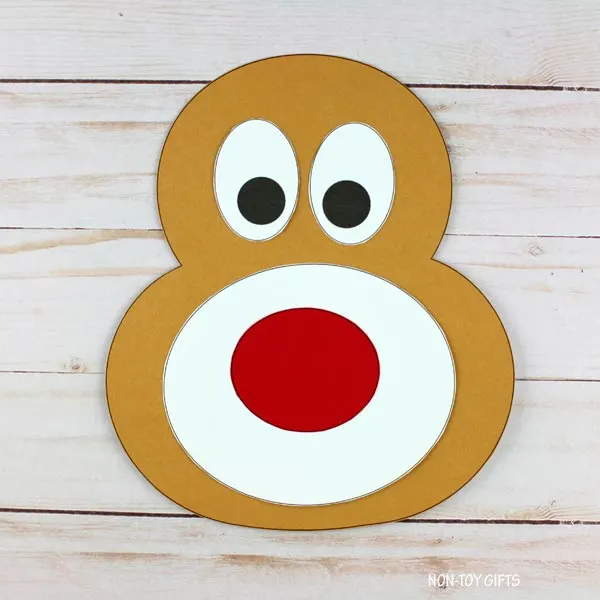
Position and glue the eyes above the muzzle.
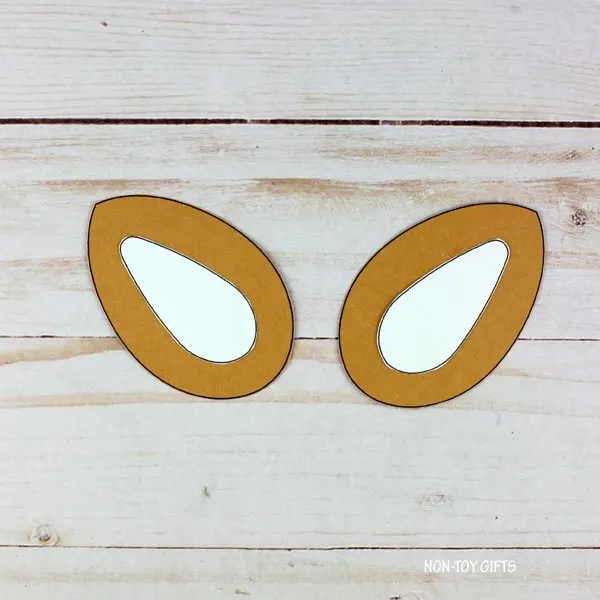
Glue the white ear pieces into the centers of the ears.
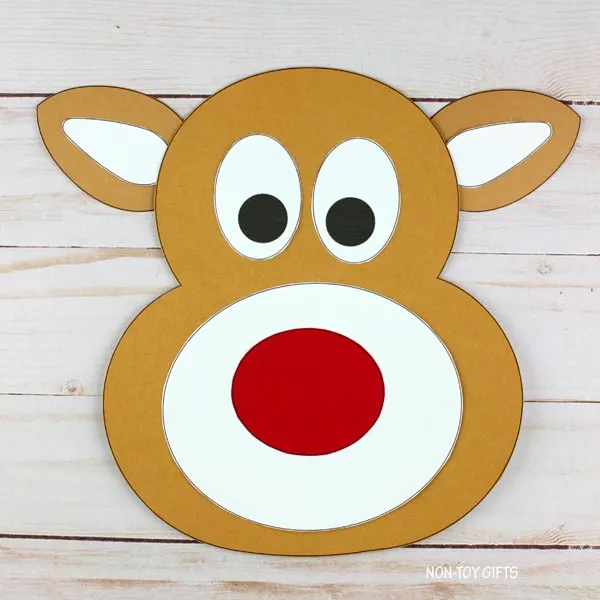
Place one ear on each side at the back of the head.
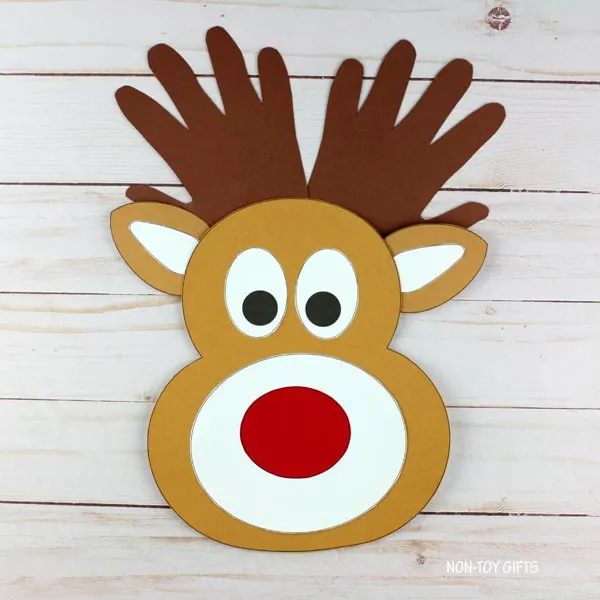
Attach the handprints between the ears along the top of the head.
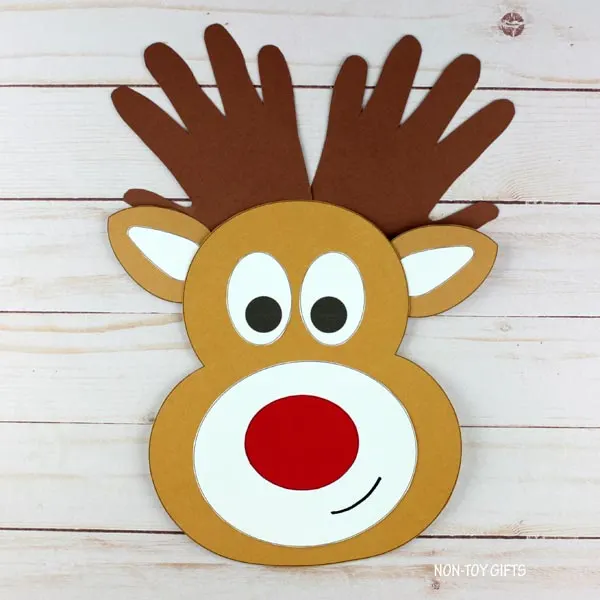
Draw the mouth with a black marker.