DIY Flower Journal: Preserve Your Garden & Travel Memories
I’m always searching for another creative hands-on project, and this one was especially enjoyable to assemble. My passion for pressing flowers and my fondness for journaling finally came together.
Not long ago, I bought a miniature flower press that was compact enough to carry in my handbag, and I began gathering flowers everywhere I visited this Summer: the 4th of July in Maine, a boat excursion to the Isle of Shoals, and a day outing to Rockport.
That’s when I thought of making a flower journal where I could create a keepsake from some of my favorite blossoms. I’m certain it will brighten my mood when I browse through the pages on a snowy January day here in New England!!
Welcome! I’m Jennifer, and I’ve always felt that nature provides the loveliest art materials. For many years, I’ve preserved New England’s flowers and greenery by pressing, drying, and creating. Let me show you how to preserve a small piece of the season and bring it inside—easily and beautifully.
What Exactly Is a Flower Journal?
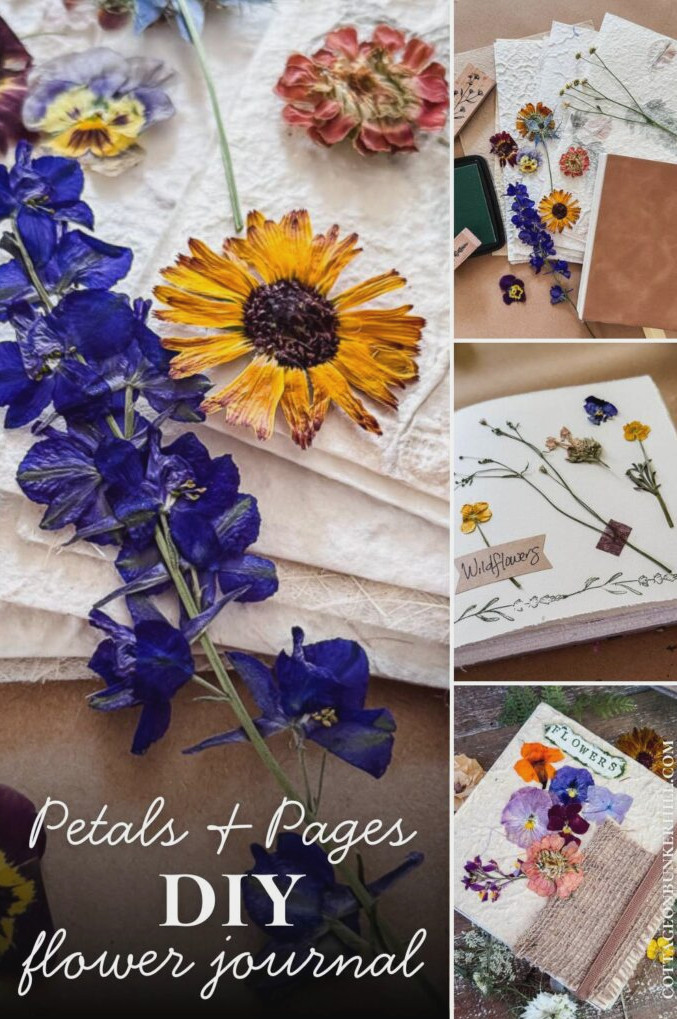
It combines a scrapbook with a nature journal. Gather flowers from your garden, a farm stand, a stroll, or anywhere else, then attach them to journal pages with the date, place, or simply a brief thought about the day. This is how my journal has developed so far: spring blossoms, wildflowers, my Maine vacation, flowers from the Isle of Shoals, and flowers from Rockport. Essentially, it’s a travel diary created with flowers rather than words.
What You’ll Need: Supply List
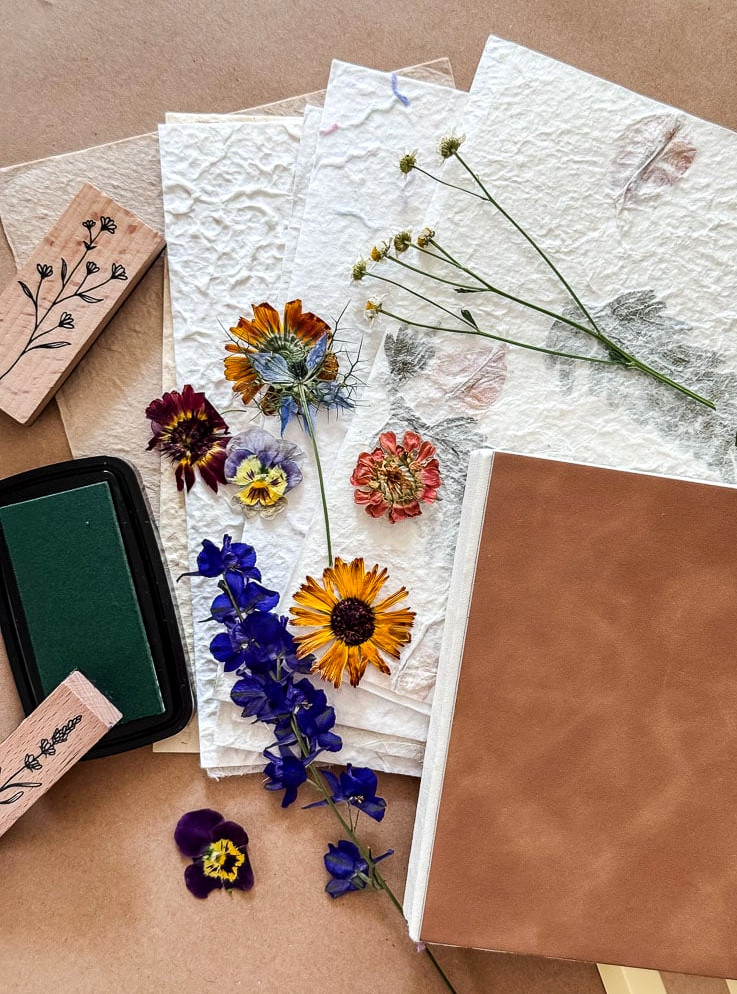
Materials Needed for This Project
- A journal containing thick, acid-free paper. Standard lined notebook pages may buckle beneath glue, so choose one labeled as a mixed-media or watercolor sketchbook — mine is a handmade, deckle-edged sketchbook with sturdy pages that stand up nicely.
- A flower press.
- Archival, acid-free adhesive. I work with a neutral-pH PVA glue intended for bookbinding and paper projects. It dries transparent, remains pliable, and won’t turn your pages yellow over time. Ordinary craft glue may eventually cause discoloration, and I want this journal to endure.
- Tweezers, to carefully move fragile pressed petals without breaking them apart.
- Optional decorating supplies: handmade paper, burlap or fabric scraps, letter and flower stamps, washi tape, and labels
Creating a Flower Journal: Step-by-Step
This project can really be divided into two sections. Begin by embellishing the cover of your journal, then add the pressed flowers inside. I’ll share the essential instructions and suggestions, and afterward you can personalize your own DIY flower journal.
Step 1: Press Your Flowers Ahead of Time
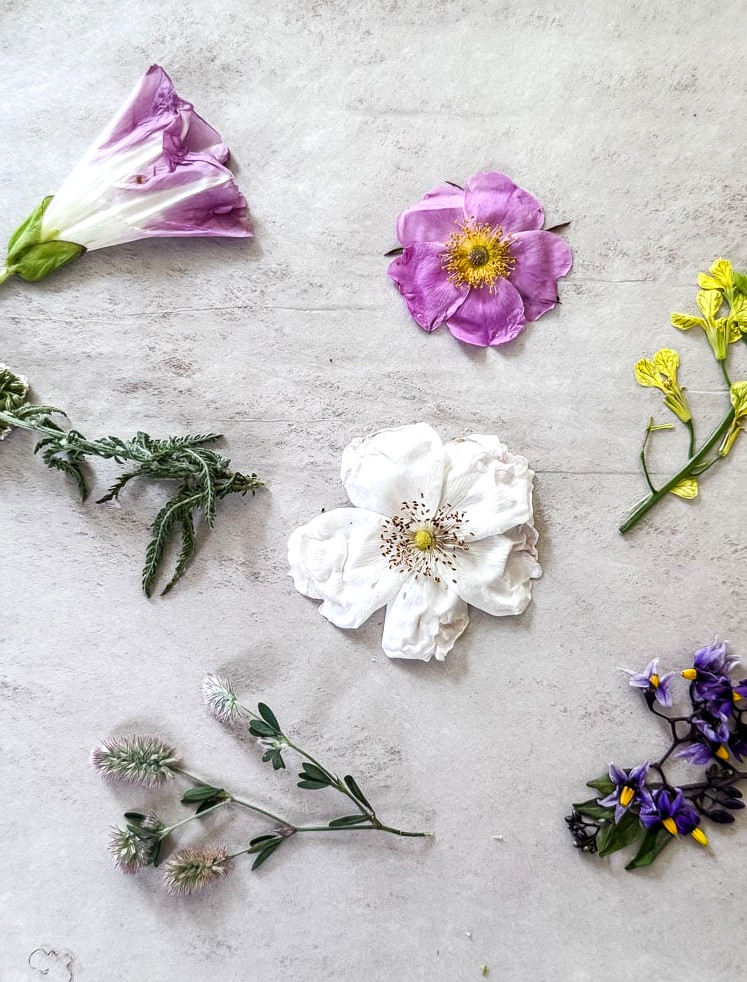
Press the flowers beforehand, rather than inside the journal. This is where many people get confused. Each flower should be pressed on its own and allowed to dry fully before it comes anywhere near the journal.
Placing flowers directly between the journal pages can trap moisture against the paper, potentially causing mold or misshapen pages. Pressing them separately also lets you gather an entire afternoon’s collection, leave everything to dry for a week or two, and create the journal page later when you have time to sit and work on it.
Discover more about using a flower press in my beginner’s guide
Step 2: Add Some Character to Your Cover.
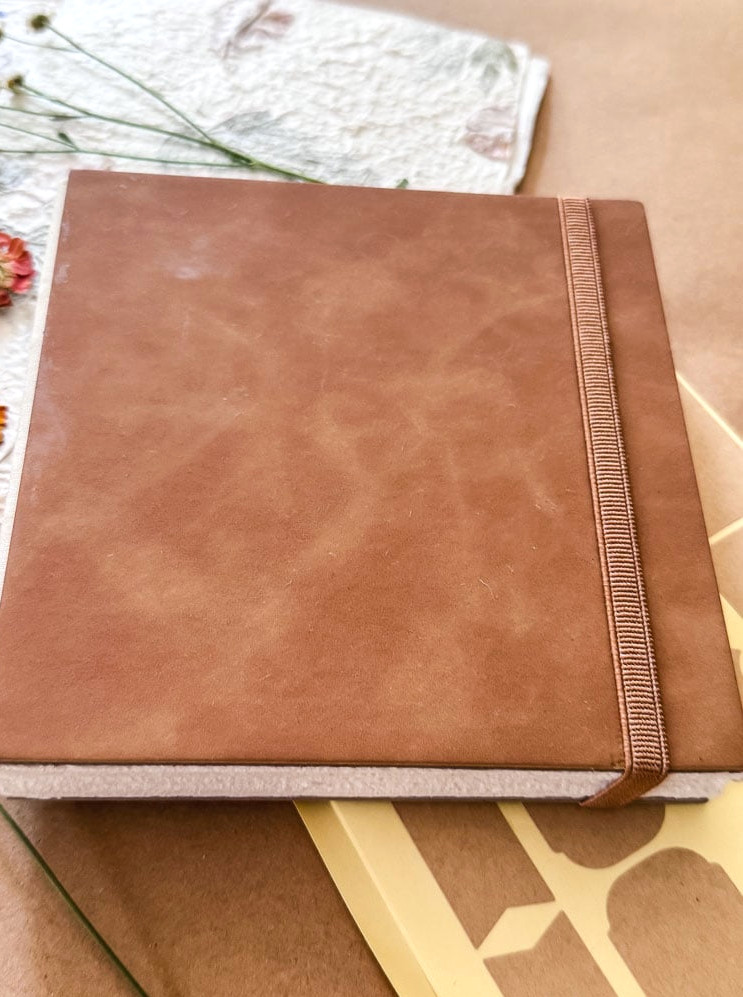
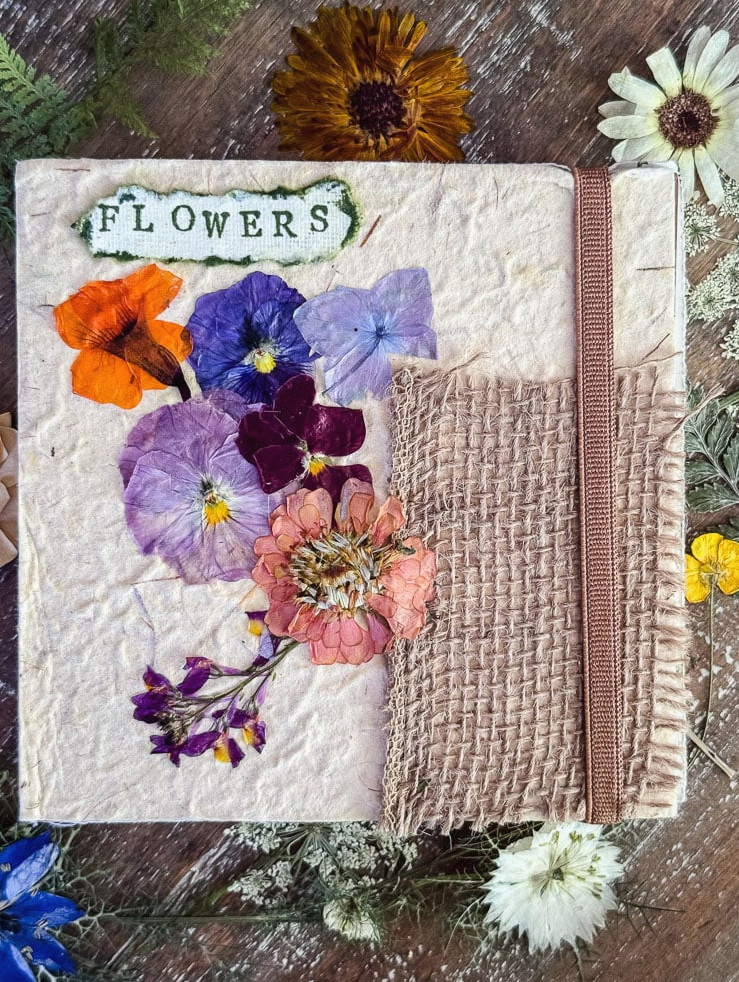
This is the enjoyable part. I embellished the cover with handmade paper, a piece of burlap, pressed flowers, and a hand-stamped “FLOWERS” label
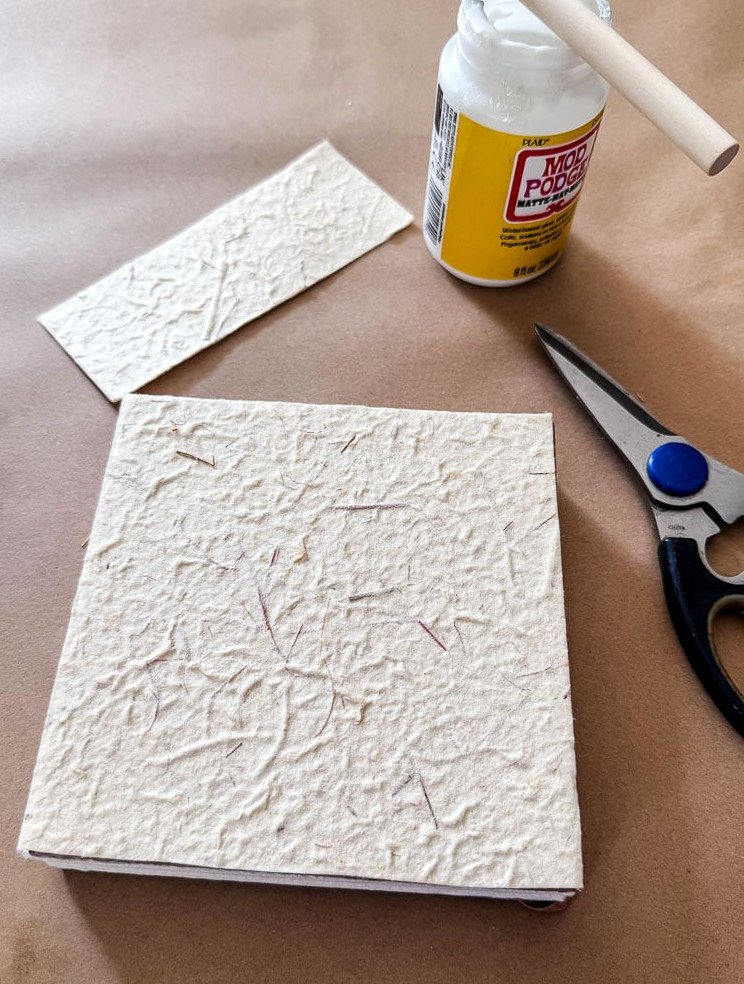
First, I trimmed a sheet of handmade paper so it would fit over the plain journal cover. After that, I used Mod Podge to adhere it. I also snipped a small section of burlap and attached it to the journal’s corner.
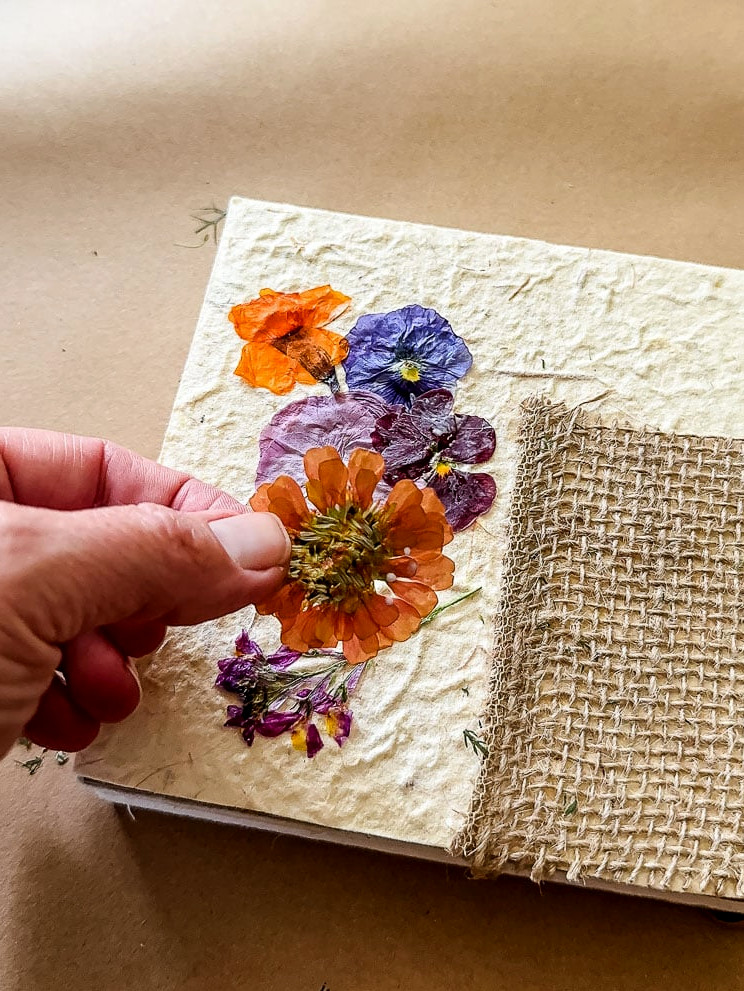
Next, I began attaching several pressed flowers to the paper with archival craft glue (it dries transparent and works wonderfully for pressed flowers).
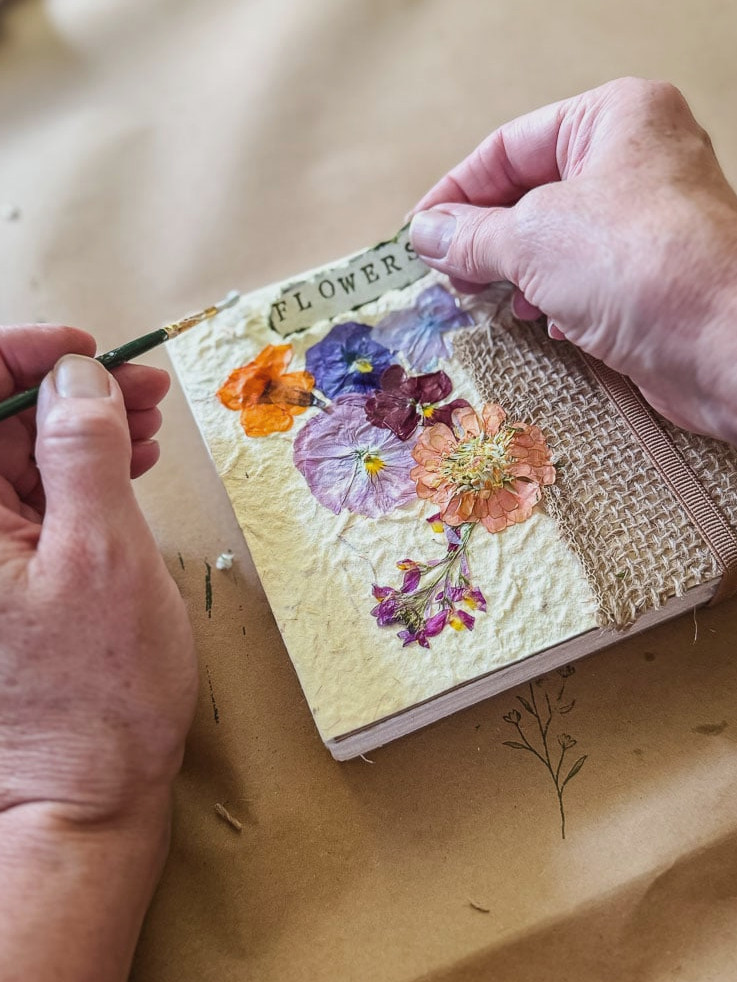
Here’s my candid admission: I simply cannot stamp a perfectly straight line. As you follow the tutorial, you may see that my rows wander, some flowers overlap where they probably shouldn’t, and a stamp or two is a little crooked if you look carefully. But honestly? I adore it anyway. This project isn’t about pursuing perfection. A slightly uneven stamped flower field still resembles a flower field, and that imperfection is exactly what gives it a handmade quality instead of a printed appearance.
Step 3: Create Your Pages
After your flowers are completely pressed and dry, I suggest positioning them on the page before gluing anything permanently. I prefer to arrange a few possibilities and study them for a moment before making my choice.
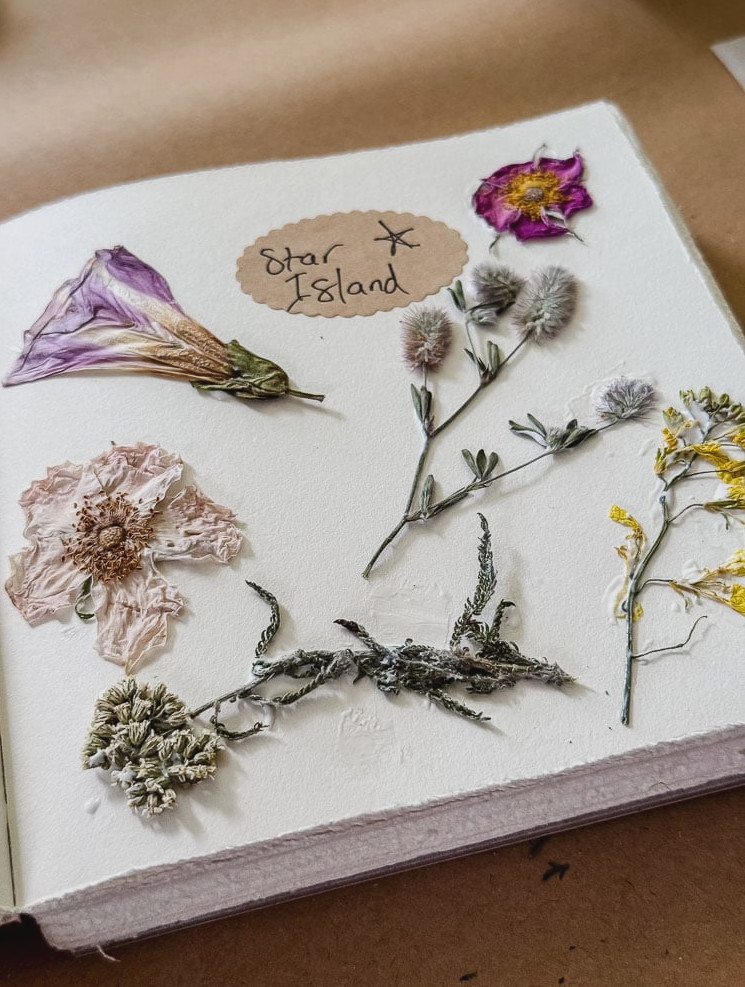
Apply a slender coat of glue (I use a small paintbrush to spread it across the back of the bloom), press it carefully into position, and keep it there for a few seconds while it sets. Afterwards, you can softly brush glue along the edges for extra security. The archival craft glue I’m using dries transparent (it’s the kind pressed-flower artists use for framed artwork).
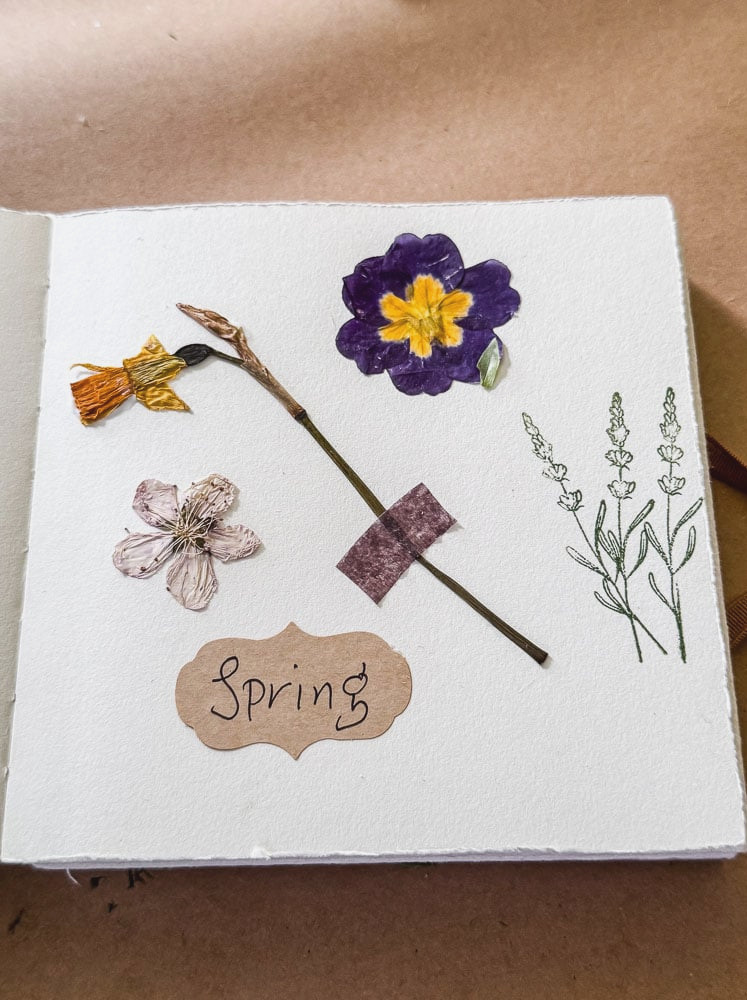
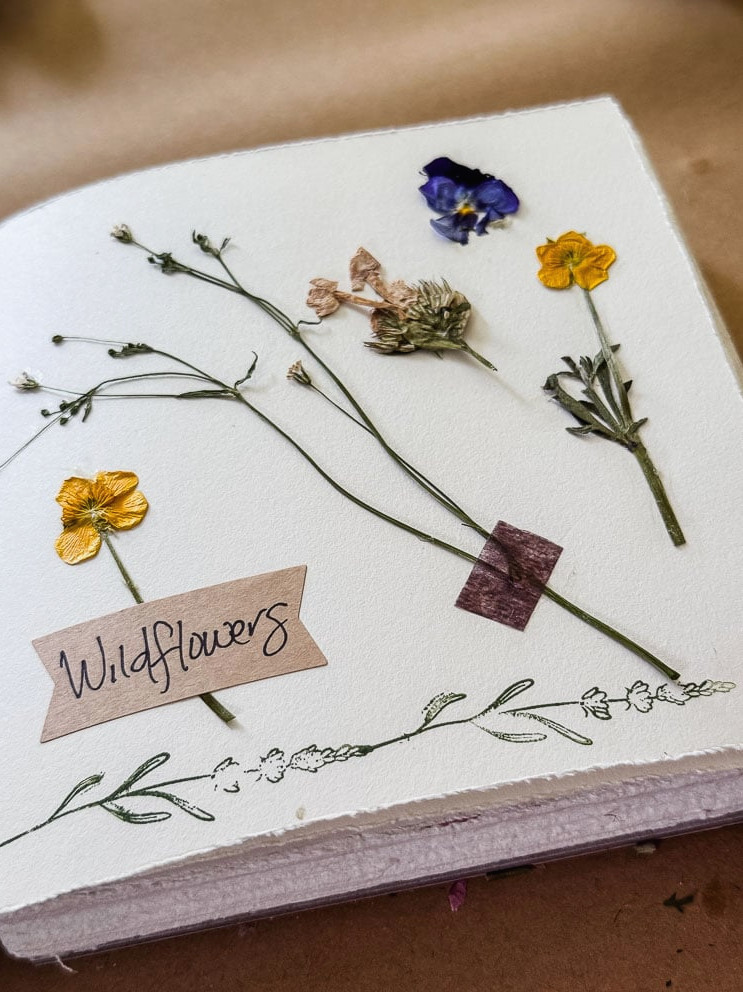
Rather than placing flowers randomly throughout the book, I arrange my pages around a theme or journey. There’s a spring flowers page, a wildflowers page, a Maine page, a page celebrating our Isle of Shoals boat trip, and another from our Rockport day excursion. This adds organization and transforms the journal into a travel keepsake instead of a scattered assortment.
Step 4: Add Labels Along the Way
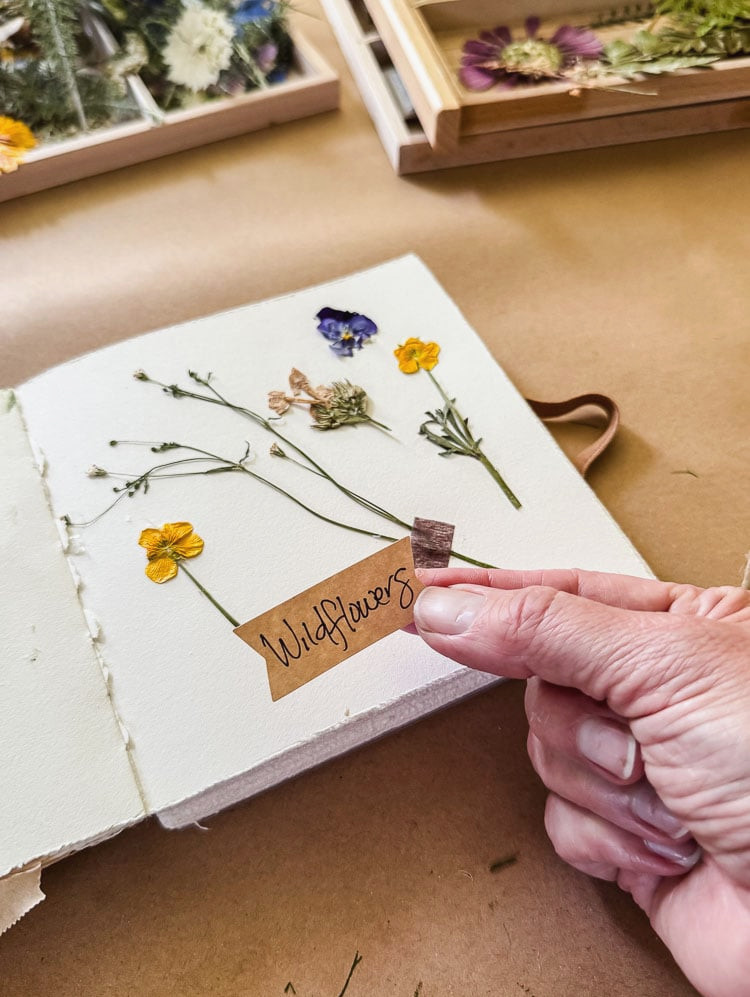
Add labels as you work, and give every page its own character.
Even a handful of words can be useful: the flower’s name if you recognize it, where you discovered it, and the date. Apart from that, this is your opportunity to personalize the journal.
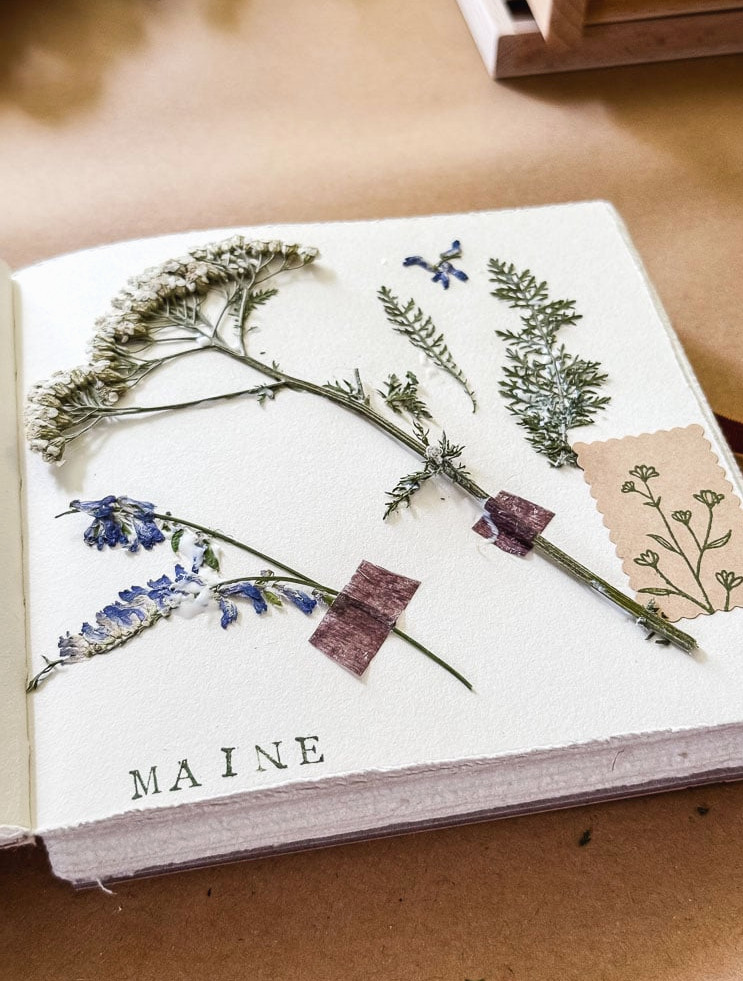
For my Maine flower page, I placed small pieces of washi tape across a few stems simply as decoration, not as a way to fasten the flowers. On other pages, I stamped the location by hand or added a flower stamp to bring in a little more charm.
Step 5: Include Extra Details
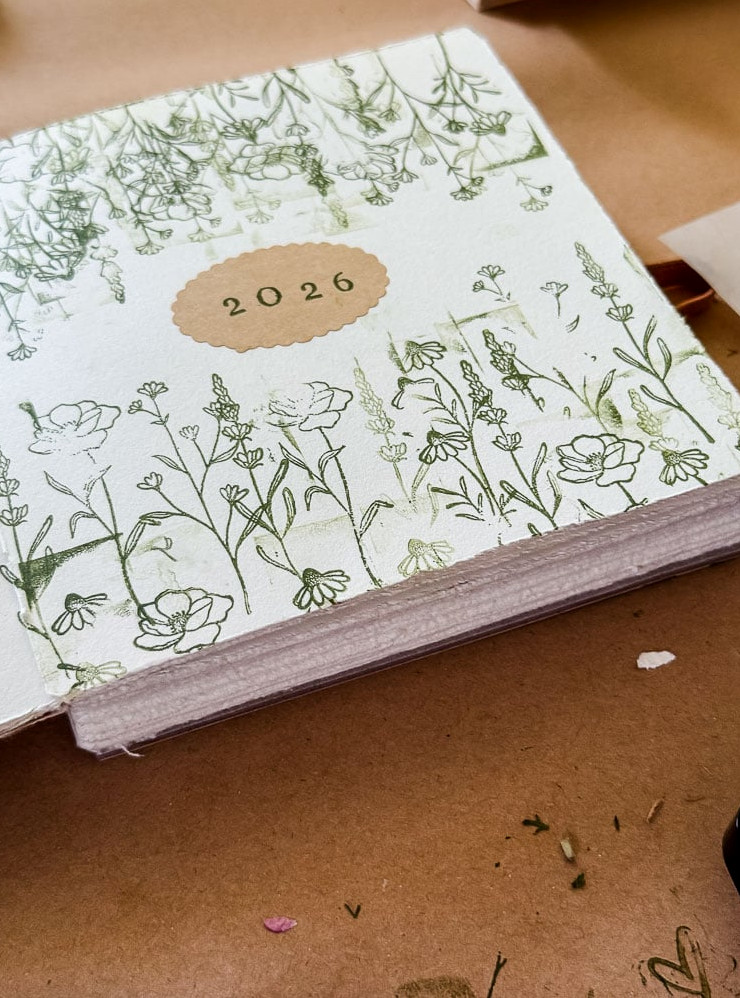
For the inside cover, I placed a sticker featuring 2026 in the middle, then enjoyed decorating it with flower stamps and a green ink pad.
A Few Helpful Tips
- Flowers dry at different rates: delicate varieties such as Queen Anne’s lace or cosmos are often ready first, whereas fuller blooms like zinnias or roses require additional time. Allow a complete one to two weeks and inspect them before deciding they are finished.
- When choosing a journal, keep in mind that matte paper grips glue more effectively than glossy paper.
- Don’t stress over your journal! Keep it plain or decorate it as much as you like. This is something you are making for yourself, for you to enjoy.
Why This One Is a Favorite
This could be such an enjoyable girls’ night or craft-night activity, too. Get enough journals and cover-decorating supplies for everyone. Ask your friends to collect flowers a few weeks ahead of time and press them-even inside a book. Then spend the evening assembling your pages. It’s an easygoing, hands-on project that pairs wonderfully with a glass of wine and pleasant conversation.
Of all the things I’ve created recently, this may be the one I love most! The finished pages aren’t really the point; it’s about spotting a flower while walking and taking a moment to preserve it rather than merely photographing it and moving on. Unhurried, uncomplicated, slightly untidy, completely mine.
If you make one, I’d be delighted to see it. Tag me or send a picture of your first page, crooked stamps included!!
Have your projects showcased! If this or any of my other DIY creations inspires you, I’d be thrilled to see them and feature you in the Reader’s Spotlight gallery. Email a photo to jennifer@cottageonbunkerhill.com
xo, Jennifer
Enjoy projects like this?Don’t miss a thing! Join my newsletter familyfor more warm, affordable DIY inspiration sent straight to your inbox. You’ll receive special tips, advance access to tutorials, and plenty of ideas to help your home feel personal and full of heart.