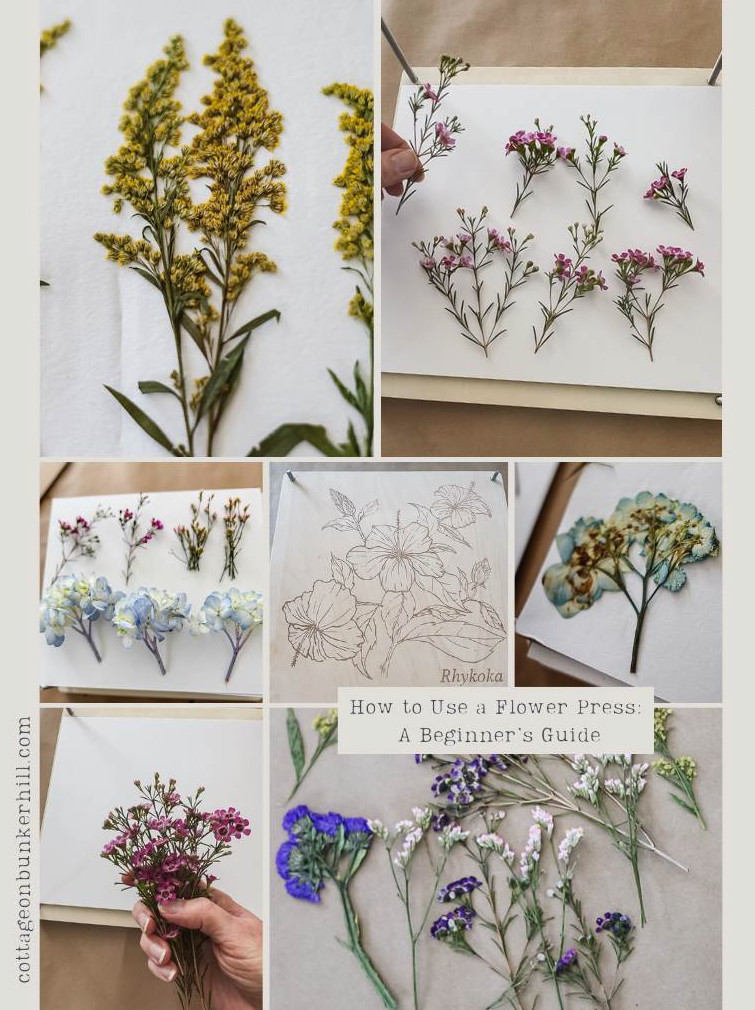
By now, I’ve pressed hundreds of flowers, ranging from Trader Joe’s ranunculus during a snowy January storm to roses, cosmos, and cherry blossoms picked directly from my garden. I’ve built a sizable flower press, experimented with every kind of paper, and spoiled plenty of blooms while figuring out what truly works.
This is the resource I wish I’d found when I began. Whether you’ve just purchased your first flower press or have some experience and want to improve your technique, I’ll cover it all: a step-by-step method for using a flower press, the flowers that turn out beautifully (and those that aren’t worth the effort), solutions to common issues, and ideas for what to create with your finished pressed flowers.
Let’s dive in.
Welcome! I’m Jennifer, and I’ve always felt that nature provides the most gorgeous art materials. For many years, I’ve preserved New England’s flowers and foliage by pressing, drying, and crafting. Let me show you how to preserve a small piece of the season and bring it inside—beautifully and with ease.
Why Choose a Flower Press?
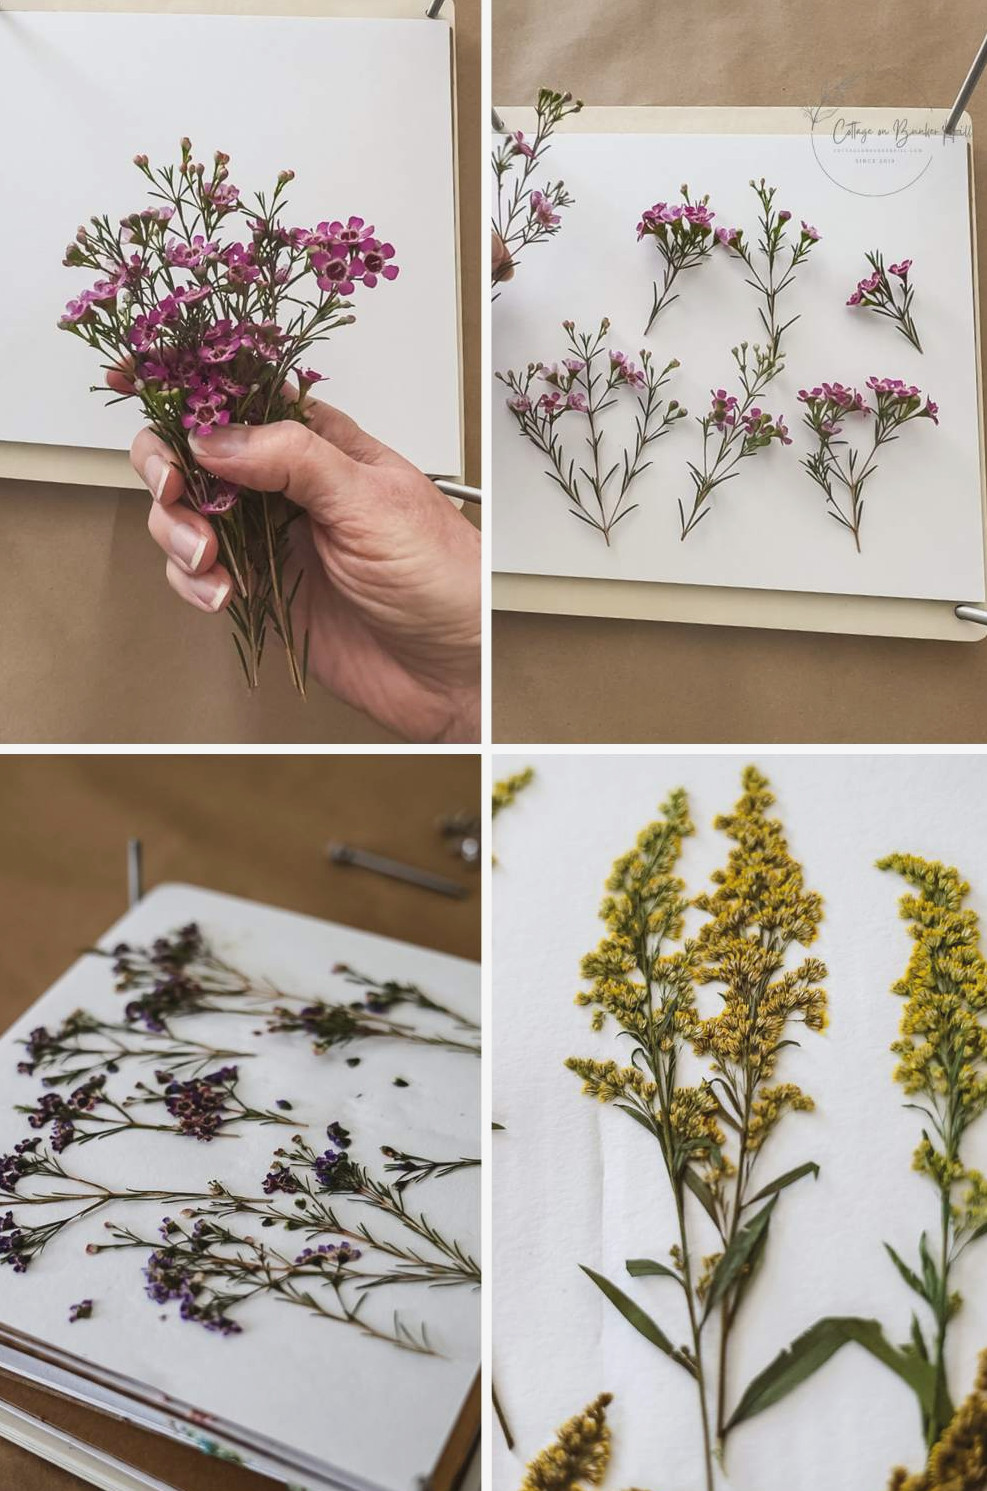
Before covering the process, let’s look at why a flower press is such an effective way to flatten flowers. Here are its biggest advantages:
- Consistent Pressure:A press distributes steady pressure over the entire surface, helping flowers dry flat rather than uneven.
- Quicker Drying:Typically 1–3 weeks compared with 4–6 weeks inside a book, depending on the flower. (The microwave technique is faster still; I’ll explain more below.)
- Several layers: A quality press allows you to dry numerous flowers simultaneously. Mine includes 10 layers, allowing me to process an entire cutting-garden harvest at once.
- Reusable:While books may become stained or damaged, a flower press is made to be used again and again.
- Higher-quality results: In simple terms, flowers pressed in a dedicated press generally look more polished than those pressed in books.
For anyone serious about pressed-flower art, purchasing a flower press is a smart investment. It’s also enjoyable and rewarding to work with!
Selecting the Best Flower Press
Flower presses vary considerably, so selecting one that matches your plans is essential. Here are the main features to consider:
Which Size Is Right?
Your ideal press size depends on the materials you intend to flatten.
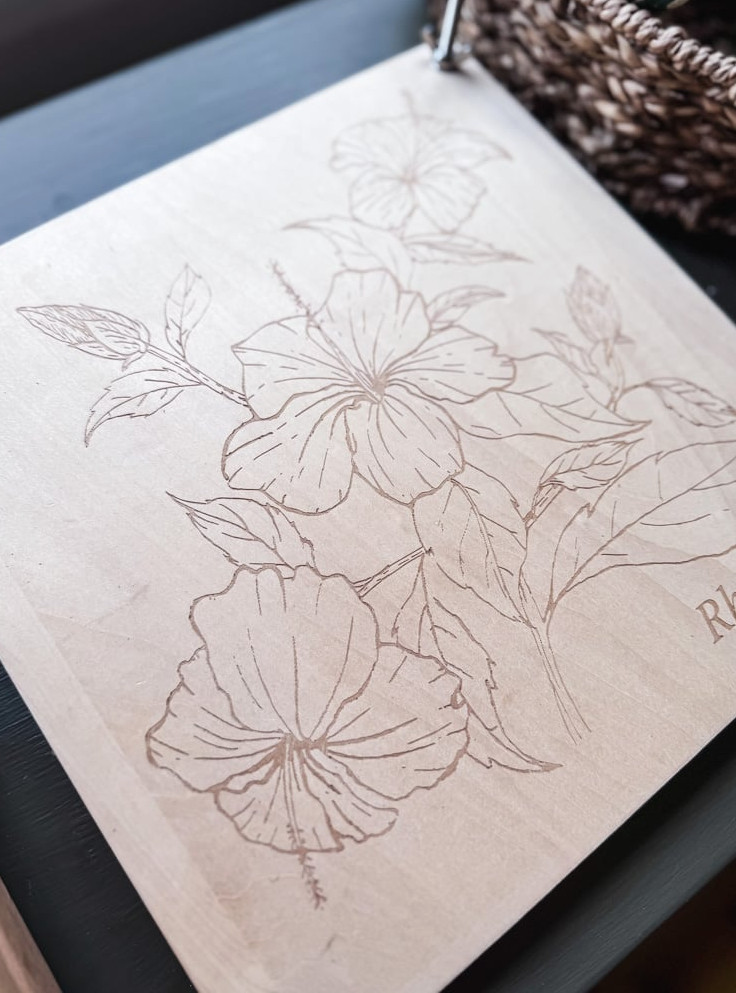
Compact presses (5×7 inches) work very well for fragile flowers and those just getting started. For larger blooms, daisies, roses, sizeable hydrangea clusters, or a larger quantity at one time, choose a bigger model. I use an 11×11-inch press and couldn’t be happier with it. It accommodates everything from tiny wax flowers to daffodils with longer stems.
- Small presses (5×7 inches) suit beginners and are excellent for petite flowers.
- Roomier presses (8×10 inches or larger) work best for substantial blooms or pressing several flowers together.
- Why I Selected This Size: I chose an 11×11-inch flower press so I can flatten many flowers in one batch. Its generous dimensions are also useful for larger garden blooms, such as peonies or sunflowers, which I’m eager to test this summer!
2. Layer Count:
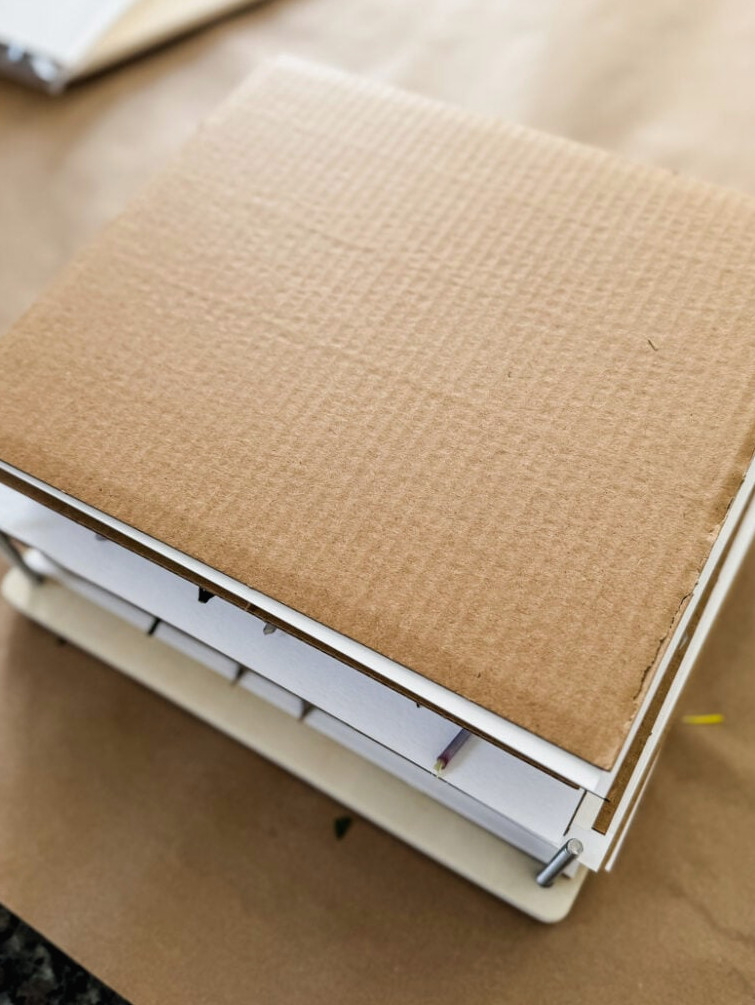
A greater number of layers lets you press more flowers in one batch. If you’re gathering blooms from a cutting garden at the height of the season, look for at least 6–10 layers. My 10-layer press allows me to flatten a full harvest in one sitting rather than cycling through batches for several weeks.
- Some models include only a handful of layers, whereas others, including mine, offer as many as 10.
- With additional layers, you can press more flowers simultaneously, saving a significant amount of time.
- Why I Selected This Feature: My press’s 10-layer design allows me to process different flowers and foliage together, making it especially practical for bigger projects.
3. Material
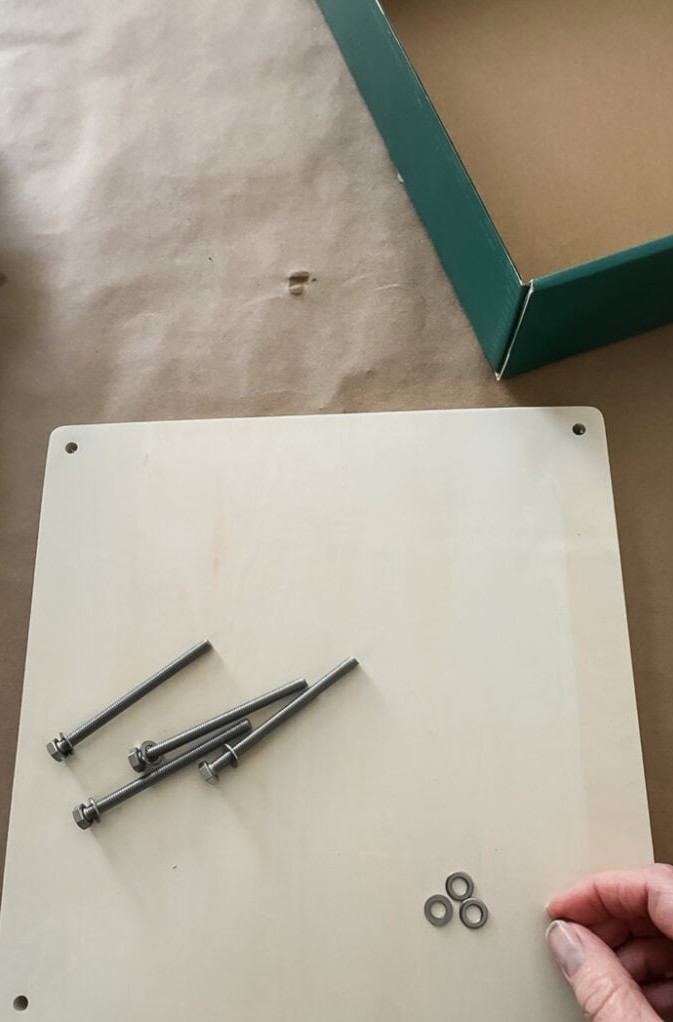
Wooden presses remain a timeless option and perform wonderfully. Metal screw presses exert greater pressure, making them ideal for thicker flowers, although wood is perfectly adequate for most blooms.
- Wooden presses are timeless and long-lasting, though you should ensure they’re crafted from solid wood.
- Metal screw presses deliver increased pressure and work especially well with thicker flowers.
- Why I Chose This Material: I selected a press made of natural, untreated wood because it’s safe for pressing flowers and brings a rustic feel to my crafting area.
4. Closure Style: Screws or Straps
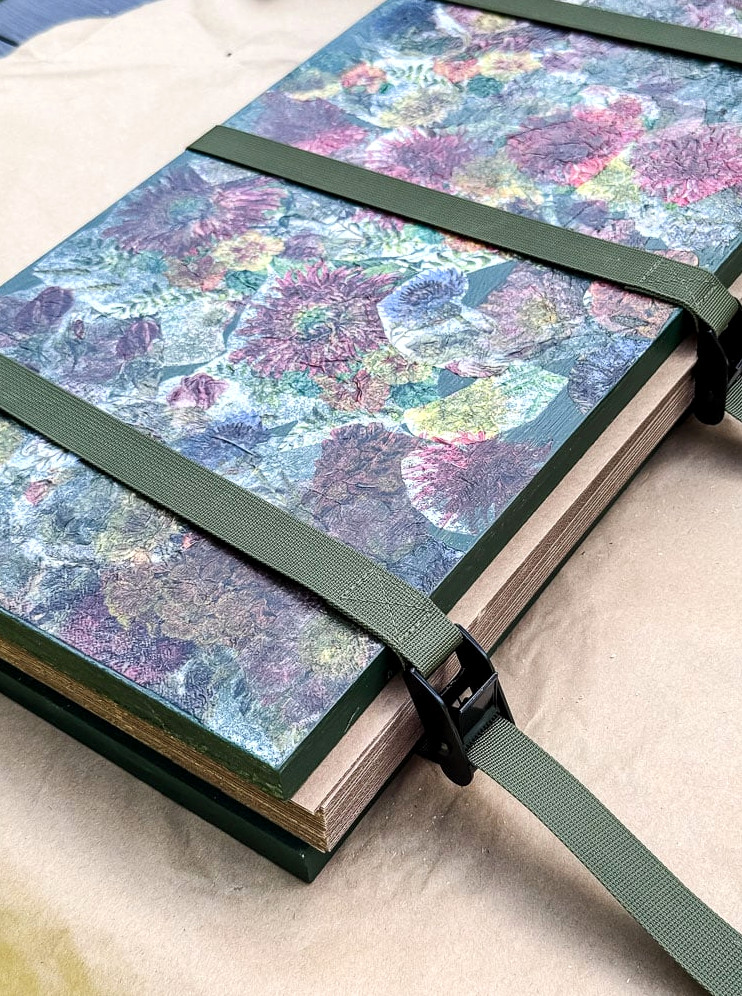
Traditional wooden presses rely on wing-nut screws. They perform well, but tightening them evenly requires some practice. Cam-buckle strap presses (such as the DIY model I recently made) are simpler to operate: tighten the straps, and they create even pressure without the hassle. Both options are effective; the choice depends on your preference.
5. Ease of Transport
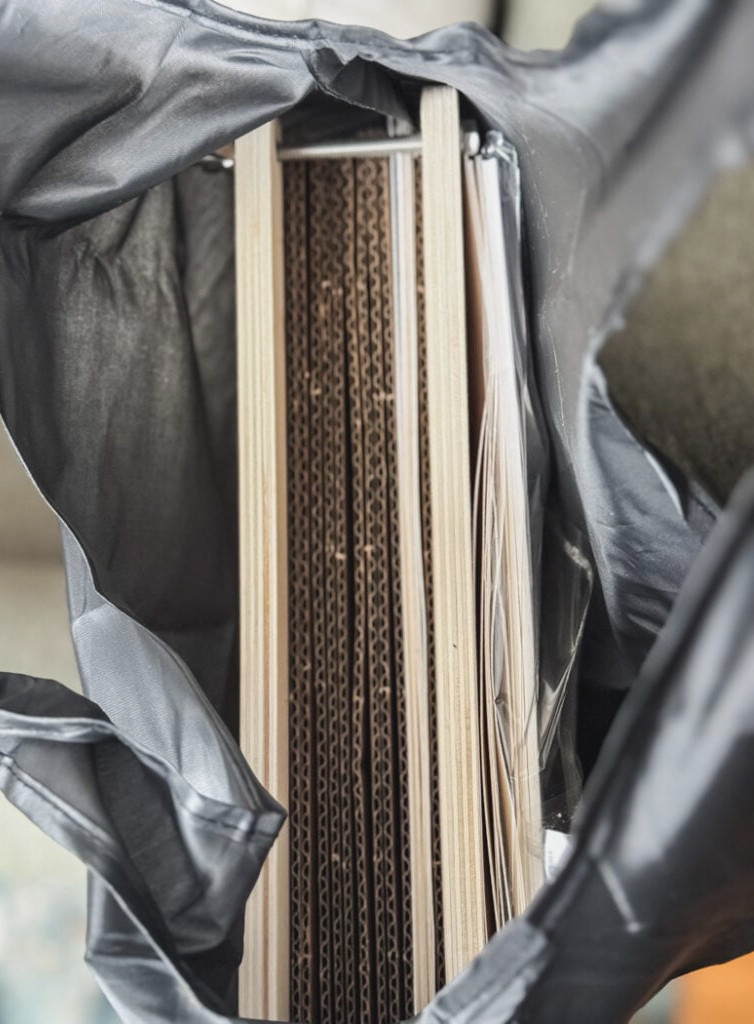
- If you intend to carry your press with you (for instance, on walks through nature), choose a small, lightweight model.
- Why This Works for Me: Although my 11×11-inch press is not especially easy to transport, it includes a travel bag. It suits my home studio perfectly, where I complete most of my crafting.
- I’m picking up one of these mini presses to carry in my bag this summer! I often go out and discover a lovely wildflower or unusual leaf! Now I’ll be able to place them straight into a press.
Interested in Making Your Own?
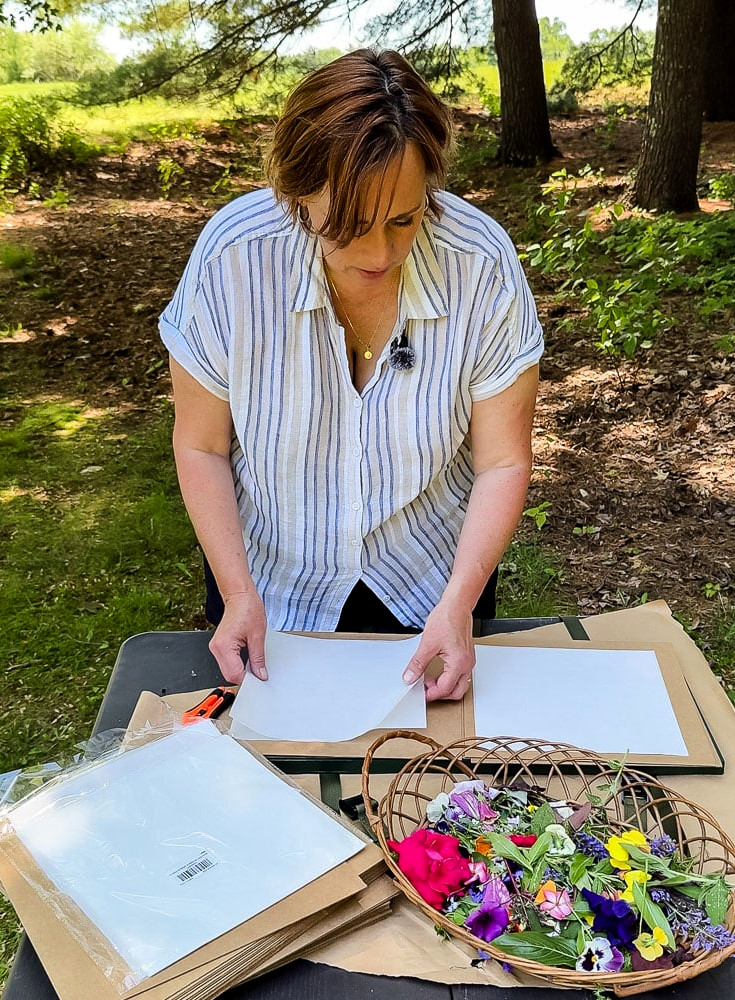
I created my own oversized flower press from pine boards and cam-buckle straps. It requires no bolts and no drill beyond the basic assembly. This is one of my favorite projects, and it costs much less than a store-bought press of the same size. My complete tutorial is available through the link below.
spotlight
flower presser
This is the flower press I rely on; with 10 layers, it saves a tremendous amount of time by allowing me to press plenty of blooms at once for about $25.
A Step-by-Step Tutorial for Using a Flower Press
Once you’ve selected your flower press, it’s time to begin! Follow these instructions:
Step 1: Gather or Purchase Your Flowers
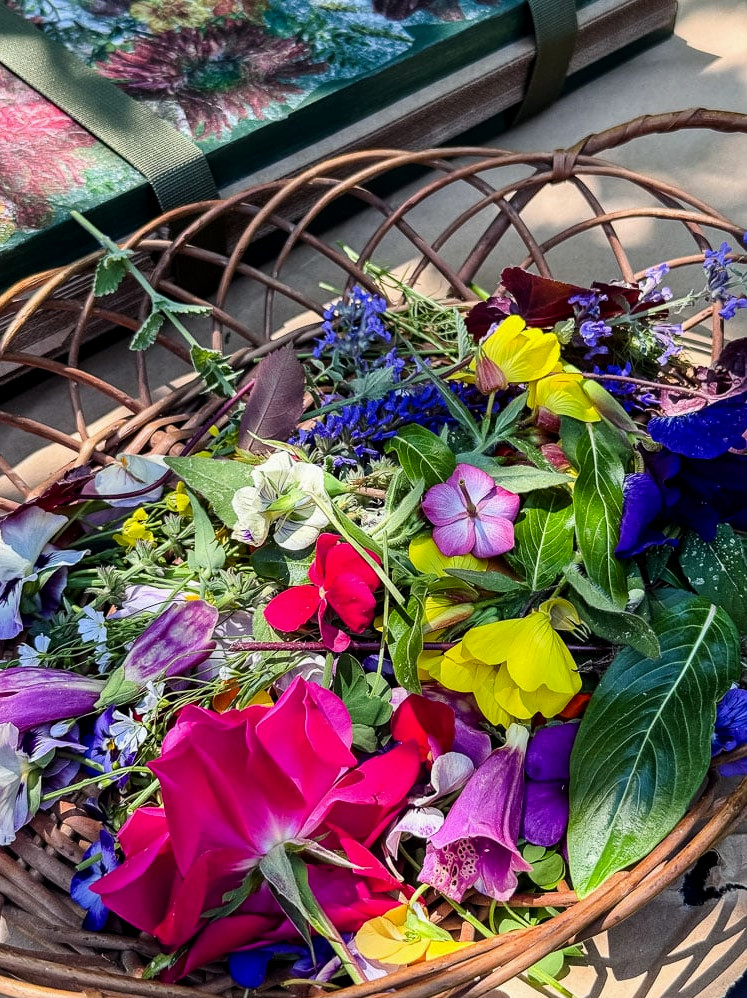
When you’re gathering flowers from your garden, timing is important. Aim for mid-morning, once the dew has evaporated but before the afternoon temperatures rise. Select blooms at their fullest or slightly beforehand. Stay away from flowers that have begun producing seeds or have brown edges; they generally won’t press successfully.
If you’re purchasing flowers (which is completely fine — I used Trader Joe’s flowers throughout my first winter of pressing), look for the freshest stems available. Grocery-store wax flowers, statice, and daffodils are all wonderful options.
Step 2: Get Your Flowers Ready
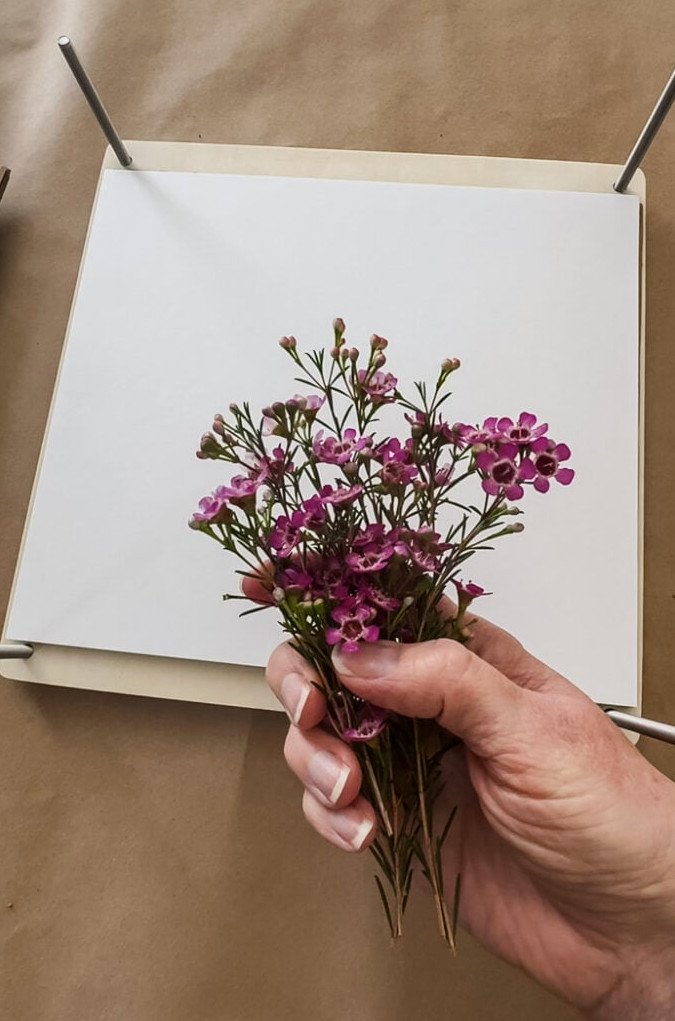
A bit of preparation makes a big difference!
- Do not use flowers covered in dew or moisture, since they may develop mold.
- Trim away the stems unless you prefer to keep them; stems create extra thickness and delay drying.
- Carefully pluck off any bruised or damaged outer petals.
- For thick flowers (such as large roses): take them apart. Press the petals separately or cut the flower lengthwise into halves. This is the most common beginner error: pressing an entire dense flower and then wondering why it becomes moldy.
- Brush away any insects. Really, make sure you check!
Step 3: Arrange the Press Layers
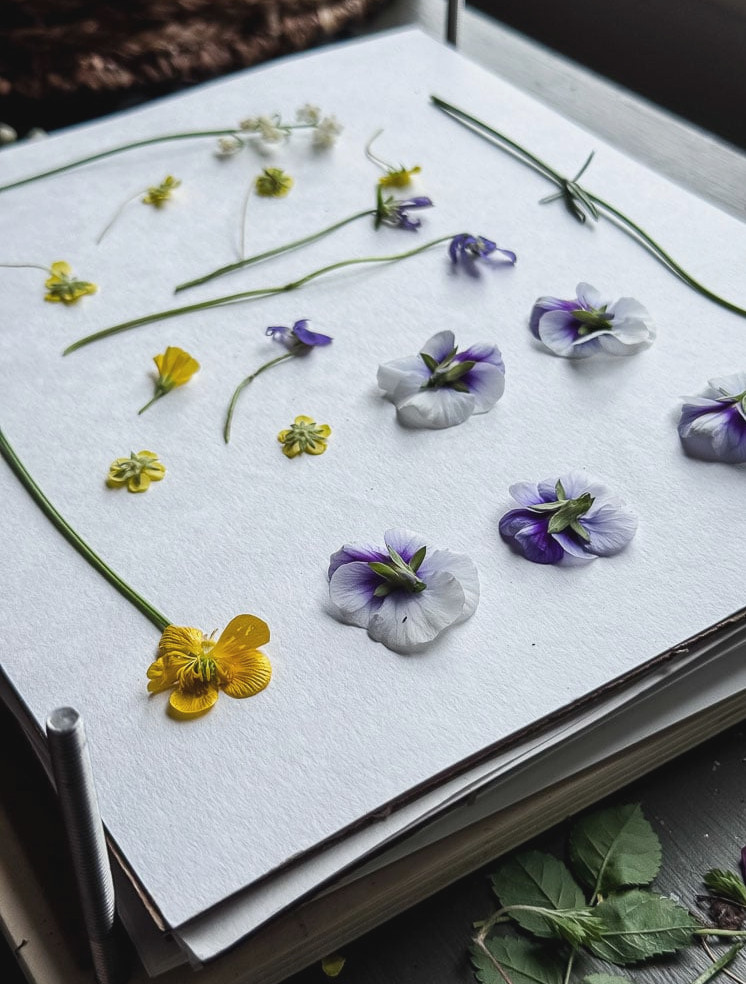
- The sequence of the layers is important. This is how I arrange mine:
- Bottom press board
- Cardboard sheet (rigid, supports uniform pressure & encourages airflow)
- Blotting paper designed for flower pressing
- Flowers, positioned face down without overlapping
- A second piece of absorbent paper placed above
- Another cardboard sheet
- Continue the arrangement for every additional layer of flowers
- Top press board
Special situations
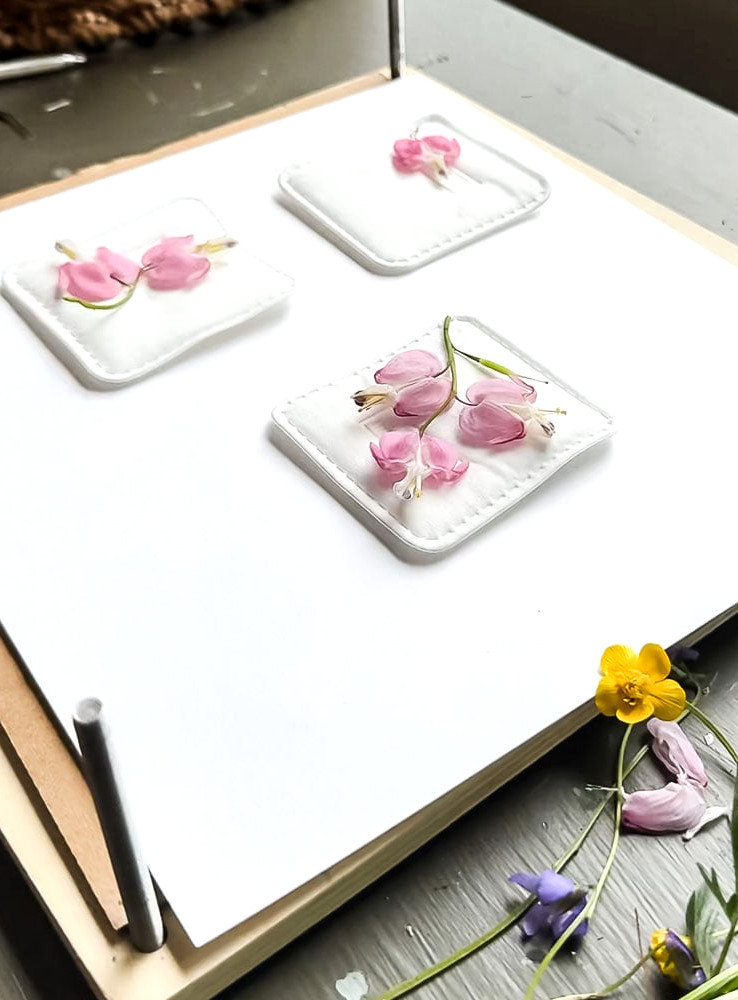
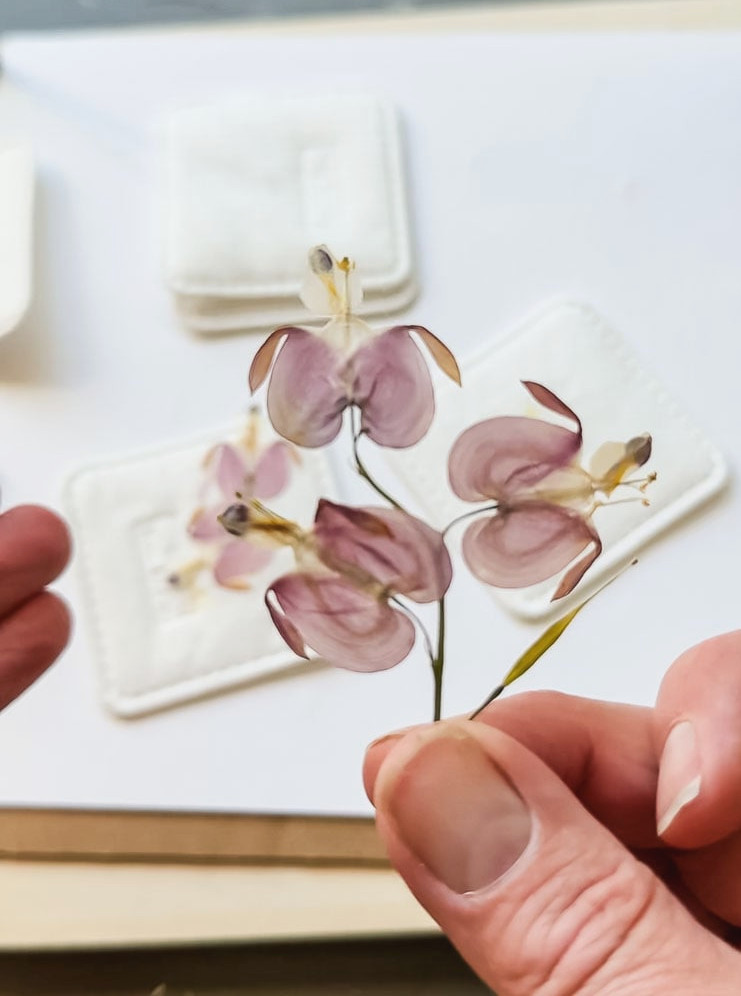
For fragile or bulky blooms, replace the paper with a softer material. When working with fuller flowers such as daisies, I occasionally use large square cotton pads (the type commonly used for skincare) instead of blotting paper. They provide gentle support while continuing to draw out moisture effectively. I also rely on this approach for especially delicate flowers, such as bleeding hearts.
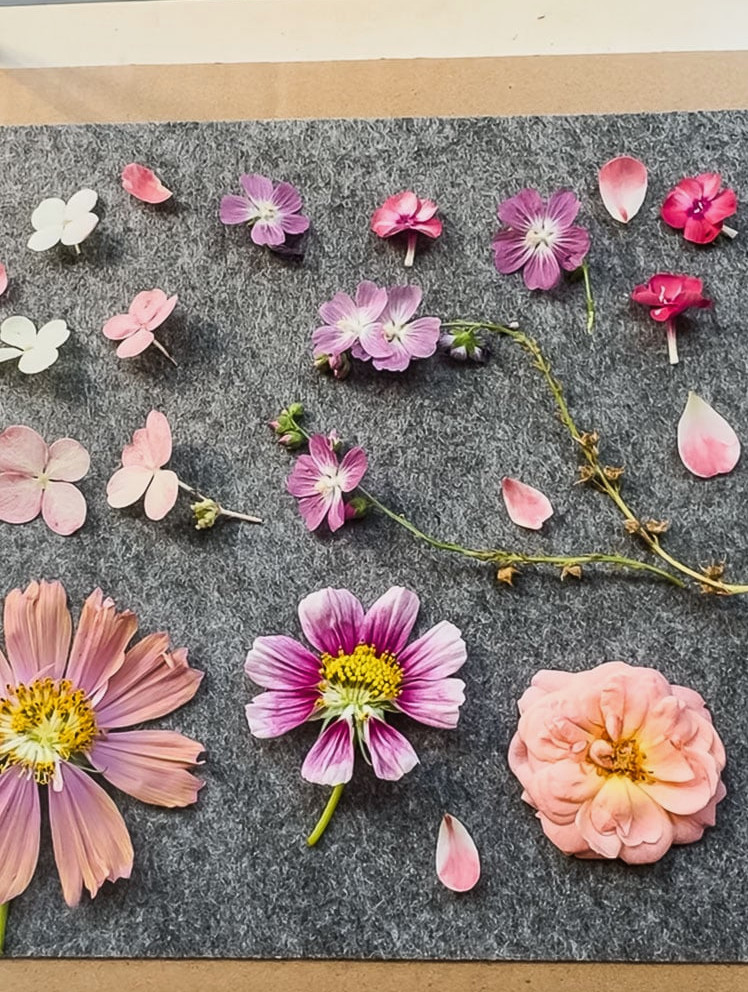
I’ve also worked with broad felt sheets to form a cushioned layer that shields delicate petals from creasing or ripping against the paper. This simple adjustment can make a noticeable difference for flowers requiring a bit of additional protection.
Keep This in Mind!
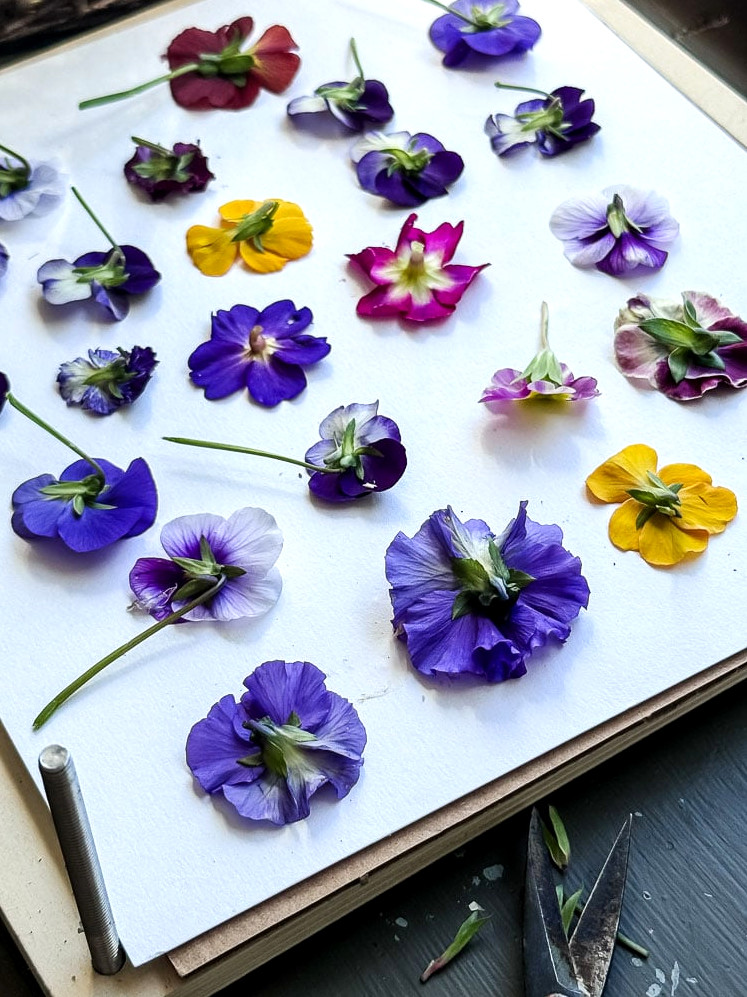
As you begin pressing flowers, remember one important rule: Don’t pack them too closely. Allow every flower enough space. Blooms that overlap can adhere to one another, ruining them both.
Step 4: Add Pressure
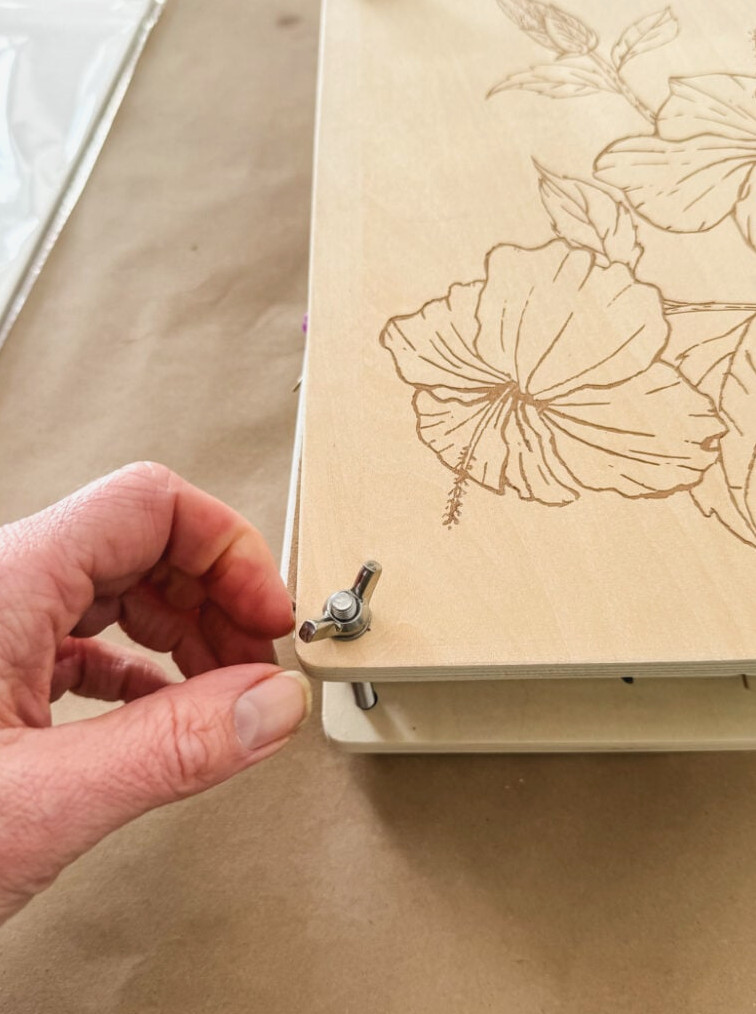
Shut the press and tighten it steadily and securely. If your press uses wing-nut screws, tighten them diagonally (similar to securing tire lug nuts) to distribute pressure evenly throughout the press. Firmly snug is enough; there’s no need to tighten it as far as it will go.
- Secure the flower press, tightening the screws or straps evenly to create pressure.
- Tip: Ensure the pressure remains uniform across the whole press.
Step 5: Wait and Inspect
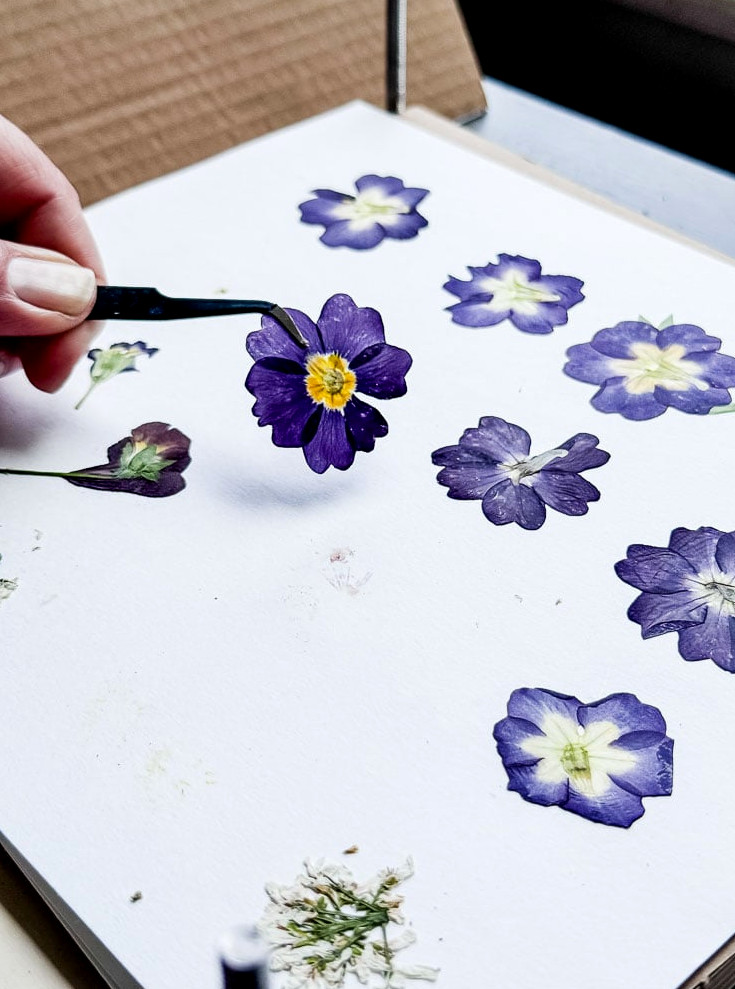
Place the press somewhere dry with good airflow. During the first week, inspect it every 2–3 days and replace the absorbent paper whenever it feels moist. Once that first week has passed, you can check it less often. Most flowers finish drying within 1–3 weeks, while thicker varieties can require up to 4 weeks.
- Keep the press in a cool, dry location for 1–3 weeks, based on the flowers and humidity levels.
- Inspect the flowers from time to time and replace the absorbent paper every few days to avoid trapped moisture.
- Tip: Fuller flowers can require extra drying time, so remain patient!
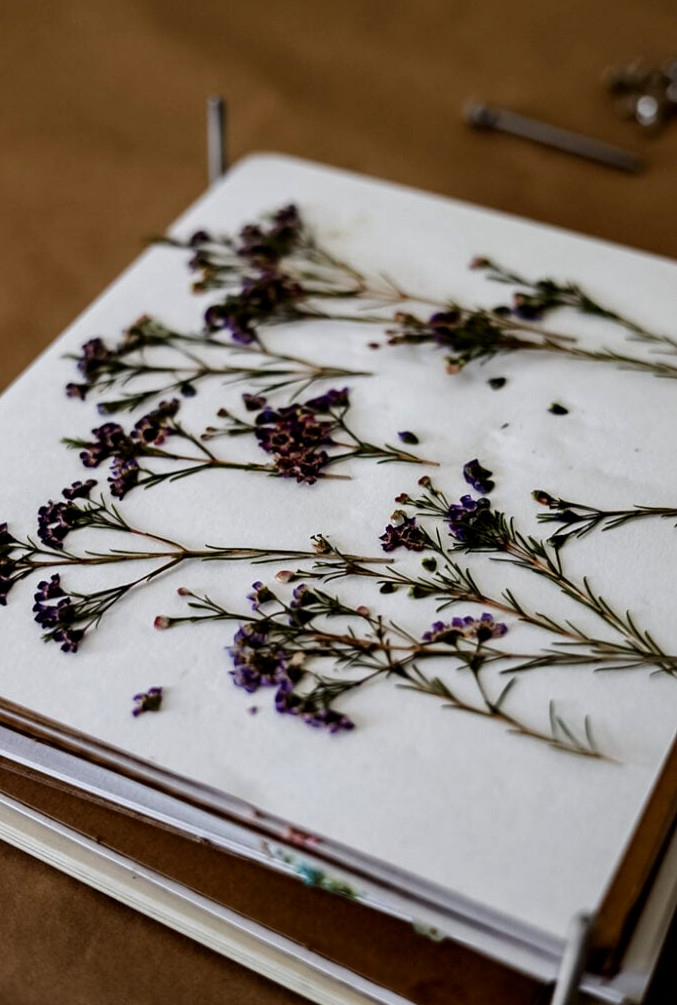
How can you tell when they’re finished? The petals ought to feel stiff and papery rather than soft or flexible. They should come away from the paper smoothly without ripping.
The Paper Dilemma: Which Material to Choose
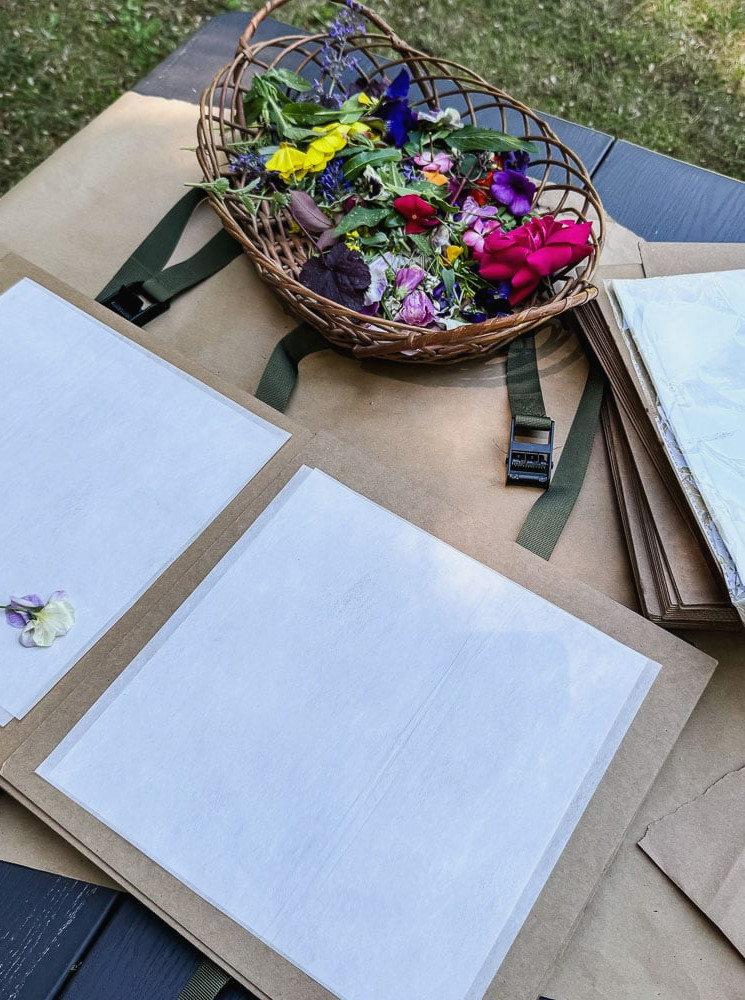
The absorbent material you choose truly matters. Here’s a brief overview:
- Blotting paper: My top pick. It draws out moisture quickly, leaves no texture imprint, and can be reused once dry. Purchase it in bulk if you press flowers often.
- Parchment paper: I wouldn’t suggest it—it does not absorb moisture.
- Watercolor paper: Useful when necessary and easy to obtain, though its texture may appear on especially delicate petals.
- Paper towels: Best avoided. They can stamp their texture onto petals and do not absorb as effectively.
- Newspaper: This traditional option absorbs nicely, but the ink may bleed onto pale-colored flowers.
- Cotton pads (square facial pads): A wonderful alternative to blotting paper for thicker blooms such as daisies. Broad square cotton pads absorb moisture effectively and cushion petals more softly than paper. They are available at nearly any drugstore.
- Felt sheets: My preferred option when pressing many highly delicate flowers at once. The gentle surface shields fragile petals that might fold or rip against paper. It is most suitable for blooms where maintaining their form is more important than rapid drying.
Prefer not to open your press?
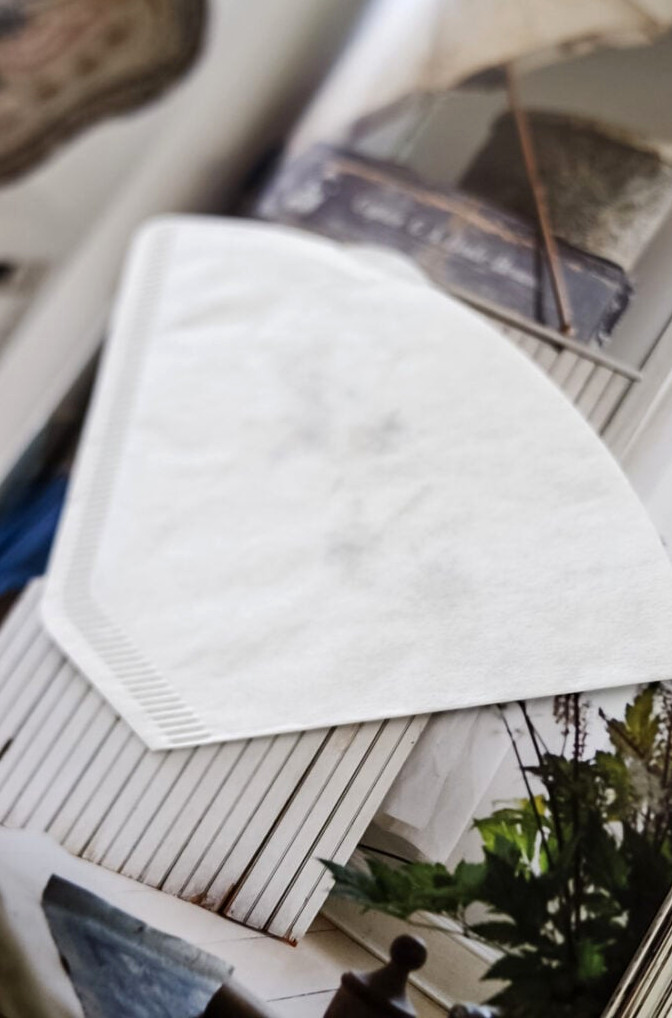
When you only need to preserve a single flower, you can skip the press altogether. Place the flower inside a cone-shaped coffee filter (cone filters perform better than flat ones because they cradle the bloom and hold the petals in position), then sandwich it between the pages of a weighty book.
The Pressed Flower Handbook: What Succeeds (and What Fails)
This is the part I wish had been available when I began. I’ve personally pressed every one of these flowers; some are beloved garden varieties, while others come from stores. Here’s what experience has taught me.
|
Bloom |
Color Preservation |
Drying Period |
Remarks |
|
|---|---|---|---|---|
|
Pansies |
Outstanding |
1-2 weeks |
|
|
|
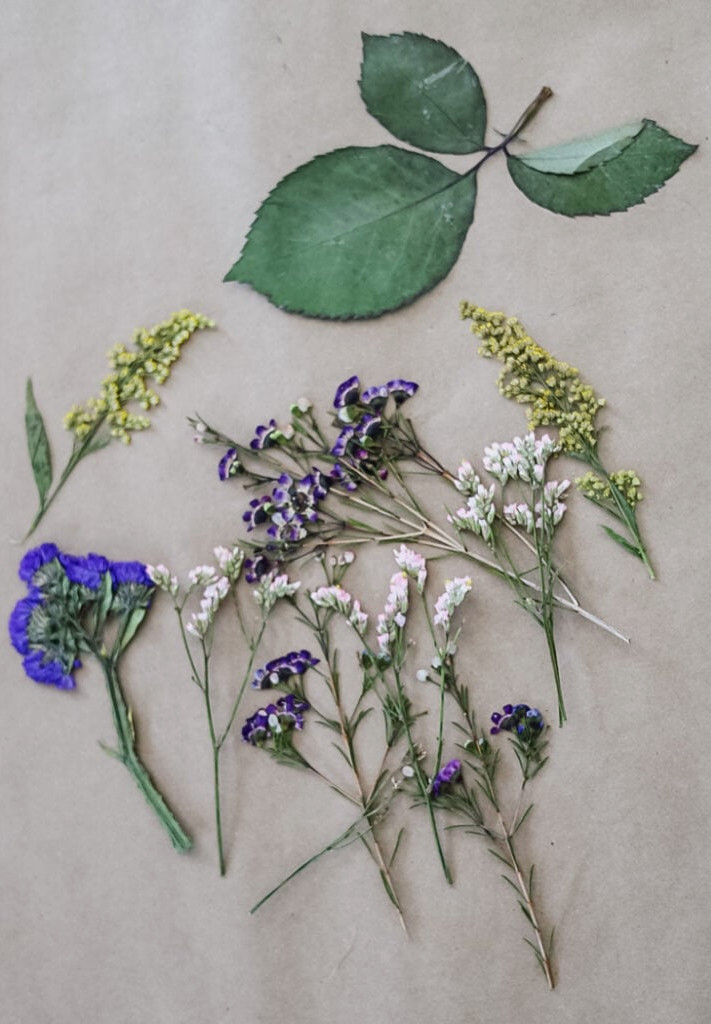
Wax Flowers |
Outstanding |
2 weeks |
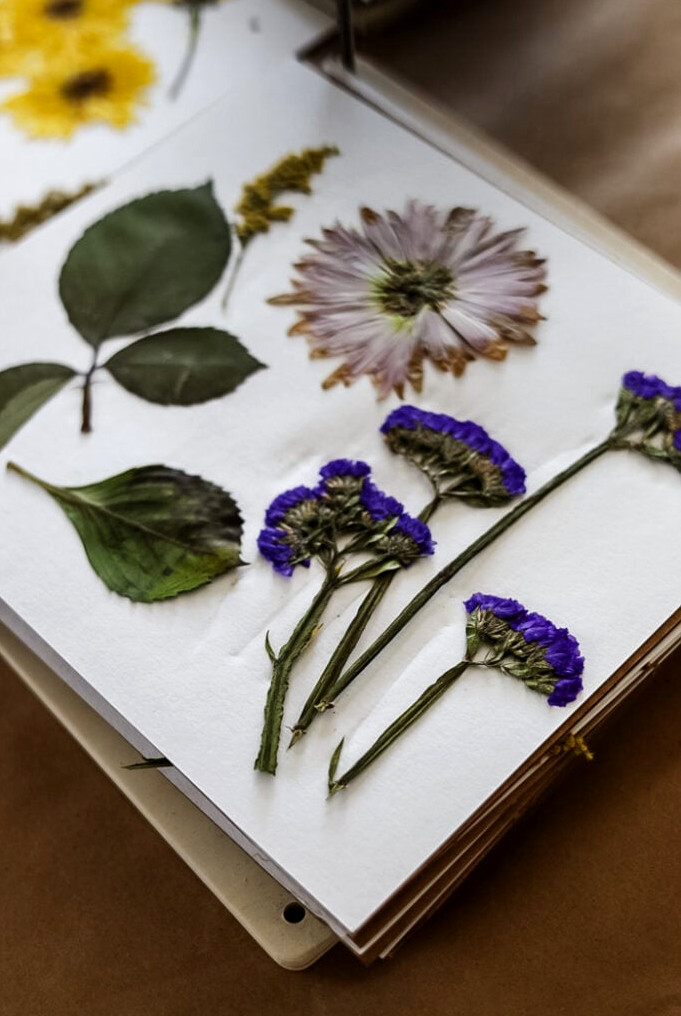
Beautifully preserves its vivid purple shade. A true star among pressed flowers. |
|
|
Cosmos |
Strong |
1-2 weeks |
|
|
|
Ferns & Leaves |
Strong |
1-2 weeks |
|
|
|
Wildflowers |
Mixed |
1-3 weeks |
|
|
|
Primrose |
Strong |
2 weeks |
|
|
|
Cherry Blossoms |
Strong |
1-2 weeks |
|
|
|
Lily of the Valley |
Moderate |
1-2 weeks |
The curved stem flattens wonderfully, although its color tends to fade. |
|
|
Nasturtium |
Strong |
2-3 weeks |
|
|
|
Hydrangeas |
Moderate |
2-3 weeks |
|
|
|
Daffodils |
Strong |
2-3 weeks |
Arrange and mold the petals carefully; pressing a few sideways is also worth trying. |
|
|
Roses |
Strong |
2-3+ weeks |
|
My In-Depth Notes on Each Flower
Below are several familiar garden flowers I’ve experimented with pressing.
Pansies: My Top Choice for Beginners
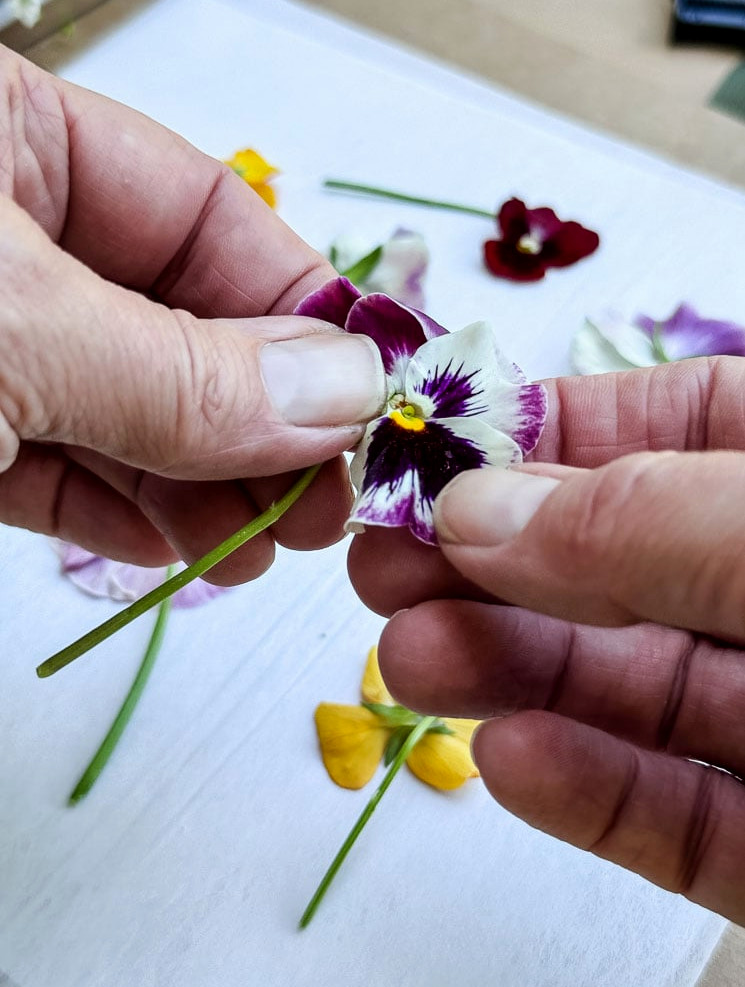
For anyone new to flower pressing, pansies are an ideal place to begin. Their naturally level faces and delicate petals flatten flawlessly time after time. Their shades—purple, yellow, deep burgundy, and tricolor—remain wonderfully bright, and they add beauty to every project. They’re affordable and easy to find at garden centers throughout spring. I highly recommend them.
Statice & German Statice
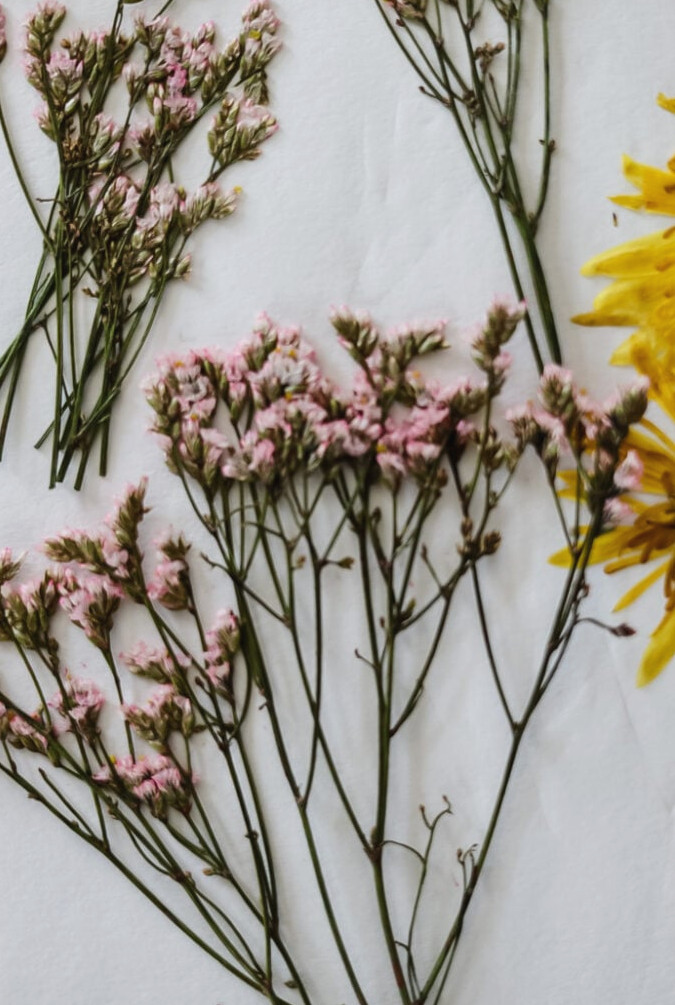
Both varieties work wonderfully. Traditional statice retains its vivid purple color exceptionally well and ranks among the most dependable flowers for pressing. German statice, which has tiny flower clusters, dries fast and serves as a lovely, fragile filler. When creating a pressed flower arrangement, statice is an invaluable choice.
Cosmos
Cosmos are a garden favorite for cutting and respond beautifully to pressing. For the best results, gather them shortly before they completely open. At that point, the petals are more delicate and flatten more easily. Fully opened cosmos can still work, although their edges may become slightly rippled. Pink, white, and magenta shades preserve their color well.
Ferns & Leaves
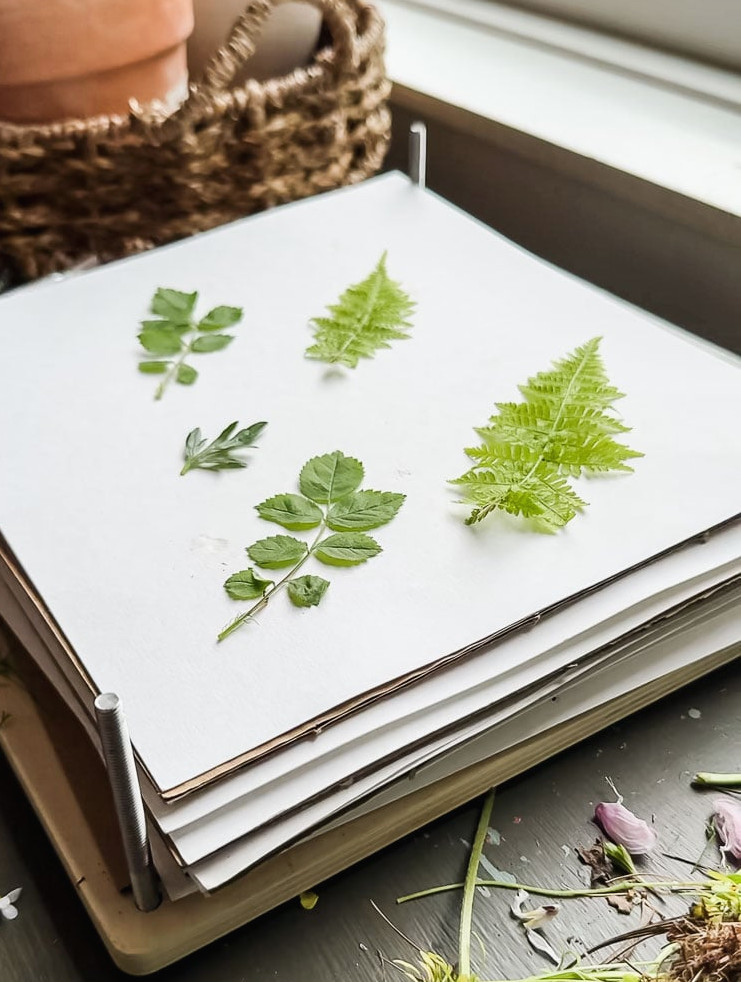
These are honestly overlooked. Ferns flatten rapidly and evenly, bringing tremendous depth to botanical arrangements; their greenery helps the other elements stand out. For a fine, lacy appearance, try maidenhair fern. Autumn leaves can also look remarkable when pressed, particularly just as their colors begin to change.
Buttercups & Wildflowers
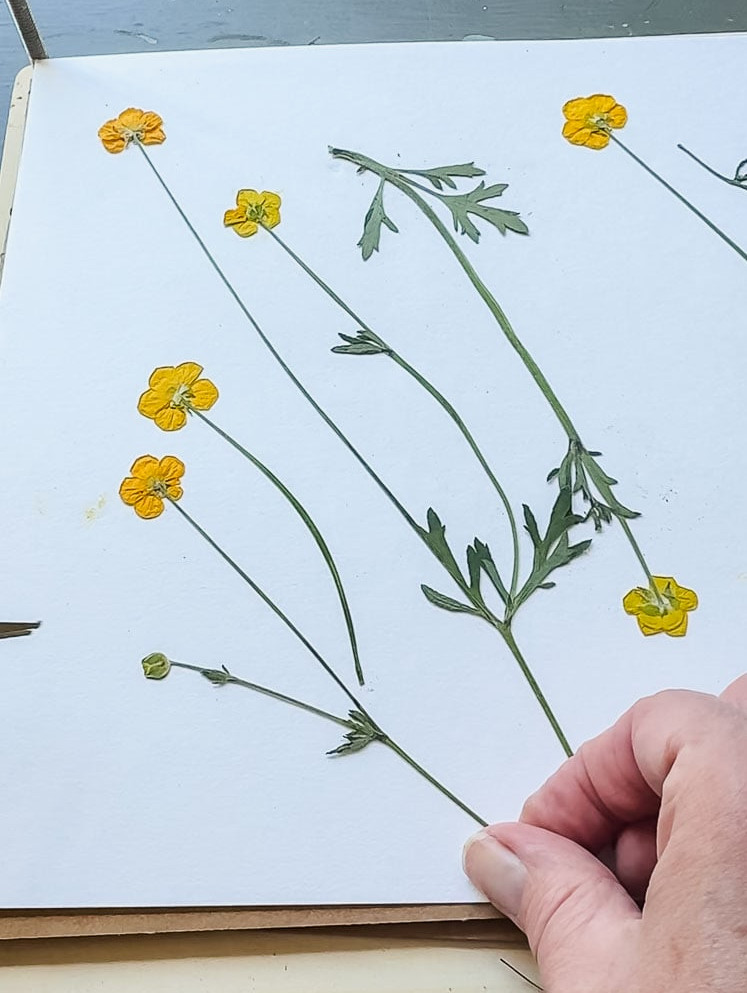
They’re small, uncomplicated, and wonderful for pressing. Buttercups are tiny, making them especially easy to flatten. Although results differ by species, most wildflowers press beautifully and offer a natural meadow-like appearance that cultivated blooms cannot easily imitate. Queen Anne’s lace is one of my favorites because of its detailed, flat texture.
Primrose
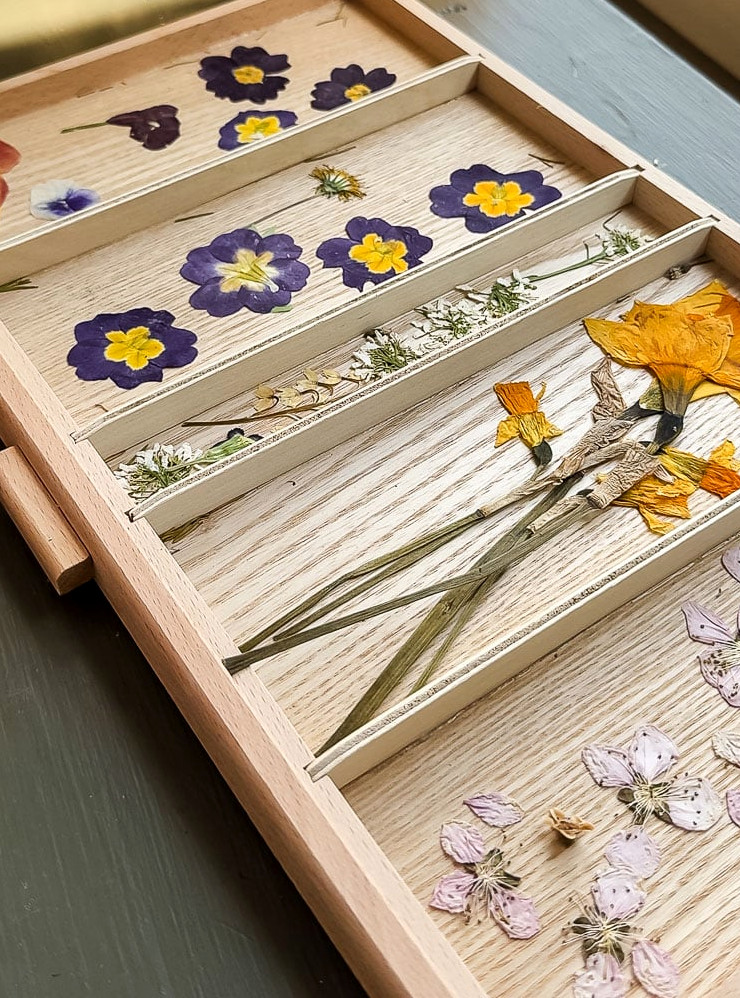
When little else is blooming in the garden, primrose is an excellent early-spring choice. I picked up pots from Trader Joe’s specifically for pressing. The flat surface presses neatly, while the colors remain fairly strong. The yellow centers also create a beautiful contrast.
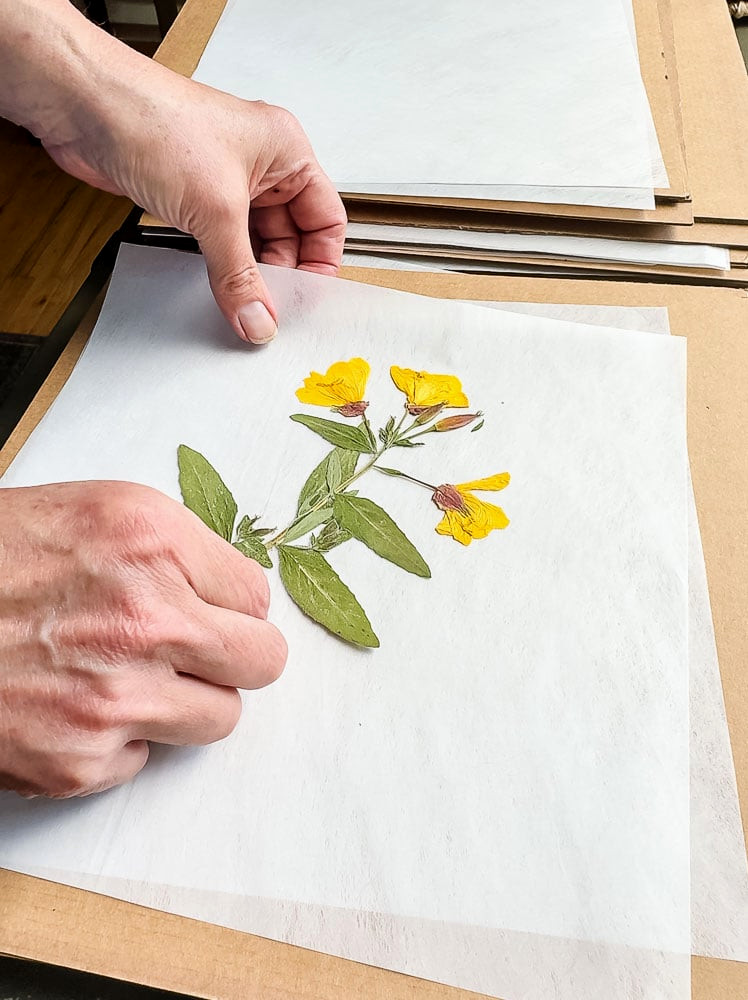
Evening primrose flowers are also surprisingly lovely when pressed! They appear throughout my perennial garden and, honestly, they used to bother me. Now, though, I appreciate how much better they look pressed than growing beneath my rose bush.
Hydrangeas
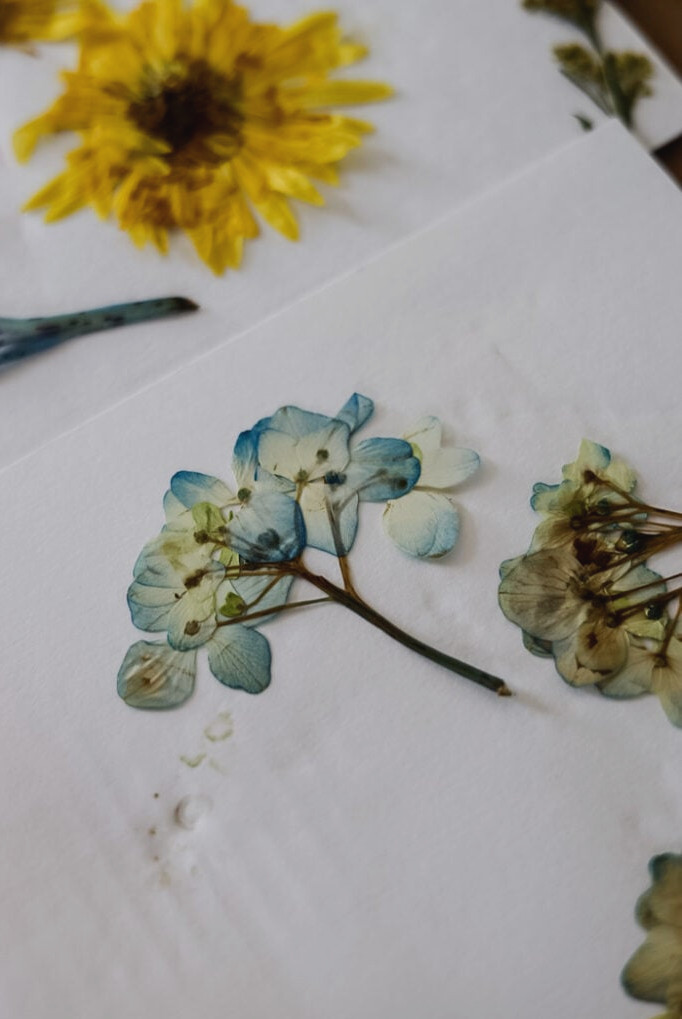
I’ve experimented with pressing both complete hydrangea blooms and their individual florets. Whole blossoms may develop some brown areas, particularly blue and purple types, though a portion can still turn out perfectly usable. Overall, I find the separate florets much simpler to handle.
Here’s my best advice: press hydrangeas late in the season, after the blooms have begun to develop a papery texture and shift color on their own. They flatten beautifully, and their soft, vintage-inspired shades are genuinely gorgeous.
Roses
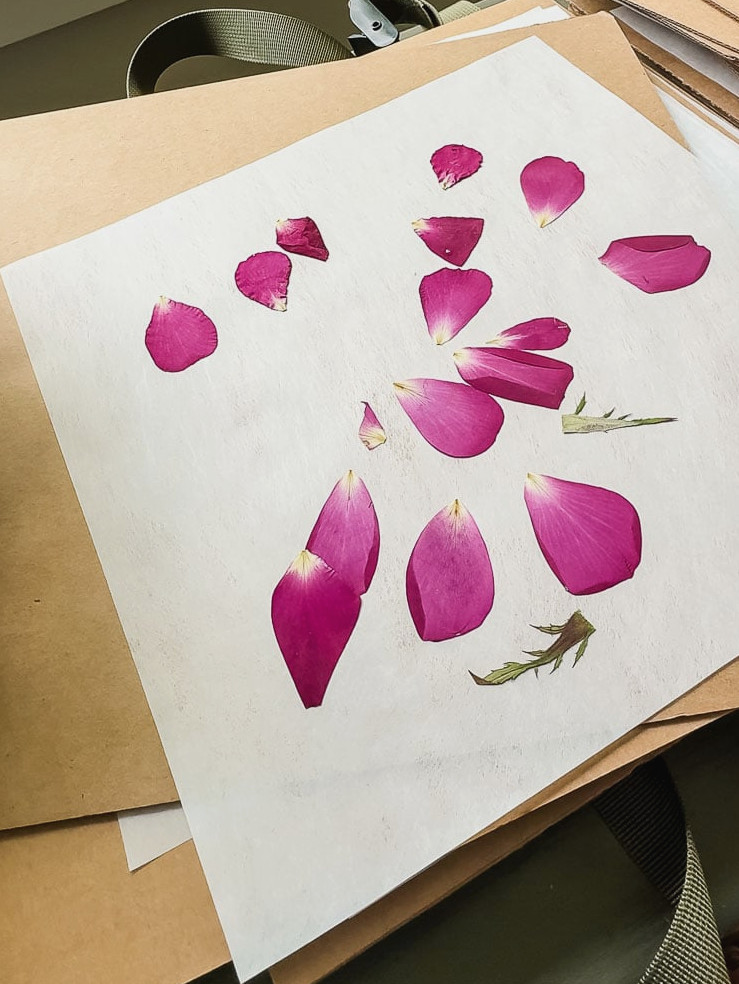
If you’re new to flower pressing, I strongly recommend beginning with individual rose petals. Later, you can rebuild the bloom using the dried petals and archival glue if you decide to create framed artwork.
Flowers to Skip (Learn From My Mistakes)
Not every bloom came out beautifully; a few were genuine disappointments. Below are the varieties I recommend avoiding so you can spare yourself the frustration. Some flowers dry unevenly, while others contain too much moisture and are likely to develop mold. Still, you never really know until you test them… so I tested them for you.
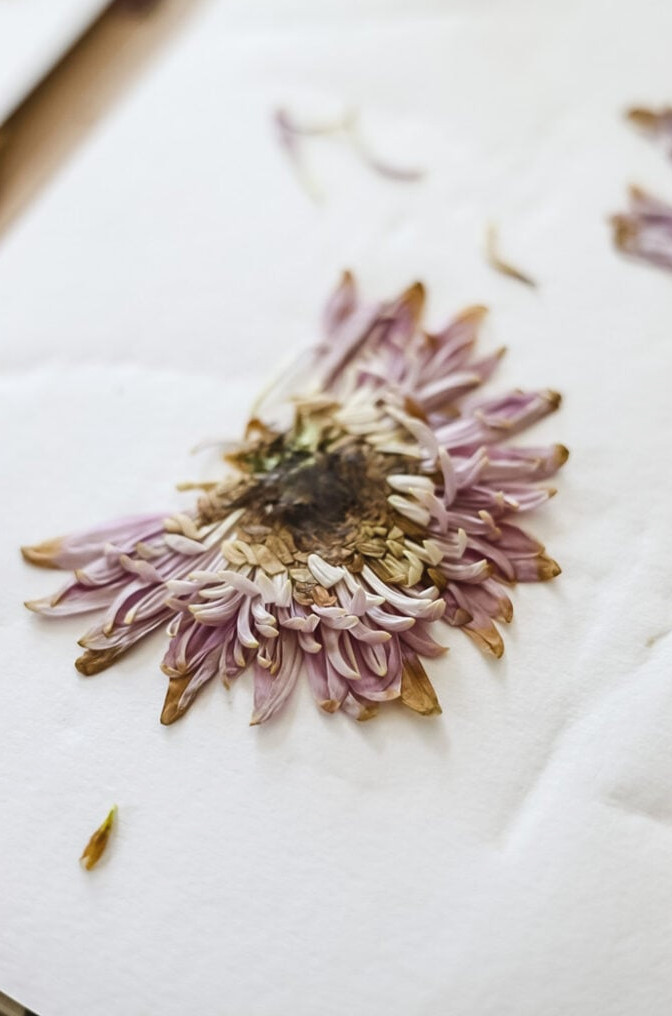
Leave These Out
- Mums: Their thick, succulent petals dry unevenly and shed nearly all of their color. They aren’t a good use of your pressing layers.
- Asters: The petals consistently curl and turn brown. With so many simpler flowers that press beautifully, asters aren’t worth the trouble.
- Peonies: I realize, I realize. They’re stunning. However, their many petal layers hold in moisture, so mold is almost inevitable. It’s painful to dismiss such a beautiful flower, but that’s the reality.
- Tulips: The petals become translucent and soft. Their color fades, and they often break down inside the press.
- Sunflowers: The problem lies in the center. It’s much too thick to dry uniformly, causing the entire bloom to suffer. If you’re set on trying, press only separate petals.
- Orchids: Thick, wax-like, and difficult to manage. Individual petals may occasionally work, but the effort is seldom worthwhile.
- Red flowers in general: Red is among the most difficult colors to preserve. Many red flowers: red tulips, red roses, red dahlias, turn very dark brown in the press. That’s a pigment issue rather than a technique problem, so don’t fault yourself.
- Blue flowers (delphiniums, blue hydrangeas): Blue is, without question, the toughest color to keep while pressing. It nearly always changes to a greenish or gray shade. If blue is important in your botanical projects, dried flowers or fabric are better choices than pressed blooms.
What to Know About Pressing Flowers from Your Garden
Using blooms from your own cut flower garden is among the most rewarding parts of the garden-to-home process. Here are a few lessons I’ve picked up:
When to Harvest
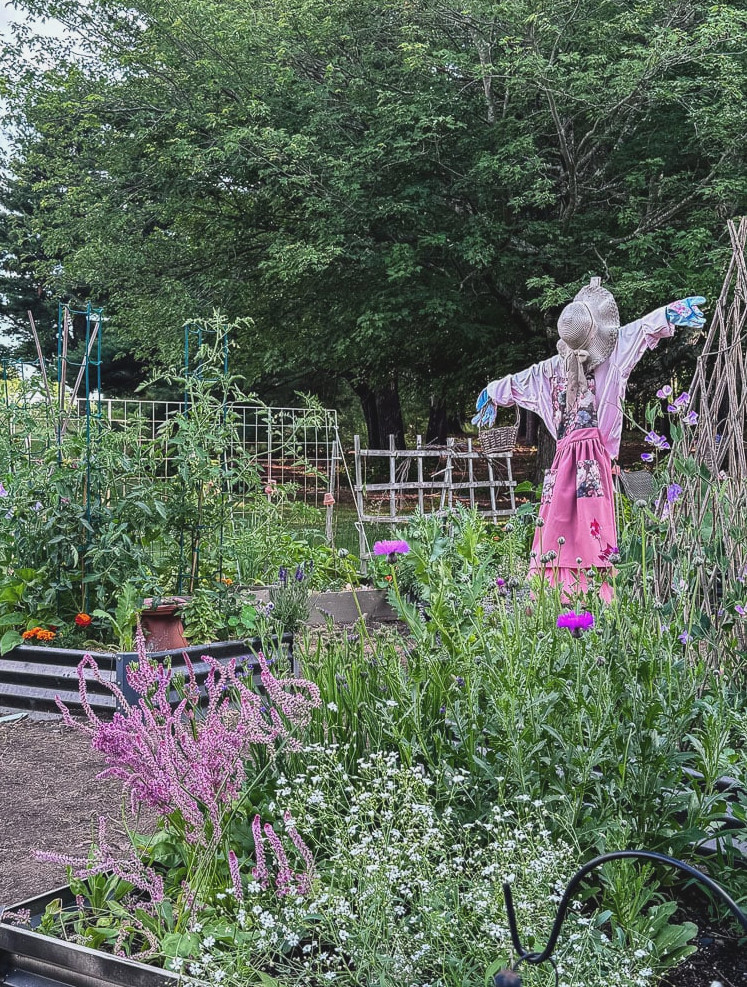
Harvest in the middle of the morning, once the dew has evaporated. Excess moisture in flowers is the leading source of mold.
With most varieties, press them at their fullest bloom or slightly beforehand. Flowers that have passed their prime do not press well.
Exception: Hydrangeas perform better late in the season, once they have begun to naturally take on a papery texture.
Discover More About the Flowers I Grow for Drying
Seasonal Progression in a New England Cutting Garden
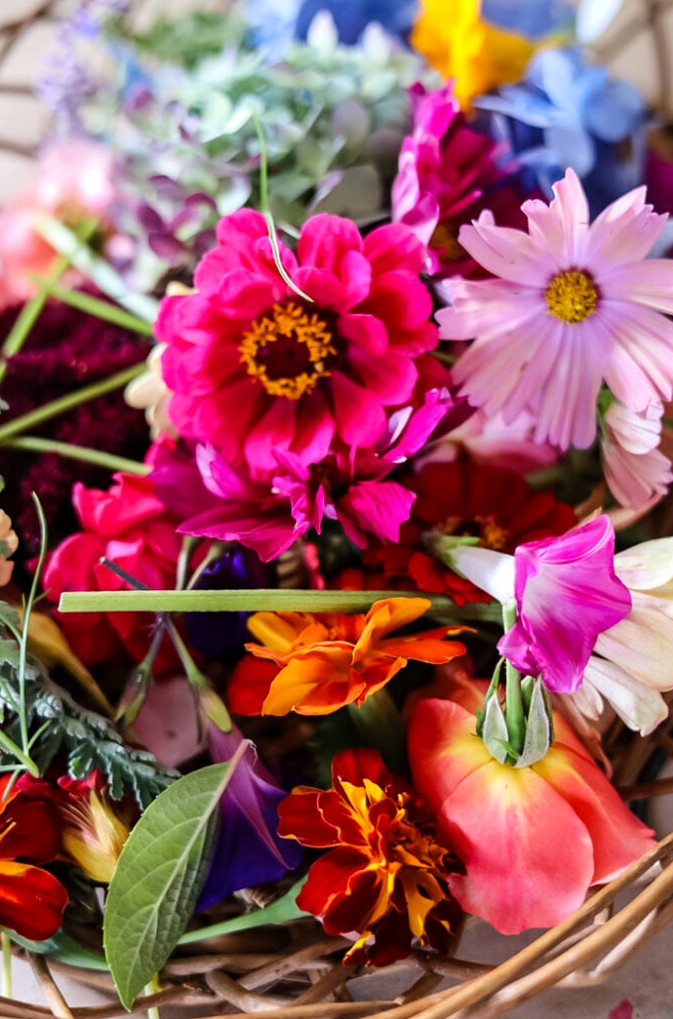
This is a general idea of what you can press throughout the season in Zone 6a:
Spring: Pansies, primrose, lily of the valley, cherry blossoms, daffodils, hellebores, & bleeding heart
Early Summer: Cosmos, bachelor’s button, sweet peas, delphinium, ferns, clematis, & love-in-a-mist.
Midsummer: Statice, wax flowers, black-eyed Susans, dahlias (early, individual petals), rudbeckia, & herbs.
Late Summer/Fall: Hydrangeas (end of season), ageratum, dried grasses, autumn leaves (essential!)
Troubleshooting: Fixing Common Problems
Every person who presses flowers experiences a few failures. Below are the most frequent issues and their solutions.
My flowers are developing mold
Moisture trapped inside the press creates mold. This can occur when: (a) the flowers were overly damp when placed in the press, (b) the absorbent paper wasn’t replaced frequently enough during the first week, or (c) you packedthe layers too closely with thick blooms.
- Solution: Replace your paper once every 2 days during the first week.
- Prevention: Press only dry flowers, take apart bulky blooms beforehand, and avoid packing the layers too tightly.
My flowers are becoming brown
A little browning is expected, particularly with white flowers (which become yellow) and blooms with thick petals. However, significant browning generally indicates:
- The flowers were already beyond their peak when pressed
- Excess moisture inside the press
- The bloom is simply unsuitable for pressing (we’re looking at you, asters)
Tip: If a flower is turning brown without developing mold, keep it — brown-hued pressed flowers can look lovely in a rustic or vintage style. Dried hydrangeas and parchment-toned petals have a special beauty of their own.
My flowers are adhering to the paper
Juicy or resin-filled flowers can cause this, as can blooms that haven’t dried completely. When a flower sticks, it needs additional drying time. Let it sit longer. Should it remain attached once fully dry, carefully lift it from the edges with tweezers.
My colors are losing their vibrancy
Every pressed flower fades eventually. That’s simply part of preserving botanicals. Still, you can considerably delay the process:
- Protect completed flowers from direct sunlight (UV light leads to fading).
- Place unused pressed flowers in an airtight container or envelope and keep them somewhere cool and dry.
- When framing artwork, choose UV-protective glass.
Enjoy projects like this?Don’t miss out! Become part of my newsletter familyfor more warm, affordable DIY ideas sent straight to your inbox. You’ll receive special tips, advance access to tutorials, and plenty of inspiration to help your home feel handmade and full of heart.
Commonly Asked Questions
Creative Ways to Use Flowers Pressed in a Flower Press
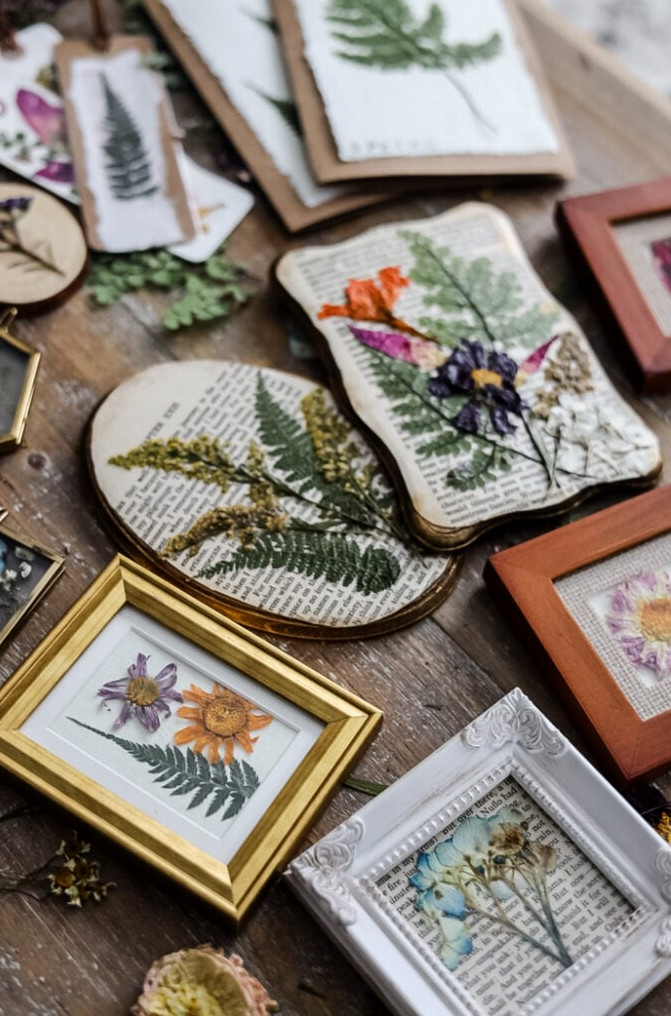
After your flowers have been pressed, the options are limitless! Here are some ideas to get you inspired:
Now It’s Your Chance
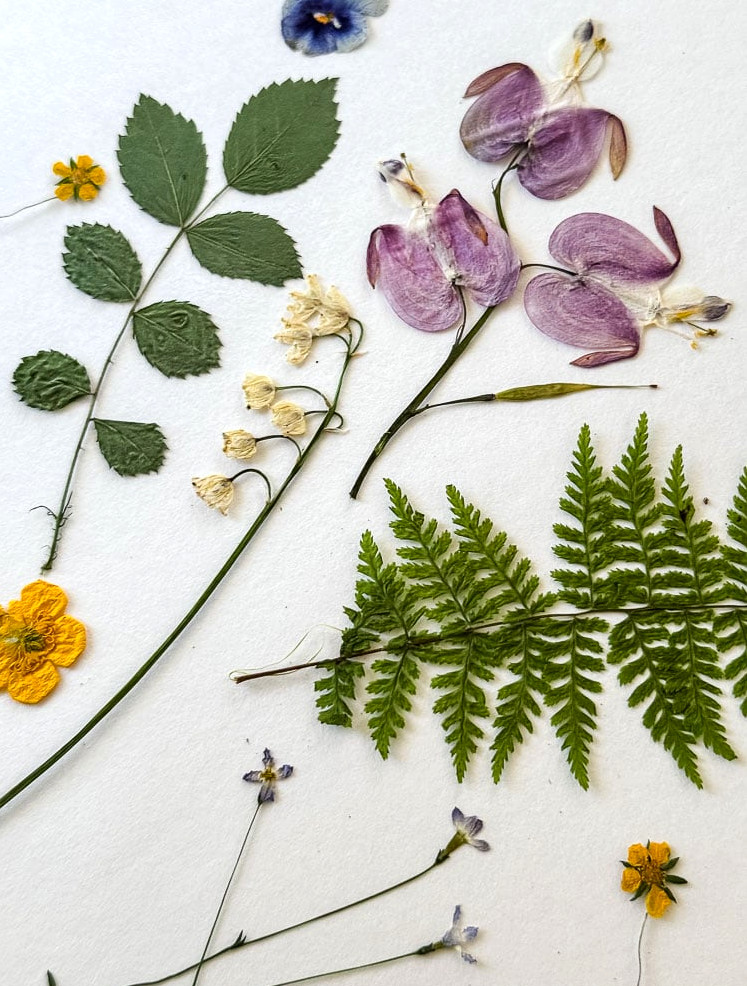
Pressing flowers is one of those crafts that may sound delicate and complicated, yet it’s wonderfully forgiving once you learn what works. Begin with something uncomplicated. Then savor the calm, rewarding experience of transforming something from your garden (or the grocery store) into a keepsake you can enjoy forever.
Have your projects showcased! If this project or any of my other DIY ideas inspired you, I’d love to see your creations and include you in the Reader’s Spotlight gallery. Send me a photo at jennifer@cottageonbunkerhill.com
xo, Jennifer
Featured
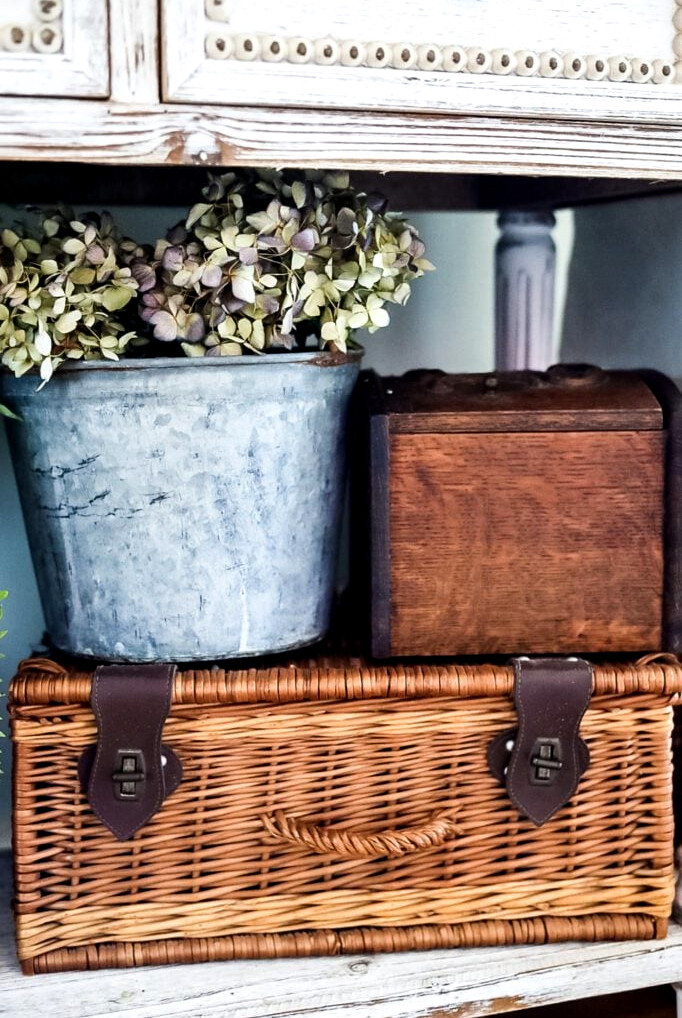
Discover 4 Methods for Drying Flowers
simple methods to explore