Imagine this: You walk outdoors with pruning shears in hand, taking in the fragrance of freshly cut lavender and zinnias so vivid they seem digitally enhanced. Forget wilted, supermarket bouquets that sag after three days—enjoy plentiful, free flowers cultivated precisely to your liking.
How to Cultivate a Cutting Garden: Create Your Own Free, Fresh Bouquets All Season Long
Would you love to stroll into your garden and snip fresh flowers for an arrangement rather than buying them at the market? It’s much easier than you might think! I’ll explain how to establish a cut flower garden this year so you can enjoy gorgeous blooms grown for cutting.
Expanding my garden to include a spacious cutting garden has been one of my favorite improvements. Seeing lovely flowers through the window all Summer long is wonderful! Today, I’m sharing what I’ve discovered so far, along with helpful advice to get you started.
Cut Flower Garden: Essential Information for Getting Started
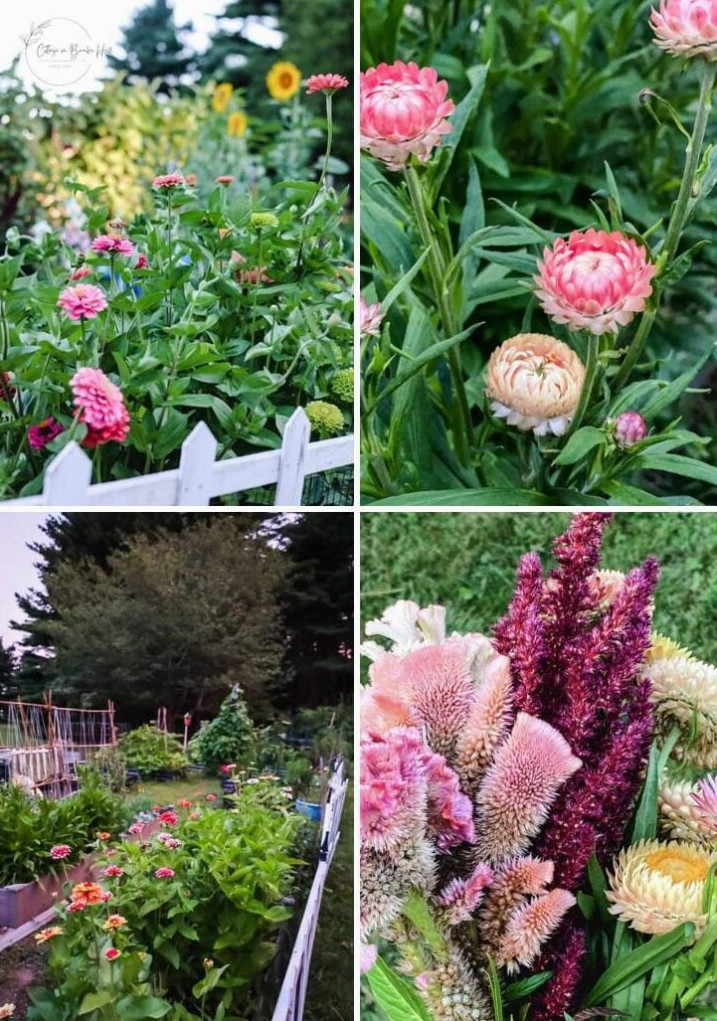
To begin, what exactly is a cutting garden or cut flower garden? A cutting garden is arranged specifically so flowers can be harvested throughout the season for bouquets and floral displays, rather than simply being left in the garden for enjoyment. It generally contains mostly annual flowers, a selection of greenery or filler plants, and occasionally a few perennial varieties.
Choosing the Ideal Location for Your Cutting Garden
Sunshine Matters!
Your flowers will flourish when they receive a minimum of 6 hours of direct sunlight each day—and additional sun usually means more blossoms! Use these suggestions to select the best site:
Follow the Sun:
- Check your yard at several points throughout the day, including morning, noon, and afternoon.
- Look out for shade cast by buildings, fences, or trees—especially my ever-expanding New Hampshire pines that block the afternoon light!
Smart Placement Ideas:
- Grow alongside vegetables:Like my garden, many cut flowers grow happily beside vegetables, since both prefer sunshine and soil that drains well.
- Containers are an option:No garden plot? Place pots on a bright patio or balcony—dwarf zinnias and marigolds are excellent choices for compact areas.
Handling Shady Conditions:
When your brightest location receives only 4-6 hours of sunlight, consider these shade-friendly flowers:
- Snapdragons
- Nicotiana
- Fuchsia (ideal for hanging baskets)
Keep in mind:As trees mature and the seasons shift, the amount of sunlight changes as well—I slightly revise my planting arrangement each year to adapt!
Keep in mind:As trees mature and the seasons shift, the amount of sunlight changes as well—I slightly revise my planting arrangement each year to adapt!
What Size Should a Cutting Garden Be? (Hint: Every Size Can Work!)
Great News:You don’t require acres of property to produce armfuls of flowers! Whether you own a spacious backyard or only a sunny balcony, you can adjust your cutting garden to suityouravailable space and schedule:
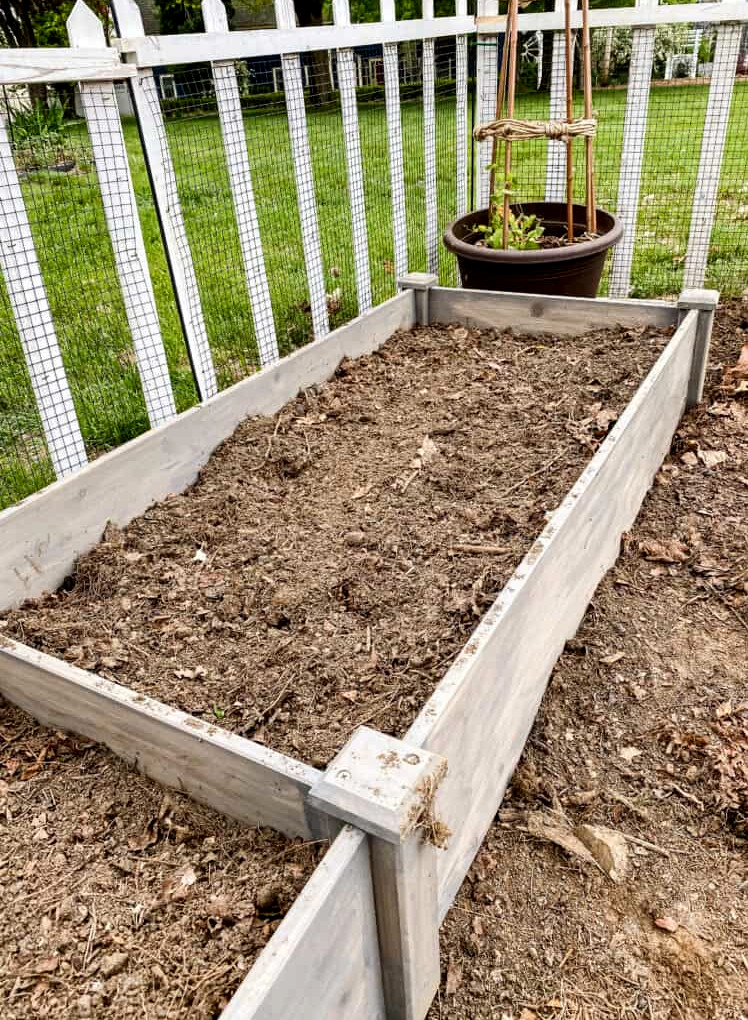
Even when your outdoor area is small… as long as you have room for a single raised bed, you can create a miniature cutting garden! Build a raised bed, add a high-quality raised garden mix & compost, then purchase several packets of annual seeds in different heights. With those supplies, you can design a charming garden to enjoy this year! (That’s one of the best parts of a cutting garden…you can plant it and begin enjoying it within just a few months!)
It may be as expansive as you prefer, based on the time youhave to dedicate to gardening, but if you’re just beginning, I generally recommend starting with something modest so you don’t feel overloaded.
helpful hints
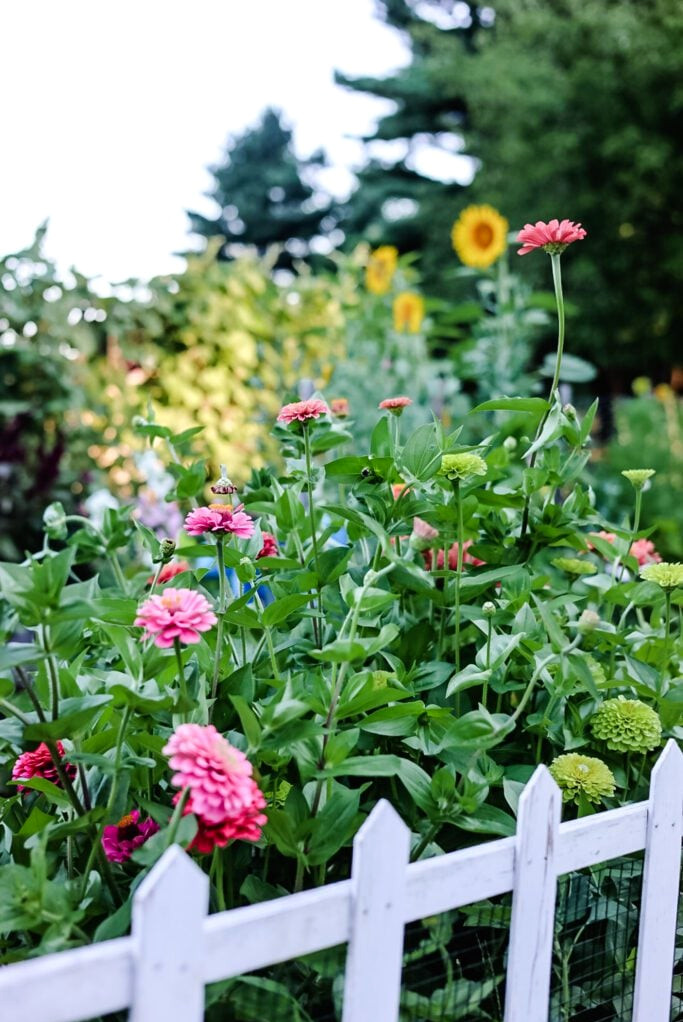
For Compact Areas (The “Micro” Cutting Garden):
- Raised Bed Wonder:A lone 4’x4’ bed filled with quick-growing annuals such as zinnias, cosmos, and snapdragons can produce20+ bouquetsduring a single season!
- Container Shortcut:Don’t have a yard? Choose a roomy pot (at least 12” deep) for compact varieties such as ‘Queen Lime’ zinnias or ‘Patio Mix’ sunflowers.
For More Spacious Gardens:
- Begin Modestly, Grow Gradually:Start with a 10’x10’ section (roughly the size of a small shed), then add additional beds as your skills develop.
- Gardener’s Tip:Keep 18” between rows to make harvesting and weeding simpler.
Beginner’s Golden Rule:
“Small yet plentiful is better than massive and stressful!”My first cutting garden consisted of justone raised bed—it showed me which plants flourished in my soil and climate before I expanded.
Why Annuals Make an Ideal Choice:
- Quick rewards:Sow seeds in spring and enjoy bouquets when summer arrives.
- Minimal commitment:There’s no need to protect plants through winter—simply plant again next year!
Ready to Begin?
Pick up 3 seed packets (tall, medium, and short varieties), one bag of compost, and let’s create your most joyful garden yet!
Selecting the Ideal Flowers for Your Cutting Garden
A cutting garden should include assorted flowers in various colors, heights, and flowering periods. Search for seeds at a nearby garden center or nursery. When shopping online, I’m especially fond of the collections from Johnny’s Selected Seeds, Select Seeds, and Eden Brothers. Burpee likewise offers an extensive assortment of annual flower seeds for a cutting garden.
The Winning Formula
- For impressive bouquets, combine:
- Colors(delicate pastelsandvibrant shades)
- Heights(tall background blooms + medium fillers + cascading accents)
- Bloom Periods(stagger sowings for flowers throughout the season)
Places to Purchase Seeds
My go-to reliable suppliers:
Helpful Tip:Nearby nurseries frequently stock varieties known to perform well in your climate!
Starting Seeds Made Easy:
For New Gardeners:Chooseseeds for direct sowing—simply place them straight into the garden! Consider:
- Zinnias
- Sunflowers
- Cosmos
- Sweet peas
For Cooler Regions (Like Mine!):Certain flowers require anearly indoor start. Consider:
Favorites for Beginners:
These dependable flowers are nearly effortless to grow:
- ‘Benary’s Giant’ Zinnias(large blooms with lengthy stems)
- ‘Mammoth’ Sunflowers(children adore them!)
- ‘Cupcake’ Cosmos(ruffled petals that bees love)
Keep in mind:Your first season is for gaining experience—choose 3-5 simple varieties and add more next year!
What I’m Cultivating
- Zinnias
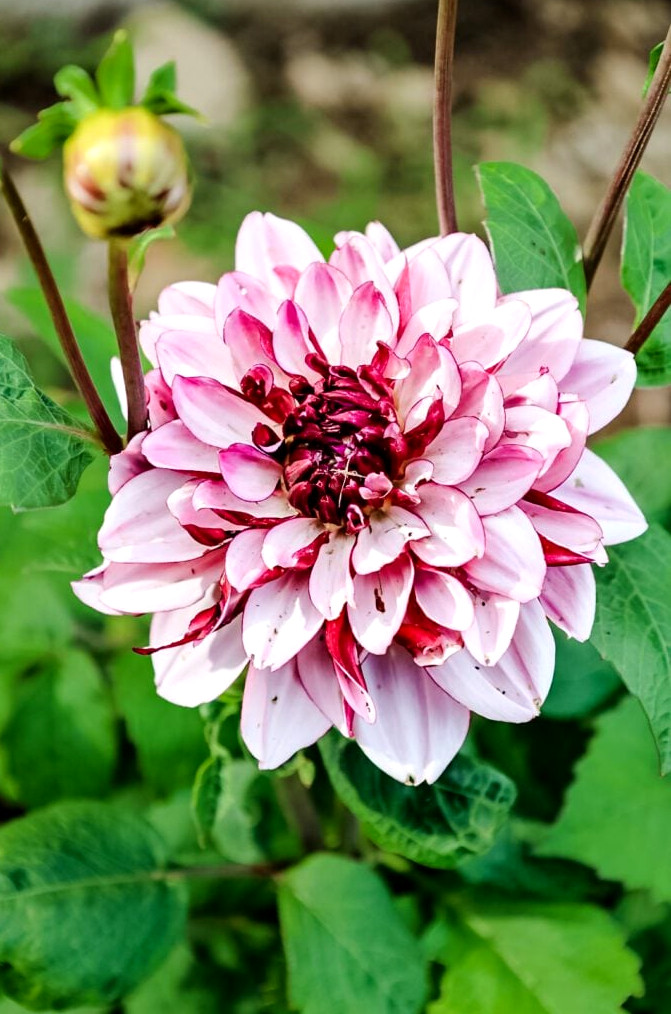
- Dahlias
- Cosmos
- Strawflowers
- Snapdragons
- Sweet Peas
- Celosia
- Amaranth
- Sunflowers
- Achillia
The Key to Flourishing Cut Flowers? It Starts With the Soil!
Sunlight receives plenty of praise, but your flowers’truechampion isfertile, well-draining soil. Here’s how I created the ideal base for my cutting garden—with an earth-friendly approach:
My Winning Soil Formula:
- 50%bagged raised bed garden soil mix(for support)
- 40%compost(leaf-based or homemade to provide nutrients)
- 10%coconut coir(peat-freemoisture control)
- A handful ofFlower-Tone organic fertilizer(my blossomsgrewtwice as large!)
Why This Formula Works:
Compost= Gradual nutrient release + supports soil life
Coconut Coir= Makes soil lighterresponsibly(and retains water better than peat!)
Flower-Tone= Rich in phosphorus forextra blooms, fewer leaves
The Peat Concern (Plus Simple Solutions):
- Problem:Peat bogs hold carbon and require centuries to recover. Many gardeners are choosing to skip it.
- Substitutes:Coconut coir, leaf mold, or even perlite perform in much the same way without the environmental impact.
Helpful Tips:
- Check Your Soil:A $15 meter can show pH requirements (most flowers prefer 6.0-7.0).
- Fertilize Consistently:Use Flower-Tone again every 6 weeks for steady color!
Interesting fact:Healthy soil also meansa longer vase life—sturdy stems result in less drooping!
Lessons From Growing My First Cut Flower Garden.
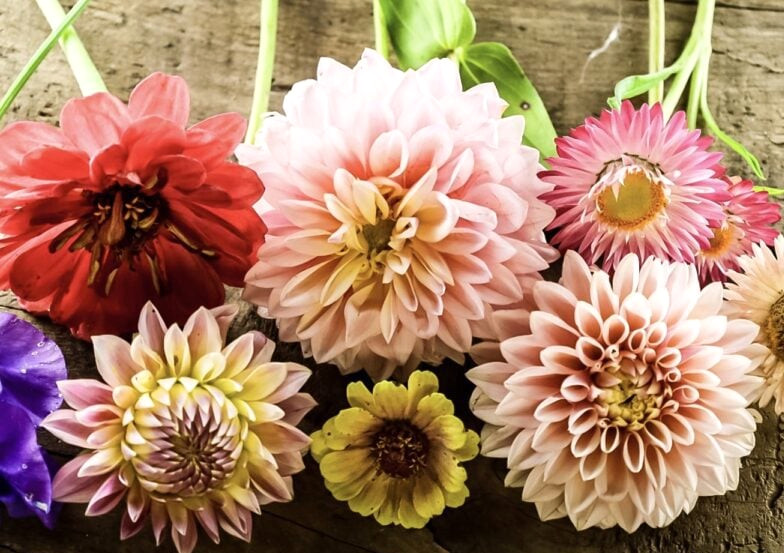
Last winter, I chose to incorporate a cutting garden into my gardens. I had become completely enamored with the gorgeous dahlias several of my gardening friends were raising, and I couldn’t get enough of Erin and everything at Floret Flower Farm!! I read herCut Flower Garden book and immediately loved the thought of growing a cut flower garden.
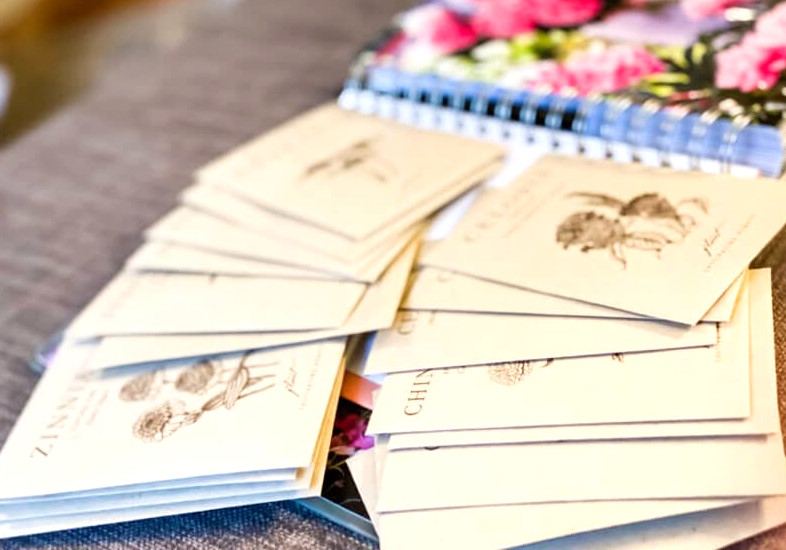
When the Floret Farms seed sale opened, I eagerly clicked through to purchase all my ideal seeds…I selected several varieties: zinnias, poppies, celosia, snapdragons, cosmos,gomphrena, strawflowers, sweet peas, China asters, and dusty millers.
Dahlias were a must, so I purchased a few tubers from my nearby nursery (Gardeners Supply in Greenland, NH), as well as from my friend Jennifer at The Flowering Farmhouse, who grows flowers professionally.
Starting Seeds Indoors: A Zone 6a Gardener’s Handbook
Because I garden in growing zone 6a, our frost-free date arrives around mid-May. That meant some of the flowers planned for my cutting garden had to be started indoors. Flower seed packets provide all the essential growing details, including how many weeks before transplanting the seeds should be sown. For the varieties I intended to grow, the range was approximately 4 to 10 weeks.
Seed Starting Basics
Why Begin Seeds Ahead of Time?
In our cool region (with frost-free conditions aroundmid-May), beginning indoors givesearlier blossoms and sturdier plants. Here’s how I perfected seed starting—and how you can do it too!
1. Understand Your Seed Packets:
Every packet provides details about:
- Weeks until transplanting(mine varied from 4-10 weeks before the final frost)
- Planting depth(certain seeds require light for germination!)
- Germination time(so you won’t worry if they take longer)
2. My Indoor Seed Selection:
- Early Sowers (10-12 weeks):Snapdragons, Dusty Miller
- Mid-Season (6-8 weeks):Celosia, Strawflowers, Amaranth
- Challenging But Rewarding:Asters
3. What My First Year Taught Me:
- Sweet peasgrowquickly—sow them only 4 weeks before transplanting.
- Amaranthrequires warmth (I placed mine on a seedling heat mat).
- Overwatering = the #1 problem(use a spray bottle to provide gentle moisture).
I put together a detailed article about starting seeds indoors and the lessons I gained during my first season of indoor seed growing. It was an enjoyable project and an ideal way to stay occupied through the colder months before I could work outside in the garden.
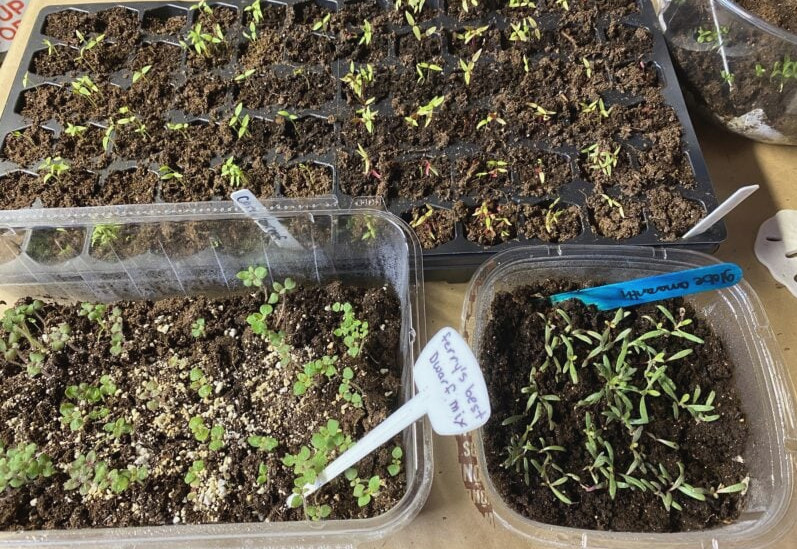
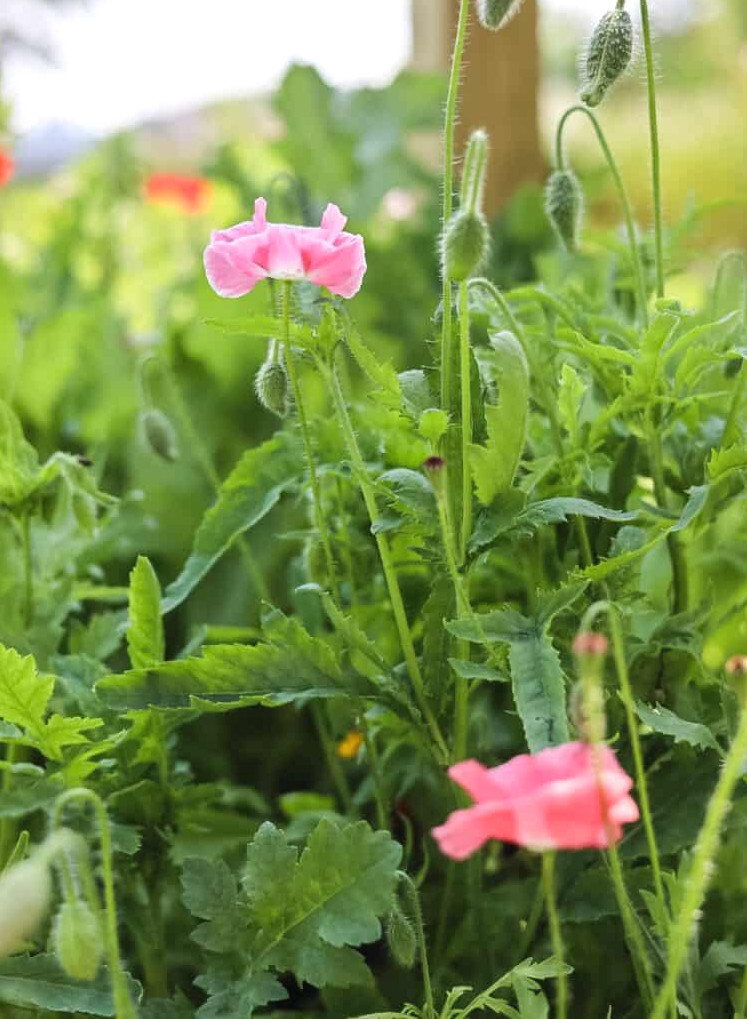
I also sowed plenty of seeds straight into the garden, including zinnias, sunflowers, and cosmos, among others. I practiced succession planting as well, adding additional sweet peas, snapdragons, and poppy seeds directly into the soil.
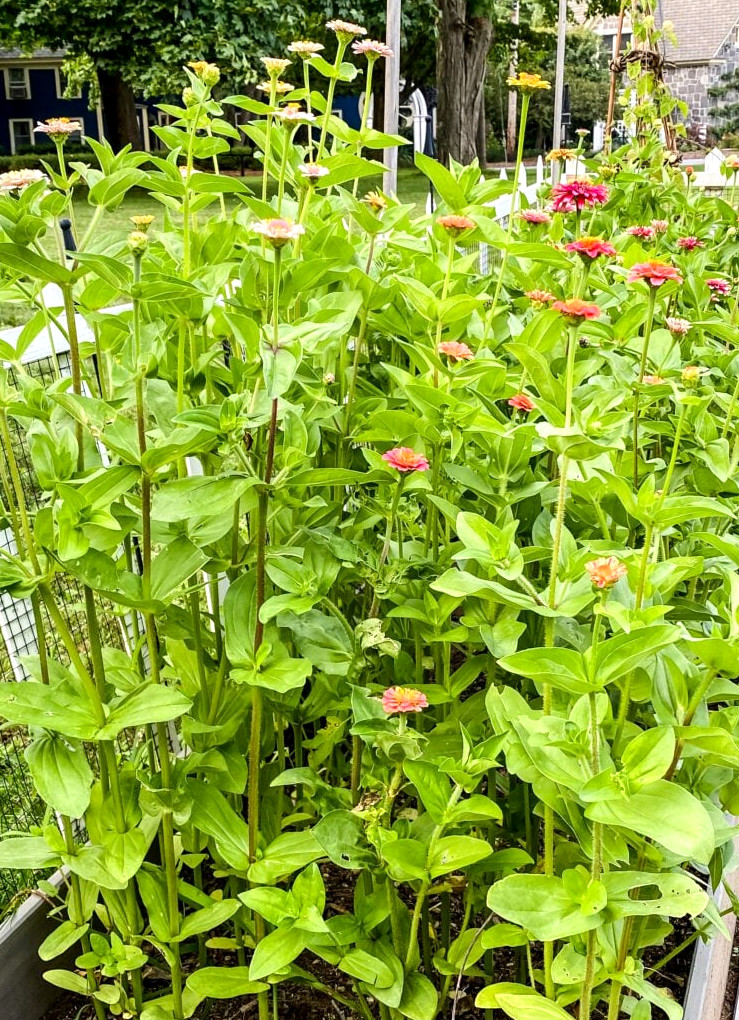
Zinnias thrive in warm soil…I realize this flower is often started indoors, but 1.) I had no room left, and 2.) they performed wonderfully when sown directly! Because of the particularly rainy weather, I didn’t plant them in the garden until nearly the 2nd week of June, and my first blooms appeared about a month or so afterward…but they became the stars of the garden, and I kept cutting zinnias until Halloween frost!!
How I Expanded My Garden Space (And Survived to Share the Story!)
The Major Expansion:
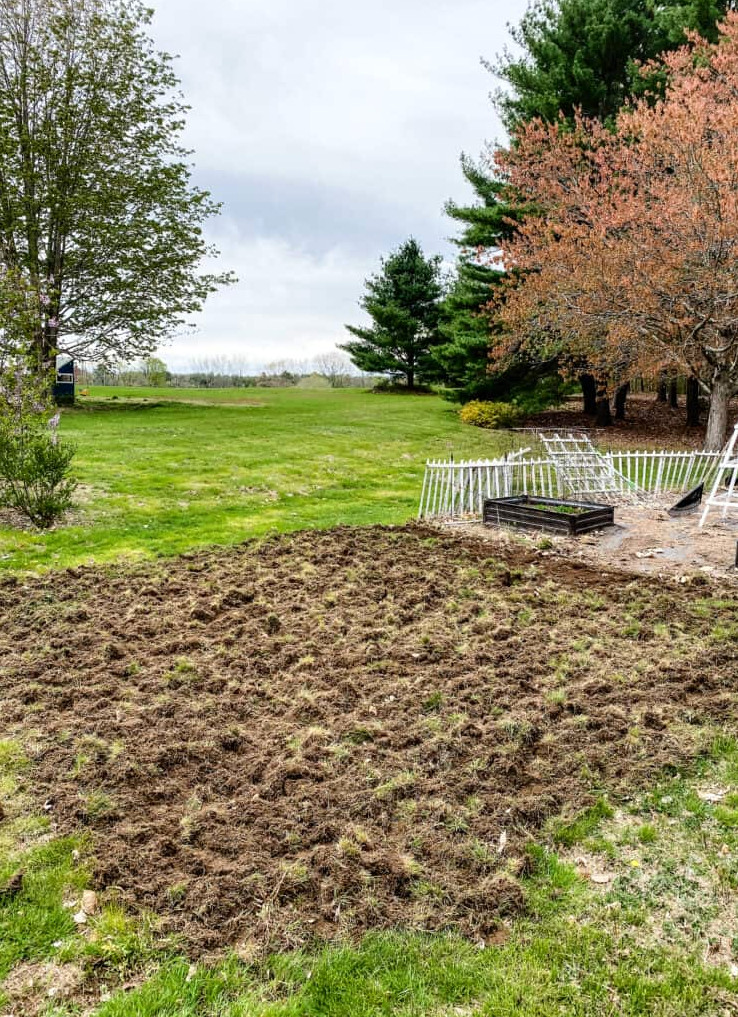
Last year, I enlarged my 20’x24’ garden to20’x40’to create space for my dream cutting garden. Was it exhausting labor? Absolutely. Was it worthwhile?100%—here’s how I made it happen:
The Process, Step by Step:
- Mapping the Work Zone:
- Used stakes and string to measure the new 16’ extension.
- Helpful Tip:Try flour or spray paint to create temporary markings!
- The Big Tilling Job:
- Hire a rototiller (or ask a neighbor to lend one—mine even included extra tractor assistance!).
- Takeaway:Work the soil when it is slightly moist to prevent clouds of dust.
- The Grass-Removal Challenge:
- Removedsections of sodwith a shovel (the toughest part—I earned every blister).
- My neighbor’s tractor transported them to the compost pile (thank goodness for generous neighbors).
- Time to Recover:
- I collapsed indoors with iced coffee, wondering about every decision that led me there… until I noticed thefresh blank spaceready for flowers.
Why Raised Beds Worked for My Cutting Garden
Reason #1: Aesthetic Appeal
Let’s be honest—there’s somethingenchantingabout the appearance oftidy raised beds overflowing with blooms. Although flowers perform well in the ground, raised beds create theneat cottage-garden styleI love. (And there are no more accidental steps on seedlings!)
Reason #2: Protection From Pests
Meet the antagonist in my garden tale:a troublesome woodchuckthat turned my first cutting garden into an all-you-can-eat spread. Raised beds allow me to:
- Surround the base inchicken wire(rabbits really dislike this method!)
- Install removablechicken wire coversover delicate seedlings
- At lastdefeat thosefuzzy garden bandits
Additional Advantages I Found:
- Improved drainage(no more waterlogged dahlias after heavy rain)
- Warmer soil sooner in spring= earlier flowers!
- Fewer backaches—less stooping while caring for and gathering blooms
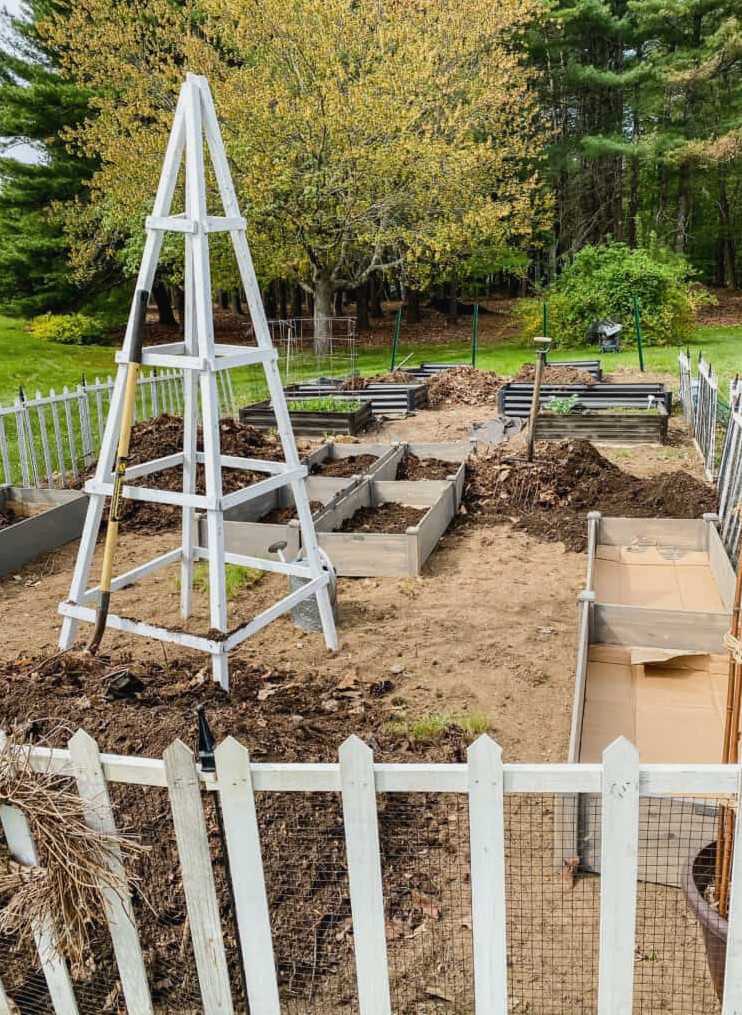
For my flower-cutting garden, I installed 8 wooden raised beds. They arrived as a kit, were incredibly simple to put together, and had a beautiful appearance! Considering the cost of lumber last year, purchasing a kit was nearly the same price as buying the materials to construct a raised bed.
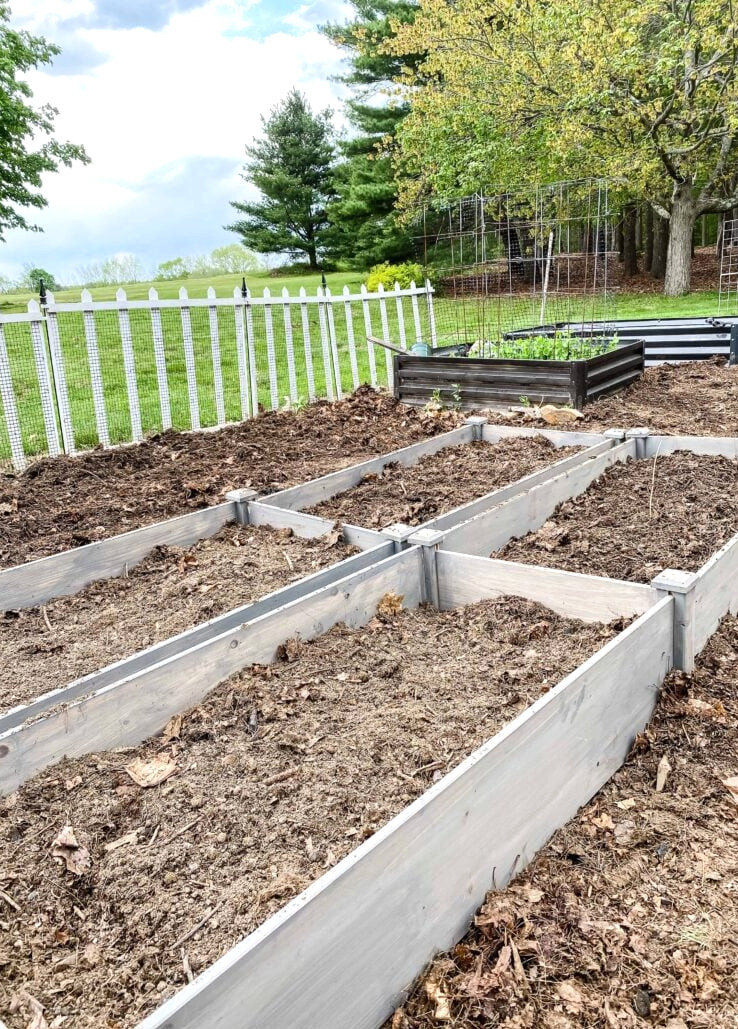
One serious error I made was failing to cover the raised beds with hardware cloth before filling them with soil. Last year, voles spread throughout my gardens. They entered the raised beds and nibbled on several flowers during the previous season.
Voles resemble dark gray mice, but they move incredibly fast…like superhero fast…ugh!! They tunnel beneath the soil and feed on your plants’ roots. They also scurry across the surface, attack the base of your plants, and chew through them before pulling the stalk back into their tunnels…which are everywhere!!
I can’t express how much destruction they caused in my shade garden last Spring…I had to surround the bases of so many plants with chicken wire. They even destroyed a magnificent clematis vine for which I had just put together a new, larger obelisk because it was so spectacular…that one still stings!!
This year:
Therefore, when the ground has thawed, my first significant garden project will probably be taking the soil out of the beds and laying hardware cloth underneath before my heart gets broken again!!
Planting a Cutting Garden in New Hampshire’s Unpredictable Climate
The Memorial Day Dilemma:
In New Hampshire, spring weather is like a box of chocolates—you never know what you’ll get!Although Memorial Day weekend is traditionally when people plant, I’ve discovered it’s best to:
- Keep an eye on the 10-day forecastlike a hawk (wishful thinking isn’t allowed!)
- Check the soil—if it remains chilly and waterlogged,wait(even when the calendar says “go”)
- Keep row covers nearbyfor unexpected frosts (ask me how I know…)
My first gardening job involved planting the trays I had started indoors, which had been gradually acclimating on my porch for several weeks.
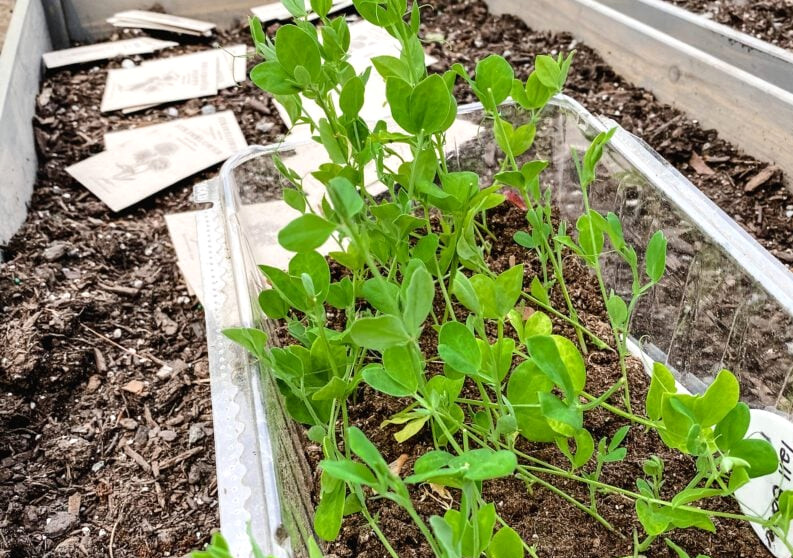
My Planting Strategy:
Planting Strategy
- 1. Hardened-Off First:
- Thosesnapdragons, celosia, and asters started indoorsspent 10 days adjusting to outdoor conditions (from shade to sun and 1 hour to a full day).
- 2. Direct-Sow When Warm:
- Zinnias, cosmos, and sunflowerswere planted directly in the soilonceit reached 60°F (I use a meat thermometer—no specialized equipment required!).
- 3. Backup Babies:
- Always reservea handful of extra seedlingsfor accidents or late frosts.
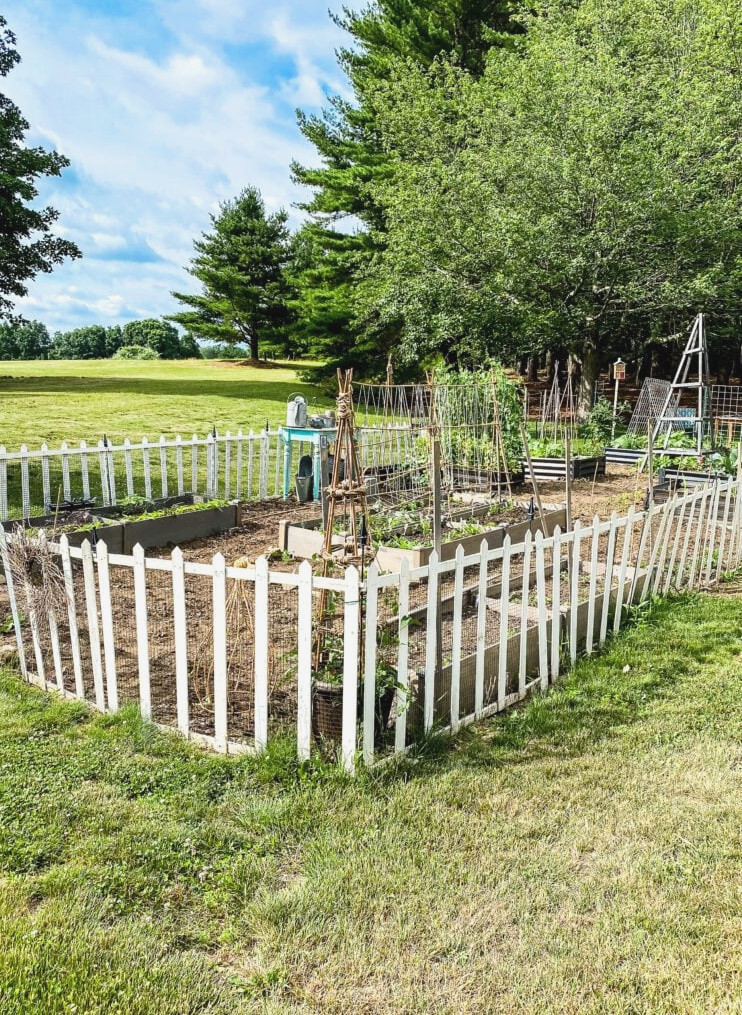
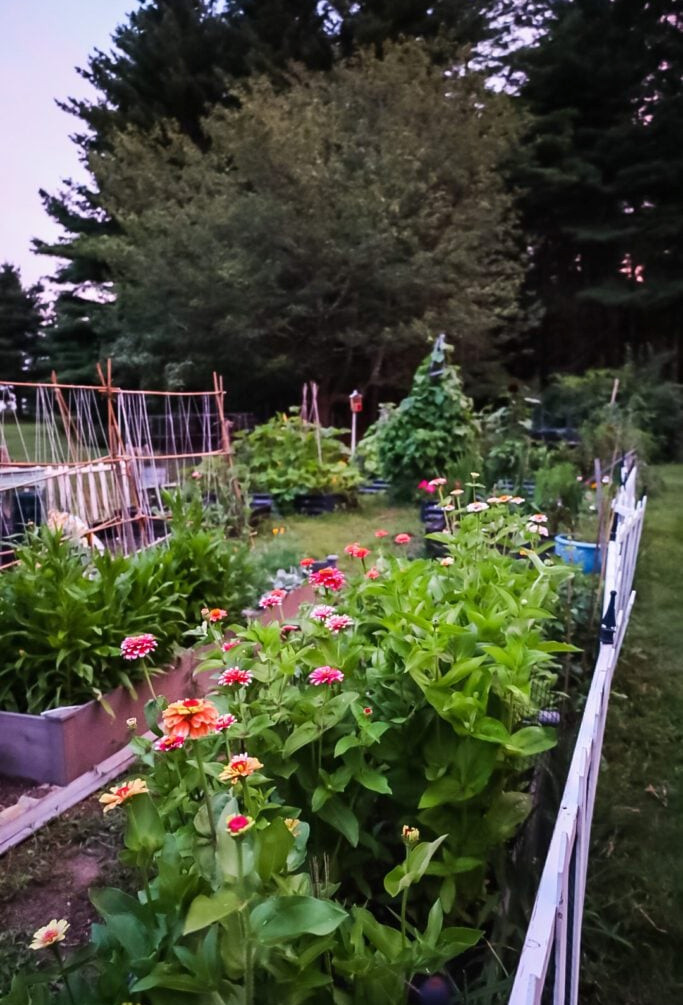
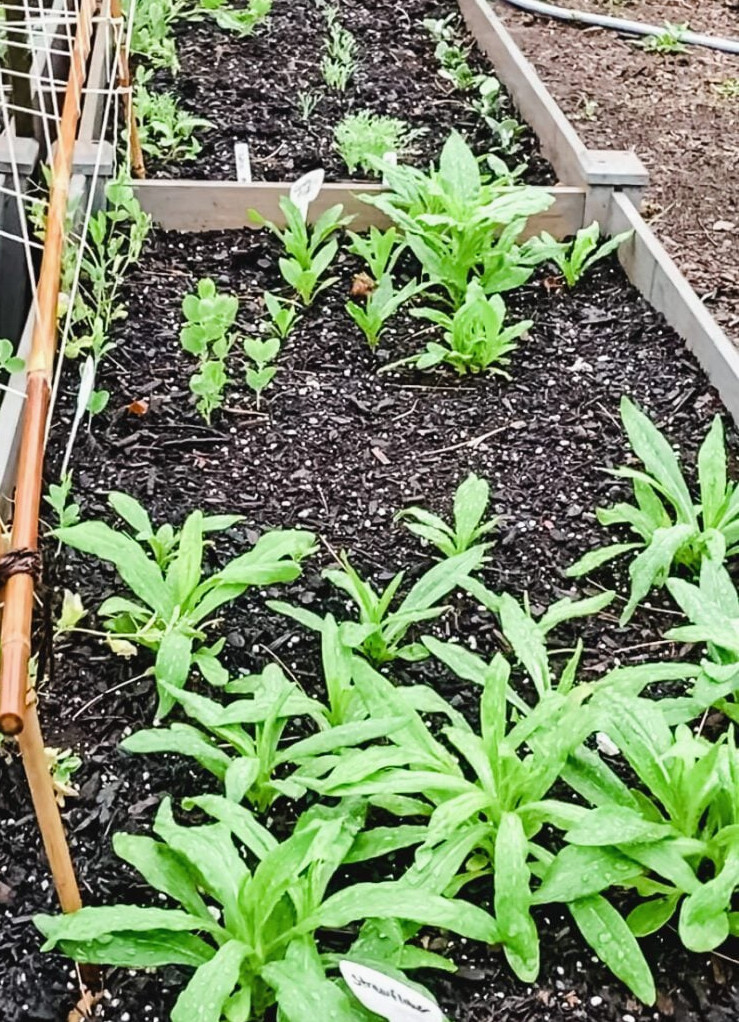
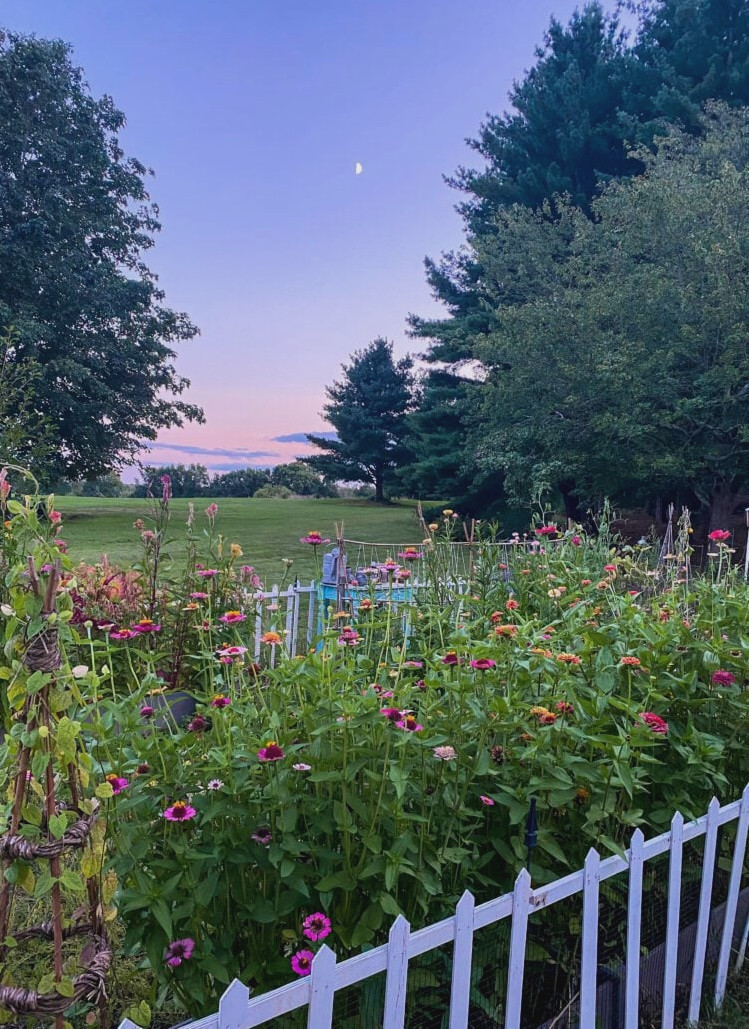
This is what the garden looked like once everything had been planted in June. Just wait until you see its appearance in September!!
Zinnias: The Cutting Garden’s Superstar Flower!
From Delayed Start to Garden Star:
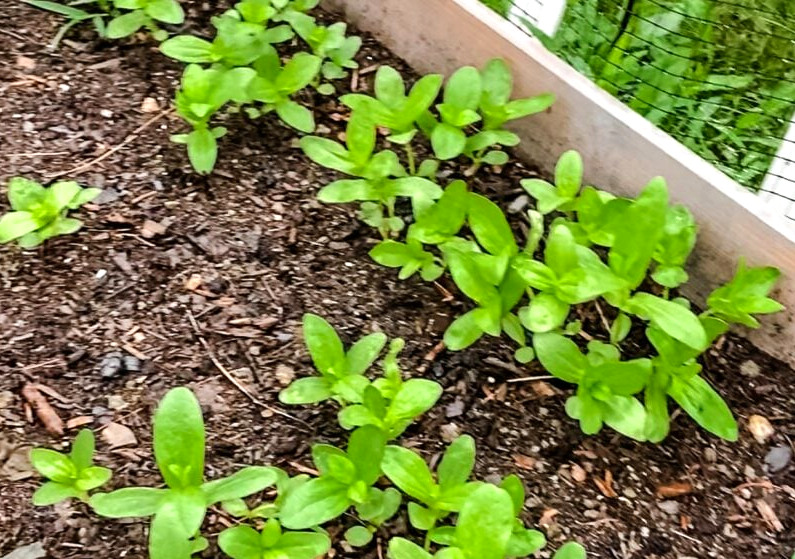
I’ll be honest—I sowed my zinnia seedsfarlater than planned last year. Yet, as their reputation suggests, thesevigorous bloomersgrew from tiny sprouts in late June intobouquets of flowers by August!
Why I’ve Become a Total Zinnia Enthusiast:
- Speedy Performers:Quickest color display in my garden
- Cut-and-Regrow Wonder:They produce more flowers every time you harvest them
- Perfect for Beginners:Every seed I sowed successfully germinated!
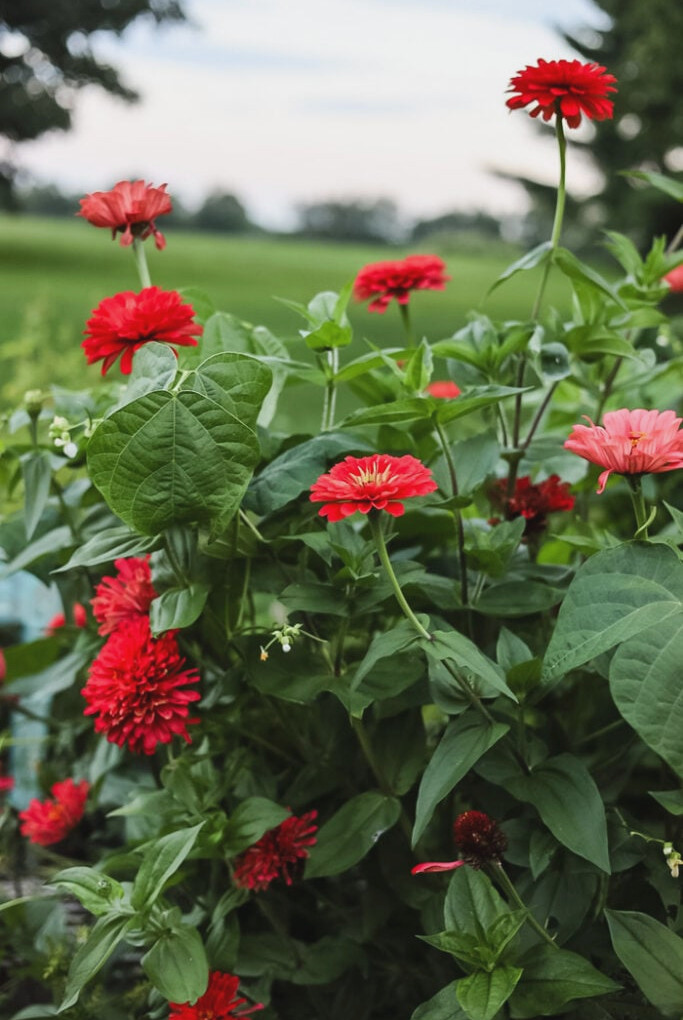
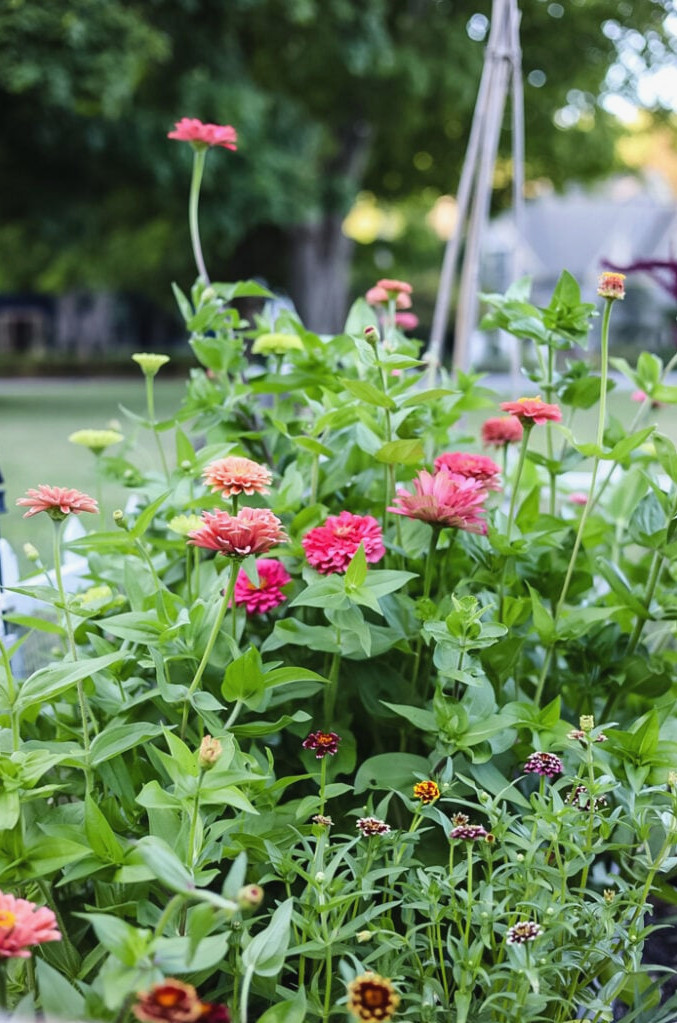
I sowed seeds from 8 different zinnia varieties…and it seems like every one of them sprouted!! They were absolutely amazing, and I’m now a complete zinnia enthusiast!!
The Zinnias I Grew:
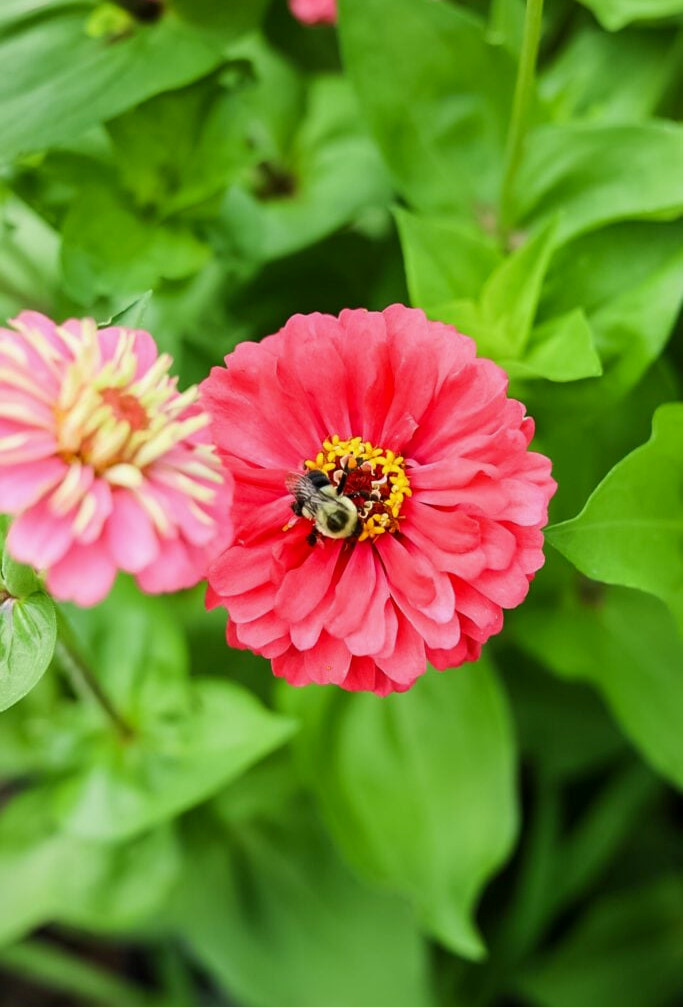
- Benary’s Giant Carmine– Huge, durable blooms that are ideal for bouquets
- Queen Lime Blush– Soft ombre petals with a romantic look (my Instagram favorite!)
- Cinderella Peach– Ruffled, storybook-style flowers beloved by bees
- Lilliput Mix– Adorable pom-poms for smaller arrangements
- Cupcake Pink– Full blooms shaped just like… you guessed it
- Queen Lime Orange– Bright citrus shades that shine in vases
- Marzurkia– Dramatic striped blossoms with a moody feel
- Mystery Variety– (Readers, lend a hand! Which 8th variety did I forget?)
Zinnia Quick Reference:
| Variety | Height | Best For |
|---|---|---|
| Benary’s Giant | 3-4’ | Bold focal blooms |
| Queen Lime series | 2-3’ | Old-fashioned bouquets |
| Lilliput | 1-2’ | Edges/containers |
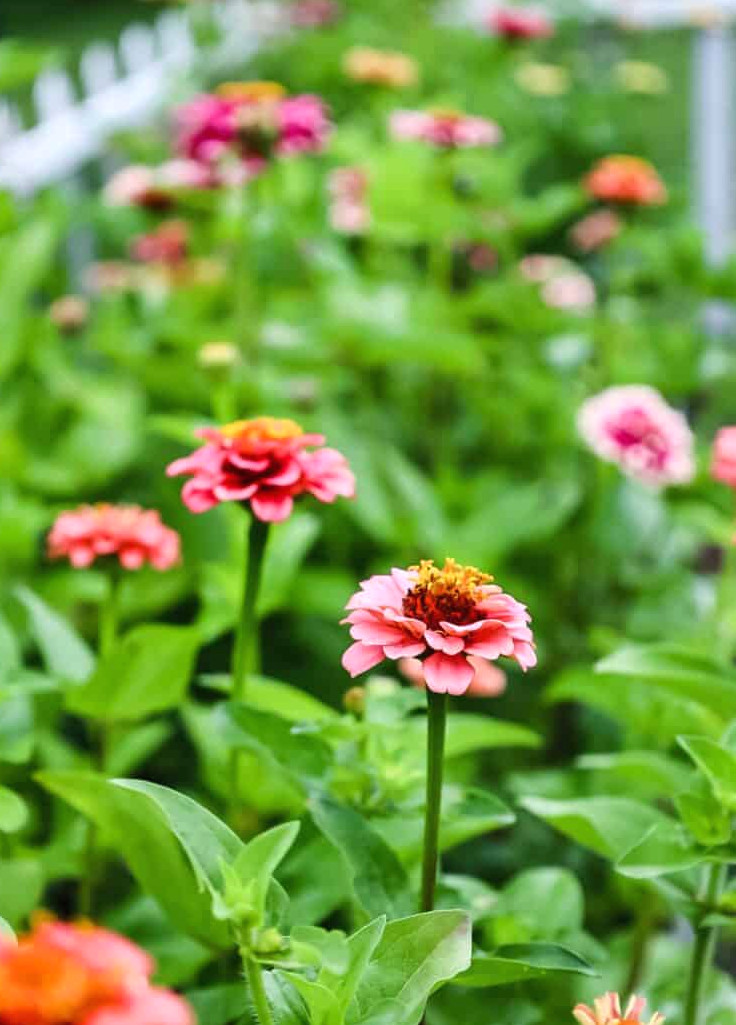
Take a look at my zinnia-growing guide to learn more about these beloved garden blooms
Dahlias: The Showstopping Gems of My Cutting Garden
Why I’m Completely Dahlia-Crazy:
These floral stars became myend-of-season champions, flowering from midsummer right through thefirst hard frost—exactly when many other blooms start disappearing! Although I adore my zinnias, dahlias offer:
- Plenty of Drama:Plate-sized flowers that make passersby stop and stare
- Long-Lasting Blooms:7-10 days in a vase when harvested at the proper stage
- Endless Variety:Everything from pointed cactus forms to charming pompons
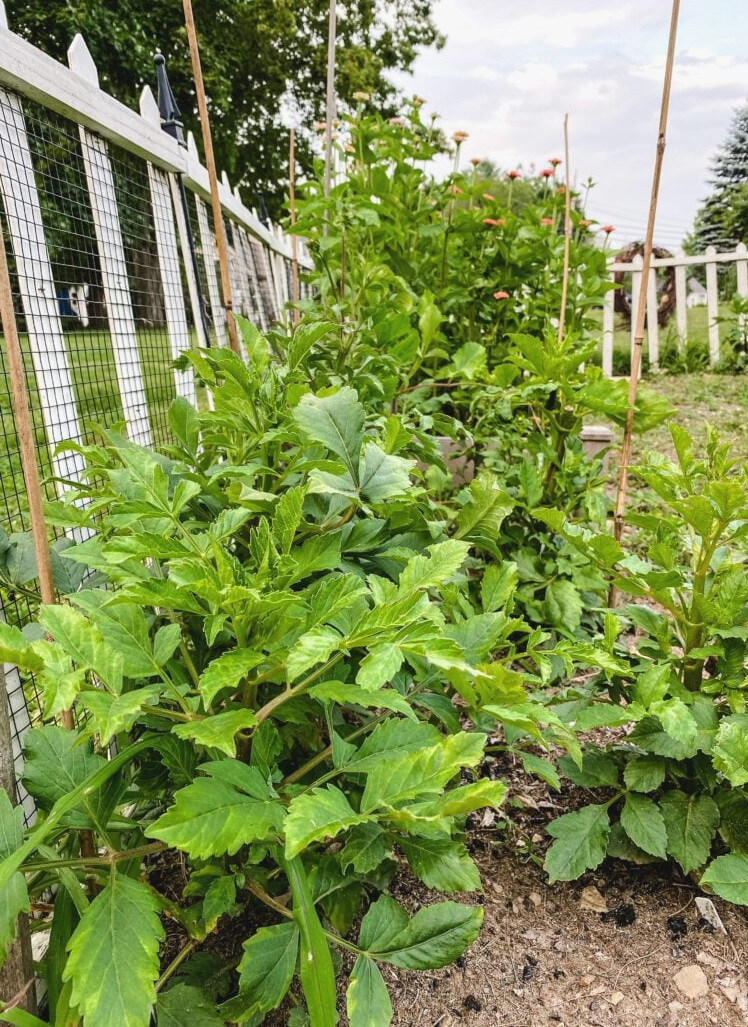
How I Successfully Planted My Dahlia Tubers:
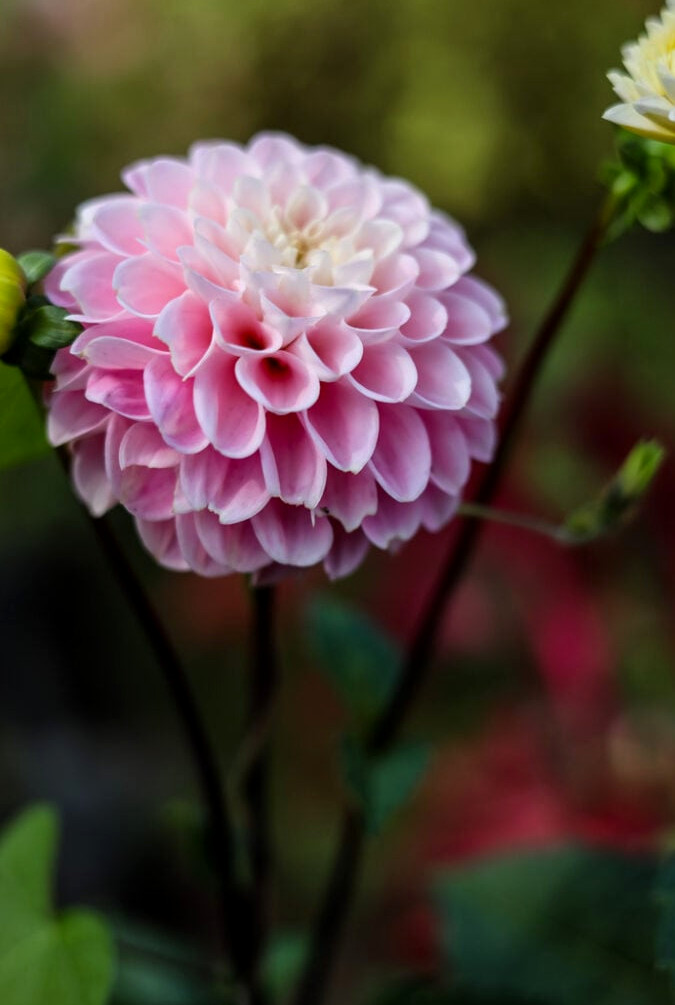
1. Choose the Right Time:
- Plantednear Memorial Day (once the soil reached 60°F)
- Helpful Hint:Place tubers in water for 1 hour before planting to restore moisture
2. Create the Ideal Planting Hole:
- Excavated12” wide x 6” deep(about twice the tuber’s dimensions)
- Enriched with:
•Organic flower fertilizer(to provide gradual nutrients)
•Bone meal(phosphorus to encourage sturdy roots—my secret ingredient!)
3. Position the Tuber Correctly:
- Set ithorizontally, with the eyes pointing upward (like a resting banana!)
- Added2” of soilover it, gradually filling the hole as the stems developed
Dahlia advice
Dahlia Maintenance Lessons:
- Pinch to Encourage More Flowers:Once plants reach 1’, trim the central stem above the 4th pair of leaves
- Install Stakes Early:Support the stalks with bamboo stakes and ties. I enjoy the natural appearance of bamboo throughout my garden.
- Remove Spent BloomsDaily:Promotesongoingflower production
- Feed Monthly:Apply liquid seaweed to encourage larger blossoms
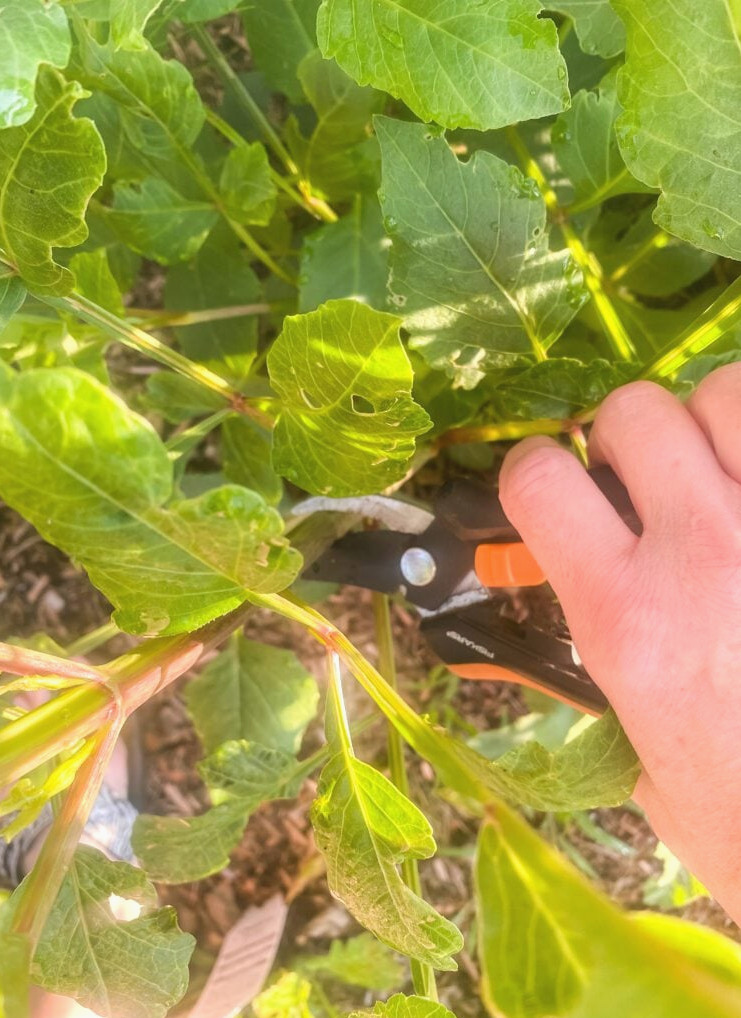
Earwigs did damage them…I had never encountered this issue in my garden before and had barely even noticed any of them.
If slugs are common in your region, they will discover your dahlias..so use slug bait to prevent the issue.
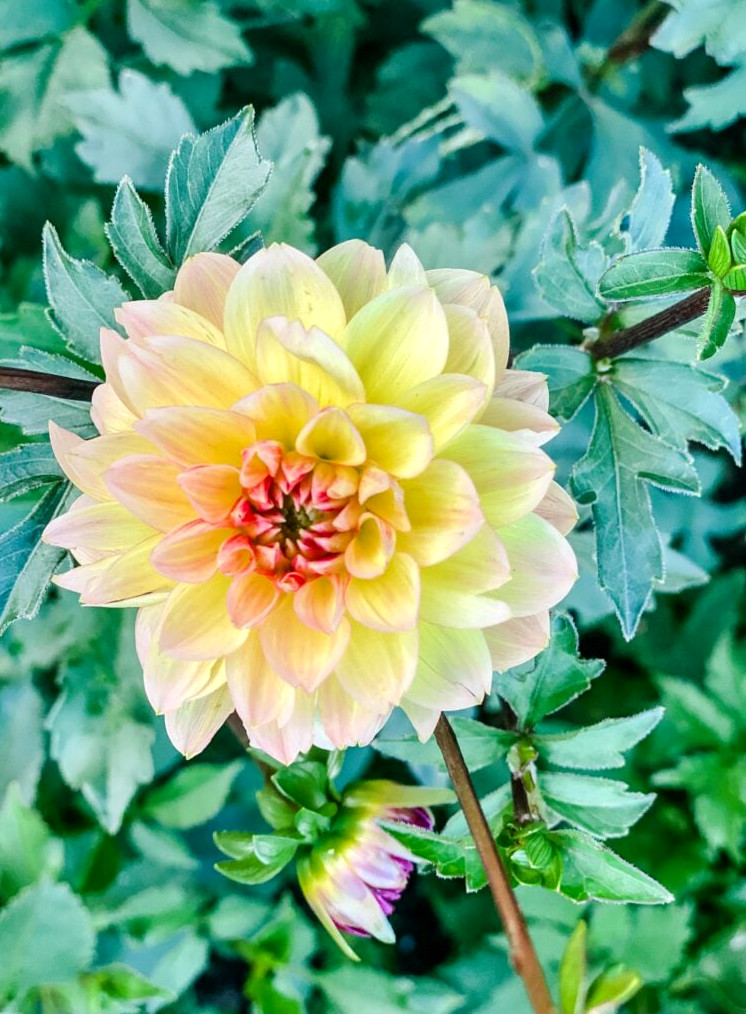
Remember that dahlias bloom very late in the season! Mine began flowering in late August, nearly September, and continued blooming until a freeze arrived at the end of October…I was never happier to have such an unusually late freeze date as I was last year! I wanted to watch every single blossom open.
On the evening before the expected freeze, I went outside and cut every remaining flower so I could bring them indoors and enjoy them for as long as possible.
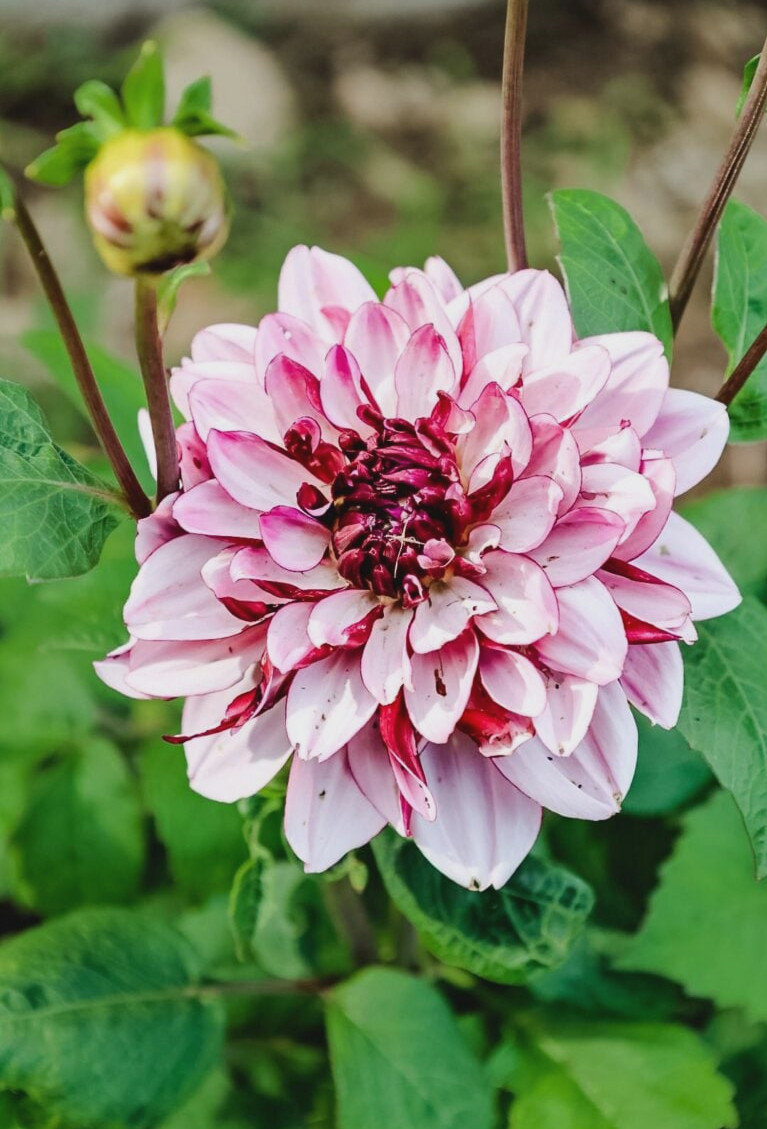
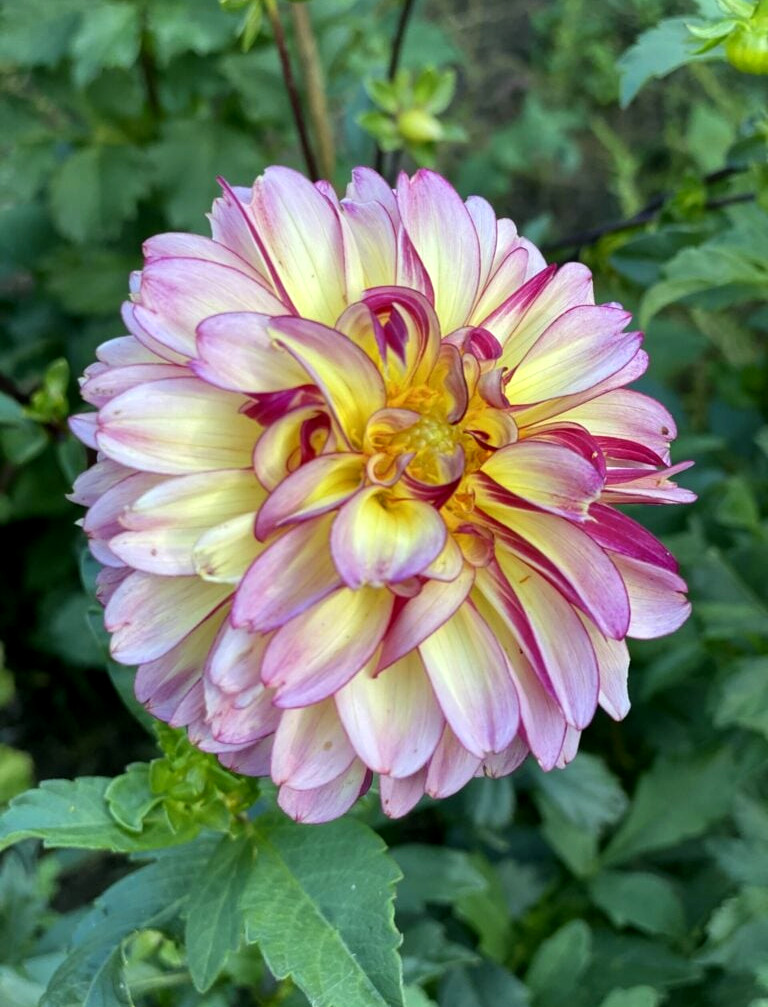
In colder regions, such as the Northeast, you can cut the plant down after the first freeze and lift the tubers to store them through winter in a cool, dark area of your home.
During the growing season, dahlias develop additional tubers as they mature…so you plant a single tuber in spring, and by fall, digging them up reveals a cluster that can be overwintered. You can then divide that cluster and grow even more dahlias the next year…pretty incredible, right!!
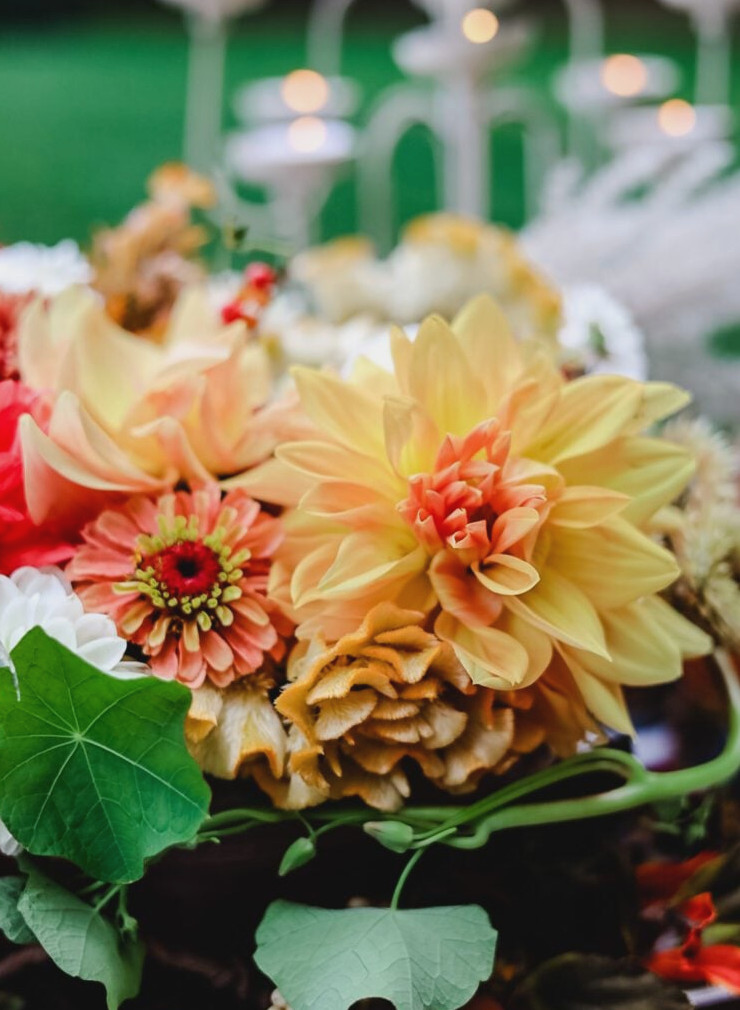
The dahlias and zinnias produced the most beautiful bouquets! Just take a look at this centerpiece I quickly arranged for a Harvest Dinner.
Strawflowers: The Long-Lasting Cut-Flower Stars in My Garden
An Unexpected Favorite:
I’ll confess that I grew strawflowers (Xerochrysum bracteatum) last year mainly because they seemed promising as dried flowers. But by the end of the season?I was completely enchanted!These bright blossoms became myeasy-care MVPs, providing:
- Timeless Charm:Flowers that dry beautifully without assistance
- Easy for Beginners:Prospered with almost no attention during my hectic summer
- Constant Color:Flowered from July through frost without requiring deadheading
They were simple to sow directly in my cutting garden, too (though I also started some flowers indoors) . Strawflowers required very little care. I kept them watered and fertilized, and they handled the rest. They are an ideal flower seed for beginner gardeners creating a cutting garden.
Truthfully, I had never watched strawflowers grow in a garden! Their flower buds are astonishing…so intricately detailed and genuinely beautiful to photograph. They brought me immense joy in my cutting garden!
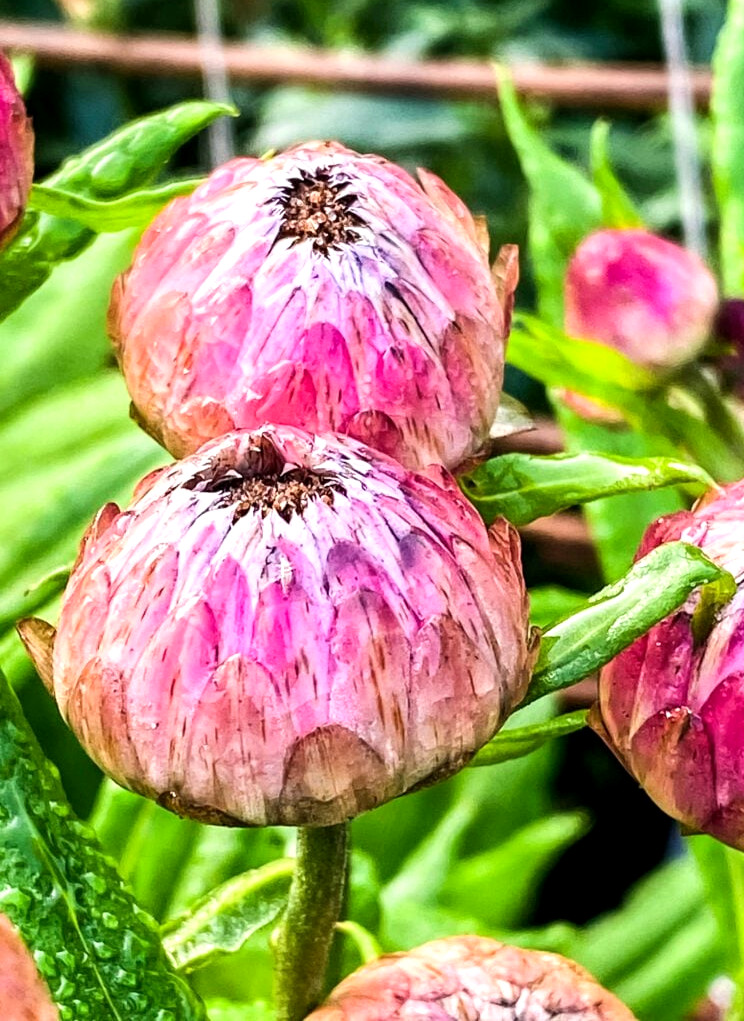
It is especially fun to watch the buds tightly close at night before gradually opening throughout the day. Strawflowers also have an impressive blooming period, with one flower lasting for many weeks. They continued flowering right up to the freeze near Halloween.
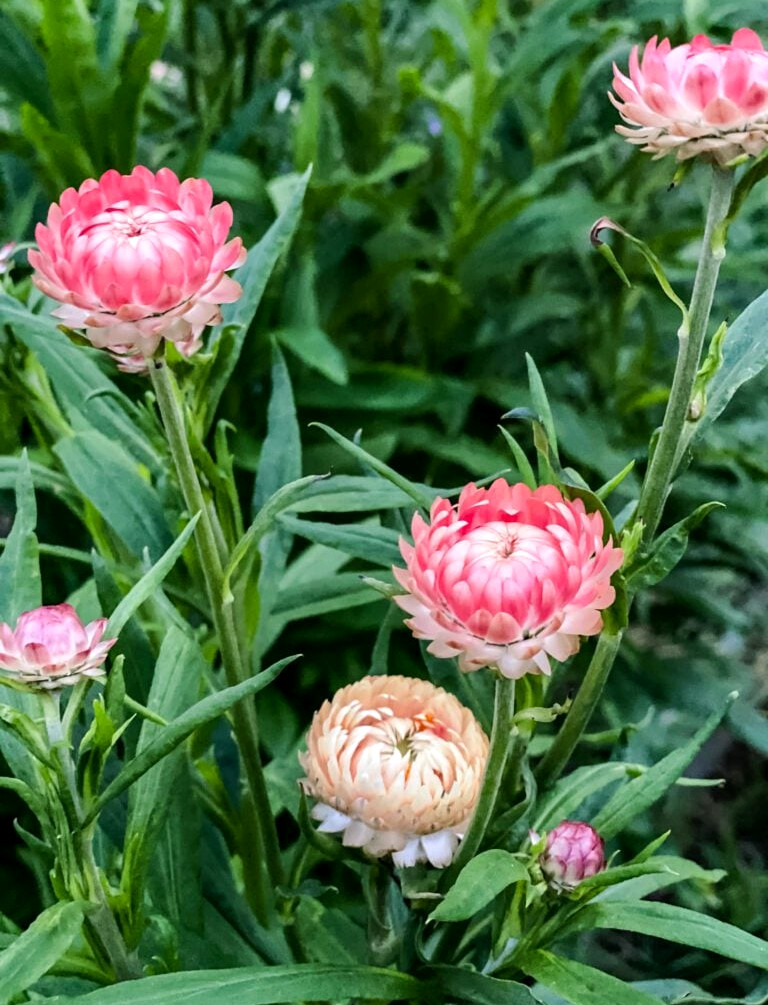
Why Strawflowers Are Ideal for Beginner Gardeners:
1.Effortless Planting:
- Sowed seeds directly1/4″ deeponce the last frost had passed
- They sprouted inonly 7-10 days(no complicated germination required!)
- Helpful Tip:Use plant markers to identify rows—young seedlings initially look like weeds!
2. Simple Care Routine:
- Water:Watered only when the soil became dry (drought-resistant after establishment)
- Fertilizer:Applied once the plants began developing (fish emulsion fertilizer)
3. Two-in-One Benefits:
- Fresh Bouquets:Delicate, papery petals remain fresh for2+ weeksin water
- Dried Arrangements:Hang them upside down in bunches—silica gel is unnecessary!
Drying strawflowers (Incredibly Simple!)
In September, I began trimming them and bringing them indoors to dry. I tied them into small bundles and suspended them upside down. Strawflowers were also among the cut flowers whose seeds I collected for this year’s planting. Left in the garden, they dry out and produce seeds that look remarkably like a fluffy dandelion.
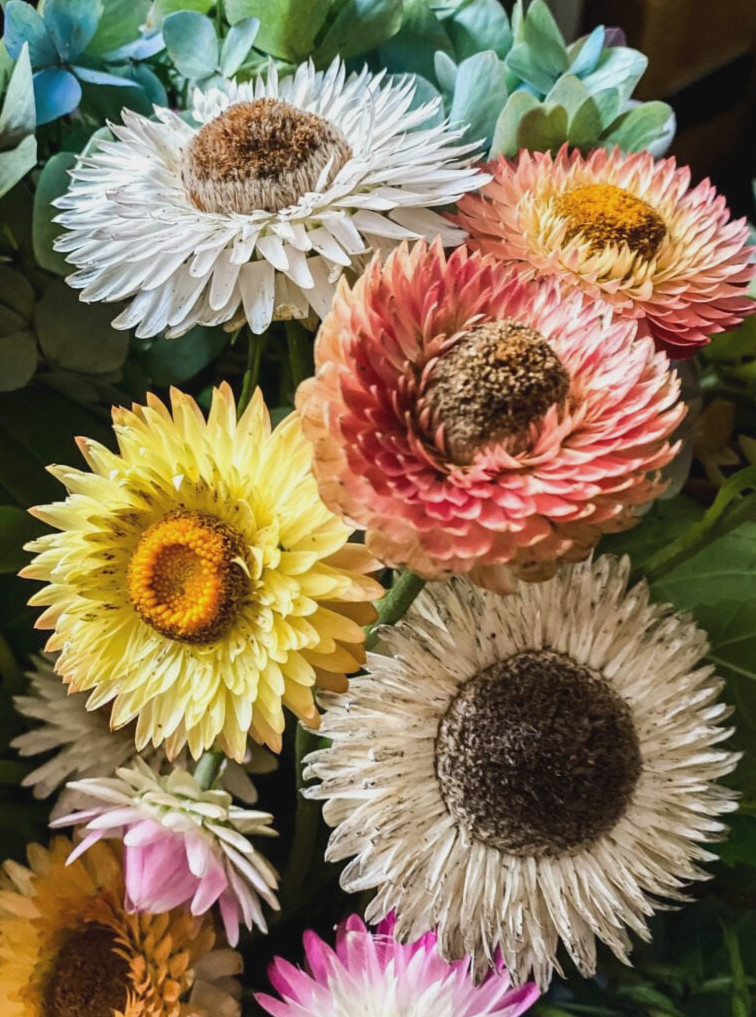
Celosia & Amaranth: The Dynamic Pair of Drama and Resilience
Amazing Seed-Starting Results:
These two seemed to grow by magic—every seed germinated, giving me adelightful dilemmaof having more plants than expected! (Helpful tip: Give extras to neighbors and make instant gardening friends.)
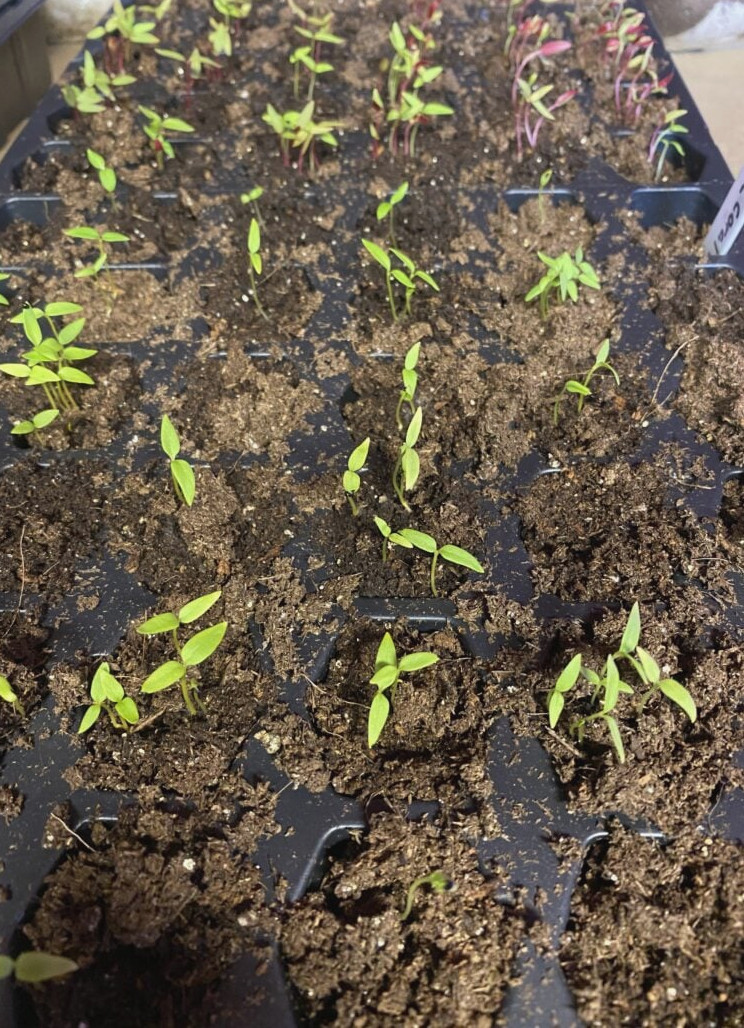
Why Amaranth Became the Star:
- My amaranth turned into a roadside showstopper, looking spectacular from the street!
- Reaches 5-6’ in height with cascading blossoms
- Added Bonus:Goldfinches eagerly feasted on the seeds during fall!
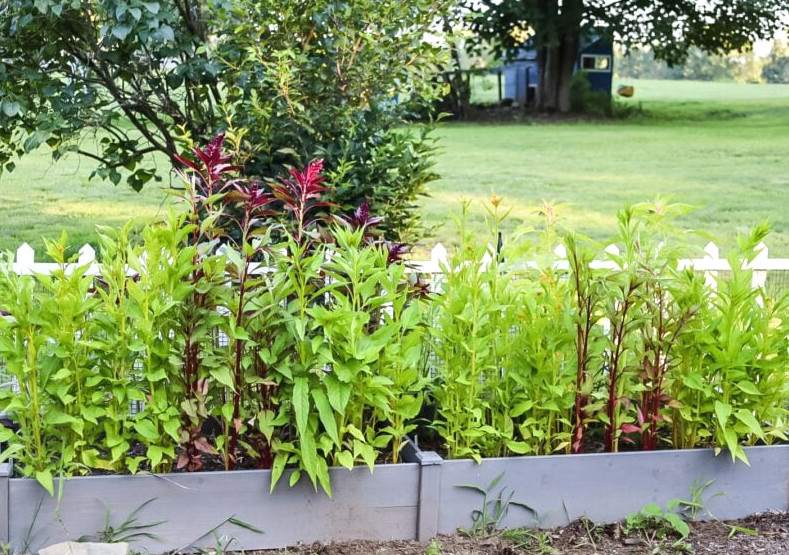
One feature I especially enjoyed about celosia was how it grew tall and upright before its blooms began to open. I planted the amaranth along the back row so it could drape over the fence.
Amaranth Growing Tips
- Choosefull sun(shade causes them to droop)
- Providesolid supports—bamboo works well
- Once established, it tolerates drought
Why Celosia Became a Flower I’ll Always Grow:
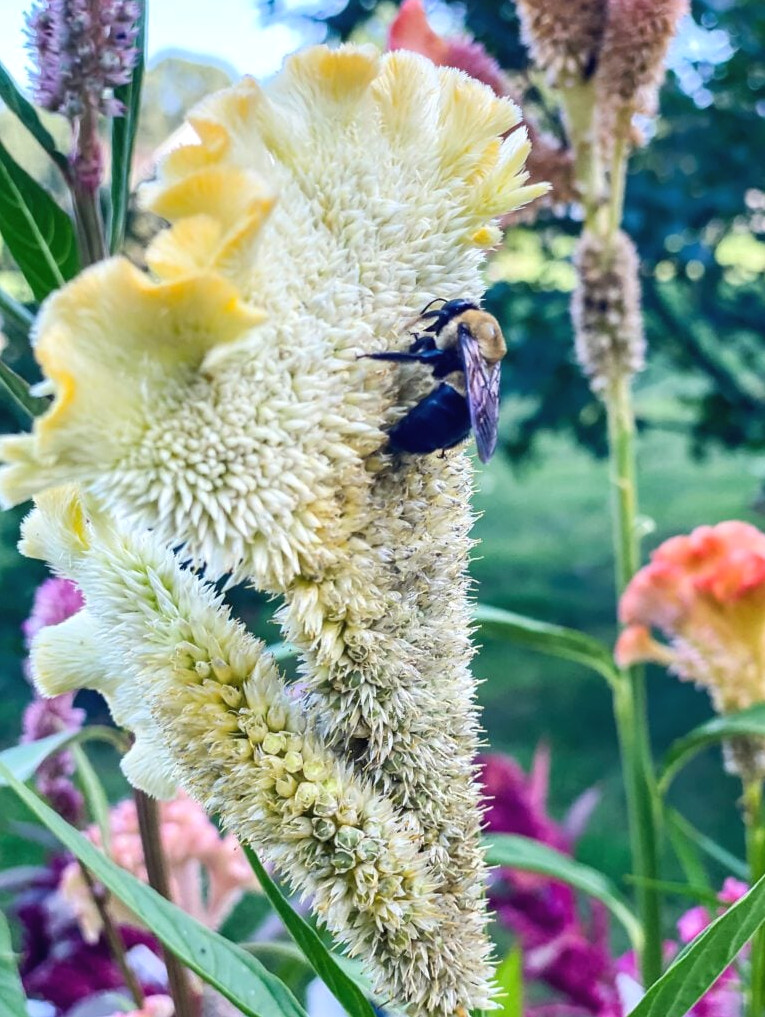
Celosia:The Bouquet Champion!
- 3+ weeks of vase life(it lasted longer than every other flower!)
- Soft, velvety texturethat visitors couldn’t resist touching
- Dries beautifully—the color remains even 6 months afterward
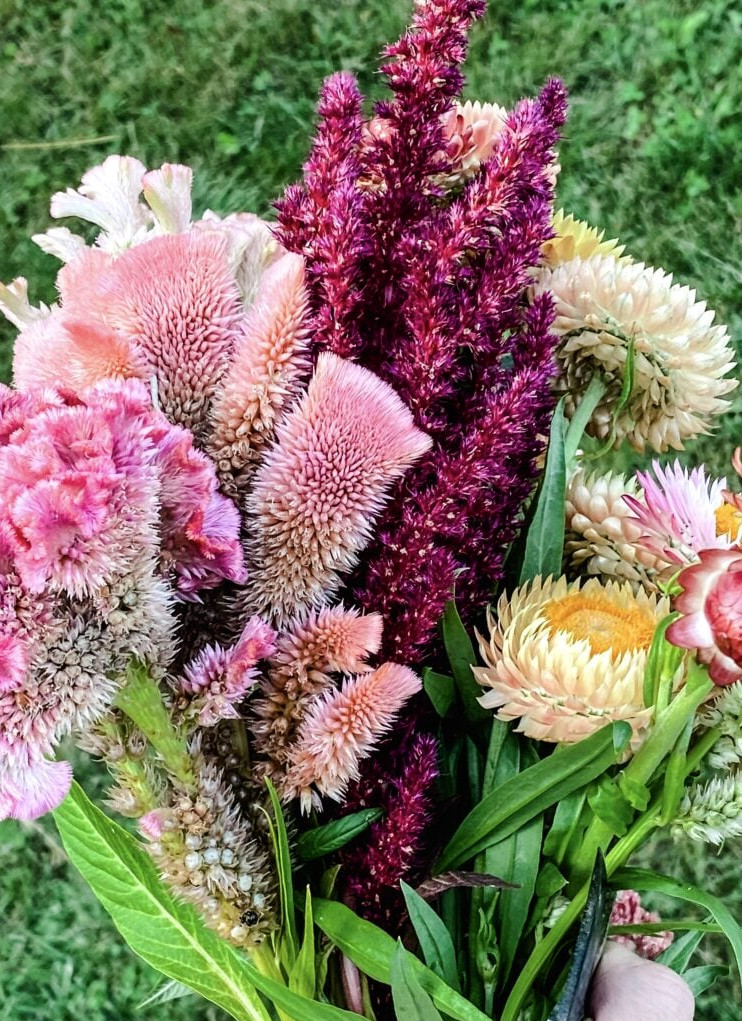
The celosia blooms were truly remarkable! They stayed fresh in my bouquets for weeks, making them an essential cut flower for my garden this year. They were every bit as soft and fuzzy as they appeared in the photograph, too!! Such a fun flower!!
Expert Comparison Chart:
| Characteristic | Amaranth | Celosia |
|---|---|---|
| Height | 4-6’ (tall focal point) | 2-3’ (medium height) |
| Texture | Waterfall-like tassels | Fluffy flames or cockscomb |
| Best For | Background planting | Arrangements & drying |
My Snapdragon Growing Formula:
Snapdragons were among the seeds I had to begin indoors roughly 10-12 weeks before moving them into the garden. The process was simple, and after planting them outside in the cutting garden, they quickly flourished and grew vigorously,
1. Seed-Starting Tips:
- Planted incell traysfilled with seed-starting mix
- Maintained65°F(with a heat mat until sprouting)
- Pinched seedlings at4″ tallto encourage fuller plants
2. Transplanting Advice:
- Hardened plants for7 days(they dislike sudden cold!)
- Set them12″ apartin fertile, well-draining soil
3. Continuous Bloom Tips:
- Harvest frequently, since cutting encourages more blooms
- Keep 3 sets of leaveswhen cutting so they can regrow sooner
- Feed monthlywith fish emulsion
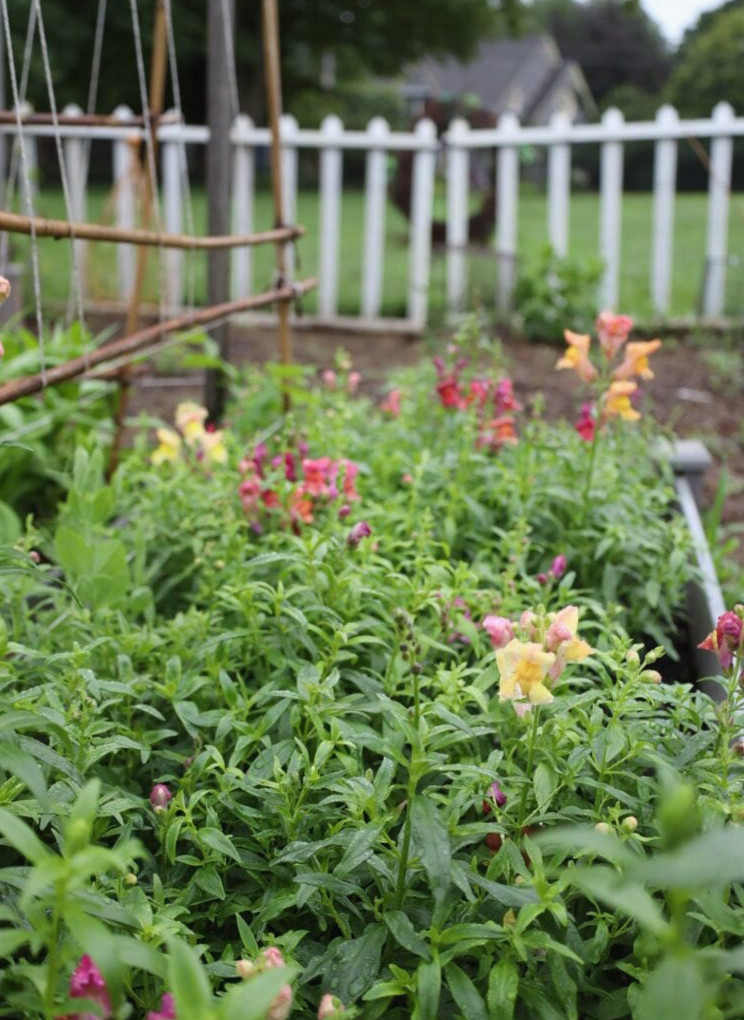
Snapdragons are wonderfully distinctive flowers, producing several buds along every stem. They also come in an extensive range of colors and heights. The more stems I harvested for arrangements, the more snapdragons seemed to emerge!
I’m absolutely planning to plant additional snapdragons in my cutting garden this season!!
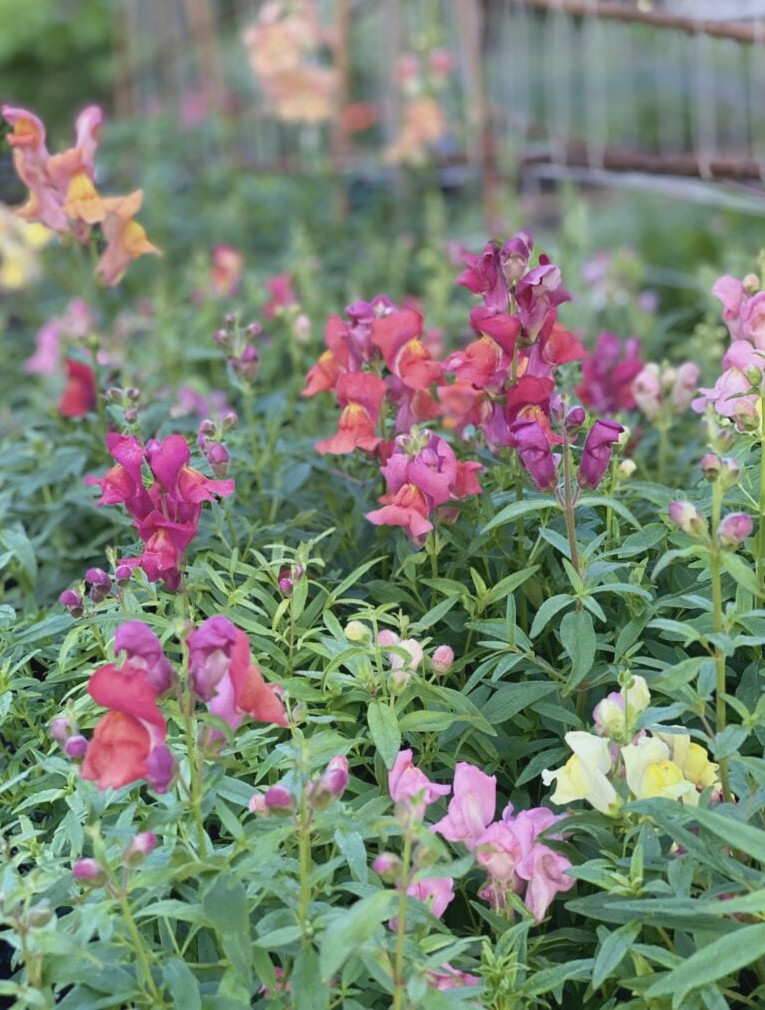
One wonderful benefit of maintaining a cutting garden is that after nearly all my perennials had finished flowering in the other gardens…it continued thriving!! I took this photo at the end of September…in New Hampshire…absolutely incredible!!
Cosmos: The Effortless Stars of My Cutting Garden
My Cosmic Love Story:
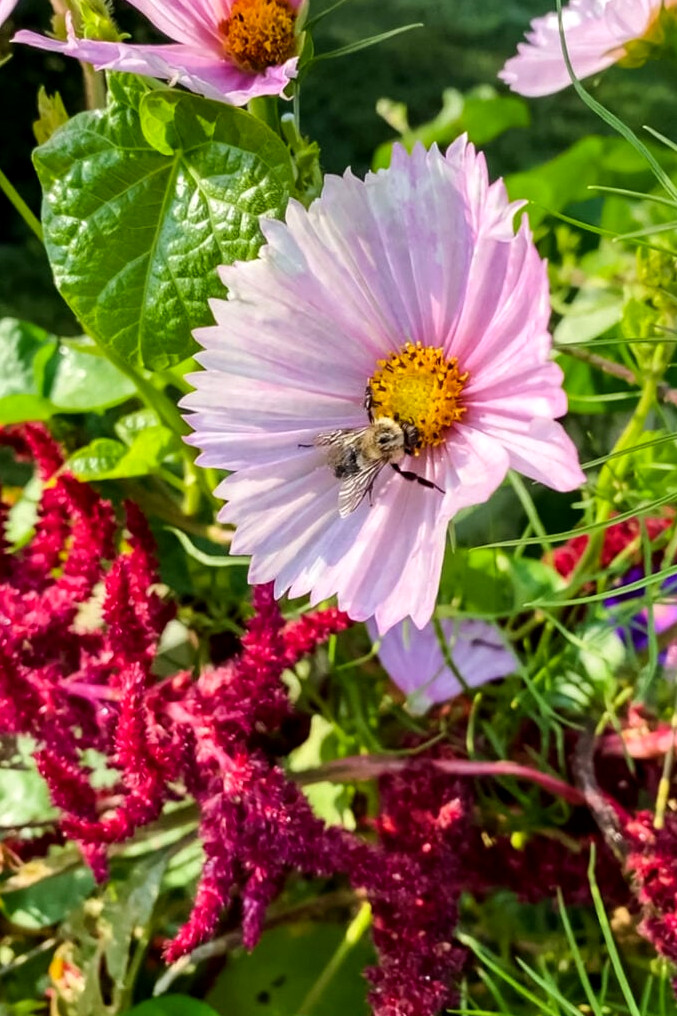
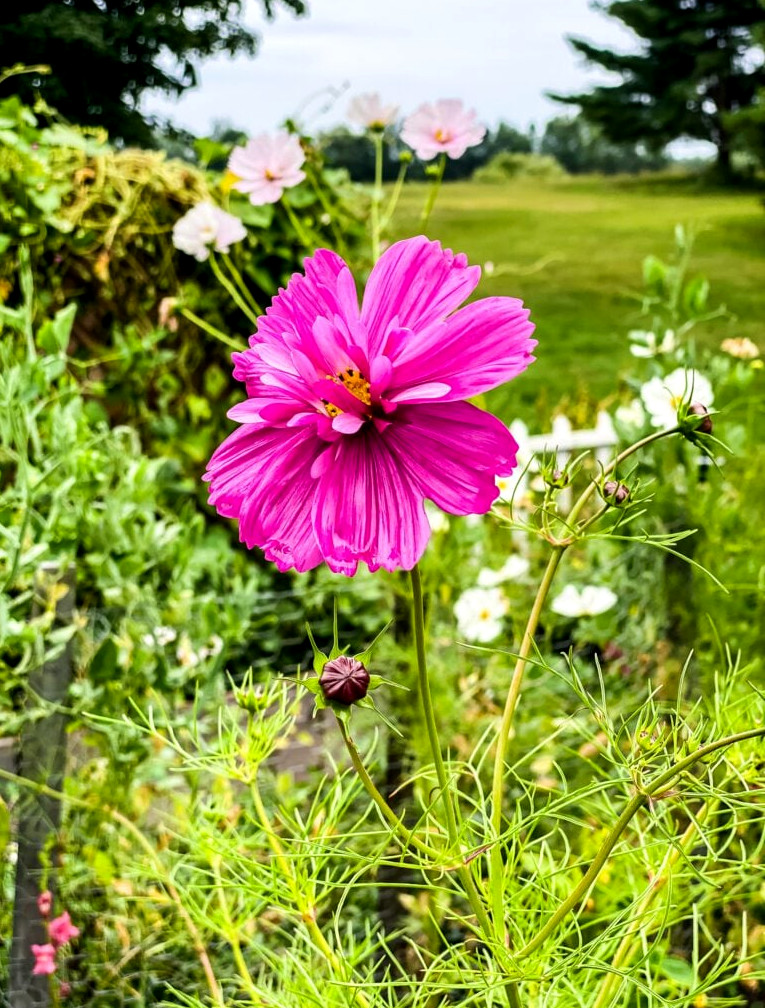
I’ll confess that I initially underestimated Cosmos. Yet theselight, butterfly-attracting blossomsturned into myunexpected favoritesfor three wonderful reasons:
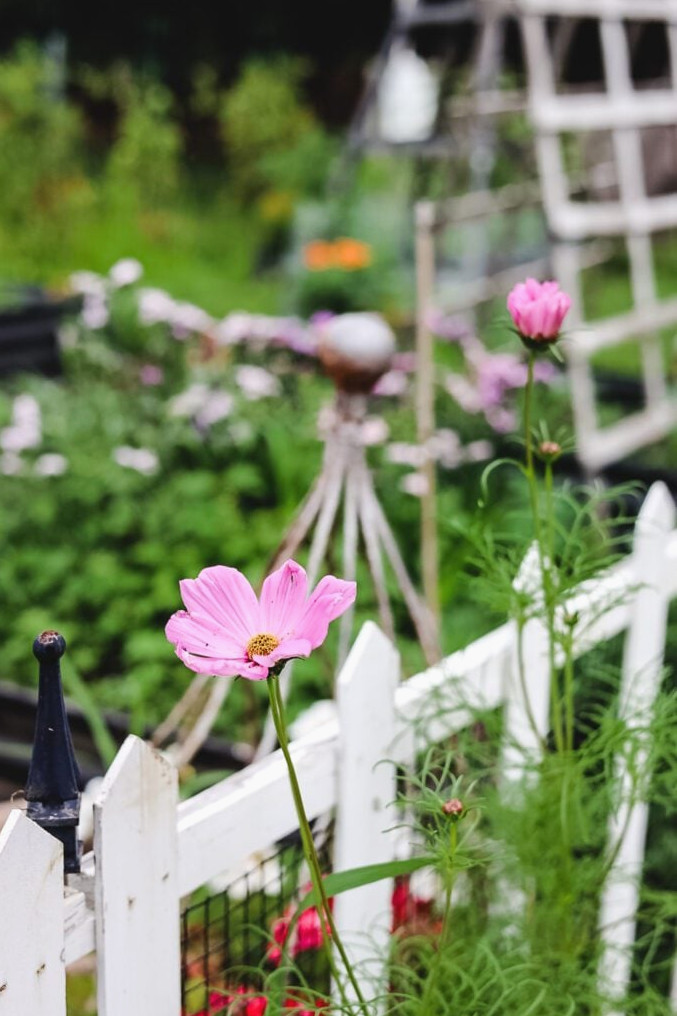
- They sprout almost magicallywhen grown from directly sown seeds
- Flower continuouslyfrom late July (here in zone 6a) until the first frost
- Give every bouquet a carefree, romantic appearance (though their vase life is brief!)
Cottage-Style Additions (that aren’t flowers!)
The final detail I’d like to discuss is the additional features you can include to create a cottage garden appearance. Besides the raised beds in my cutting garden, I placed several garden structures nearby for my plants to climb. They add beauty as well!
Cottage Garden Tower
Last Spring, I created this cottage garden tower...using an inexpensive…super inexpensive tomato cage and bamboo stakes!! I spotted some pricey versions online and realized I could build something comparable for much less (which is my favorite thing to do!!)
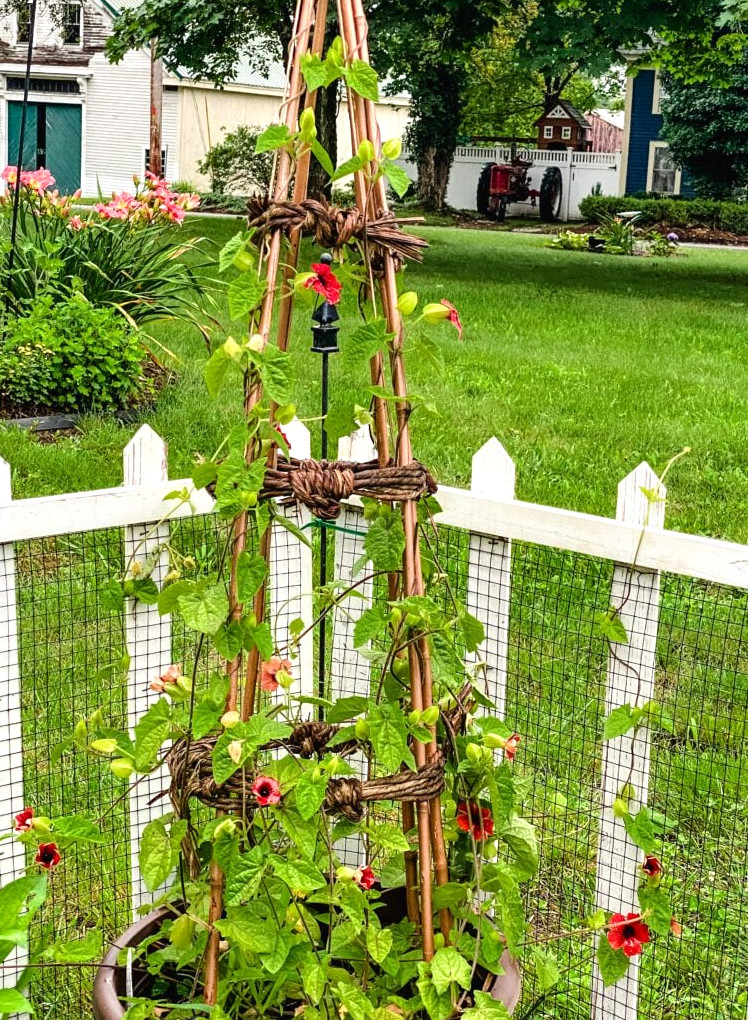
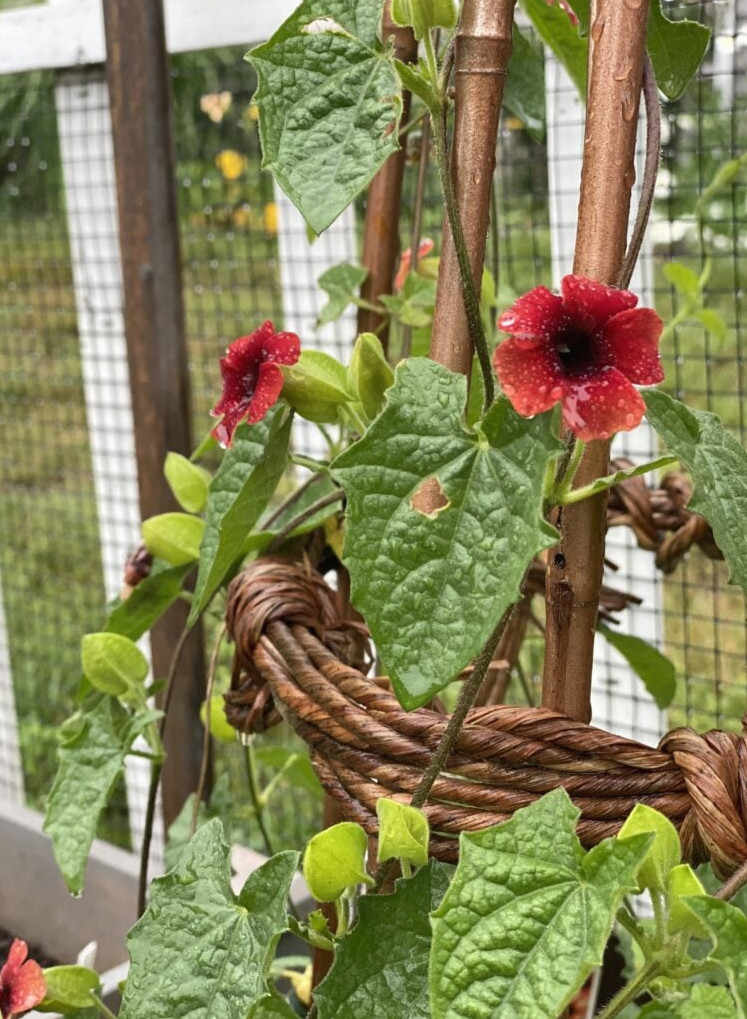
As Summer progressed, I loved watching the black-eyed Susan vine spread across and overtake the tower.
Sweet Pea Support
Sweet peas require a structure to climb and grip with their tendrils. While planning my garden throughout the winter, I envisioned something that complemented the cottage-style cutting garden I had in mind. After looking through English gardening magazines, I designed my own take on a sweet pea trellis.
SWEET PEA TRELLIS MATERIALS:
- 4, 5, or 6 ft bamboo garden stakes
- Ball of twine, rope, or jute twine for fastening the corner supports
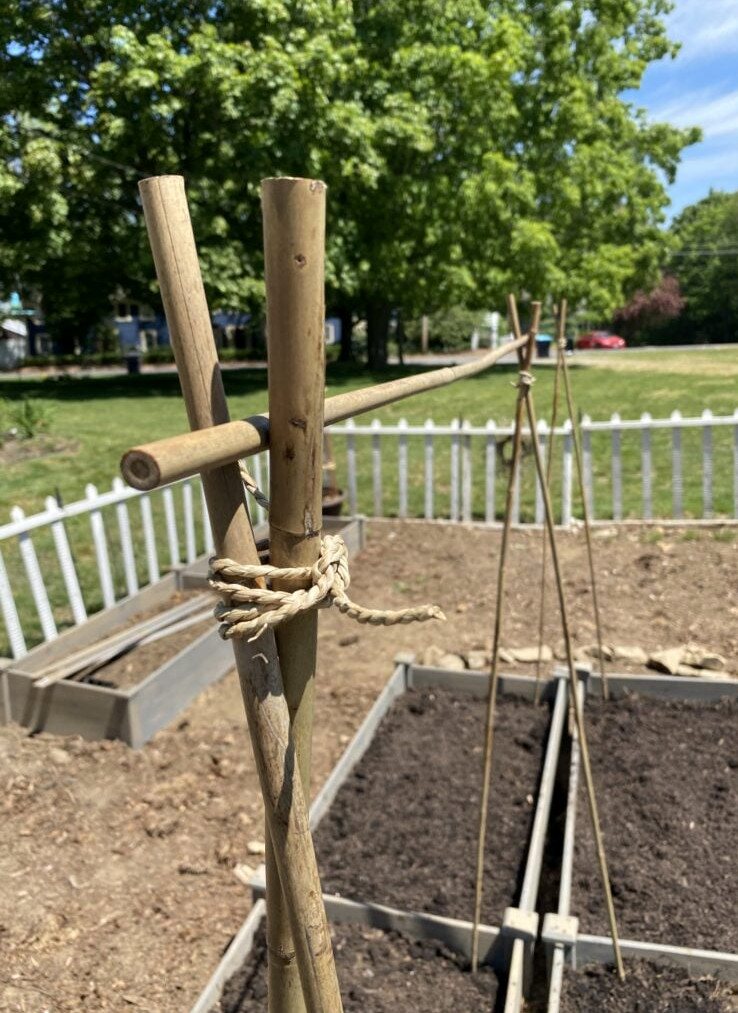
STEP 1.
- Cross 2 bamboo stakes near the top to form a V (I pushed the ends firmly into the raised bed)
- Fasten the bamboo pieces together with sturdy jute twine or thin rope. Do the same on the opposite end.
- Next, position a bamboo stake across the 2 supports you made, settling it into the V, and tie it securely with jute twine.
I’m building a trellis twice this length. Each of my raised beds measures 4 ft long.
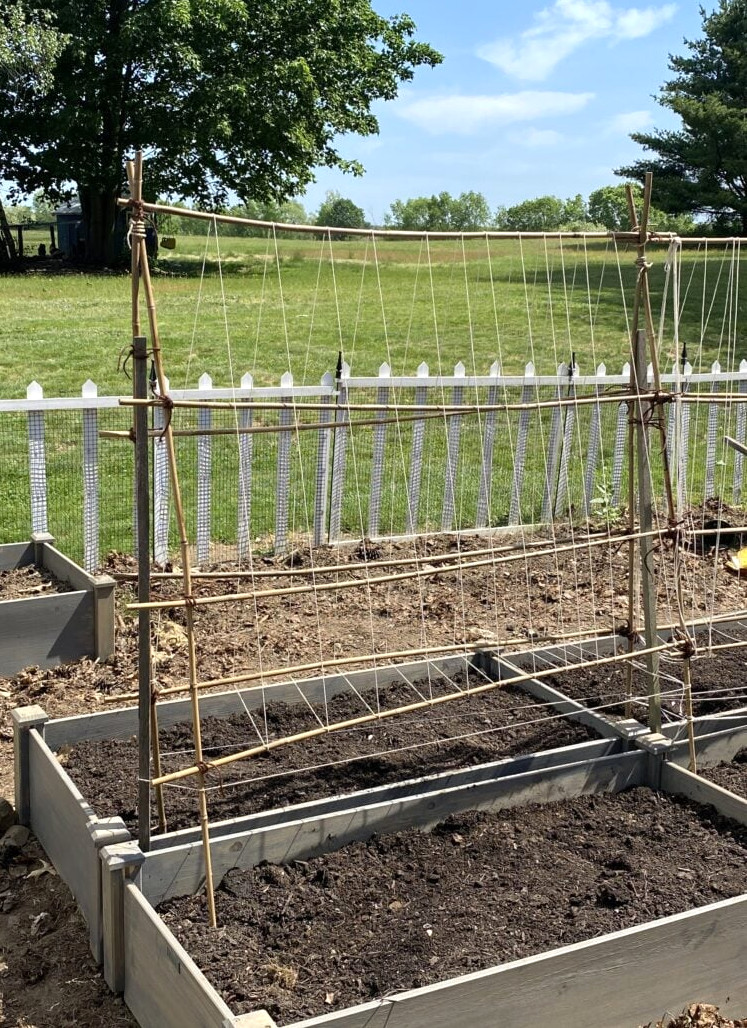
STEP 2.
- Once the upper supports were secured, I added3 additional bamboo pieces horizontally across the trellis, tying both ends with jute twine.
- To reinforce the whole structure, I placed wooden garden stakes at each end and fastened them to the trellis. (they are visible in this photo)
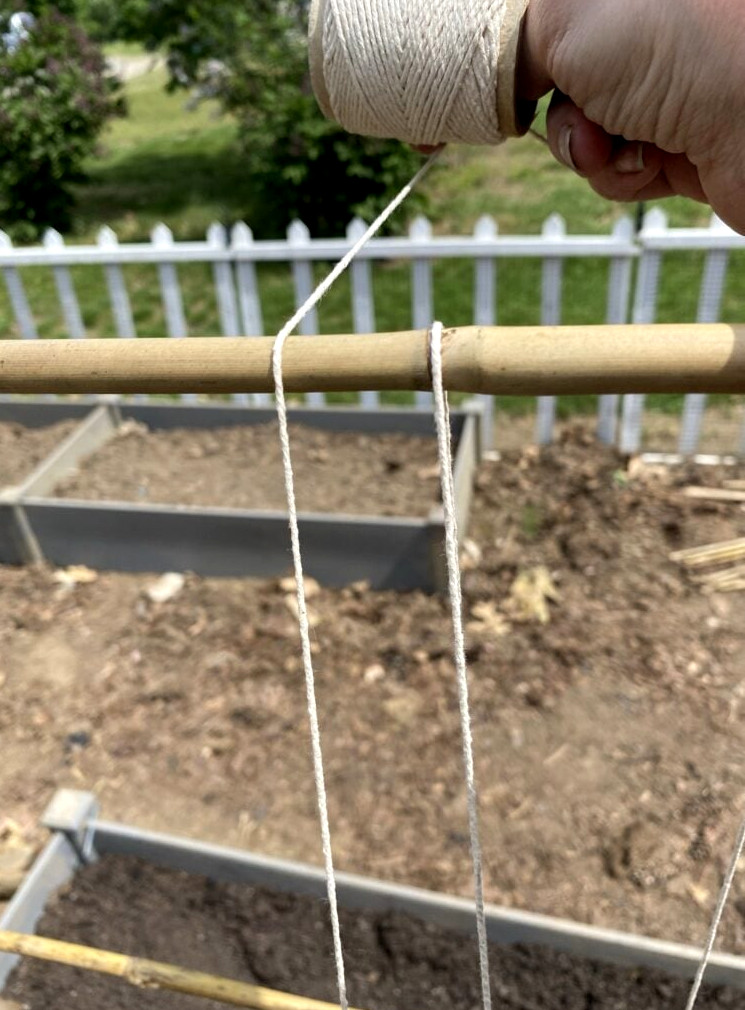
To give the sweet peas something to grasp as they climb, I simply looped the twine over and along the bamboo every few inches down the length of the trellis.
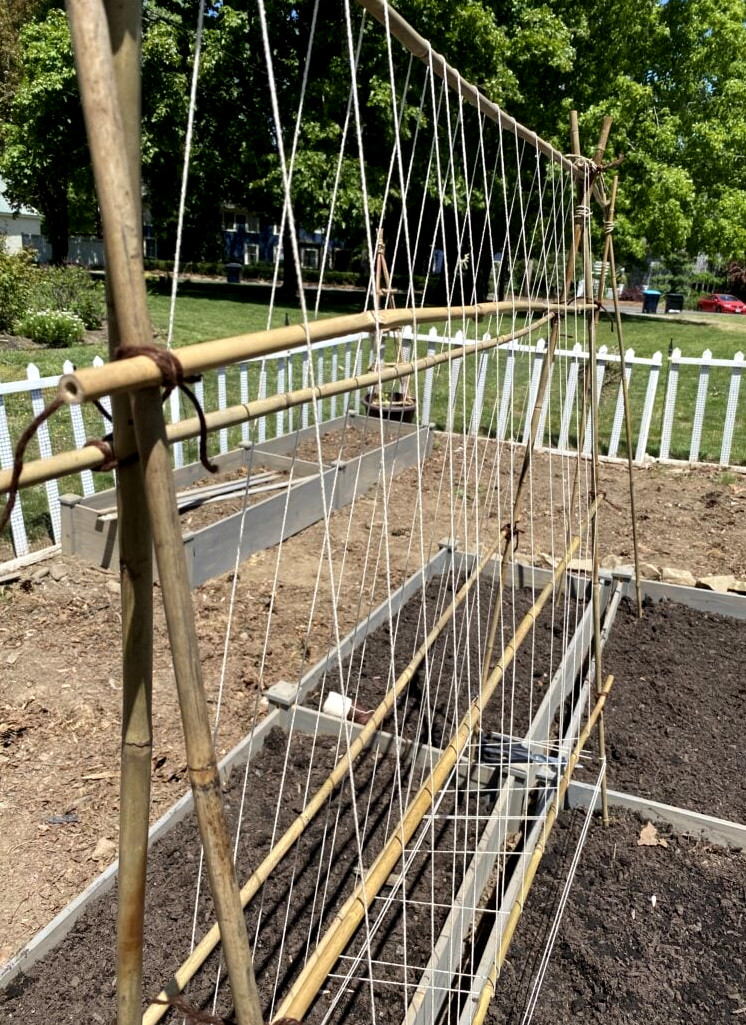
When I finished, I returned to add twine around the lower legs of the trellis after noticing the gap was too wide for the small sweet peas to reach it.
If you’d rather avoid all that work, flower netting can be attached to the bamboo instead! That’s what I plan to use this Spring.
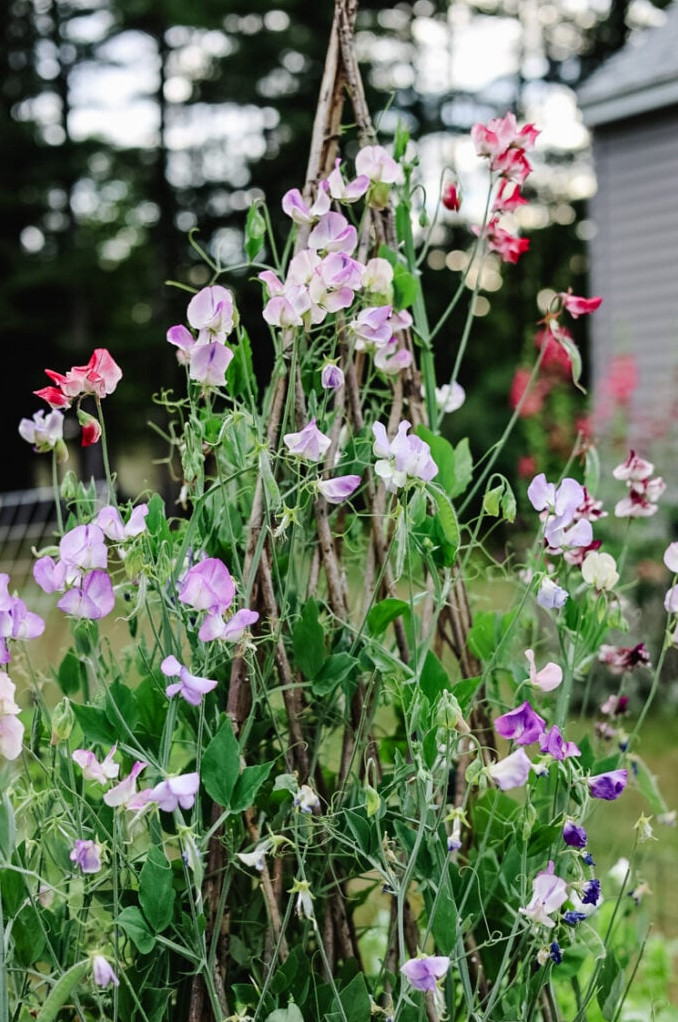
Short on time for DIY projects? This willow teepee is just right for you and for cultivating sweet peas. It also adds an instant ‘cottage garden’ atmosphere!
My Dumpster-Dive Potting Table Find
The Ideal vs. The Actual:
I had been dreaming about one of thoselovely vintage potting tables—the Pinterest-worthy kind with peeling paint and built-in compartments. However, because mine would remain outside 24/7 in New Hampshire’s unpredictable climate, I wouldn’t pay a premium. To my surprise, I discovered the perfect table at a dumpster!! So it cost nothing…the ideal price, don’t you think?!!
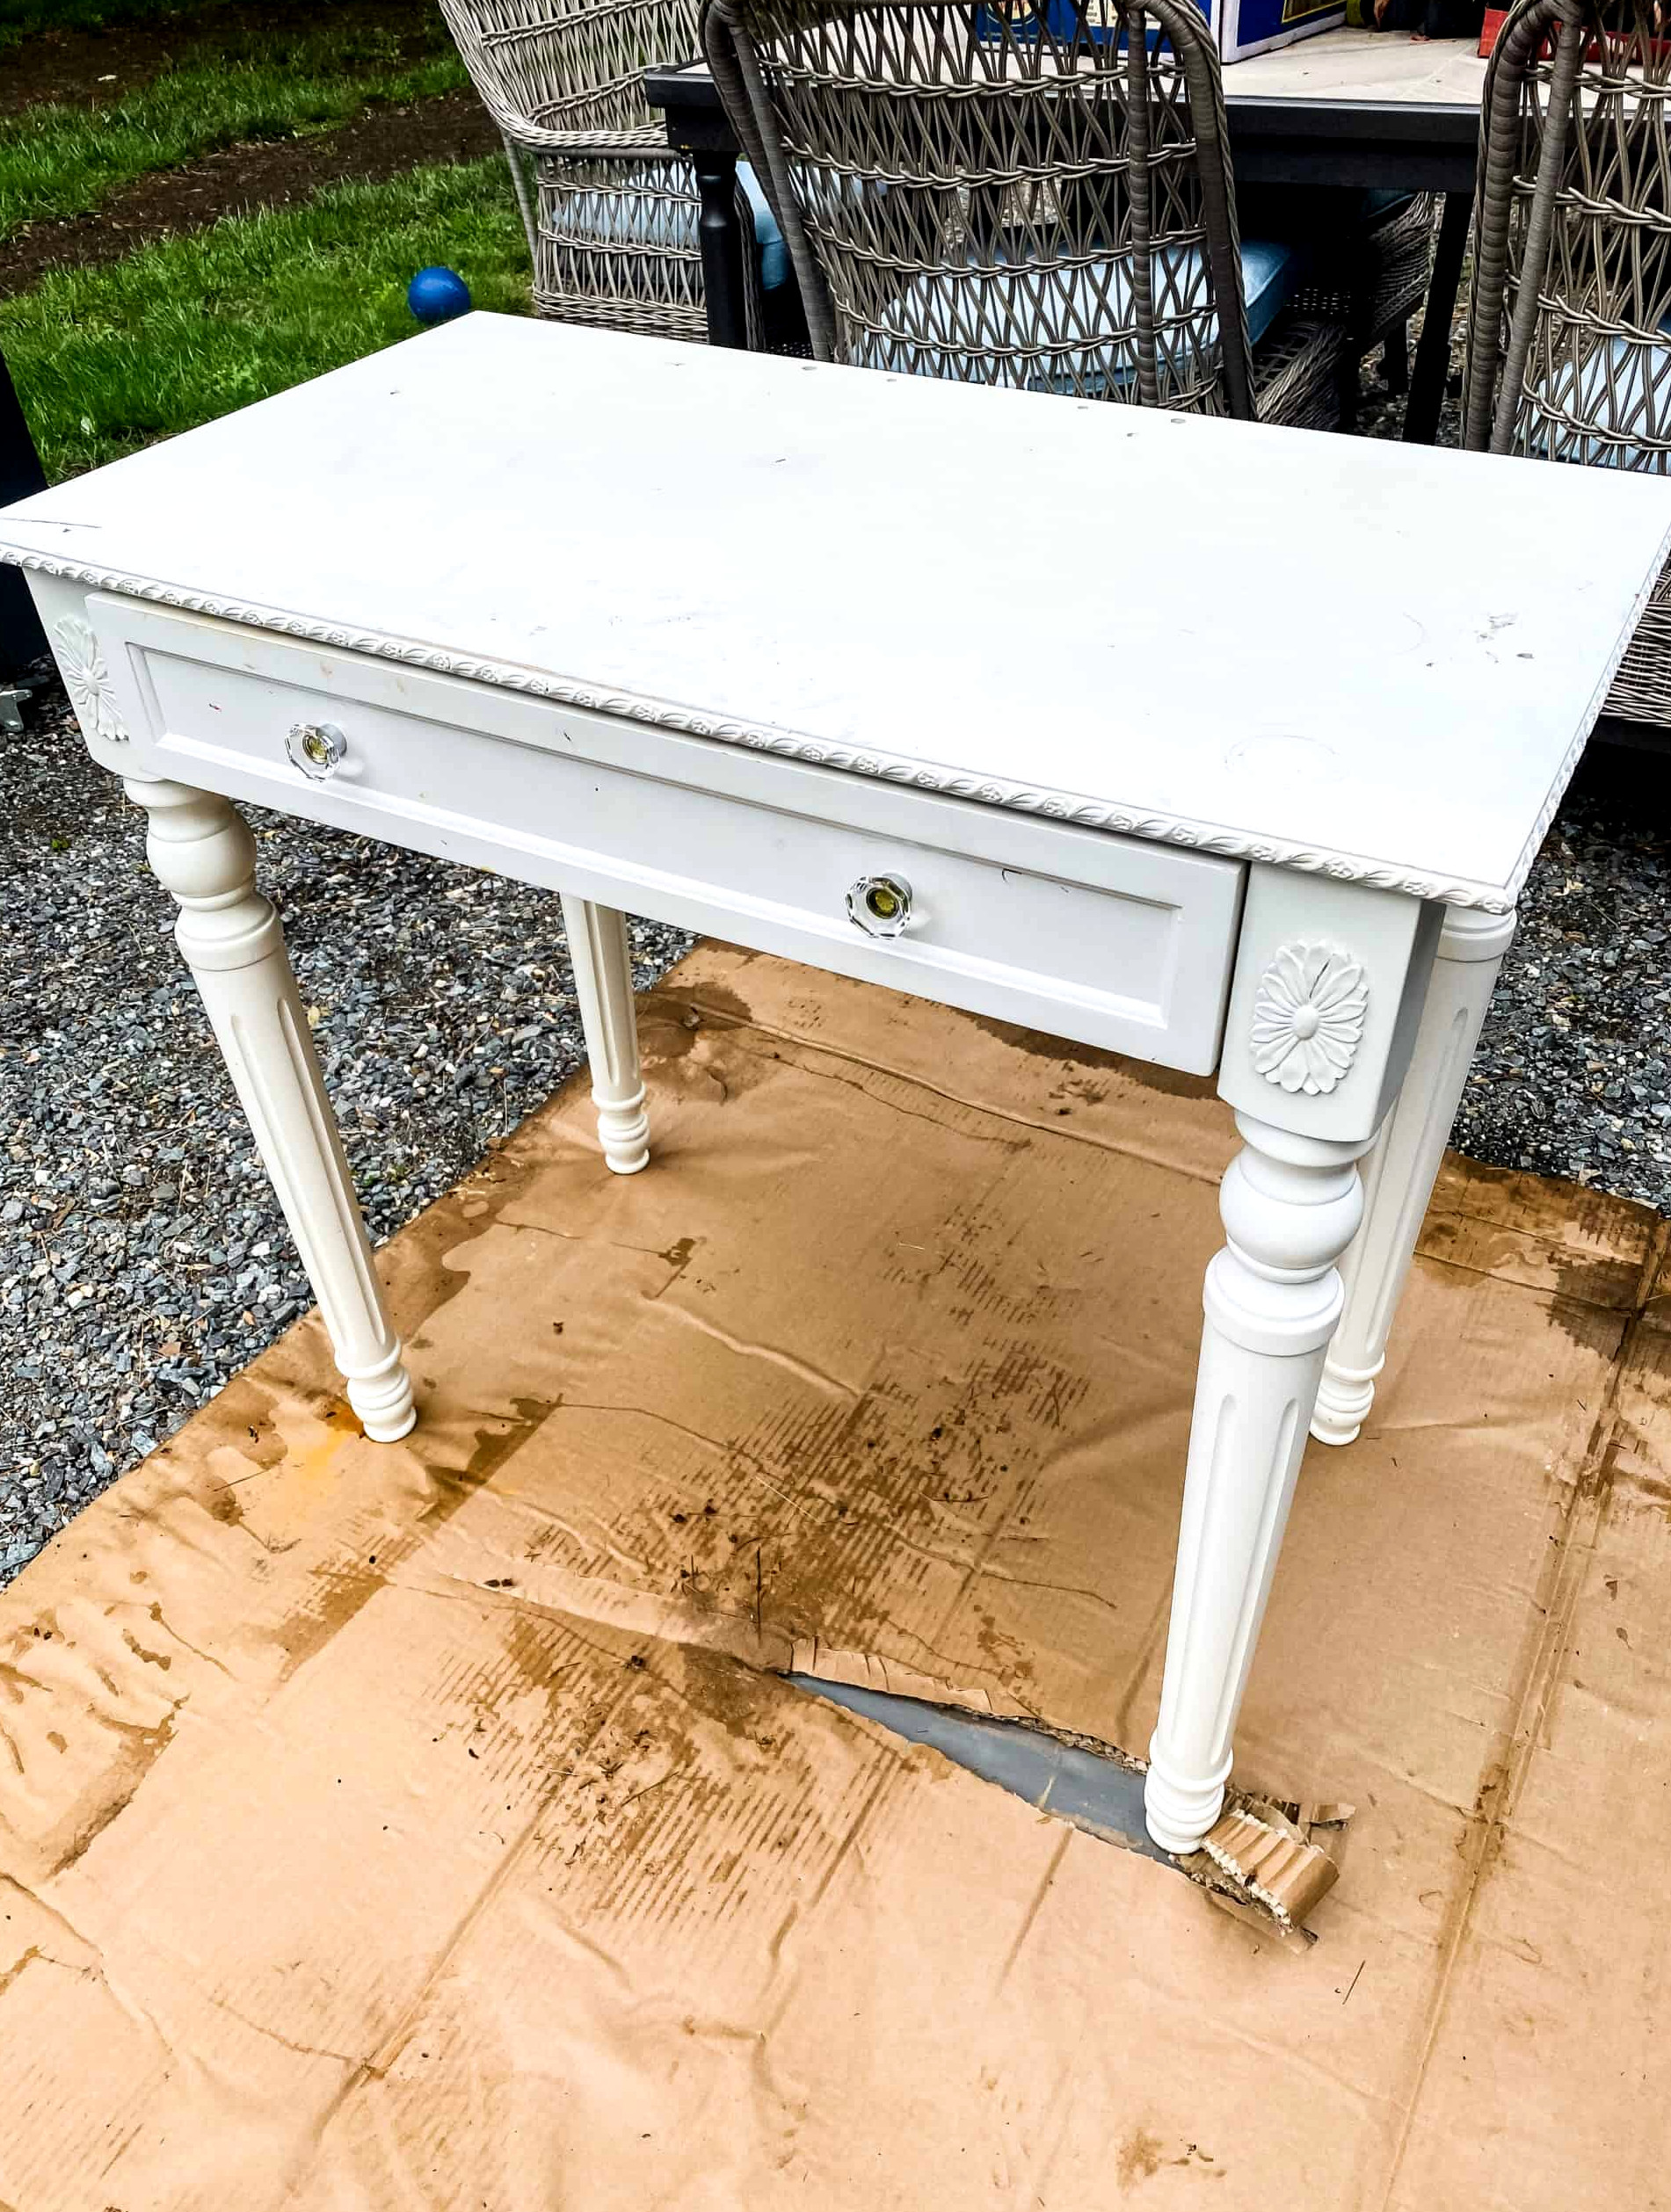
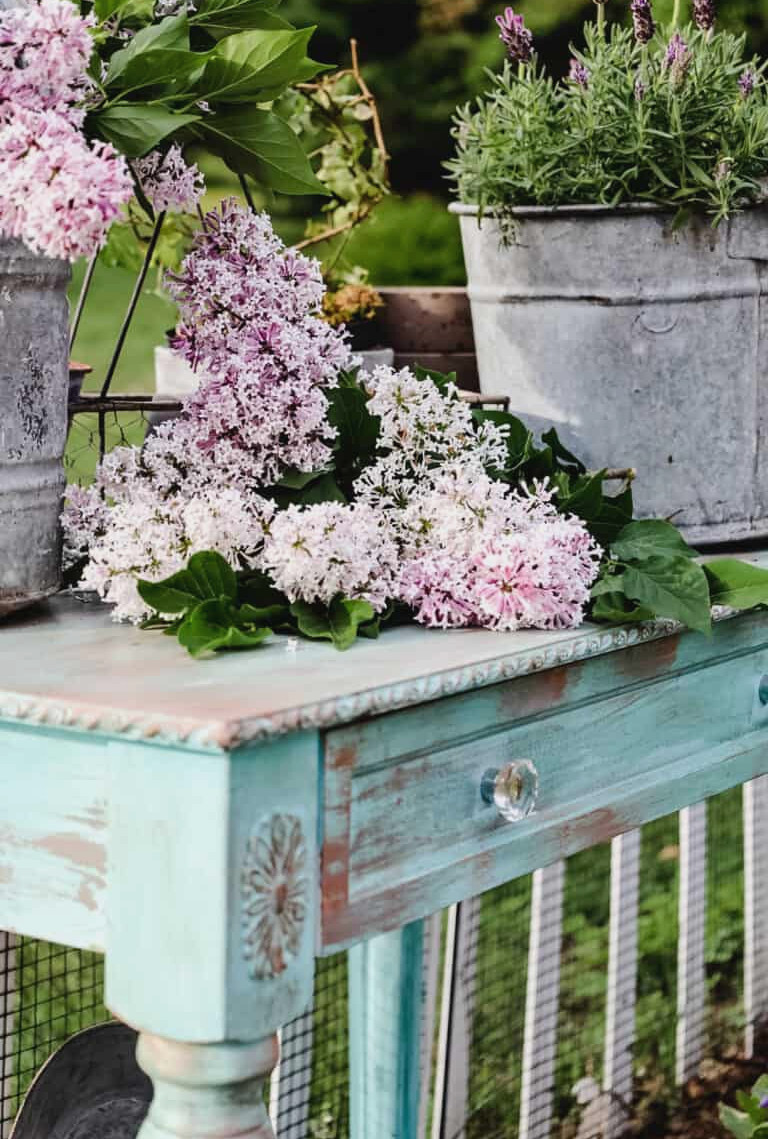
Take a look at the complete makeover of my Upcycled DIY Potting Benchf or every detail!
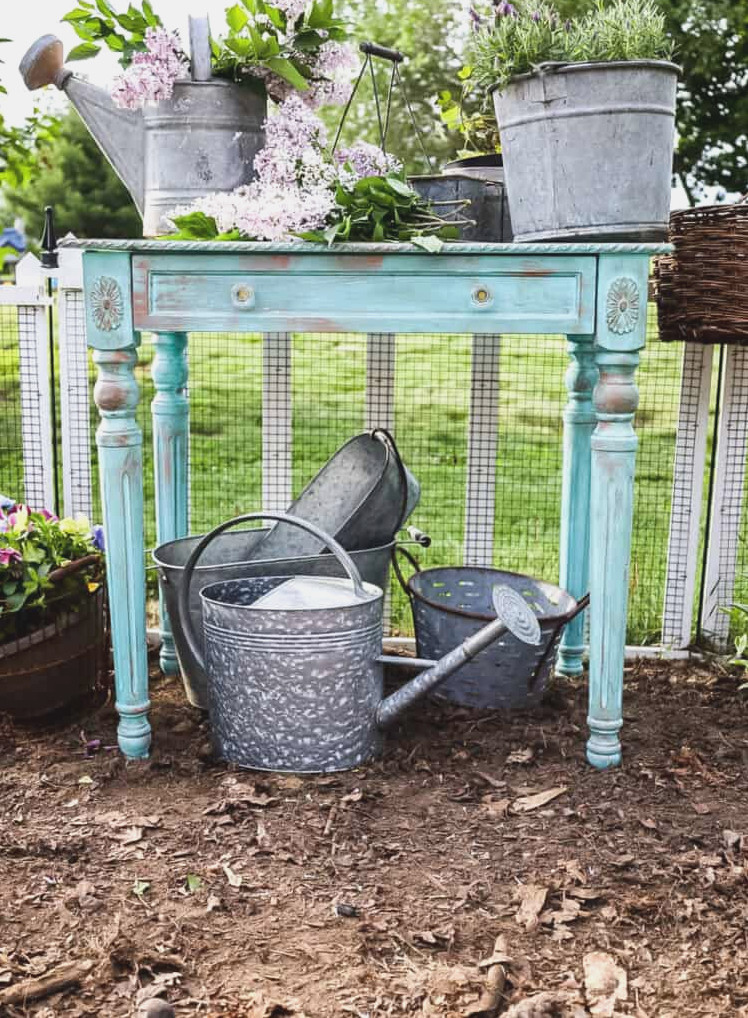
It proves that garden enchantment isn’t found only in the blossoms—it can also be discovered in therubbish!
Why Starting a Cutting Garden Was My Best Choice Last Year (And How Yours Can Flourish Too!)
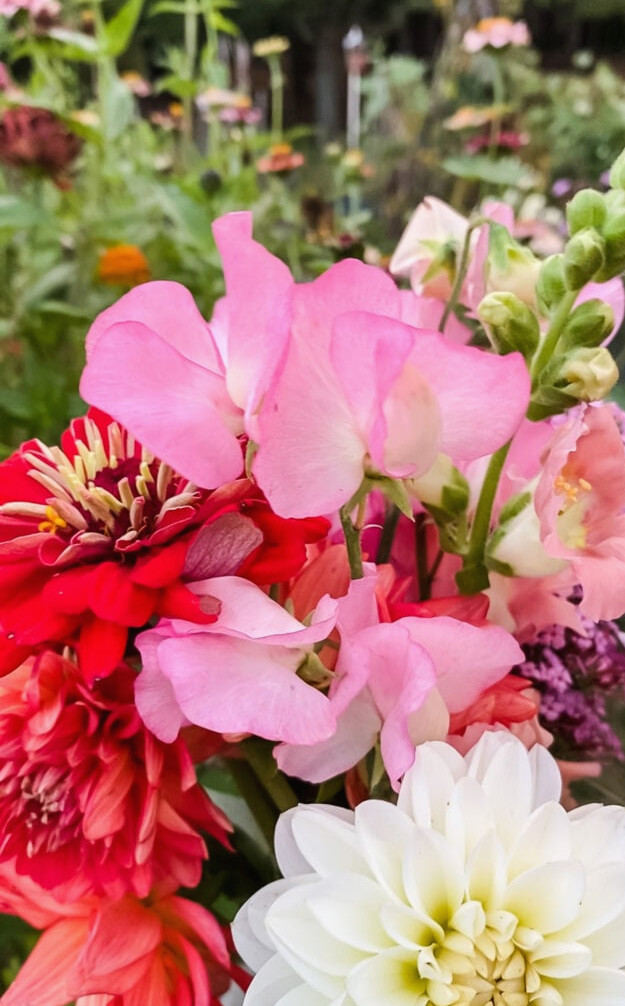
If I had to growonekind of garden for the rest of my life, it would be my cutting patch. Thosebundles of homegrown blossomsgave me more happiness than I could have imagined—and I assure you, even a4’x4’ spaceset aside for flowers will bring you the same joy!
Each season in my cutting garden brings a fresh lesson—whether I’m finding an indispensable variety or finally learning a challenging technique.
What started as a small garden bed has grown into my favorite gardening journey because there is always something new to discover—every variety that flourishes (or even fails dramatically!) helps me become a more skilled gardener. The wonderful thing? This adventure never concludes—there will always be another breathtaking flower to grow next season!
Have your garden showcased! If this project or any of my other DIY ideas inspires you, I’d be delighted to see them and include you in the Reader’s Spotlight gallery. Email a photo to jennifer@cottageonbunkerhill.com
xo, Jennifer
Cottage Garden
Top Products
Browse my gardening essentials! Raised beds, plant supports, & equipment to help your garden flourish.

Additional Garden Guidance
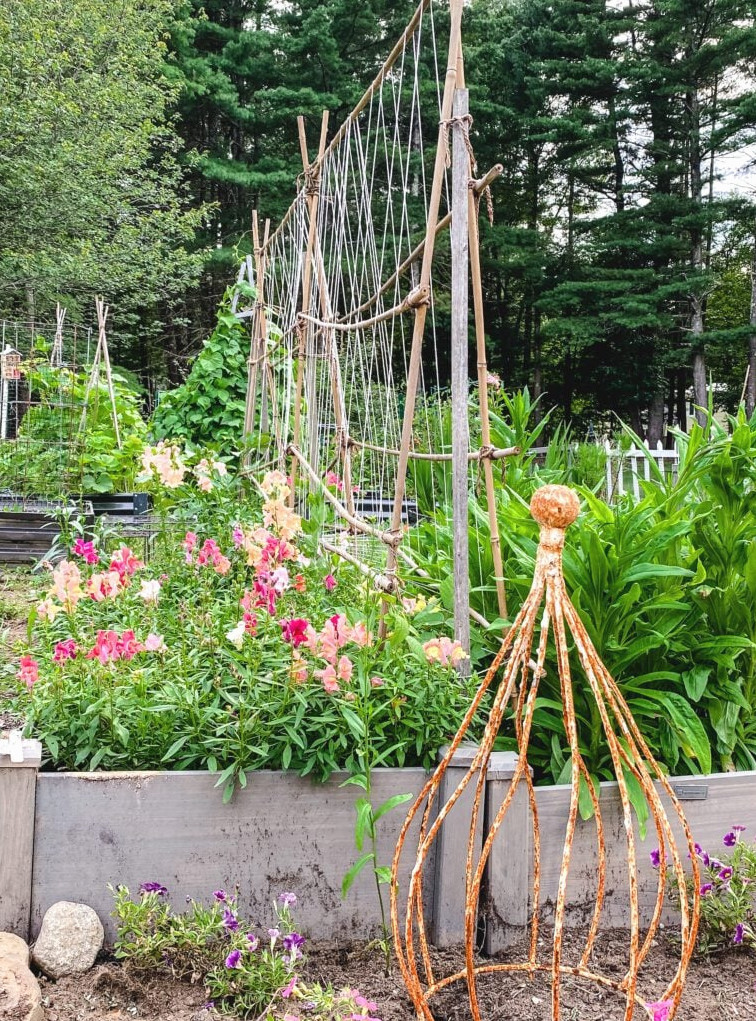
Grow Along With Me Gardening Series
This belongs to the Grow With Me Gardening Series here at Cottage On Bunker Hill. I aim to show you how to begin, care for, and enjoy gardening. I’ll share the advice & techniques I’ve picked up over the years while growing vegetable and flower gardens here in the Northeast.
Want more gardening ideas? Here are two of my favorite accounts to follow: