Hello friends! Is there anything more satisfying than taking something old, slightly neglected, and perhaps a little “junky,” then transforming it into something lovely? Those are the projects I enjoy most!
DIY Rustic Succulent Planters: Transforming Junky Finds into Garden Décor
Who would have guessed that rust and succulents could make such a perfect pair?
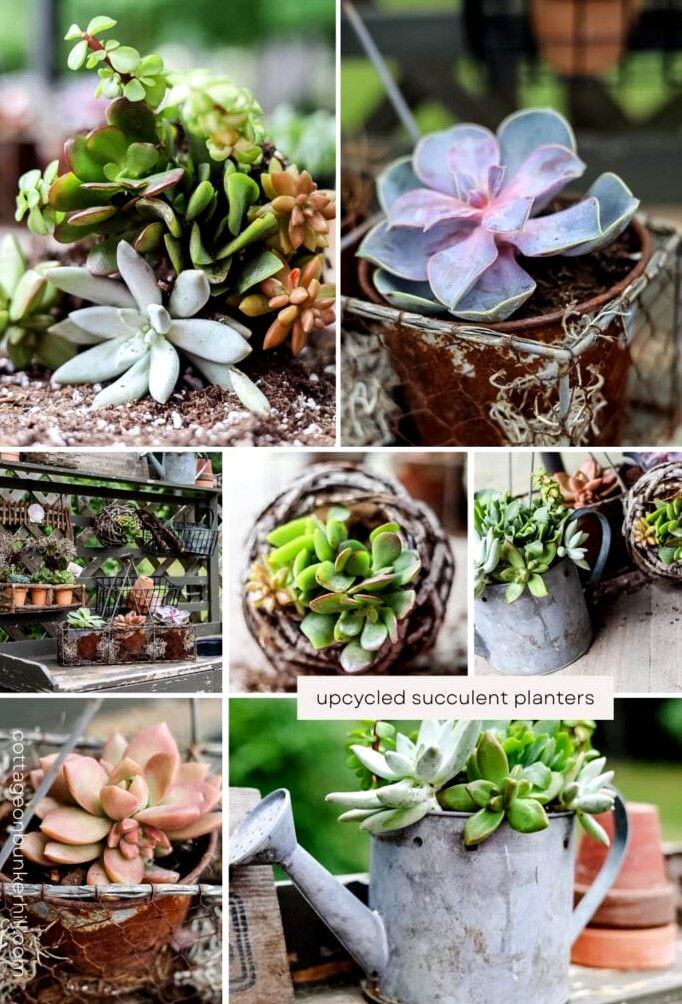
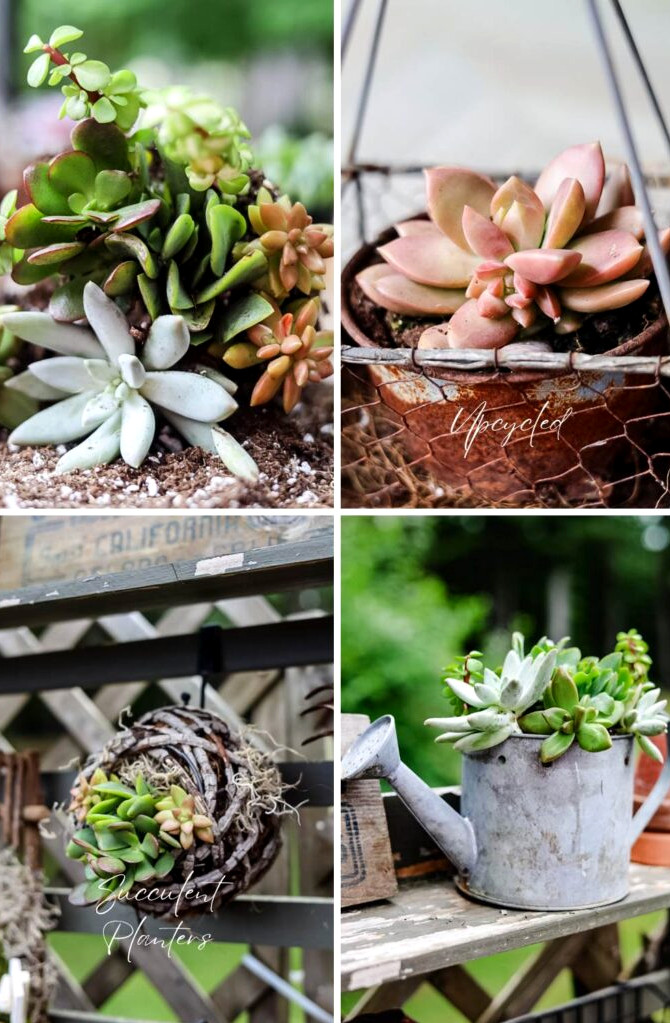
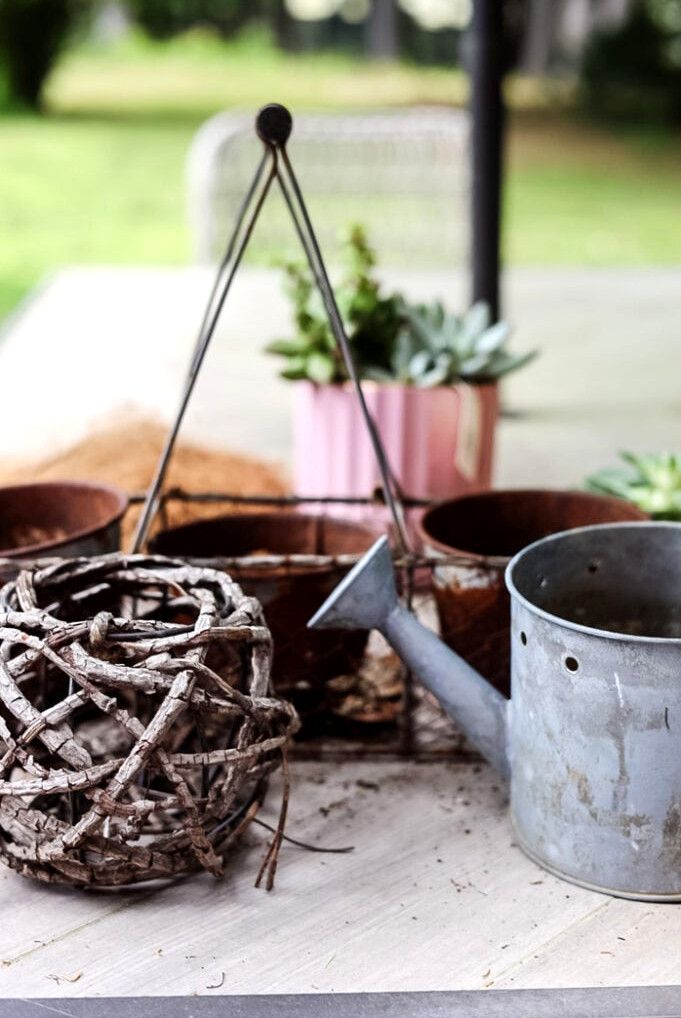
Breathing new life into old, unwanted objects is incredibly rewarding—especially when the finished pieces are filled with lush greenery! Not long ago, I searched through my collection of ‘junk’ (those assorted things we can’t bring ourselves to discard becauseone daythey might be just right for a project) and discovered three unexpected items ready for a garden refresh: a rusty chicken wire basket holding metal pots, a small branch orb, and a petite galvanized watering can. Rather than sitting unused, they’ve become the sweetest succulent planters, bringing character and dimension to my outdoor area.
This craft was simple, speedy, and inexpensive—the exact qualities I want in a DIY project! If you have a handful of neglected treasures at home (or come across some at a flea market), I’ll explain how to turn them into charming succulent arrangements. I’ll also share my top advice for helping outdoor succulents thrive throughout the season.
Supplies You’ll Need
Materials Needed for This Project
- Repurposed Containers (get creative and look beyond the usual options!)
- Here’s What I’m Using:
- Rusty chicken wire basket with metal pots
- Small galvanized watering can (similar)
- Grapevine orb
- A variety of succulent plants (select sturdy types such as Sedum, Echeveria, or Sempervivum). You can also find live succulents on Amazon.
- Potting soil (a fast-draining cactus/succulent mixture)
- Optional: moss, small stones, or decorative sand for the final details
DIY Instructions: Converting Forgotten Finds into Succulent Planters
Step 1: Clean and Prepare the Containers
Helpful Advice for Any Found Container:
Before adding plants, show your repurposed treasures a little care so they’re ready to serve as planters:
Clear Away Dirt and Grime:
- Wash them with soapy water and a scrub brush, or clean them with a moist cloth.
- When dealing with rusty or heavily soiled pieces, try vinegar or baking soda for extra cleaning power (be sure to rinse thoroughly!).
Inspect the Drainage:
This is the key to keeping outdoor succulents healthy. They should never remain in standing water.
- No drainage holes?Create some! Use a drill for metal or wood, or a nail and hammer for lightweight materials such as tin.
- Unable to drill?Cover the base with 1-2 inches of lava rock or pebbles to help keep the roots from becoming waterlogged.
Secure Fragile Areas:
- Use adhesive to strengthen shaky handles or separated seams (E6000 is an excellent choice for metal and wood).
- Protect delicate containers, including baskets or grapevine pieces, by adding coconut coir, burlap, or moss to keep the soil contained.
Celebrate the Flaws:
- Weathered rust, peeling paint, and patina give an item personality! Simply confirm that the container is still sturdy enough to hold together.
Safety Reminder:Put on gloves when working with sharp or corroded edges!
Step 2: Insert Liners
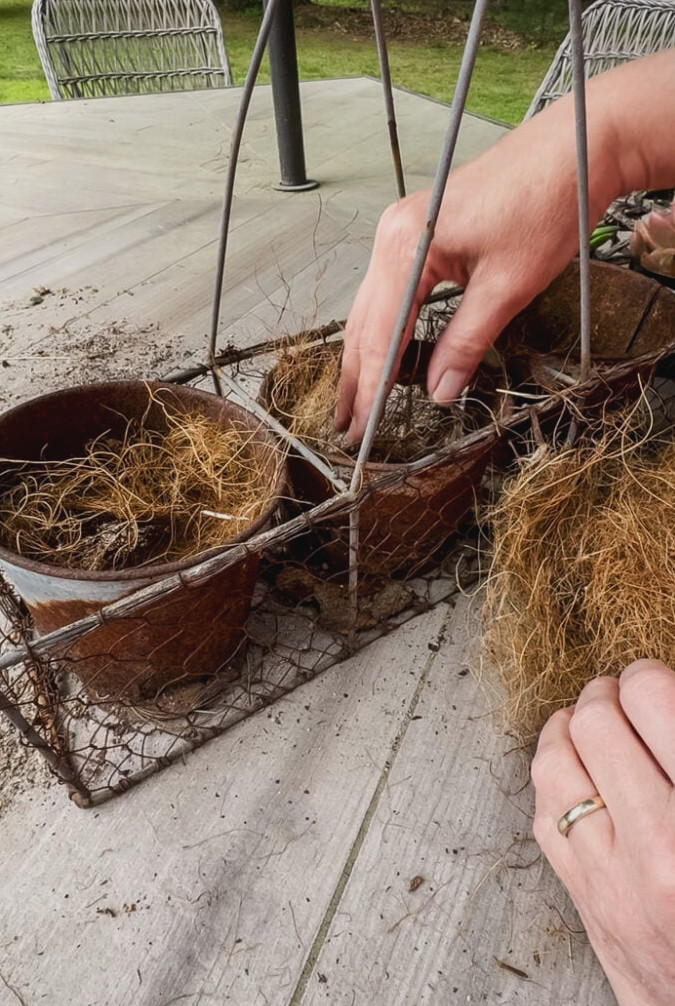
For containers that have wide openings, such as my chicken wire basket and round grapevine basket (I thinkit was a votive holder originally?), you’ll need to add a liner to contain the soil.
What To Do:
- Press a section of coco liner or a large handful of sphagnum moss securely against the inside of the container, shaping it to fit. This keeps the soil neatly in place while allowing excess water to escape.
Step 3: Add the Soil
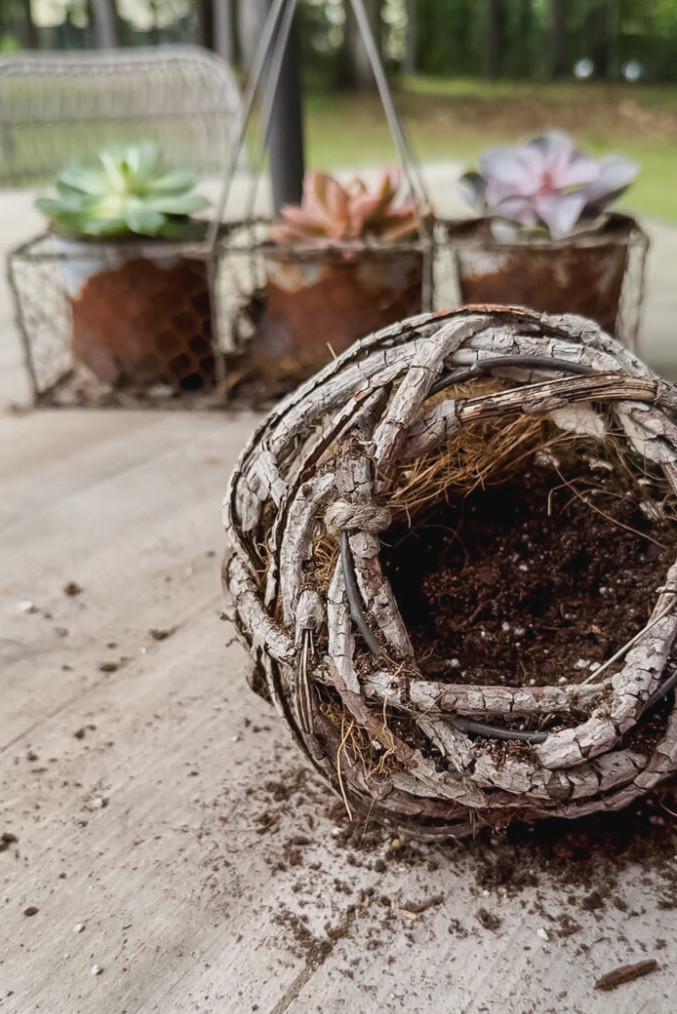
Be certain to choose a cactus and succulent potting blend. Avoid pressing it down too firmly!
What To Do:
- Add succulent potting mix until your planter is ⅓ to ½ filled, keeping sufficient space for the plants’ roots. (Use less soil for small containers and more for larger ones!)
Step 4: Plant the Succulents
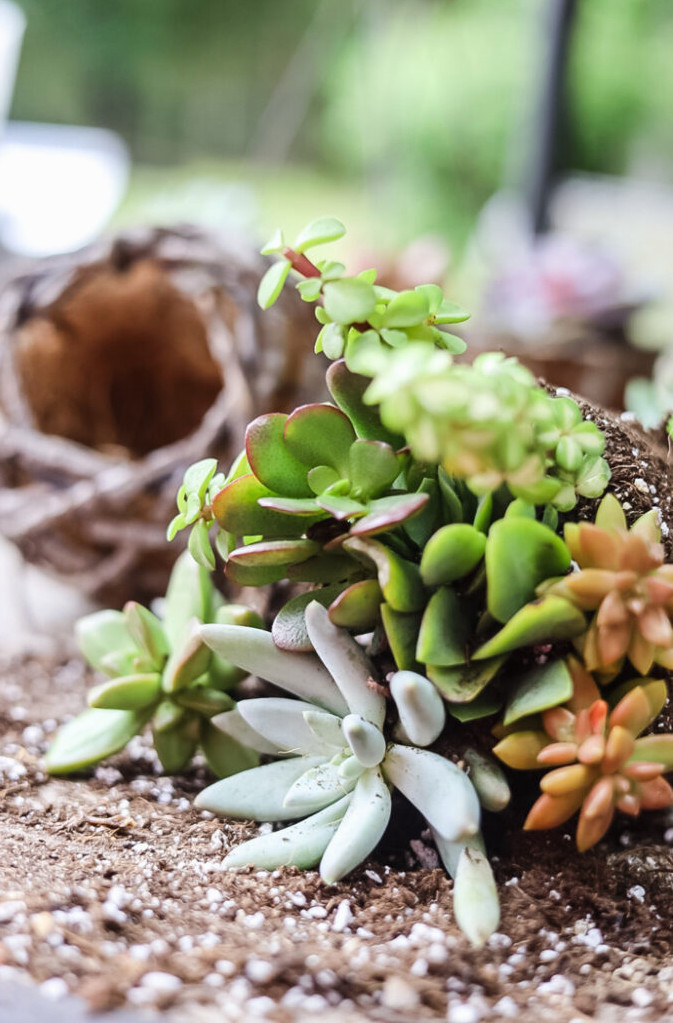
Now comes the enjoyable part—let’s give these planters some life!
Prepare Your Plants:
Carefully take the succulents out of their nursery pots and gently loosen the roots to promote healthy growth.
What To Do:
- Arrange Creatively:
- Small planters (watering can):Position smaller succulents toward the front, allowing trailing varieties to cascade over the sides.
- Chicken wire basket:I placed one larger succulent (such as an Echeveria) in each of the three pots to create balance.
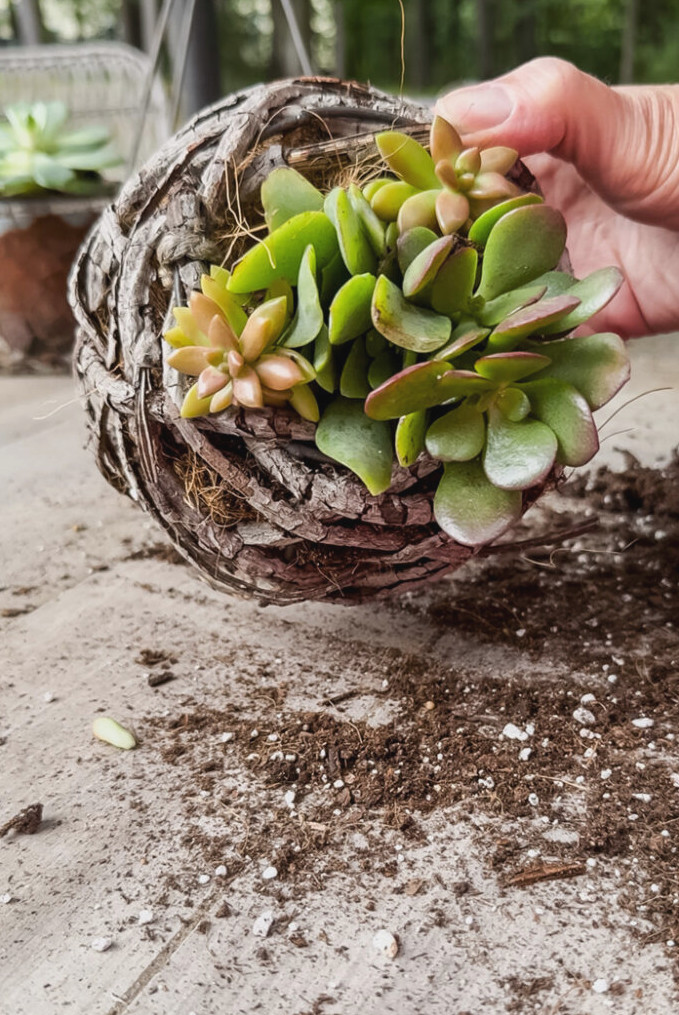
- Grapevine basket:Because mine will be suspended, I grouped tiny succulents around the opening to create a “living frame” effect.
- Secure & Backfill:
After settling on the arrangement, place additional soil around the roots and press gently to remove air pockets.Tip: Keep a bit of room at the top so soil won’t spill during watering! - Top dressing:Apply a layer of sand, small pebbles, or moss over the exposed soil to limit evaporation after planting.
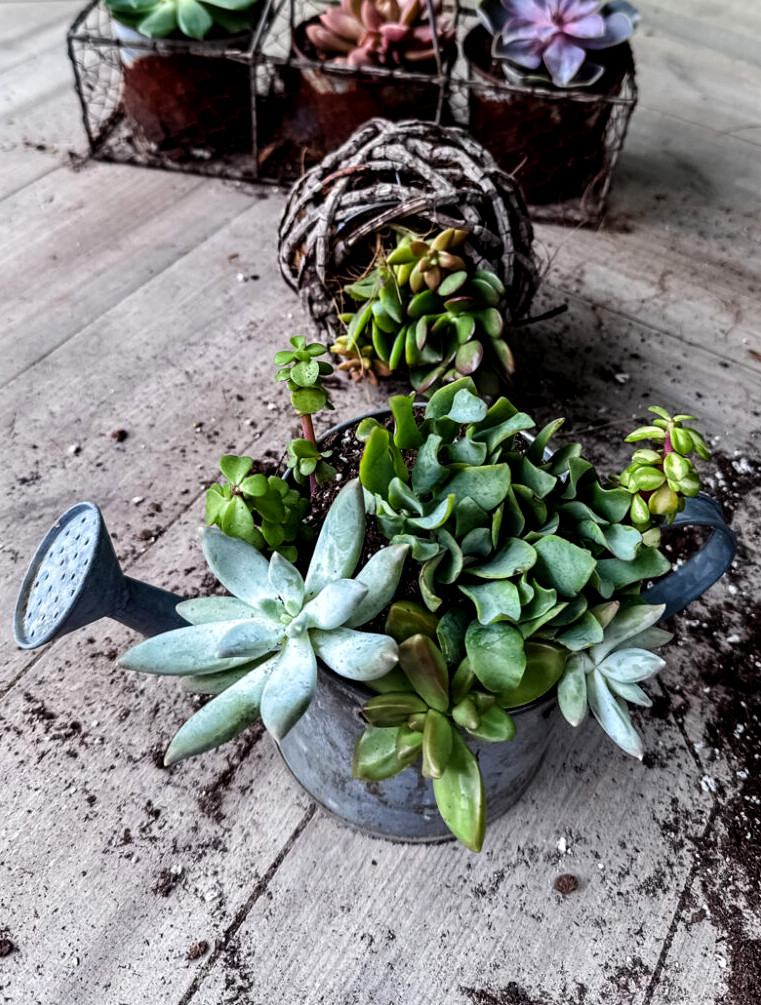
Small Watering Can
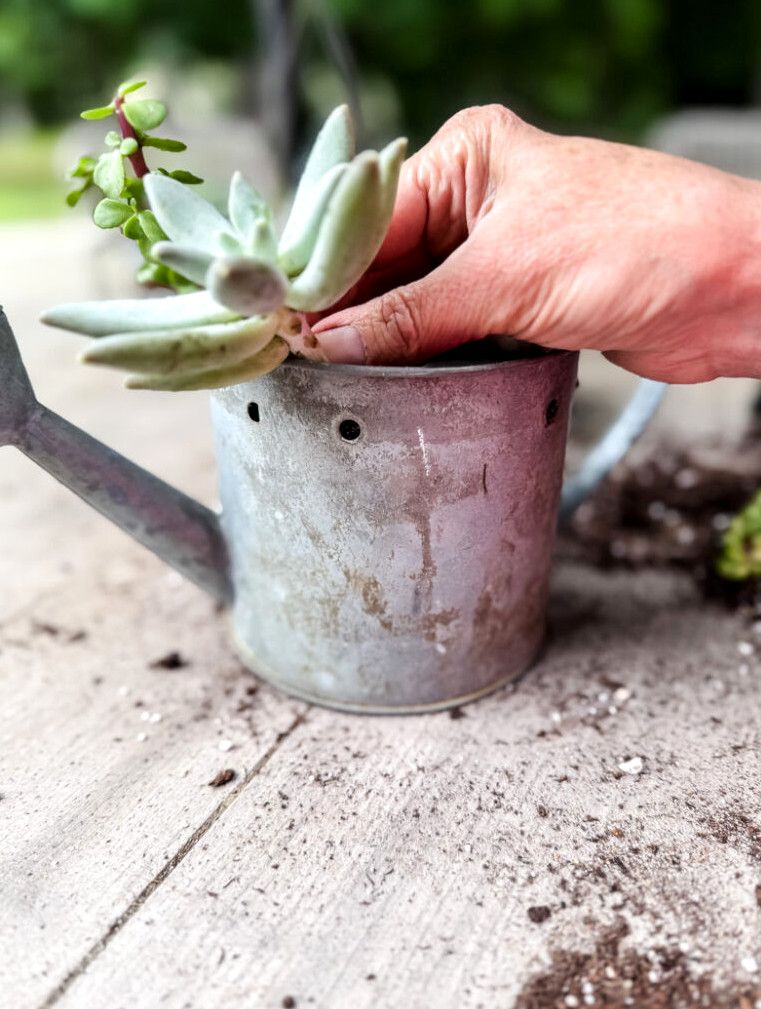
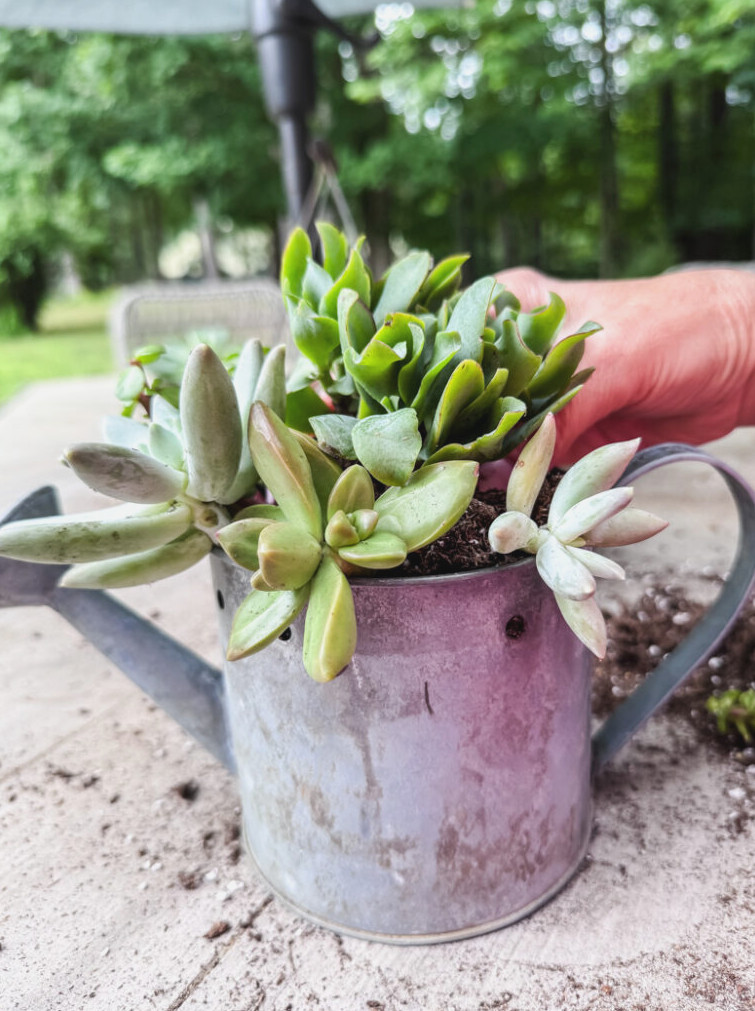
Set smaller succulents toward the front and allow trailing varieties to drape over the edges.
I filled this petite planter with five different succulents to make a strong visual statement. The secret was combining varied shapes, textures, and colors, giving the basic container a lush and eye-catching appearance.
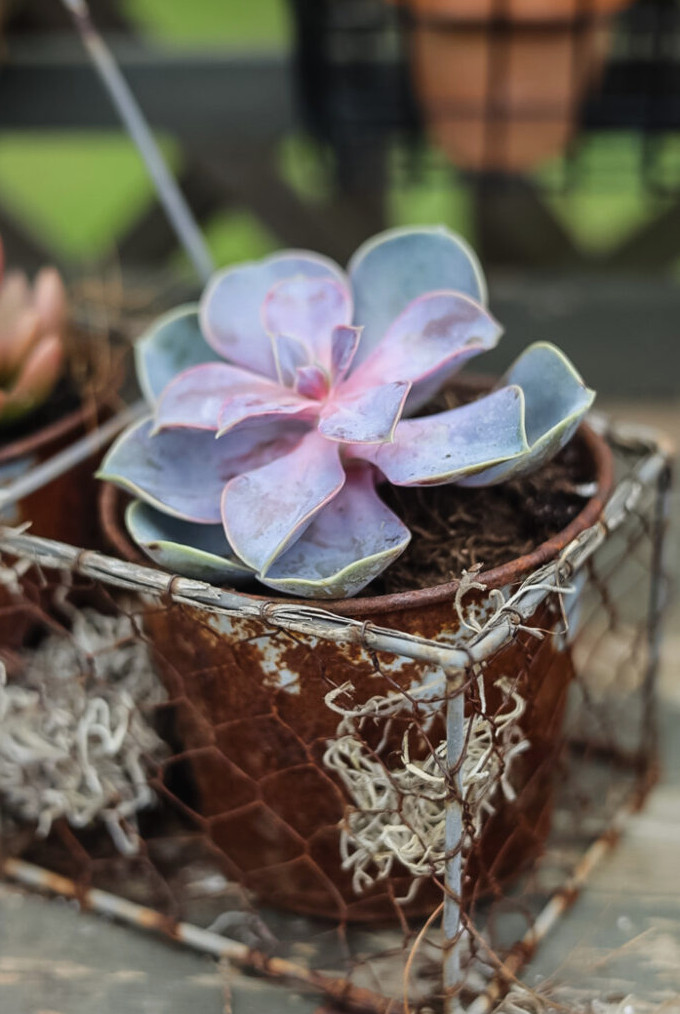
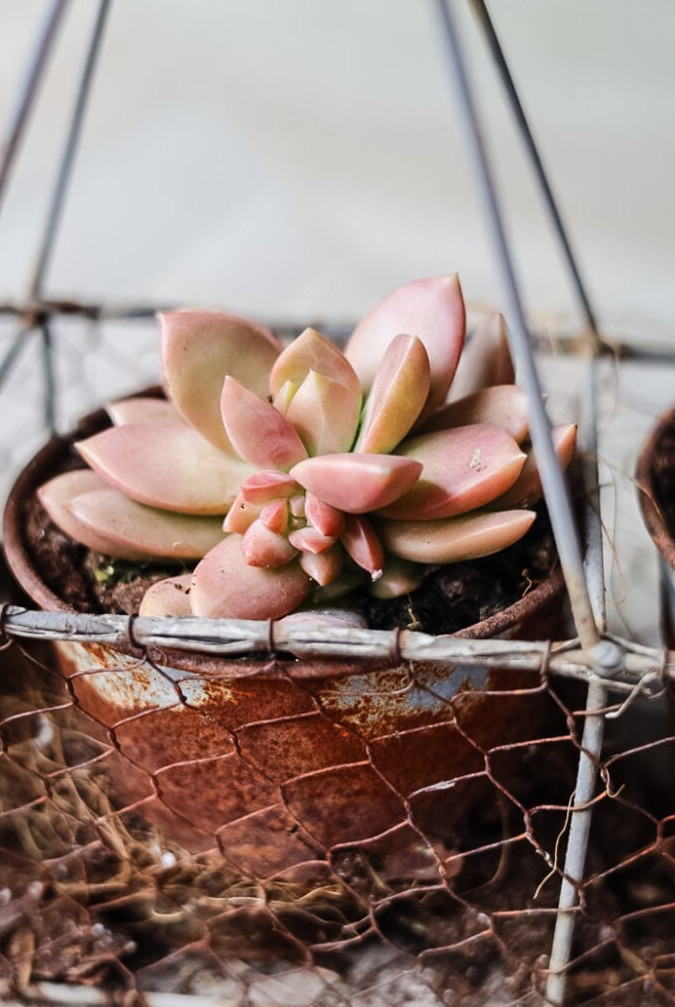
Chicken Wire Container
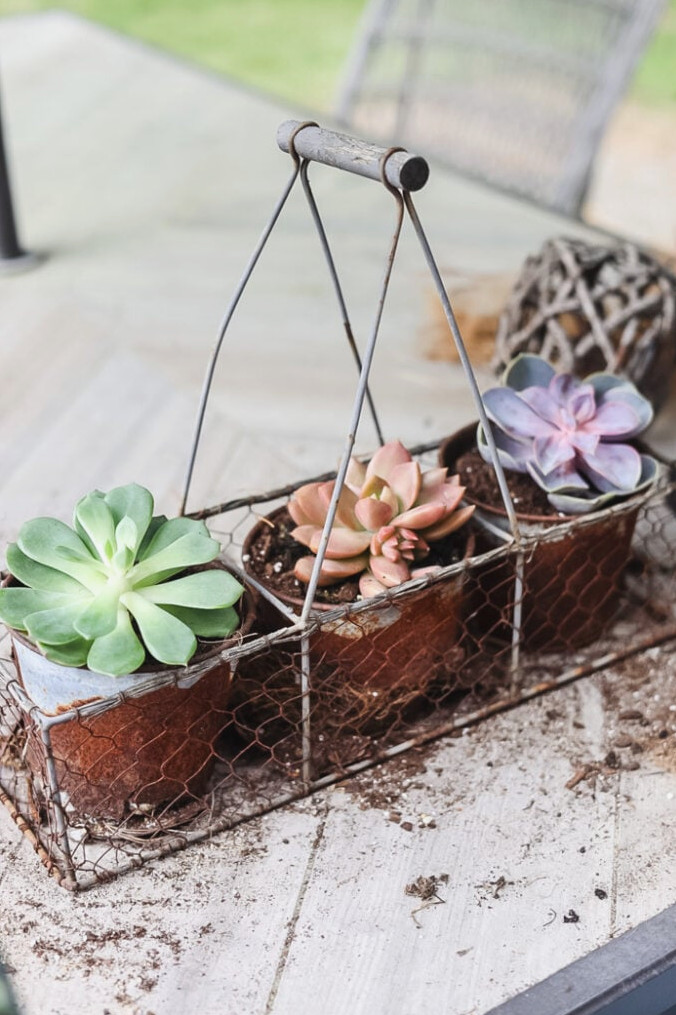
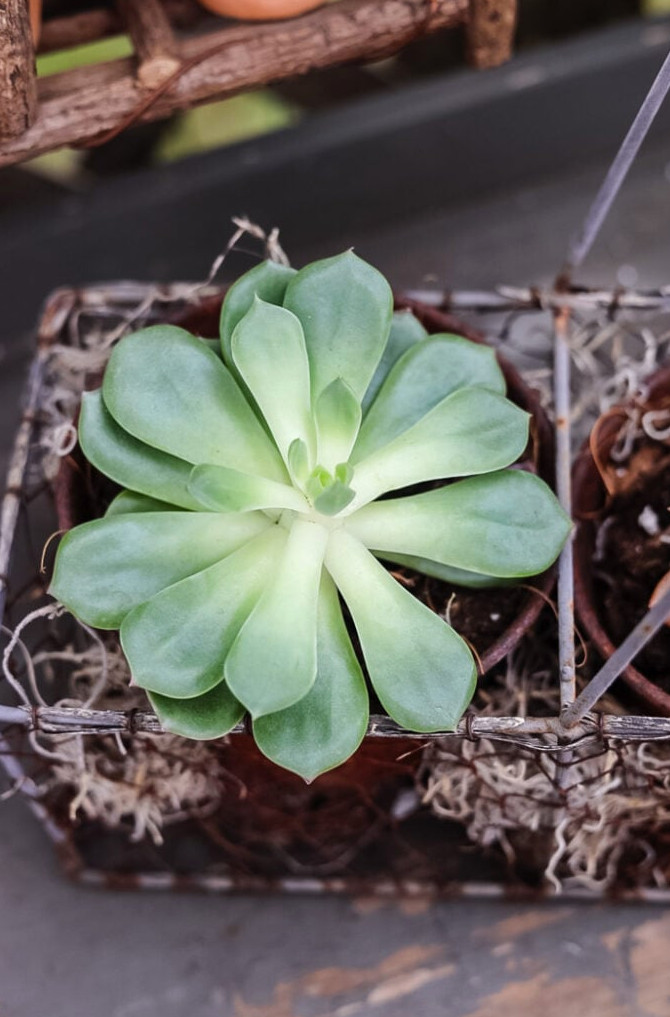
For this discarded chicken wire basket, I chose 3 larger succulents to create maximum visual impact. While browsing for succulents at Lowe’s, the colors of these 3 echeveria immediately caught my eye, especially their pink and coral shades.
Round Grapevine Container
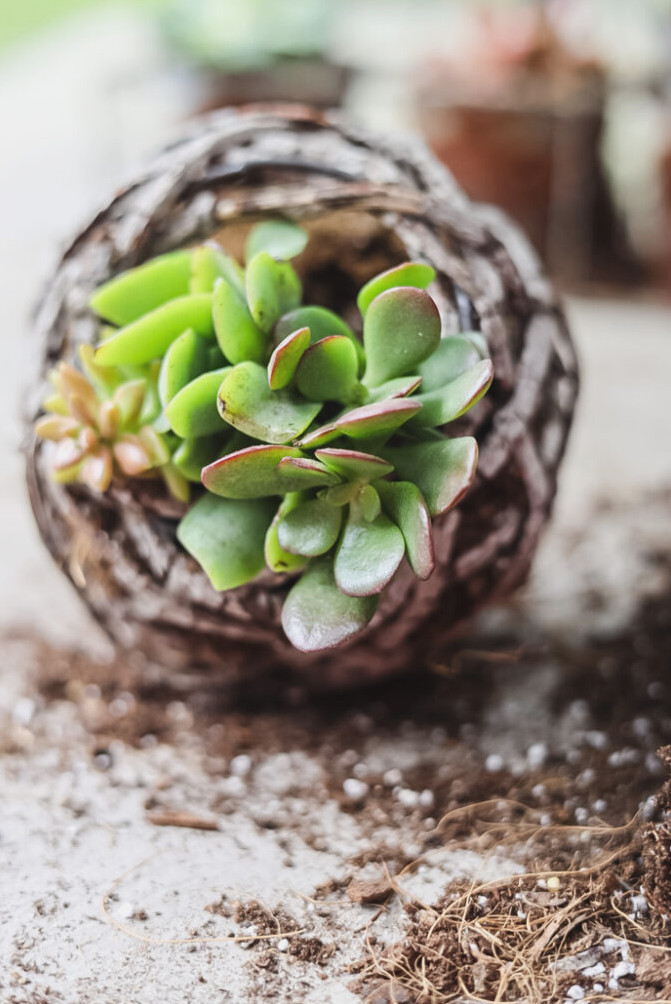
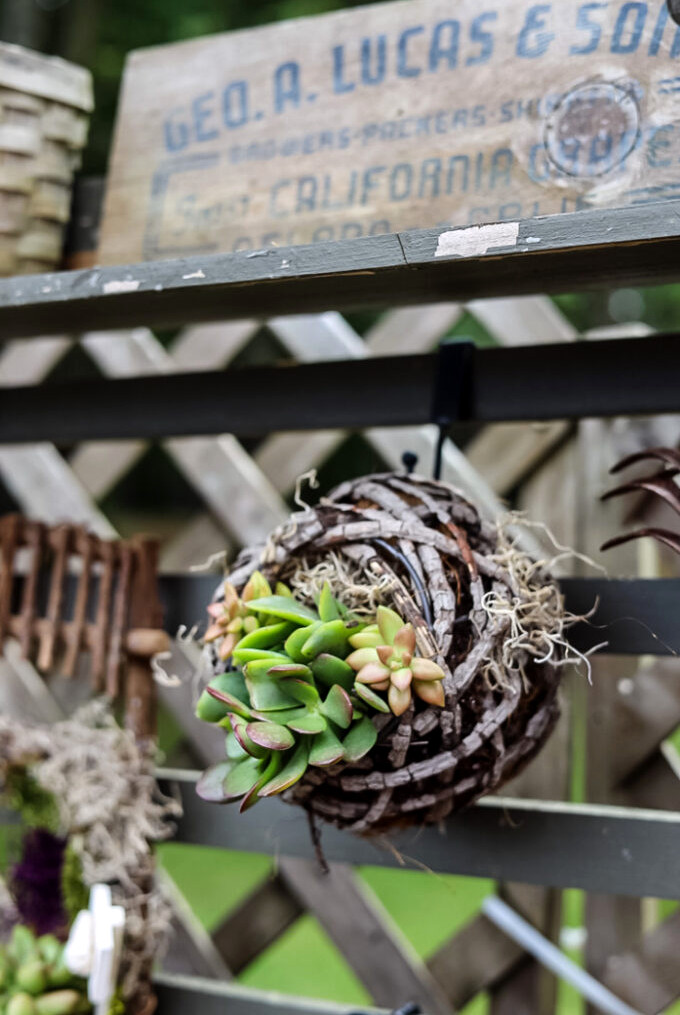
Creating this petite planter was an absolute delight! Made to hang with its succulent ‘bouquet’ pointing outward, I nestled small varieties securely around the opening, much like a living floral wreath. The compact plants fit together beautifully, forming a full display from every viewpoint!
The Grand Reveal: Arranging the Planters in the Garden
Now comes my favorite stage… the part that makes every DIY project completely worthwhile! Once the planting and crafting were finished, it was time to take these charming upcycled planters into the garden and choose their perfect spot.
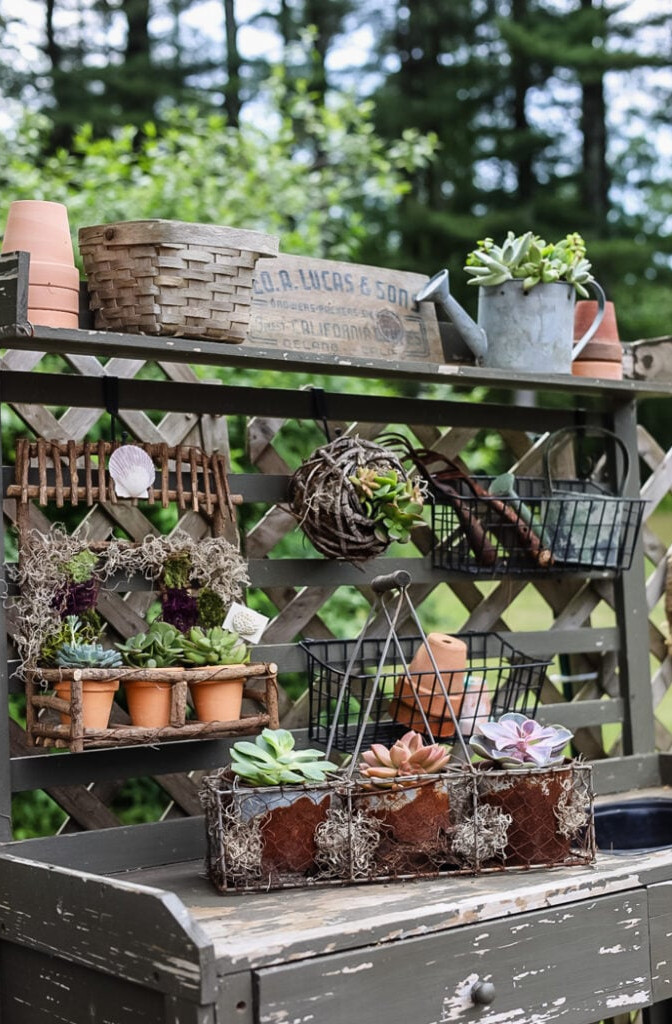
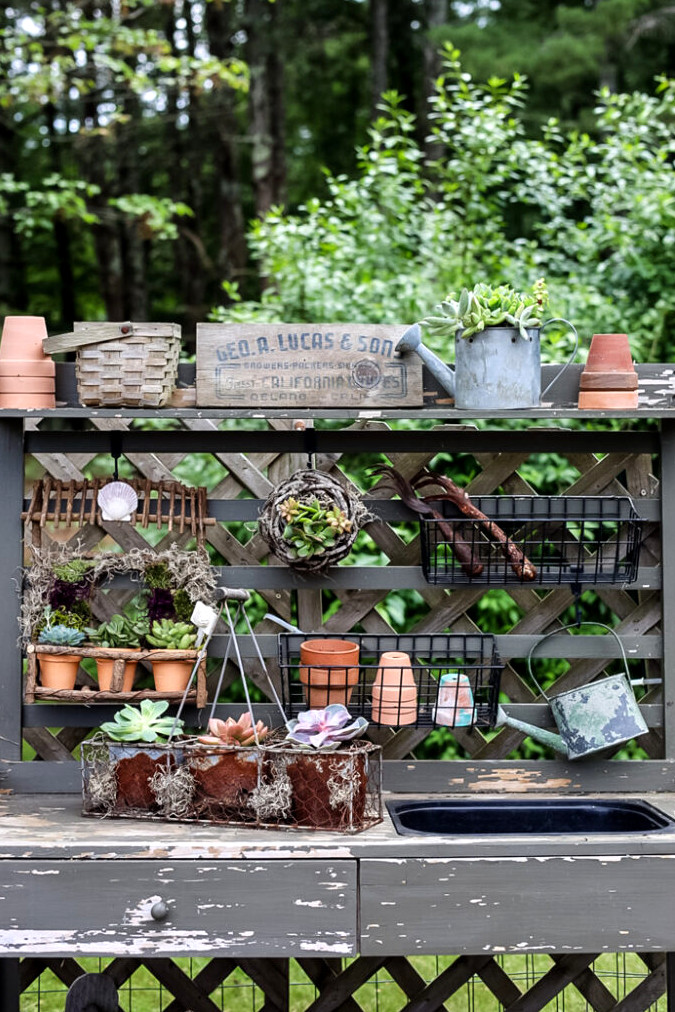
My aged potting bench, featuring its worn green paint and country-style charm, seemed like the ideal backdrop. It’s incredible how several simple, modest pieces can combine into a setting that appears as though it has always belonged there. I couldn’t be happier with the final result!
Chicken Wire Holder
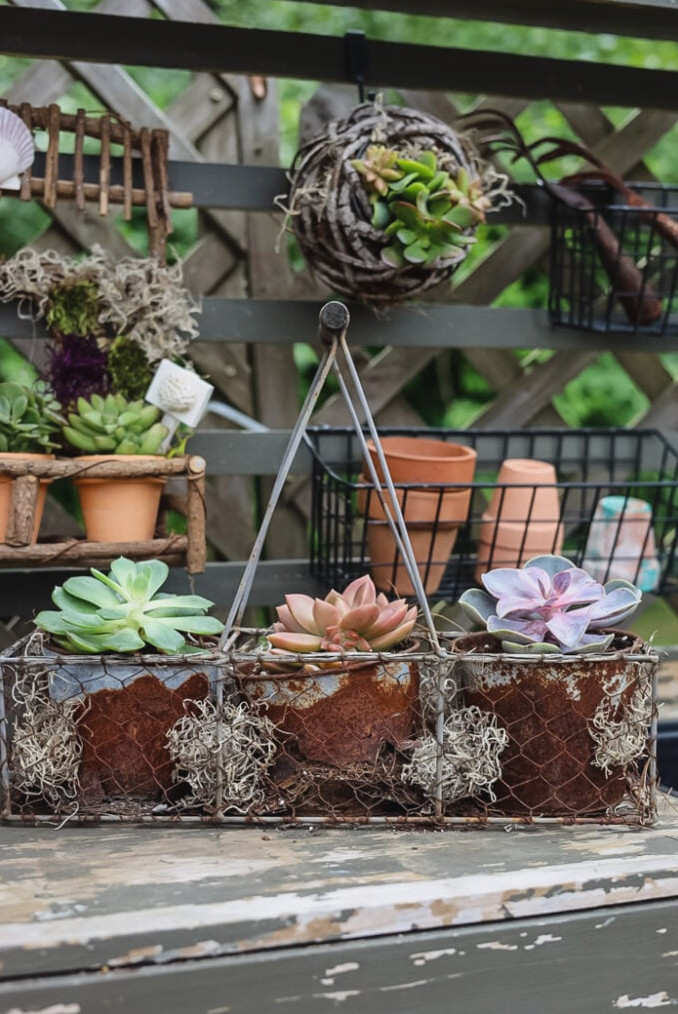
The weathered chicken wire holder truly commands attention! I positioned it prominently at the front of the bench. The pairing of the coarse, timeworn metal with the smooth, plump succulent leaves is exactly the effect I wanted. The combination of green, purple, and pink plants filling the vintage pots adds abundant energy and color to the entire arrangement. I might relocate this one to the cozy seating nook on my front porch for the Summer.
The Petite Galvanized Watering Can
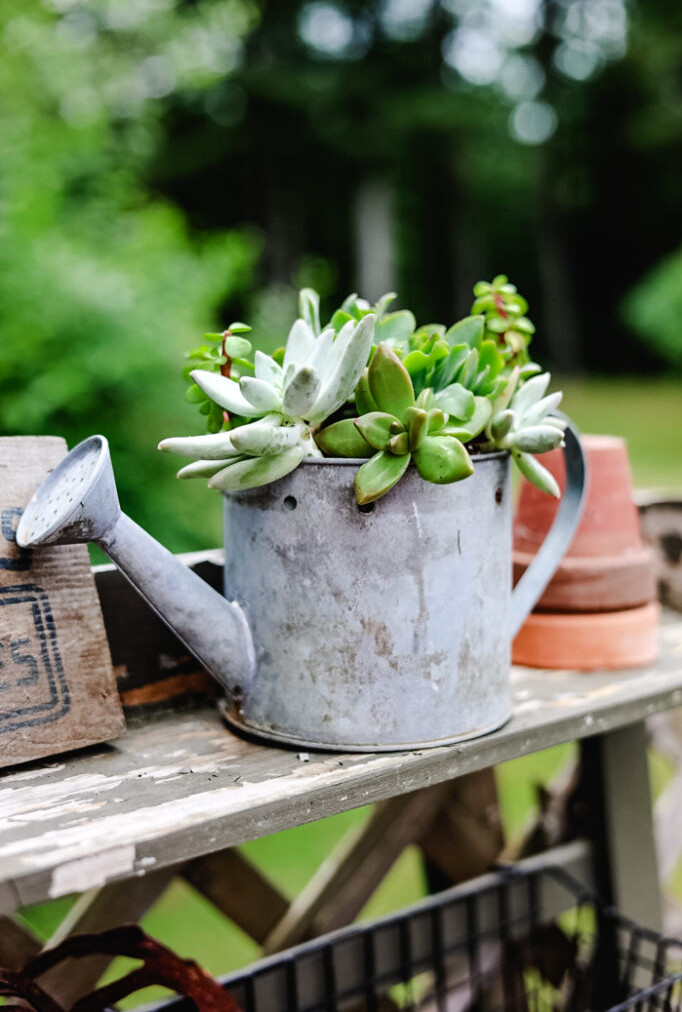
Resting on the bench’s upper shelf, I can picture the trailing succulents cascading over the edges as they mature. The difference between the gleaming metal and the subdued green and blue plant tones is incredibly pleasing!!
Suspended Succulent Planter
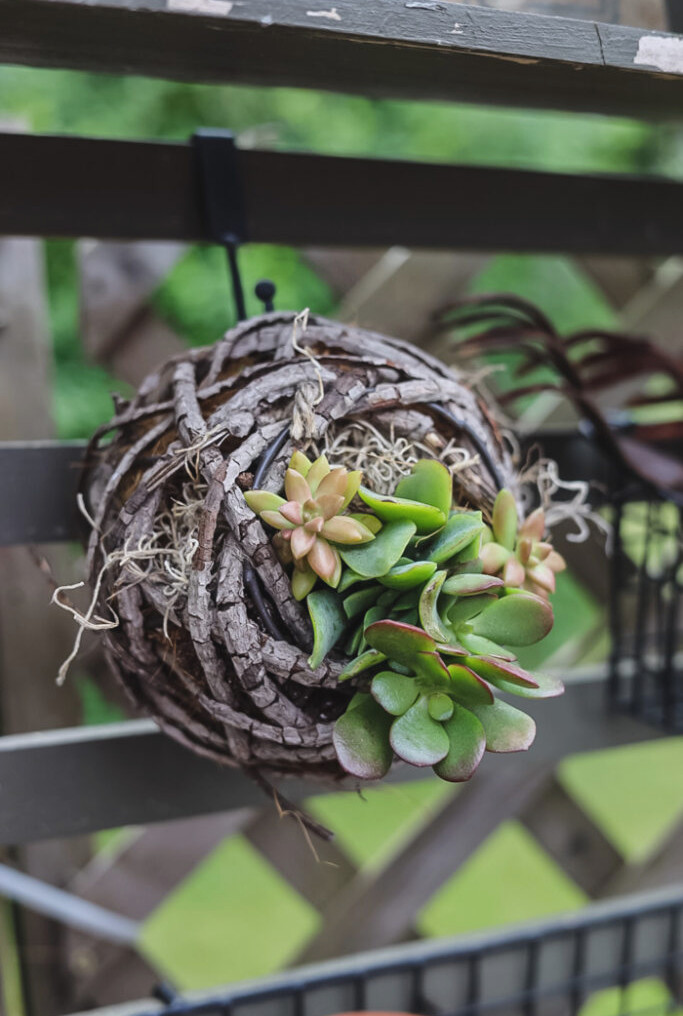
Suspended from a hook over the bench, this planter resembles a living wreath. The succulents emerge through the opening, forming a leafy “frame” that will become even fuller over time. It brings a fun, fanciful accent to the potting bench.
The fourth hanging succulent planter was crafted from a thrift-store treasure. You can watch the Instagram reel here. The tutorial is on its way, so keep an eye out!
How to Help Your Outdoor Succulents Flourish
One of the greatest advantages of succulents is their wonderfully easy upkeep. They live by the “easy care, not no care” principle. Once you learn their basic needs—lots of light, limited water, and excellent drainage—you’ll enjoy attractive, vigorous plants throughout the season. Here’s what you need to know about looking after your new outdoor succulent planters.
Give Them Sunlight… Just Not Excessively
Succulents enjoy plenty of sun, though the strong, direct rays of a scorching summer afternoon may occasionally be overwhelming and leave their leaves burned.
- The Ideal Location: Choose a place receiving at least four to six hours of direct morning sunlight. The perfect site offers some shelter or filtered shade during the afternoon’s hottest hours (around 1-4 PM).
- Help Them Adjust: When your succulents have been indoors or growing in a shaded nursery, avoid placing them in intense, direct sunlight immediately! Like people, they can suffer sunburn. Gradually introduce them over a week, beginning with one hour of direct sun and adding more time each day.
The #1 Rule: Use the “Soak and Dry” Technique
If there is one key to keeping succulents content, this is it. Overwatering is the most frequent error. Because succulents are desert plants, they strongly dislike sitting in saturated soil, which can cause root rot.
- Watering Instructions: Once the soil has dried completely, soak the planter thoroughly until water flows from the drainage holes. This allows every root to receive sufficient moisture.
- Timing Your Watering: Wait until the soil is completely dry before watering again. Avoid following a strict calendar! The simplest test is to push your finger roughly an inch into the soil. If you detect even slight dampness, wait another day or two. During the height of a New Hampshire summer, watering may be needed weekly. In cooler, overcast weather, the interval may extend to every two or three weeks.
Choosing Soil and Handling Pests
- A Solid Base: As mentioned in the DIY instructions, a quick-draining cactus and succulent blend is vital. It creates the drainage needed for healthy, happy roots.
- Unwelcome Guests: Although uncommon, outdoor succulents may occasionally draw pests such as aphids, mealybugs (which resemble tiny white cotton flecks), or even squirrels. If you notice insects, dip a cotton swab into diluted rubbing alcohol and gently dab them away.
Getting Ready for a New England Winter (The Most Crucial Step!)
The gorgeous, fleshy succulents we selected, including Echeverias and Sedums, are delicate and cannot withstand frost or a snowy New Hampshire winter. To preserve your arrangements for the following year, you’ll need to move them indoors.
- Keep an Eye on the Season: Arrange to move your planters inside before the first frost, generally in late September or early October here. A helpful guideline is to bring them indoors once nighttime temperatures regularly fall below 50°F.
- Inspect and Tidy: Before moving them indoors, carefully check your planters for any concealed pests. It’sa good idea to gently hose them down to dislodge any possible hitchhikers.
- Choose a Sunny Location: Set them in your brightest window for the winter—a south-facing window works perfectly. Indoors, they require as much sunlight as possible.
- Significantly Cut Back on Water: During winter, your succulents will enter dormancy. They require very little moisture to make it through the season. Water sparingly only once the leaves begin to appear slightly wrinkled, perhaps every month or six weeks. When Spring arrives and you notice fresh growth, slowly resume regular watering before moving them outside again after the final frost.
A Touch of Rust, Plenty of Character
A heap of neglected odds and ends has turned into one of my favorite garden accents! These repurposed succulent planters show that a little creativity (along with a few drought-resistant plants) can turn even the “rustiest rejects” into special, living decorations.
Their mix of usefulness and personality is what I adore—the watering can’s cheerful cascade of greenery, the basket’s solid vintage character, and the grapevine orb’s fanciful appearance. Yet the true charm is that they’ll continue to change. As the succulents spread and trail, these planters will become even more delightful over the years.
If you remember just one lesson from this tutorial, make it this:Don’t discard those unusual containers tucked away in your garage or thrift-store treasures waiting for a new role (even if your husband wonders what that junk is!) . Add drainage holes, quality soil, and suitable plants, andanythingcan be turned into a planter.
Now I’d be delighted to hear from you:
- Have you transformed an unexpected item into garden decoration?
- Which of these three projects would you attempt first?
If this project or any of my other DIY creations inspires you, I’d be thrilled to see them and feature you in the Reader’s Spotlight gallery. I’m always searching for fresh junk-to-jewel inspiration! Email a photo to jennifer@cottageonbunkerhill.com
Happy planting (and joyful treasure hunting!),
xo, Jennifer
more succulent ideas!
Succulent Planters for Indoors
Save for Later!