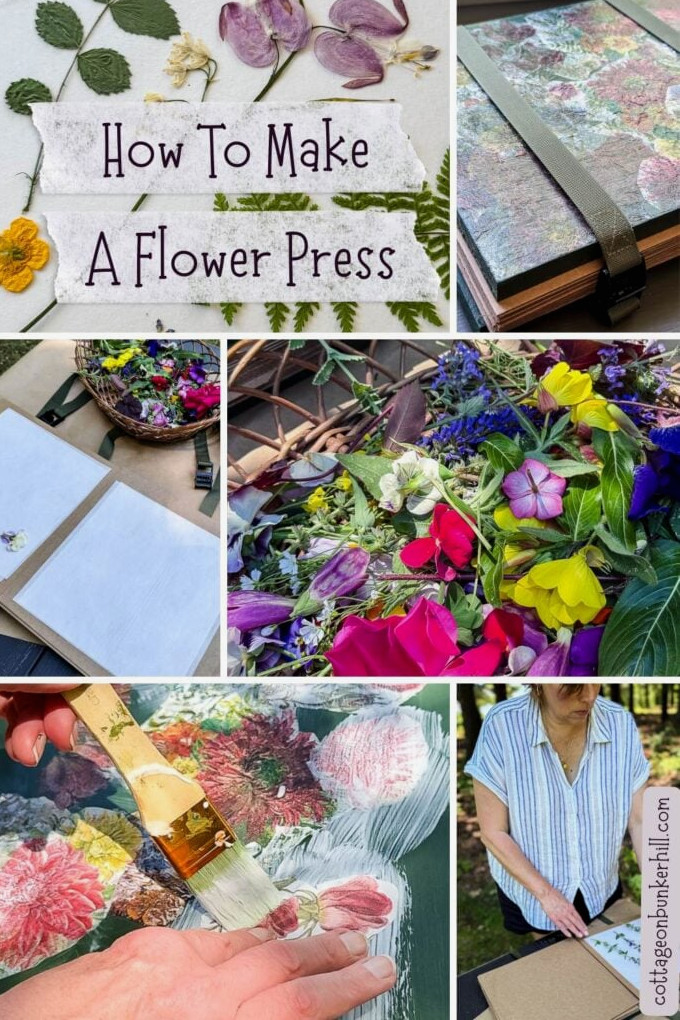
If you’ve spent much time here, you already know that I press a ton of flowers. It’s one of my favorite ways to transform something from the garden into keepsakes that last: artwork, greeting cards, bookmarks, and botanical decorations. I adore every bit of it!
The only issue? My flower press fills up incredibly fast (I currently use a 12-in x 12-in model). So, when I began looking into larger presses this spring, I nearly fell out of my chair when I saw the prices. We’re talking more than $100, with some costing even more. All for two boards and a little hardware!
Absolutely not!
Whenever retail prices make me unusually frustrated, I do what I always do: build my own. And honestly? I think mine came out more beautiful than anything I could have purchased.
Welcome! I’m Jennifer, and since 2019, I’ve been documenting my home’s transformation with an emphasis on affordable, practical style. If you appreciate the character of New England but need a home that functions for everyday life, you’re in the right spot. I explain my projects step by step so you can create a home that reflects your story, without feeling overwhelmed.
How This Press Stands Apart
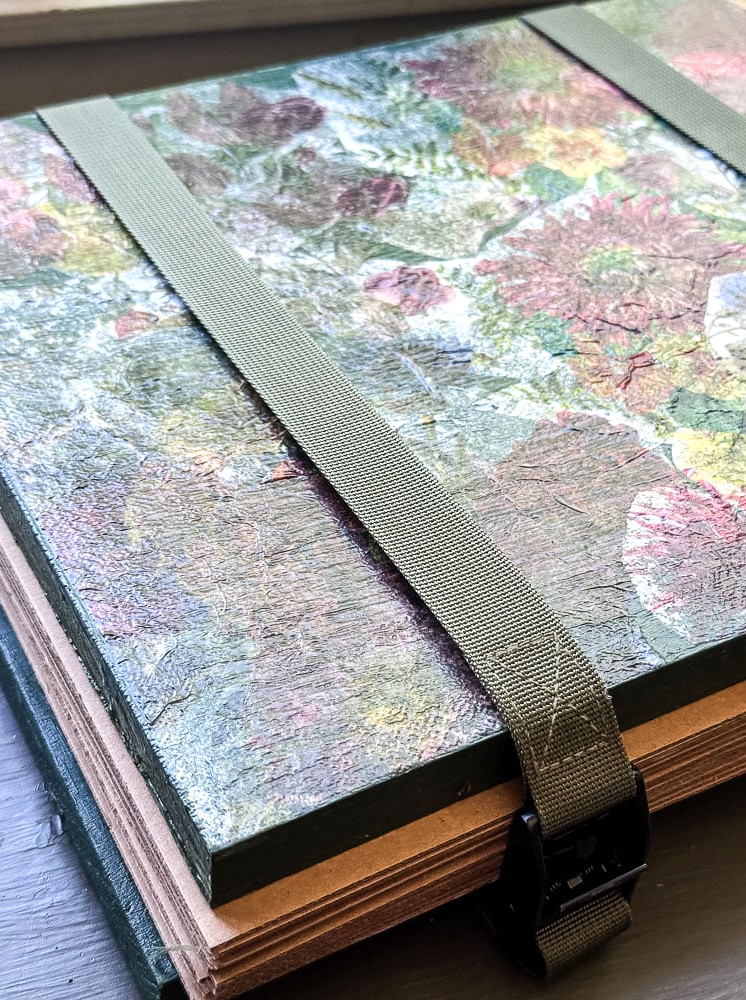
Most homemade flower press guides instruct you to drill bolts through the corners and secure everything with wing nuts. That method works well enough, but it also requires adjusting all four corners whenever you open or tighten the press. Plus, if one side is tighter than the other, the pressure won’t be evenly distributed.
Instead, I chose tie-down straps with cam buckles, similar to the type used for securing luggage or cargo. You may be wondering whether straps can really create the same pressure as bolts. In my experience, they can. Three tightly pulled cam buckle straps provide balanced, reliable pressure across the entire board, much like my bolted press, but they’re quicker and simpler to adjust. Rather than struggling with four wing nuts, I can secure the whole press in roughly three seconds.
After trying it, I couldn’t see myself returning to the old method.
Why This Cam Buckle Setup Changes Everything
Conventional flower presses use long bolts and wing nuts positioned at the corners. Honestly, attempting to turn four separate bolts evenly without disturbing the flower layers makes me a little crazy!
When you use 1-inch utility straps with cam buckles instead, you can:
- Protect Your Hands: For anyone dealing with hand discomfort, arthritis, or limited grip strength, tightening wing nuts can be extremely uncomfortable. Cam straps allow you to use your body weight to pull everything down and instantly secure substantial pressure.
- Create Smooth, Even Tension: Within seconds, you’ll have consistent downward force spread over the entire board.
- Make Quick Adjustments: It’s easy to change the press height whether you’re working with a handful of blossoms or many layers.
Supplies You’ll Need
For The Press Itself:
For Decorating (optional but absolutely worthwhile):
- Craft paint in any color you prefer (I used two small green bottles, around $2–3)
- Patterned paper napkins
- Matte Mod Podge
- Foam brush/Chip brush
Creating Your Flower Press
For my version, I painted the press and then decoupaged floral napkins onto the upper board. Once it was complete, I had one of those face-palm realizations: I could have used actual pressed flowers as decoration (I never even considered that…I’ll keep the idea for my next one!)
Not interested in painting? Stained wood would look wonderful here as well. Oooh, stained wood paired with pressed flowers (I’m writing that down before I forget the combination!)
Step 1: Painting the Boards
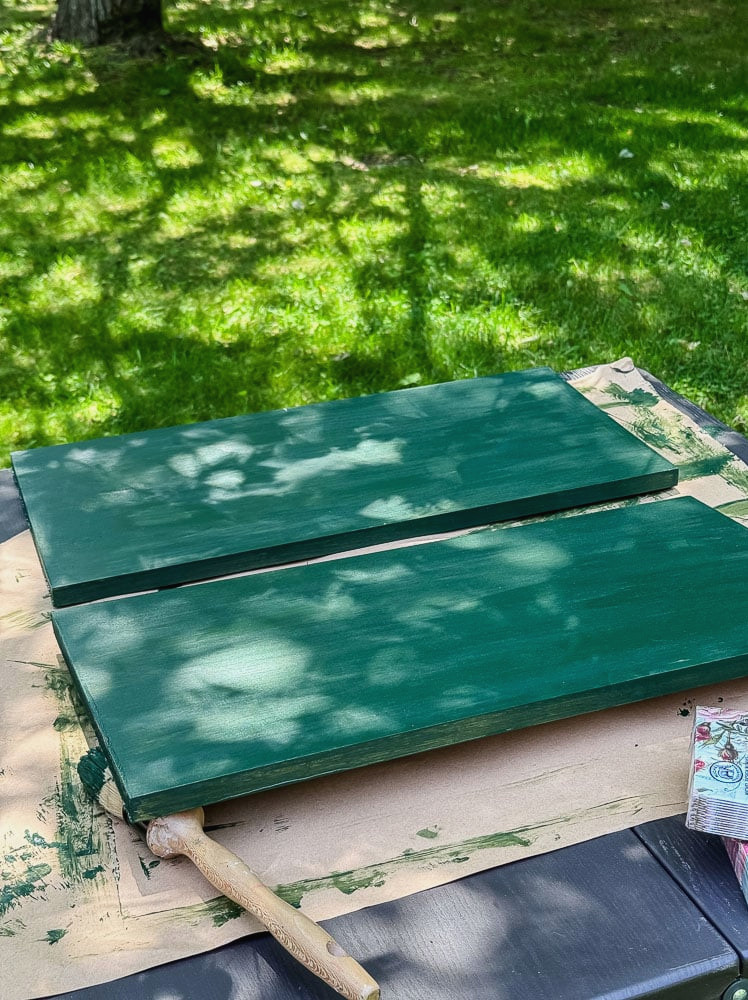
Apply two layers of craft paint to both boards in whatever shade you enjoy. I selected a rich green because I knew it would pair nicely with the floral napkins I planned to use. To be completely honest…the underside of the lower board is brown because I ran out of green paint and decided to finish up the supplies I already had at home.
Another option is staining the wood for a more organic appearance. Or, if you prefer a simpler look, you can leave the boards unfinished; the press will function just as well either way.
Allow the paint to fully dry before continuing.
Step 2: Decorate the Top Board with Decoupage (Optional, But Recommended)
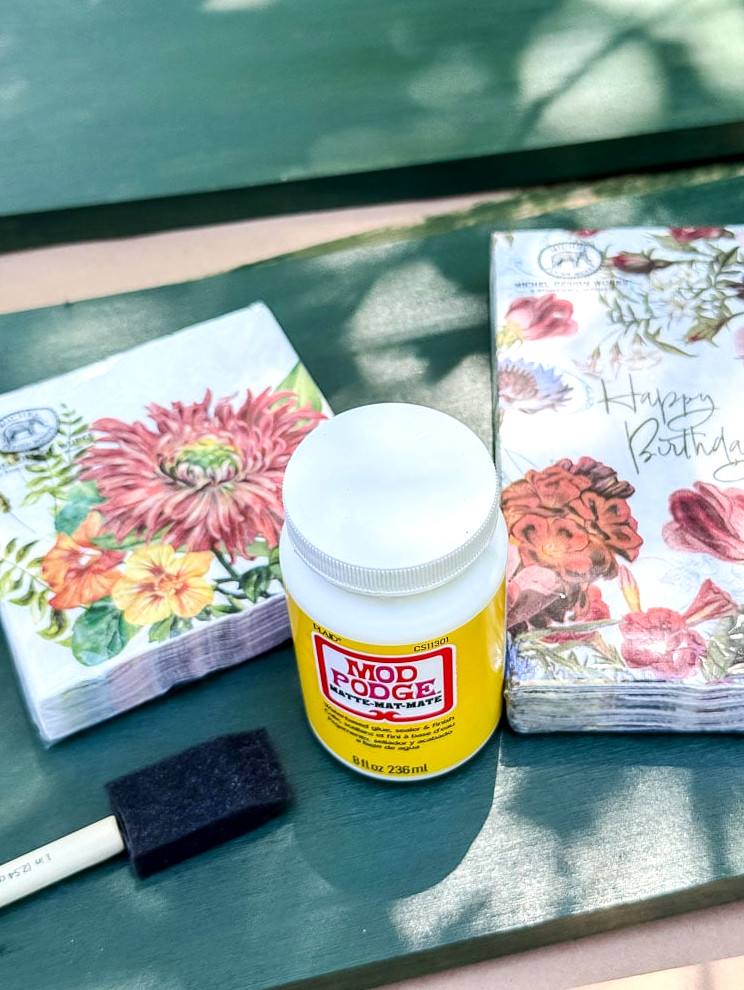
This is the part where you personalize your press. I chose lovely floral paper napkins that I had found during a winter girls’ trip to the White Mountains. I purchased them without knowing how I would use them, and they ended up being ideal for this project.
I suggest checking your nearby Marshalls or Home Goods for napkins; they generally carry attractive options for only a few dollars (the ones on Amazon are somewhat expensive
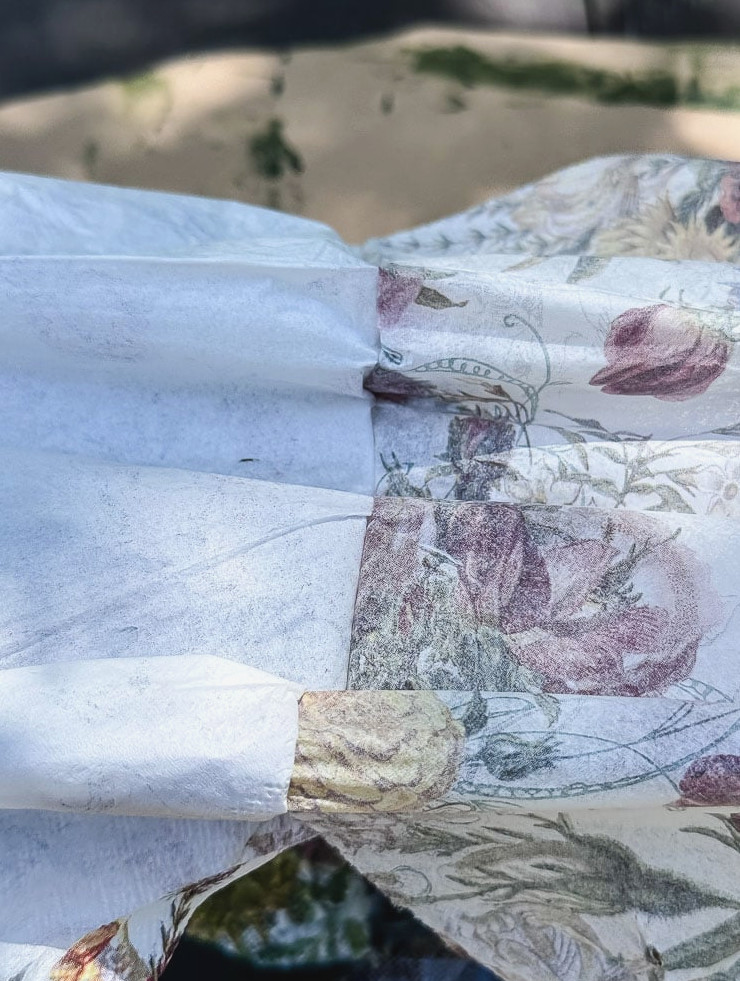
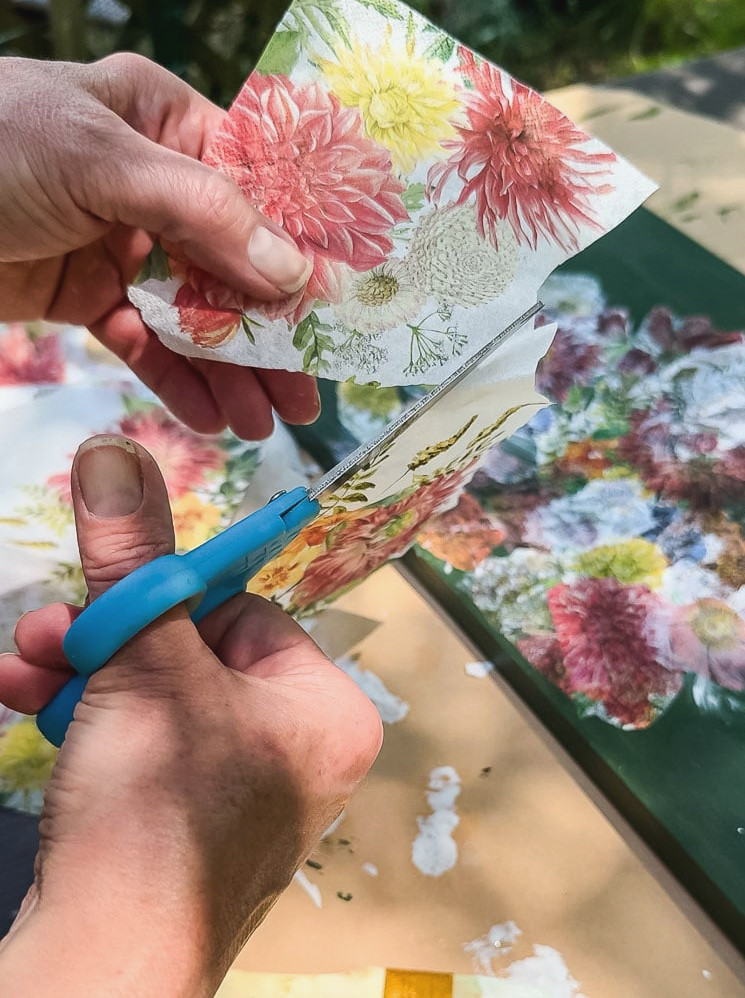
To decoupage the napkins, separate the printed sheet from the backing layers (most napkins contain 2–3 plies, but you only need the decorative top layer). Cut out either groups of flowers or single blooms (I used a combination of both).
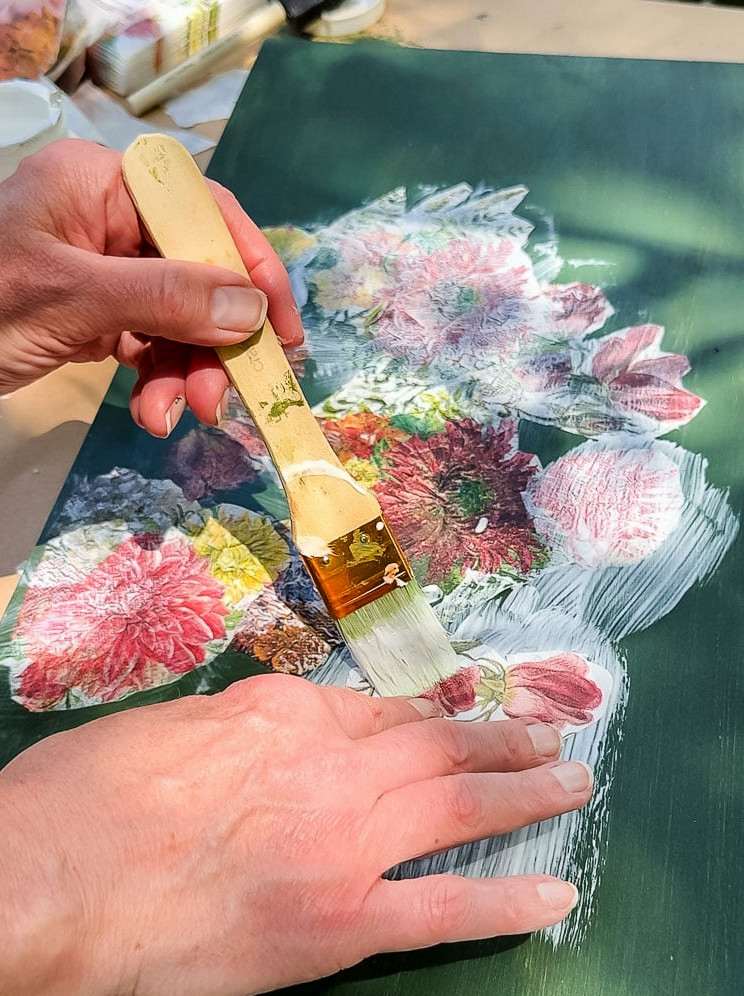
Next, apply a light coat of Matte Mod Podge to the board, position the napkin layer on top, carefully press out any bubbles with your fingers, and finish by brushing on another layer of Mod Podge.
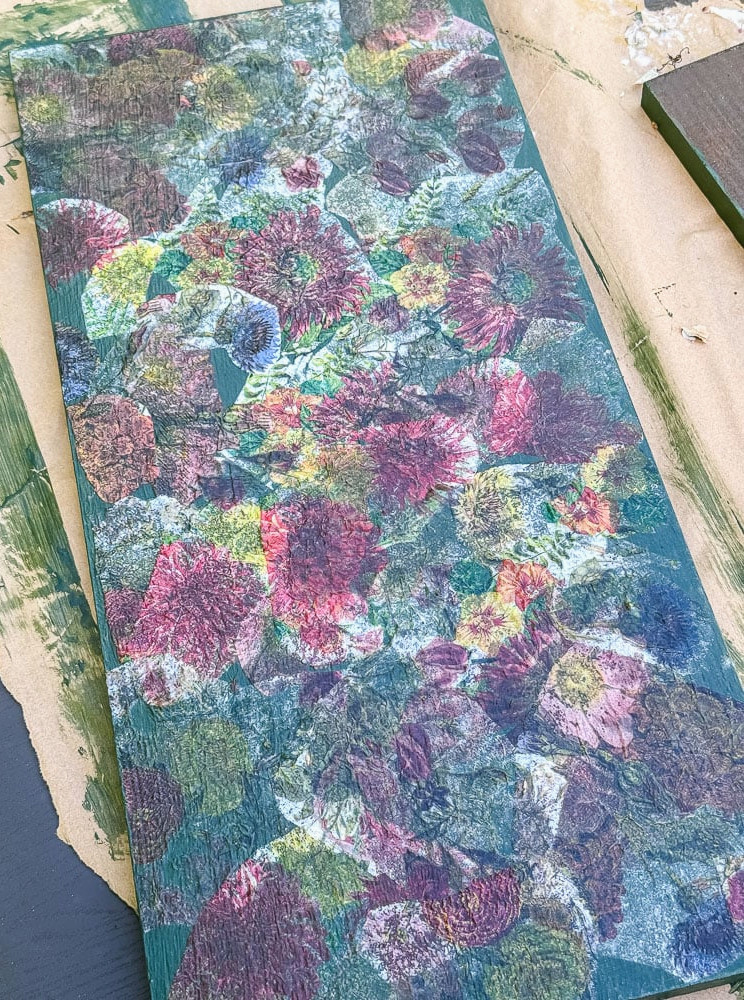
Here’s the fun part: I started placing the flowers without a precise design in mind and eventually covered the whole board. You could arrange only a handful in the center, make a specific pattern, or follow my approach and let your creativity guide you across the entire surface!
After it has dried completely, apply one additional sealing coat of Mod Podge across the full top and along the sides of the board. This creates a lovely, lightly textured finish that could stand alone as an art piece
Quick Decoupage Instructions:
- Separate the printed sheet from the backing layers; only the top layer is required
- Apply a thin coat of Matte Mod Podge to your board
- Place the napkin layer down and carefully smooth away bubbles with your fingers
- Cover the surface with another layer of Mod Podge
Step 3: Determine Your Strap Length
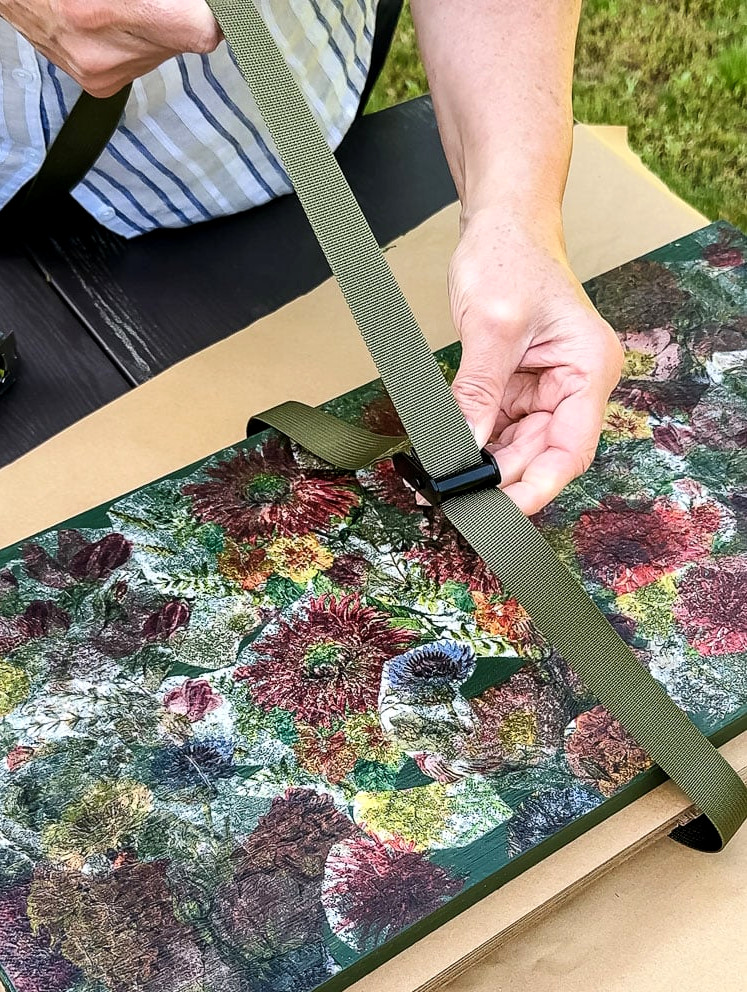
Before cutting the straps, perform a trial setup. I stacked the cardboard squares inside the press as though it were packed completely with flowers. The measurement should account for the maximum load rather than an empty press.
When the press is filled, the strap should fit firmly. I cut mine to 42 inches each, providing solid tension while leaving enough length for tightening. This results in some excess strap, which is useful for gripping as you secure the cam buckle.
Note: You’ll notice that the buckles sit on the front of my completed press. To position yours on top, determine the strap location, turn the press over, and mark that same point on the strap. Either arrangement works well!
Cut the strap ends, then melt or tape them to prevent fraying over time.
Step 4: Secure the Straps to the Lower Board
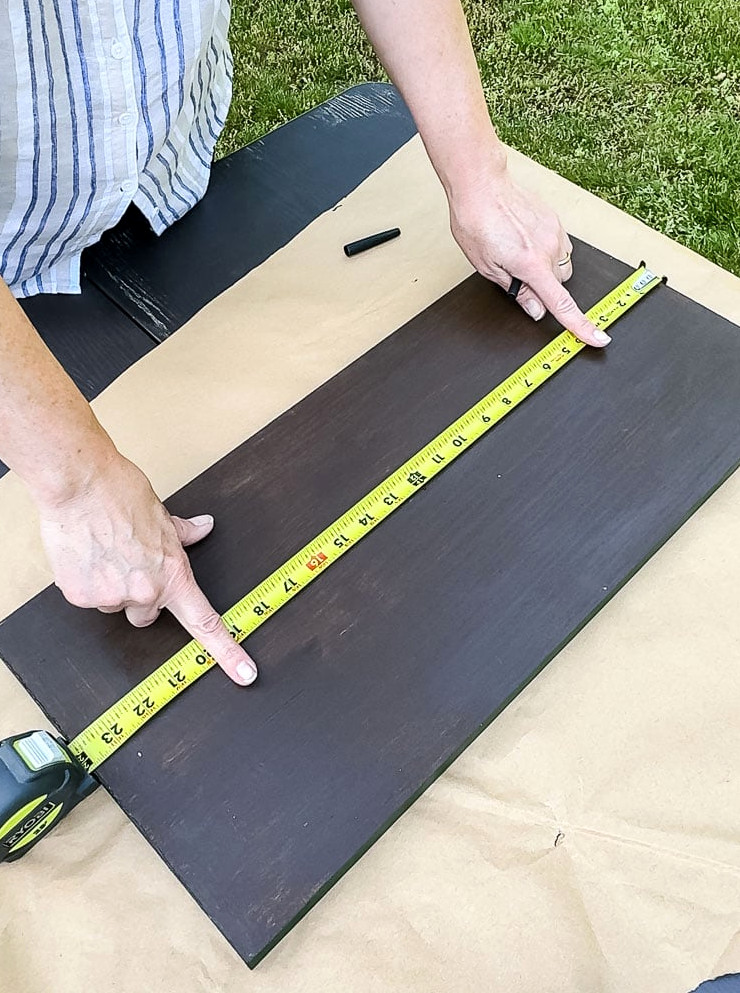
Position your bottom board face down. You’ll fasten three straps to the back: one aligned with the 12-inch mark (the board’s center), plus one on either side, 4 inches inward from each edge.
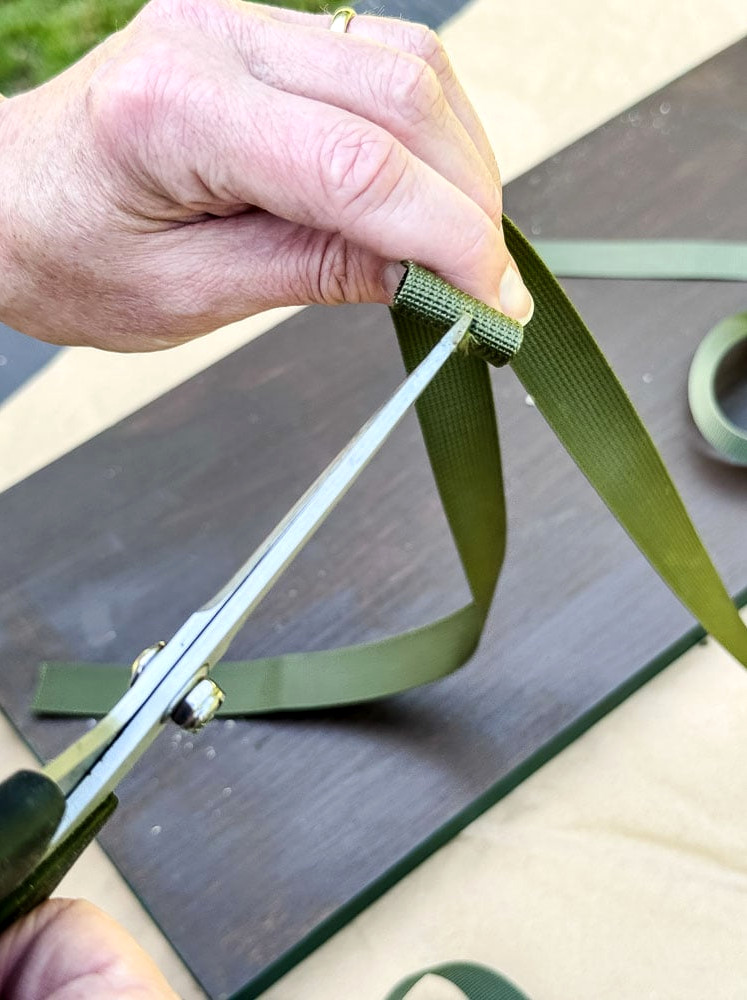
Prior to fastening each strap, locate the midpoint of the 42-inch length and mark it using a marker. Bend the strap at that point, then cut a small slit (just large enough for the screw’s end to pass through) through both layers. This creates a clear route for the screw through the material, preventing it from twisting and gathering around the strap as you drive it in.
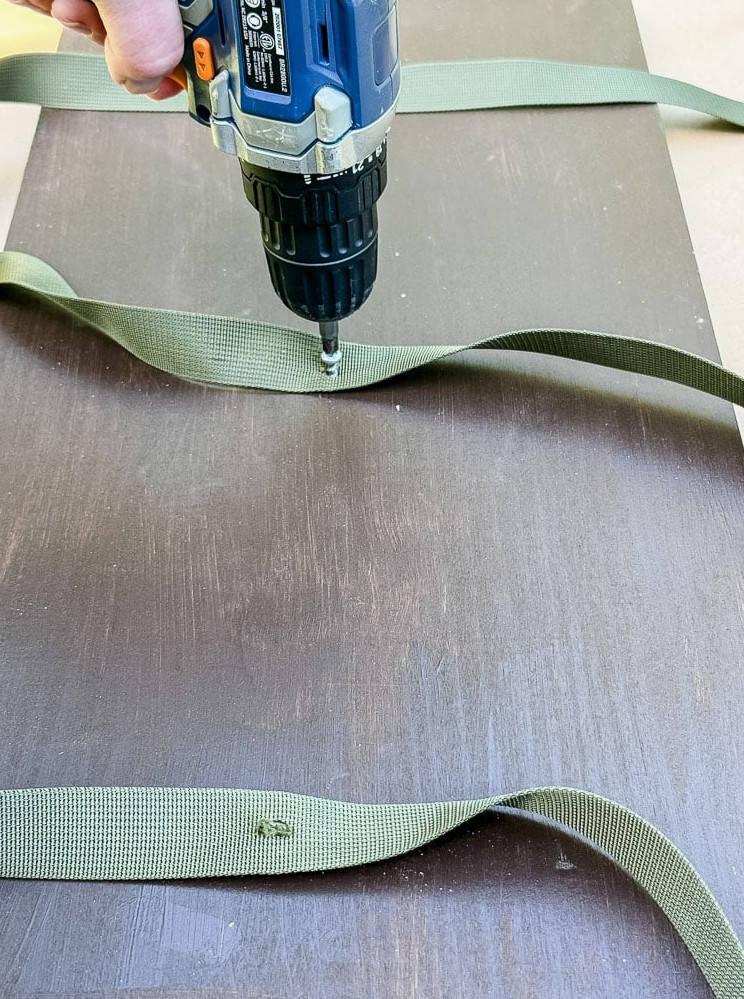
Make a pilot hole in the board at every strap position before inserting the screw. This is particularly necessary when working with pine, since it can crack easily without one. Next, fasten each strap with a short wood screw; choose one a little shorter than the board’s thickness so it won’t emerge through the front.
Step 5: Feed the Buckles and Try It Out
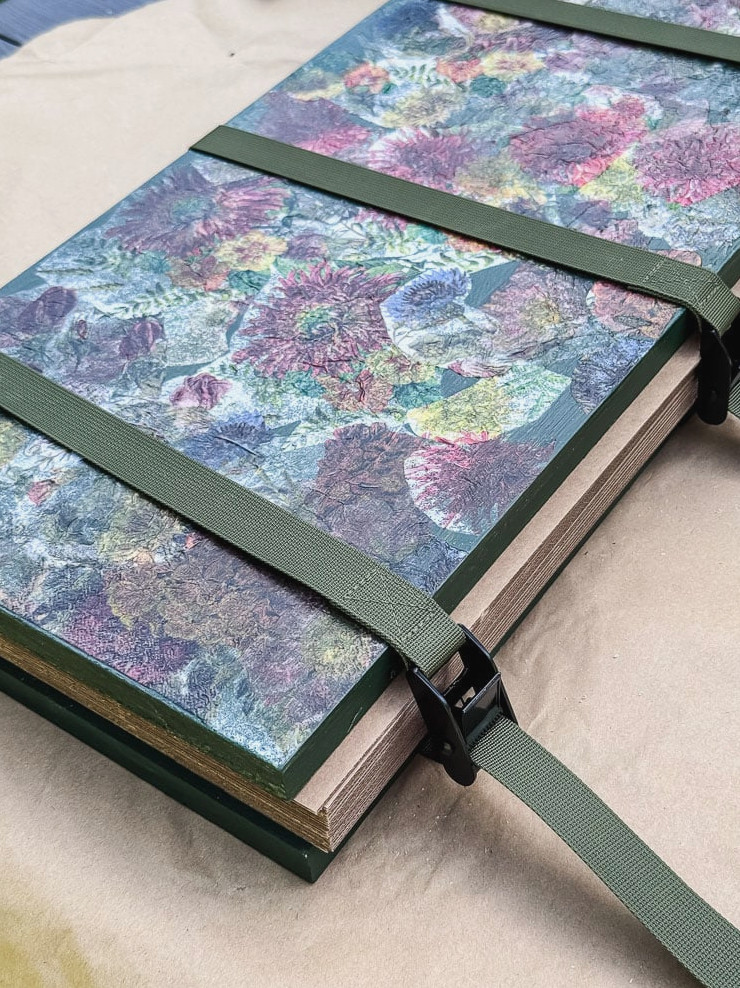
After trimming the straps, run them through the cam buckles and check that everything works. One detail caught me off guard: I expected the buckles to sit on top of the press, yet they actually rest on the front, which is even more convenient. They’re right where you can easily reach them whenever you need to tighten the press. A fortunate surprise!
Using Your Flower Press
What I especially appreciate about this press size, and didn’t completely expect, is that using 12-inch blotting and cardboard sheets on a 24-inch board means every layer has two usable sides. In effect, it gives me two presses in one. If your cutting garden becomes especially abundant during summer, as mine does, that extra room is valuable. I can press a substantial quantity of flowers in one session without waiting for a layer to become available.
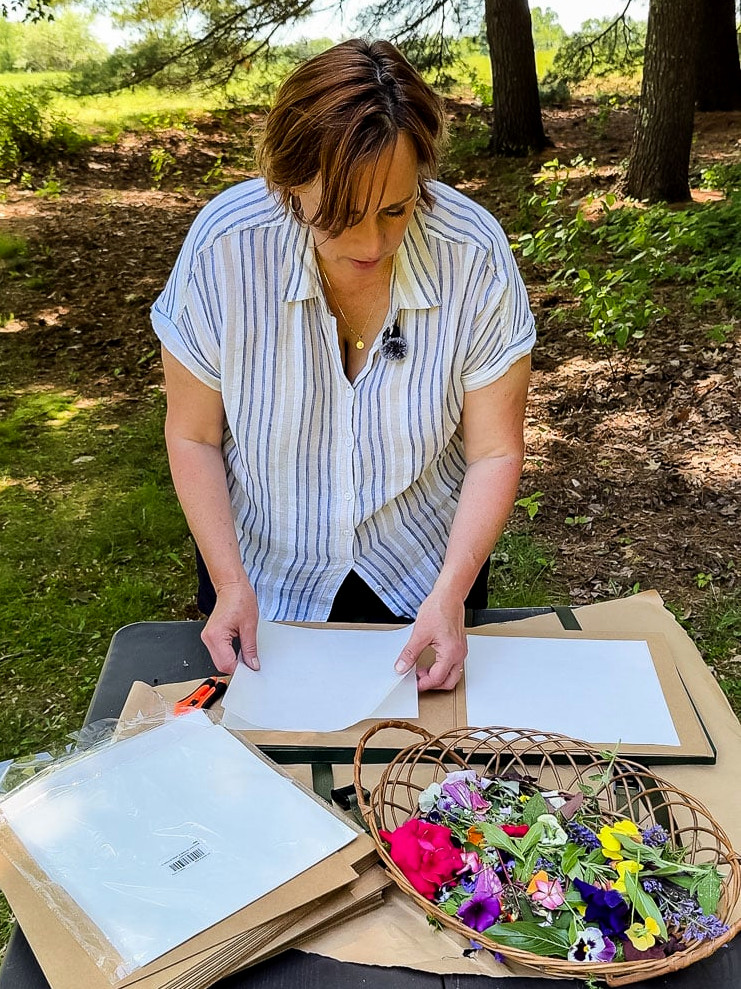
Arrange the cardboard and blotting sheets in alternating layers, setting the flowers between the blotting paper layers. Continue building the stack until all your flowers are included. Afterward, strap it closed, tighten the cam buckles securely, and let it sit. The blotting sheets I purchased are considerably thinner than those in my other flower press, so I used two together since I haven’t handled this type before.
The cardboard sheets serve a meaningful purpose in a flower press. Their ridges form small air channels that let air move in from the sides, helping pull moisture out of the blotting paper and away from the press.
Cardboard–>Blotting Paper–>Flowers–>Blotting Paper–>Cardboard
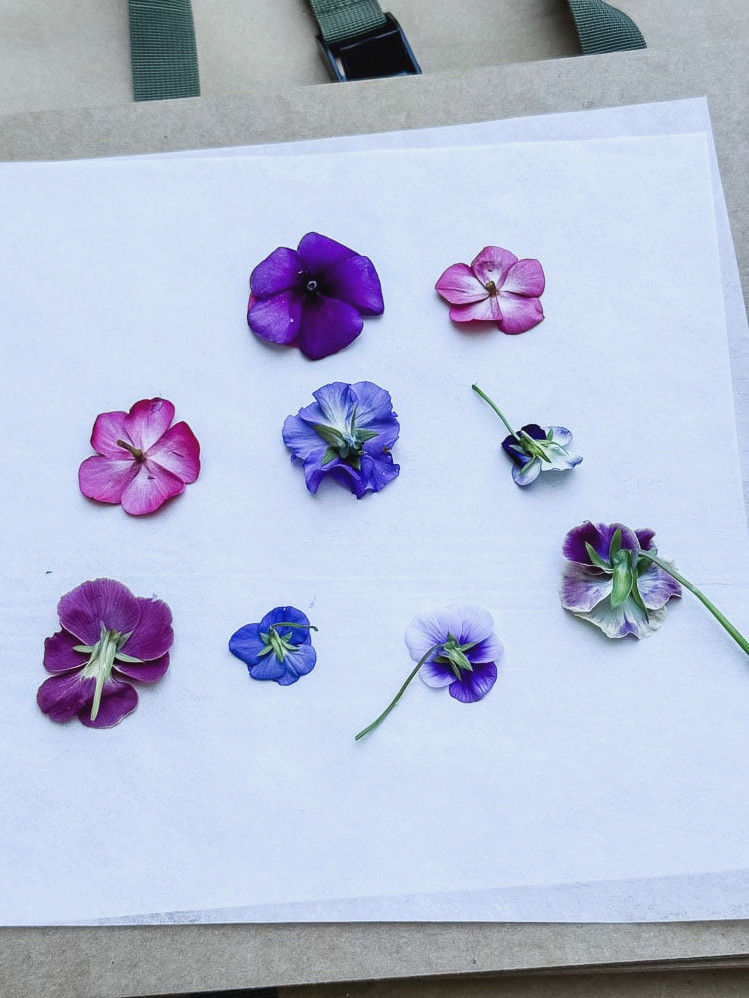
Depending on their thickness and moisture content, most flowers require at least a week, while some may need 2–3 weeks to dry completely in the press. Fragile varieties such as pansies and cosmos press quickly, whereas fuller blooms like zinnias take longer.
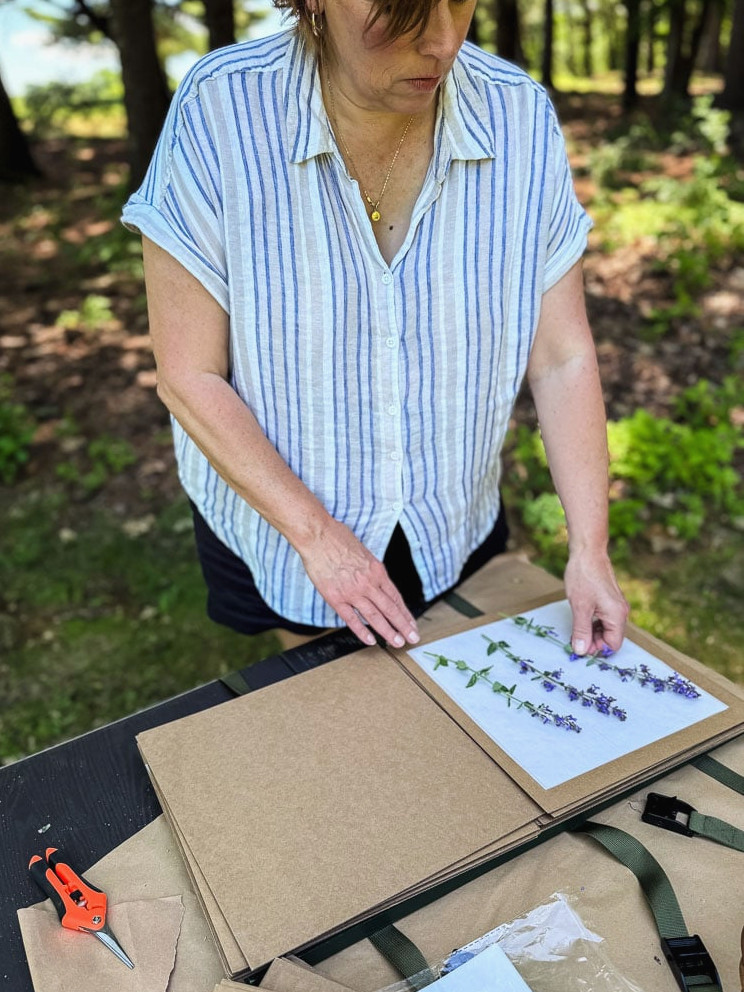
Quick Guide: How to Press Flowers the Right Way
For a detailed look at flower pressing, take a peek at my complete guide to using a flower press here. Until then, these simple suggestions will help you begin:
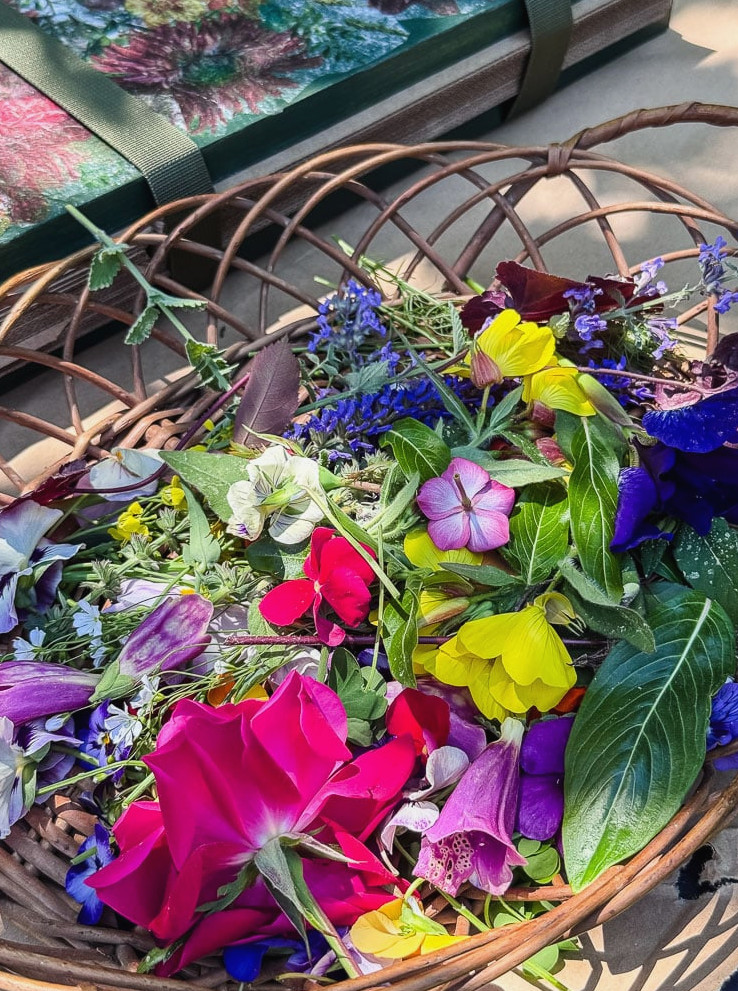
- Harvest at the Right Time: Gather your flowers on a dry afternoon, once the morning dew has fully disappeared. Flowers pressed while damp can develop brown, muddy hues.
- Build Your Press Sandwich: Start with a piece of corrugated cardboard, followed by a sheet of blotting paper. Position the flowers without letting them touch, then place another sheet of blotting paper and a piece of cardboard on top.
- Balance the Weight: To achieve the finest results, place flowers with matching thicknesses in each press layer. Thicker blooms should have a layer of their own and be spread evenly across the board to prevent the upper piece of wood from tilting.
- Crank Down the Straps: Wrap your green cam straps around the press width, tighten them firmly to secure the tension, and let the process work! Store the press in a warm, dry room for 1–3 weeks.
Worth Every Minute
This project was finished in a flash (although the flowers still need time to dry, the hands-on work is brief), and I truly adore the result. The decoupaged floral top gives it a charming handmade, vintage feel that no ready-made press can match, while the strap design is far simpler to operate than the classic bolt version.
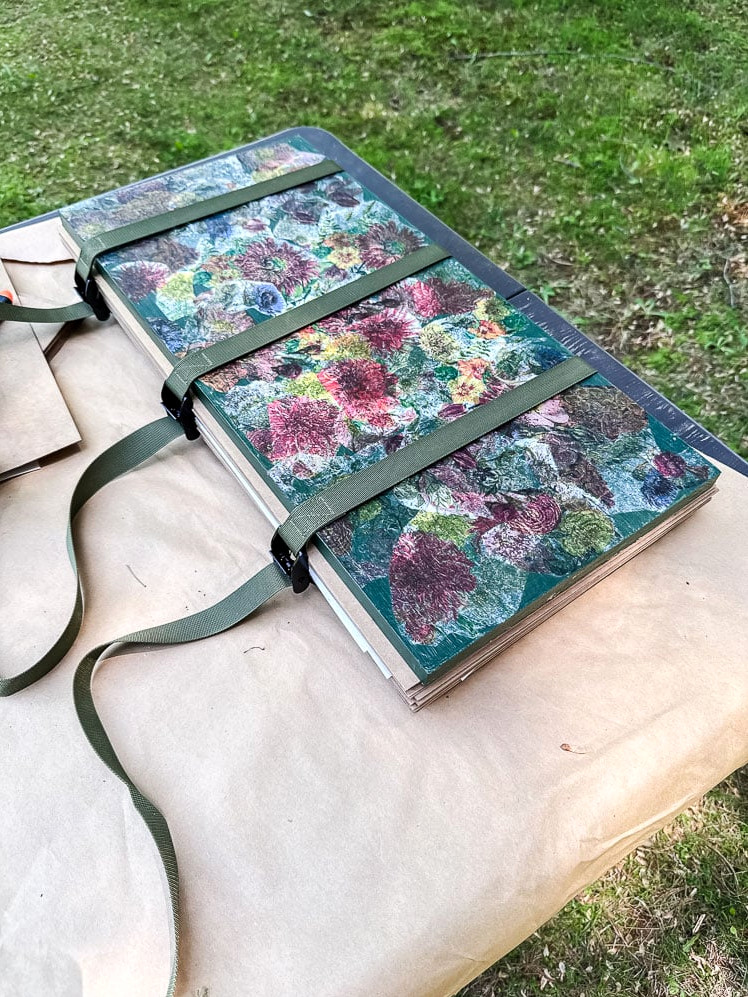
If the price or dimensions of store-bought presses have kept you from pressing flowers, I hope this encourages you to create your own. For a fraction of the cost, you can make a press that is larger, more attractive, and more uniquely yours than anything available online.
Now, if you don’t mind, I have a garden overflowing with flowers that are eager to be pressed.
Want to see your projects showcased! If this project or one of my other DIY creations has inspired you, I’d be delighted to feature it in the Reader’s Spotlight gallery. Email me a photo at jennifer@cottageonbunkerhill.com
xo, Jennifer