All You Need to Begin (and Continue Creating)
Let me set the scene. You’ve chosen to create a wreath. You’ve browsed inspirational images, formed a rough idea, and feel prepared. Then you step into the floral section at Michaels and… nothing. Only a huge assortment of supplies that may or may not be useful, wire in seventeen gauges, foam in four shades, and roughly a million varieties of greenery that look nearly identical and aren’t labeled in any helpful way.
I know the feeling. We’ve all experienced it.
After years of making wreaths (along with plenty of supply-related errors), I eventually assembled this guide to explain precisely what you’ll need, what each item is called, and when to use it. Whether you’re preparing to make your first wreath or you’ve completed several and still feel unsure about the process, this guide is for you.
Let’s begin.
Hello! I’m Jennifer, and since 2019 I’ve been documenting my home’s transformation, always emphasizing affordable and attainable style. If you appreciate New England’s character but want a home that suits everyday living, you’ve found the right place. I explain my projects step by step so you can build a home that reflects your story, without feeling overwhelmed.
Part 1: Wreath Bases
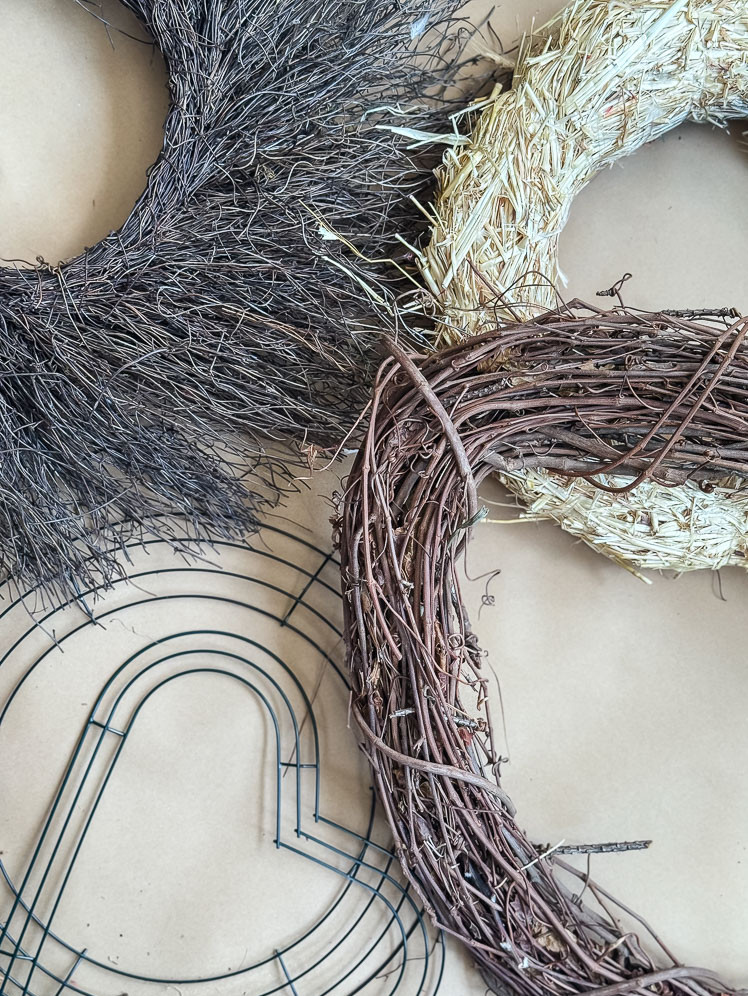
Your wreath form provides the base—the framework on which everything else is arranged. Choosing the right one truly makes a difference, since various forms suit different supplies and design approaches. Below is an overview of the most popular options you’re likely to see.
Grapevine
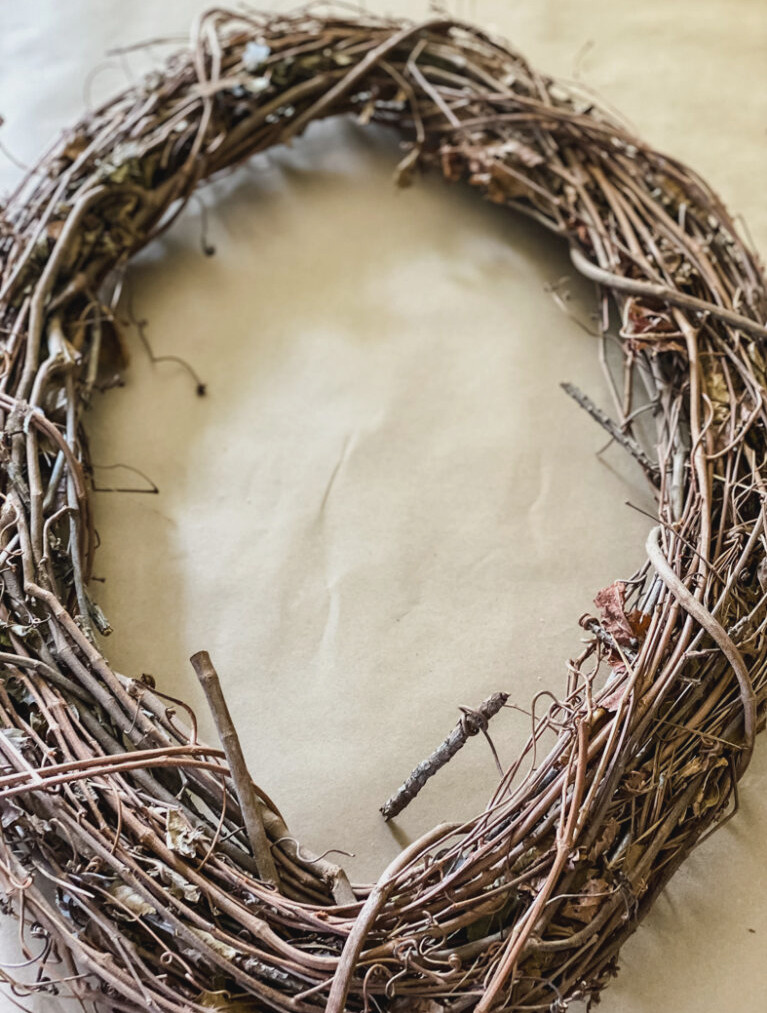
Grapevine is a true staple in wreath crafting, and there’s a reason for that. It looks natural, holds up well, and is remarkably easy to handle. In many situations, you can slide stems directly between the vines without adding glue or wire. Its earthy, rustic appearance works wonderfully with dried botanicals, preserved blooms, and even artificial stems.
Grapevine forms are available in multiple sizes (usually 10″ to 24″ across) and can differ significantly in how tightly they’re woven. A compact, dense form creates a more polished appearance with fewer openings, while a looser version offers added texture and personality but may require extra material for coverage.
For anyone just starting out, grapevine is truly the easiest form to learn with.
Wire/Metal Frames
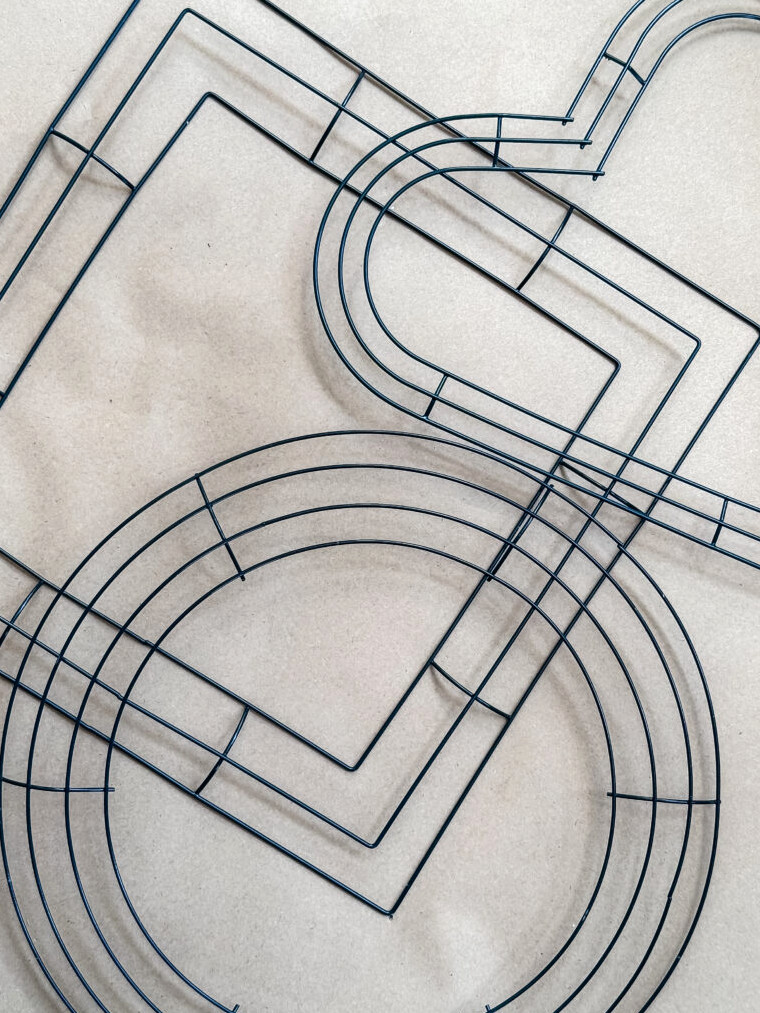
Wire forms are exposed metal structures, usually made from a ring or several circular rings joined by crossbars. They’re ideal for wreaths that involve layering lots of supplies—such as abundant, full, cascading designs—or for projects where the entire form will be wrapped.
You’ll also come across shaped metal forms in nearly every craft or dollar store, including bunny heads, pumpkins, witches
hats, stars, hearts, and plenty more. They’re especially enjoyable for seasonal crafts since the shape handles much of the design for you. Fill or cover them just as you would a circular frame, but their outline is already formed.
Here are a few details to keep in mind about wire frames: if they aren’t fully concealed, they will remain visible, meaning they need more material than grapevine forms. However, they’re extremely lightweight and allow you to determine the shape and fullness of your finished wreath. They’re a favorite choice for rag, boxwood, eucalyptus, and nearly any fresh or faux greenery wreath.
Foam Bases
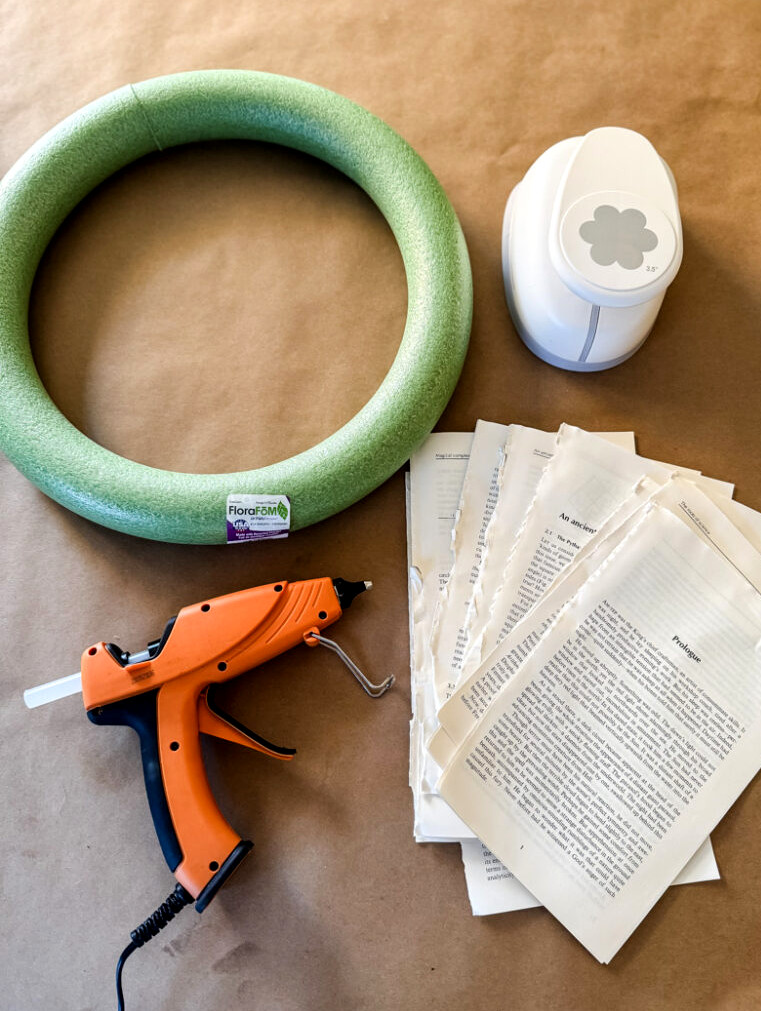
Foam bases are available in two types, and the two cannot be substituted for one another:
- Floral foam (wet foam): You’ve likely spotted this green foam at a craft shop. It is made to absorb water and support fresh flowers. It keeps the stems moist while securing them in position. It isn’t suitable for much beyond fresh floral arrangements.
- Dry foam: Usually white or brown and lighter in shade, dry foam is intended for dried or artificial materials. Insert the stems straight into it, where they remain firmly supported. It is more compact than wet foam and resists crumbling.
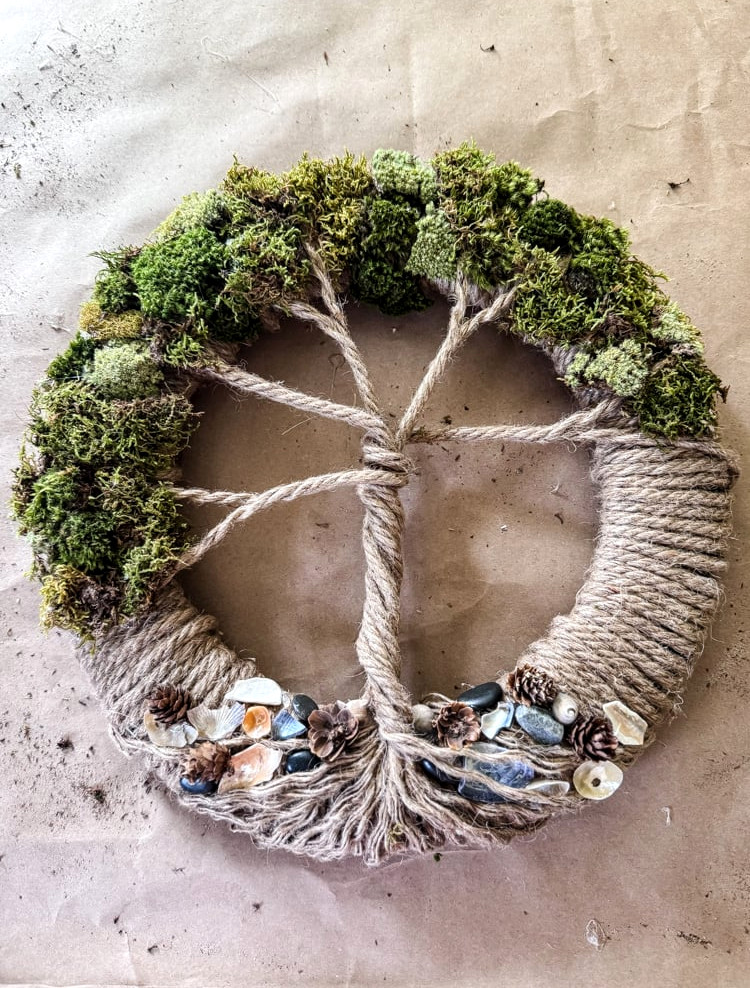
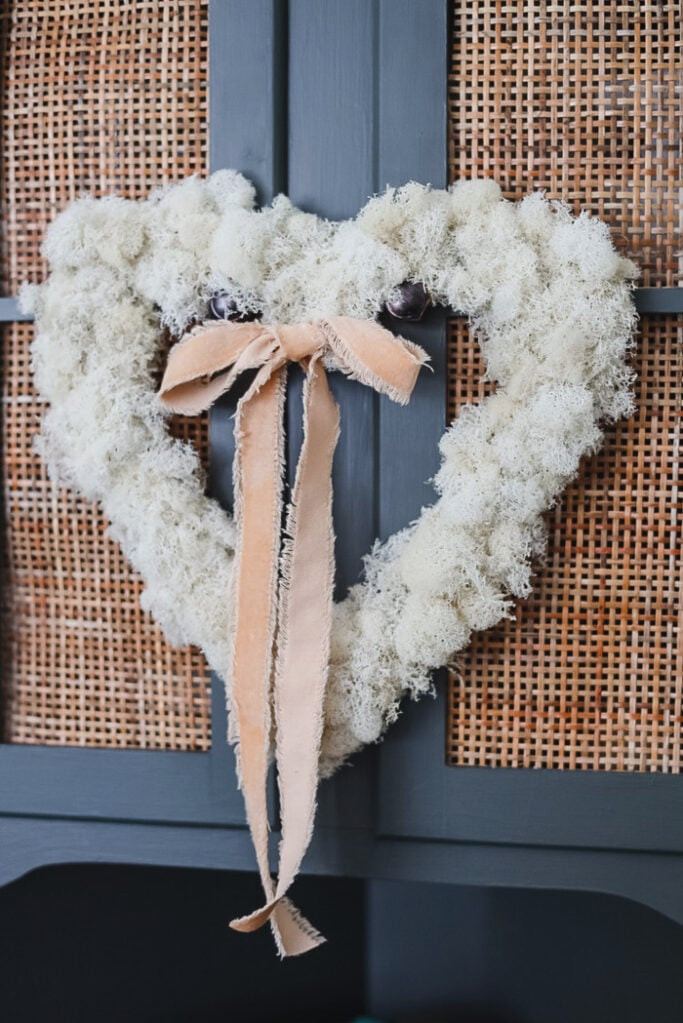
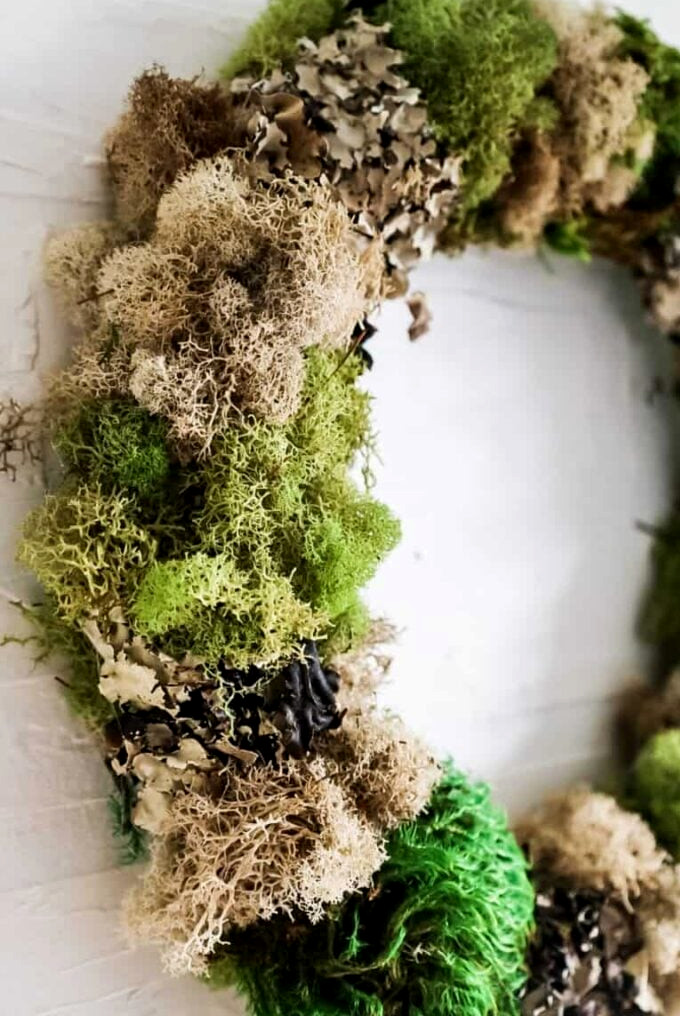
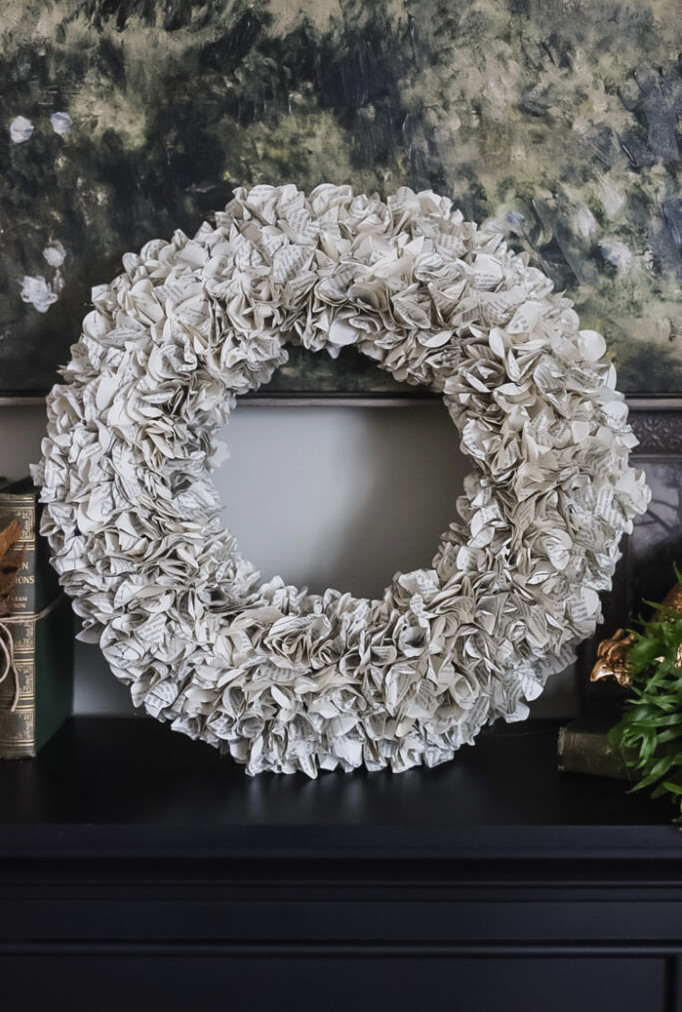
I’ve incorporated foam bases into several projects on the blog: my mixed moss wreath and book page hydrangea wreath both demonstrate the kinds of designs you can create with them.
Straw Bases
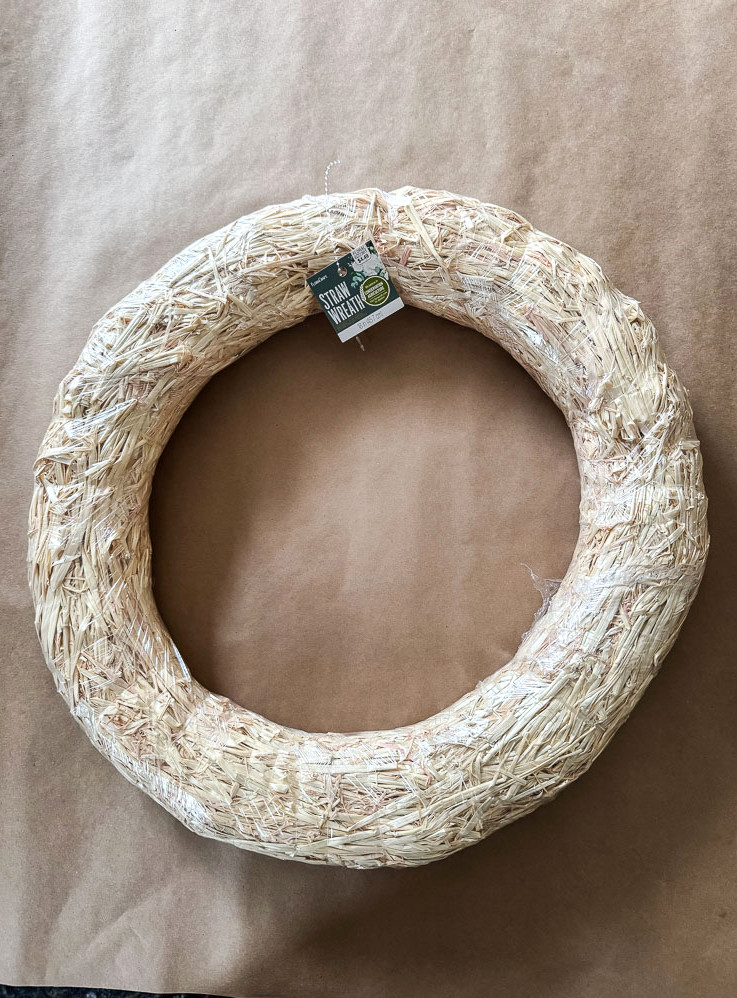
Straw bases don’t get nearly enough credit. They’re durable, slightly more flexible than foam, and hold both pins and wire exceptionally well. For dried and faux arrangements, they’re an excellent choice.
They also make an outstanding natural foundation for a fresh wreath.
Twig /Willow Bases
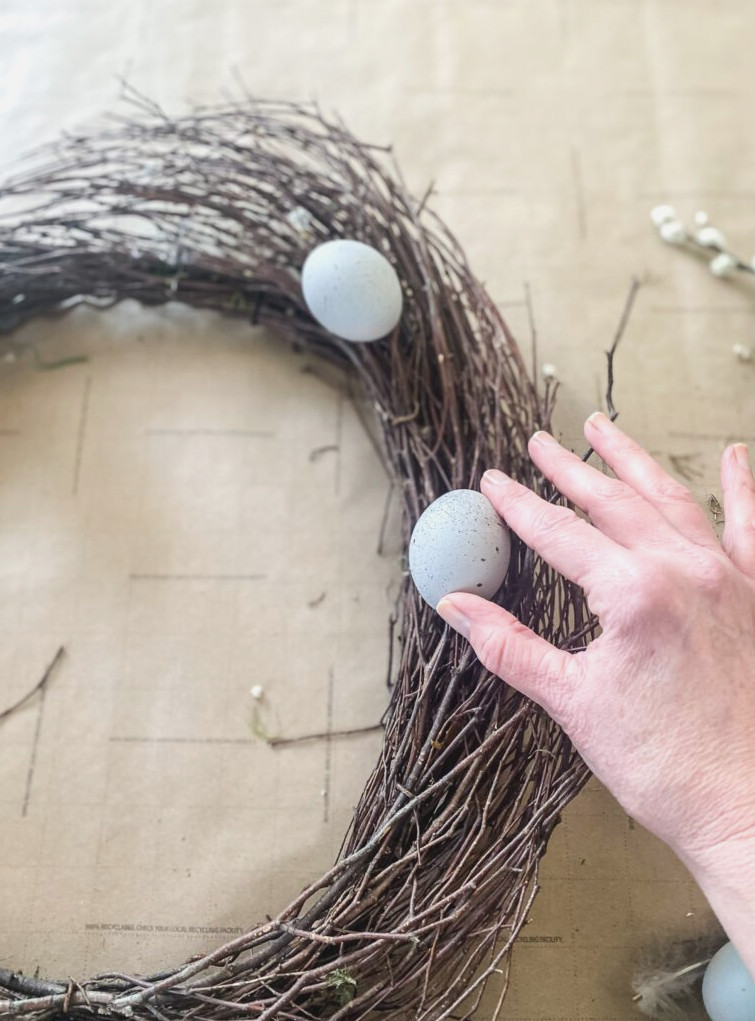
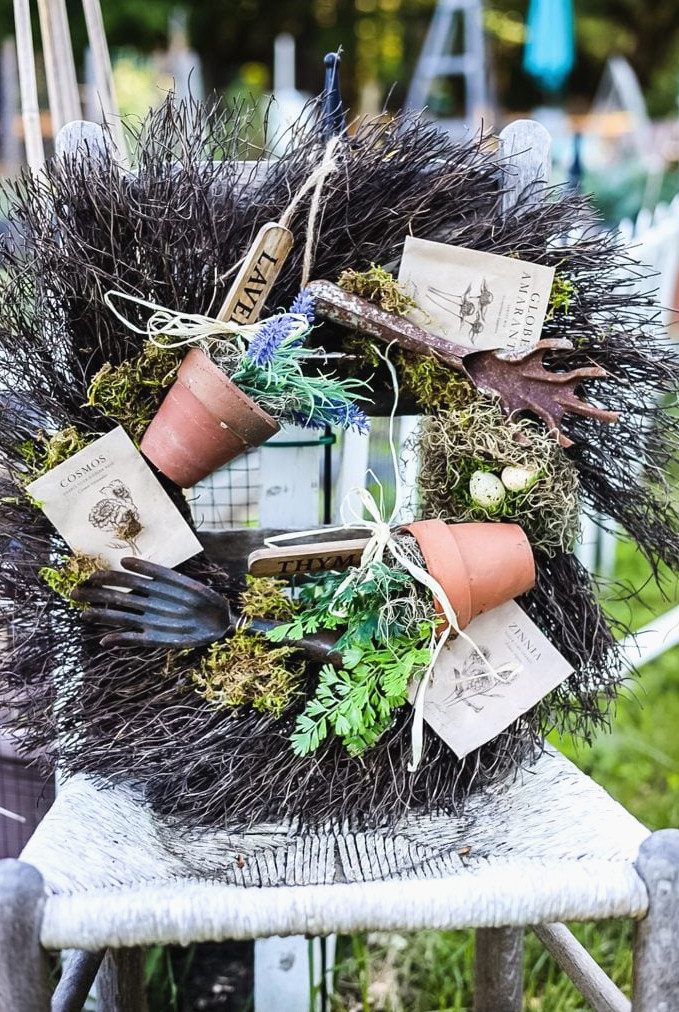
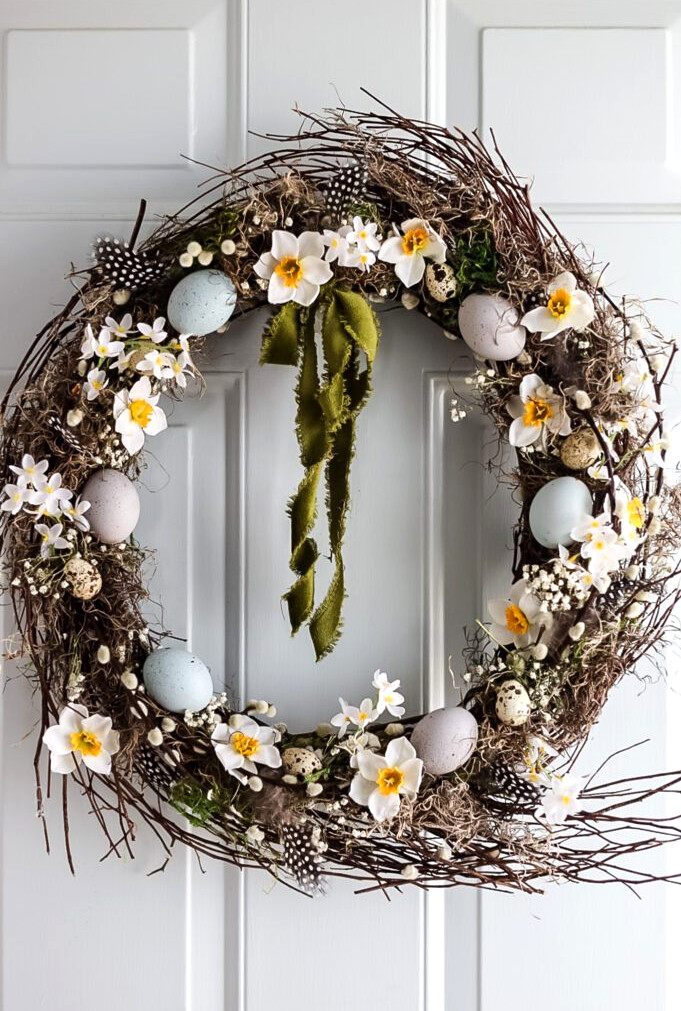
Twig and willow bases offer a similar appearance to grapevine, though their finish is more polished and sophisticated. Their weave is generally denser and more consistent, creating a smoother foundation for your project. Although they usually cost slightly more than grapevine, they make a lovely choice for an elegant dried or botanical wreath.
Willow, in particular, has a beautiful natural shade that looks wonderful in photographs when part of the base remains visible in your design. I haven’t crafted a willow wreath because they cost $40 at Michael’s...and I’m frugal!
Foraged Vines & Twigs
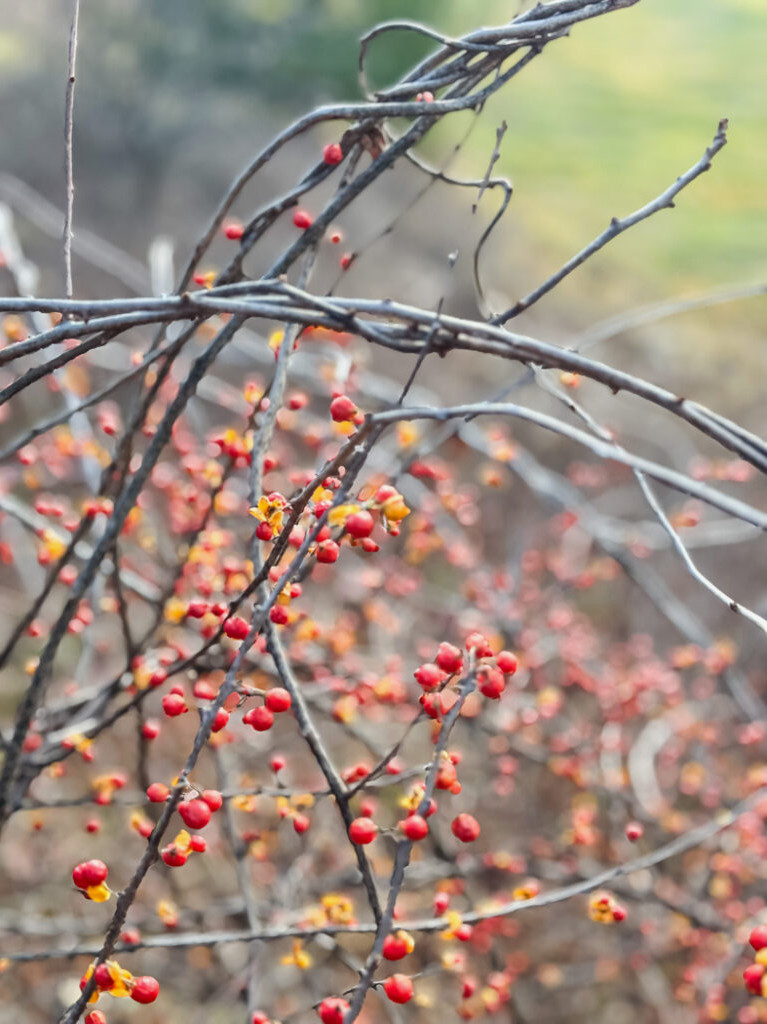
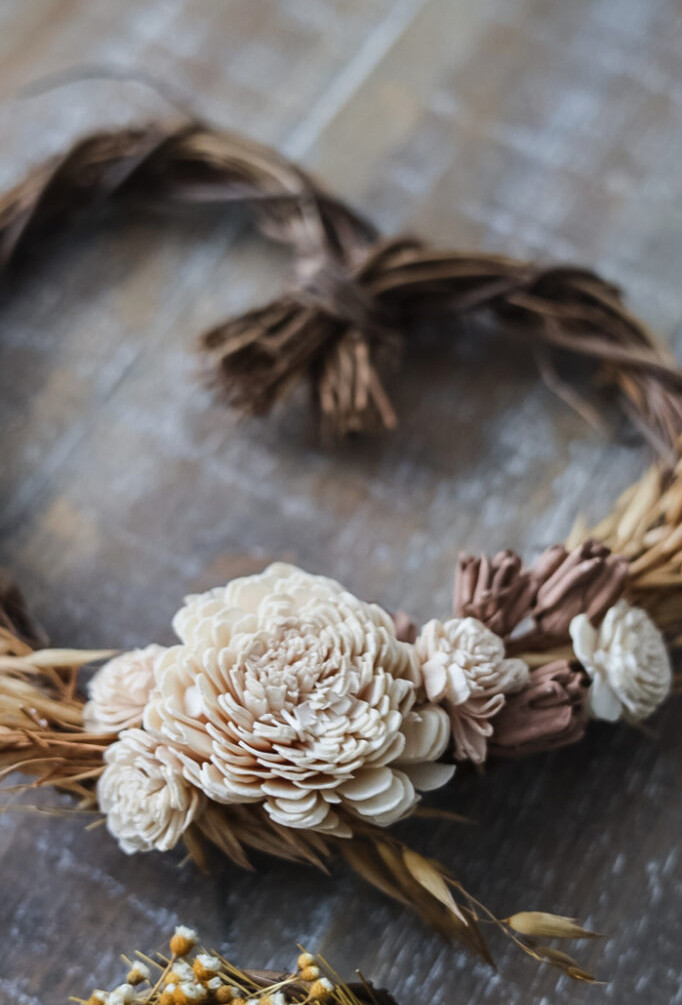
Naturally, you can bypass the craft store and create your own base instead. When you can gather pliable vines such as bittersweet, wisteria, Virginia creeper, or wild grape, twist and form them into a wreath while they are still flexible, then allow them to dry in place. I’ve made one this way with bittersweet vine collected from the woods behind my home and grapevine sourced from a nearby farm, and truthfully, the finished form has far more personality than anything purchased from a store.
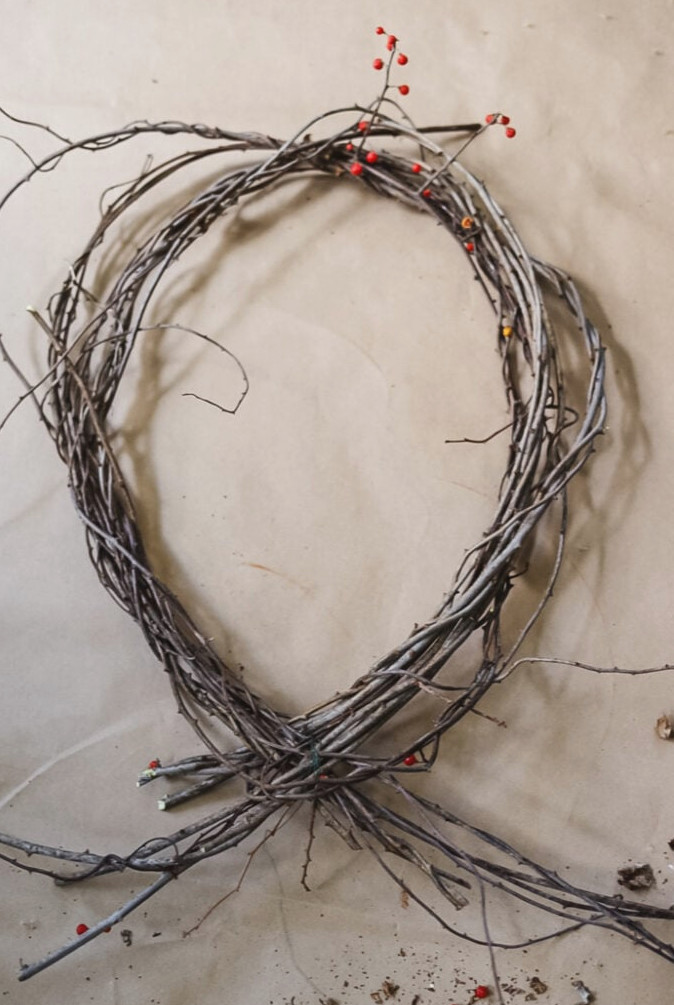
It’s an uncomplicated method: collect long, bendable stems, wrap them into a circle, and tuck the ends back through the bundle to maintain the shape. I once created a teardrop wreath by layering the branch ends and fastening them with floral wire. The organic bends and flaws are what give it appeal. After it has dried, use it just as you would a grapevine form from the store.
Wood Rings / Hoops
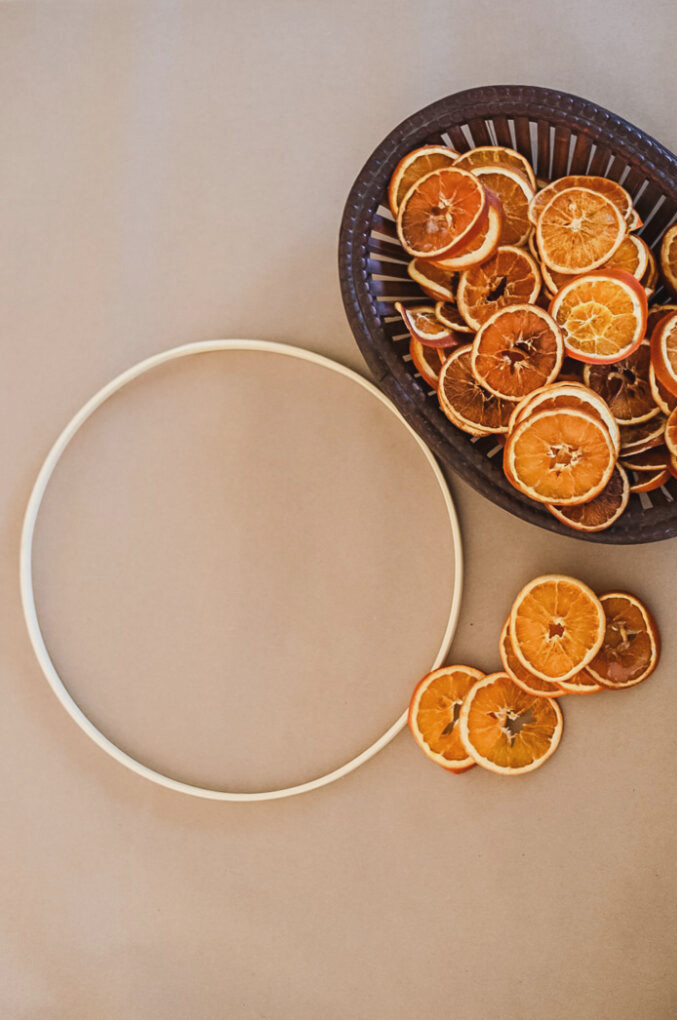
Wood, MDF, and metal hoops differ somewhat from the other bases mentioned here. Instead of a textured or open foundation, they provide a firm ring, giving you a sleek, contemporary surface to decorate. You’ve likely noticed them throughout Pinterest in boho-inspired arrangements, with flowers or greenery placed loosely along the lower section while much of the wood or metal remains visible as part of the design. That simple, open appearance is the hoop’s defining style.
Still, their usefulness extends beyond that familiar arrangement. I chose a wooden ring for my dried orange slice wreath, and it worked beautifully. Its even surface provided a crisp boundary to build around.
At a Glance
Not sure which form suits your project? Here’s the quick breakdown:
- Grapevine → dried, artificial, assorted botanicals, rustic, or organic designs
- Wire frame → fresh or artificial greenery and abundant layered arrangements
- Foam → compact, organized designs requiring exact placement
- Twig/Willow → dried botanicals with a more refined natural appearance
- Foraged Vine/Twigs→natural-looking designs that pair beautifully with greenery or blooms
- Hoops→ sleek, contemporary styles
Part 2: Floral & Botanical Materials
This is the enjoyable part- but it’s also where things can quickly feel overwhelming. In general, your supplies fit into one of three groups: fresh, dried, or faux. Each option has its purpose, and knowing how they differ can help you avoid unnecessary expense and frustration.
Fresh / Living Materials
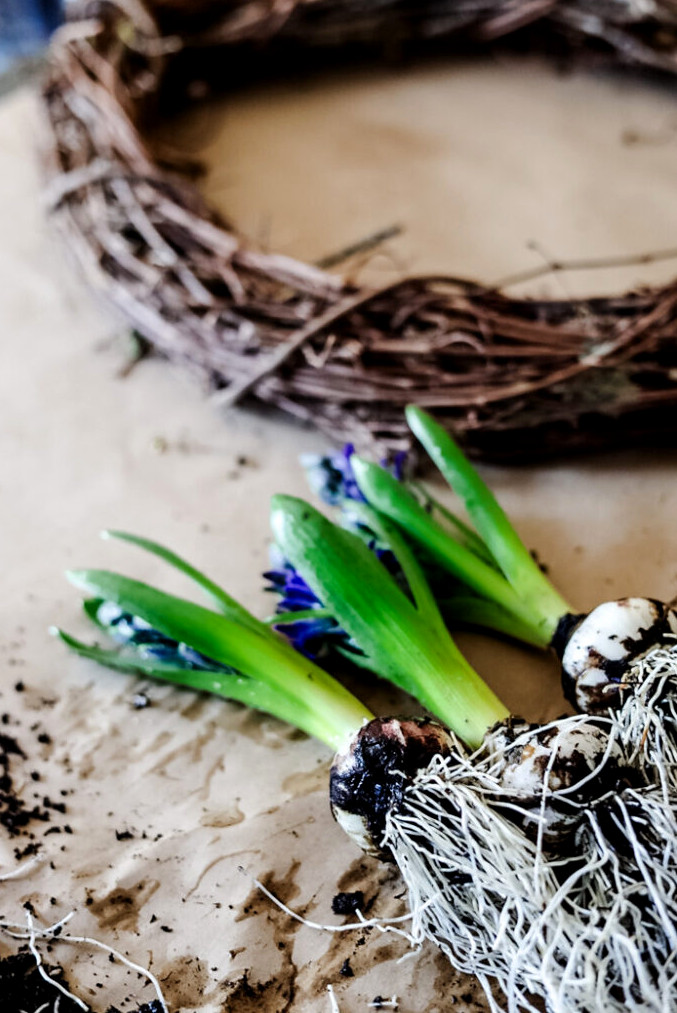
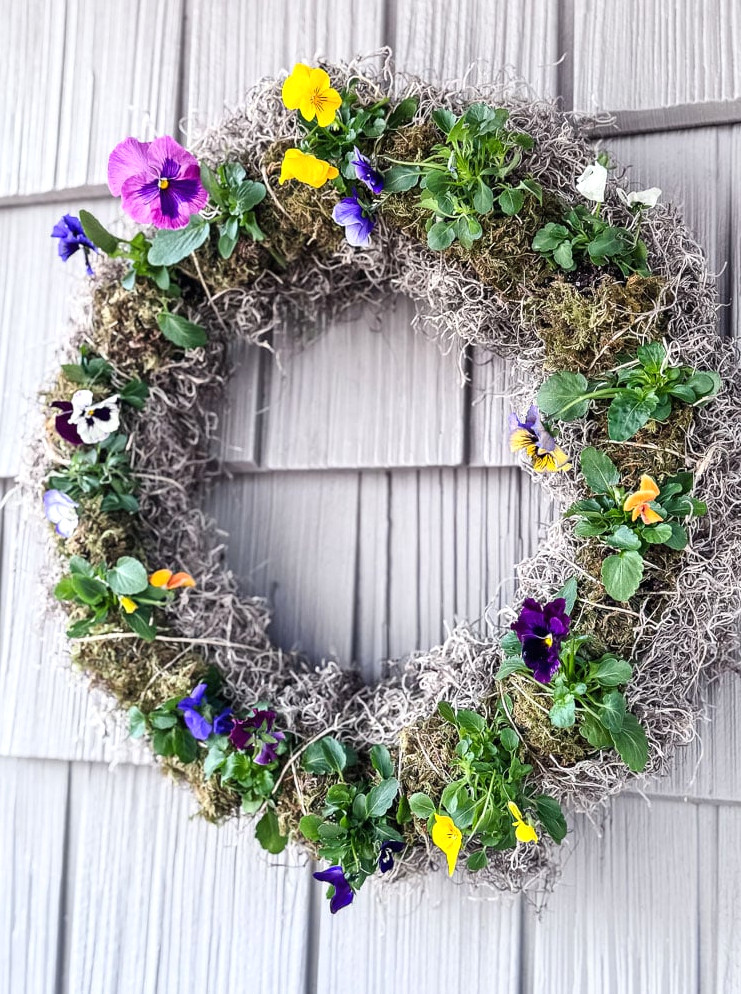
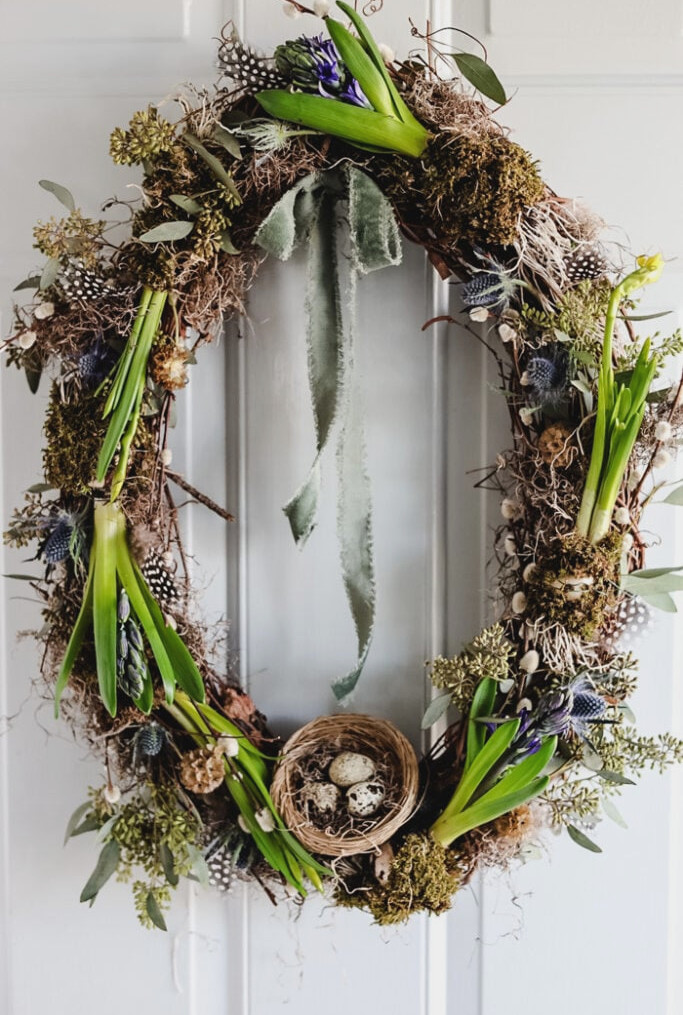
Fresh materials are just what their name suggests: genuine, living plants used at or close to their prime. Examples include spring bulbs, pansies, eucalyptus, as well as greenery cuttings or flowers from the garden. Fresh wreaths are stunning and pleasantly scented, though they don’t last indefinitely. Depending on what you use, a hyacinth bulb arrangement may remain attractive for only a few weeks.
To help fresh stems stay vibrant longer, consider floral water tubes (also known as water picks): little plastic containers with rubber caps that hold a small supply of water for individual stems. They’re affordable and truly handy when creating fresh arrangements.
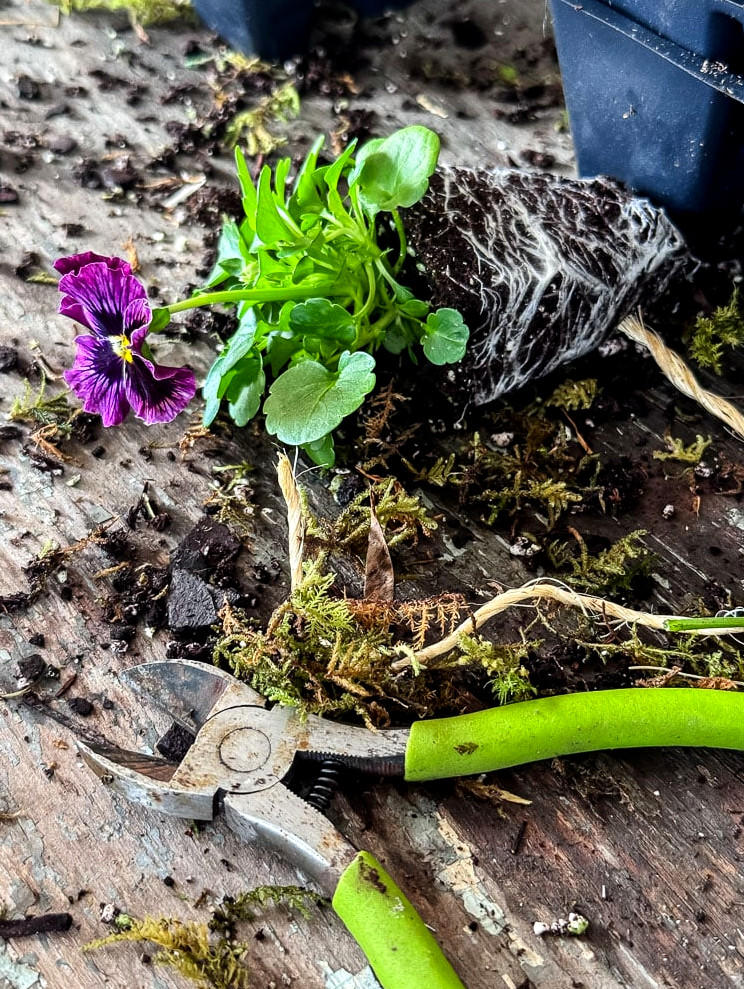
Living plants are another type of fresh material, such as a living pansy wreath in which the plants are rooted directly into the form and keep growing. These creations are completely different and well worth experimenting with if you’re looking for something that can remain outdoors throughout an entire season.
Dried Materials
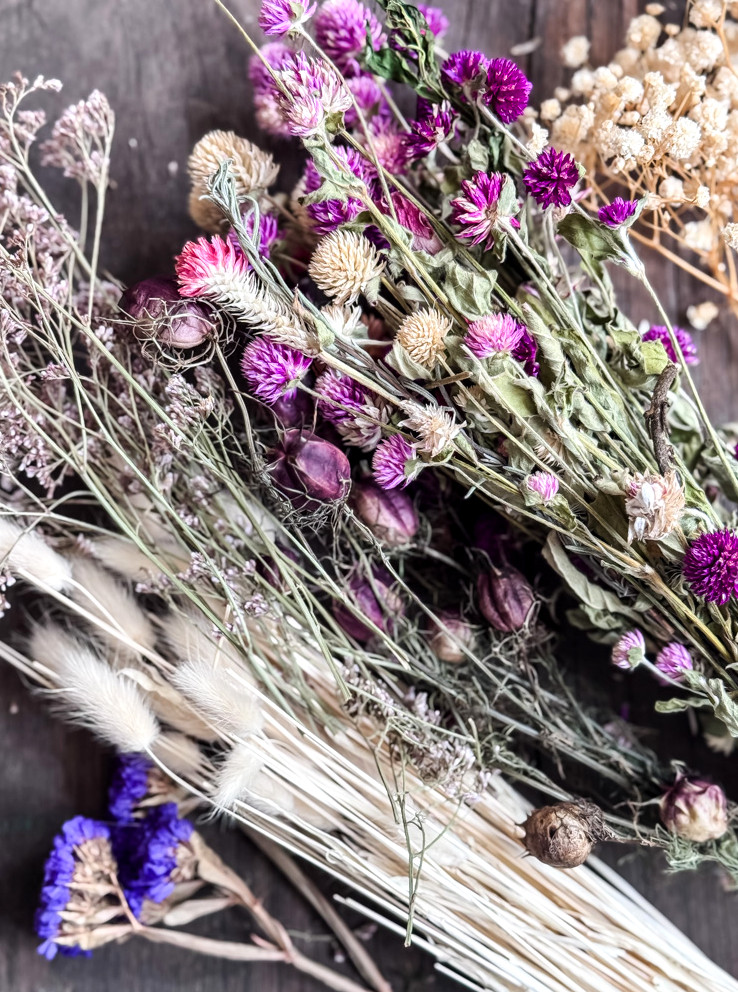
Dried botanicals are my favorite group and form the foundation of many wreaths I create. Their benefits are clear: they last a long time, they look beautiful, and when you grow them yourself, they’re practically free.
- Air-dried flowers and stems: lavender, statice, strawflowers, ammobium, grasses, and seed heads. Most dry wonderfully with very little effort (simply hang them upside down somewhere dry and wait).
- Purchased dried stems: these are available at craft shops, Trader Joe’s, and occasionally in the floral department of your neighborhood grocery store.
- Seed heads and pods: nigella, poppy pods, and lotus pods. They provide striking texture and remain usable for a very long time.
- Dried grasses and pampas: bunny tail grass, pampas, wheat, and oats. These bring motion and a gentle, lighthearted feel to a design.
- Dried citrus slices, cinnamon sticks, pinecones: these are more commonly considered “accents,” yet they’re essential elements in autumn and winter wreaths.
It’s worth noting that dried materials can be more delicate than faux options, and certain varieties may lose color over time, particularly when exposed to direct sunlight. That characteristic is part of their appeal, but it’s useful to keep in mind from the start.
Synthetic Materials
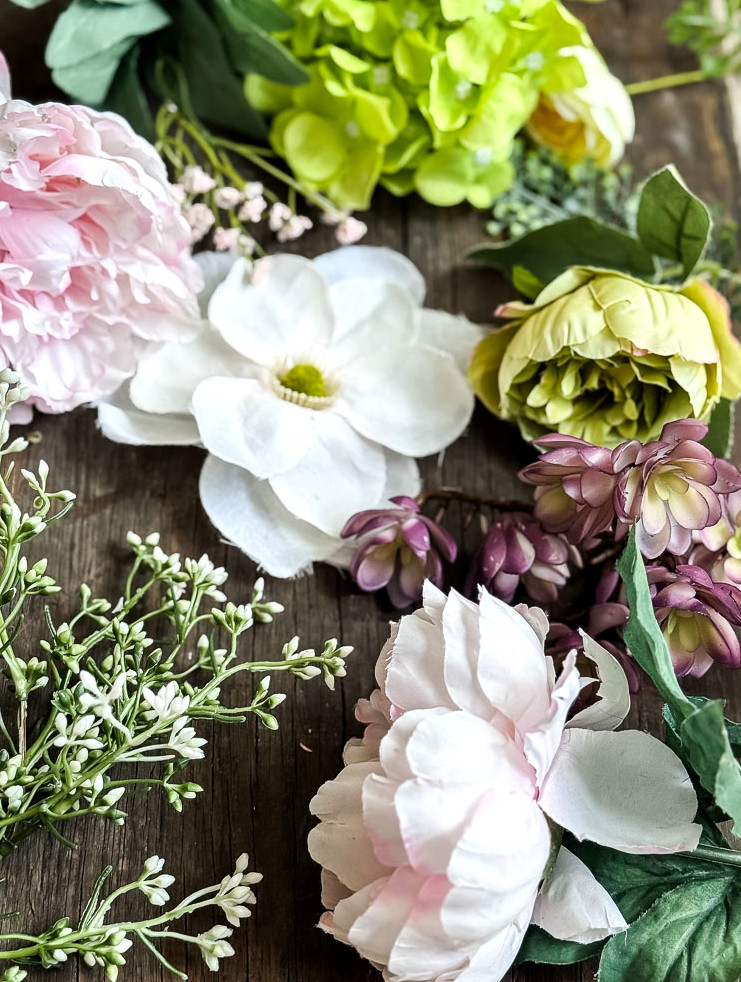
In certain circles, faux materials have developed an undeservedly poor reputation, but I think that judgment is somewhat harsh. Faux products vary greatly in quality, and the good ones can be remarkably convincing. The important thing is learning how to recognize quality.
As you assess faux stems, keep an eye out for:
- Natural-looking color variation: high-quality faux greenery features both lighter and deeper shades on the same leaf, much like genuine plants. When the color is completely flat from end to end, leave it behind.
- Adaptable stems: well-made faux stems contain wire, allowing you to curve and arrange them. Rigid plastic stems that resist bending generally indicate inferior quality.
- Surface detail: touch the leaves or petals with your fingers. Superior faux materials imitate the texture of the real thing, while inexpensive versions feel unnaturally smooth and plastic when viewed up close.
When is faux a sensible choice? Truthfully, in many circumstances. For an outdoor wreath exposed to sunlight and rain, faux materials endure conditions that dried pieces simply cannot. If you want to store a wreath and use it again each year, faux is an excellent option. For a large focal design that would require expensive quantities of dried materials, faux helps keep the project affordable. There’s also no reason not to combine faux with natural pieces. Using faux greenery for the foundation and adding real dried accents over it creates a practical and attractive result.
Part 3: Fastening & Construction
This is the topic people rarely discuss, yet it can have the greatest impact on how capable you feel when making wreaths. Knowing your tools, fastening methods, and the situations suited to each one is genuinely what separates a refined wreath from one that appears ready to come apart (I know this from personal experience).
Cutting Essentials: What to Have
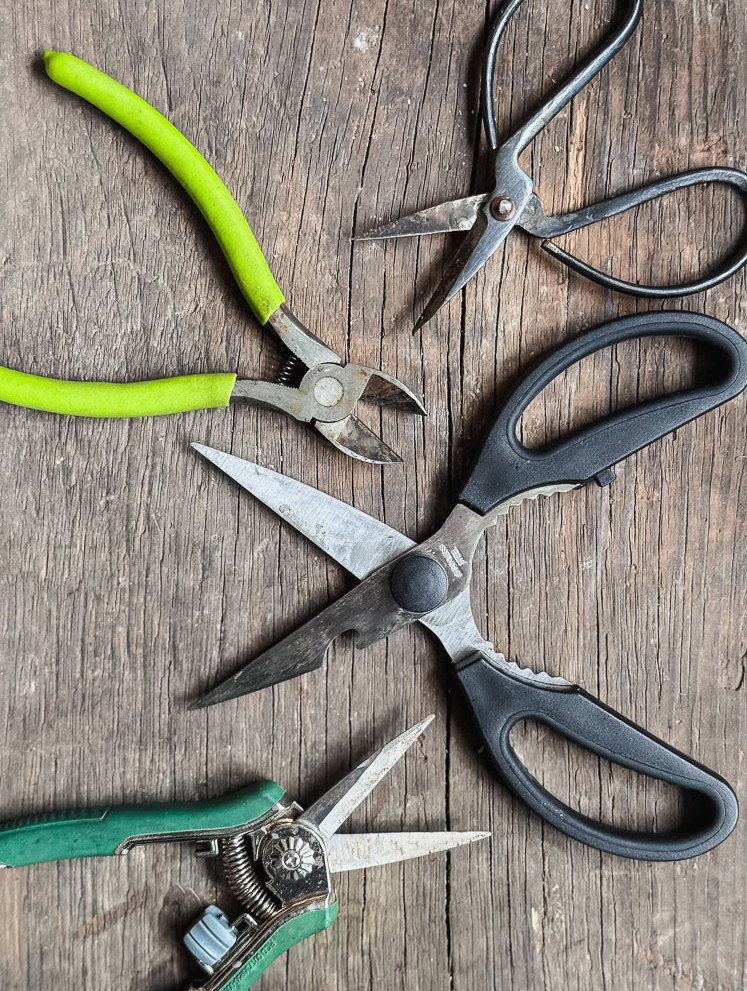
It may appear self-evident, but choosing the proper cutting instrument for each material truly matters — while the wrong tool can easily damage a pair of scissors.
- Scissors: Keep a separate pair specifically for floral and craft projects, apart from your fabric shears and certainly away from your kitchen scissors. Floral stems, wire-covered faux stems, and ribbon can quickly blunt a blade, so protect your good scissors.
- Floral snips: These compact, spring-operated cutters are made especially for trimming fresh and dried stems. They offer excellent precision and control, which is important when a stem must be cut to an exact length. If you regularly work with fresh or dried materials, investing in a quality pair is worthwhile.
- Wire cutters: These are indispensable for floral wire, faux stems containing thick wire, or metal floral picks. Avoid cutting wire with scissors — it can damage the blade, and the risk is not worthwhile. A simple pair of wire cutters from a hardware shop is more than adequate.
Hot-Melt Glue
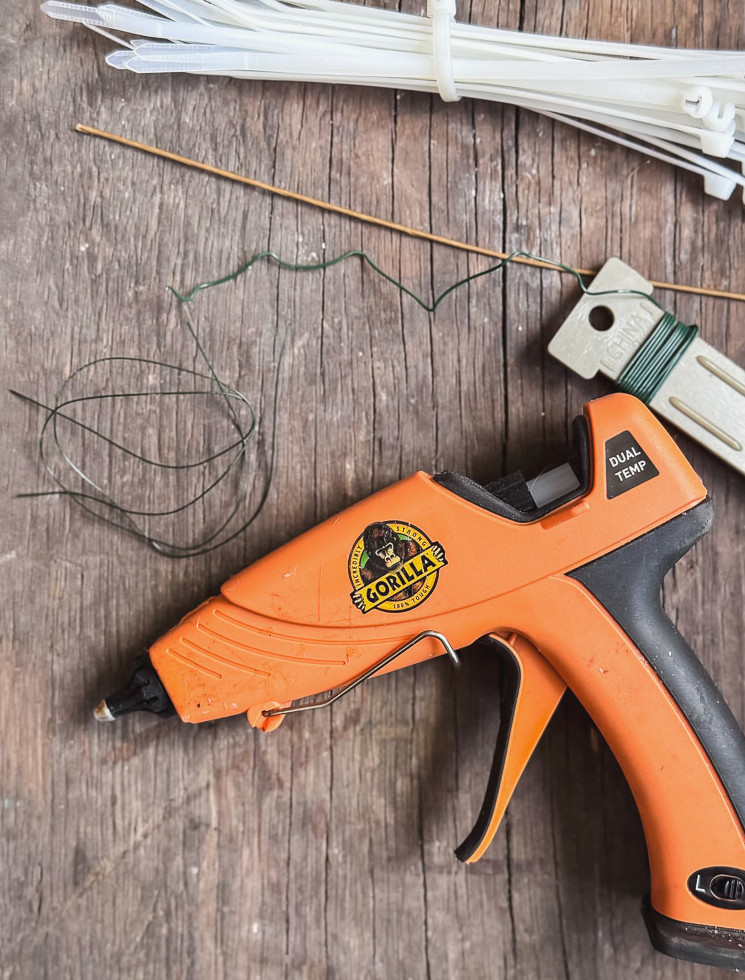
Hot glue is the champion of wreath making. It sets quickly, holds firmly, and adheres to nearly every surface. Here are a few points to remember:
- Temperature makes a difference. A low-temperature glue gun is kinder to fragile dried materials and greatly lowers the chance of burns. High-temperature glue creates a stronger bond and performs better with heavier materials and foam. Many crafters eventually keep both types.
- Glue strands are unavoidable. Those tiny, web-like threads that form while you work? They’re completely normal. Allow them to cool fully, then brush or pull them away. Removing them while they’re still warm only makes the mess worse.
- Handle small areas at a time. Hot glue hardens quickly! There isn’t much time to reposition anything after setting it down. Apply glue to a small section, position your material, press it in place for a few seconds, and continue.
I completely rely on my Gorilla hot glue gun & believe their glue sticks are the finest based on my crafting experience, offering far more strength than the other brands I’ve used throughout the years.
Floral Wire
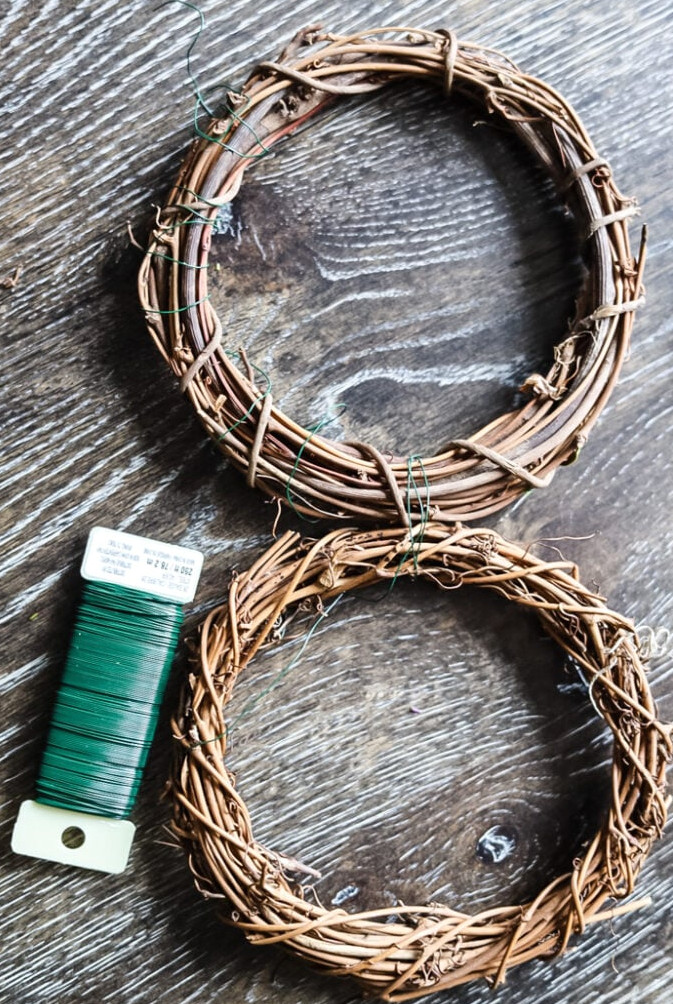
Floral wire helps secure items that glue cannot hold or that require added stability: stem clusters, weighty pieces, and anything being attached to a wire frame. It is available in various gauges, with the gauge numbers indicating its thickness:
- Smaller gauge number = thicker, sturdier wire (ideal for heavier materials or fastening bundles to a form)
- Larger gauge number = slimmer, more pliable wire (ideal for delicate projects, looping around small stems, or holding lightweight pieces in place)
Paddle wire (wire wound on a spool and unwound as you work) is especially handy for continuously fastening greenery bunches or dried stems to a form. Cut wire (individual pre-cut pieces, commonly packaged in a bundle) works best for securing separate elements.
Other Items You Might Encounter (Though I don’t generally use them)
Floral Tape
Floral tape is one of those supplies that seems fairly ordinary until you learn its purpose. It is a self-sealing, somewhat elastic tape that adheres to itself when wrapped—not to your fingers, not to other surfaces, but only to itself and stems. It helps bundle stems, lengthen wired stems, and form sturdier points of attachment.
The important thing with floral tape is to stretch it while wrapping. Simply pressing it into place will not make it adhere; you need to keep it pulled firmly as you work. After you get used to the technique, it becomes an extremely handy tool.
Floral Picks
Floral picks are short wooden or plastic rods with a slender wire wound around one end. They add a wired stem to objects without one, such as pinecones, ornaments, ribbon loops, dried citrus pieces, or anything that needs to be “picked” into a foam or straw form.
To use one, set the item on the upper end of the stick, then wind the wire around the pick and the item’s stem (or base) to hold everything securely. Next, press the pointed end of the pick into your form. It’s simple, yet highly practical.
U-Pins / Greening Pins
These are compact, U-shaped metal fasteners that resemble bobby pins but provide greater strength. Made for foam and straw forms, they let you anchor stems, moss, ribbon, or other flat materials directly into the surface. When using foam or straw, keeping a package of greening pins nearby is useful.
Zip Ties
This is the not-so-glamorous secret weapon. For securing a heavy object, attaching something intended for outdoor use, or holding something that hot glue simply cannot support, a zip tie does the job. Once tucked away, they are concealed and remain firmly in place. They’re worth remembering.
Part 4: Final Details & Hanging It Up
Your wreath is assembled, so now we’ll cover the finishing details that give it a polished appearance and help it stay securely on your door.
Moss
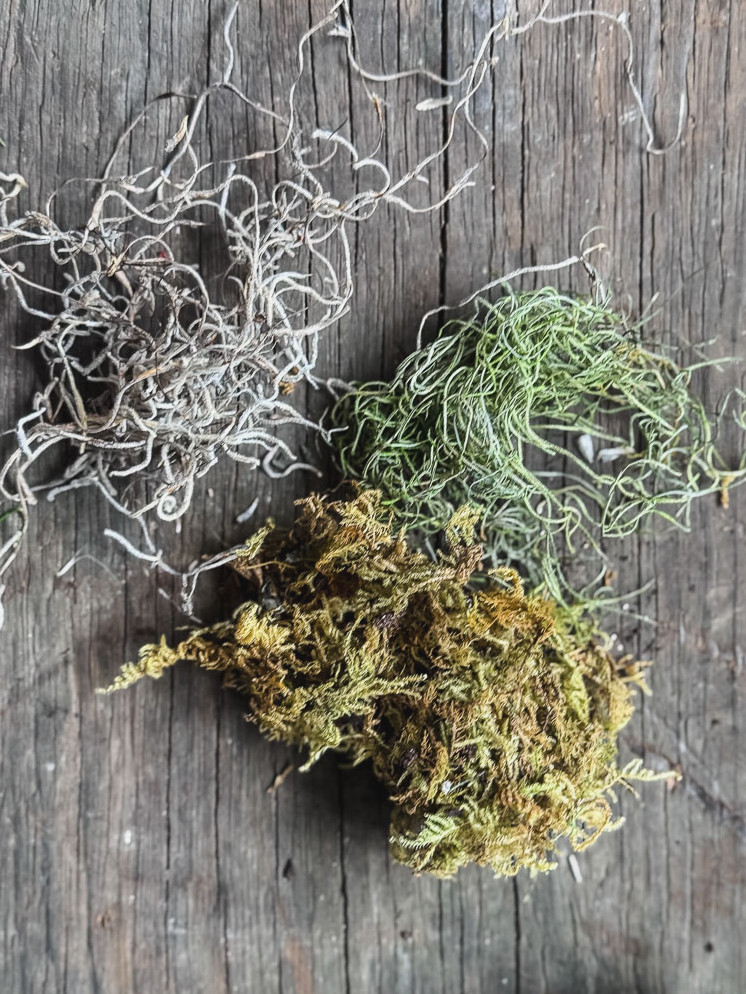
Spanish moss and preserved sheet moss are truly overlooked essentials for wreath making, and I’d say they deserve a place in every wreath maker’s collection. Their main purpose is to fill gaps. Whenever part of your base is visible and shouldn’t be, a bit of tucked-in or glued moss covers it right away. Moss also brings texture, dimension, and a beautiful natural feel to a completed wreath. I turn to it at some point during nearly every project.
With its soft, wispy, cascading appearance, Spanish moss is ideal for boho and nature-inspired designs. Preserved sheet moss has a thicker, more organized texture, making it excellent for neatly covering bigger sections. Both options are affordable, easy to find, and remain usable indefinitely. Pick up both and store them nearby- you’ll reach for them more often than you think.
Feathers
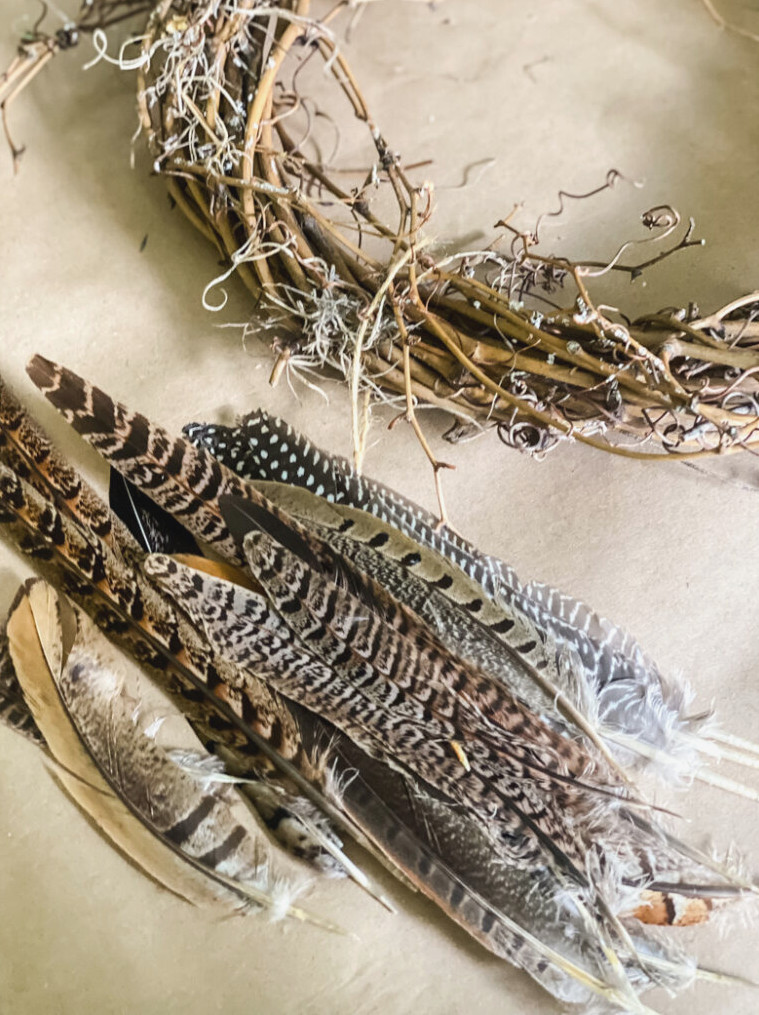
This may catch you off guard, but a bundle of feathers is among the easiest ways to give a wreath a truly designer-inspired appearance. Feathers have a texture and movement that feel deliberate and sophisticated in a way that’s difficult to explain! They instantly make a wreath seem more thoughtfully designed. Slip a few into a fall wreath, a boho dried display, or even a holiday arrangement and see the difference. They’re affordable, available in natural shades, and take roughly 30 seconds to attach. I strongly suggest keeping a bundle with your supplies.
Ribbon
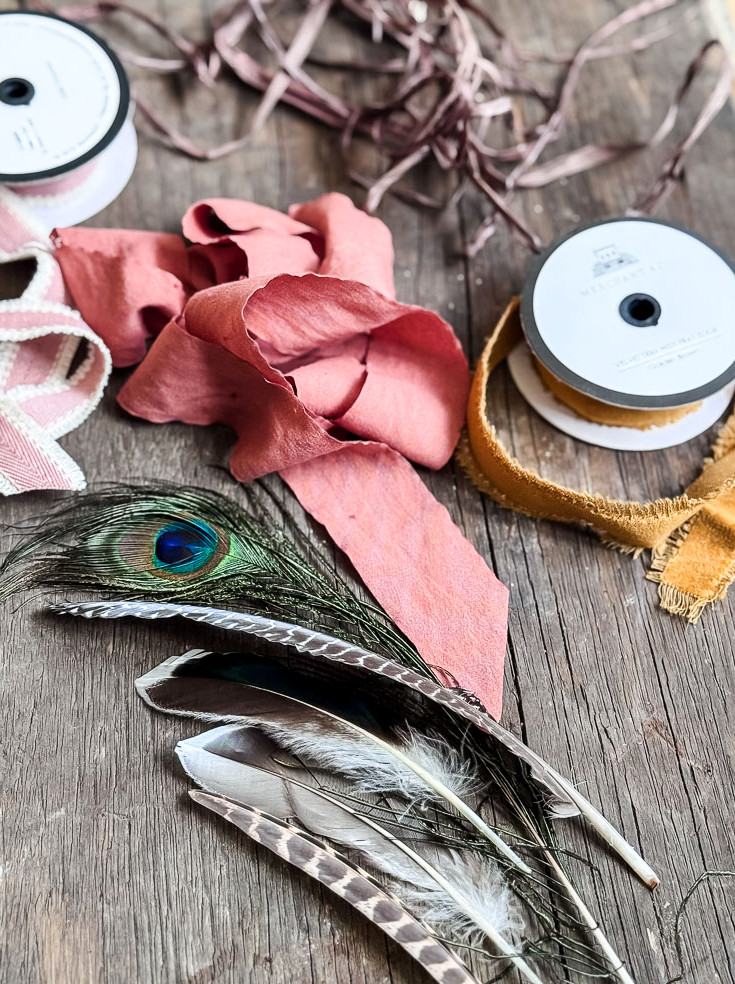
Ribbon is where you can give a wreath its personal touch, and your choice greatly affects how well it maintains its shape and how it appears in photos.
- Wired ribbon is the ideal choice for wreaths. Wire along both sides helps it retain its form. Bows remain full, and loops keep their shape. It also looks wonderful in photographs. Search for wired ribbon at fabric and craft shops; spending a little extra on good quality is worthwhile.
- Non-wired ribbon is suitable for basic loops or hanging straps, but bows tend to sag with time, particularly when used outdoors. Reserve it for indoor projects where durability is not as important.
- Burlap, linen, velvet, buffalo check: your ribbon’s texture can establish the overall character of the wreath. Burlap and linen feel relaxed and earthy; velvet looks refined; buffalo check has a traditional farmhouse appeal.
Featured Wreaths
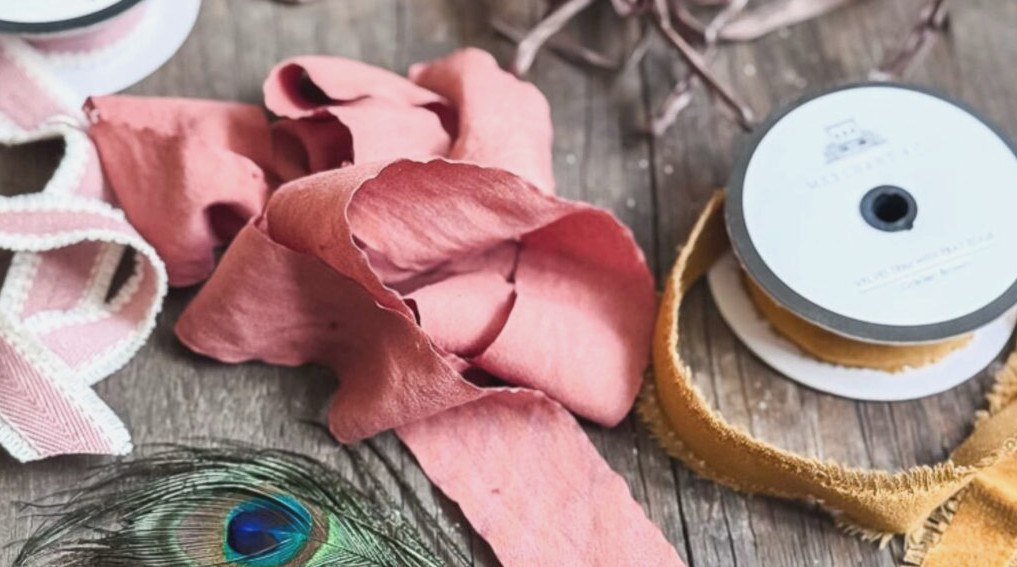
For a relaxed, contemporary-style bow on my wreaths, I especially enjoy using chiffon ribbon. Hobby Lobby is where I find the most affordable velvet ribbon available. I’ve incorporated their frayed-edge ribbon into countless projects on the blog, and when it’s discounted, a roll costs around $2!
Wreath Hangers
The right way to hang a wreath depends on the door you have and the wreath’s overall weight. The most popular choices include:
- Over-door wreath hooks: the easiest option. They rest over the top edge of the door and include a front hook for hanging the wreath. Various lengths are available for different door thicknesses and wreath dimensions. Suitable for most circumstances.
- Command strips / adhesive hooks: an excellent choice for indoor walls and doors when you prefer not to use a nail. Be sure to review the weight capacity. Most regular command hooks support approximately 5–7.5 lbs, enough for the majority of wreaths.
- Magnetic Hanger: This works especially well if your front door is metal. It can hold heavier wreaths firmly in place.
You’re Better Prepared Than You Realize
And may I share something with those of my friends who don’t think of themselves as crafty? Wreath making is honestly one of the easiest crafts to begin with. You don’t have to cut in a perfectly straight line, take exact measurements,no need to wait for anything to dry flat. You’re simply adding layers to a form until it looks right to you… and it nearly always turns out beautifully. If you’ve ever considered yourself not a DIY kind of person, I’d really encourage you to make this your first attempt.
Here’s what’s great about wreath making: from the supply aisle, it may seem more complex than it truly is once you sit down to create. You don’t have to own every tool or every type of form to begin. A grapevine wreath form, a hot glue gun, a few dried stems, and a spool of wired ribbon can take you surprisingly far.
This guide isn’t meant to persuade you to purchase every item listed; instead, it offers enough background to help you examine what you have and understand how to use it. Having that confidence is already half the challenge.
Ready to try it out? Browse through most of my wreaths to find the tutorials below, then simply click the ‘see them all’ button!
40+ imaginative
DIY Wreath
guides
Want to see your projects showcased! If this or any of my other DIY projects has inspired you, I’d be delighted to see your creations and feature you in the Reader’s Spotlight gallery. Email a photo to jennifer@cottageonbunkerhill.com
xo, Jennifer
my essential crafting picks
visit my amazon shop
Enjoy projects like this?Make sure you don’t miss anything! Become part of my newsletter familyfor more warm, affordable DIY inspiration sent straight to your inbox. You’ll receive special tips, first access to tutorials, and plenty of ideas to help your home feel personal, welcoming, and handmade.