Want a charming, seaside-inspired wreath that goes beyond the usual pile of seashells? This simple DIY mermaid wreath combines coastal appeal with understated sophistication—an ideal way to bring a touch of summer enchantment to your front door!
How to Create a Coastal Mermaid Wreath: A Step-by-Step Guide
Hoping to bring some coastal flair to your front door this Summer? This DIY mermaid wreath puts a fresh spin on classic beach-inspired decor. It’s refined, fashionable, and steers clear of an overly nautical appearance.Keep in mind that the exact mermaid I originally purchased from Hobby Lobby is no longer offered, but I’ve found several comparable options to help you achieve a similar style!
Although it appears detailed, this wreath is remarkably simple to assemble; it took me roughly 30 minutes, including the time needed to take photos throughout the process!
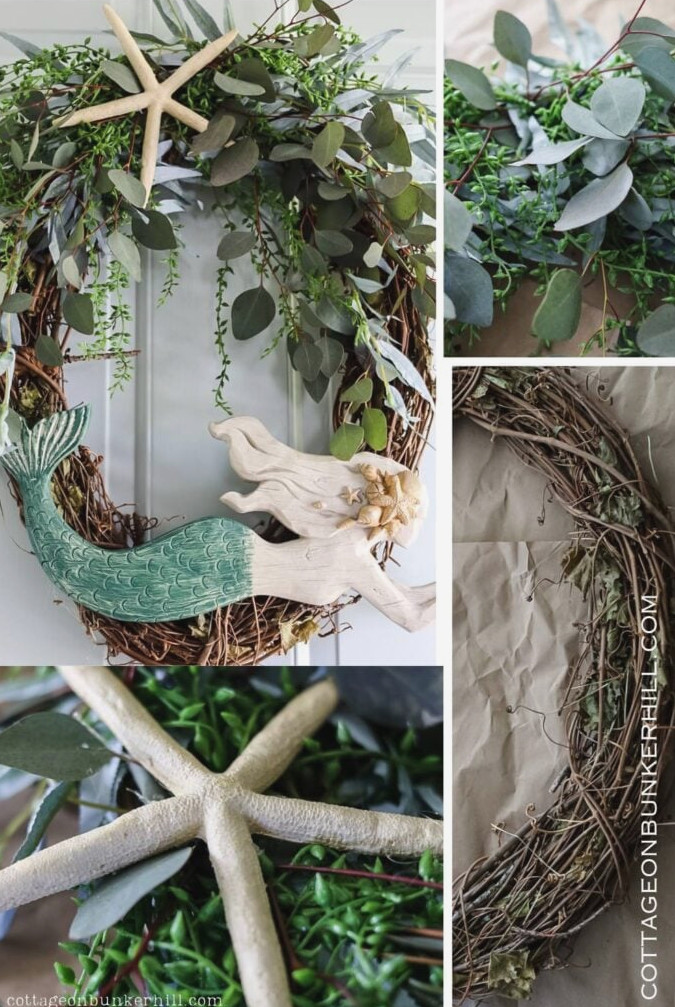
Supplies You’ll Need
Materials Needed for This Project
The specific mermaid from Hobby Lobby that I used is no longer available. Below are a few comparable options that should work well for your wreath:
For the greenery, choose trailing stems to achieve the same cascading appearance. I recommend using 3 varieties/textures. Here are a few greenery ideas:
Additional Supplies:
Mermaid Wreath: Instructions
Collect Your Materials
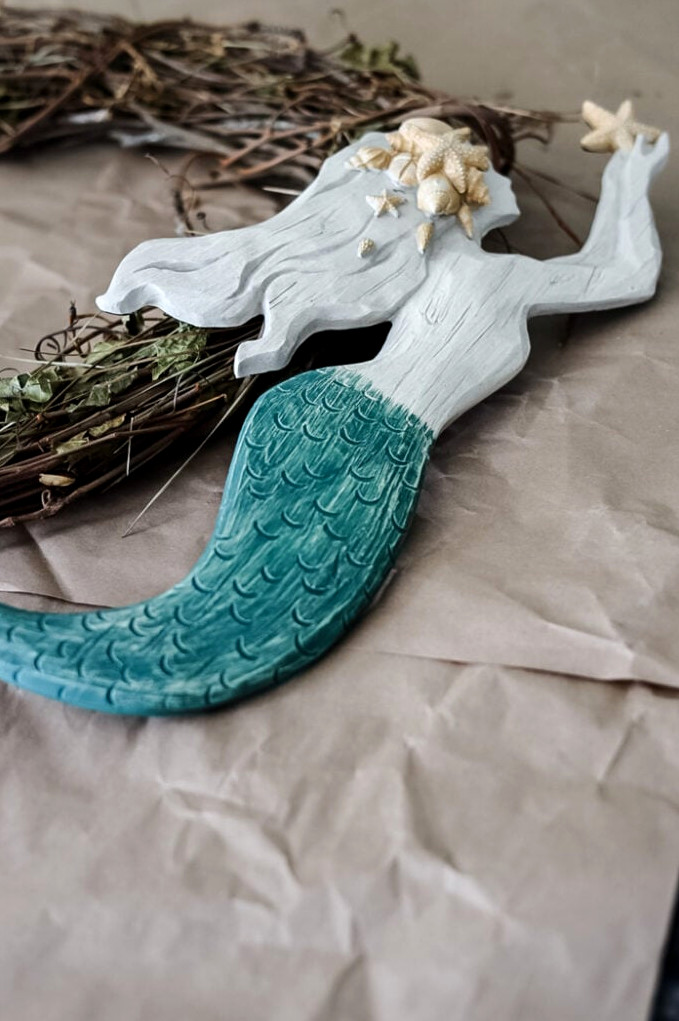
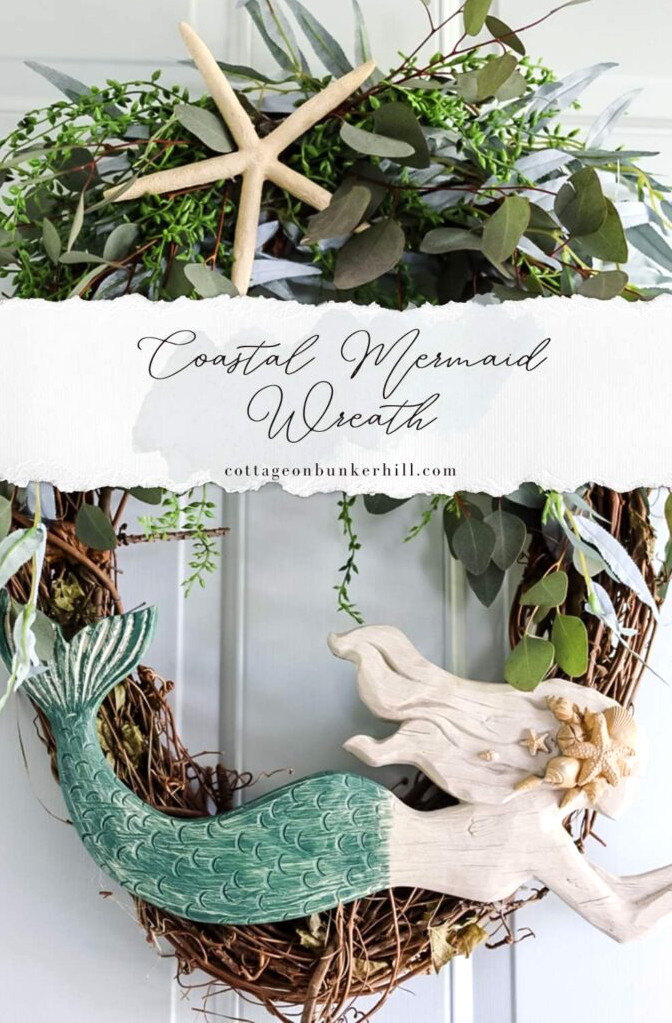
The centerpiece of this wreath is this beautiful mermaid! She’s an unusual selection for a Summer wreath, and I think it makes the project especially playful.
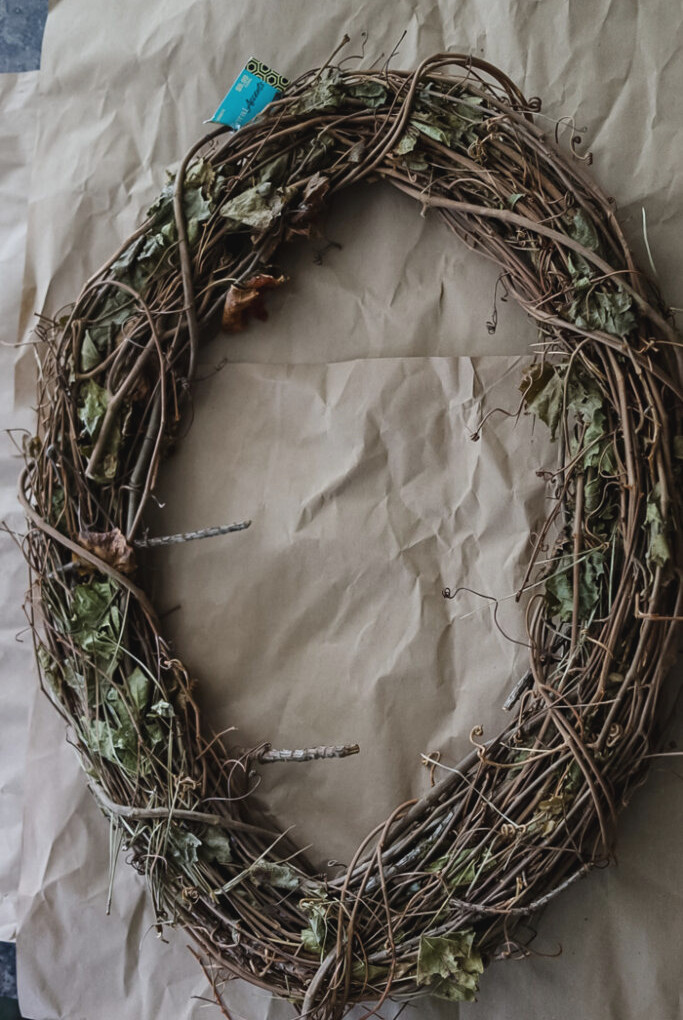
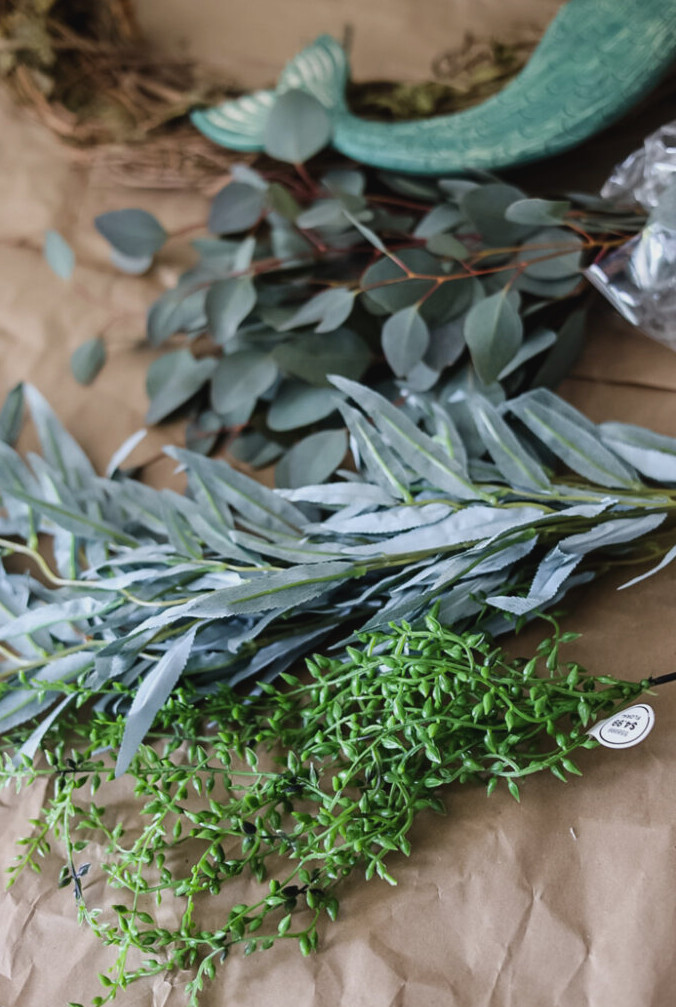
For this project, I selected an oval grapevine wreath. It creates an excellent foundation for the design while giving it a more distinctive shape than a standard circular wreath.
To bring out the seaside feeling, I picked greenery in several different textures: a small succulent spray, blue-toned willow branches, and fresh eucalyptus. Eucalyptus has a blue-green shade that works wonderfully with a coastal theme at home; it resembles the color of the sea…at least it does here in New England.
Artificial eucalyptus is certainly an option if that’s your preference, though I enjoy the organic feel and fragrance of fresh greenery. Helpful tip: Trader Joe’s frequently sells eucalyptus for only $3.99 per bunch. I always pick some up when I’m there buying flowers!
Step 1: Attach the Mermaid to the Wreath Base
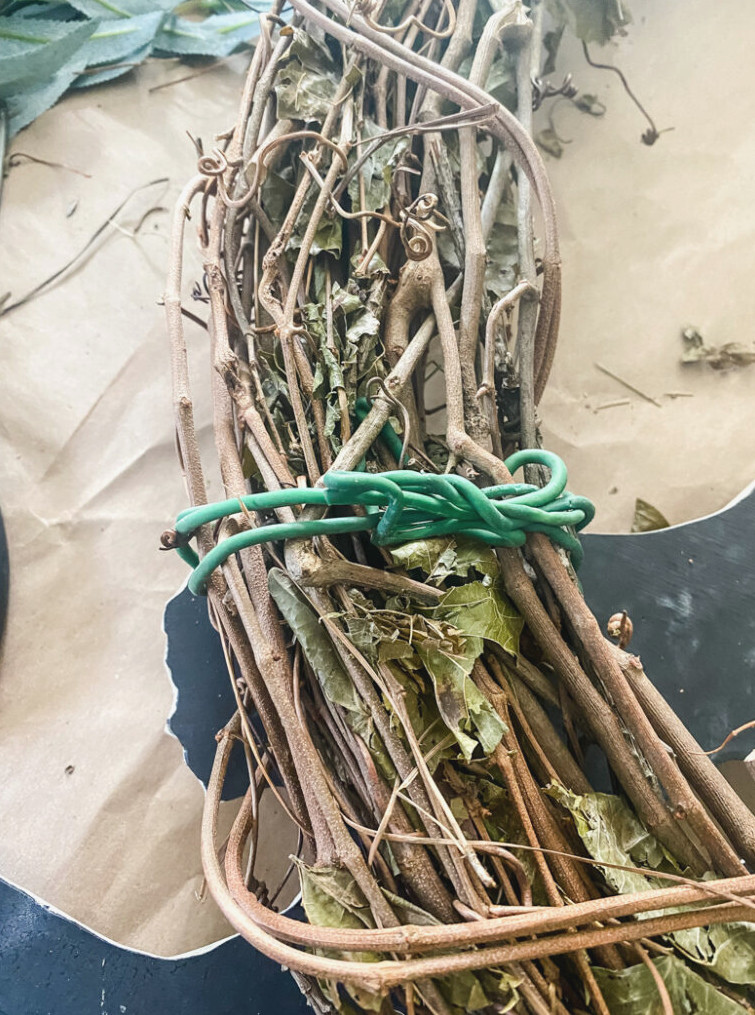
Because my resin mermaid is fairly heavy, she requires a more secure fastening than floral wire alone can offer. Fortunately, hertwo sawtooth hangerson the back make securing her simple! Here’s how to attach herwithoutrisking a tumble in the middle of summer:
Supplies Needed:
- Coated garden wire/or heavy-duty floral wire(what I used—it blends into the wreath!)
- OR picture-hanging wire
- Wire cutters(to make a neat cut)
(just as sturdy and readily available)
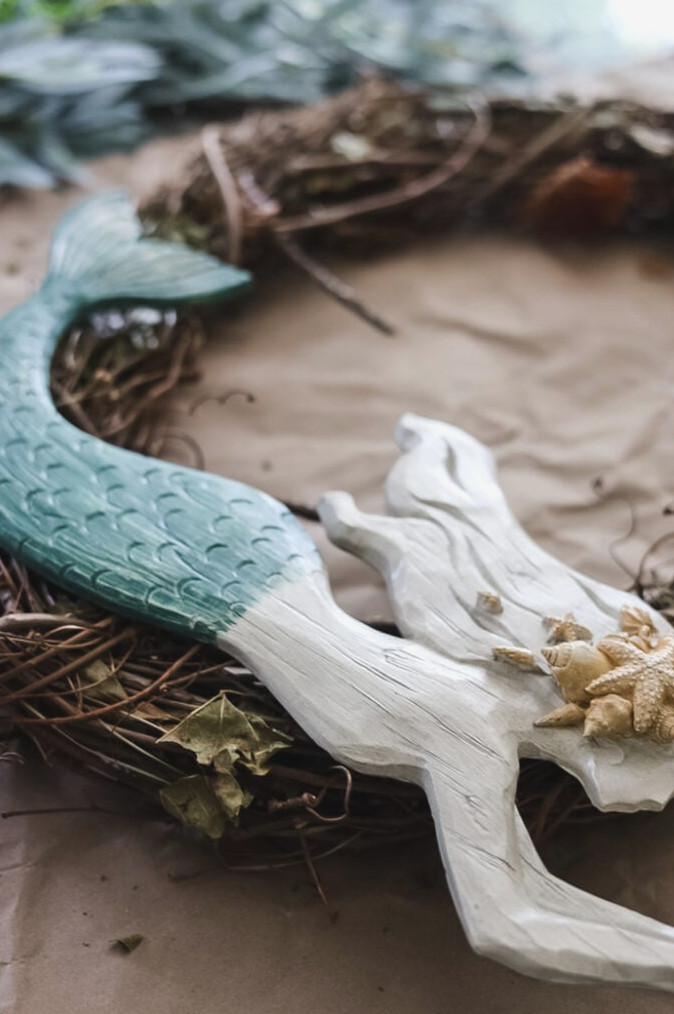
How to Secure It:
- Run the wirethrough the mermaid’s sawtooth hangers, then wrap it around the thickest vines of the grapevine wreath (place it near the 10 and 2 o’clock points to balance the weight).
- Tighten itand twist the wire ends together on thebackof the wreath—this keeps everything tidy and concealed.
- Give it a tug!Gently shake the mermaid to confirm she’s firmly attached.
For additional stability, I applied a small amount of hot glue where the mermaid meets the wreath. This keeps her steady and stops her from shifting.
Last Step: Attach the Starfish (The Coastal Finishing Touch!)
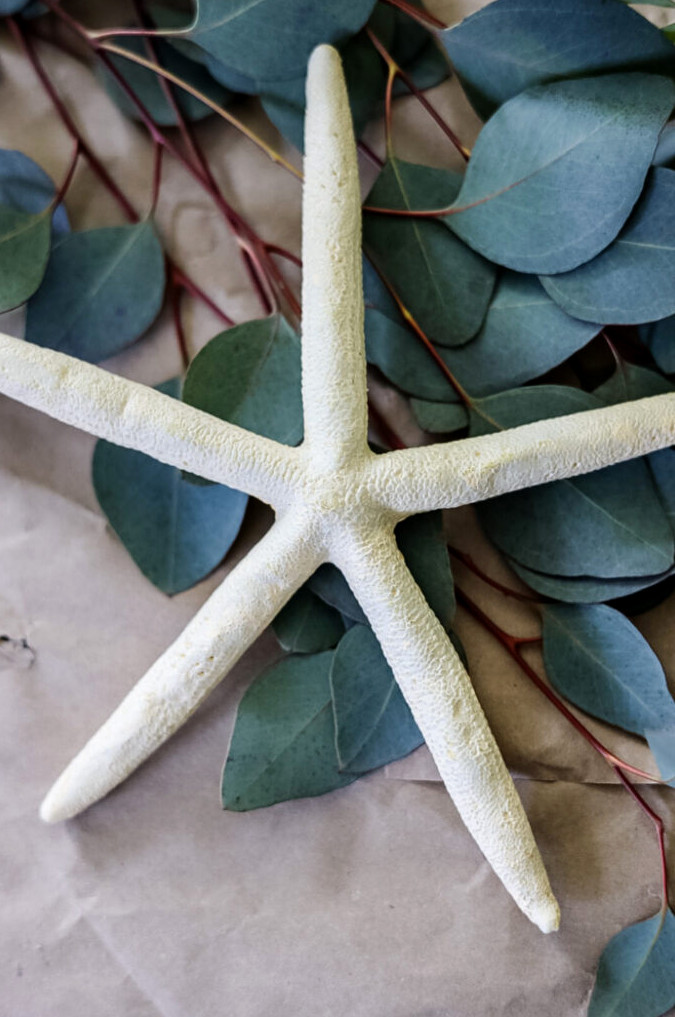
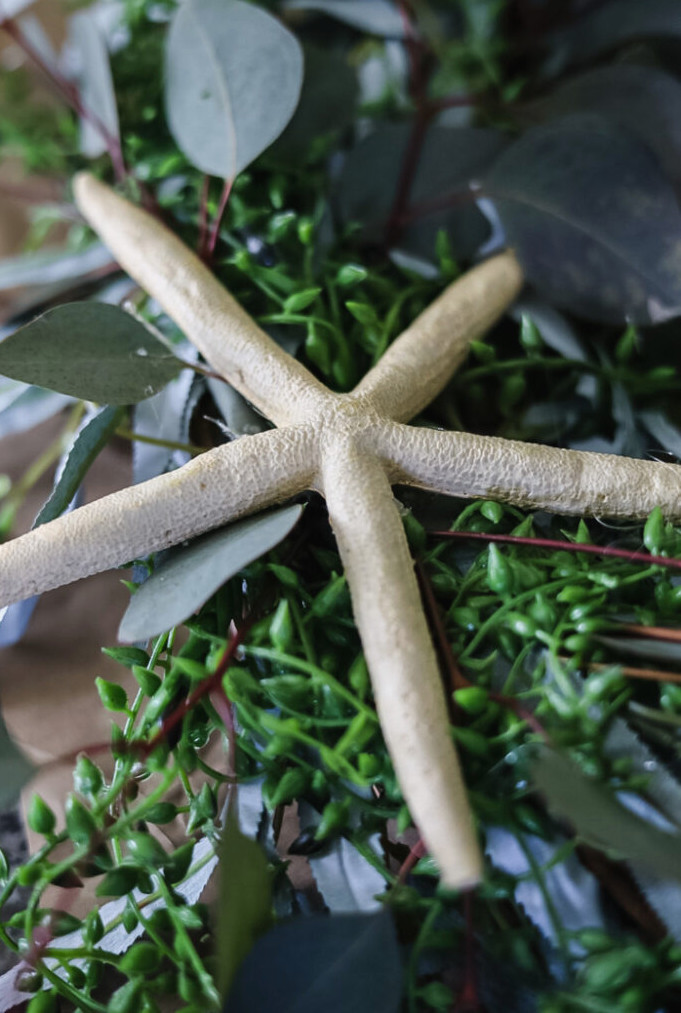
This large white starfishmakes an ideal final detail—it suggests the seaside without making your wreath look like a “tiki bar.” However, be warned:this piece required agenerous amountof hot glueto remain secure among the greenery!
The Best Way to Attach It:
- The “Learn From My Mistake” Approach:
- Next time, I would attach the starfishstraight onto the wreath base first,and thenarrange the greenery around it. (Simpler & more secure)
- Hold it against the grapevine for 30 seconds as the glue hardens.
- If You Prefer to Add It Last (Like I Did):
- Apply plenty of glue to the back of the starfish (focus on the center!), then press it firmly into the greenery.
- Keep holding it for a full minute—don’t give in to the temptation to check!
Expert Tips for a Polished Look:
- Is it too heavy?Strengthen it with a concealed floral wire loop.
- Looking for texture?Spread glue along the edges and dust withfine sandto create a weathered beach finish.
The Grand Reveal: Your Enchanting Mermaid Wreath is Finished!
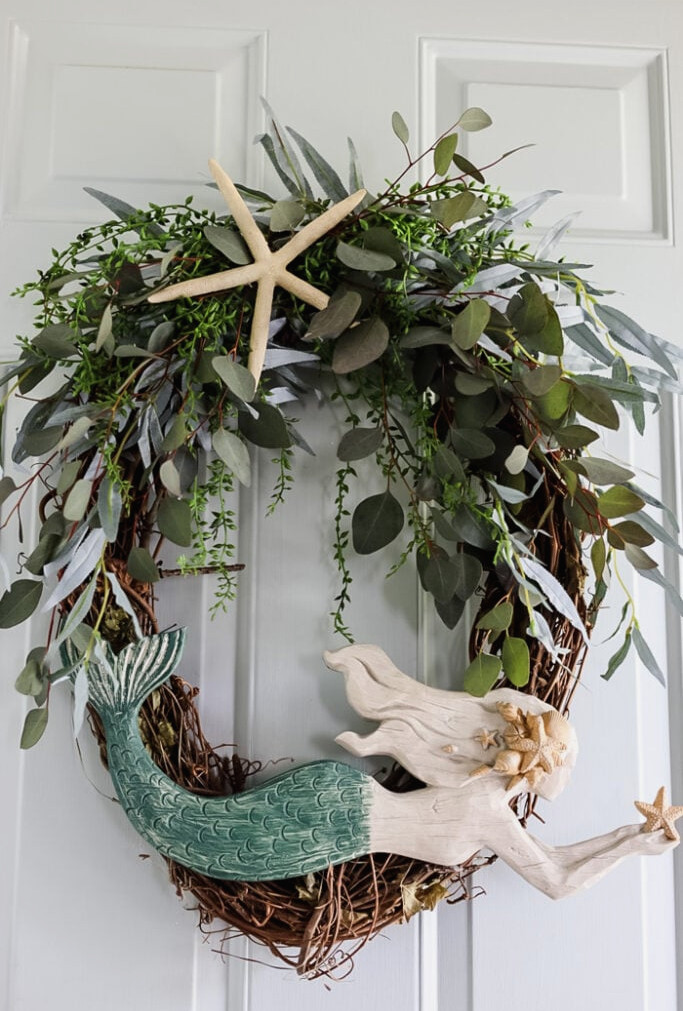
Ta-da! Isn’t she stunning?This playful mermaid wreath adds the ideal touch of seaside charm to your front door—no ocean necessary! Whether you’re refreshing yourhome, beach cottage, or apartment balcony, this handmade beauty is bound to attract attention all summer.
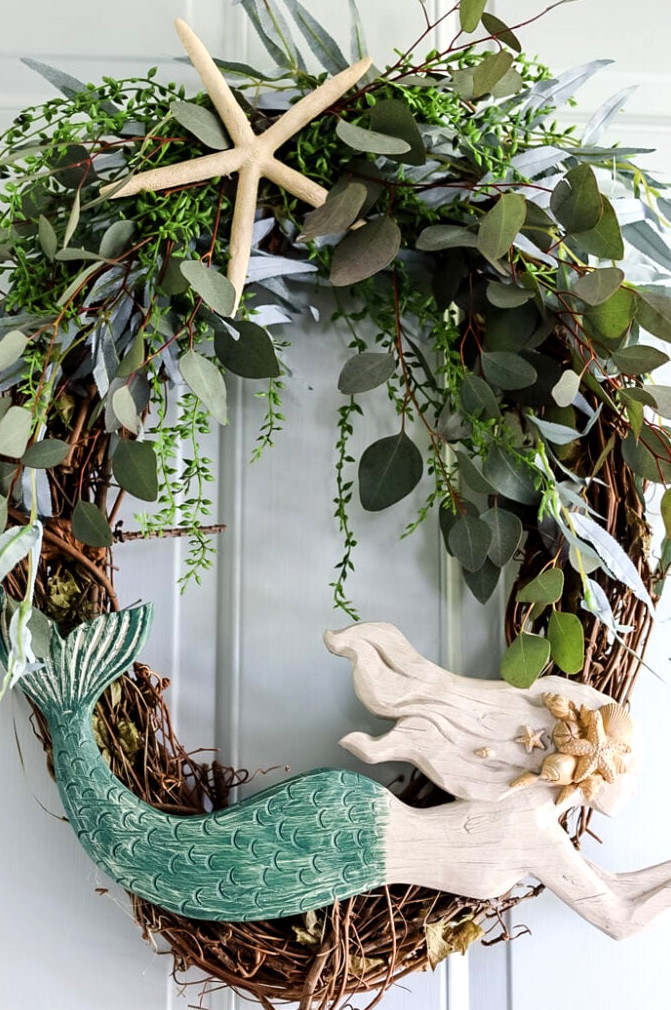
Reasons You’ll Adore It:
Simple to Create– Honestly, if I managed it (while photographing every step!), you can too.
Easy on the Wallet– Much less expensive than ready-made wreaths (and twice as distinctive!).
Instant Summer Spirit– Even when you’re far from the shoreline, this wreath carries the beach toyou.
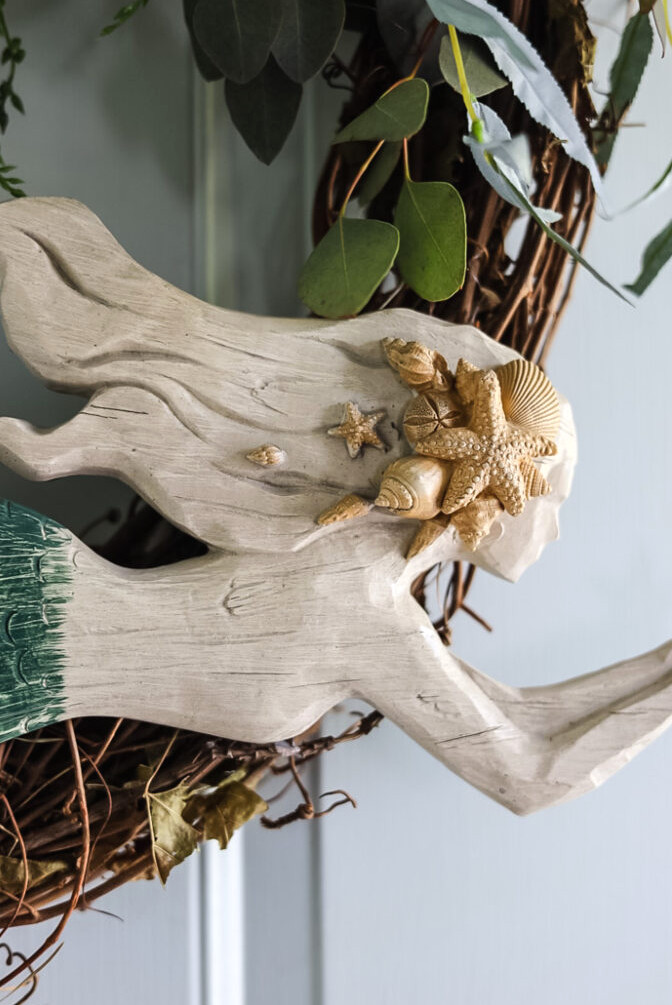
A Quick Encouragement for Beginners:
I understand!! Creating a wreath can feel overwhelming, butthis makes an excellent first project!There’s no need for special skills—only hot glue and a touch of imagination. And there’s something incredibly rewarding about displaying a piece you createdyourself.
Why not give it a go?Once you do, send me a picture so I can celebrate your project with you. I’d be delighted to see it and feature you in the Reader’s Spotlight gallery. You can email your photo to jennifer@cottageonbunkerhill.com
Enjoy Creating!
hugs, Jennifer
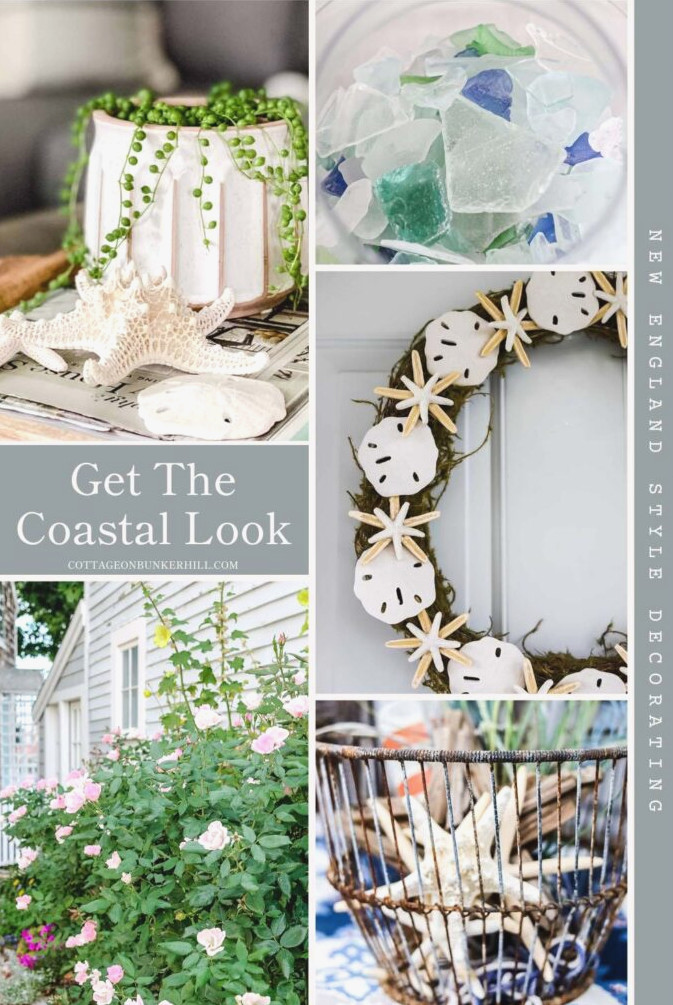
Achieve the New England Seaside Style
Discover my favorite suggestions!
hugs, Jennifer
Additional Wreath Inspiration
SAVE FOR LATER
Supplies
- 24″ Oval Grapevine Wreath
- Mermaid Wall Plaque
- (2) Green Water Drop Picks
- Weeping Willow Pick
- Fresh Eucalyptus (artificial may be substituted)
- Floral Wire
- Hot Glue Gun
- White Finger Starfish
Directions
- Secure the mermaid along the wreath’s bottom with sturdy wire
- Beginning at the upper-left corner, arrange 3 varieties of greenery across the wreath in an asymmetrical design.
- Use hot glue to fasten a large starfish in the upper-left corner.