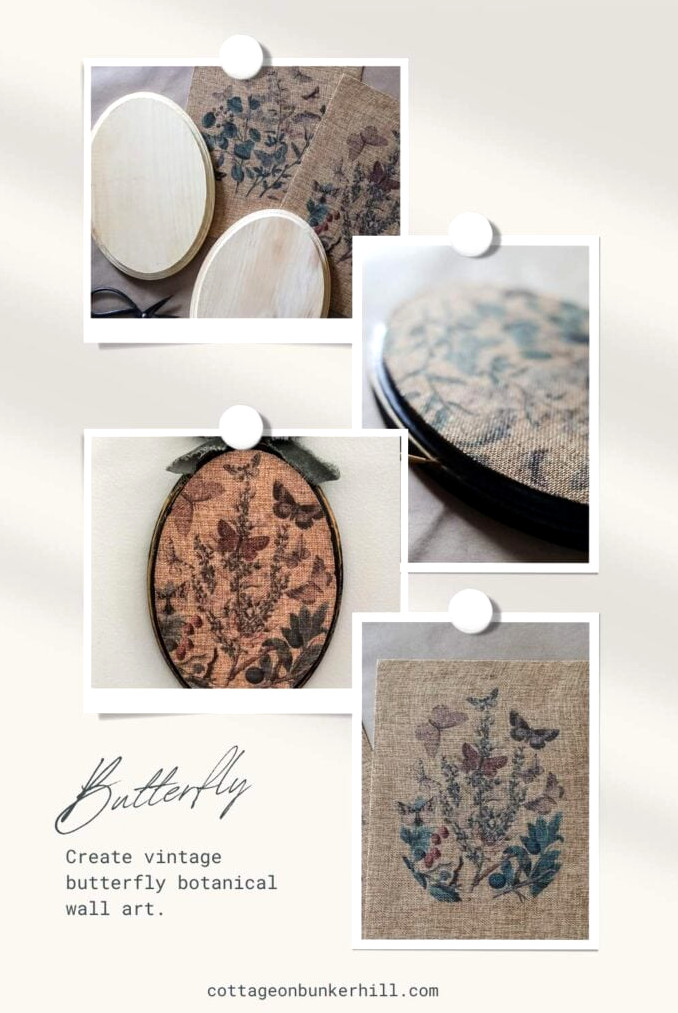
Want to bring a little vintage character and organic elegance into your home? This simple, budget-friendly DIY is just what you need! In this tutorial, I’ll demonstrate how to turn plain oval wooden plaques into gorgeous vintage butterfly botanical wall decorations. It’s an excellent way to give your walls a distinctive, customized look without spending much!
Supplies You’ll Need
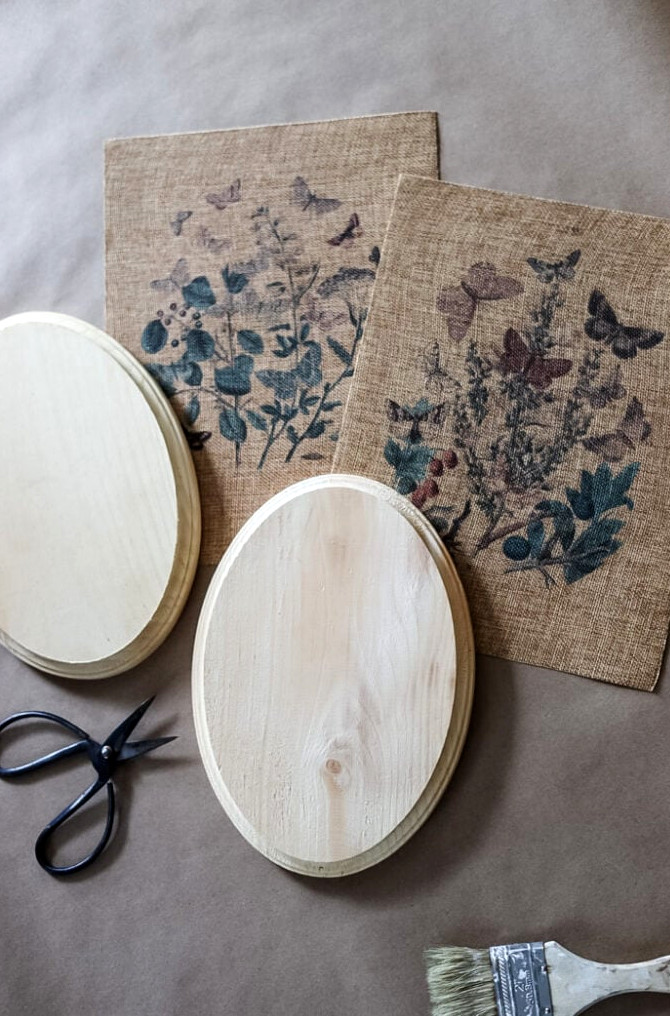
Supplies for This Project
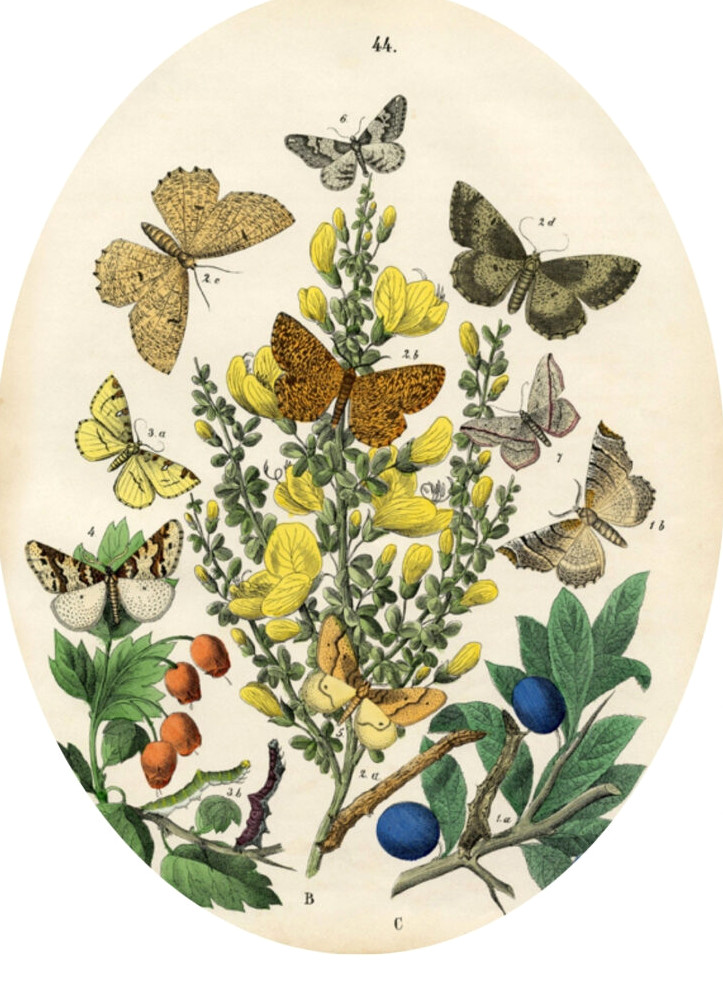
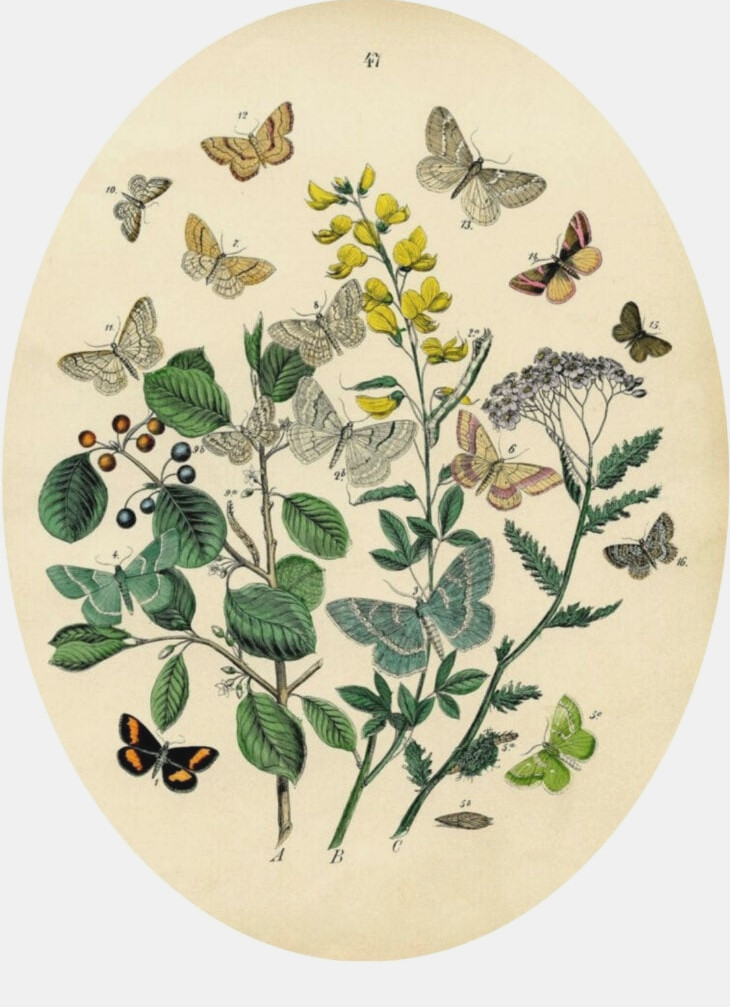
For this craft, I’ve prepared a collection of 5×7 oval printables. To create a timeworn appearance for my plaques, I’ll be using burlap printer sheets.
You can also choose standard cardstock printer sheets, since the designs already feature a weathered appearance.
Instructions from Start to Finish
Creating these butterfly plaques only involves a handful of steps. Begin by painting the unfinished wooden plaques. As the paint dries, print the butterfly botanical designs. After the plaques have dried, trim the oval images and attach them to the frames.
Give Your Plaques a Coat of Paint
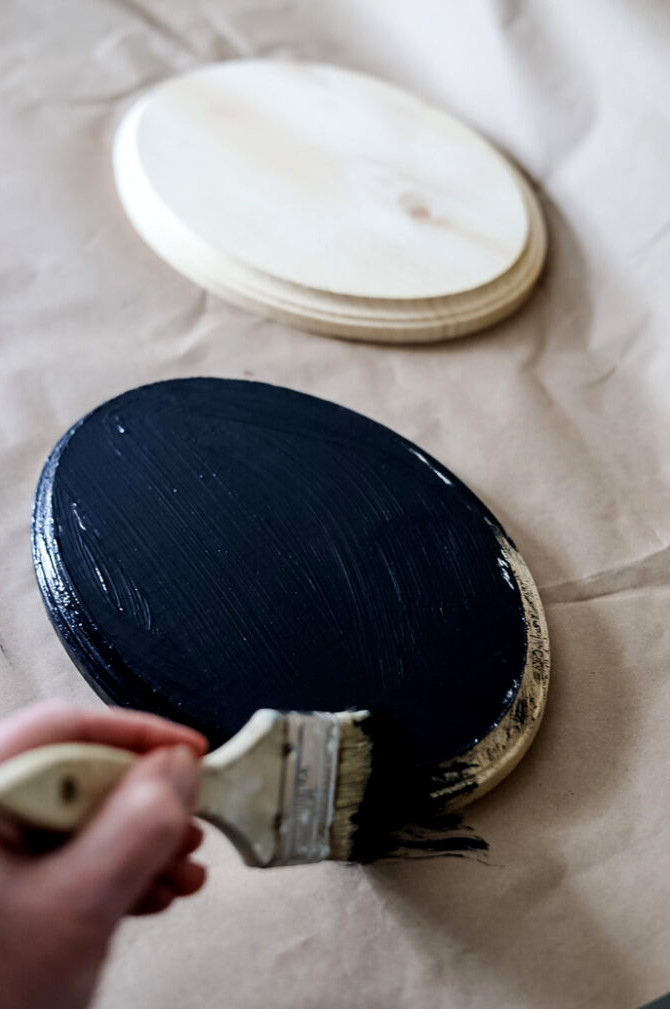
Because I wanted this wall decor to have an old-fashioned feel, I painted the unfinished wooden plaques with black satin acrylic craft paint.
Get the Butterfly Prints Ready: Print & Trim
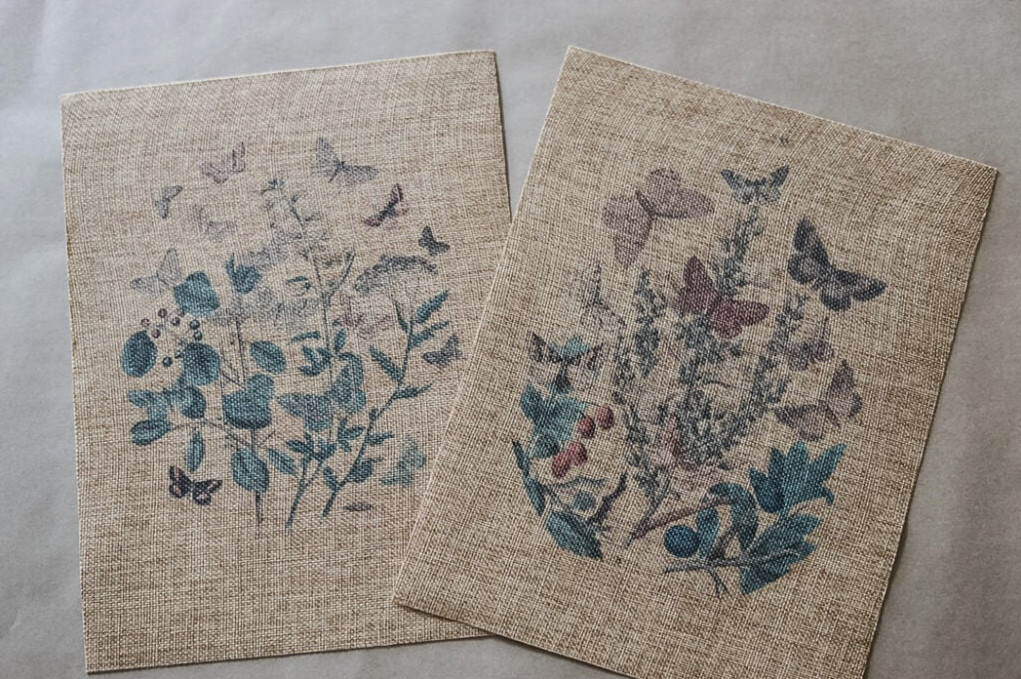
I designed two butterfly botanical printables that fit 5×7 oval plaques. Print the designs on ordinary printer sheets, choosing either burlap paper or cardstock based on the finish you prefer.
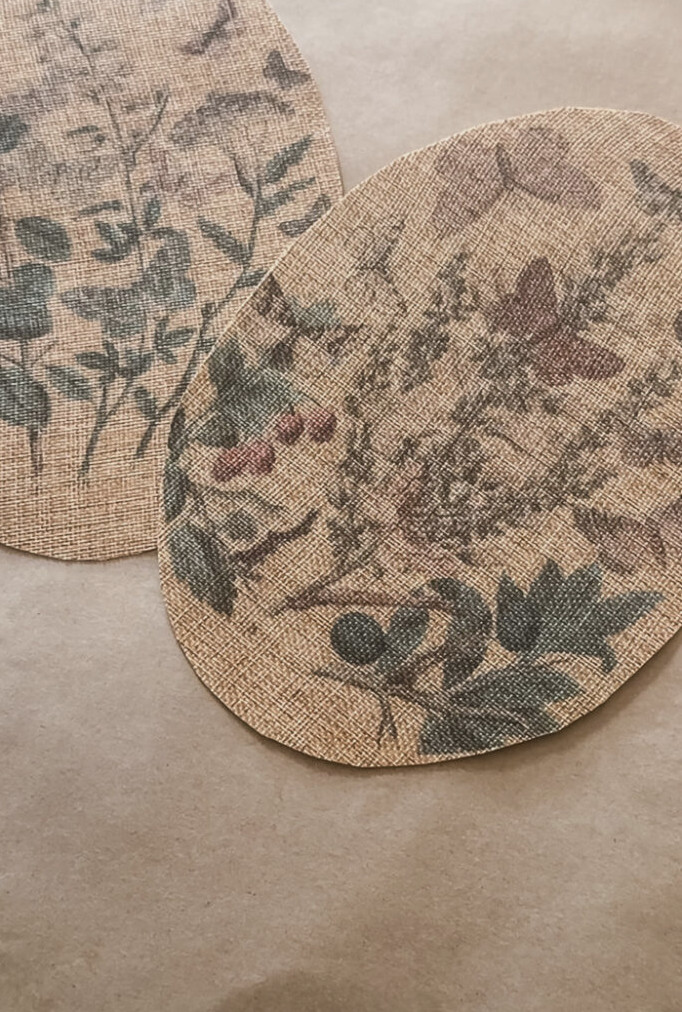
After printing the sheets, trim away the extra paper so that each design becomes oval-shaped.
I used one of the wooden plaques as a pattern. Place the plaque on top of the print, then trace around its edge with a pen.
Next, follow the traced line to cut out the ovals. If you’re working with a beveled plaque like mine, the pieces will be a little oversized, but we’ll correct that later in the process.
Brush on Mod Podge & Secure the Prints
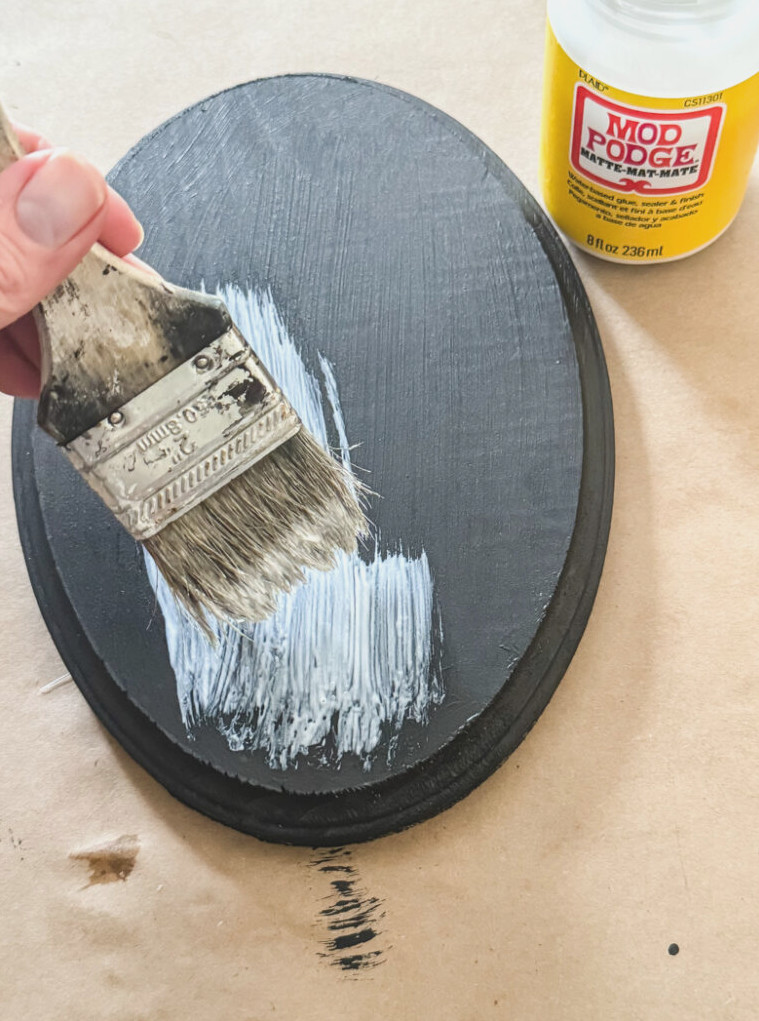
To attachthe printouts to the plaques, apply Mod Podge. Just brush a layer of Mod Podge across the plaque’s surface.
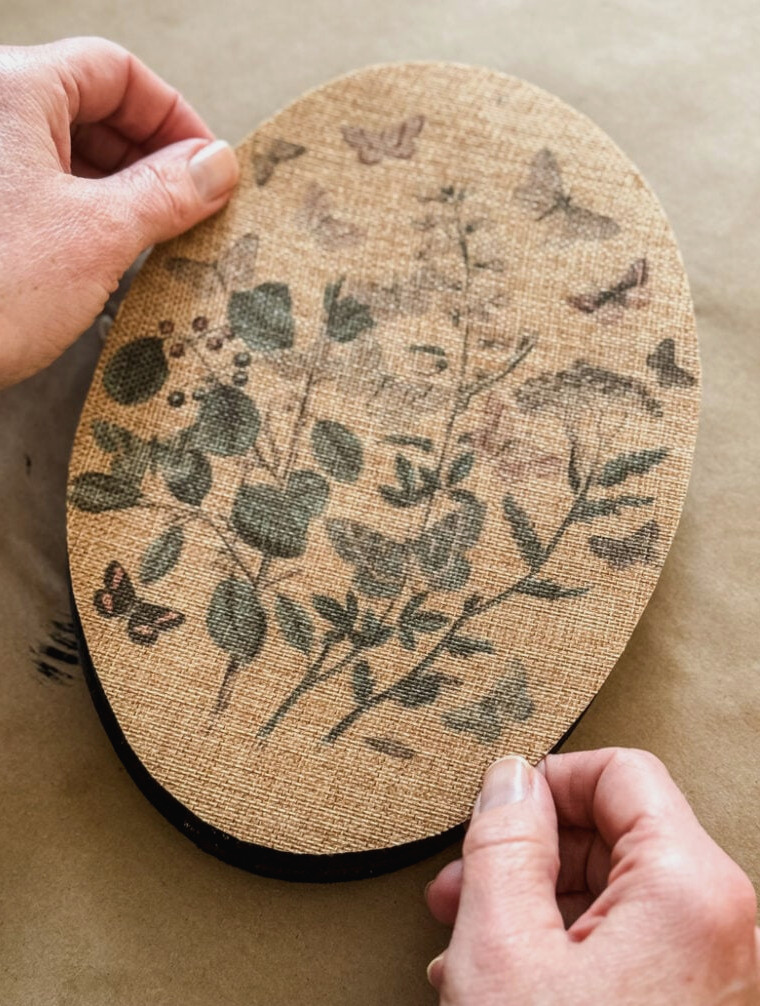
Carefully position the butterfly print over the frame, taking your time to ensure it remains straight.
Press the print softly onto the plaque, then smooth it with your hand. Be certain that no air bubbles remain.
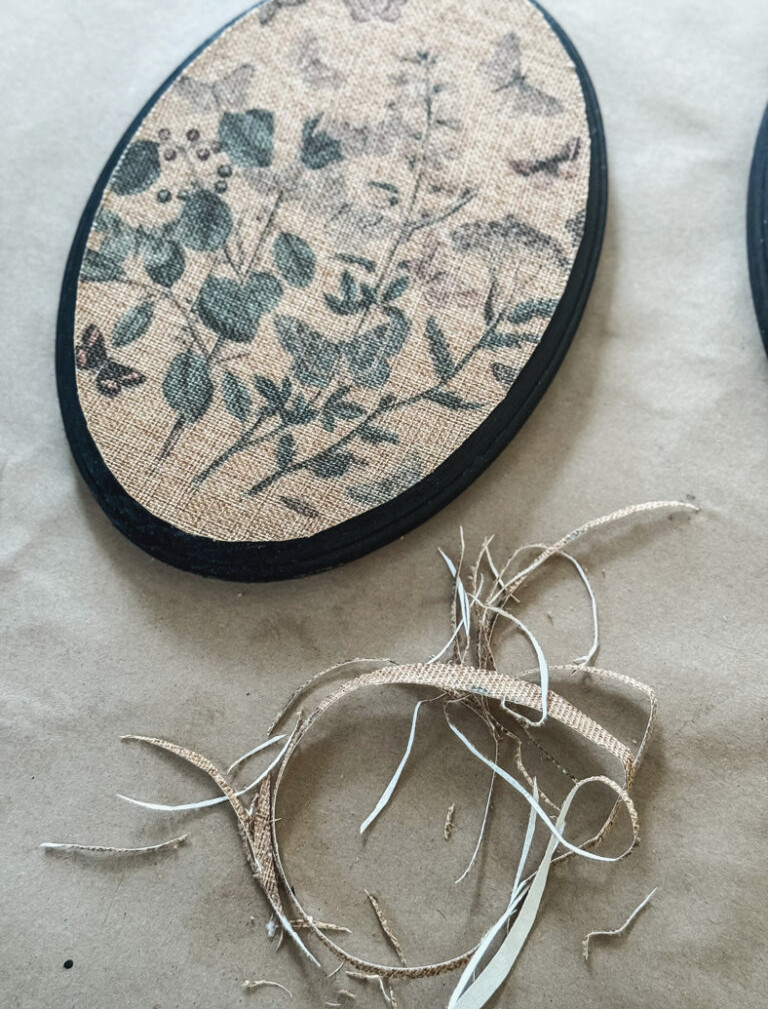
When working with a beveled frame like mine, you may find that the print is a little too large for the plaque’s narrower beveled area.
To remedy this, use a pair of sharp scissors and carefully cut away the excess, following the bevel’s edge as your guide. I angled my scissors slightly so I could trim as closely as possible.
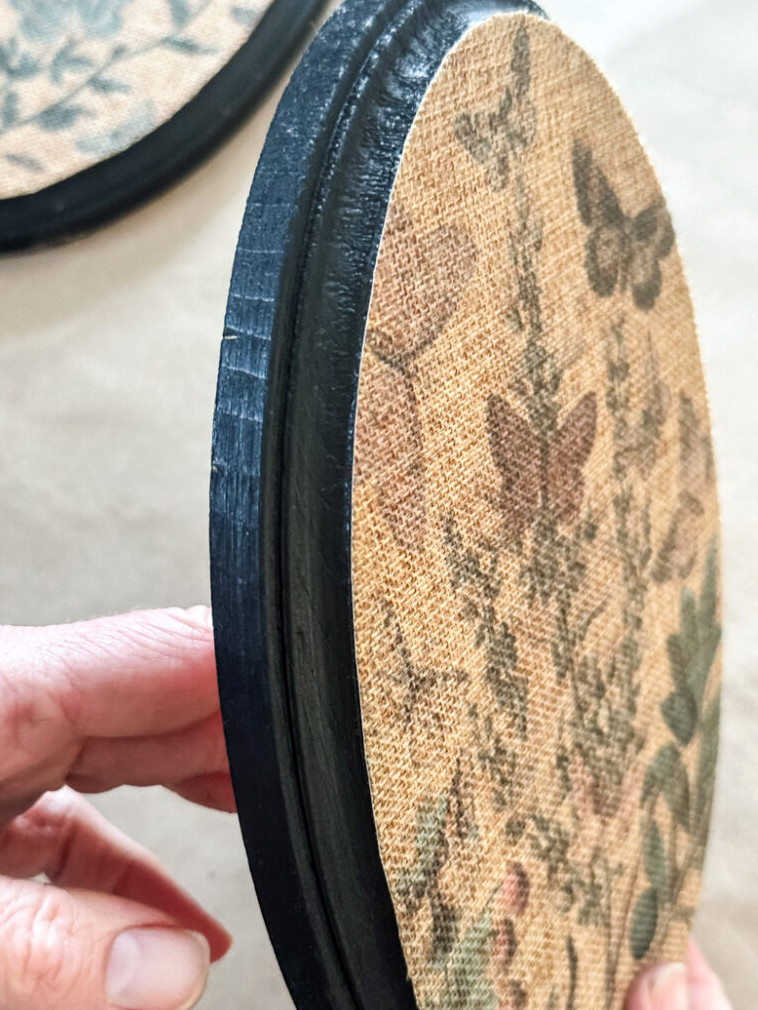
Don’t stress—it’s quite easy! As a left-handed person, I’m known for making crooked cuts, yet mine turned out beautifully.
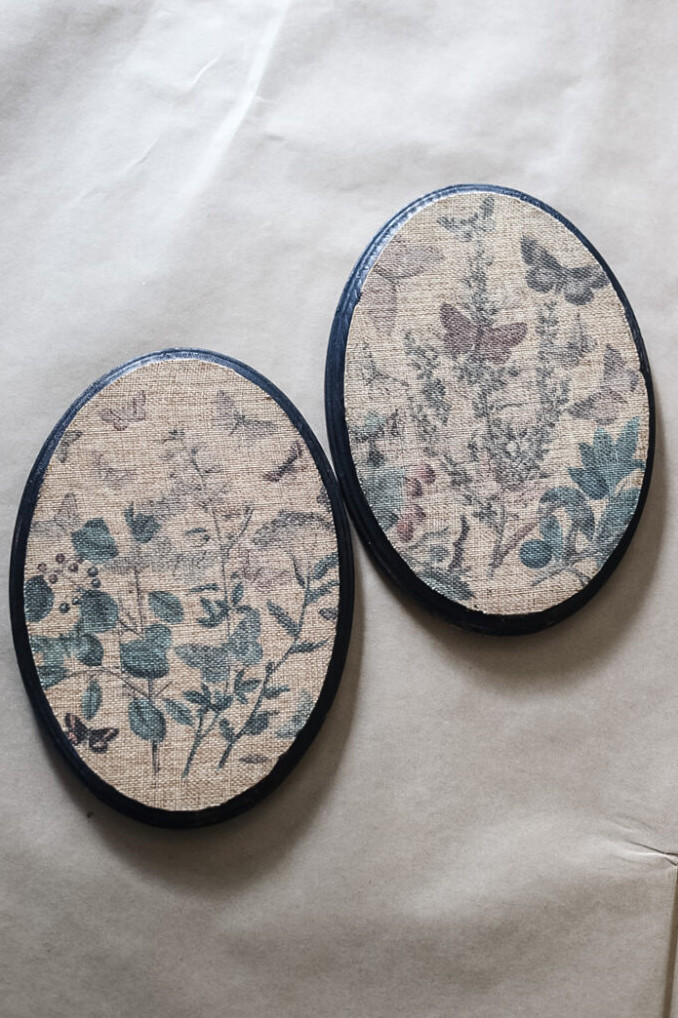
At this stage, if you’re working with cardstock printables or paper, I recommend coating the entire print with Mod Podge to create a decoupled finish. Because these prints are made of fabric, I’m skipping that step.
Finishing Touch: Gold Accent
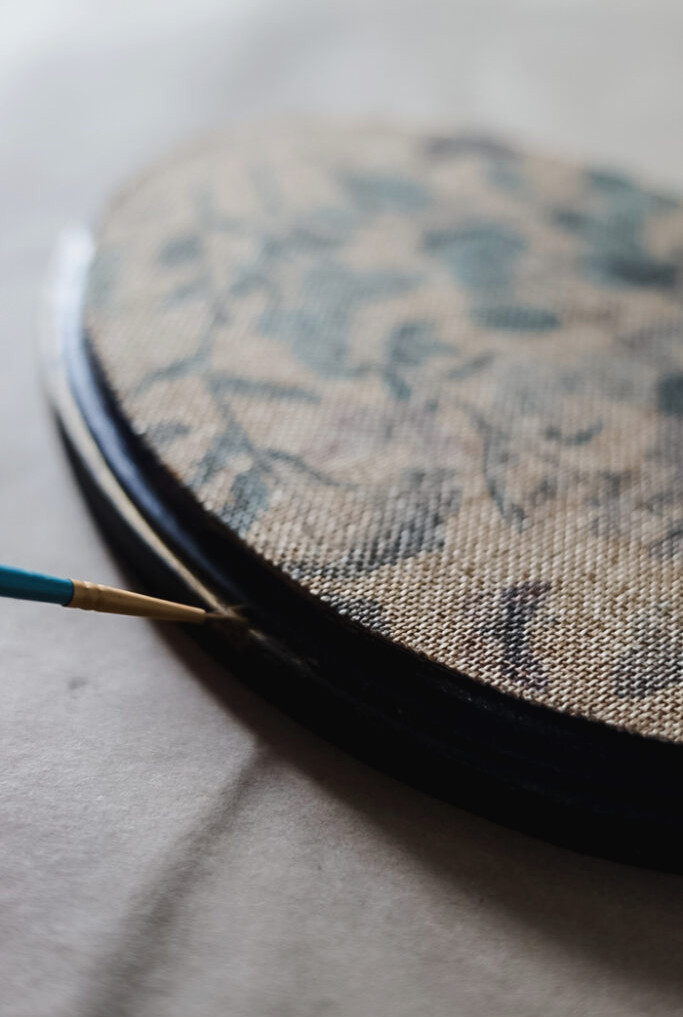
To finish and add an authentic vintage touch to the frames, I reached for a tube of gold leaf Rub & Buff. Honestly, this product is a DIYer’s absolute lifesaver!!
I dipped a small, fine-pointed paintbrush into the Rub & Buff and applied it along the plaque’s raised edge. Afterward, I used a soft paper towel to blend and lightly spread the product.
Completed Butterfly Wall Art
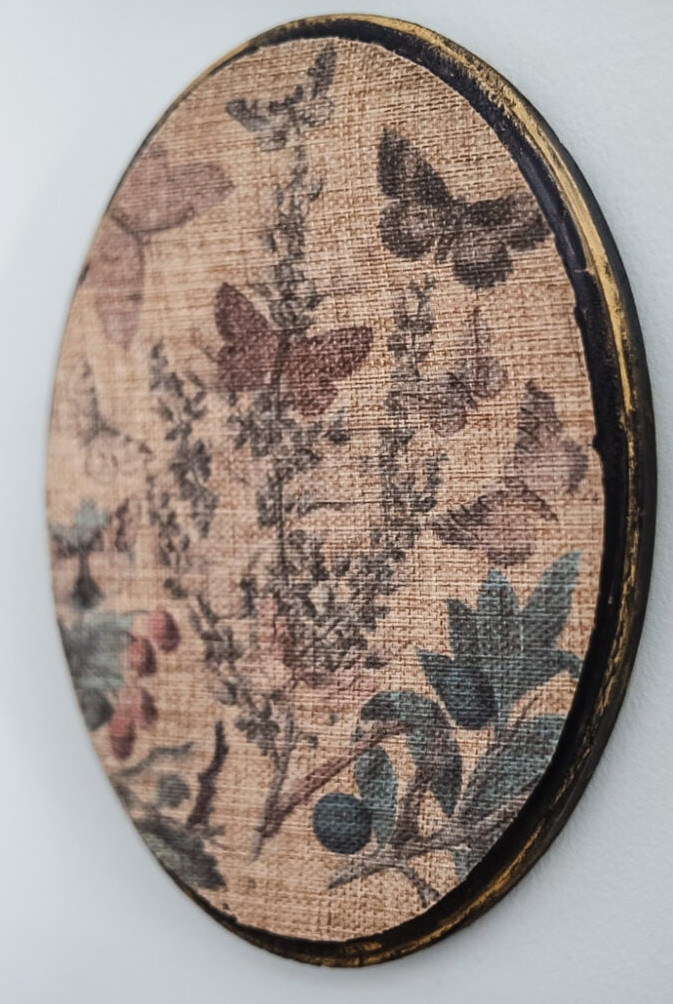
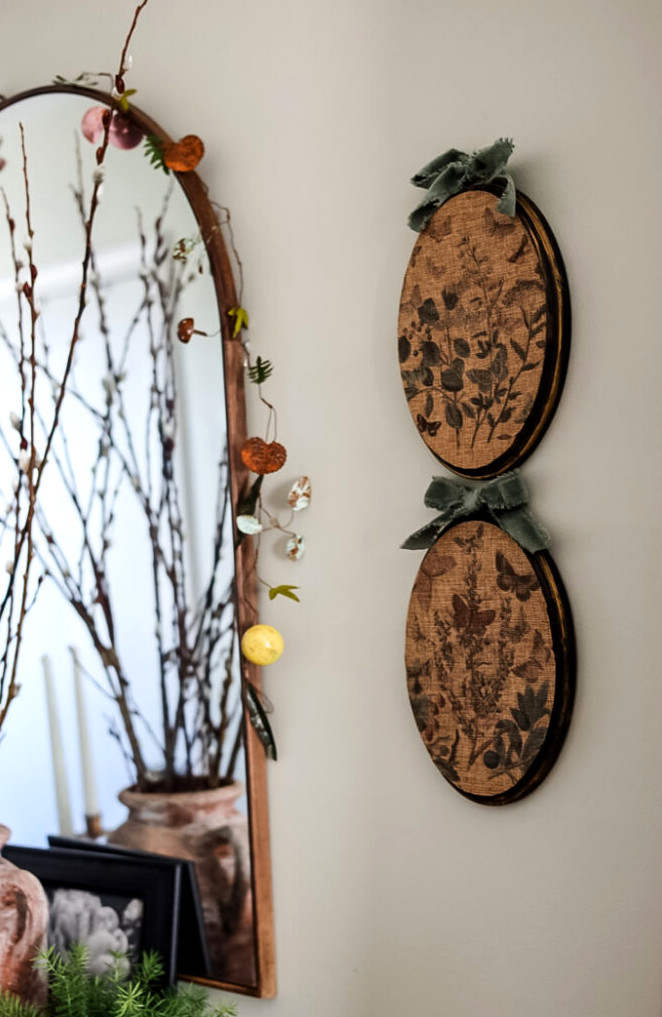
You have a few options for displaying your wall art. Since the plaques are lightweight, a Command strip should work, or you can attach a saw tooth picture hanger to the upper center of each plaque.
When using saw tooth hangers, measure carefully and place them in matching positions on both frames so they hang evenly.
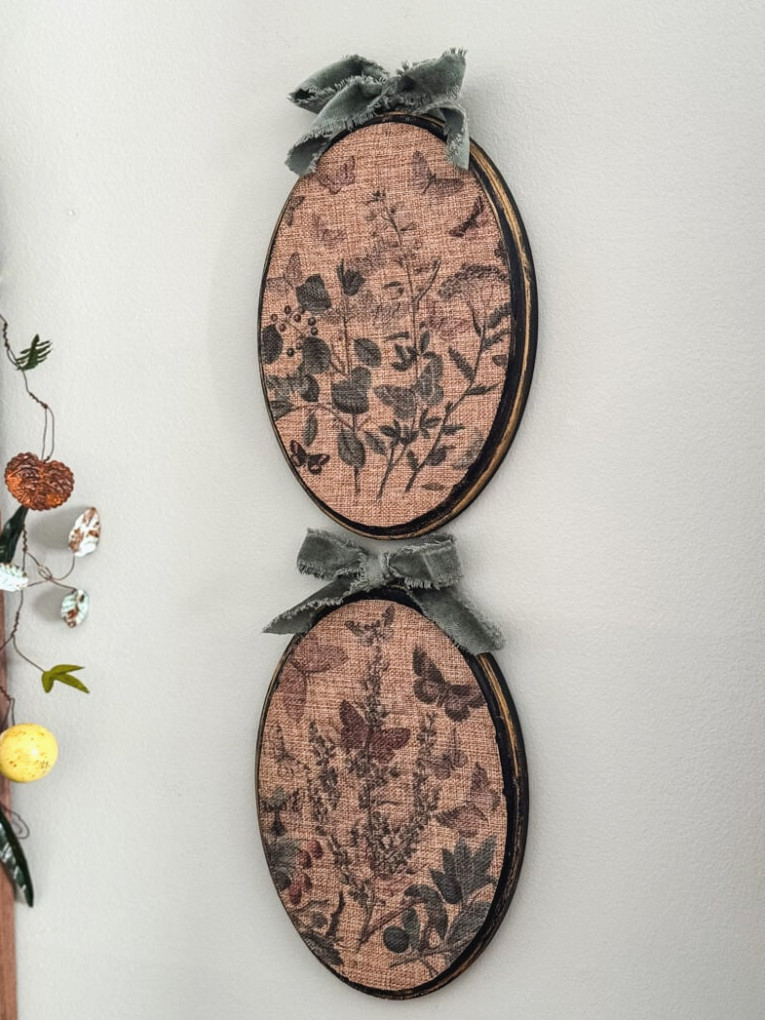
To add a charming detail, I created little velvet bows and placed one on each plaque. Hobby Lobby sells the best inexpensive velvet trim with frayed edges! It costs less than $3 when on sale.
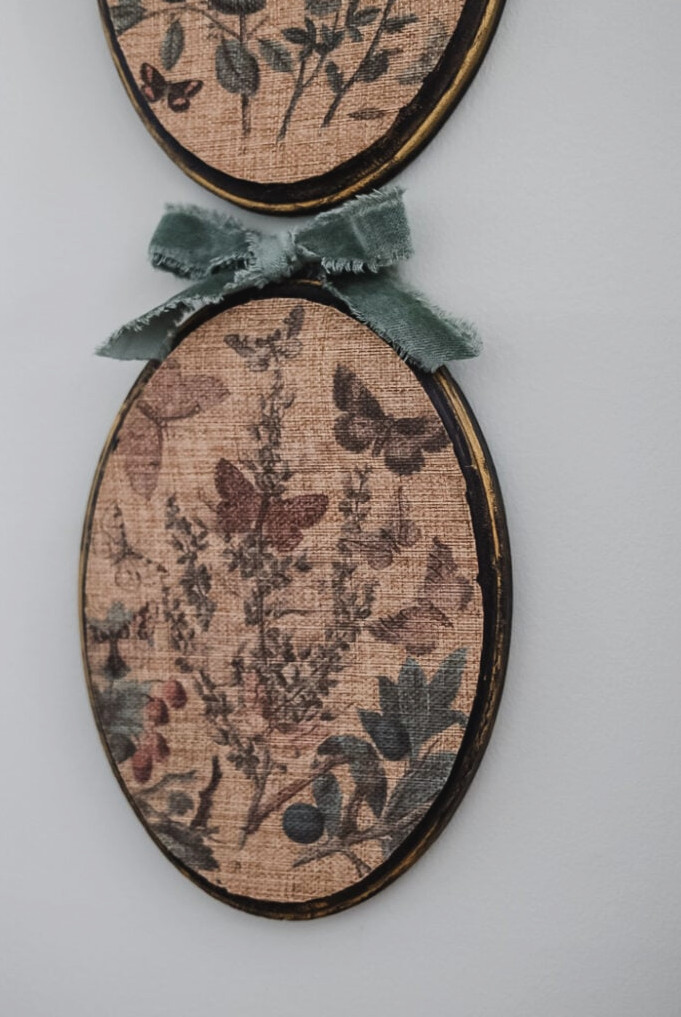
These butterfly botanical plaques are ideal for Spring, though their design also suits year-round decor.
Have your projects showcased! If this project or any of my other DIY creations has inspired you, I’d be thrilled to see them and feature you in the Reader’s Spotlight gallery. Email a photo to jennifer@cottageonbunkerhill.com
xo, Jennifer
New Inspiration
Bring Artwork into Your Home
explore these:
The Latest from Bunker Hill