Discover how to build a Wood Lantern. This wooden lantern is a lovely Christmas accent, particularly when displayed with a DIY Christmas tree.
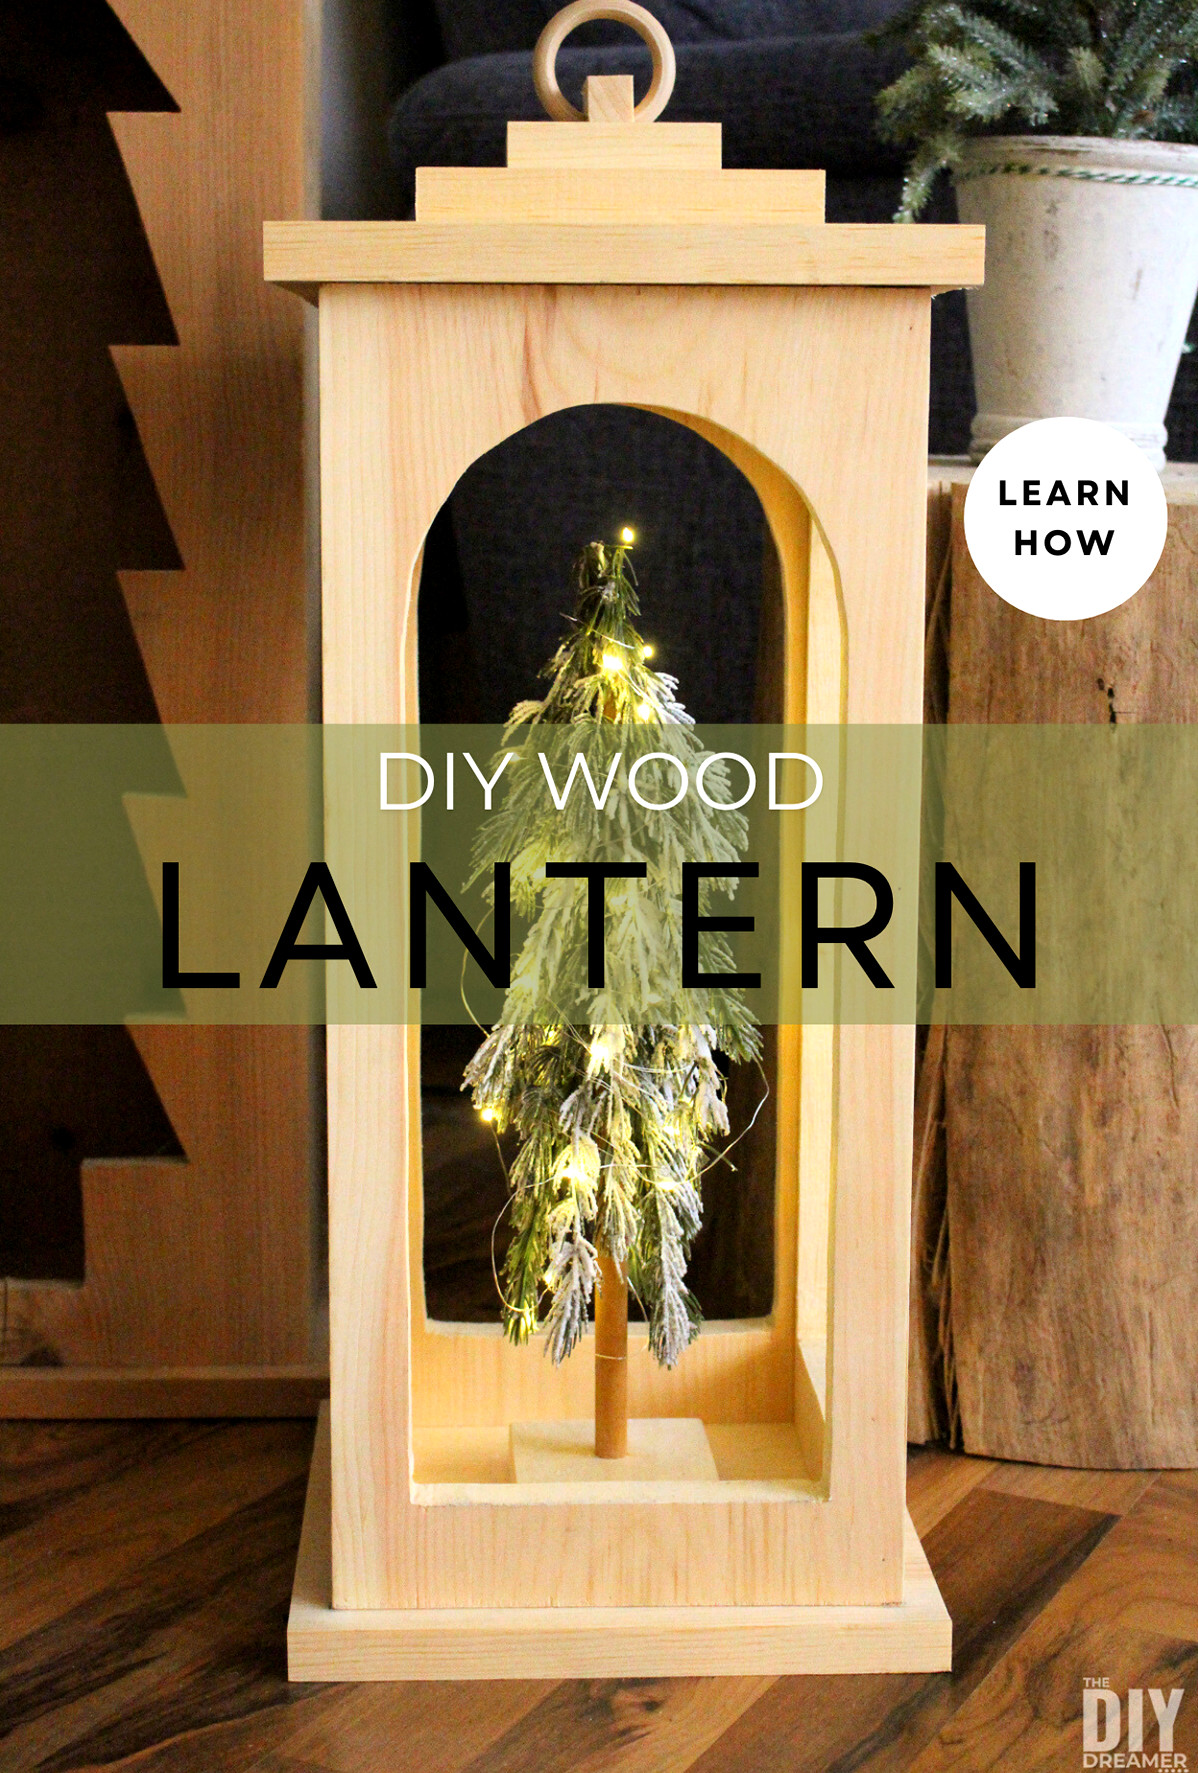
For several years, I have hoped to place large lanterns on my front porch, but I still haven’t found precisely what I have in mind.
Because I couldn’t find the right ones, I decided to create them myself! I mean, it’s not as though I’ve never built a lantern before—remember the Christmas Tree Wood Lantern?
Would you like to learn how to build a wooden lantern?
How to Build a Wood Lantern
Supplies:
- 1-inch x 10-inch x 8 ft. Pine Board
- Wrapping paper featuring a cutting grid on the reverse side
- Transfer paper
- Washi tape
- Wood glue
- Wood ring 2-inch diameter
Tools:
Cut List:
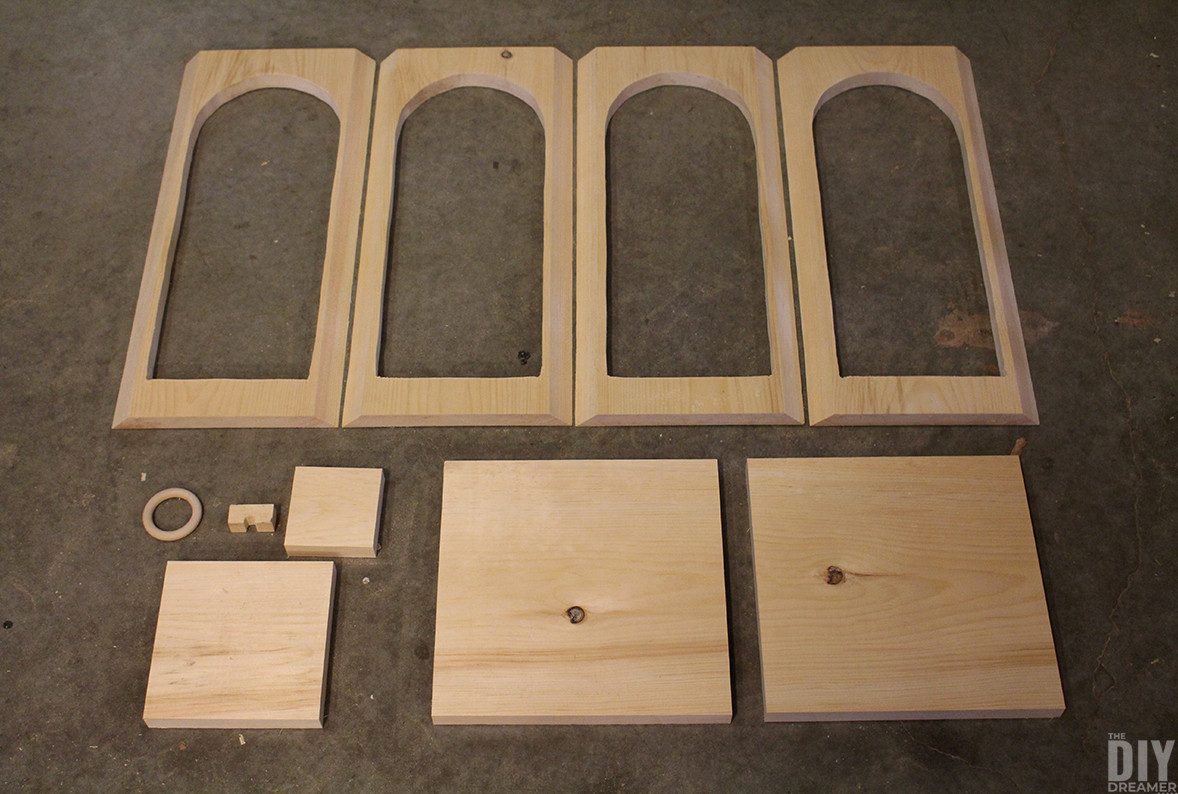
- 4 wood pieces 18 ¼″ x 8″ with 45 degree angles cut along both long edges.
- 2 wood pieces 9 ¼″ x 9 ¼″
- 1 wood piece 5 ½″ x 5 ½″
- 1 wood piece 3″ x 3″
- 1 wood bridge
Components for building a wood lantern
Instructions:
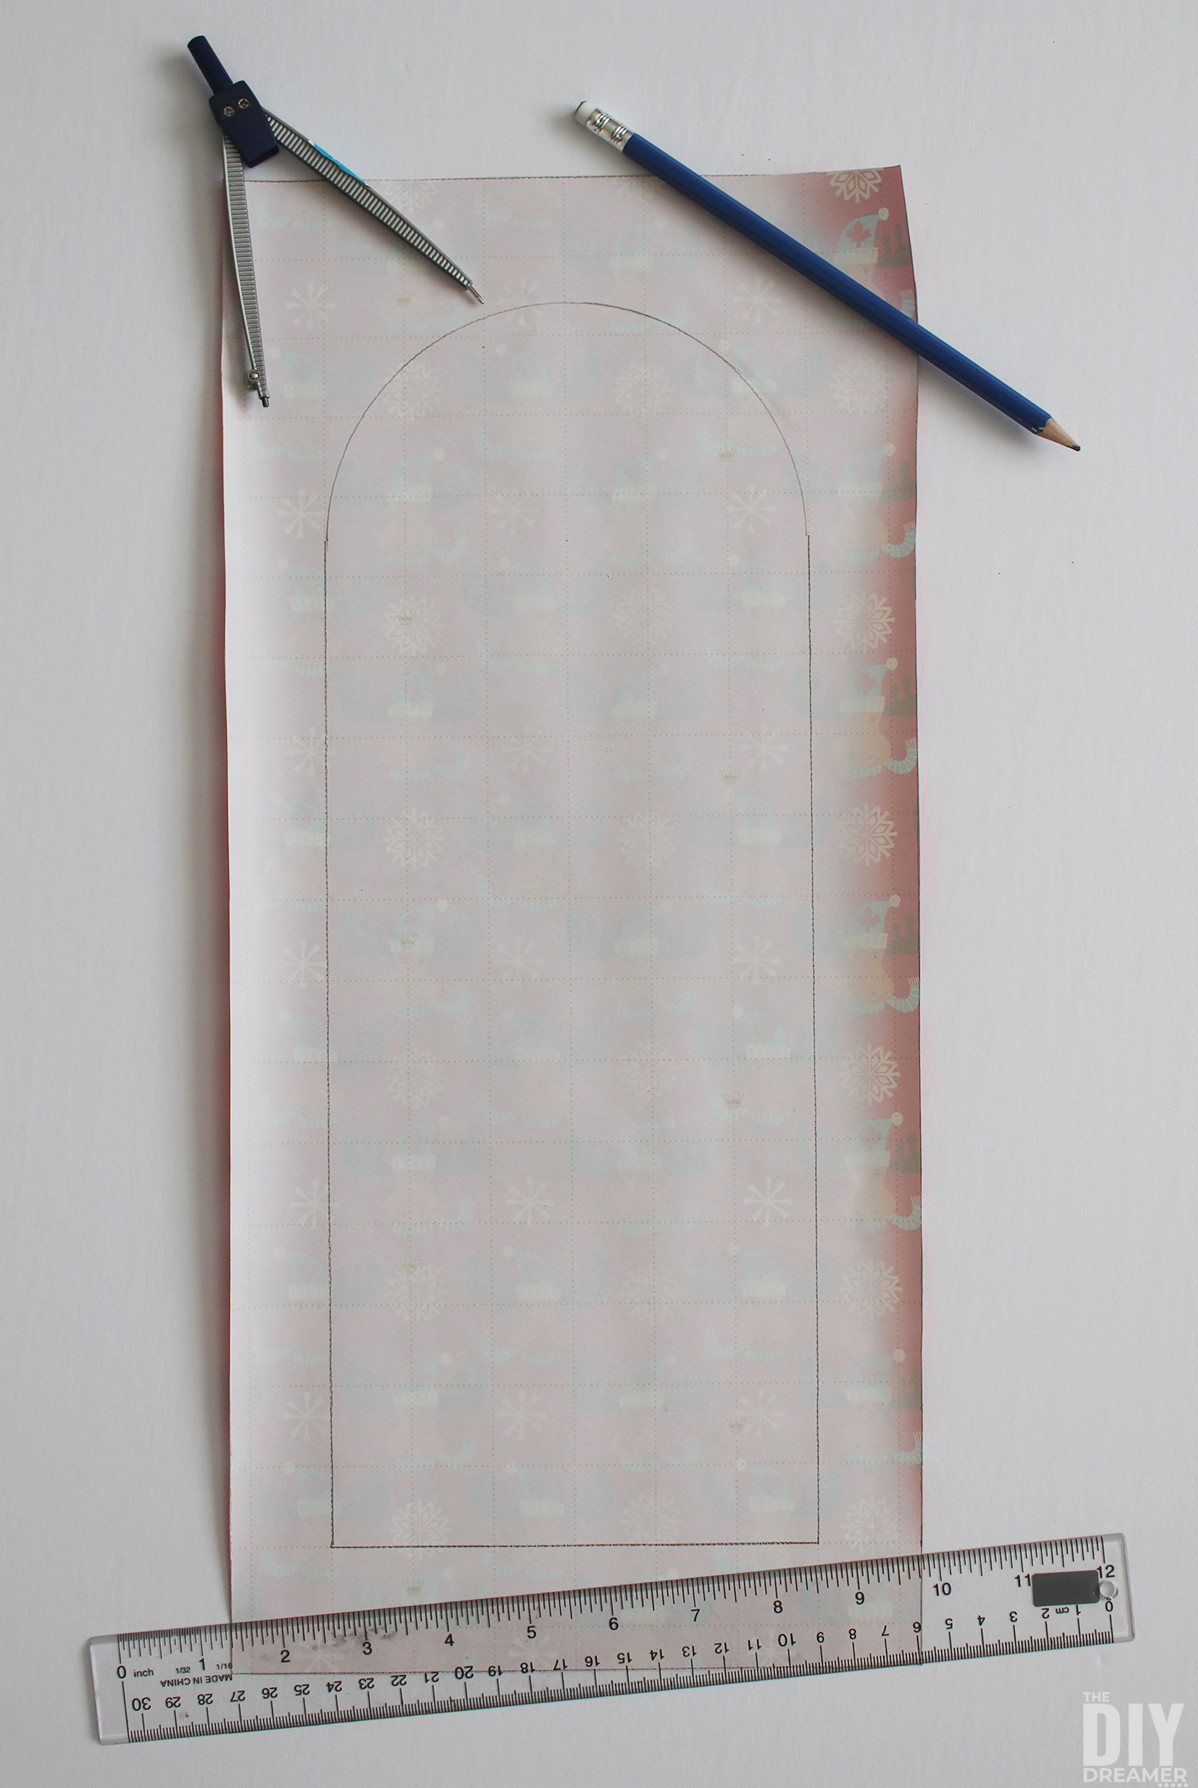
Step 1: From the wrapping paper with a cutting grid on the back, cut a 18 ¼″ x 8″ rectangle. With a ruler, pencil, and compass, sketch a rectangle ending in a semicircle. The pattern is 15″ x 5 7/8″.
You already know how much I enjoy using wrapping paper for making templates.
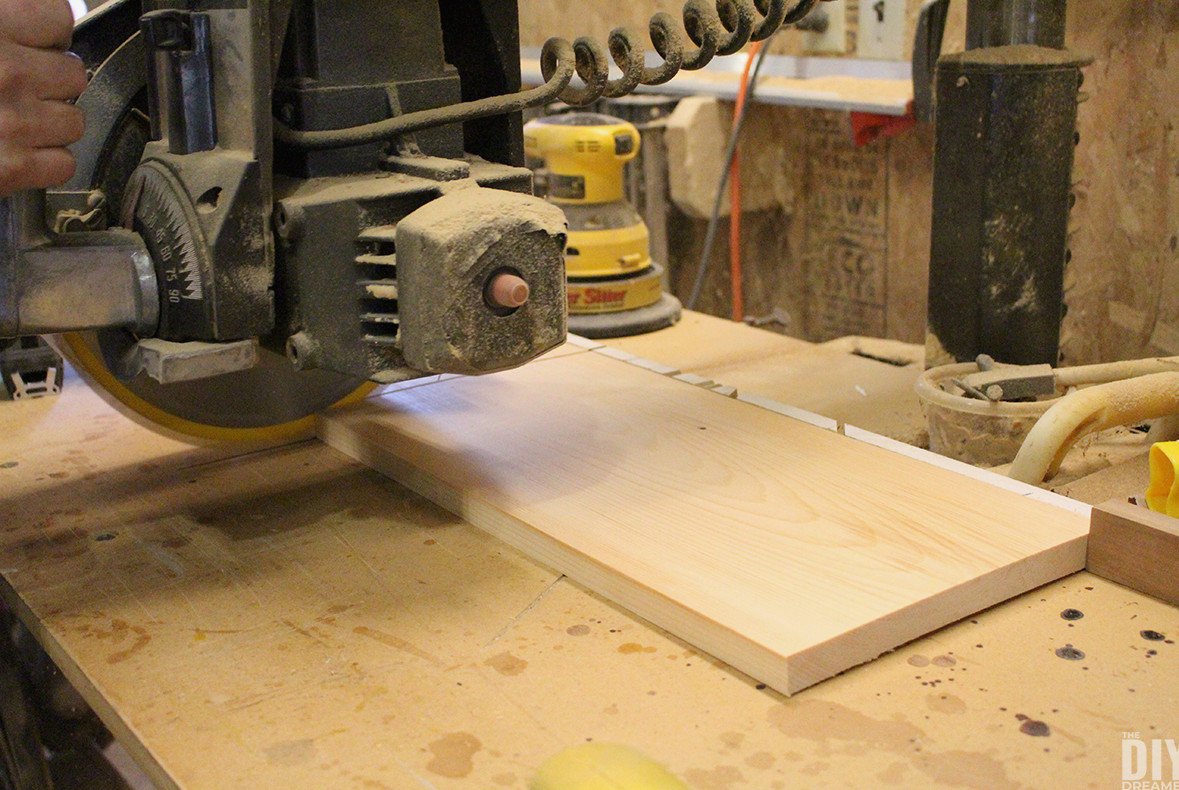
Step 2: Using a miter saw, cut four 18 ¼″ x 8″ wooden pieces from the 1″ x 10″ x 8 ft. pine board.
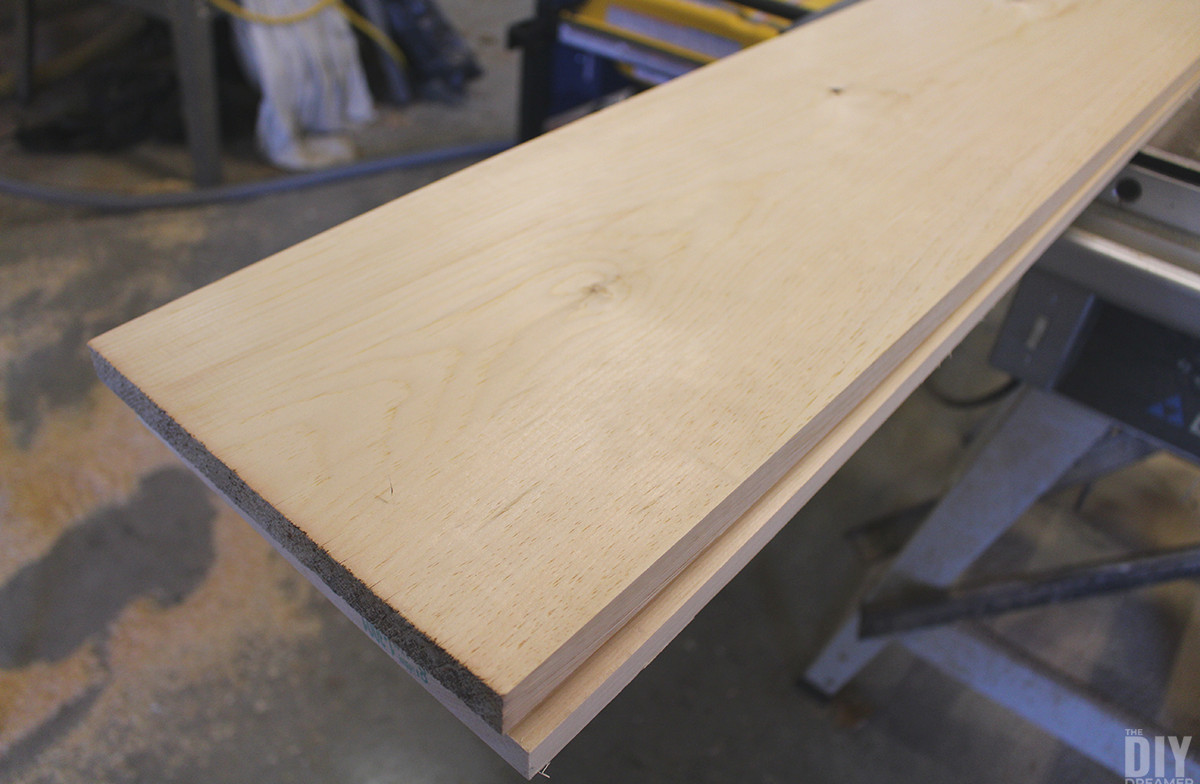
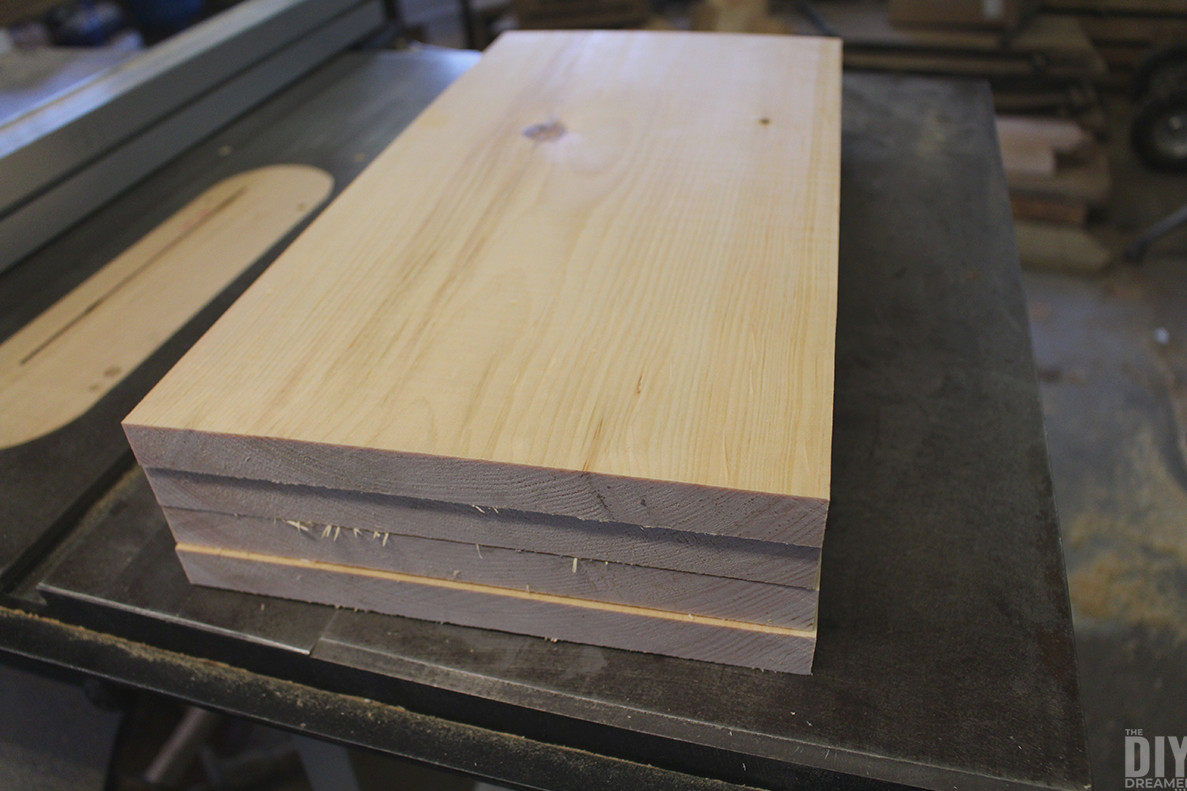
Step 3: With a table saw, create 45 degree edges along both long sides of each of the four wood pieces.
For additional guidance on forming 45 degree edges, I came across this video explaining the method very clearly: timber miter joints.
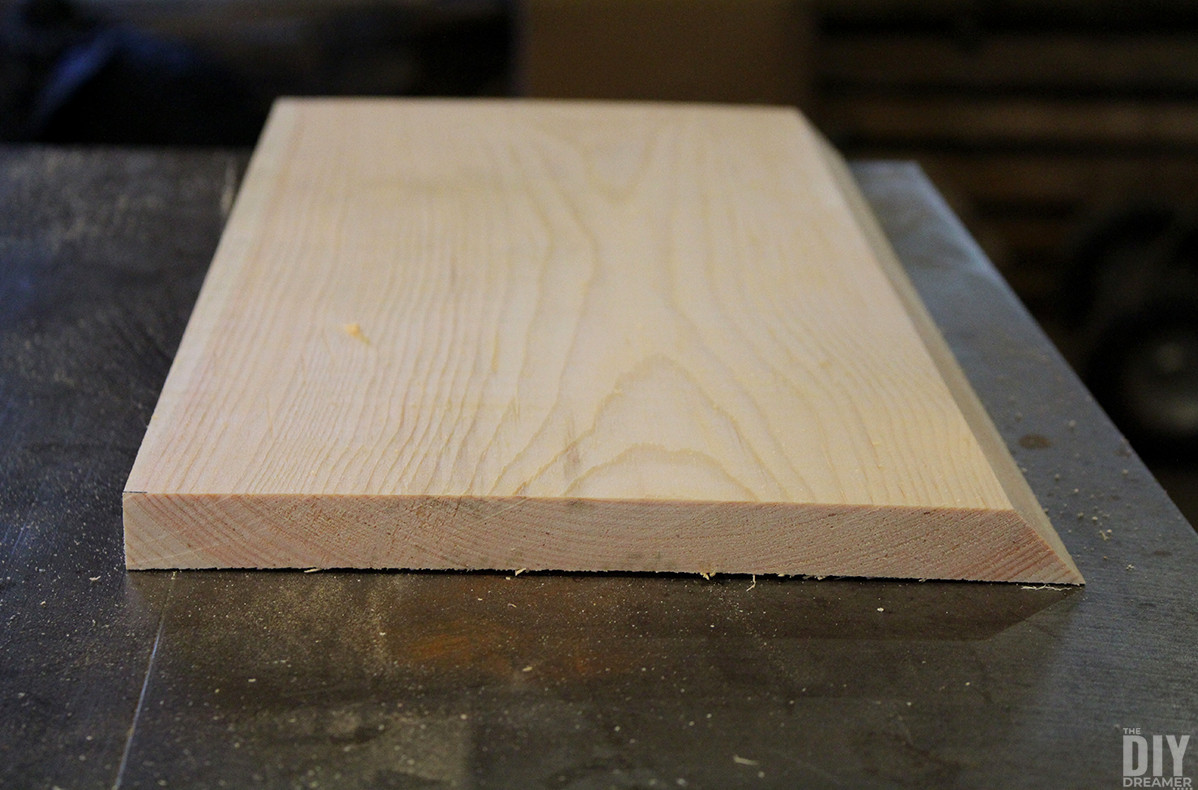
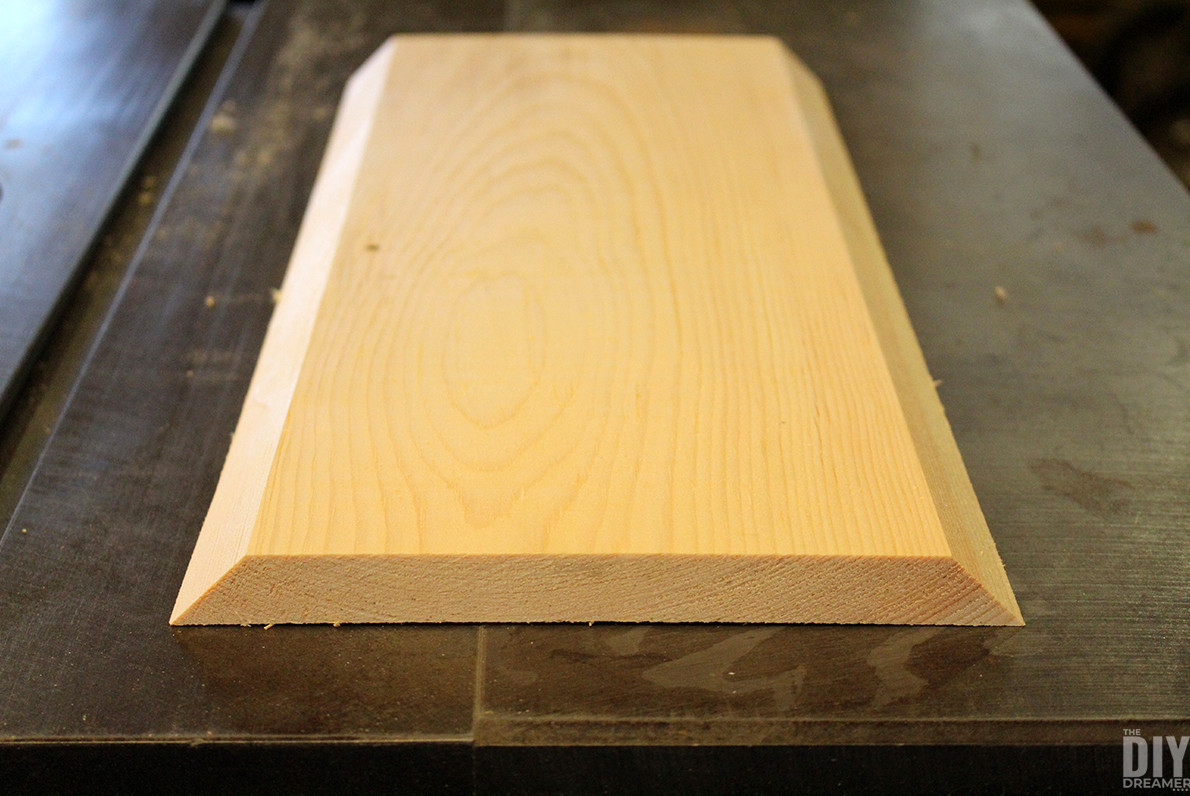
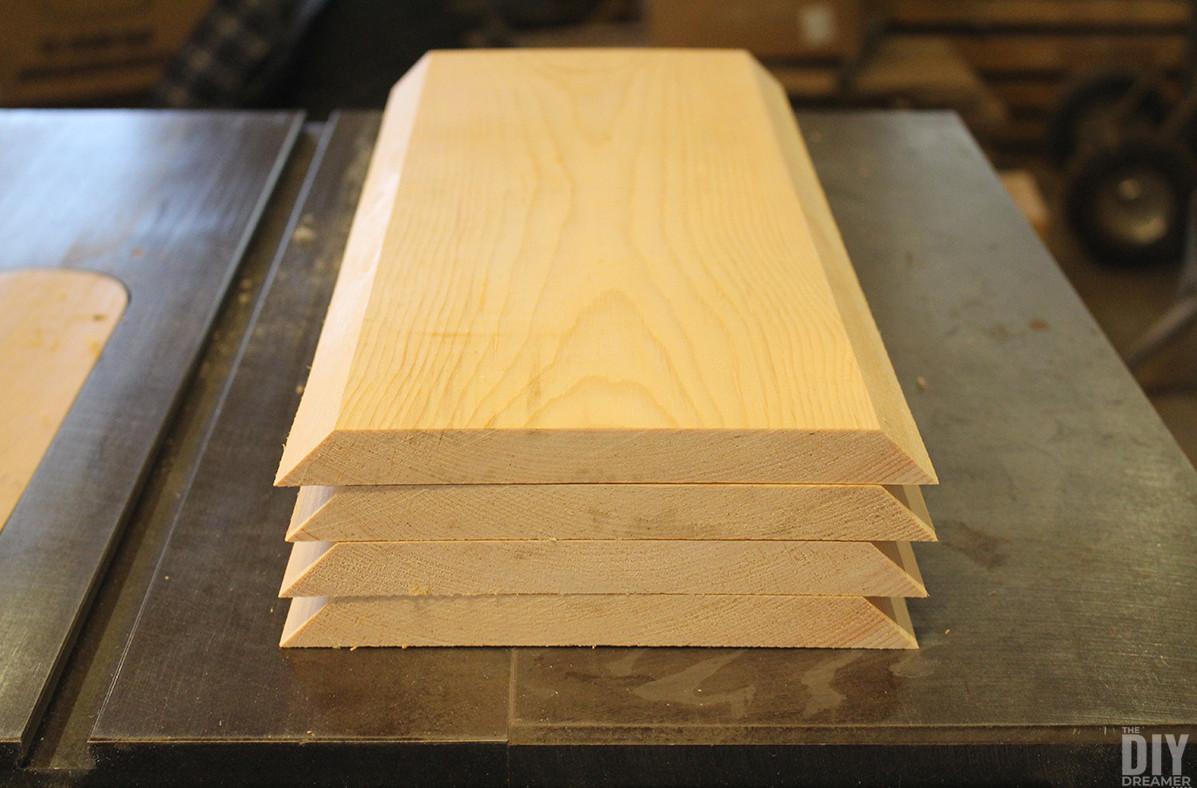
Step 4: Position the template in the center of the wider section of one wood piece and trace it with transfer paper. Using a ruler and compass on top of the template gave excellent results.
P.S. Washi tape is very effective for keeping the template securely in place.
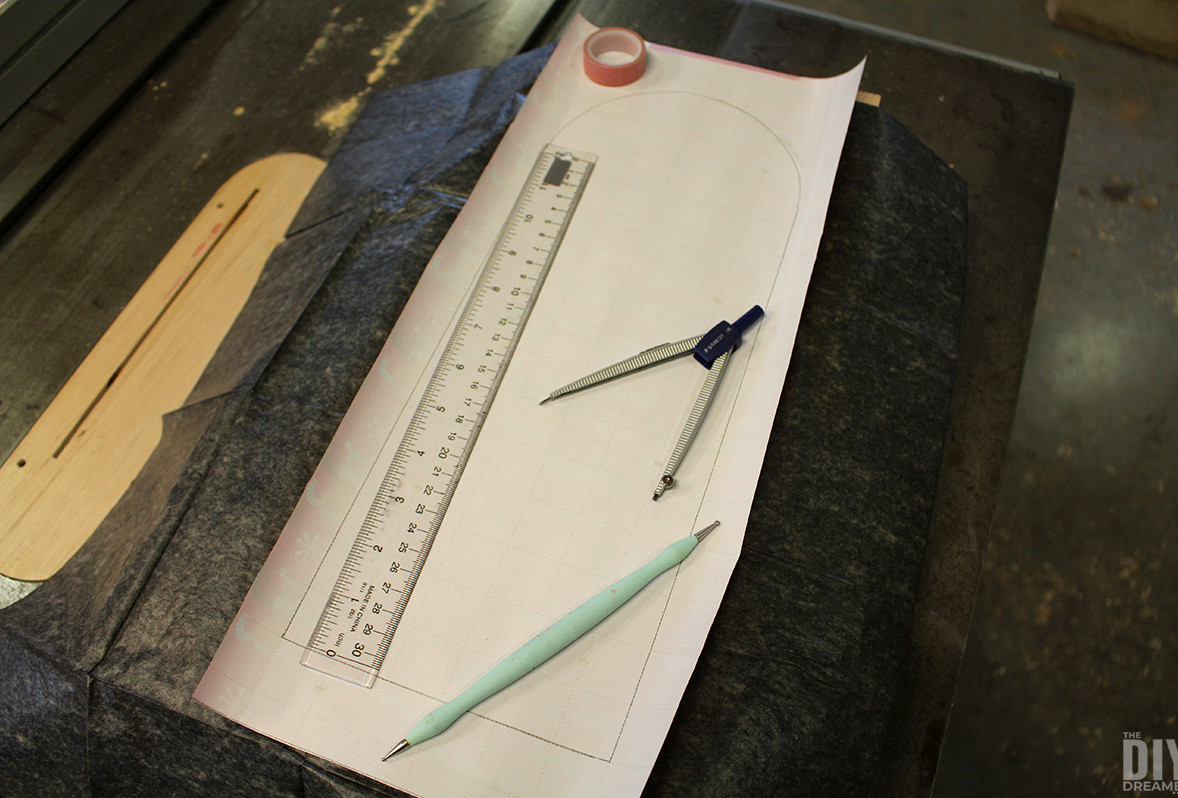
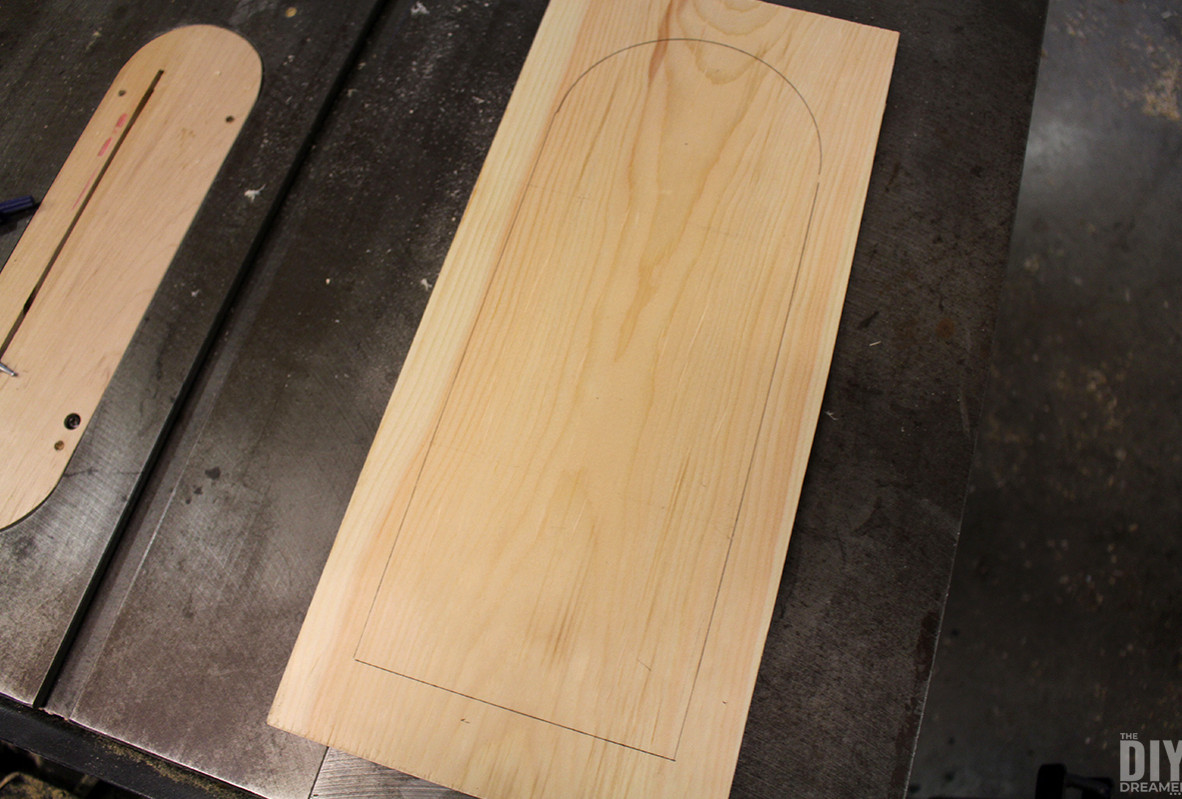
Step 5: Make holes at both corners of the template so the scroll saw blade can be inserted.
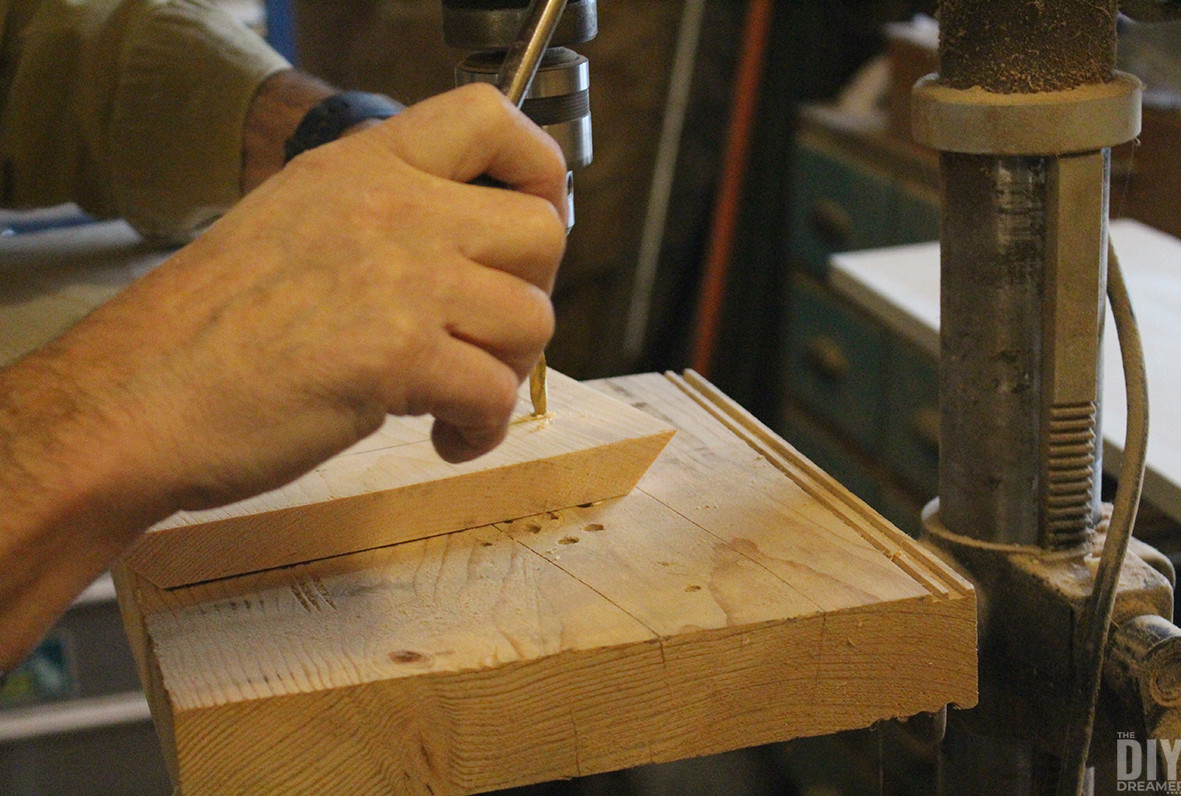
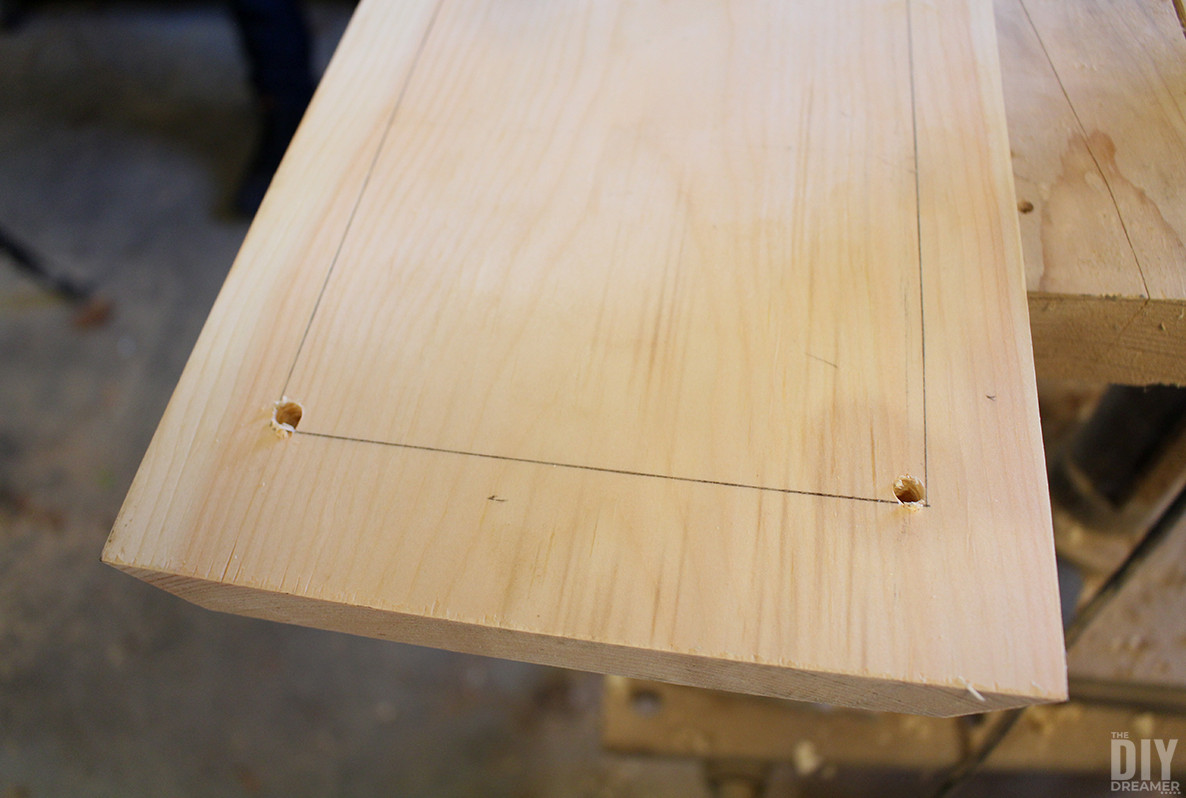
Step 6: Feed the scroll saw blade through one of the holes, then remove the center section.
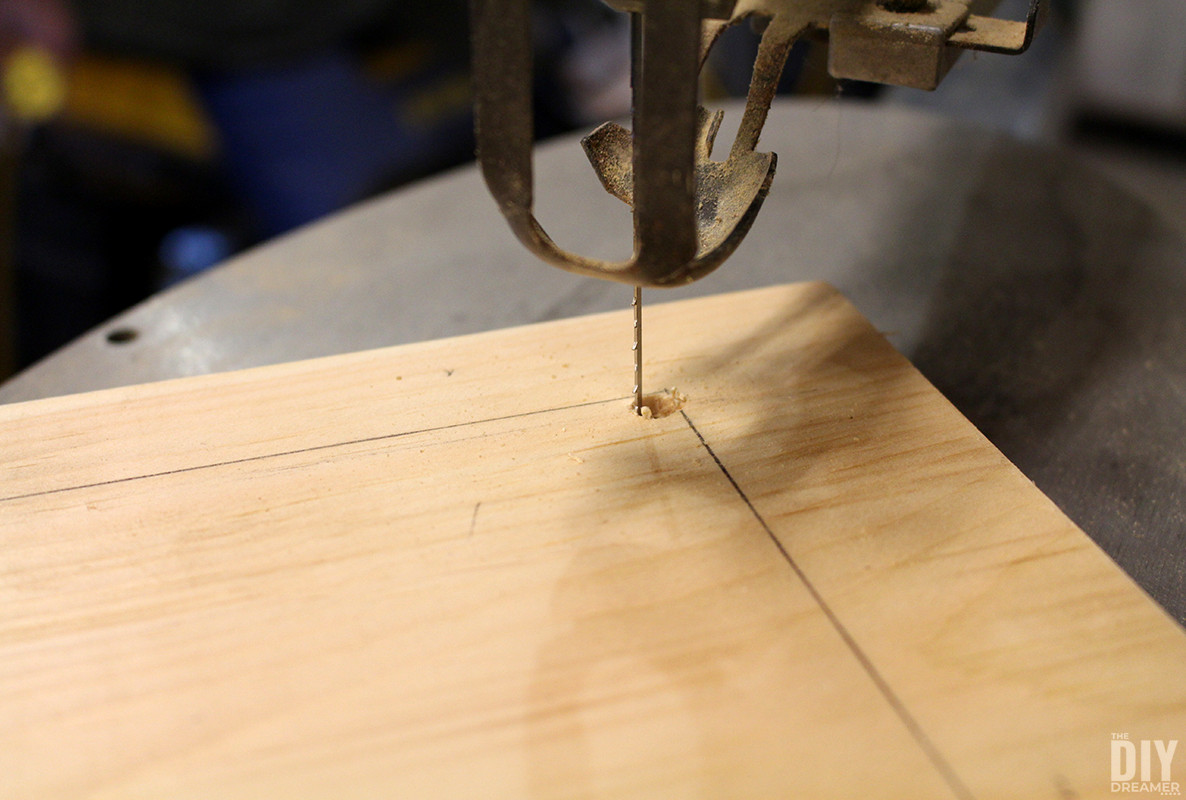
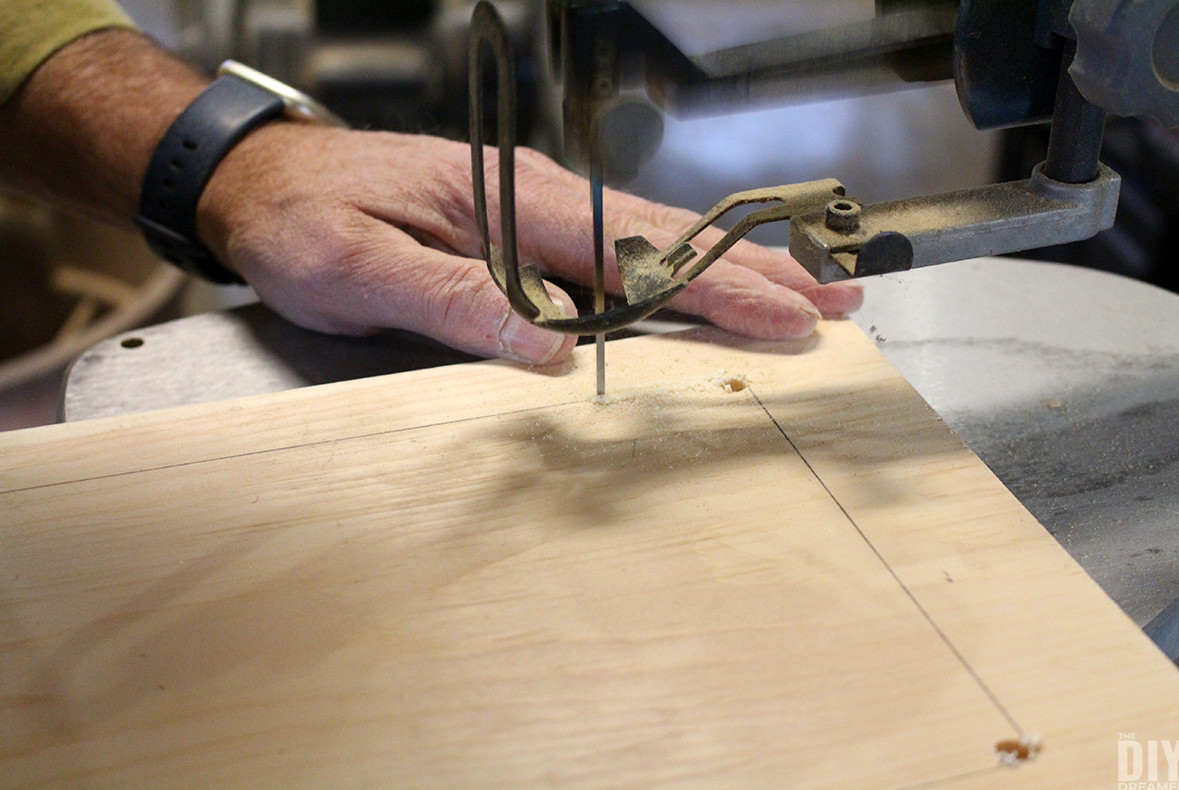
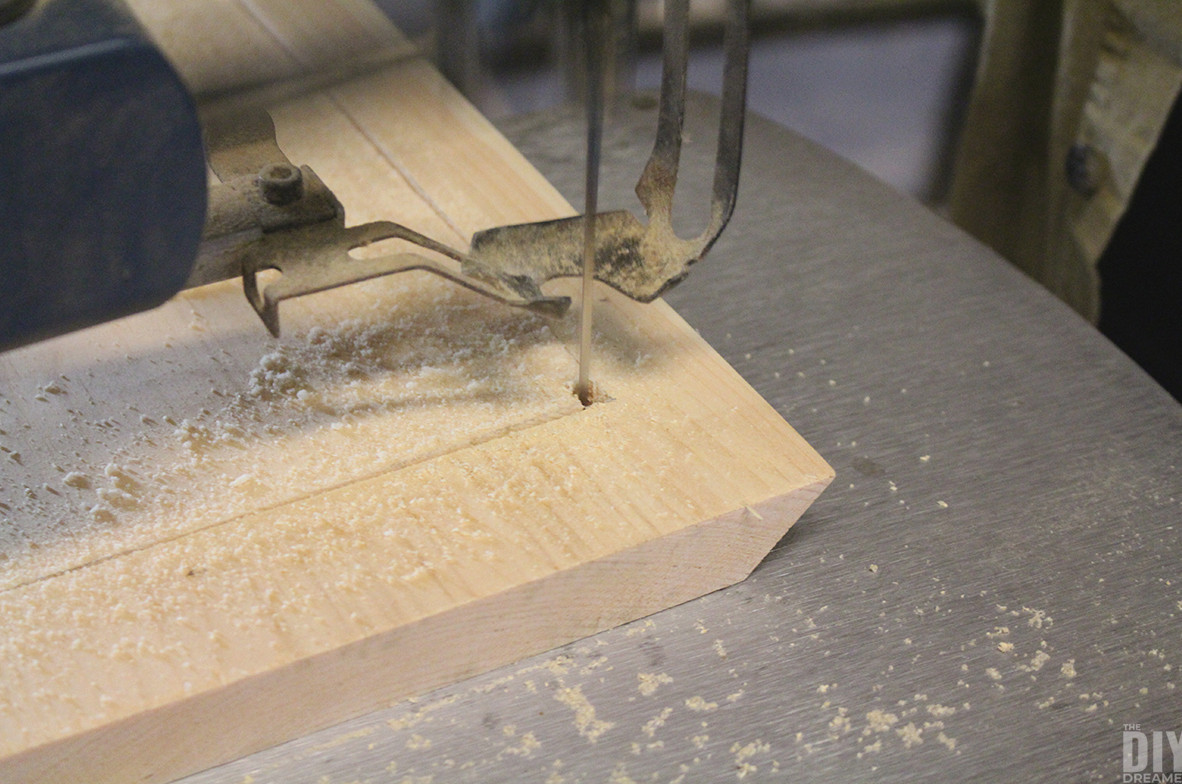
Step 7: Set the finished piece on top of the remaining three pieces and outline the opening.
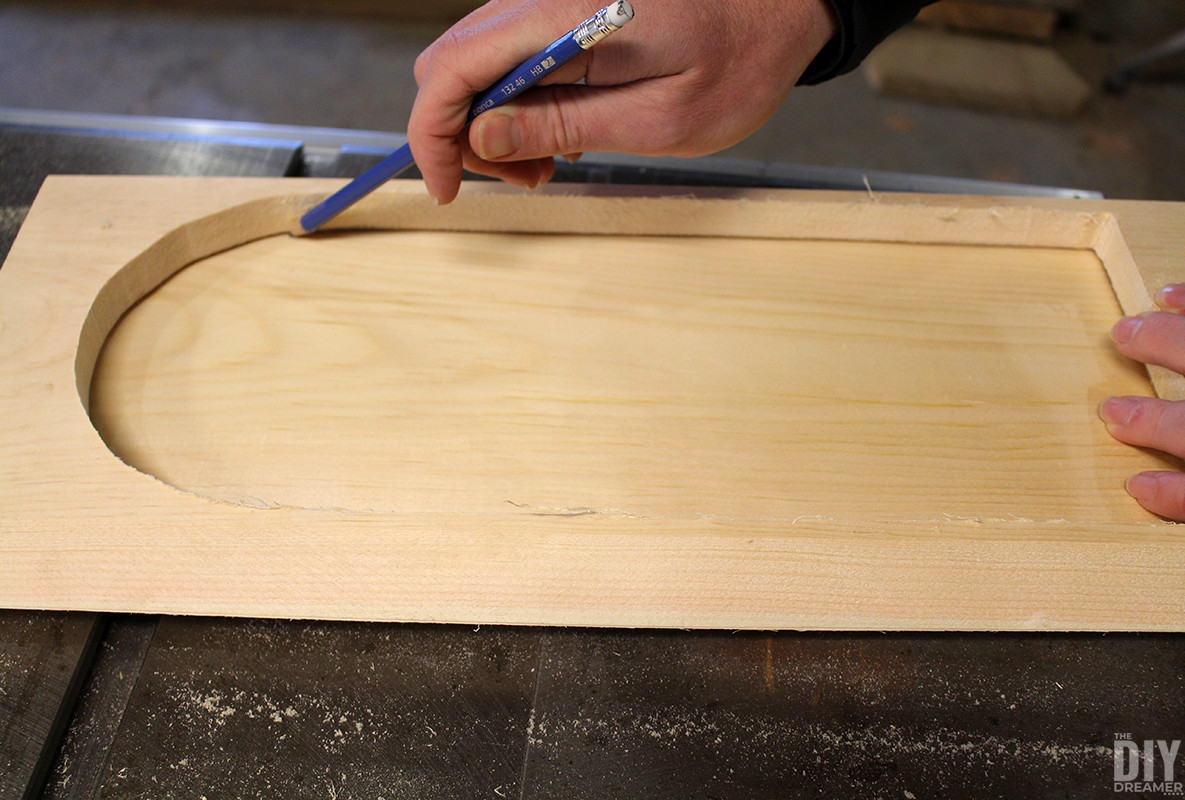
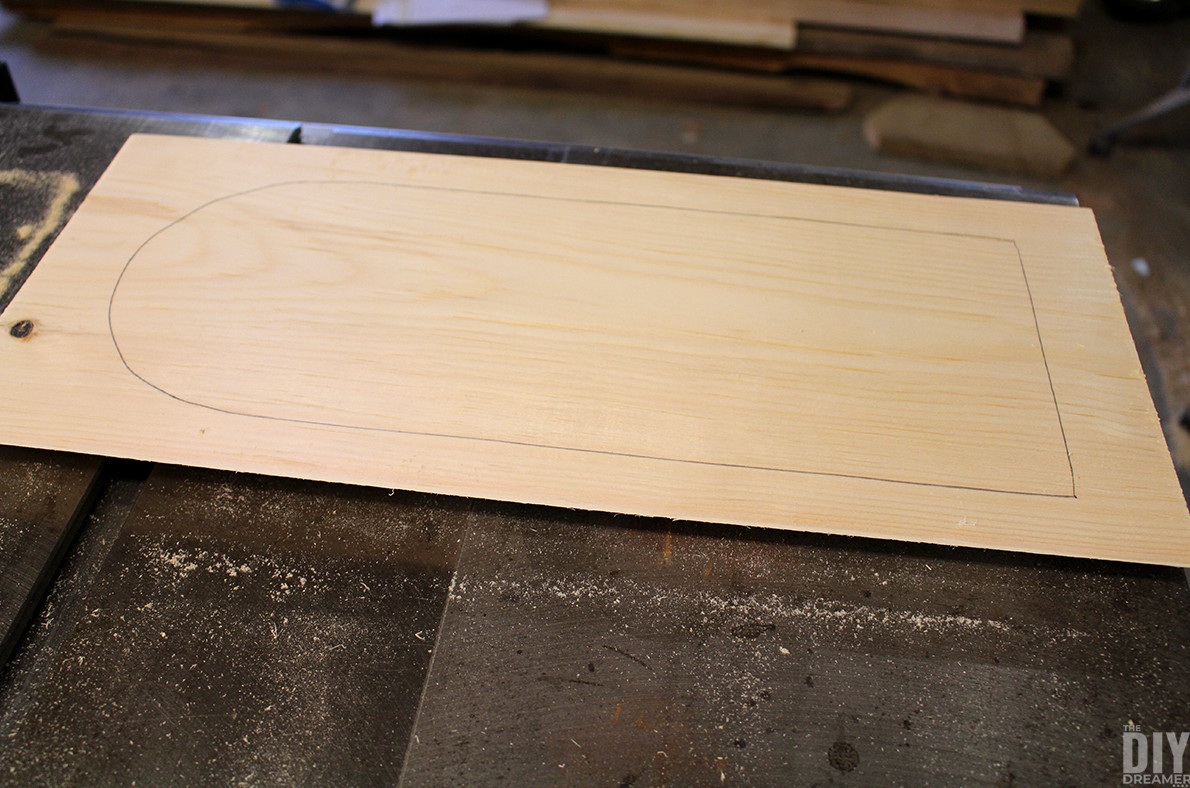
Step 8: Perform steps 5 and 6 again for each of the other three pieces.
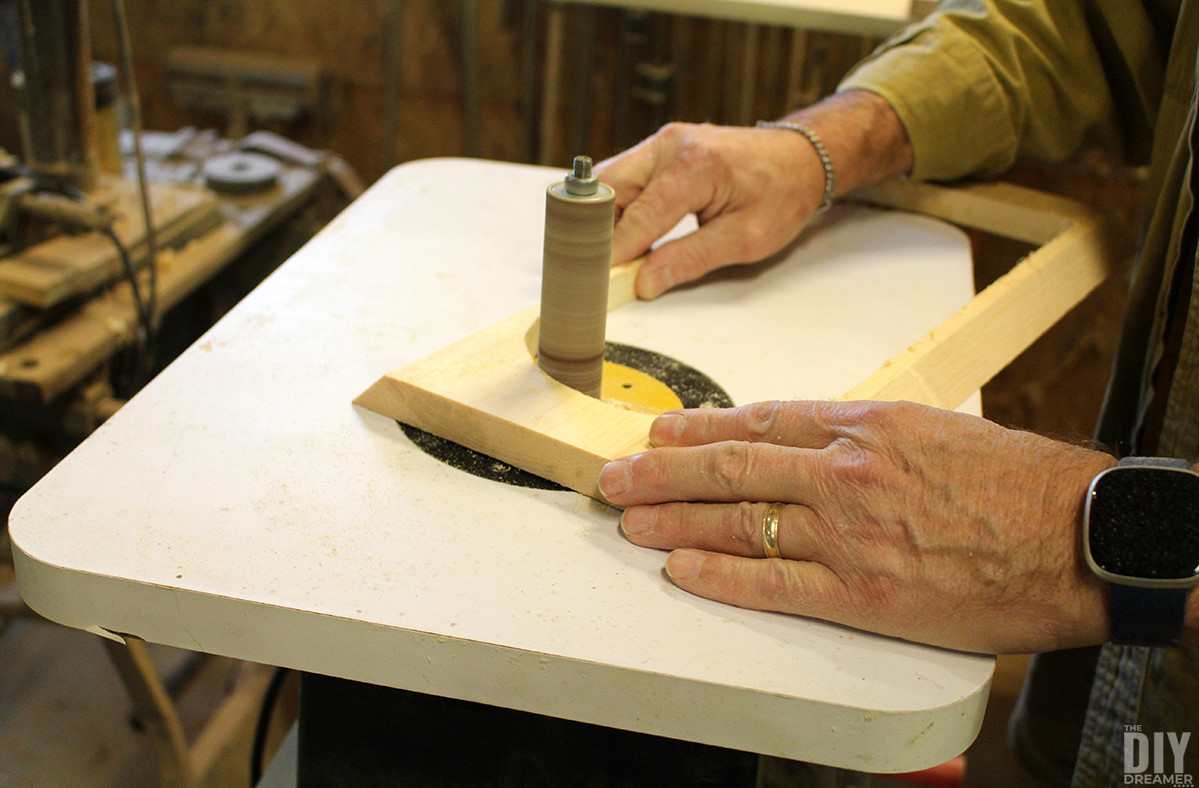
Step 9: Smooth the inner edges with a spindle sander. If you don’t own one, sandpaper can be used instead.
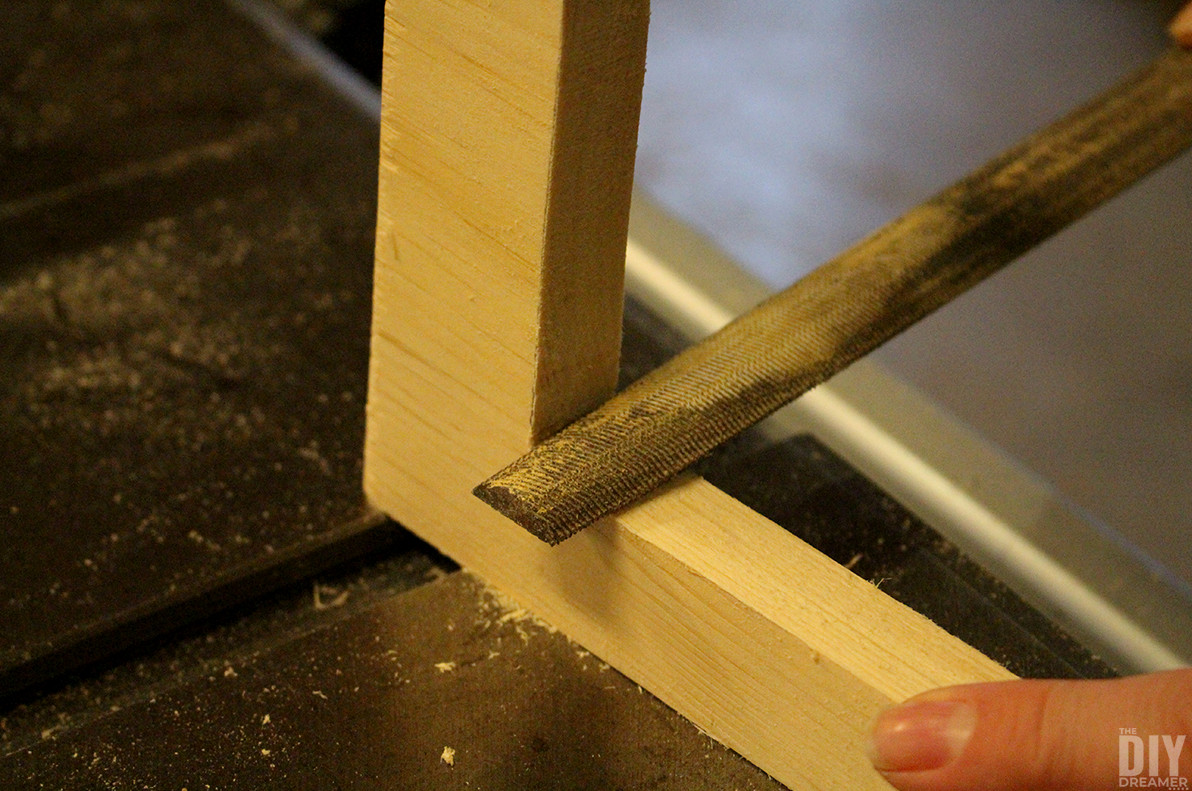
Step 10: Use a wood file to make the two corners straight.
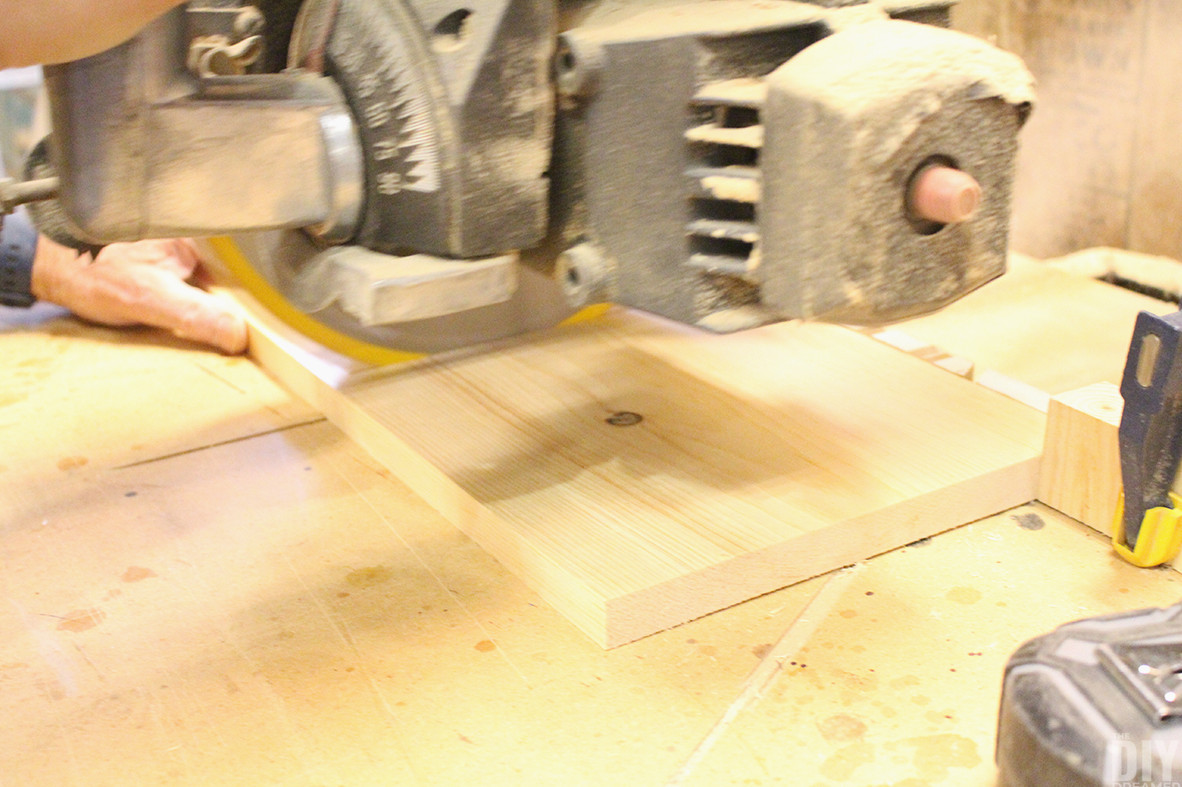
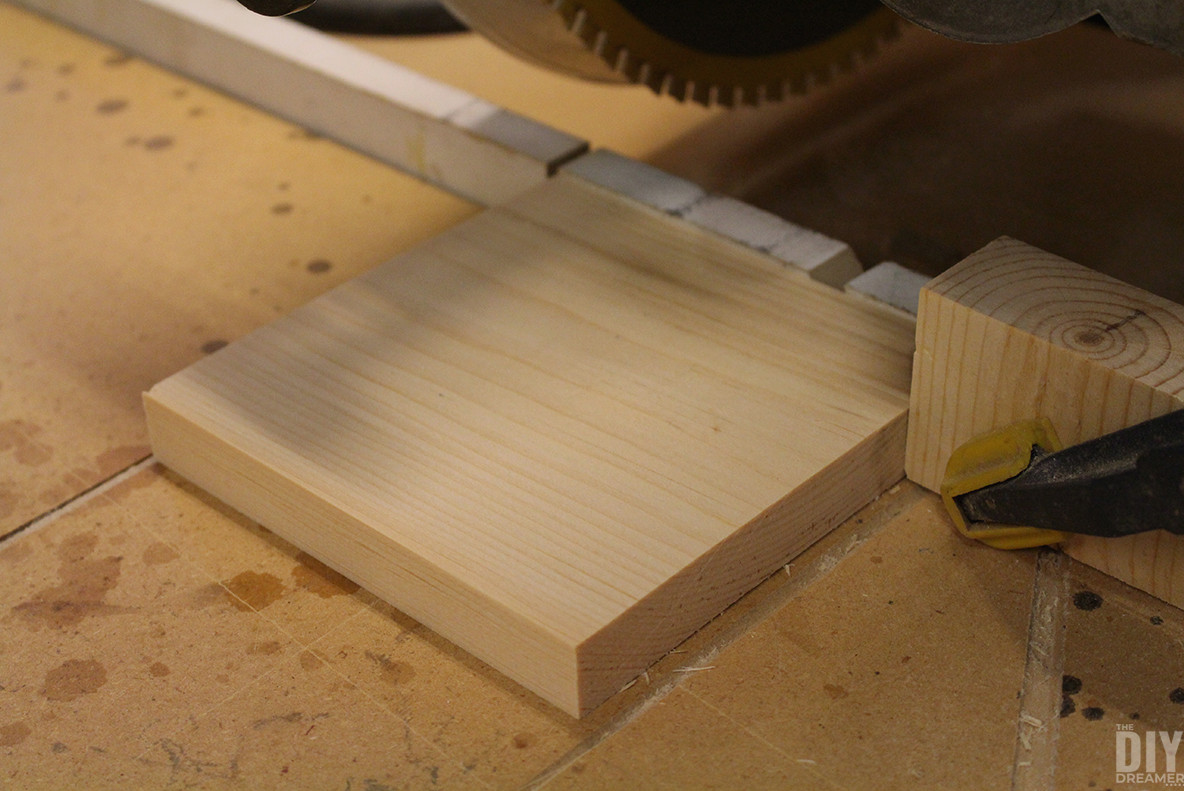
Step 11: From the leftover pine board, use the miter saw to cut 2 pieces measuring 9 ¼″ x 9 ¼″, 1 piece measuring 5 ½″ x 5 ½″, 1 piece measuring 3″ x 3″, and 1 small piece measuring 1½″ x ¾″.
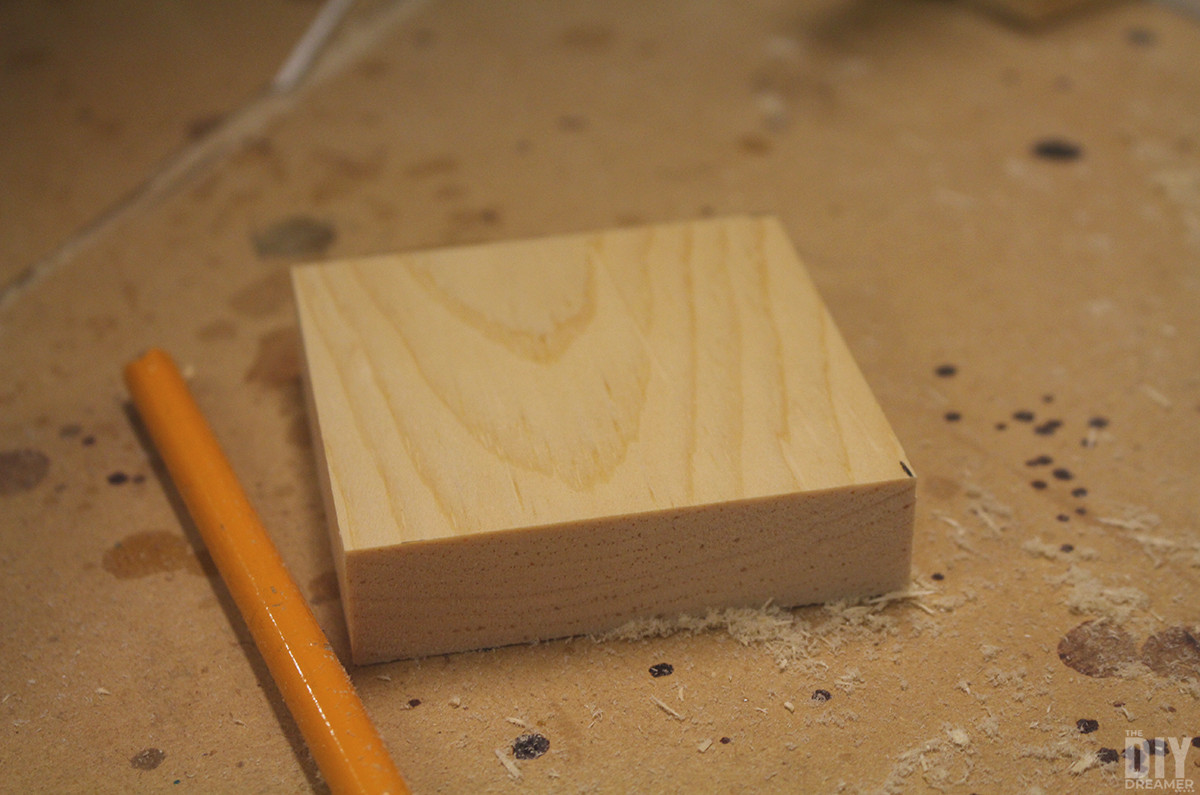
Step 12: Drill a hole in the bottom center of the 1½″ x ¾″ wooden piece with a 19/64 drill bit.
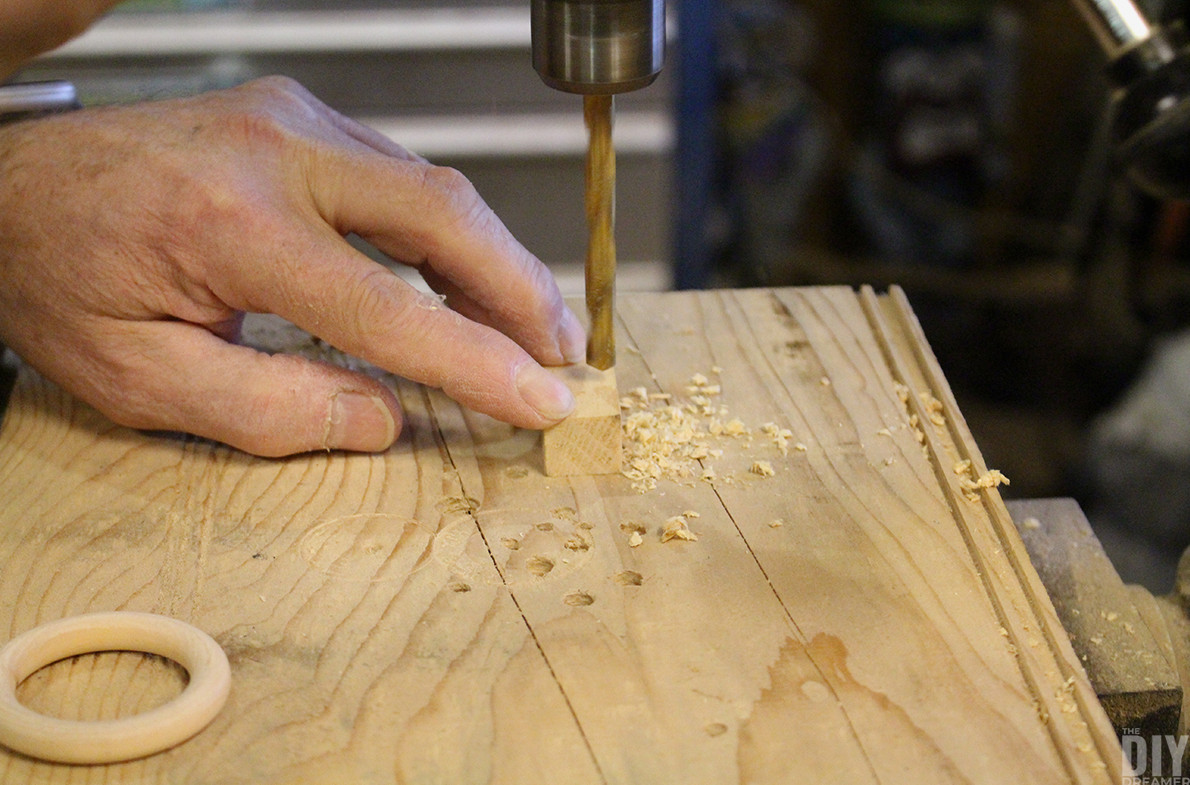
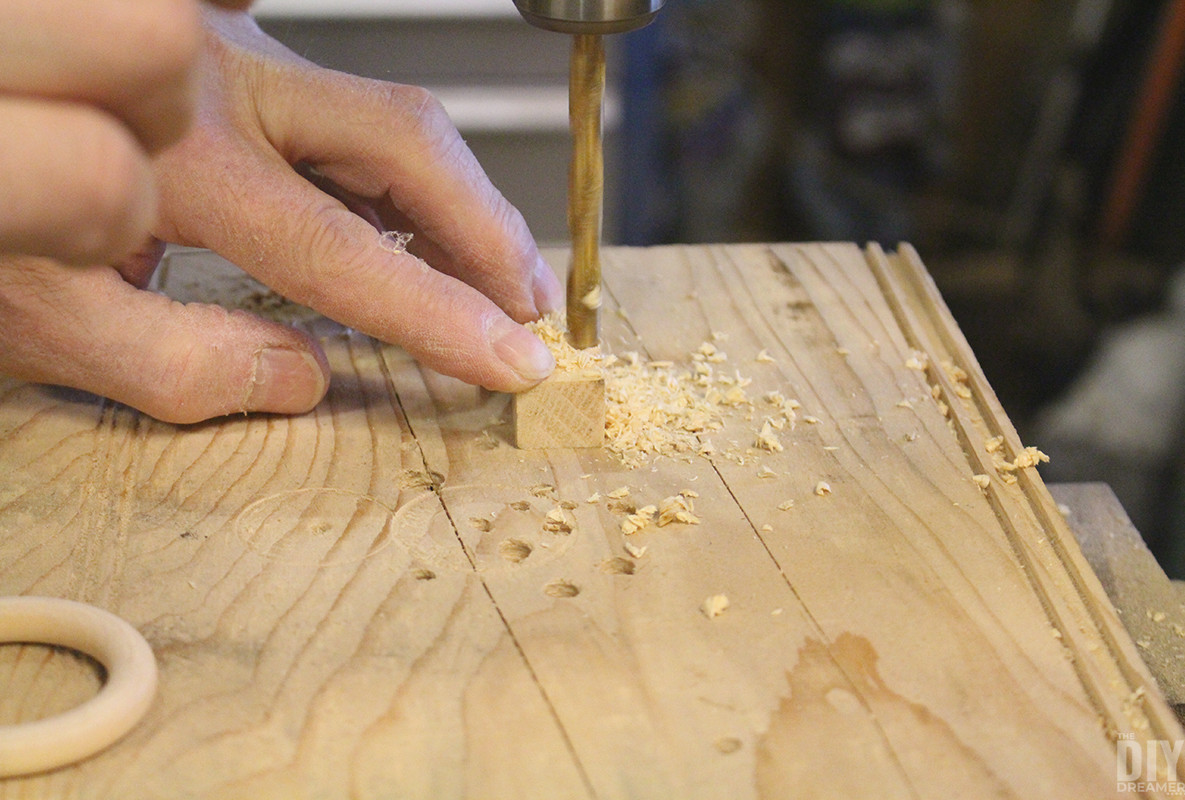
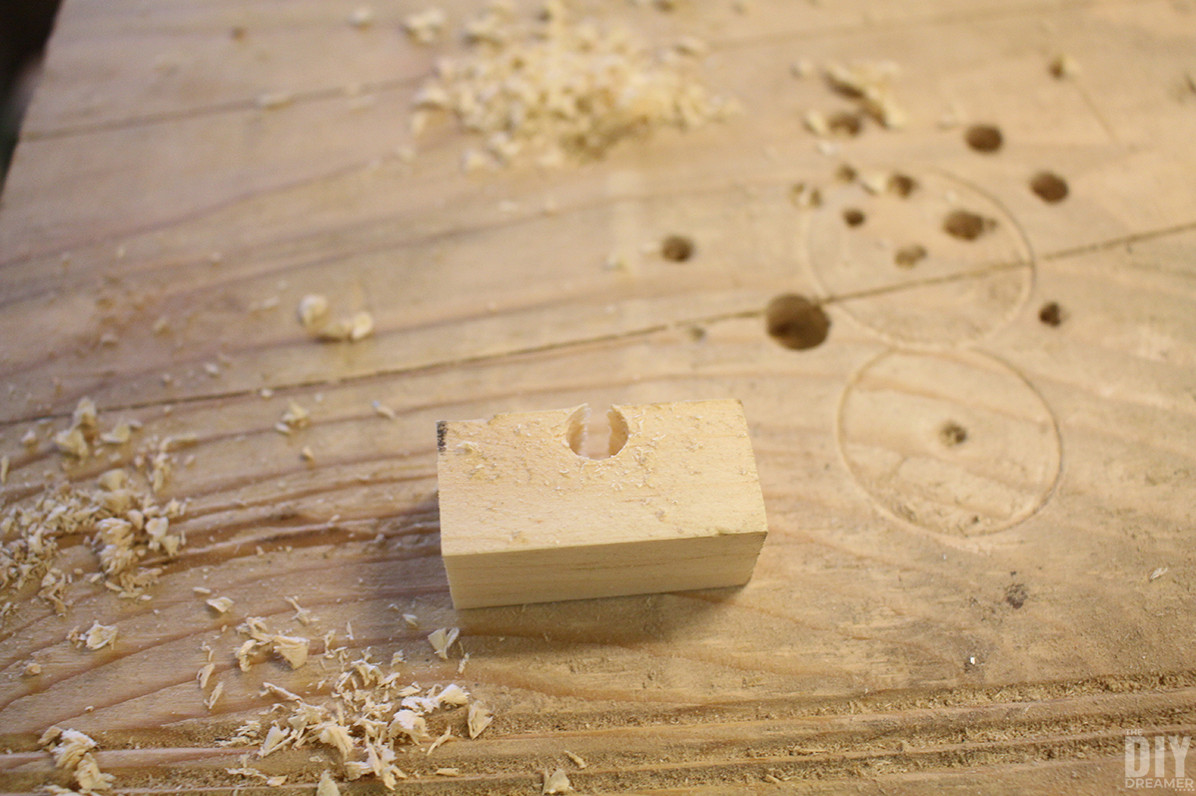
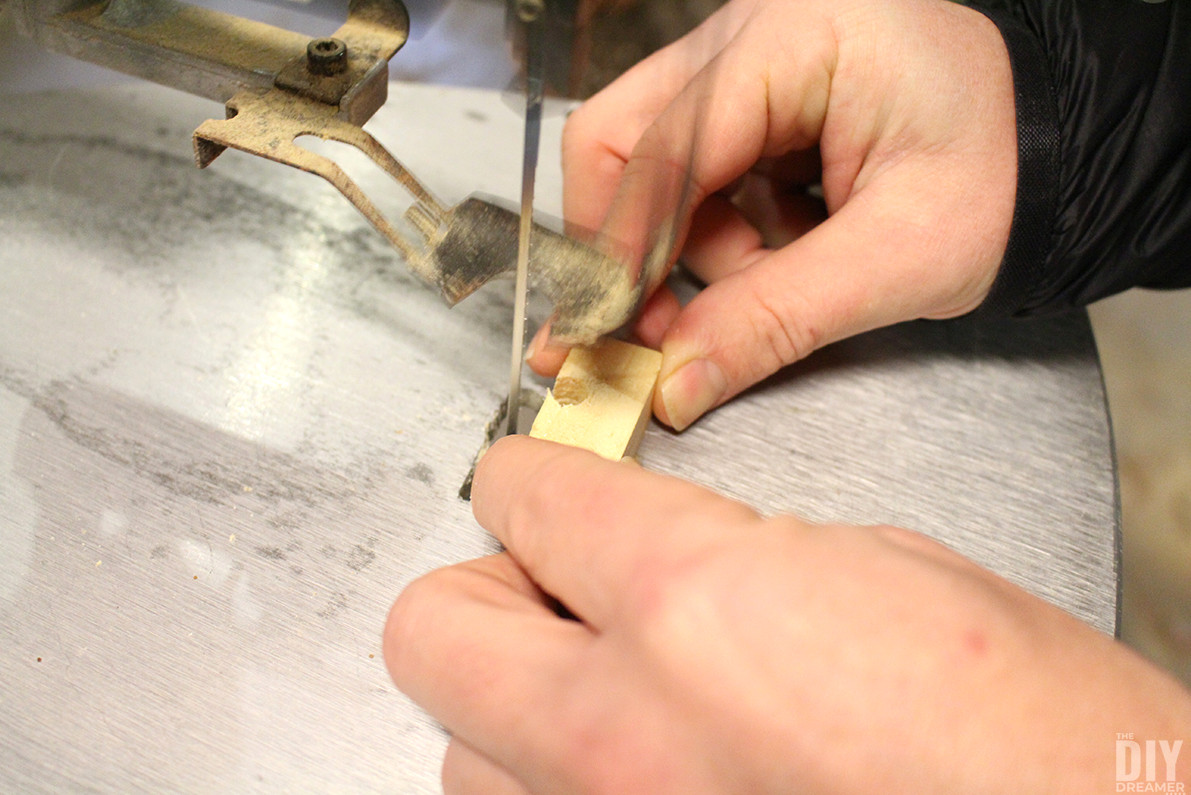
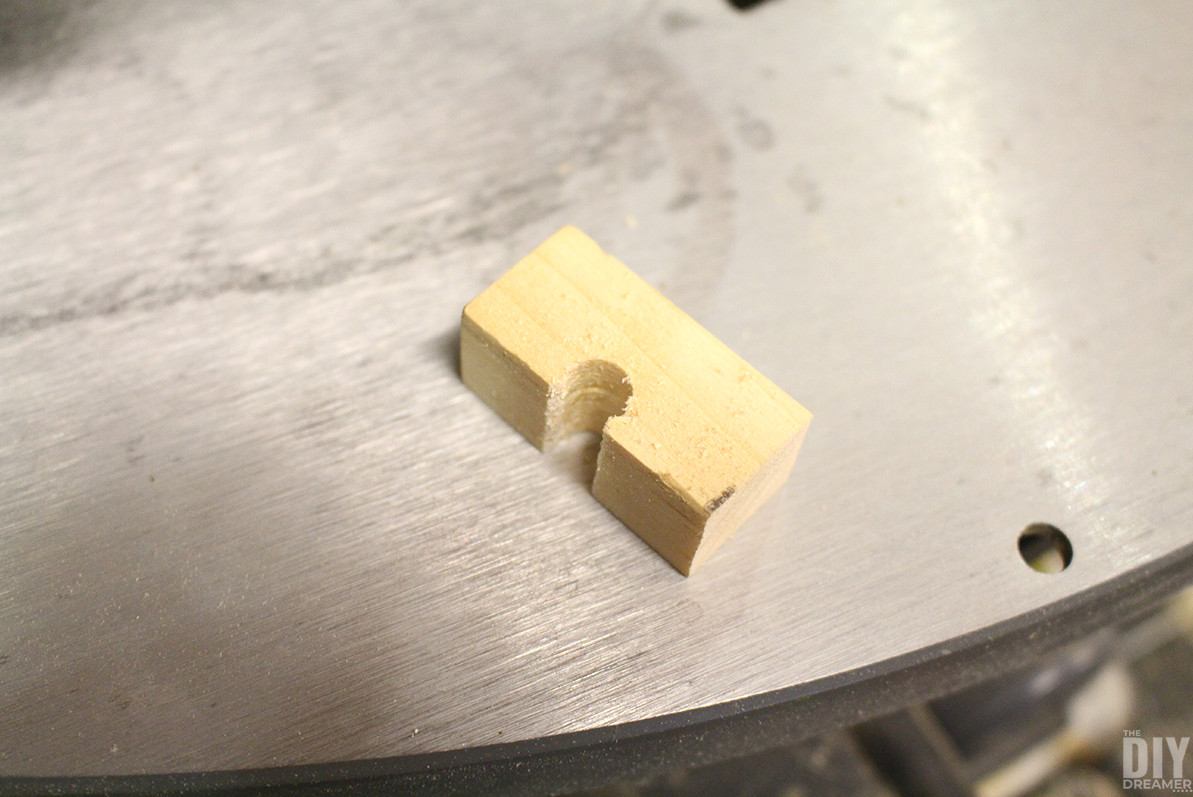
Step 13: Enlarge the opening with a scroll saw until the 2″ ring slides into it.
How to assemble a lantern
Now it’s time to put the wooden lantern together.
These are all the pieces needed to build the lantern:
Instructions:
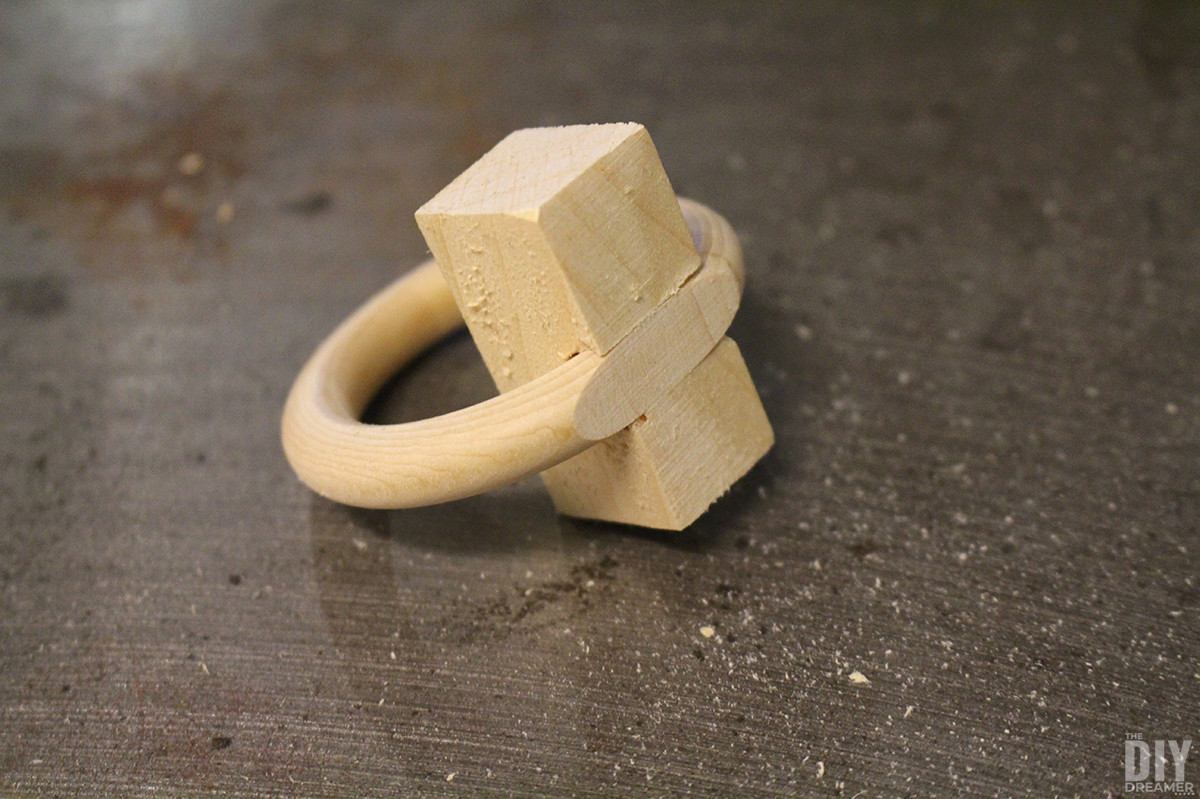
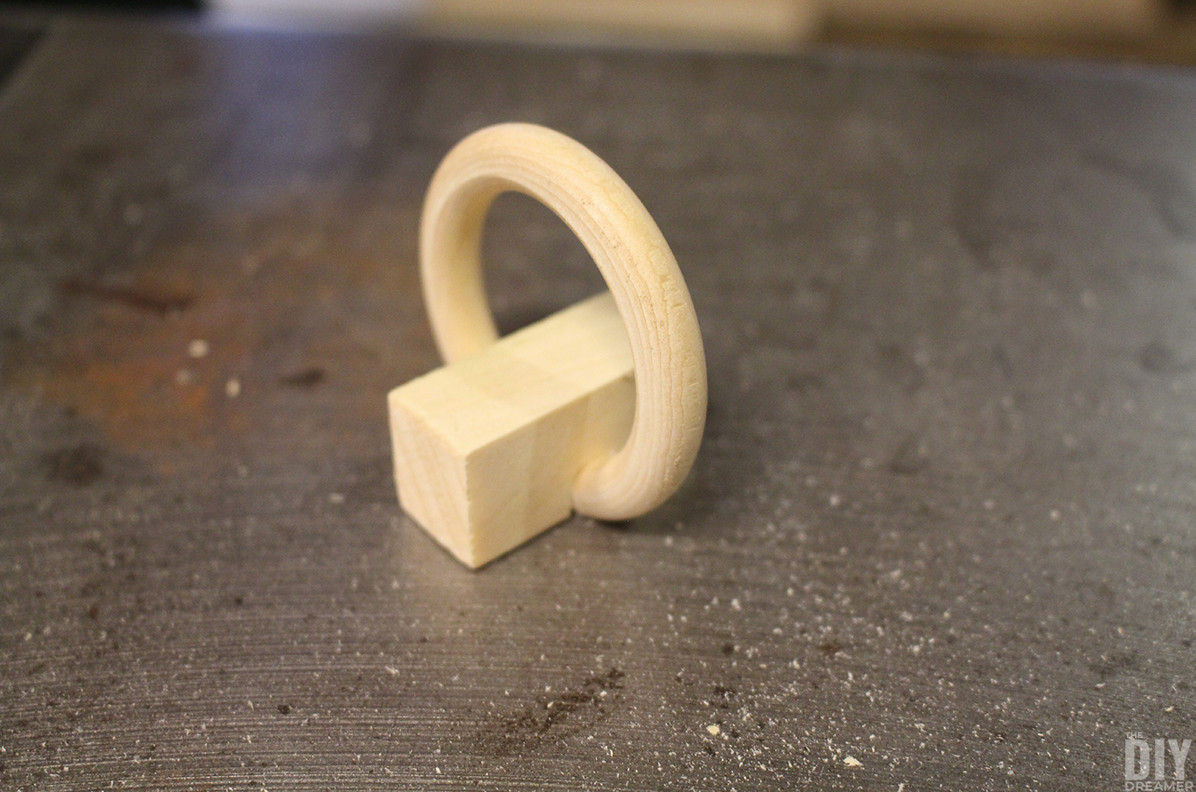
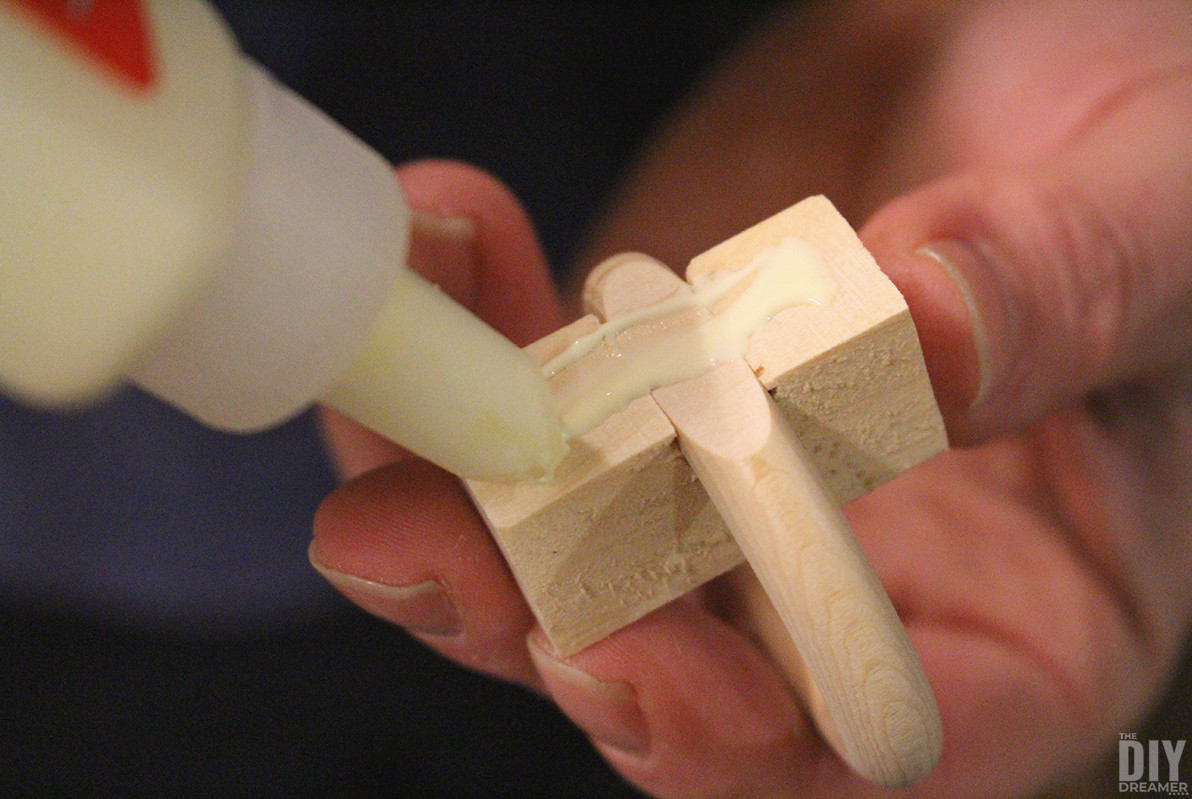
Step 1: Add a small amount of glue, then fit the 2″ ring into the small wooden block.
Sand the ring’s bottom until it sits level with the base of the wooden block.
Step 2: Position the 4 large wooden pieces next to one another, keeping the broadest side facing upward.
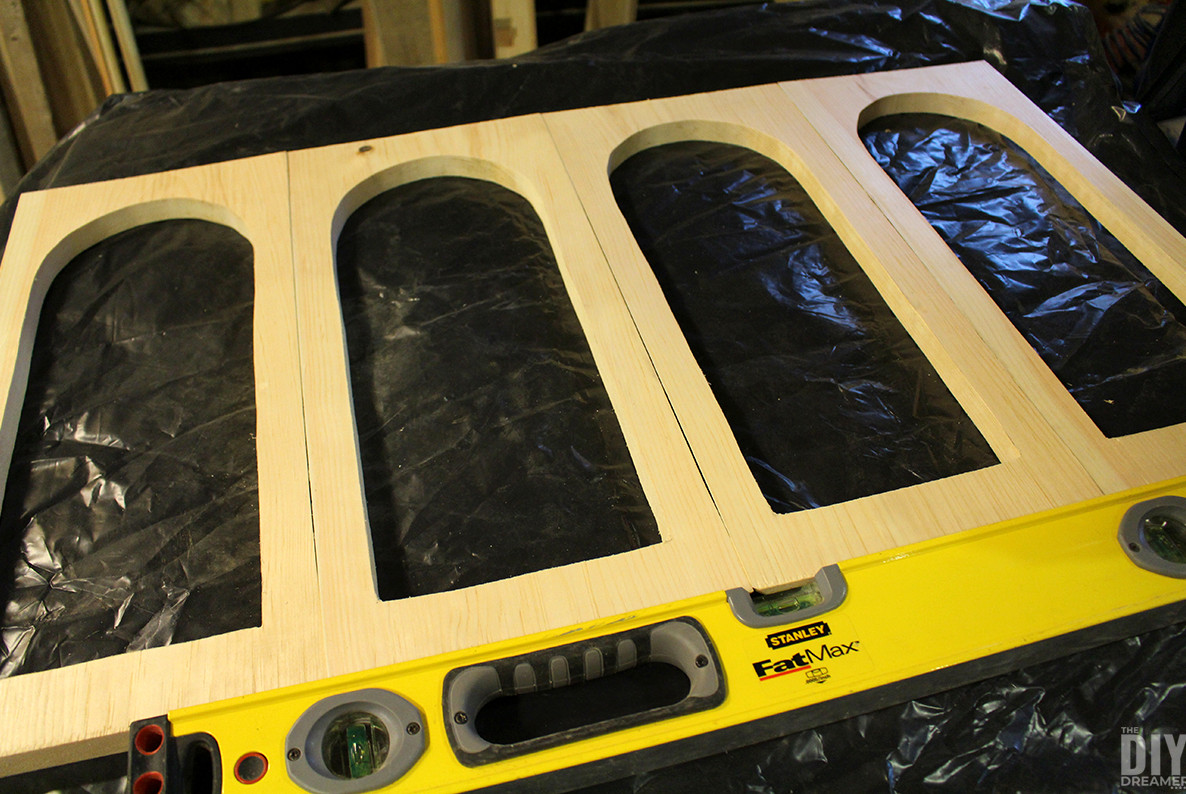
Step 3: Place strips of wide masking tape over every seam between the wooden pieces.
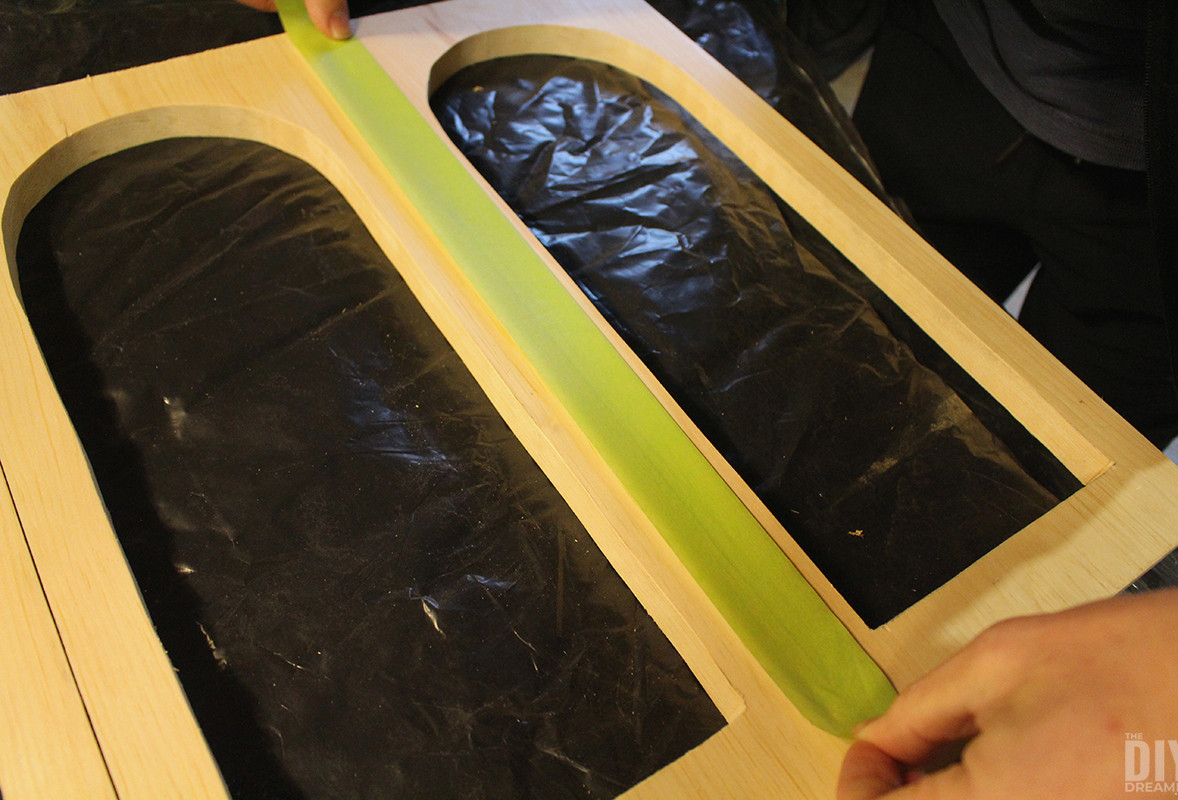
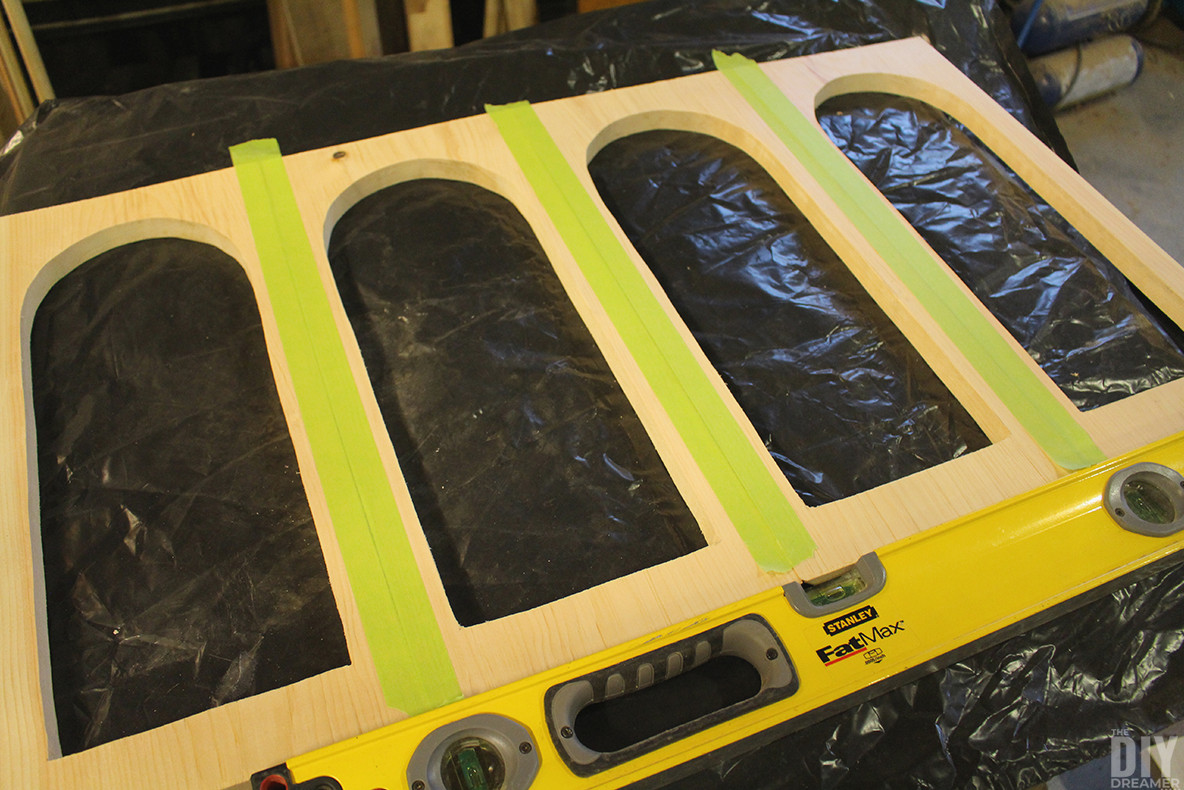
Step 4: Turn the wood over, then spread glue along every edge.
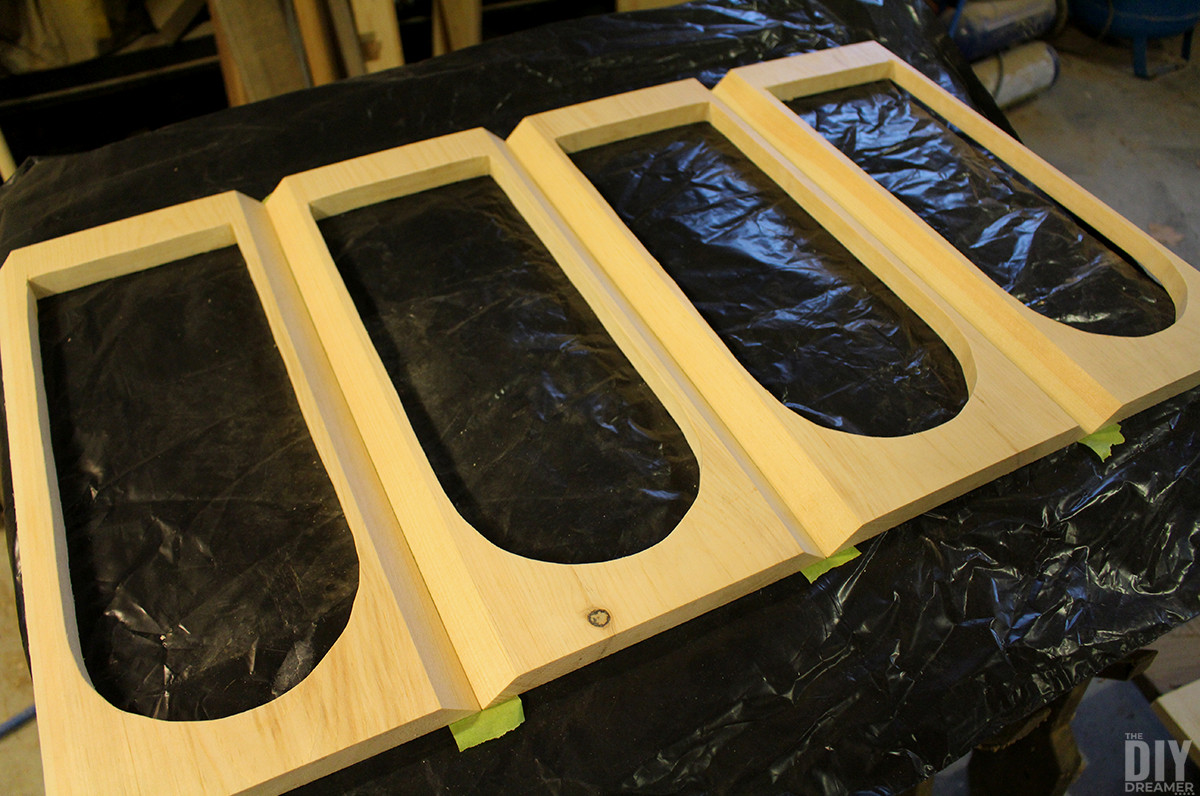
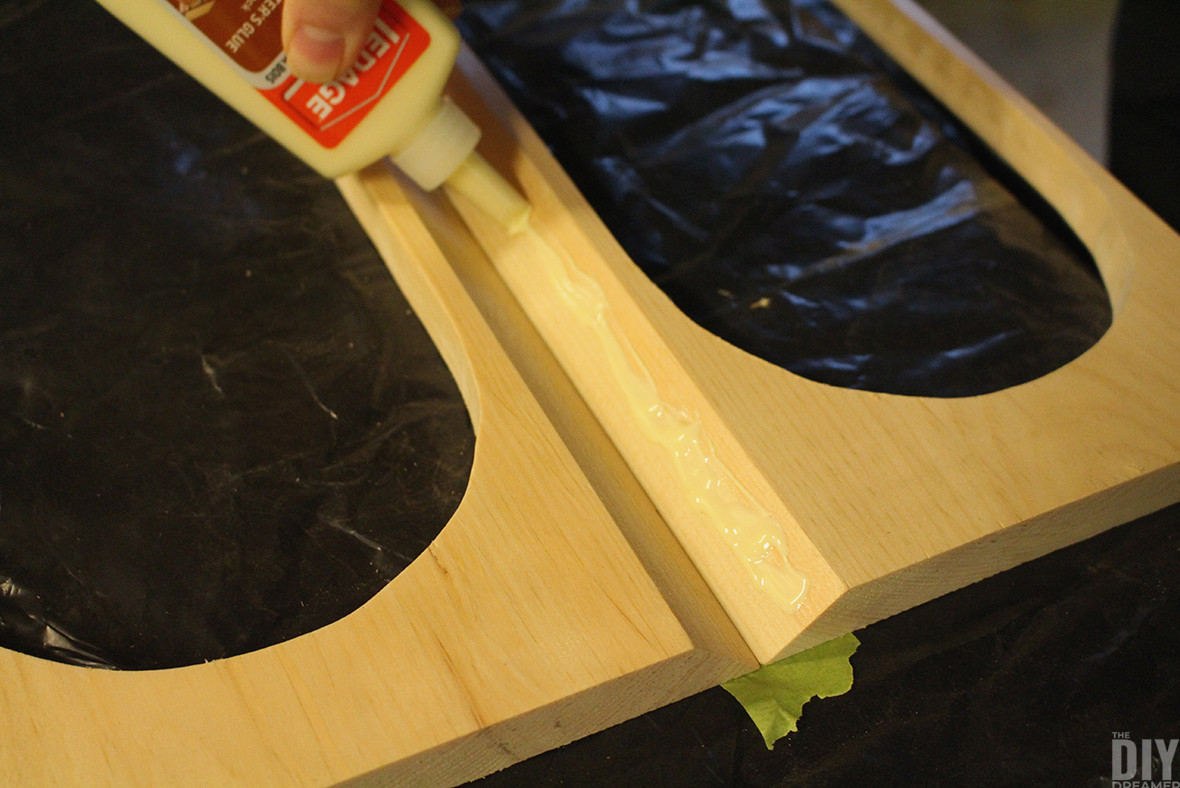
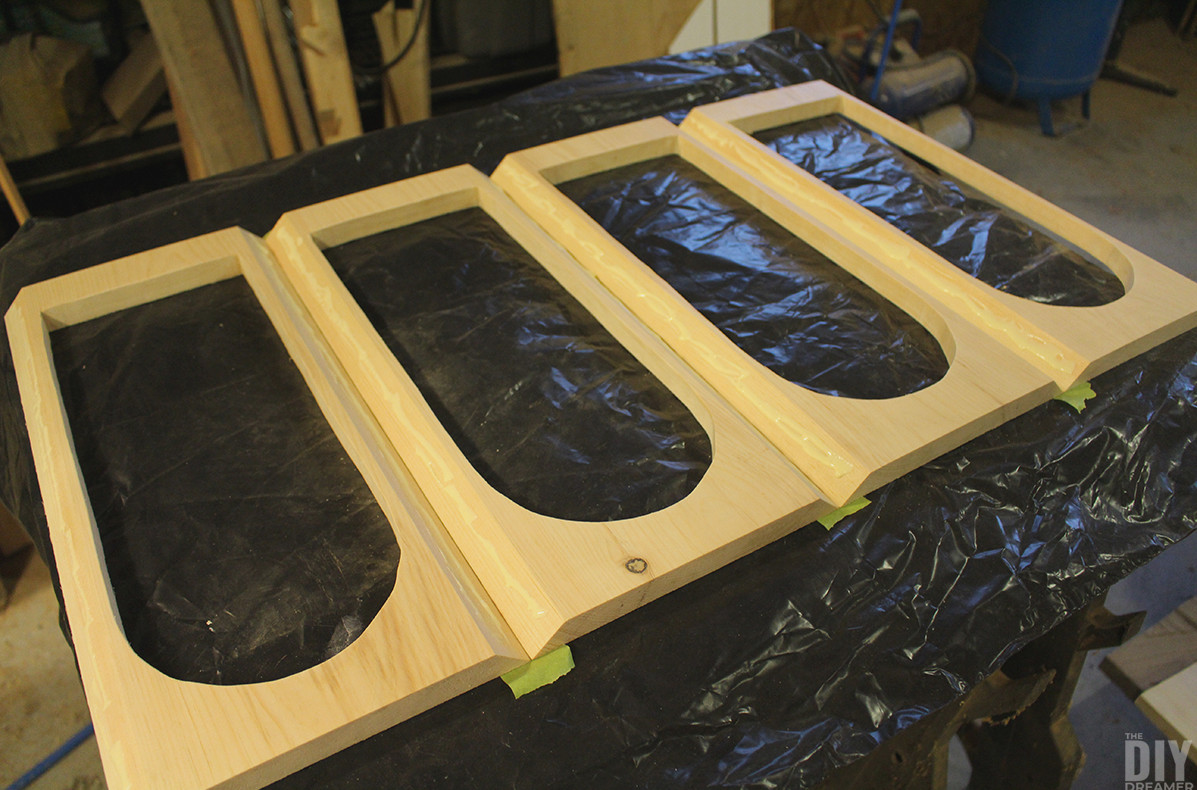
Step 5: Join the edges to form the lantern.
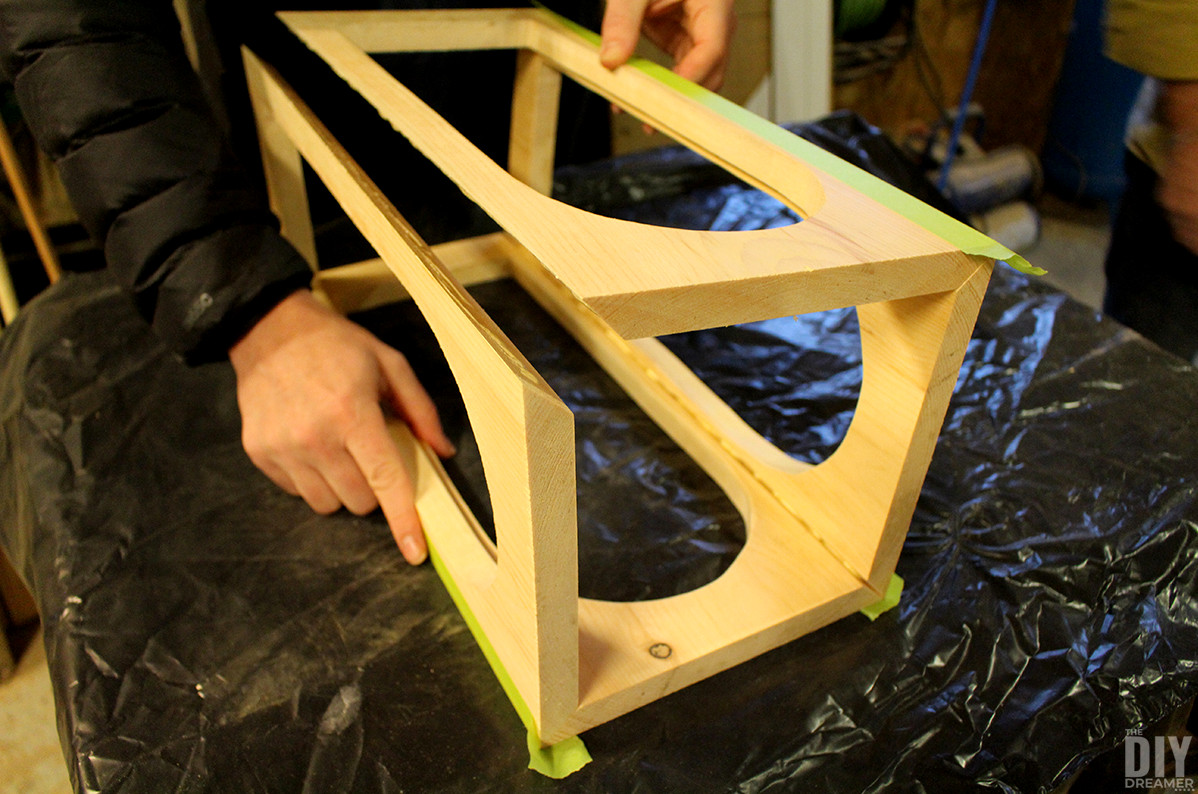
Step 6: Secure each edge with pin nails using a nail gun.
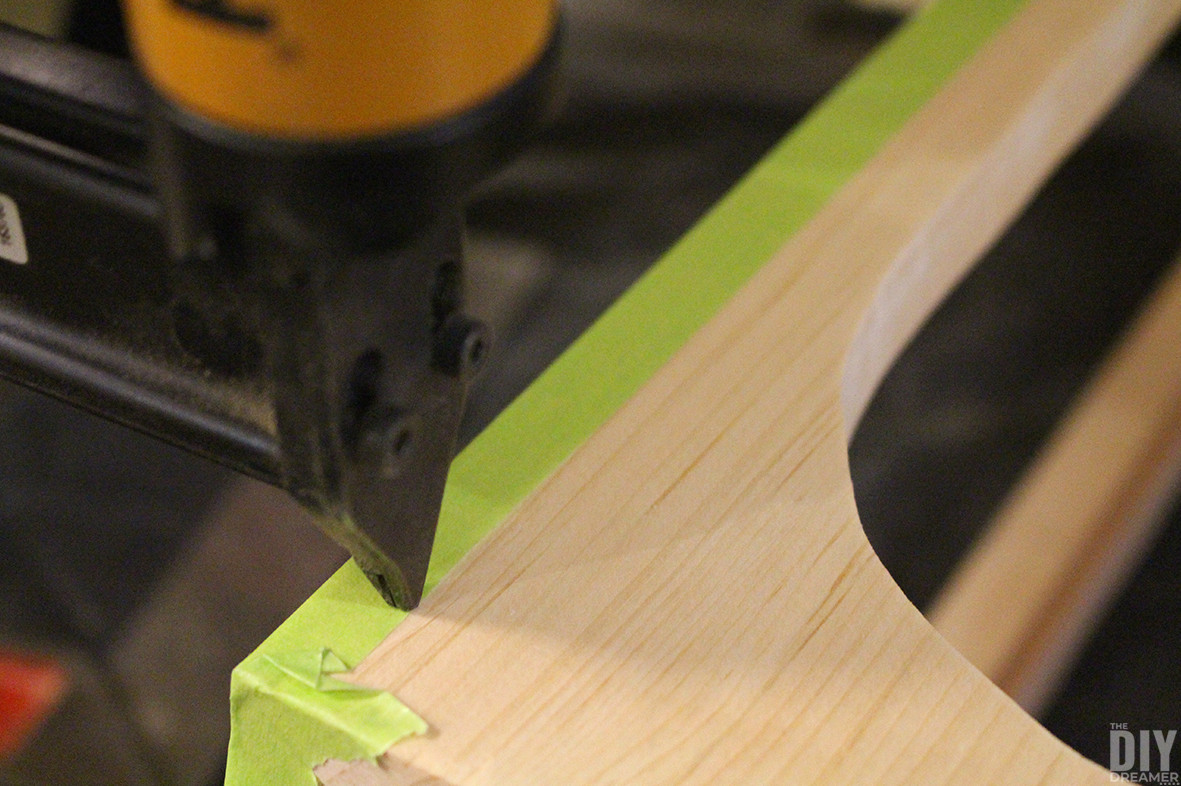
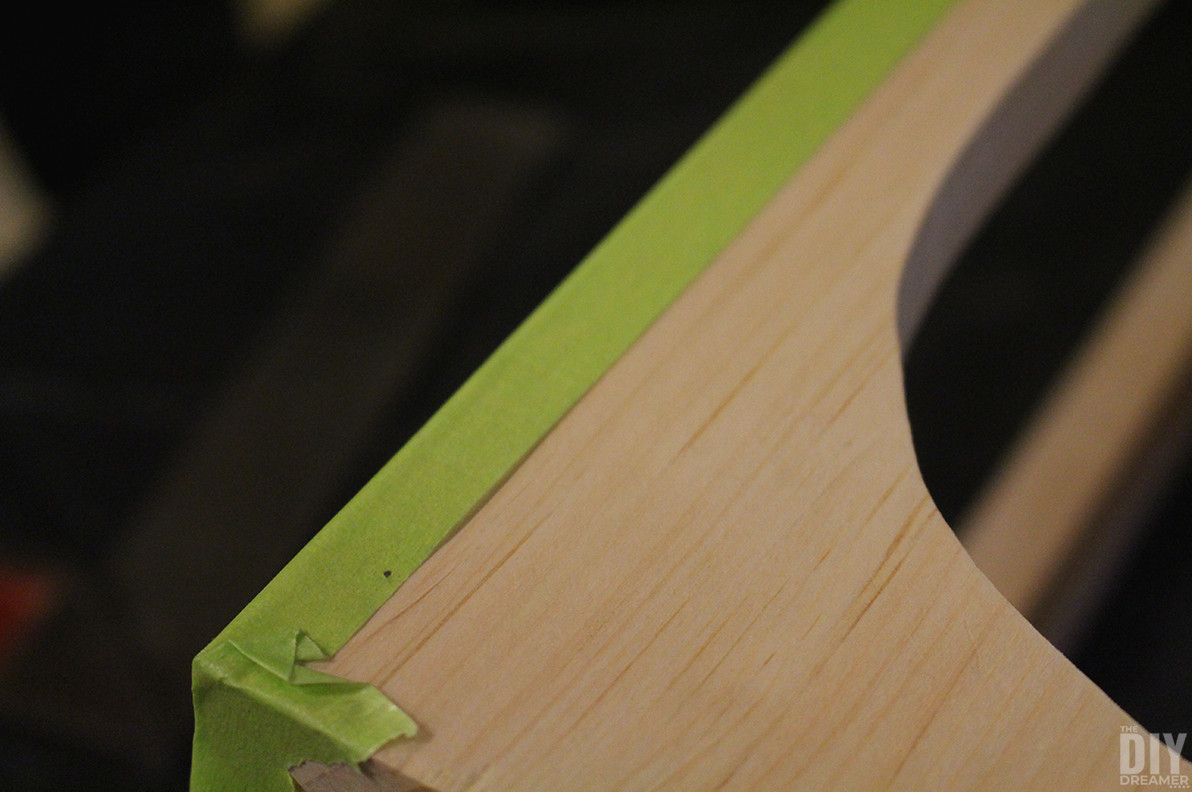
Peel away the masking tape.
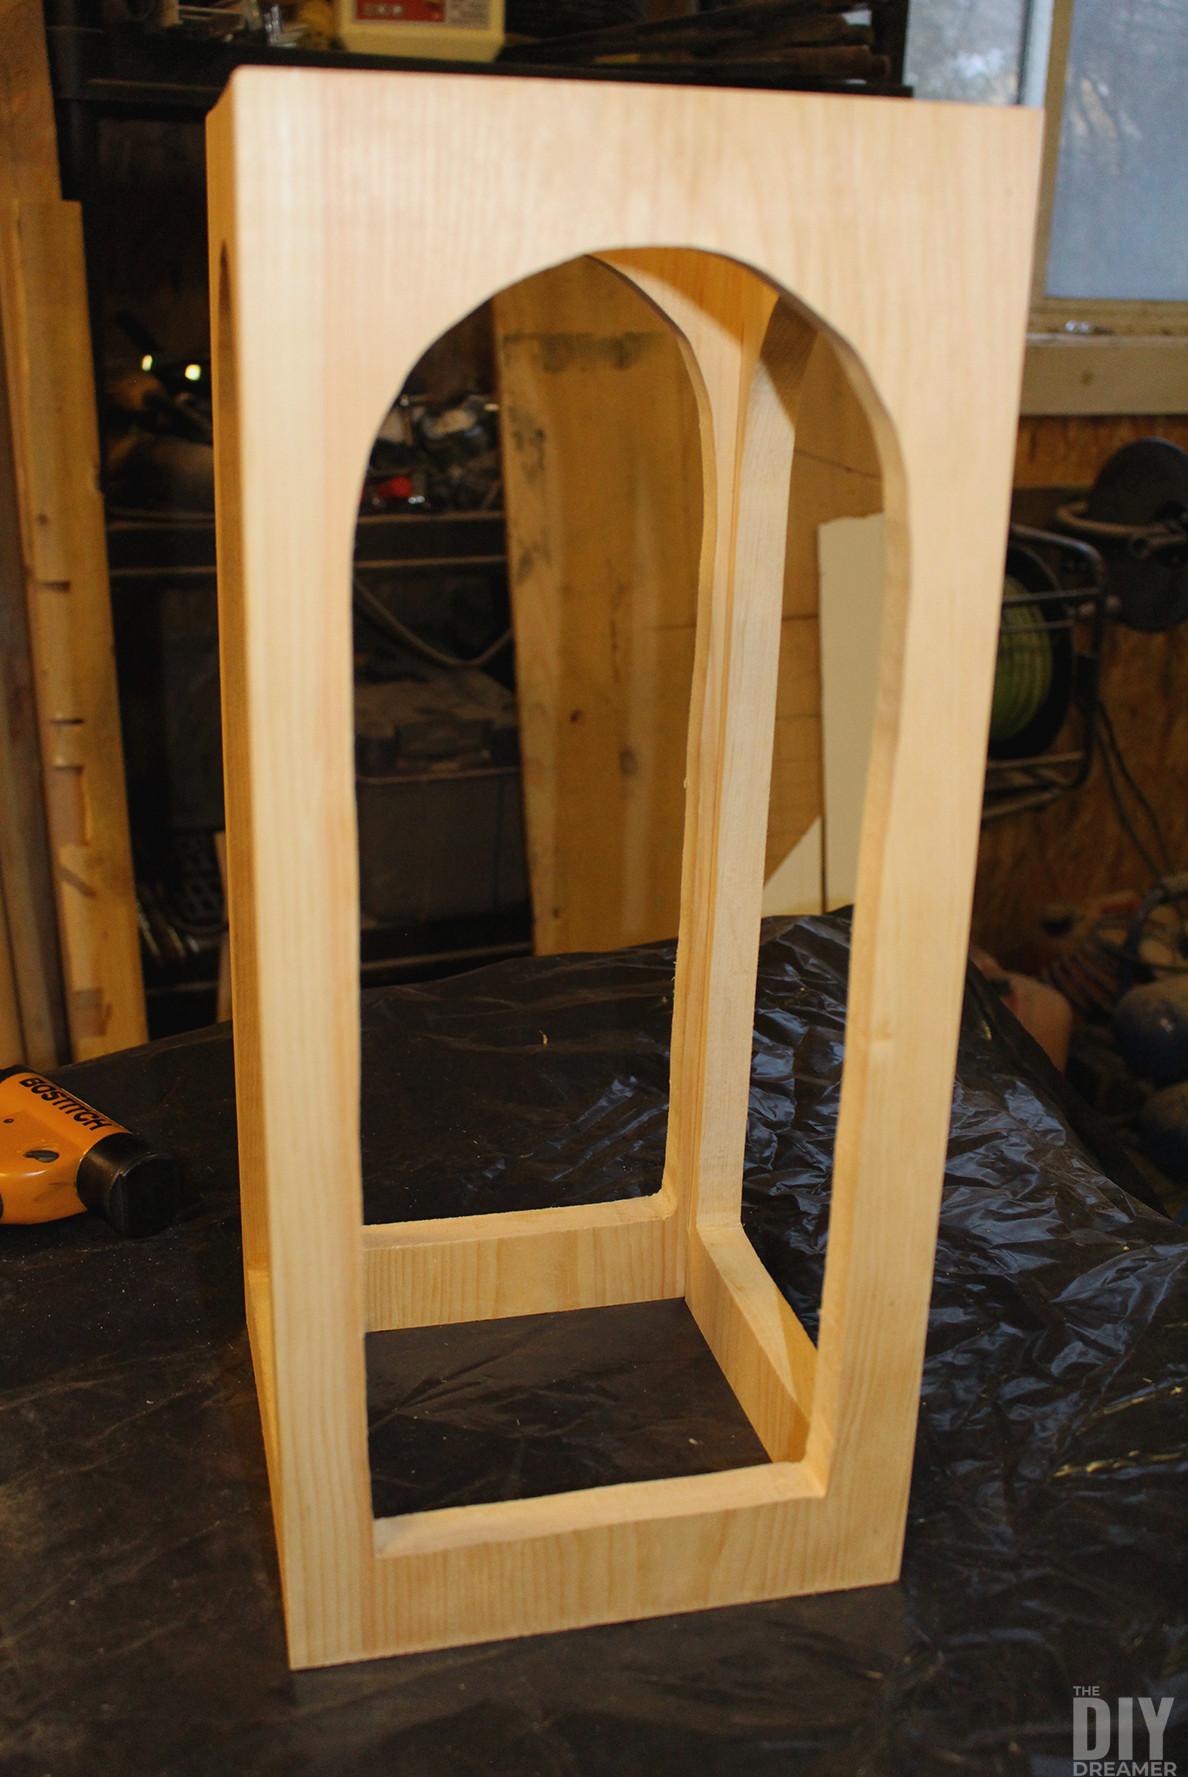
Step 7: Turn the lantern upside down.
Spread glue over the lantern’s bottom edge, then center one of the 9 ¼″ x
9 ¼″ pieces on top of it.
Fasten it to the lantern using pin nails along the perimeter.
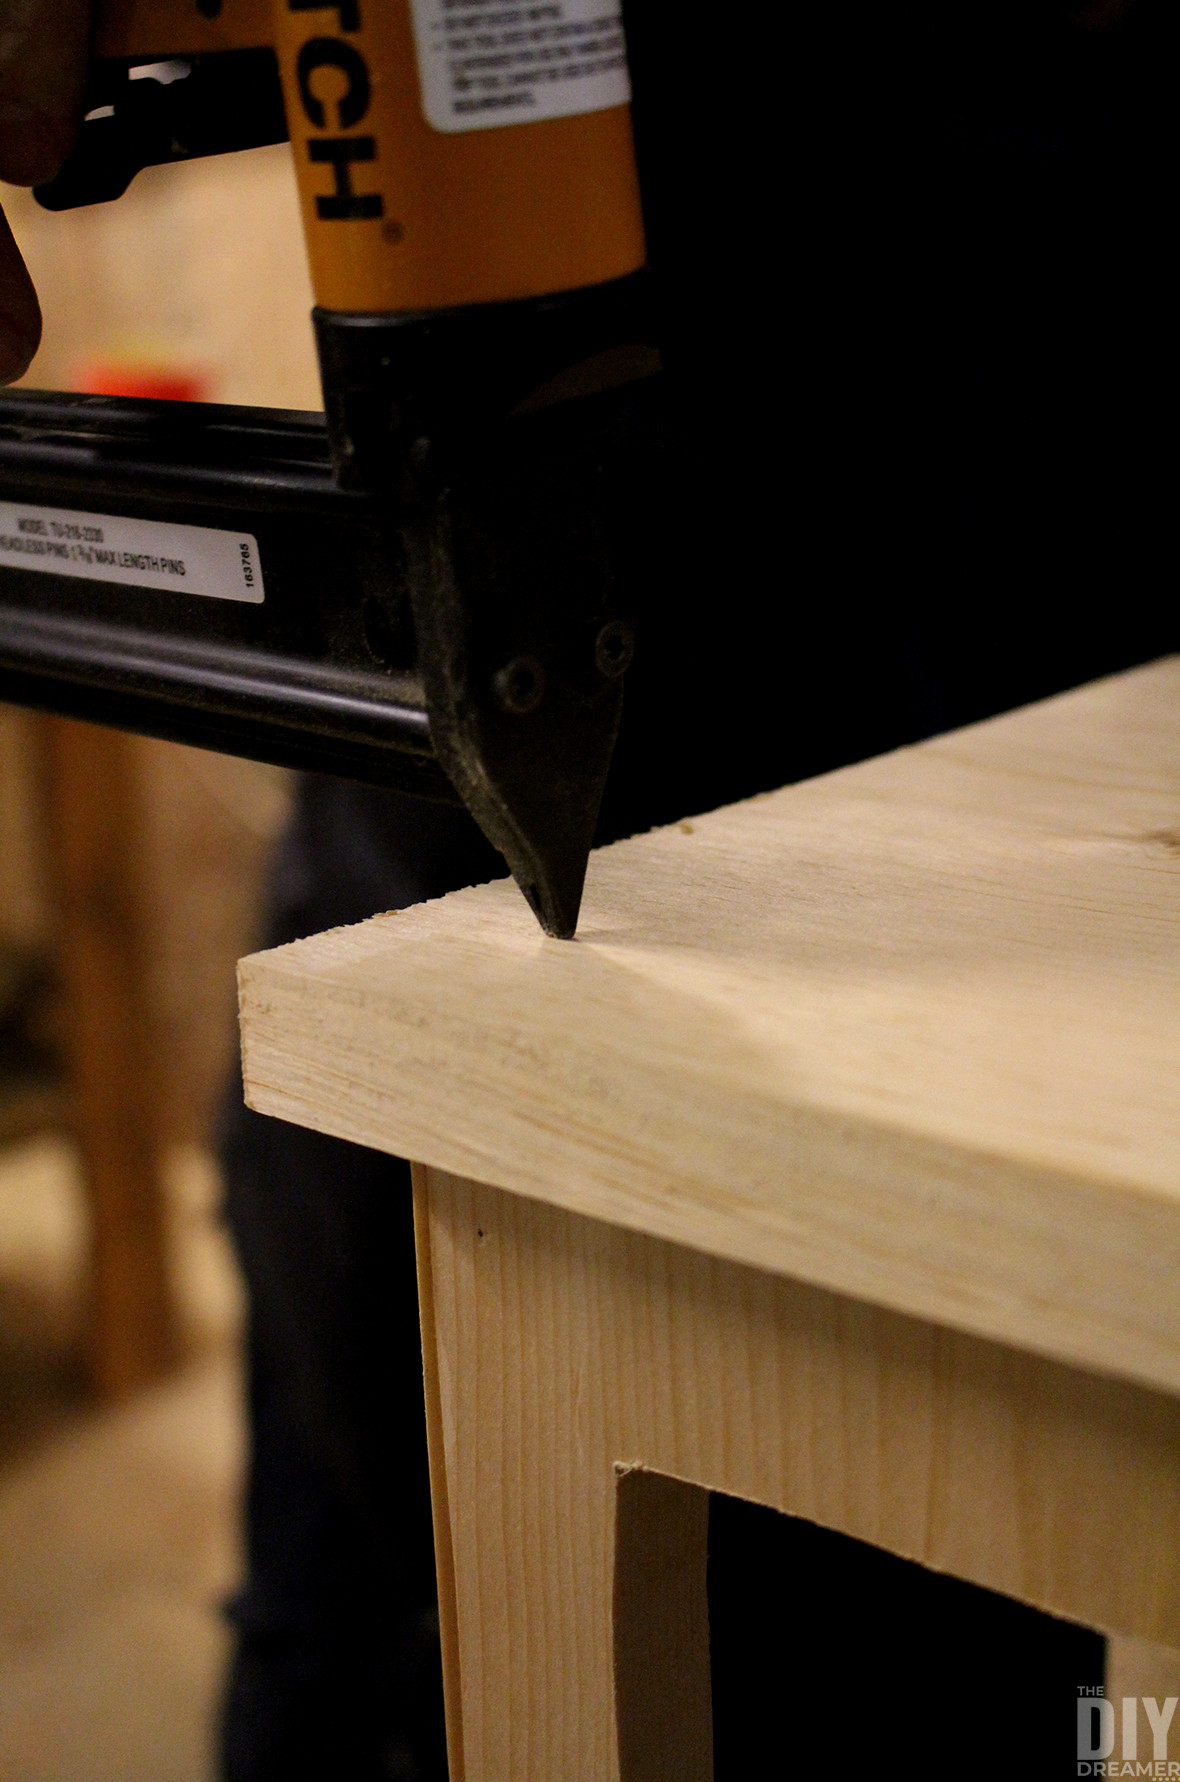
Step 8: Set the lantern on its base.
Spread adhesive along the upper edge, position the second 9 ¼″ x 9 ¼″ piece centrally over it, and secure it with nails.
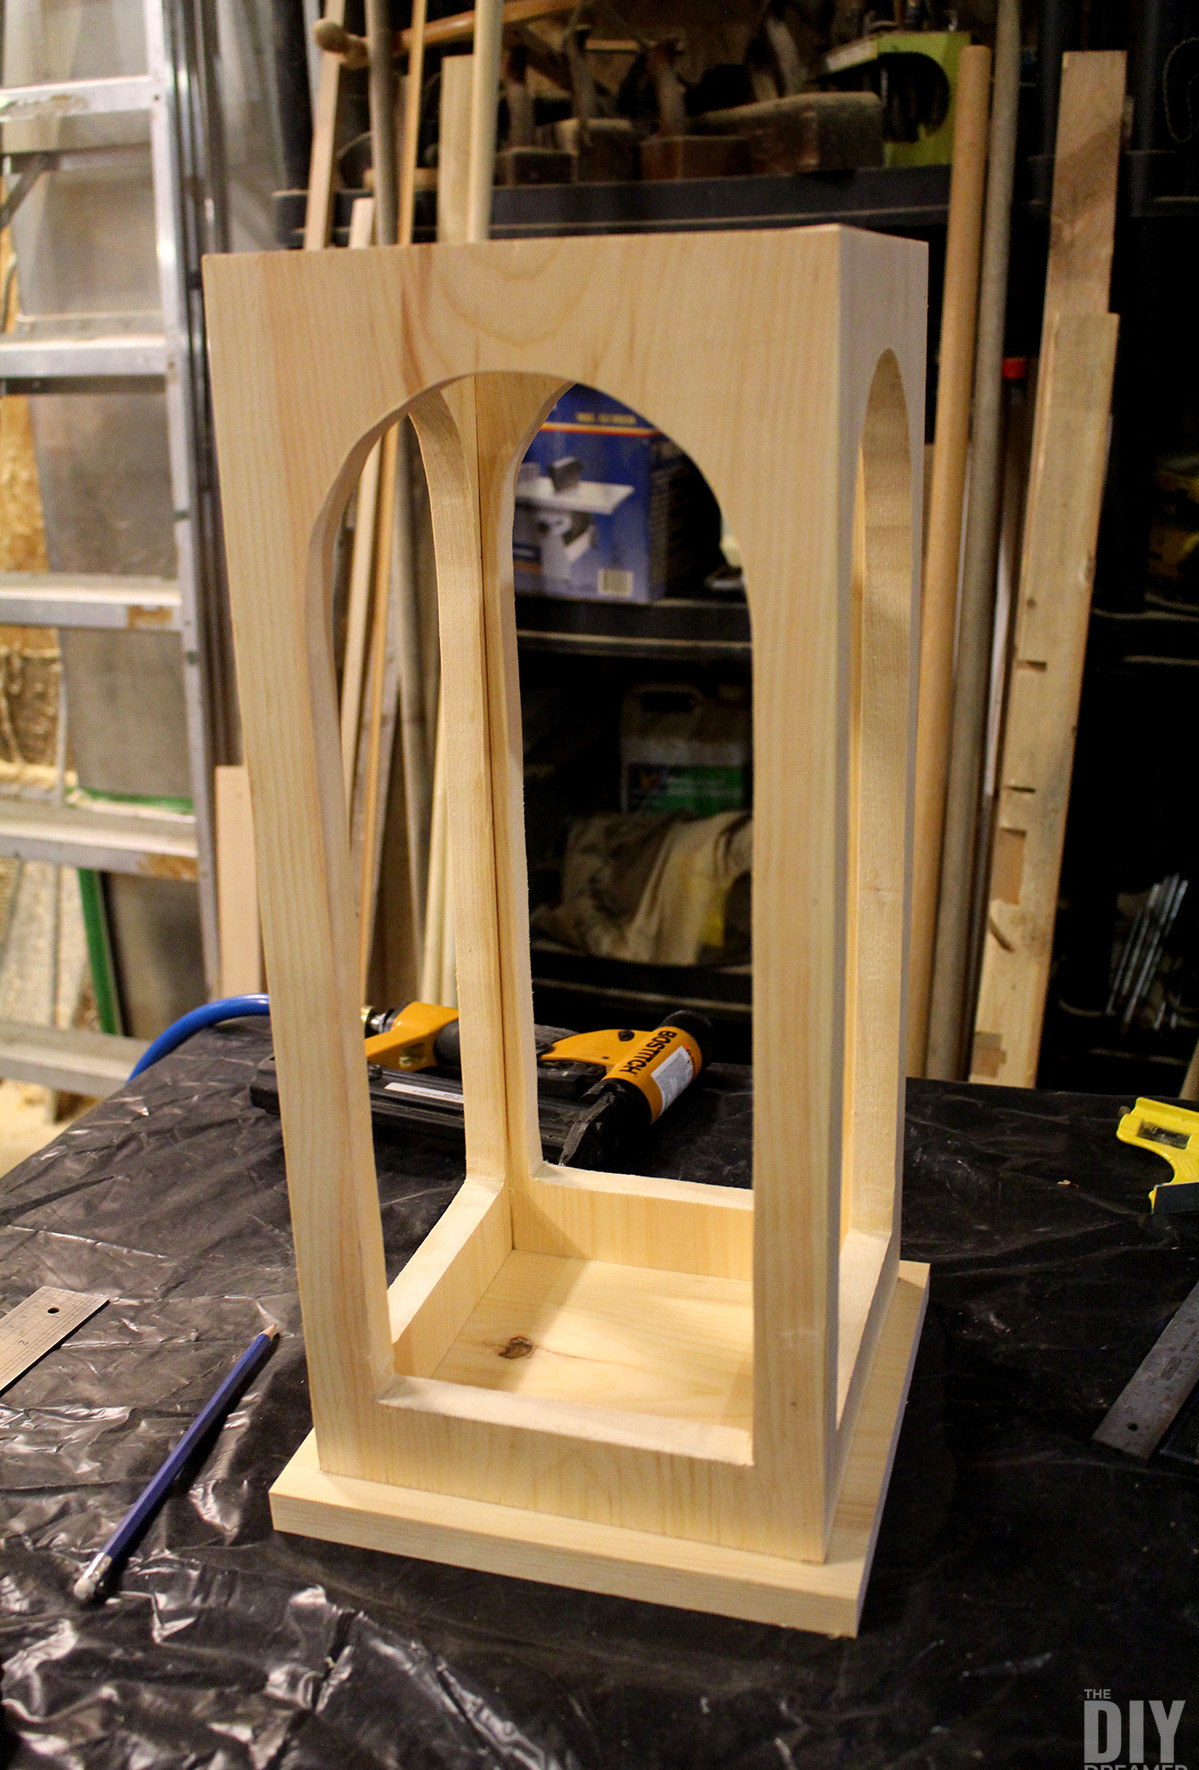
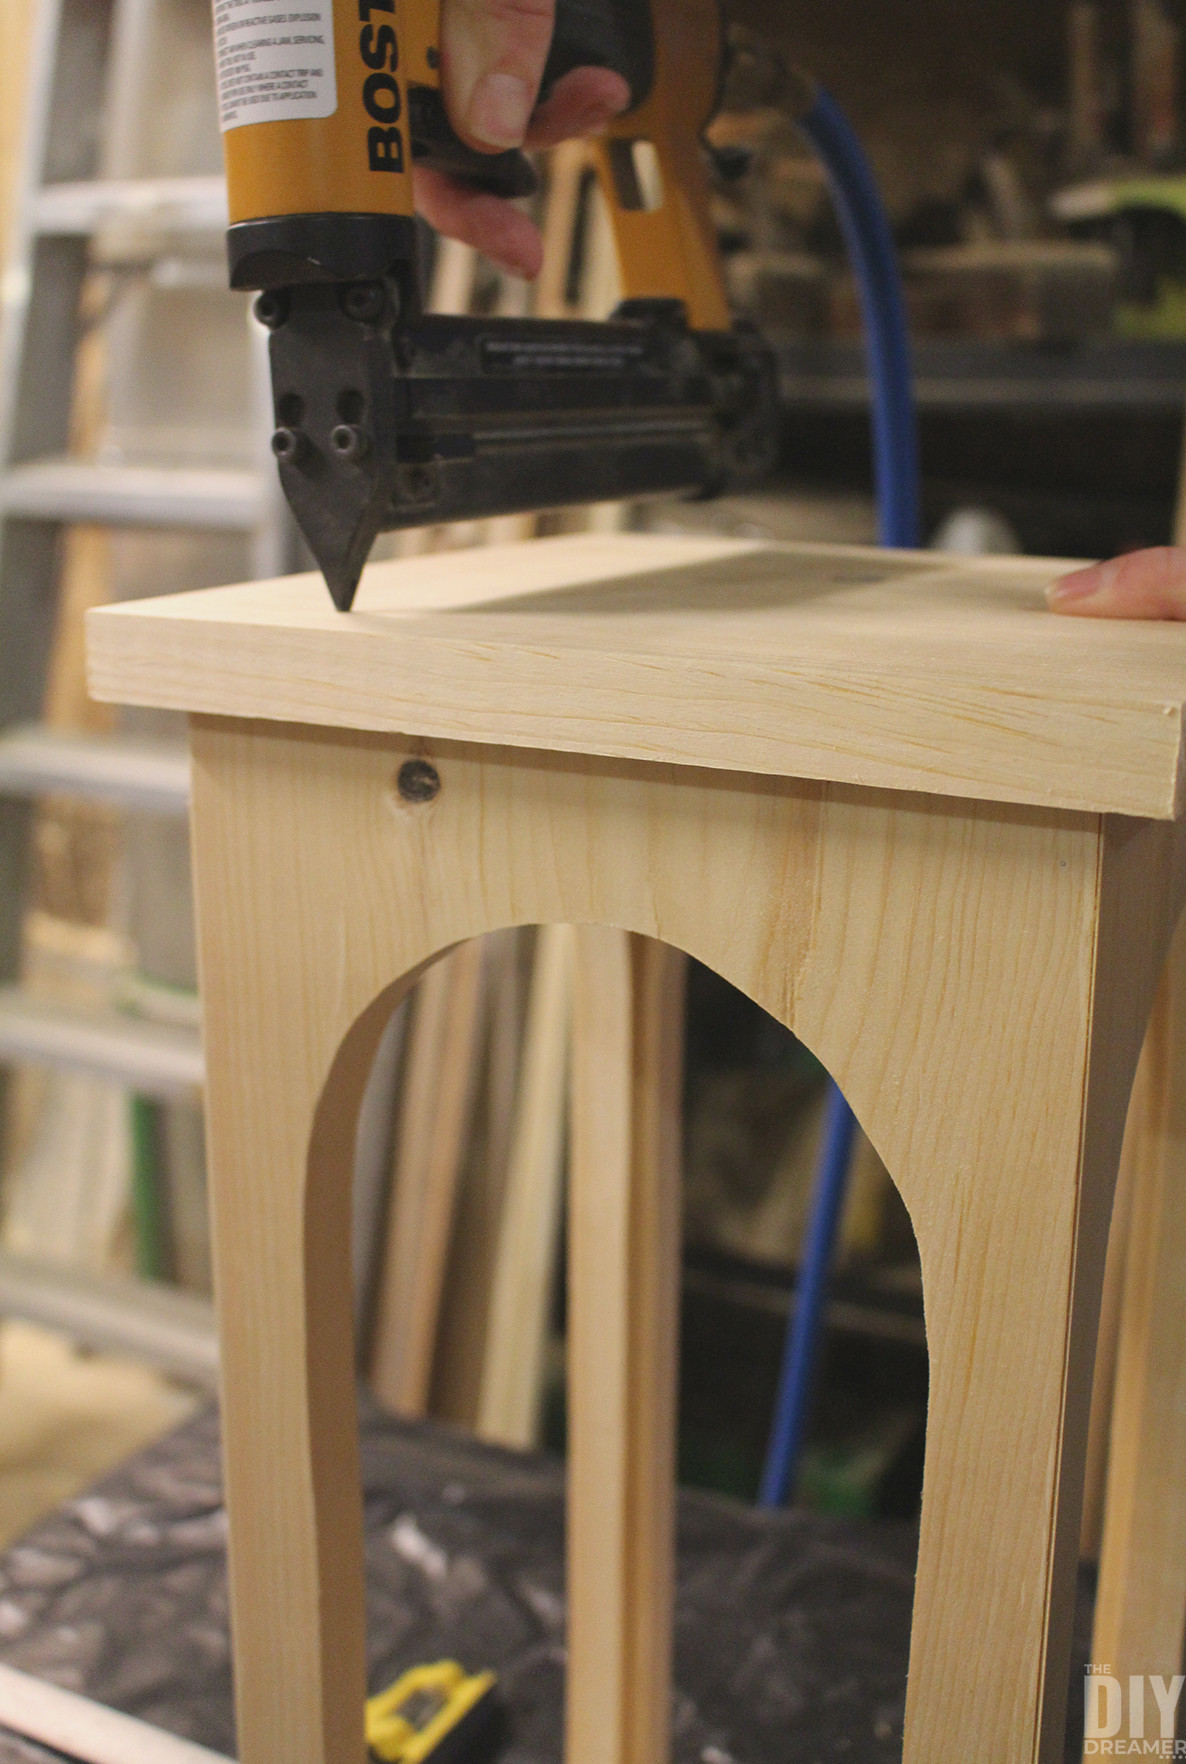
Step 9: Center the 5 ½″ x 5 ½″ piece on top, then glue and nail it in place.
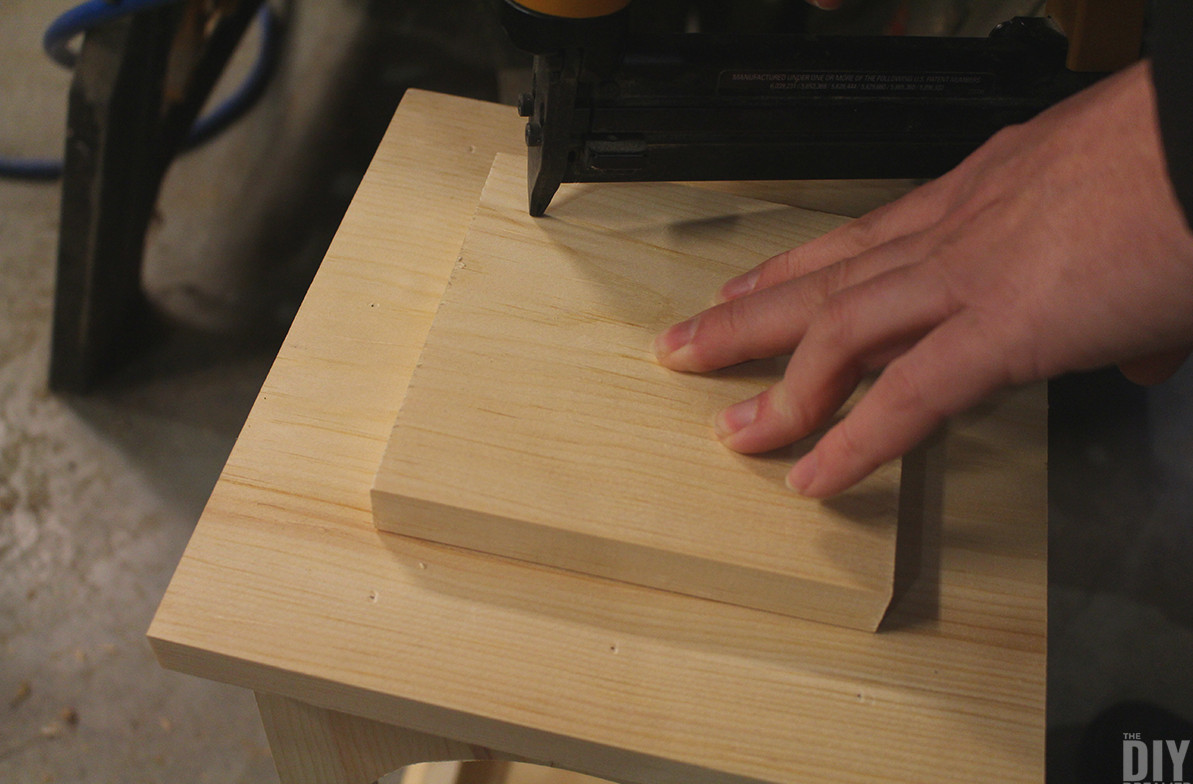
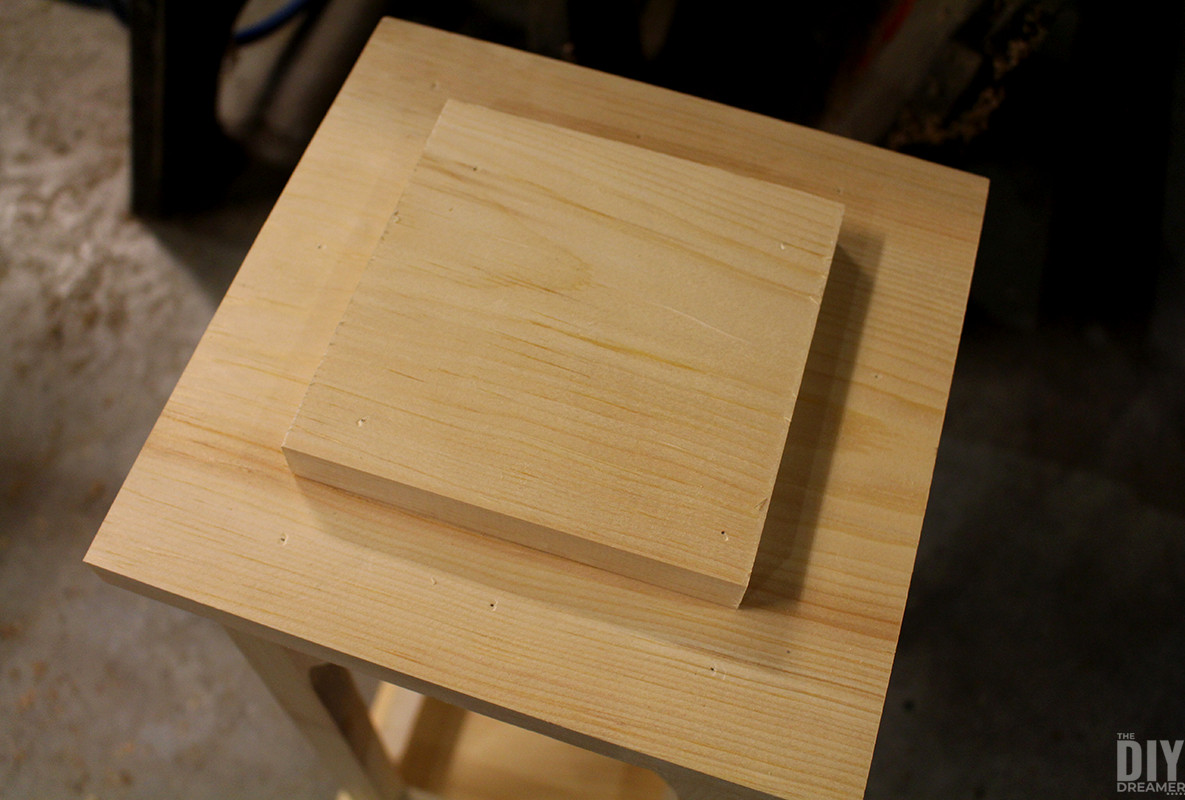
Step 10: Spread glue beneath the block containing the ring, then position it over the 3″ x 3″ piece so it is centered.
Secure it with nails.
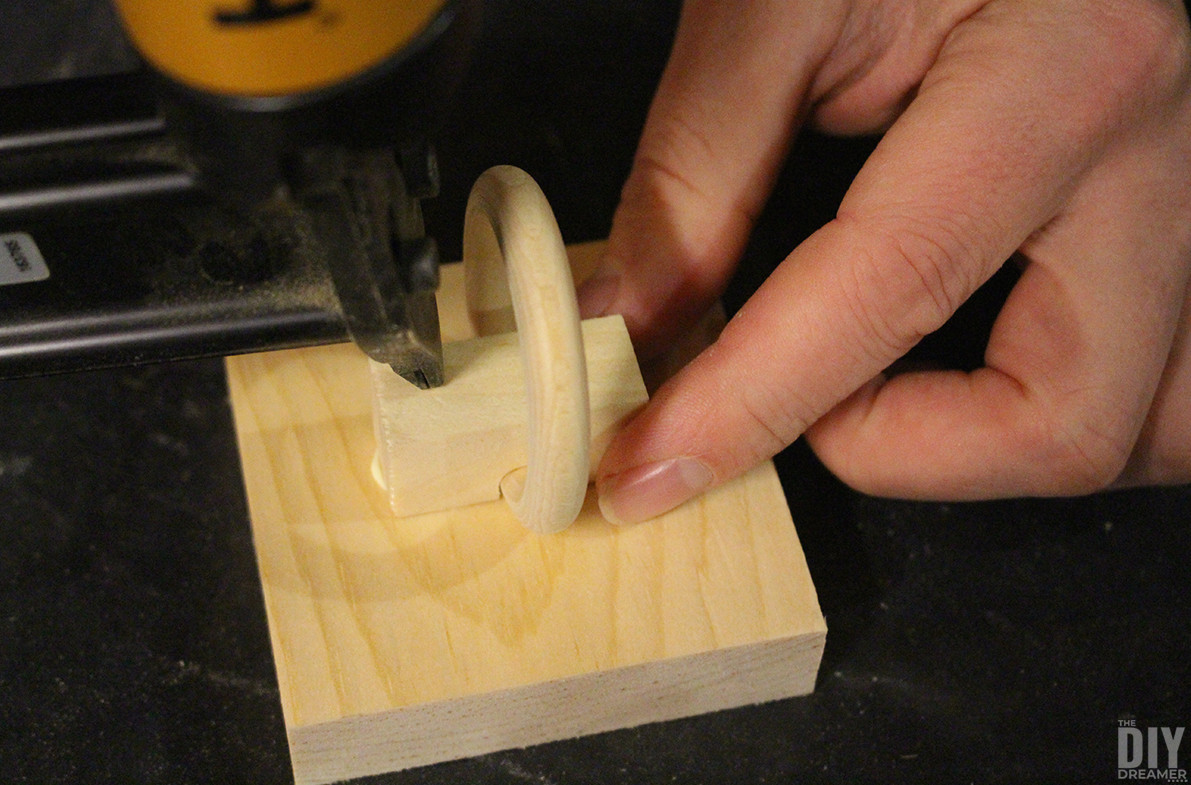
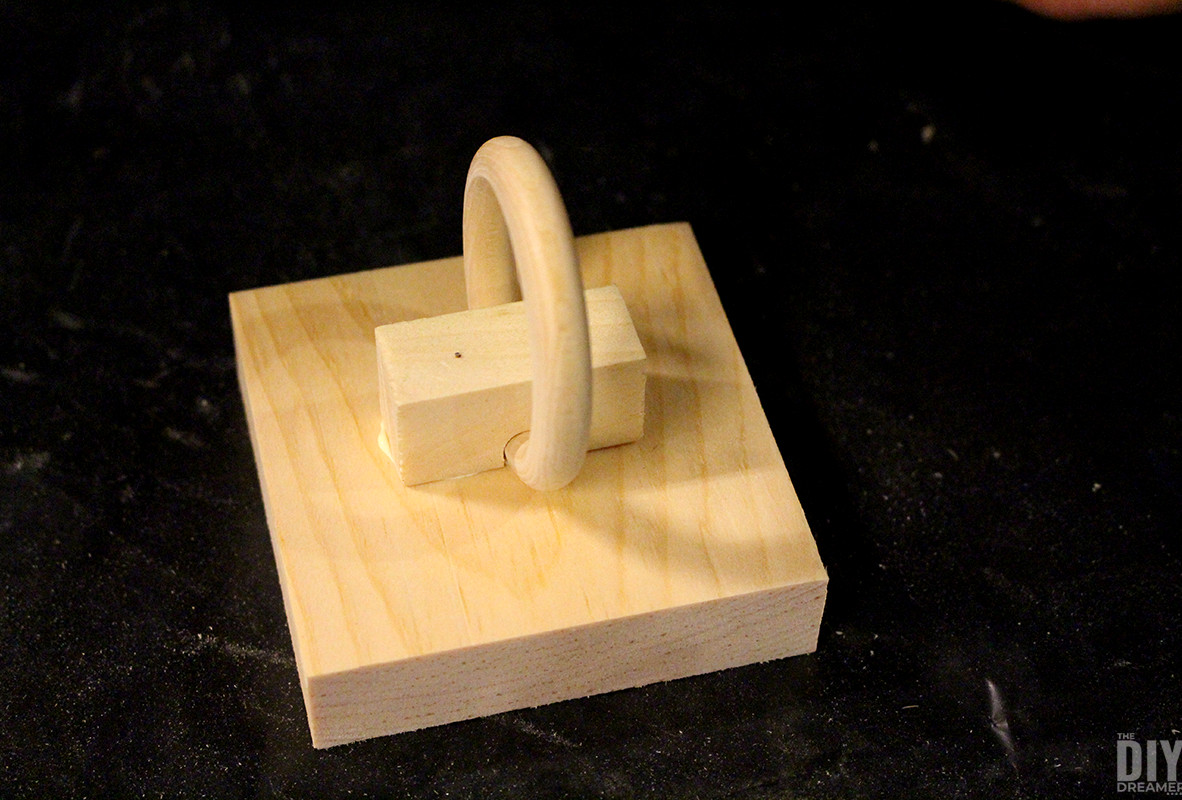
Step 11: Center the 3″ x 3″ piece with the ring over the 5 ½″ x 5 ½″ piece, then glue and nail it down.
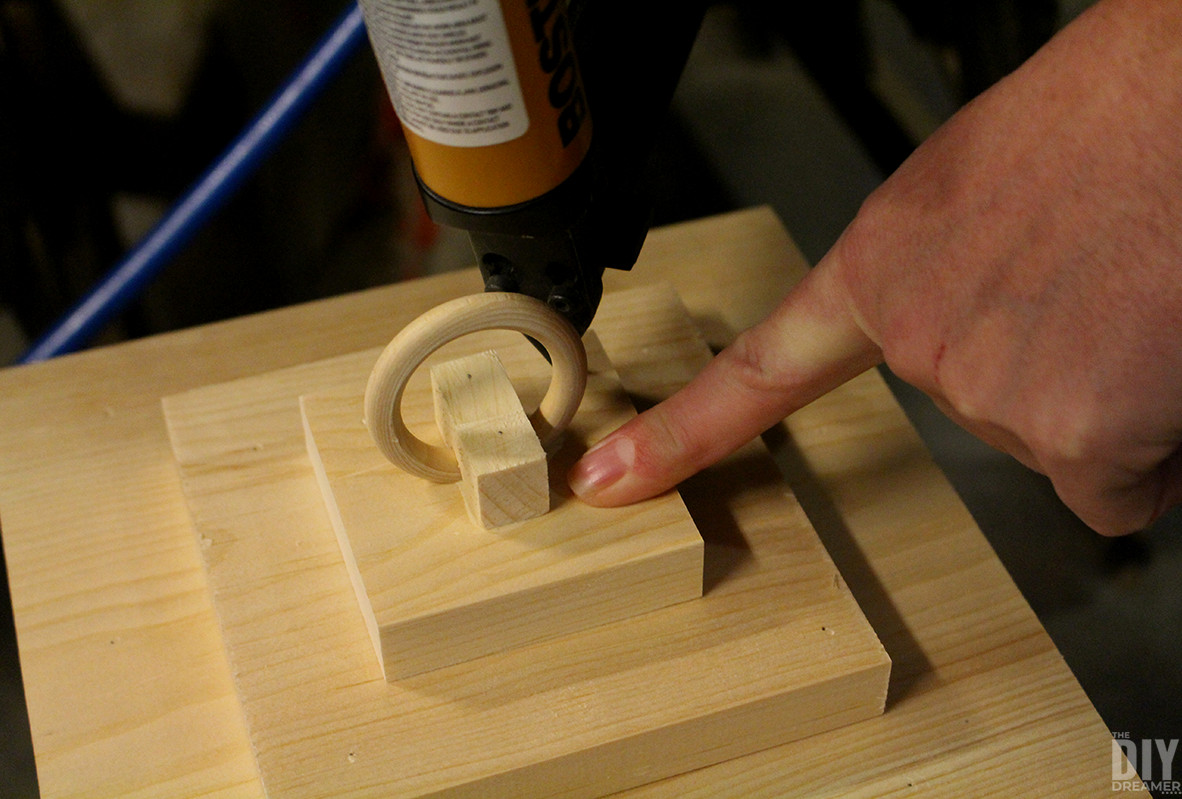
Step 12: Sand every edge until smooth.
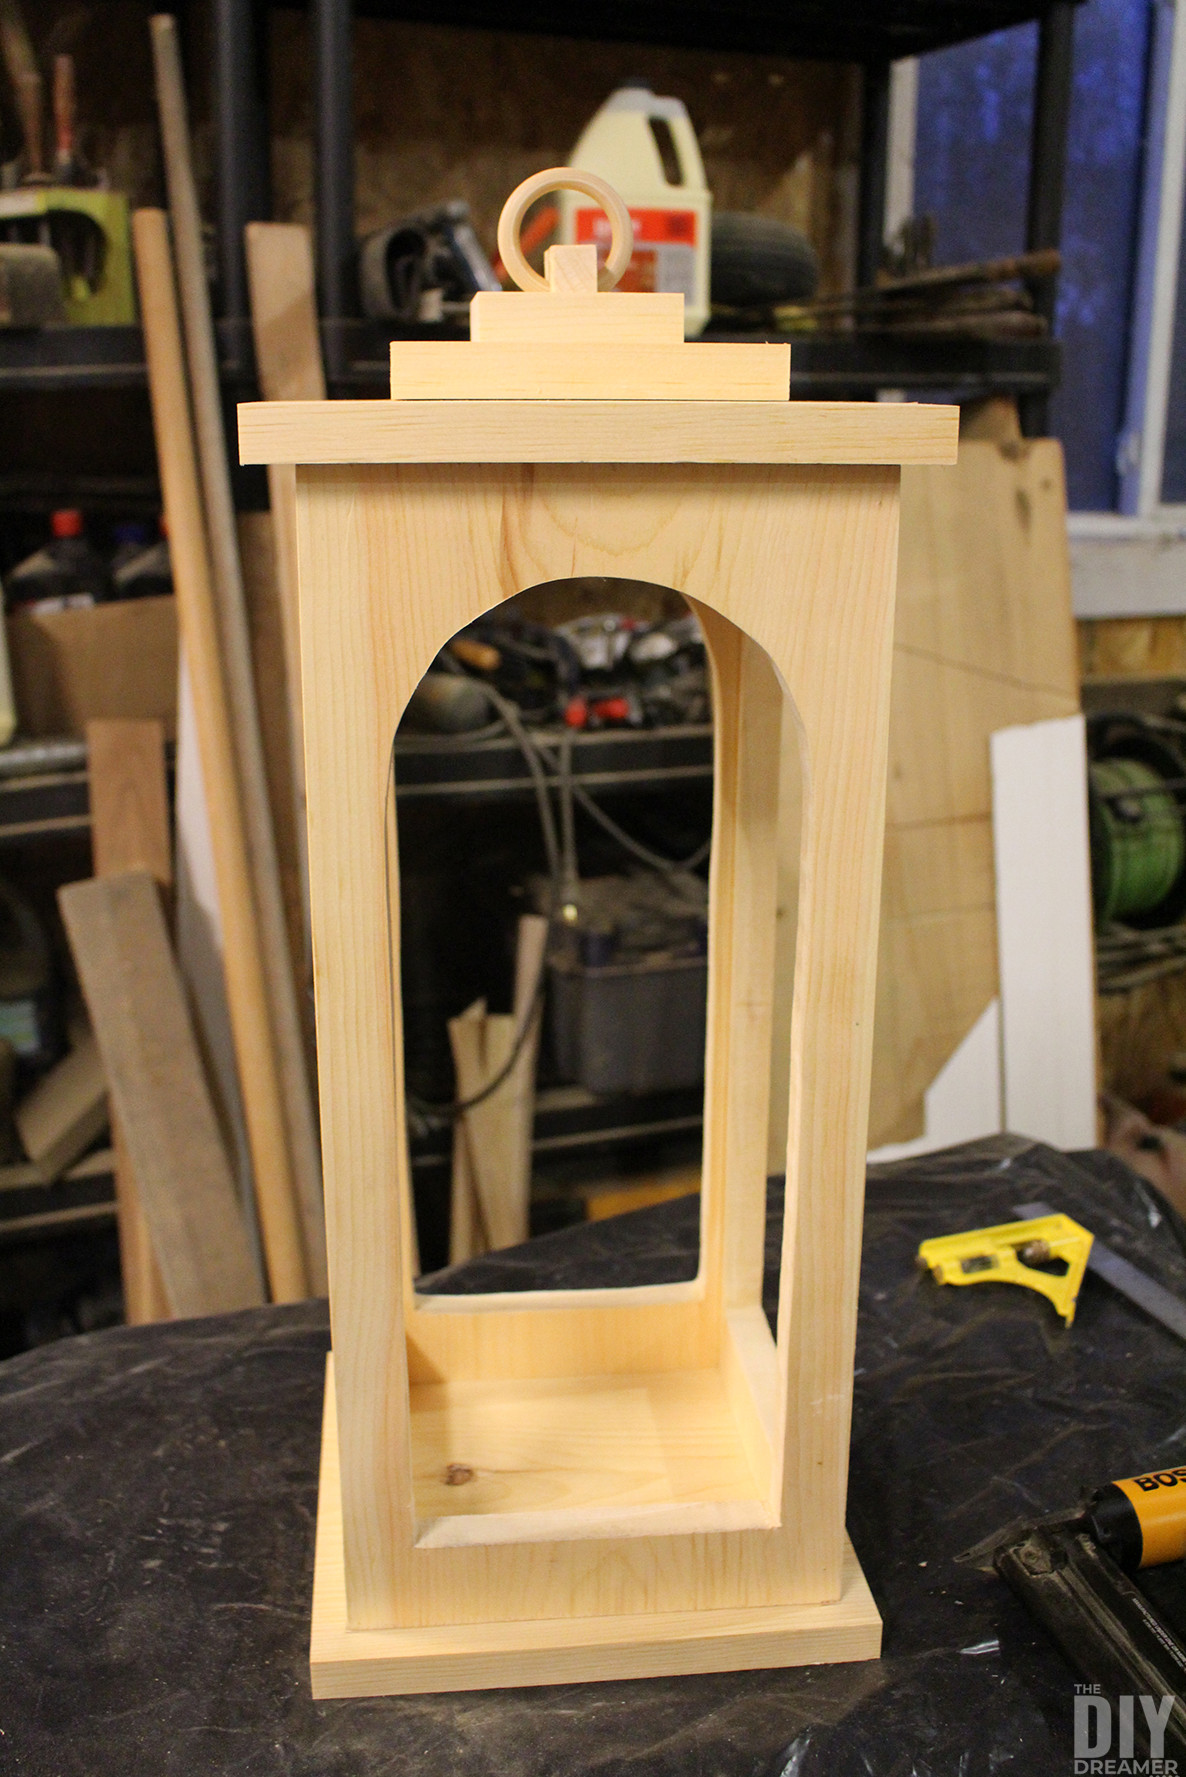
The finished lantern is approximately 23″ tall and 9 ¼″ wide.
DIY Wood Lantern
Making the lantern may appear to involve many steps, though it is actually quite simple. With the right tools available, it takes roughly 2 hours to complete.
With two 1-inch x 10-inch x 8 ft. pine boards, you can conveniently build two at once.
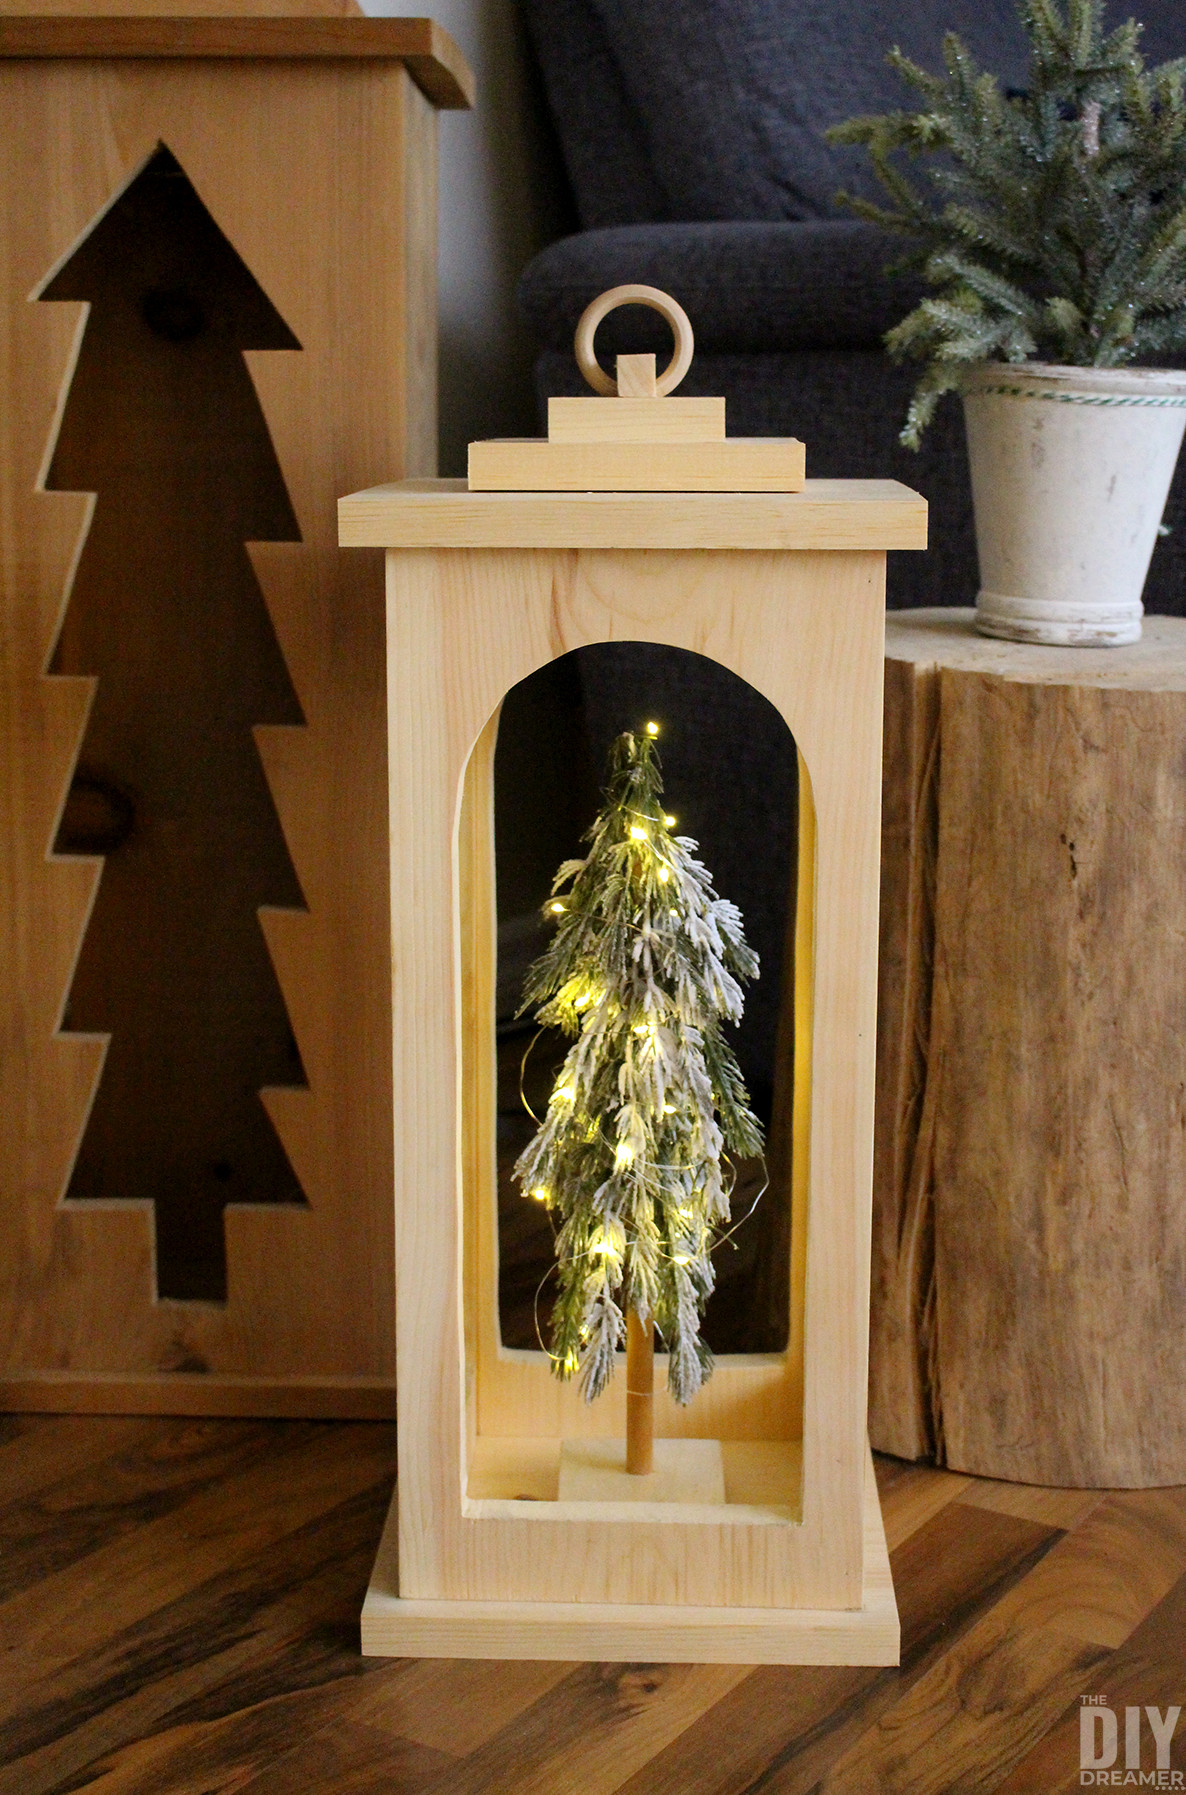
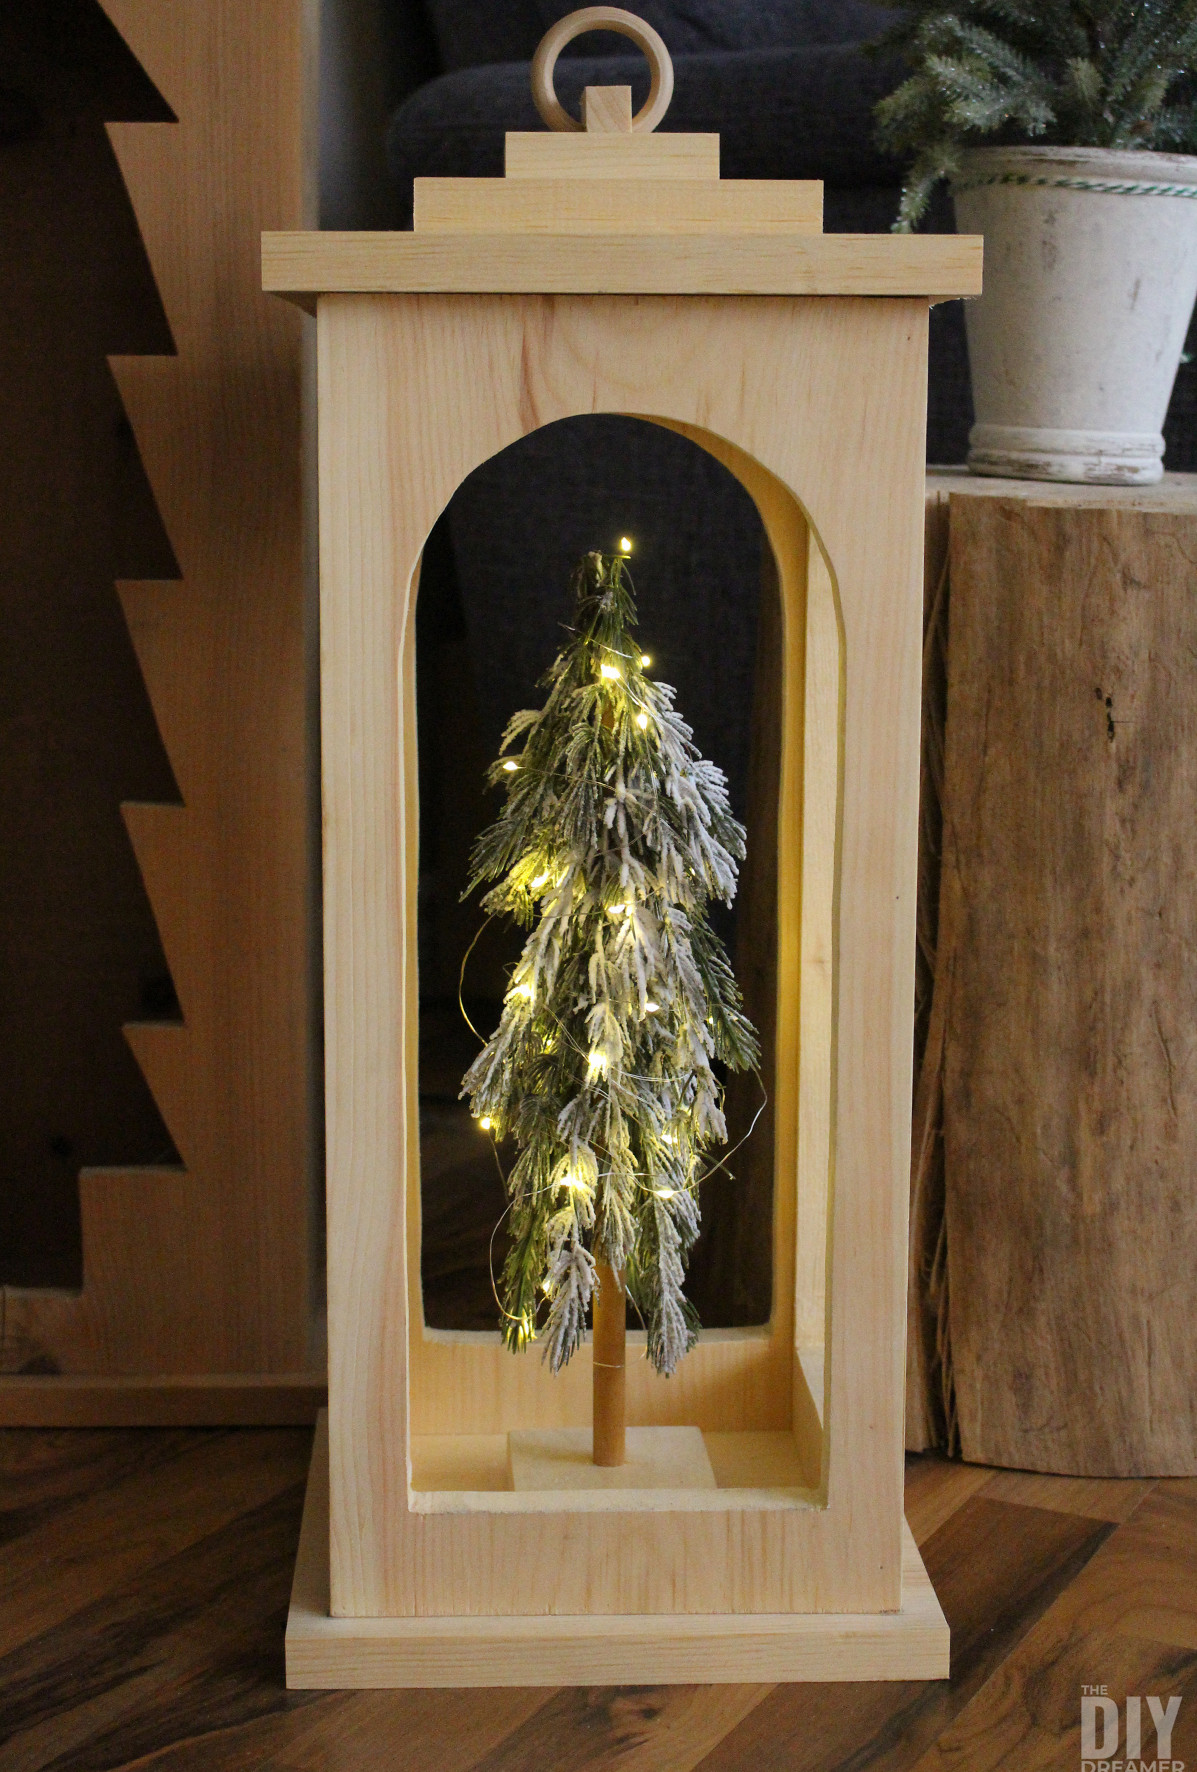
Right now, the wooden lantern is displayed in my living room beside a lovely DIY Christmas Tree that I made with my daughter. I’ll explain how to create the Christmas tree in a future blog post.
Originally, I intended to paint the lantern black with outdoor paint and place it on my front porch. However, I truly enjoy having it in my living room.
I might simply apply varnish and leave it indoors. What do you think?
If I only varnish it, I’ll use the same product I applied to the DIY Wooden Tree Christmas Countdown.
I want to thank my Dad and my husband for their assistance with this project. I injured my arm a few weeks ago, which has restricted what I can manage by myself.
What is your opinion of the lantern? I’m genuinely thrilled with the result!