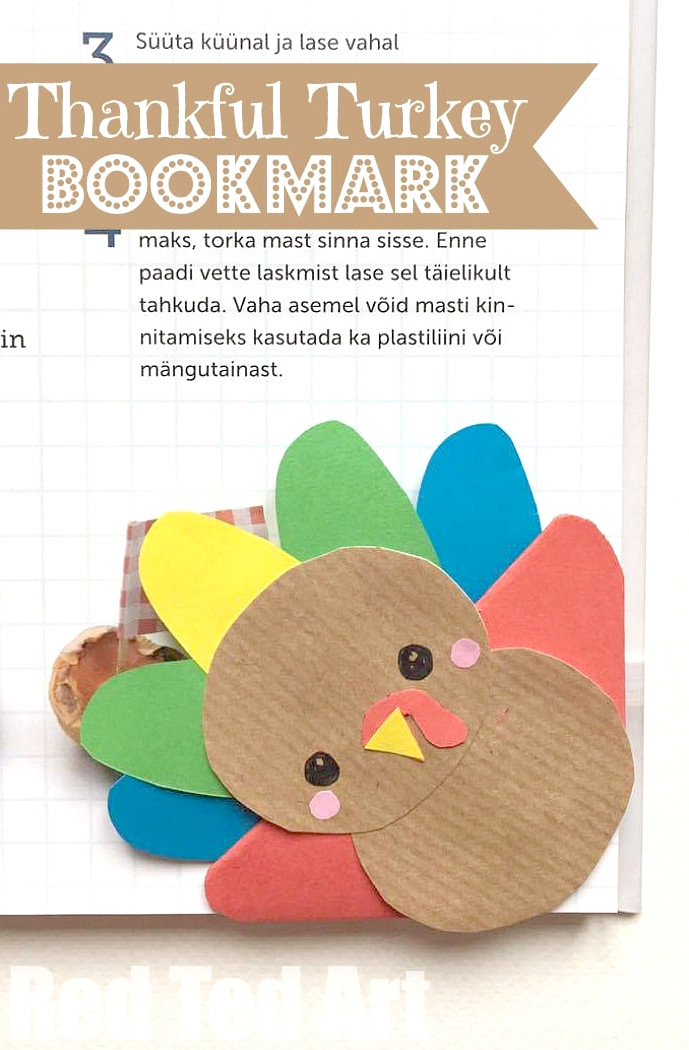
Well.. how could we NOT create a Thankful Turkey Bookmark Corner, arriving JUST in time for Thanksgiving? Whether you celebrate Thanksgiving or not, I’m sure you’ll love this Kawaii Turkey Bookmark.
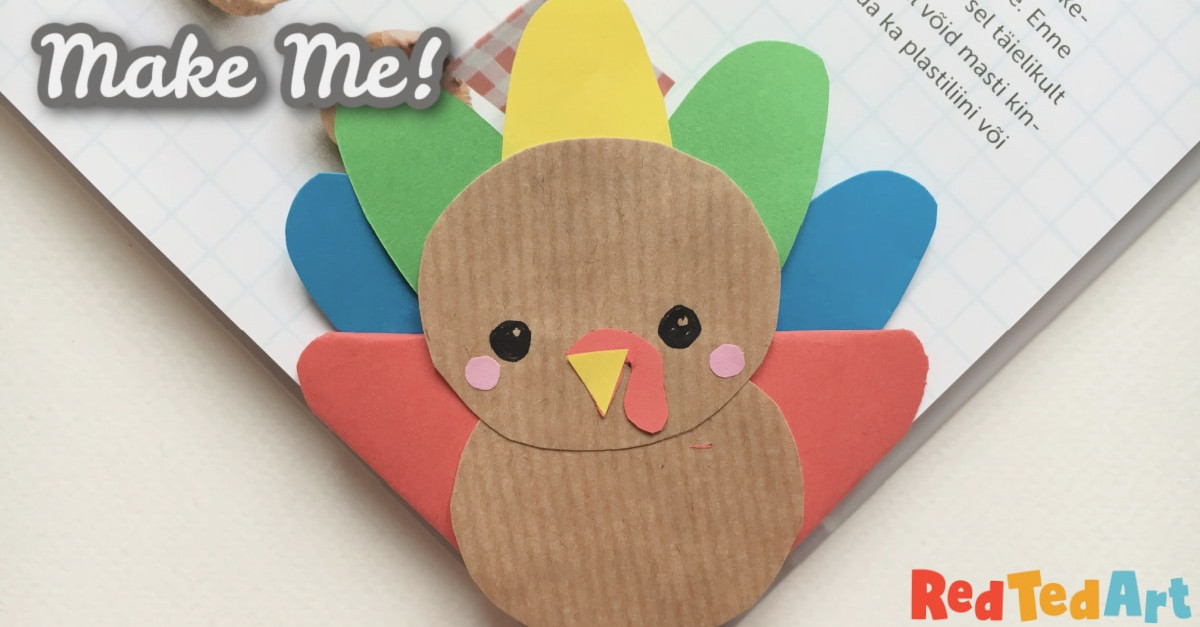
Like all our DIY Bookmark Corner Designs, this cheerful little fellow will easily slip over the corner of the page you’re reading, keeping your place safe and ready for your next reading session. Simply wonderful! We also have more Turkey Craft Ideas for you to explore!
FYI – Our Thanksgiving Bundle
I’ve now created some WORKSHEETS for this charming little bookmark corner. They’re included in a TIME SAVING bundle available over on Teachers Pay Teachersfollow… or you can continue scrolling! ?
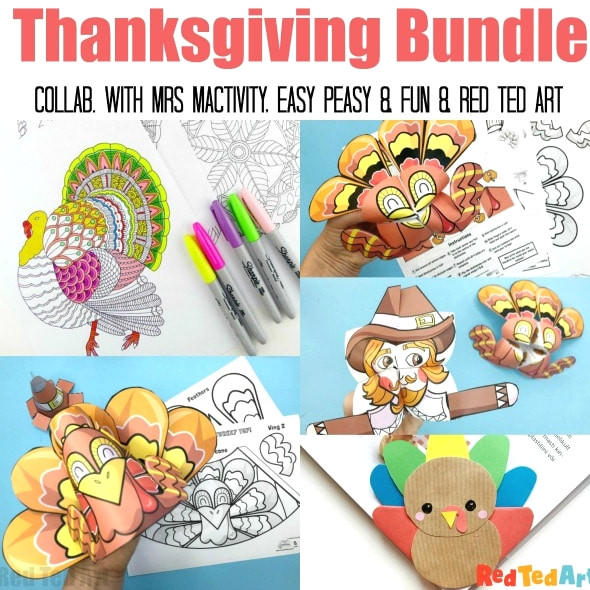
A Download Bundle featuring 5 of our favourite Thanksgiving activities all together!

Turkey Bookmark Materials:
- Half a sheet of A4 red paper (although any colour will work, we selected red)
- Some paper in contrasting colours (we picked blue, green and yellow)
- A small piece of brown packing paper (or brown paper) attached to plain paper for added strength
- pink paper
- black pen
- scissors
- glue stick
Worksheets can be found in my Teacher’s Pay Teachers store!

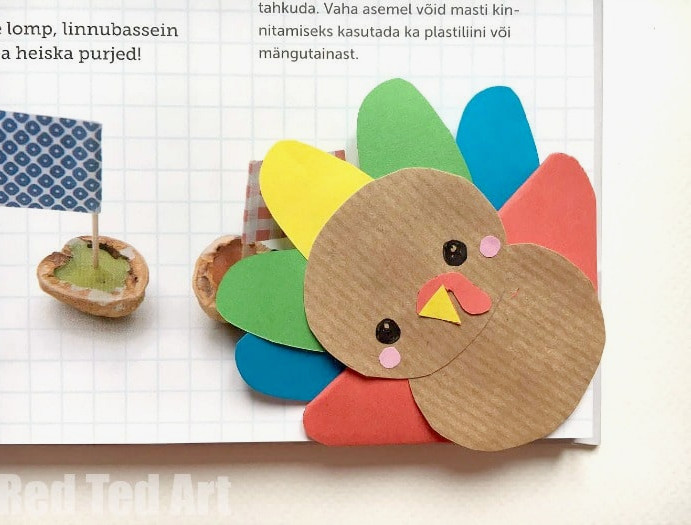
Turkey Bookmark Corner How To:
As with each of our bookmark corner designs, this Turkey DIY begins with the traditional “Origami Bookmark Corner”. Afterward, we decorate and modify it. I hope you have fun following our tutorial!!!
Basic Corner Bookmark (in red)
Start by creating your basic Origami Bookmark (video directions are above, or you can view the step by step photos here). We made the base bookmark red, so the “outside feathers” will also be red. Pick a base colour that matches the feather shades you’d like!
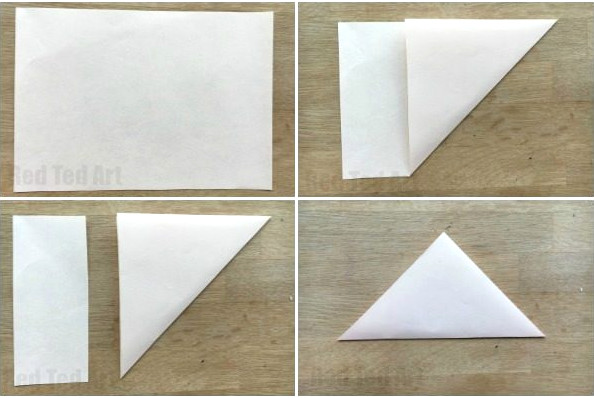
- Use your A5 paper and fold one corner across to form a triangle.
- Snip away the extra paper, then turn the triangle so its long side is along the bottom and the right angle points upward. Check that the triangle’s point faces up and the long edge runs perpendicular.
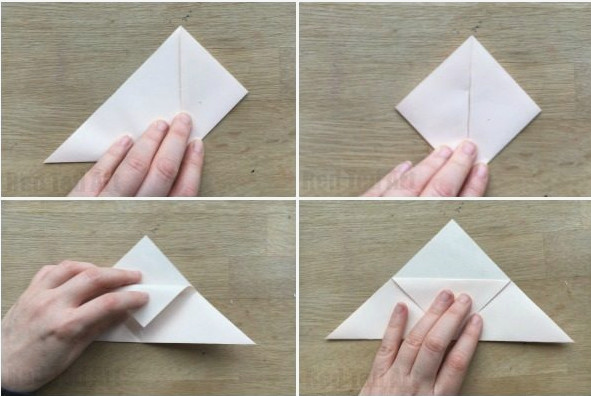
- Bring the bottom right corner upward until it meets the top right-angled corner.
- Do the same on the left.
- Open both folds again.
- Turn down ONE of the upper sheets and press along the crease.
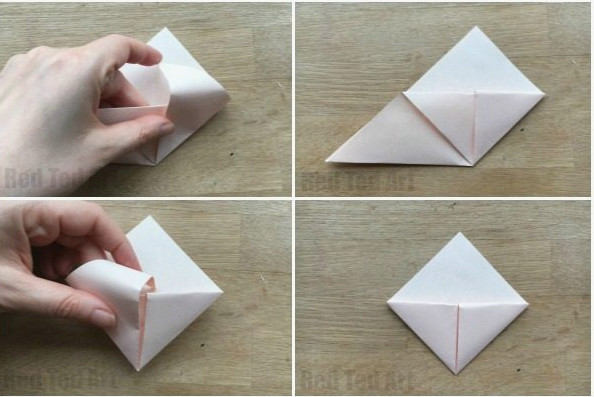
- Fold the flaps you made upward again, then tuck them INSIDE your bookmark.
- Do the same on the opposite side
- Well done, your basic Origami Corner Bookmark is complete!
Turning your Origami Bookmark into a Turkey
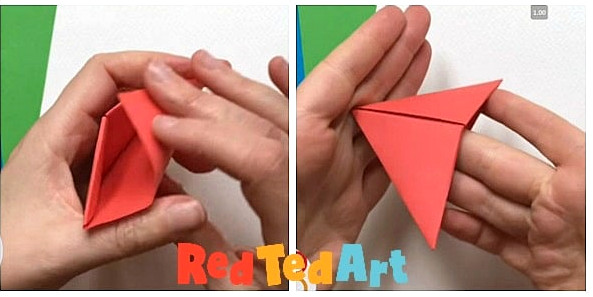
Now you can transform the origami bookmark into a turkey!
Select the paper colour for your basic corner bookmark based on the shade you want for the outer feathers.
Fold the narrow flap of the corner bookmark inward to form a triangle, then press in a crisp crease.
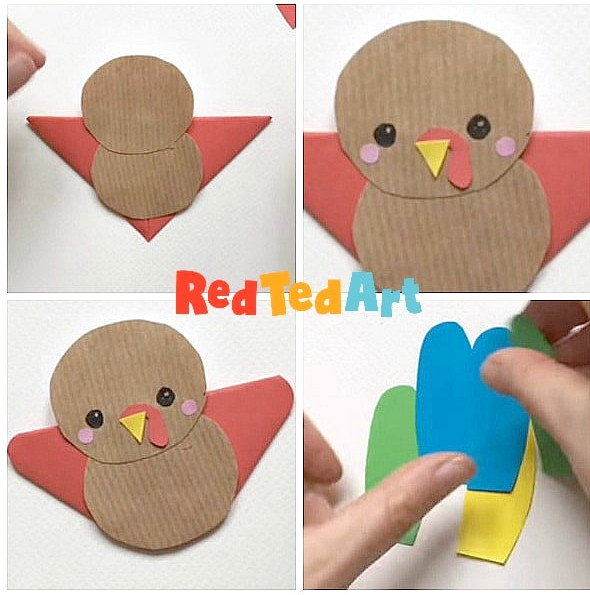
From brown paper, cut two oval pieces – circles will work as well if that’s easier. Attach them to your rectangular bookmark corner.
Dress up the top circle like a turkey with a yellow beak, red wattle, eyes and optional cheeks.
Cut down the three corners of your bookmark corner following the picture.
Make five more feathers, each with an oblong shape and rounded upper edge. We used two blue, two green and one yellow feather.
Before attaching the feathers to your turkey bookmark, you can write messages expressing thanks and gratitude on them.
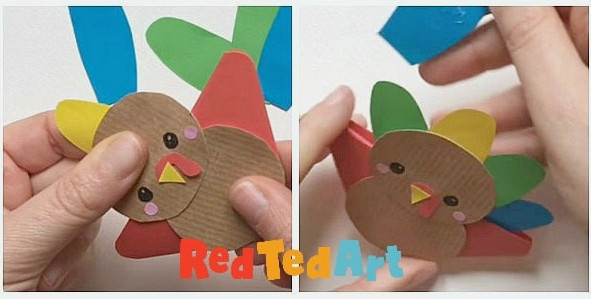
Attach the single feather behind the turkey’s head with glue. Next, spread the other feathers into a fan on both sides and secure them.
All done! Create extra ones for your family and friends!
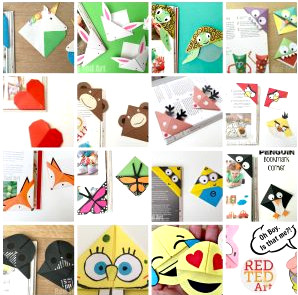
Find more DIY Bookmark Designs here:
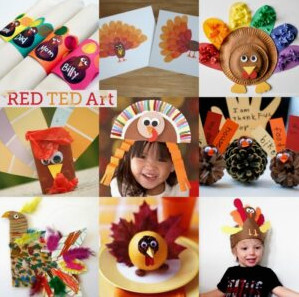
Discover more Turkey Crafts for Kids here:
This bookmark video tutorial can also be watched on Youtube