
Keep your tools tidy with this practical pegboard storage cabinet.
As the New Year begins, my main goal is to finally bring order to the shop!
When every tool has its own designated spot, you can locate everything quickly while working on projects. That makes building both quicker and simpler!
If your shop or garage has available wall space, this easy pegboard storage cabinet can turn it into an excellent organization area.
I teamed up with Kreg Tools to provide the free building plans for this cabinet, helping you organize your tools this year as well!
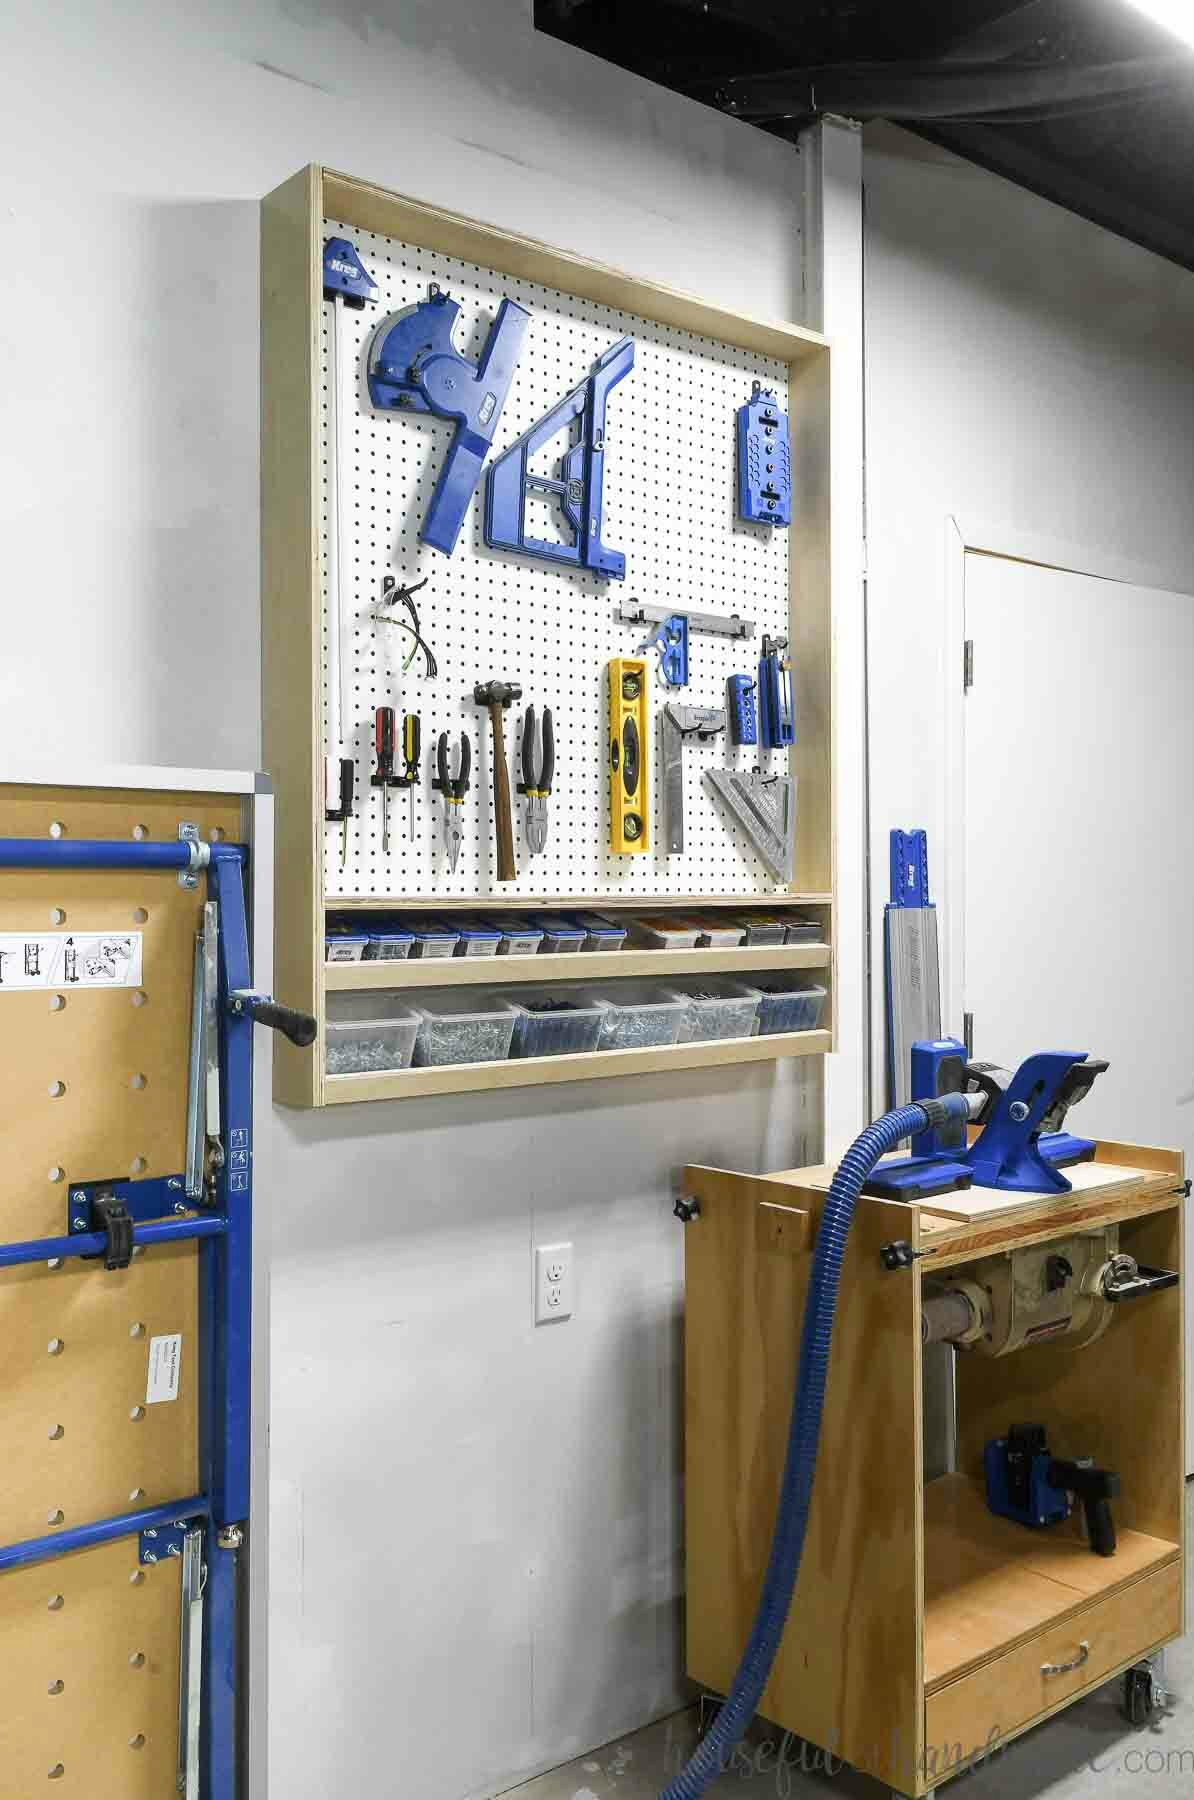
Wall Organizer for Tools and Screws
Storing tools and screw boxes on the wall opens up a surprising amount of space. I also discovered that a pegboard can accommodate far more tools than you may expect.
This pegboard cabinet includes a little over a 3’x3′ section of pegboard for your preferred tools. Even after filling it with the ones I use most, there is still space available!
So, whenever I come across tools I often waste time looking for, I can place them on this wall organizer. New tools can also be given a permanent home.
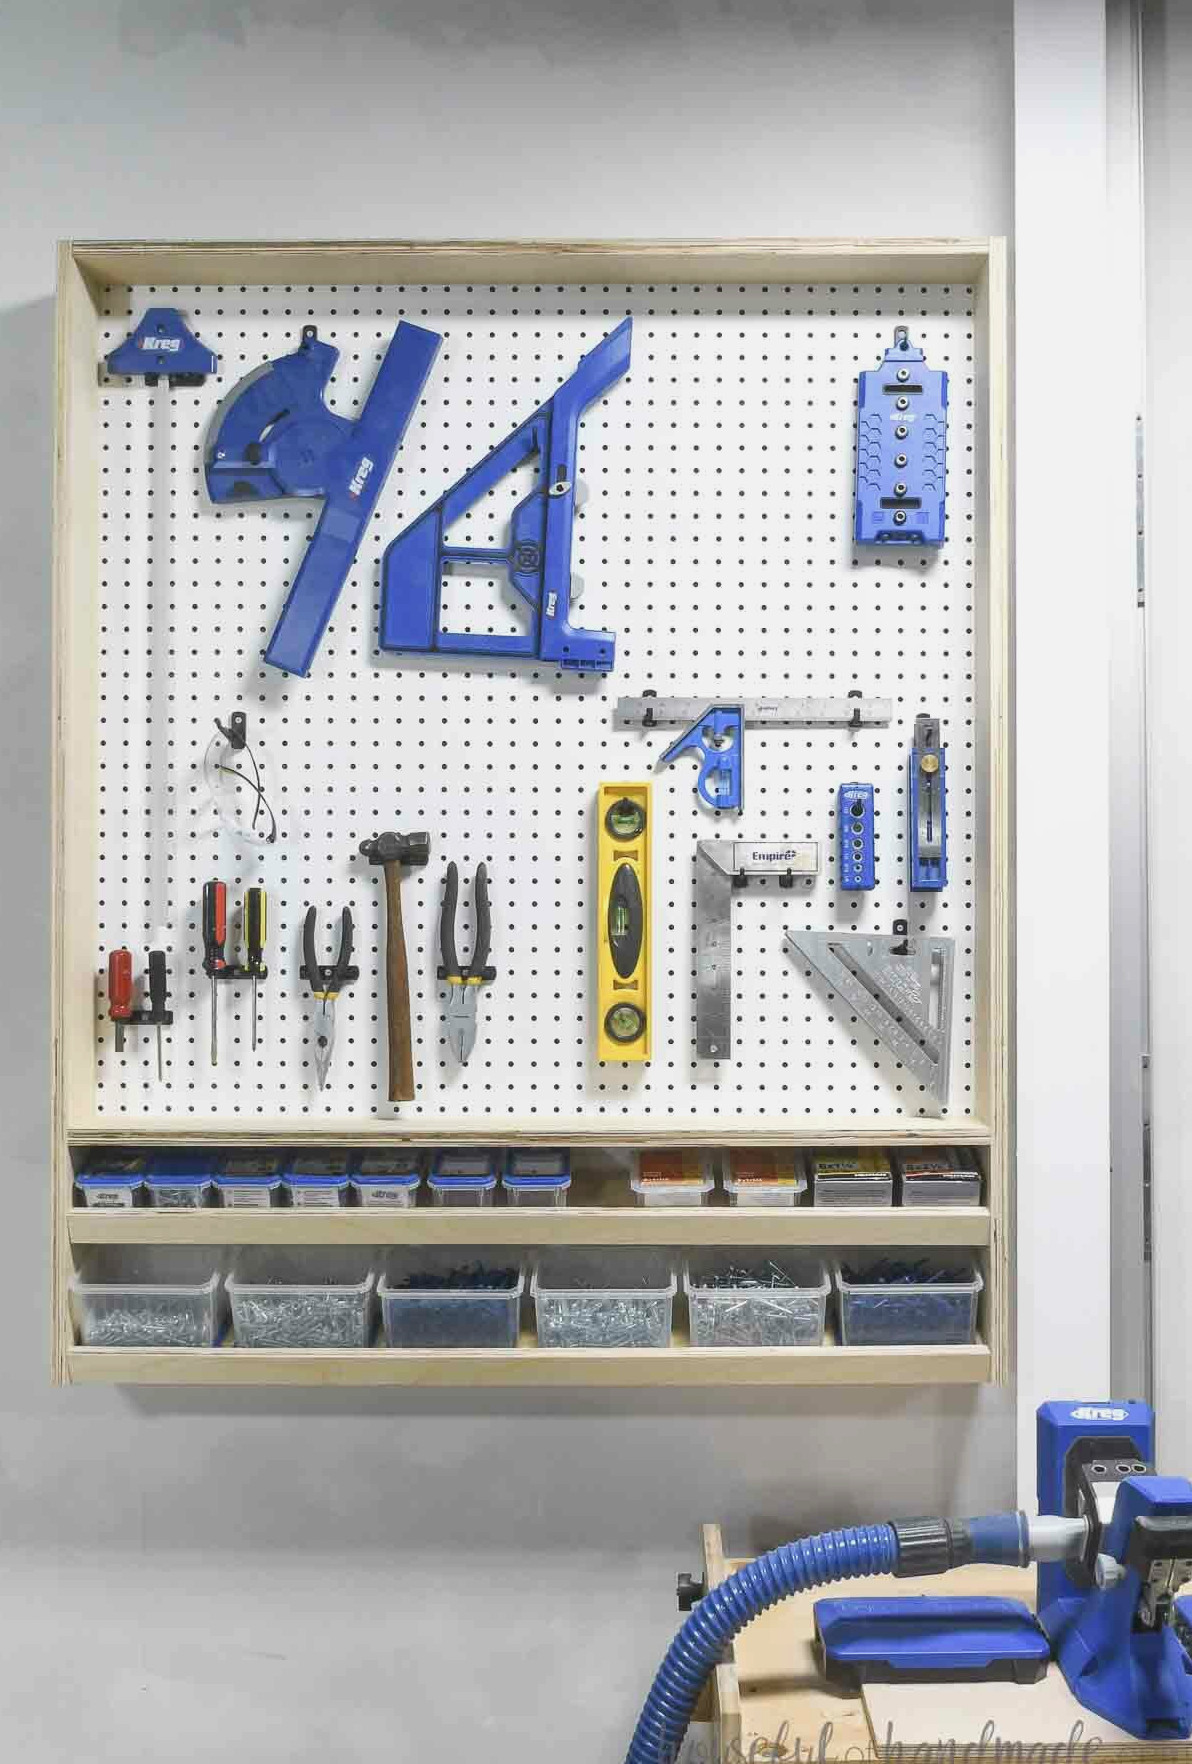
Although I enjoy having my tools visible and within easy reach, the lower shelves for arranging screw boxes may be my favorite feature of this shop organizer.
There is ample room for all the various sizes of screws I use. I filled it with every size of pocket hole screw and still found room for additional supplies!
Because my pegboard storage sits beside my Kreg adaptive cutting system, I also use the shelf for storing accessories nearby when operating my plunge saw.
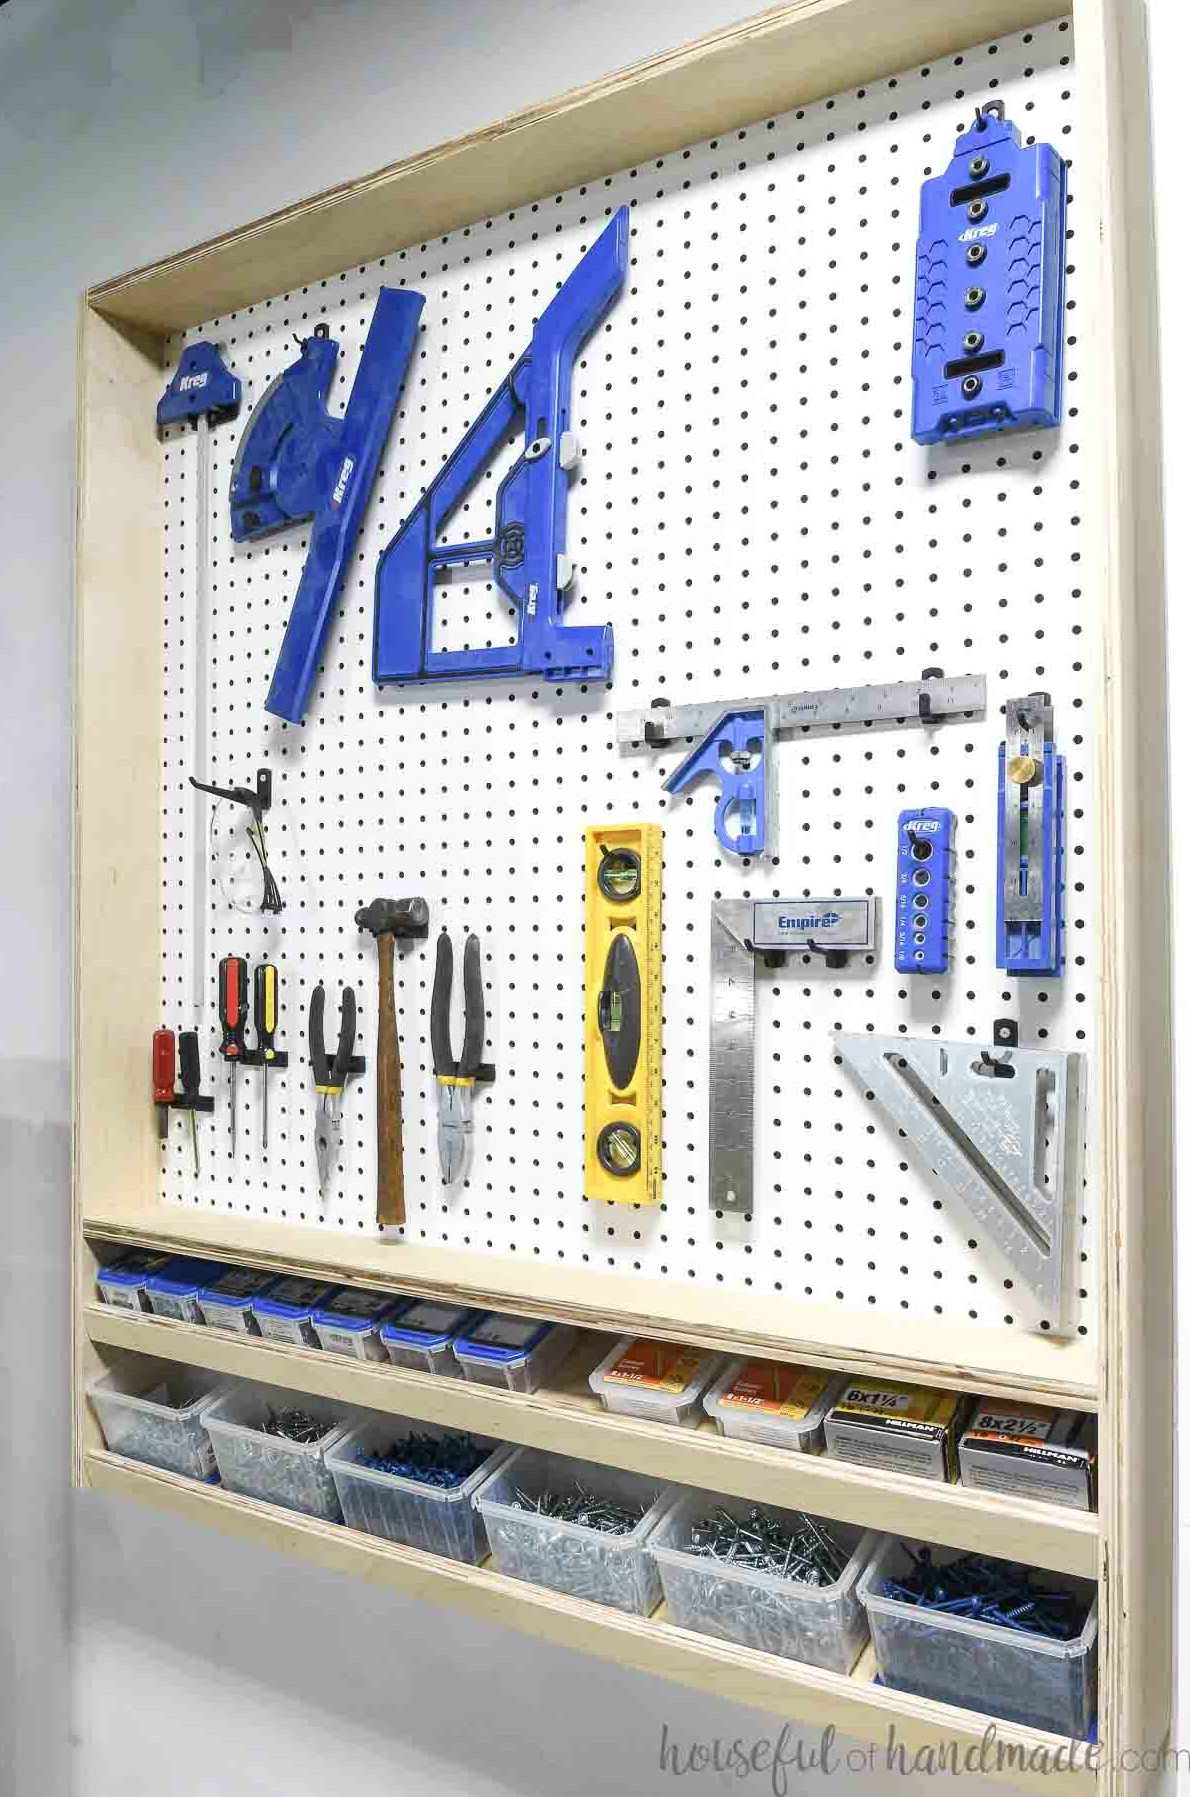
Finally, this uncomplicated pegboard cabinet can be built easily using only half a sheet of plywood and half a sheet of pegboard.
If you have leftover plywood scraps, you may be able to build one without purchasing a fresh sheet, just as I did.
Alternatively, purchase one plywood sheet and build two pegboard storage cabinets. You will then have plenty of room to arrange everything you need this January!
Additional Garage Storage
Arrange your tools and other supplies with these impressive DIY projects.
How to Build a Pegboard Wall Organizer
Tools & Supplies
Overall Measurements:
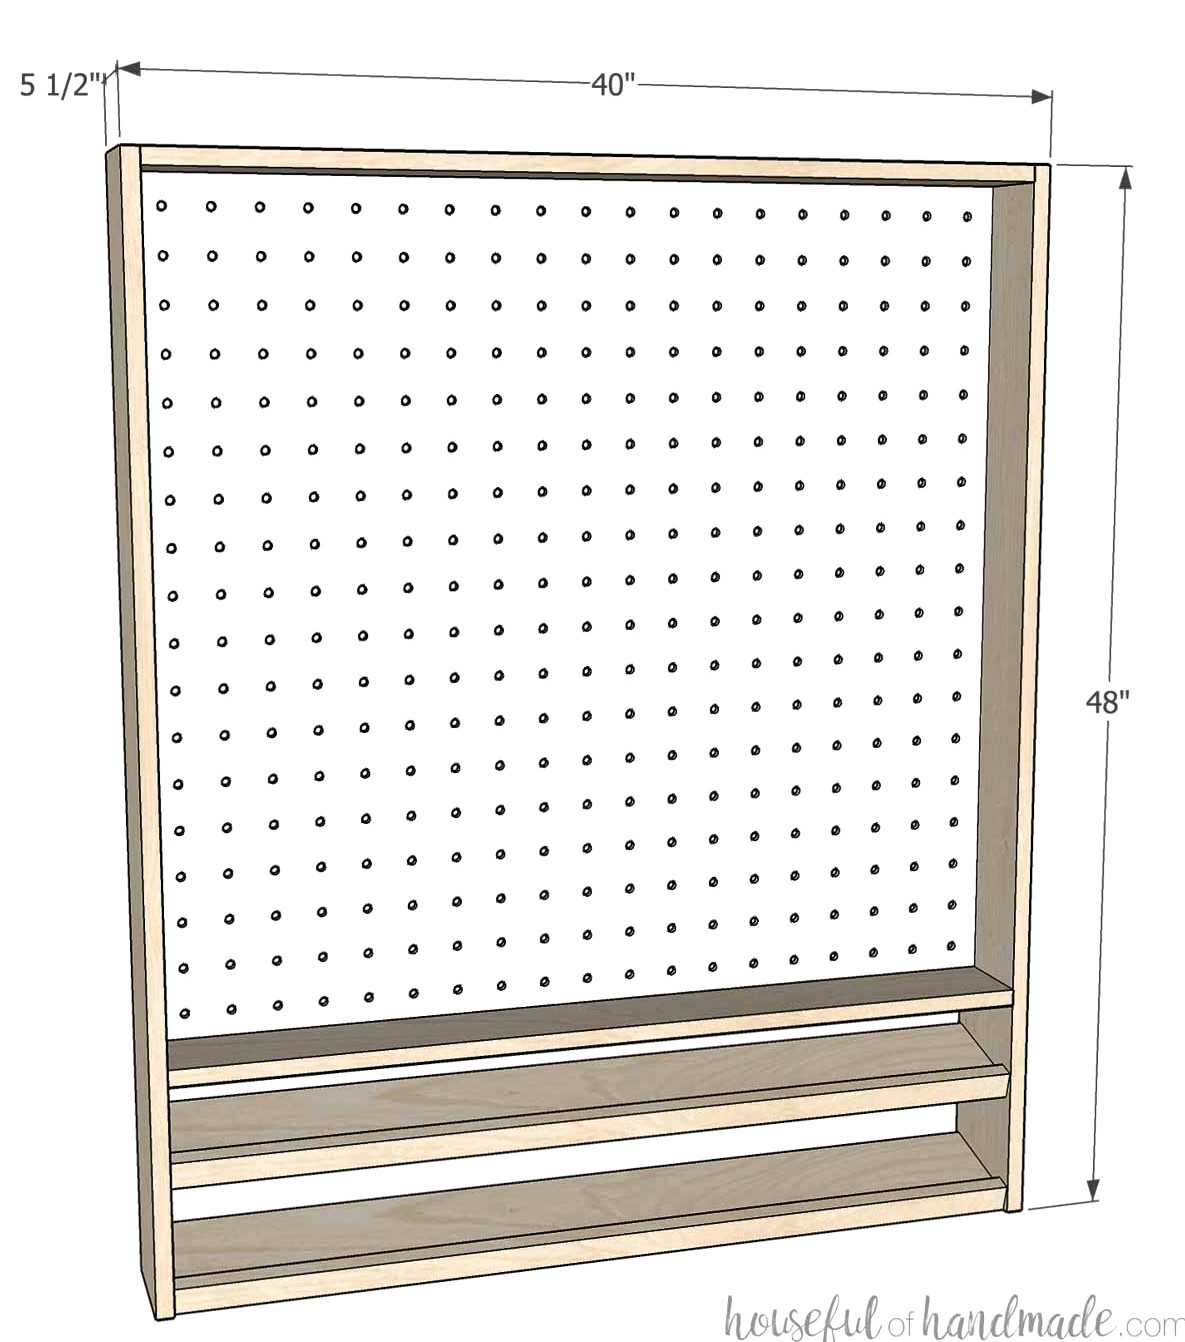
This pegboard wall cabinet measures 48″ high, 40″ wide, and 5 1/2″ deep. The pegboard section measures 38 1/2″ wide by 36 1/2″ high.
STEP 1- Cut the components
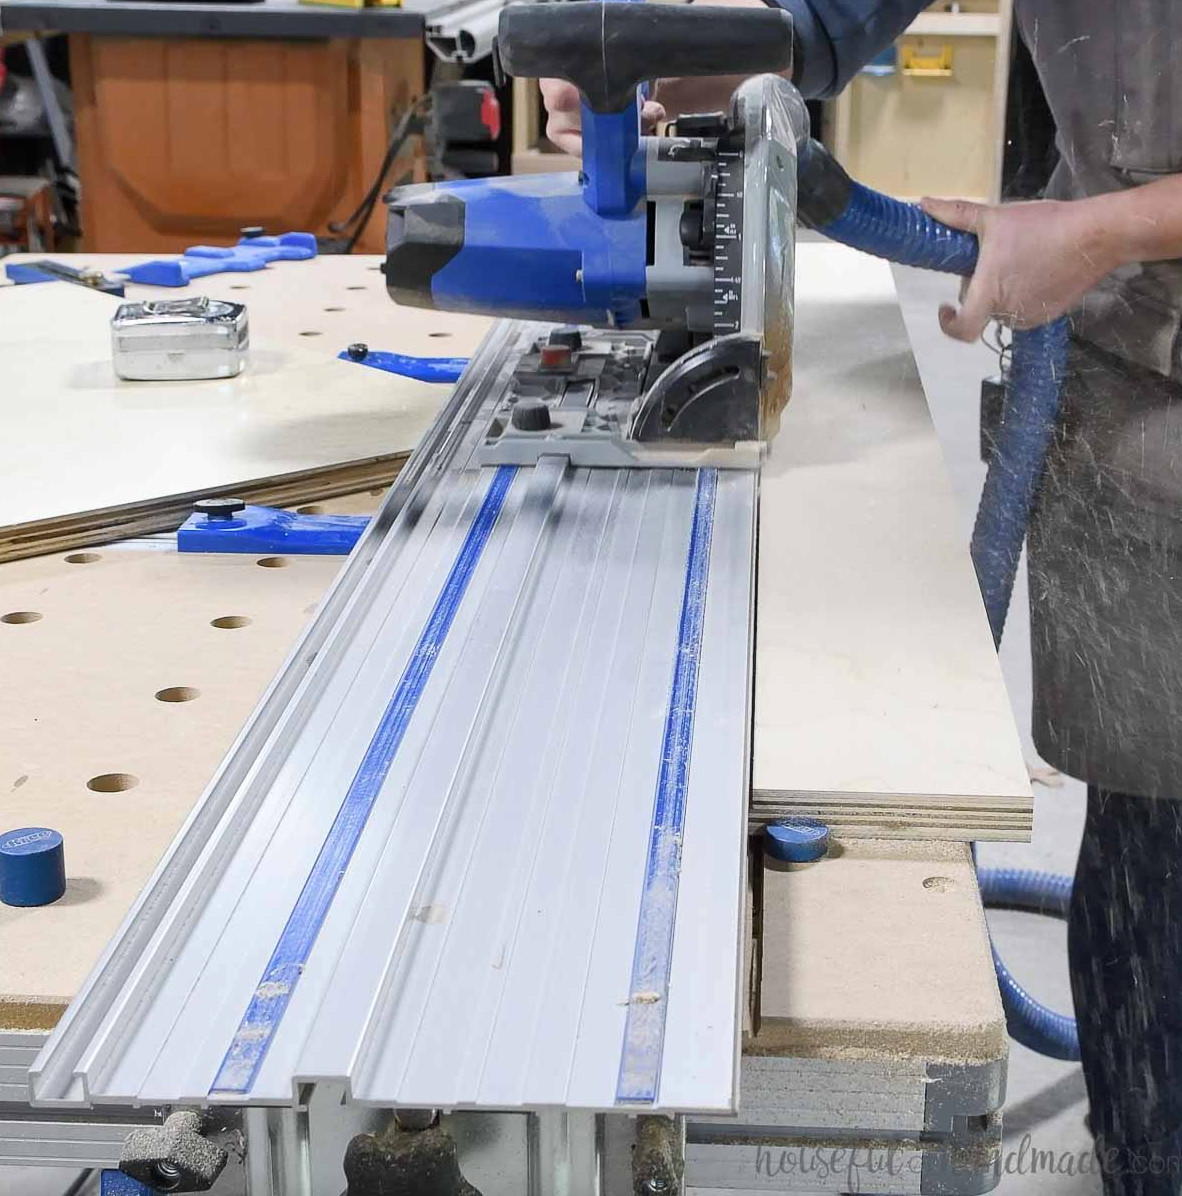
Cut each component based on the plans provided on Kregtool.com. Use the included plywood layout diagram to position the pieces correctly.
I relied on the Kreg ACS to make cutting all the components quick and easy. It is especially helpful when breaking down large sheets of 3/4″ plywood by myself.
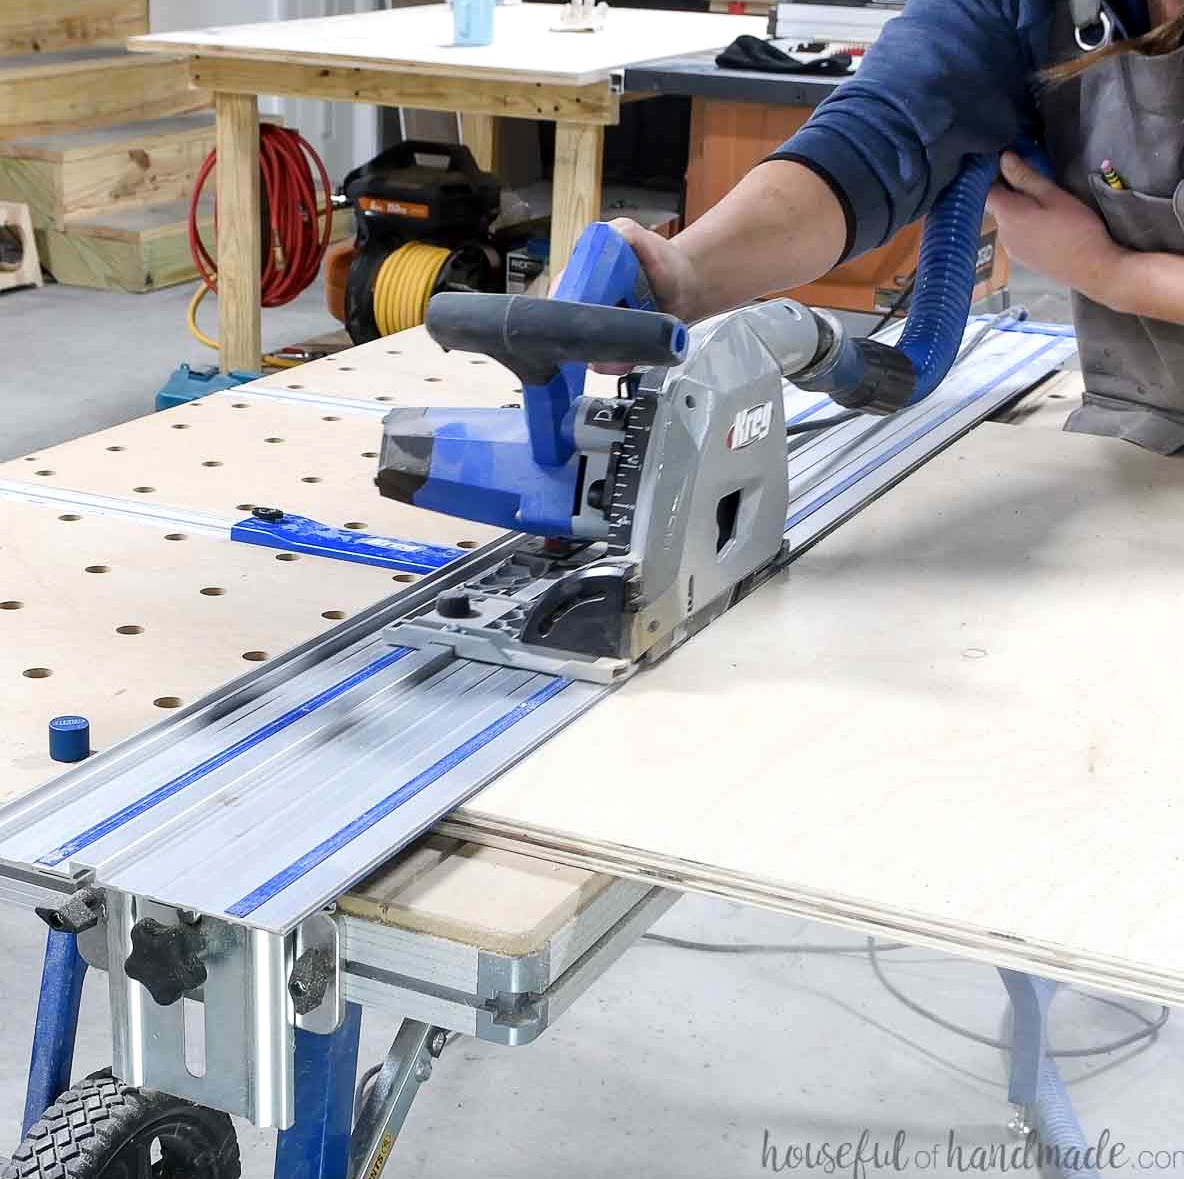
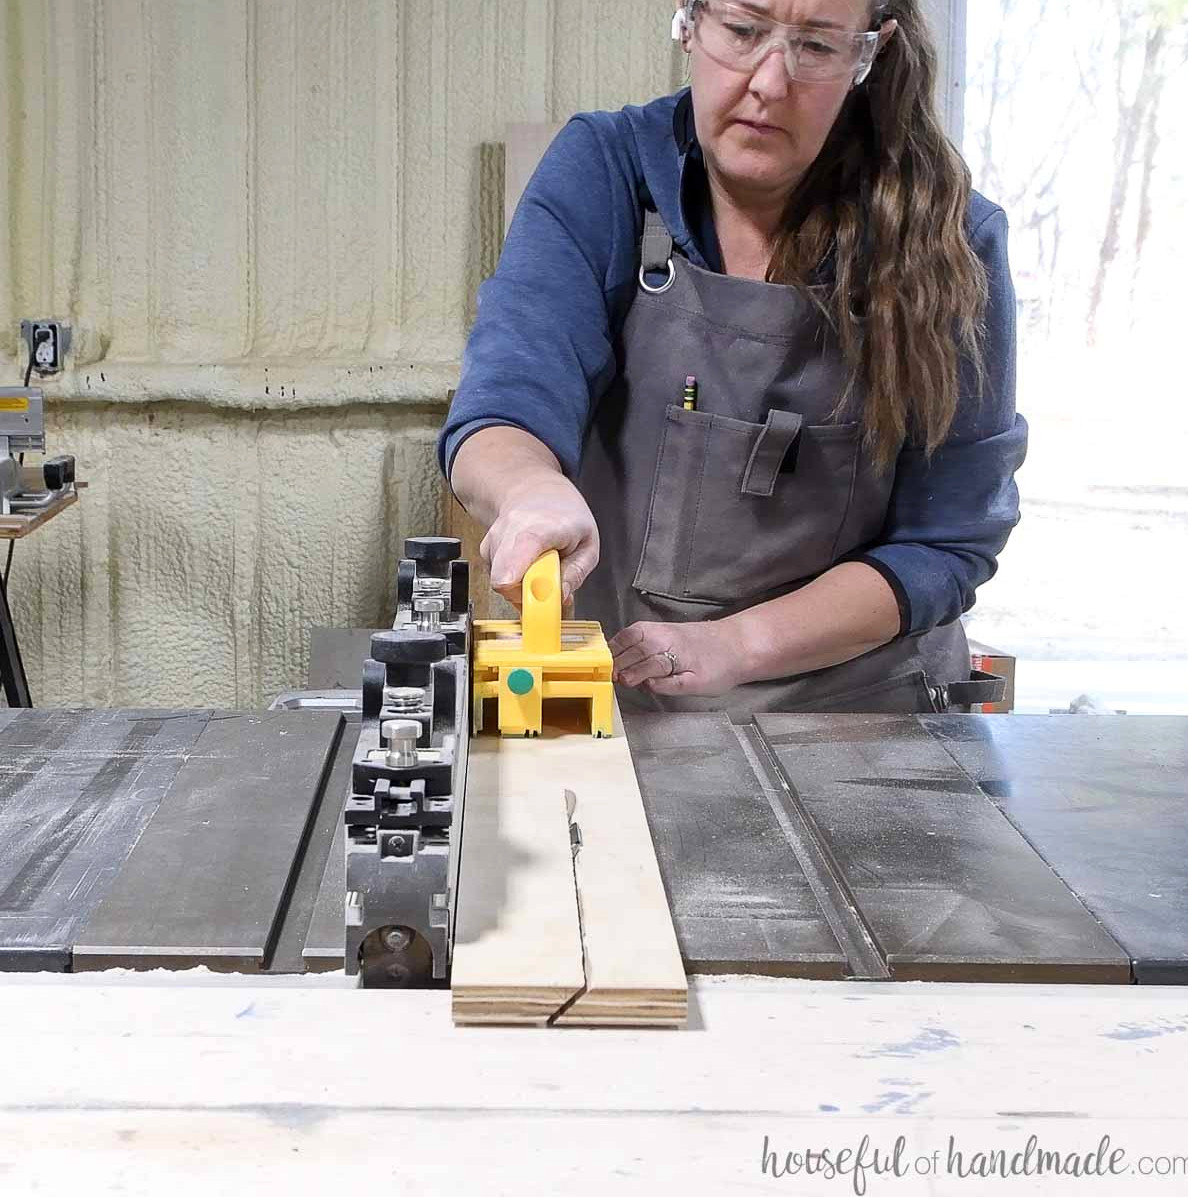
Adjust the saw blade on the ACS to cut only ¼” into the wood.
EXPERT TIP:
Making the cut slightly deeper than ¼” is preferable to cutting too shallow, or the pegboard may not slide into the completed frame.
Make the grooves as shown in the plans. Pass the saw through the board, then shift it slightly so the blade cuts directly beside the initial cut before running the saw through once more.
Test the pegboard in the groove. If it does not fit, make another cut alongside the previous ones and continue until the pegboard slides into place.
STEP 2- Put together the cabinet frame
Adjust your Kreg pocket hole jig for drilling pocket holes into ¾” thick material.
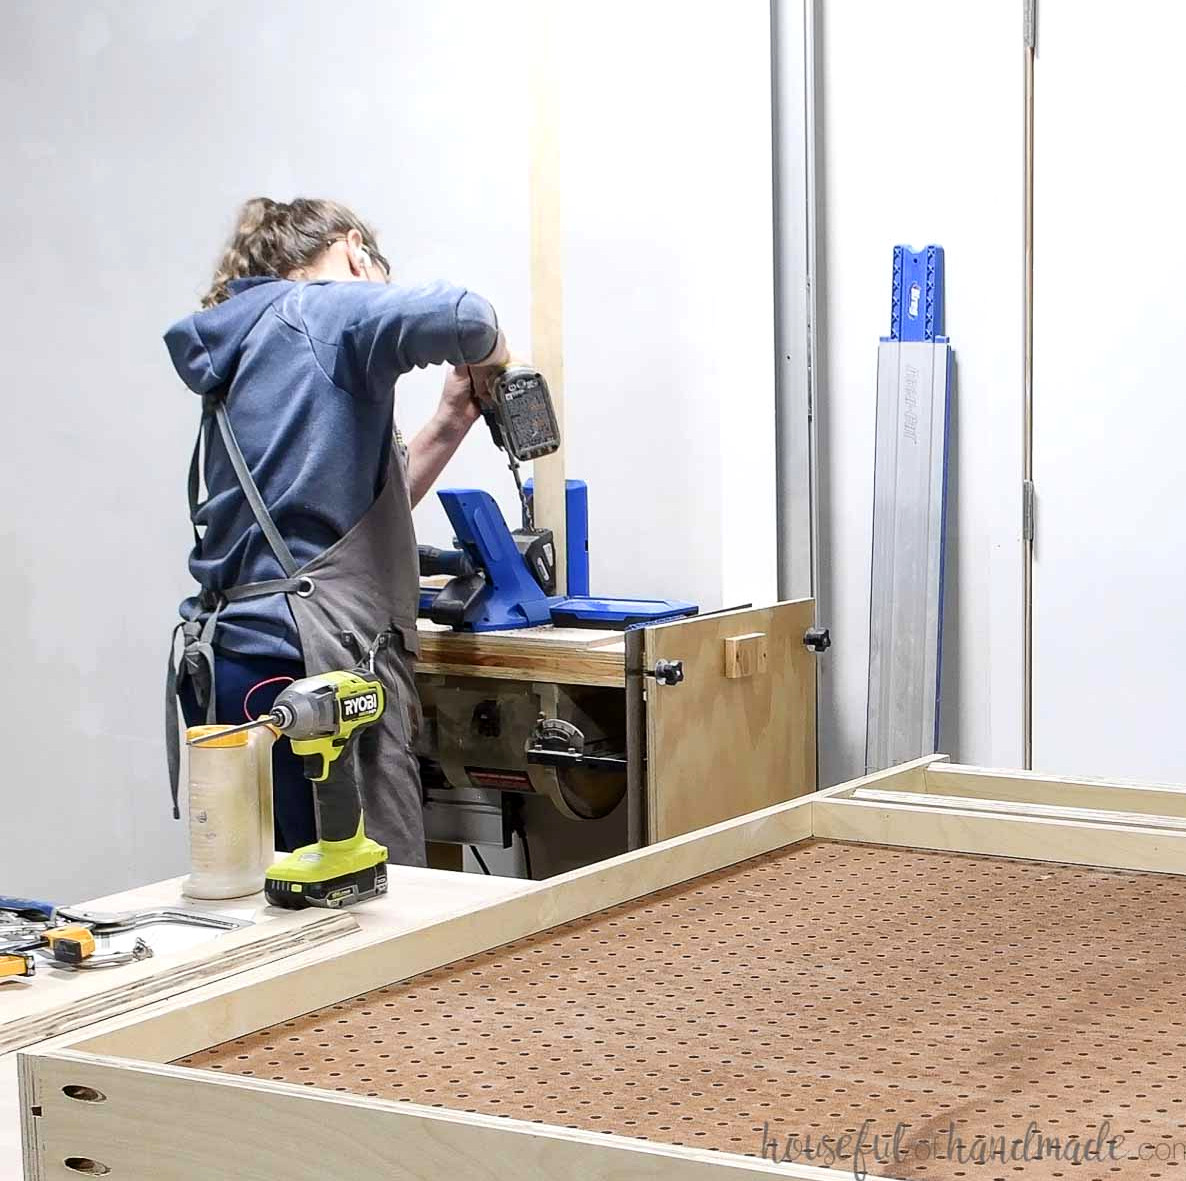
Make two pocket holes at each end of the shelf board, then add pocket holes along one edge of every board.
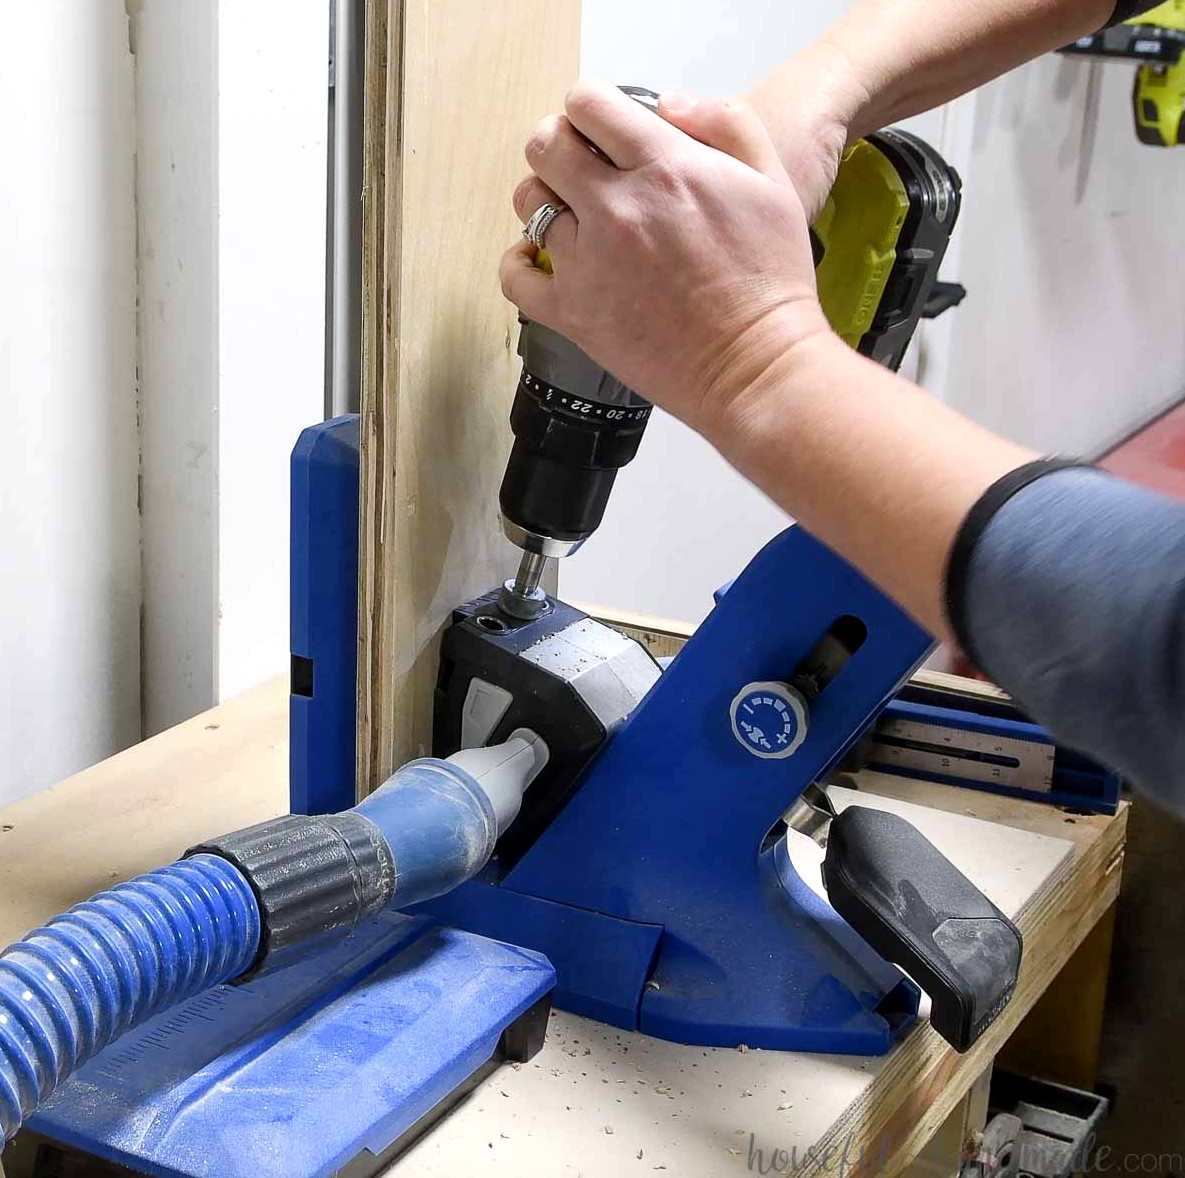
Position the shelf fronts against the front edges of the shelf boards, keeping them flush at the bottom to form a raised lip at the top.
Fasten them with 1 ¼” pocket hole screwsalong with wood glue.
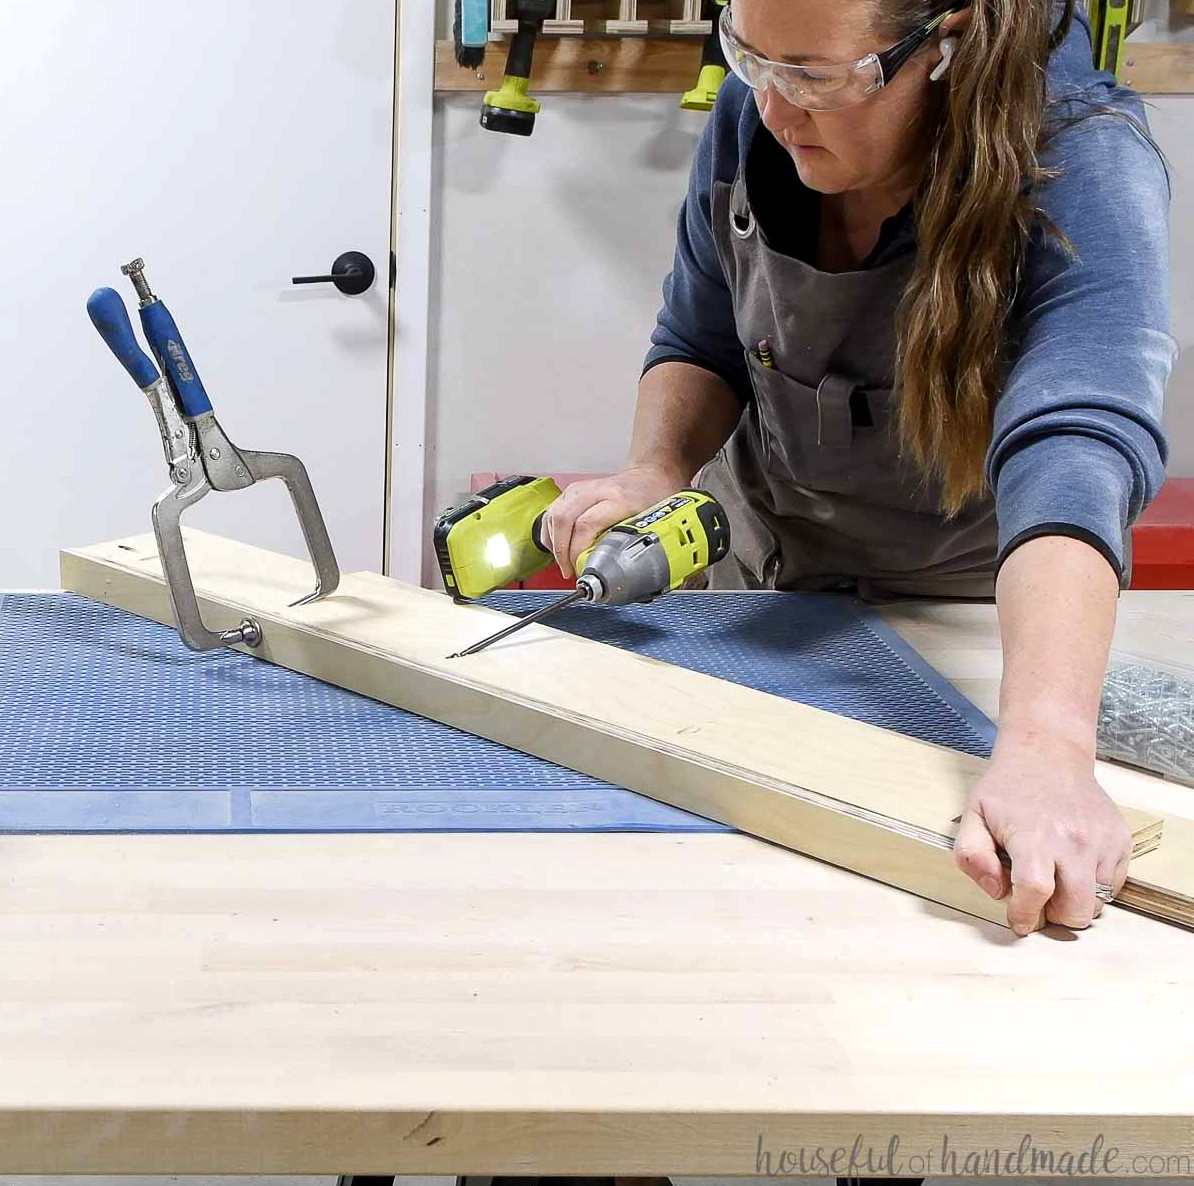
Make 3 pocket holes at both ends of each top/bottom board on the side opposite the groove. Arrange the pocket holes so they do not overlap the groove.
Fasten the top/bottom board to one side board, ensuring the grooves align as shown in the diagram. Apply wood glue, then secure everything with 1 ¼” pocket hole screws.
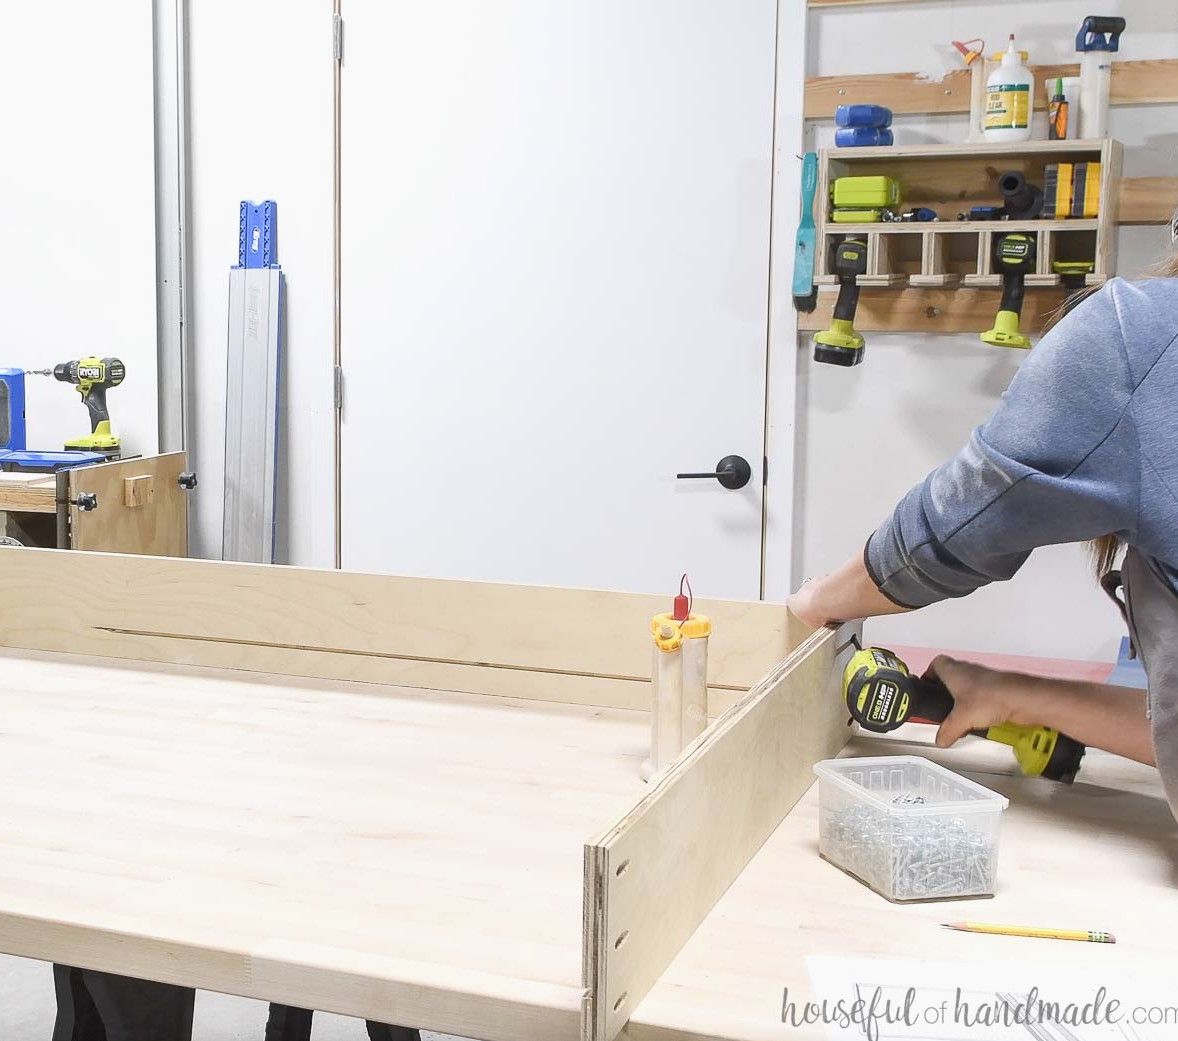
Install the shelves beneath the bottom board and between the sides at a 15 degree angle.
Align the bottom edge of the lower shelf with the bottoms of the side boards, then position the upper shelf 5 ¾” above the front edge of the bottom.
Attach them using wood glue and 1 ¼” pocket hole screws.
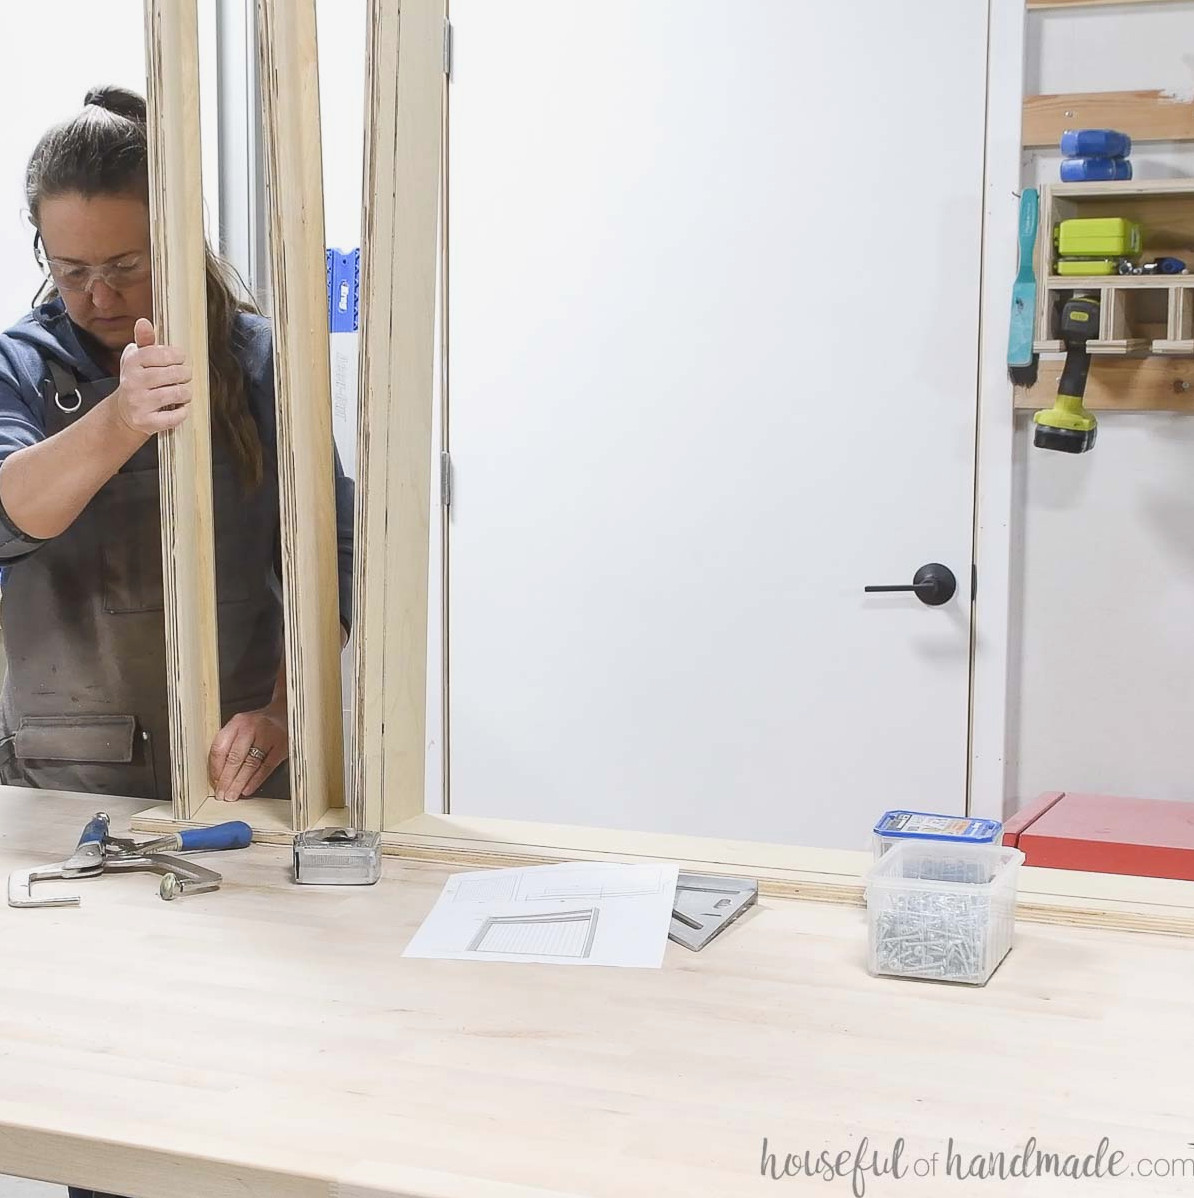
If preferred, cut the pegboard and apply paint.
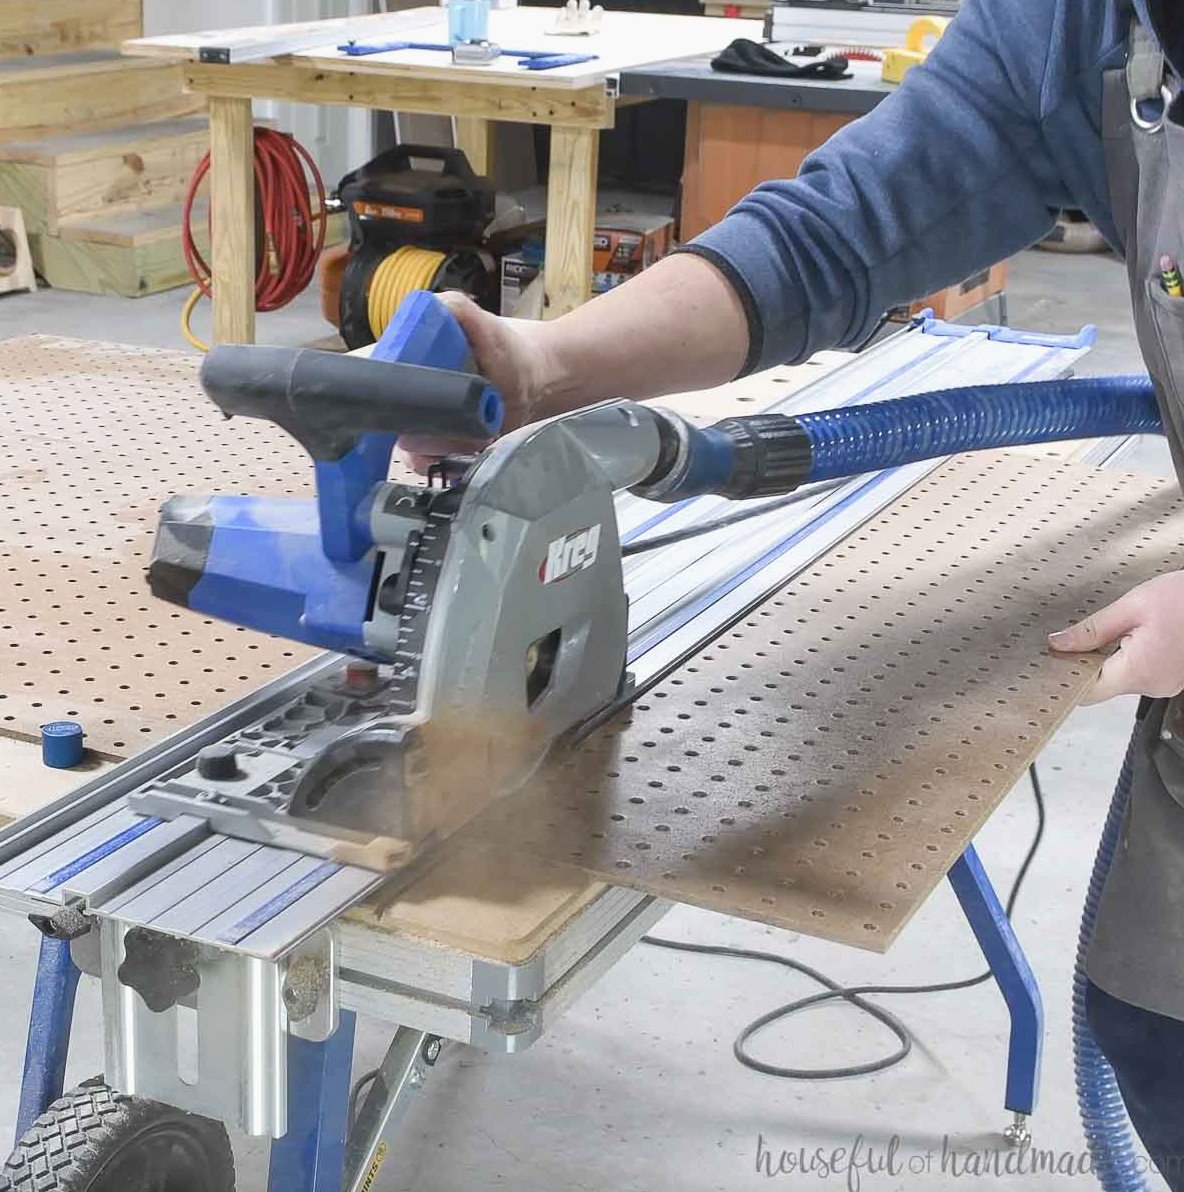
Insert the pegboard into the cabinet grooves.
Since one side of the frame was still open and the pegboard was sizable, the frame repeatedly slipped out of the grooves.
EXPERT TIP:
Clamp the open side of the cabinet frame at the correct width while sliding in the pegboard to keep it from forcing the frame apart.
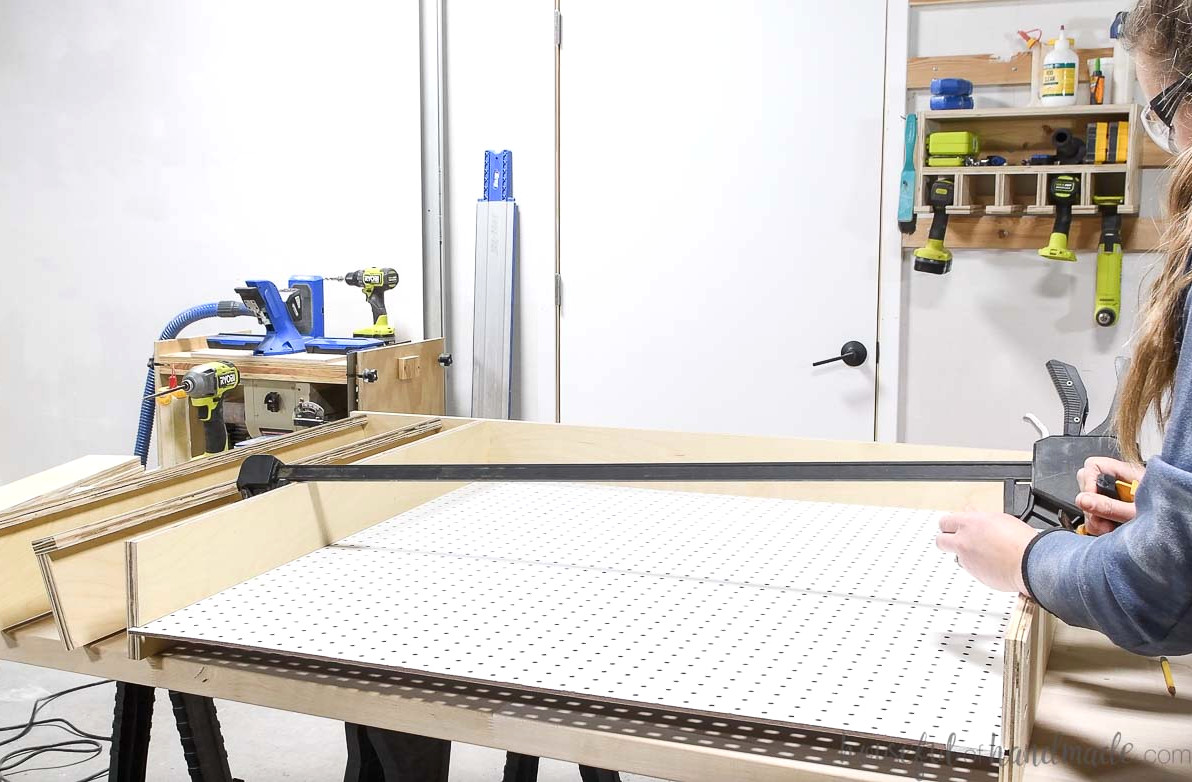
Install the cabinet’s second side, fastening it with 1 ¼” pocket hole screws and wood glue. Check that the top/bottom boards and shelves align with those on the opposite side.
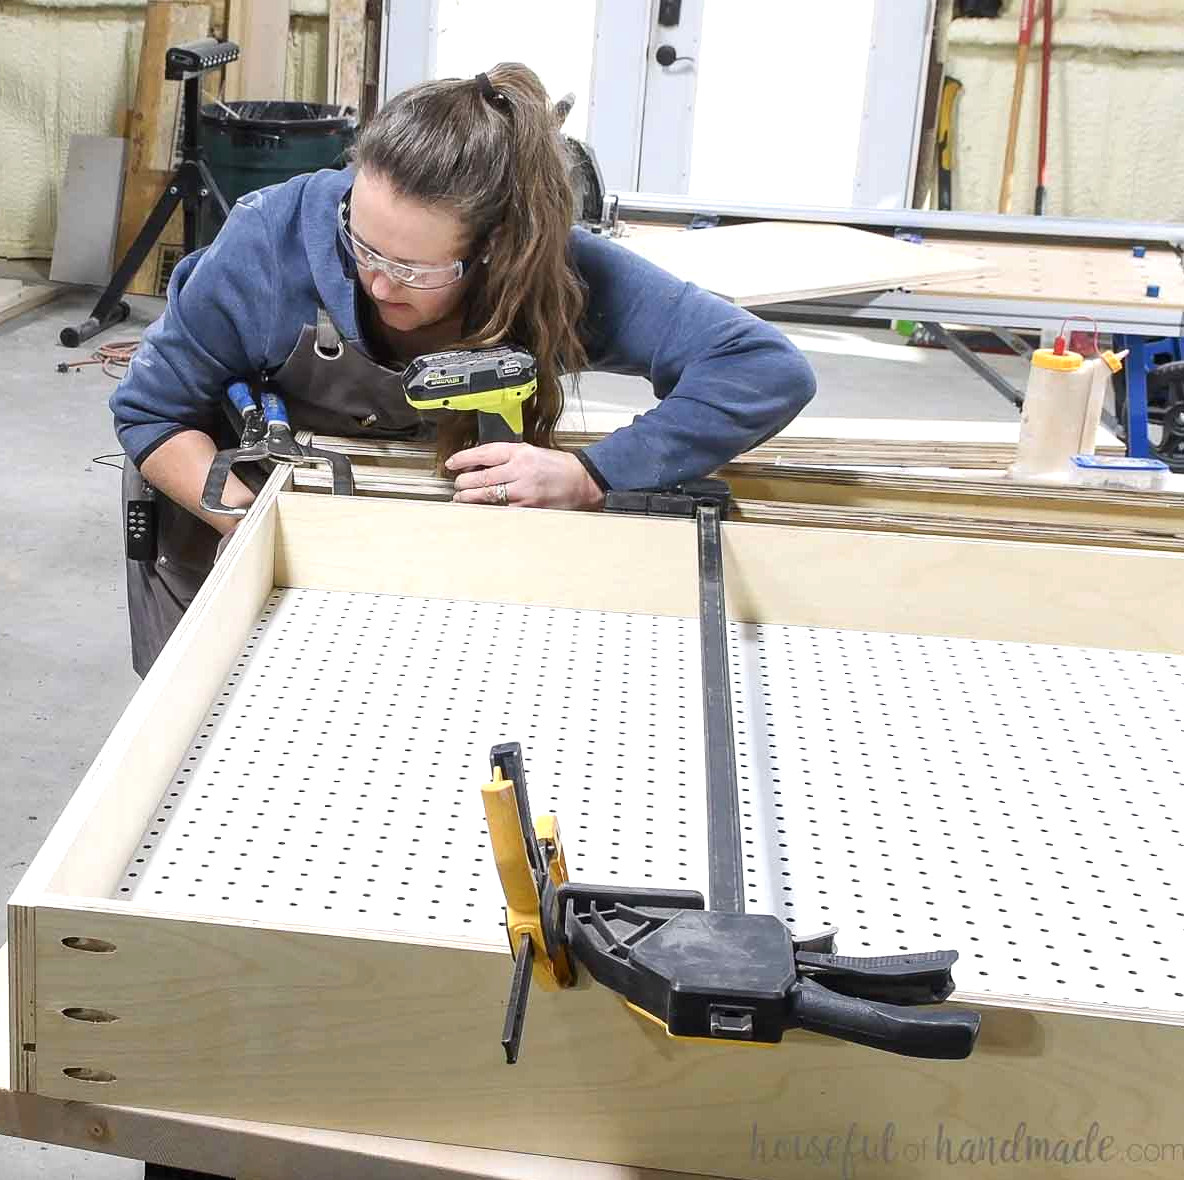
STEP 3- Hang the cabinet using a french cleat
Rip the french cleat boards through the middle at a 45 degree angle, creating two pieces that interlock.
Shorten one piece by ½” to use as the cleat mounted to the wall. This provides a little adjustment room when positioning the cabinet on the wall.
On the wider side, bore 2 pocket holes for ¾” thick material into the ends of the untrimmed cleat pieces.
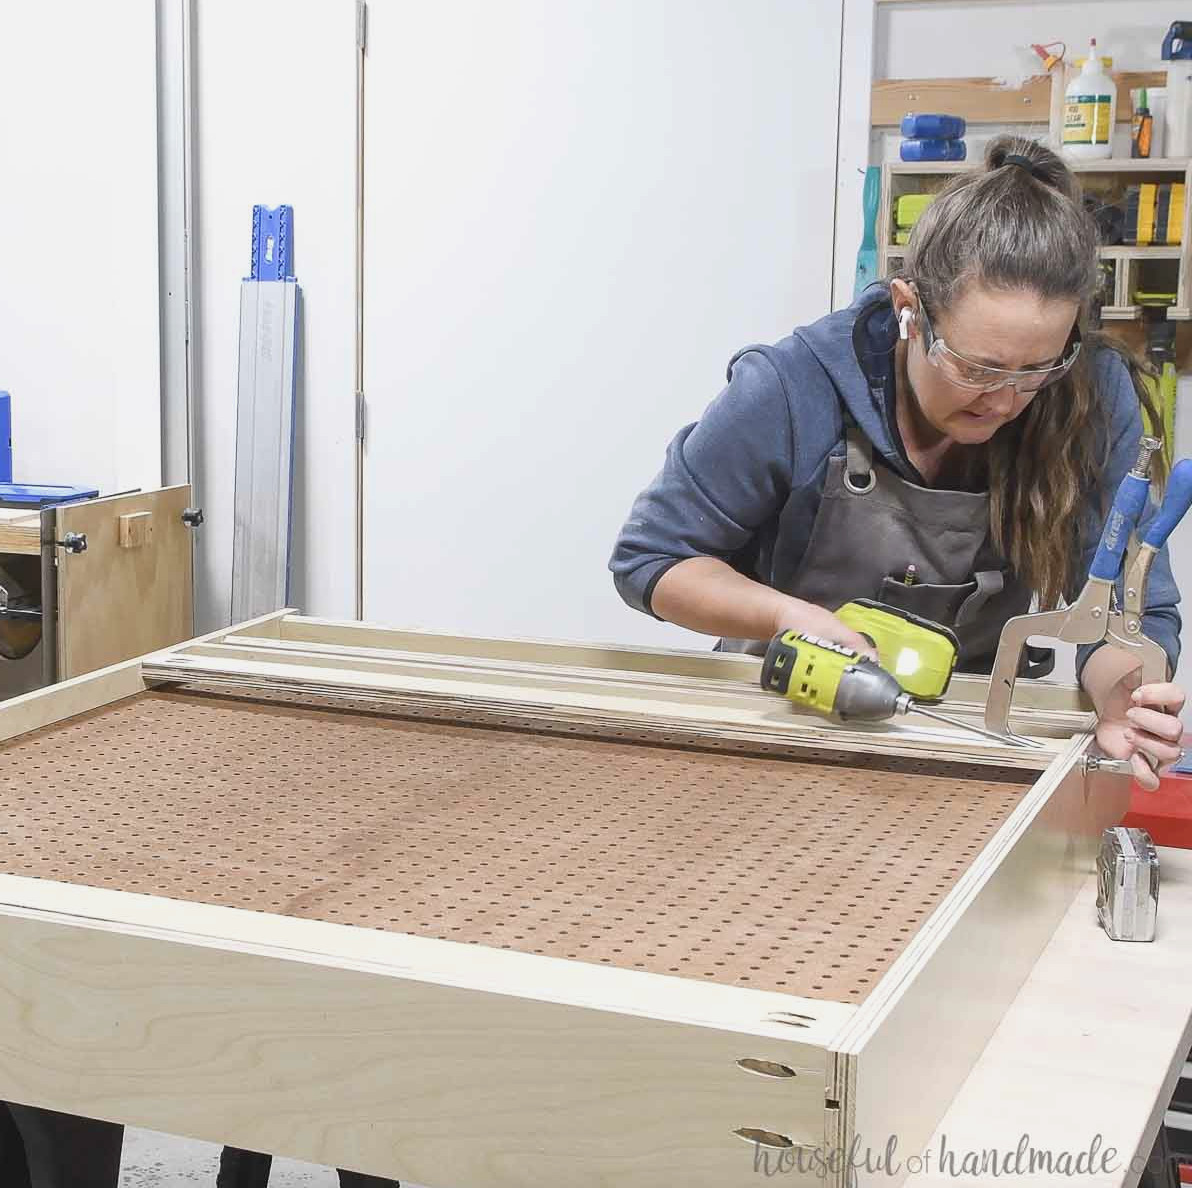
Following the plan diagram, fasten the pieces to the cabinet’s back so that their wider edges sit flush against the rear of the cabinet.
EXPERT TIP:
Leave space between the cleat and pegboard so the pegboard remains usable in front of the cleats.
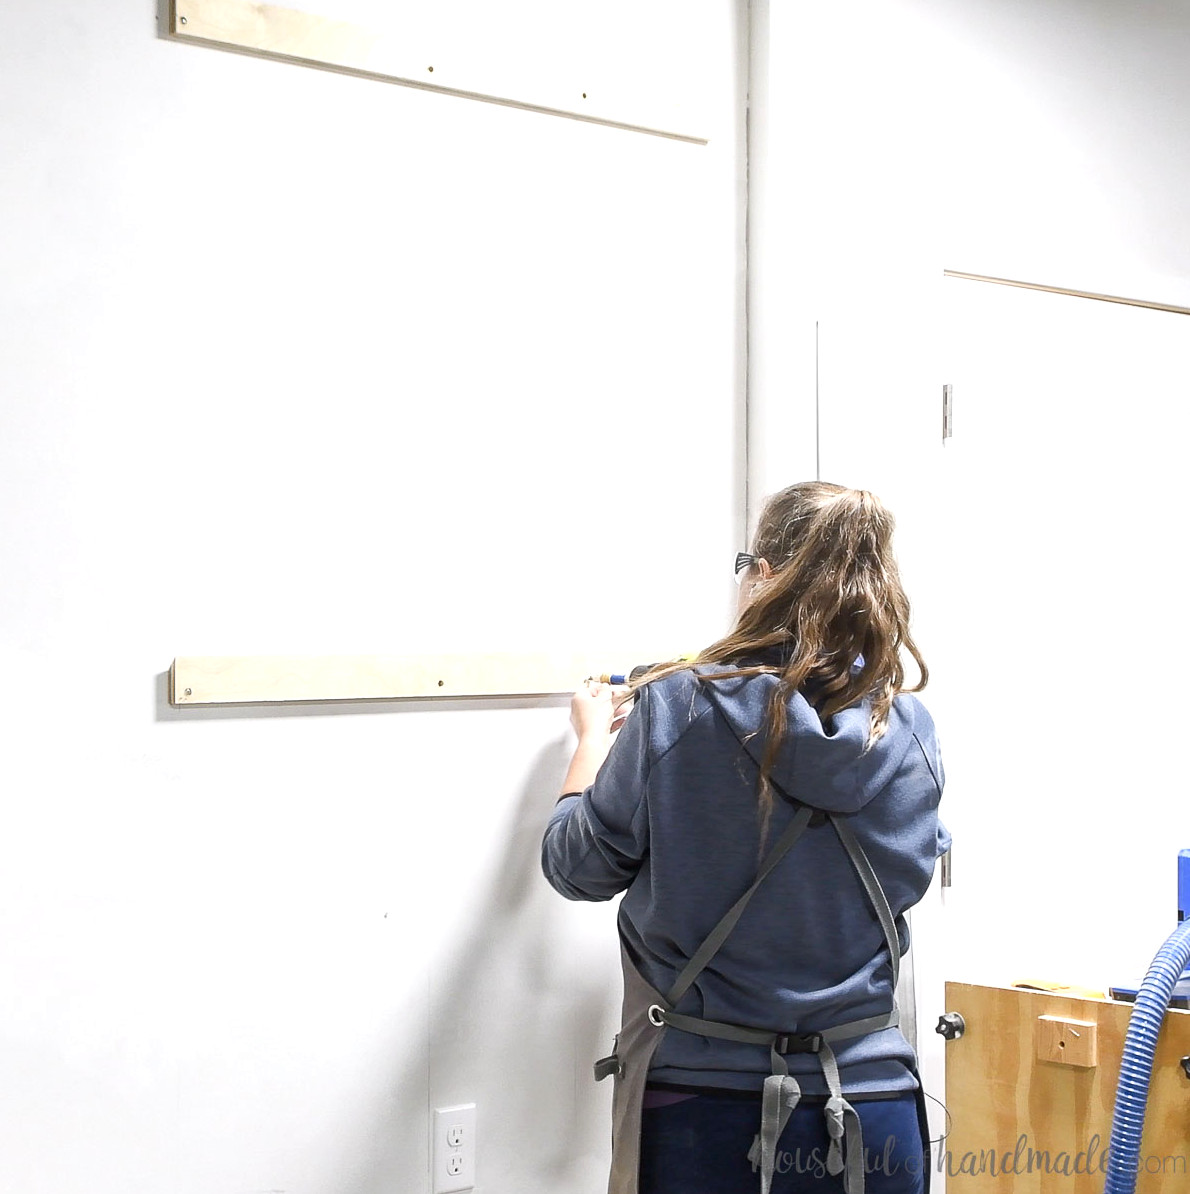
Mount the trimmed cleat pieces on the wall at the desired location for the pegboard cabinet. Position them with the short edge against the wall and the angled side pointing upward.
Fasten the cleat into the wall studs with 2 ½” pocket hole screws. Use the Kreg Quick flip tool to countersink the screws into the cleat.
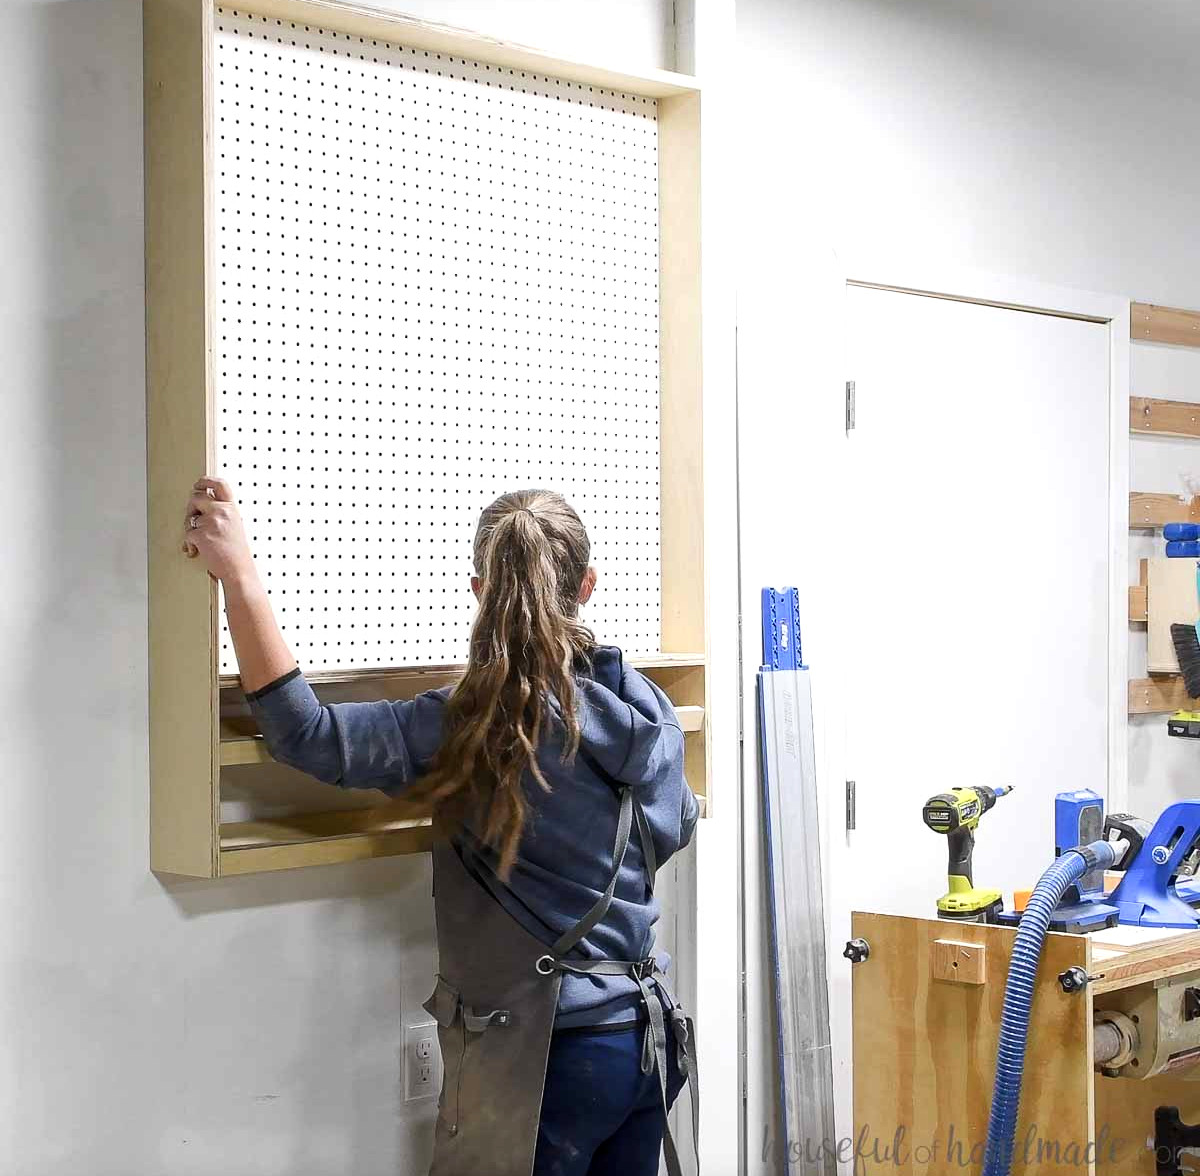
Next, raise the cabinet onto the cleat pieces. The two cleats will slide into one another, securing the cabinet against the wall.
Hanging it was incredibly simple, and I managed the entire installation alone thanks to the french cleat!
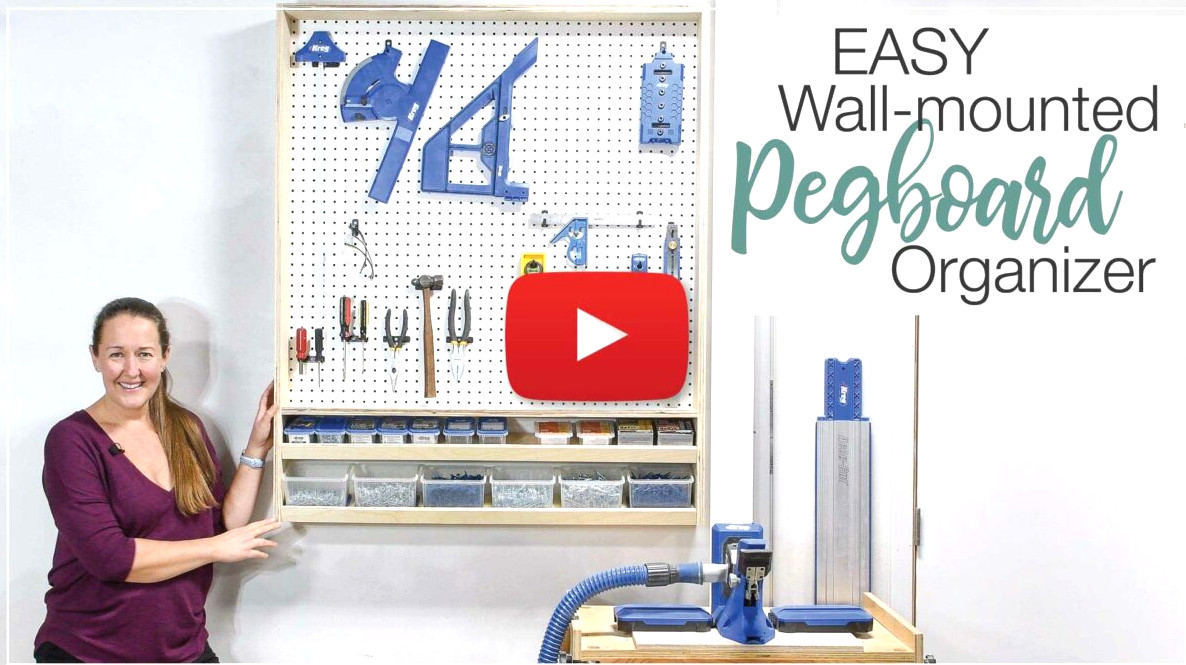
Prefer to watch? View the complete build video below:
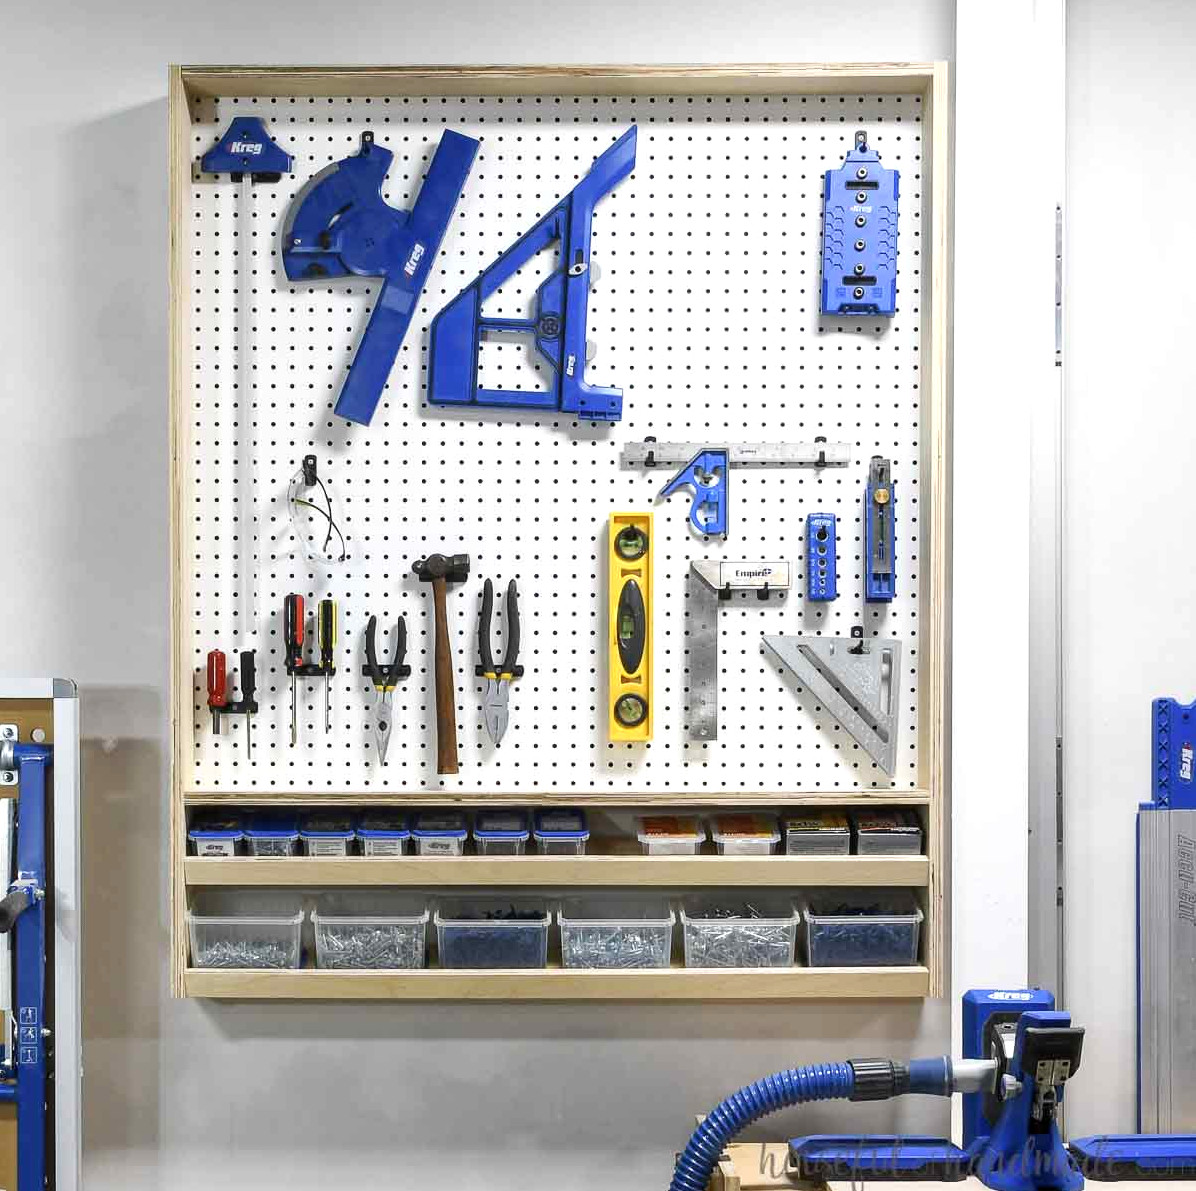
Now comes the enjoyable part… arranging all your tools on the new pegboard wall!
Collect the tools you want to keep on the wall, then experiment with where to place them.
EXPERT TIP:
Place the tools you use most often near the bottom for quick access. Store the tools you use less frequently higher up.
I am thrilled to start another project now that everything is far more organized!
Enjoy building & organizing!