Bring extra storage and charm to your kitchen with one or two countertop hutches.
I always seem to need additional storage in my kitchen. Plus, the long floating shelves were no longer working well for us.
So I decided to remove them and install cabinets with increased storage capacity. Rather than using ordinary wall cabinets, I created attractive countertop kitchen cabinets.
Positioning the cabinets on the countertops provides an extra 16-18″ of storage. This space can corral appliances or hold additional dishes.
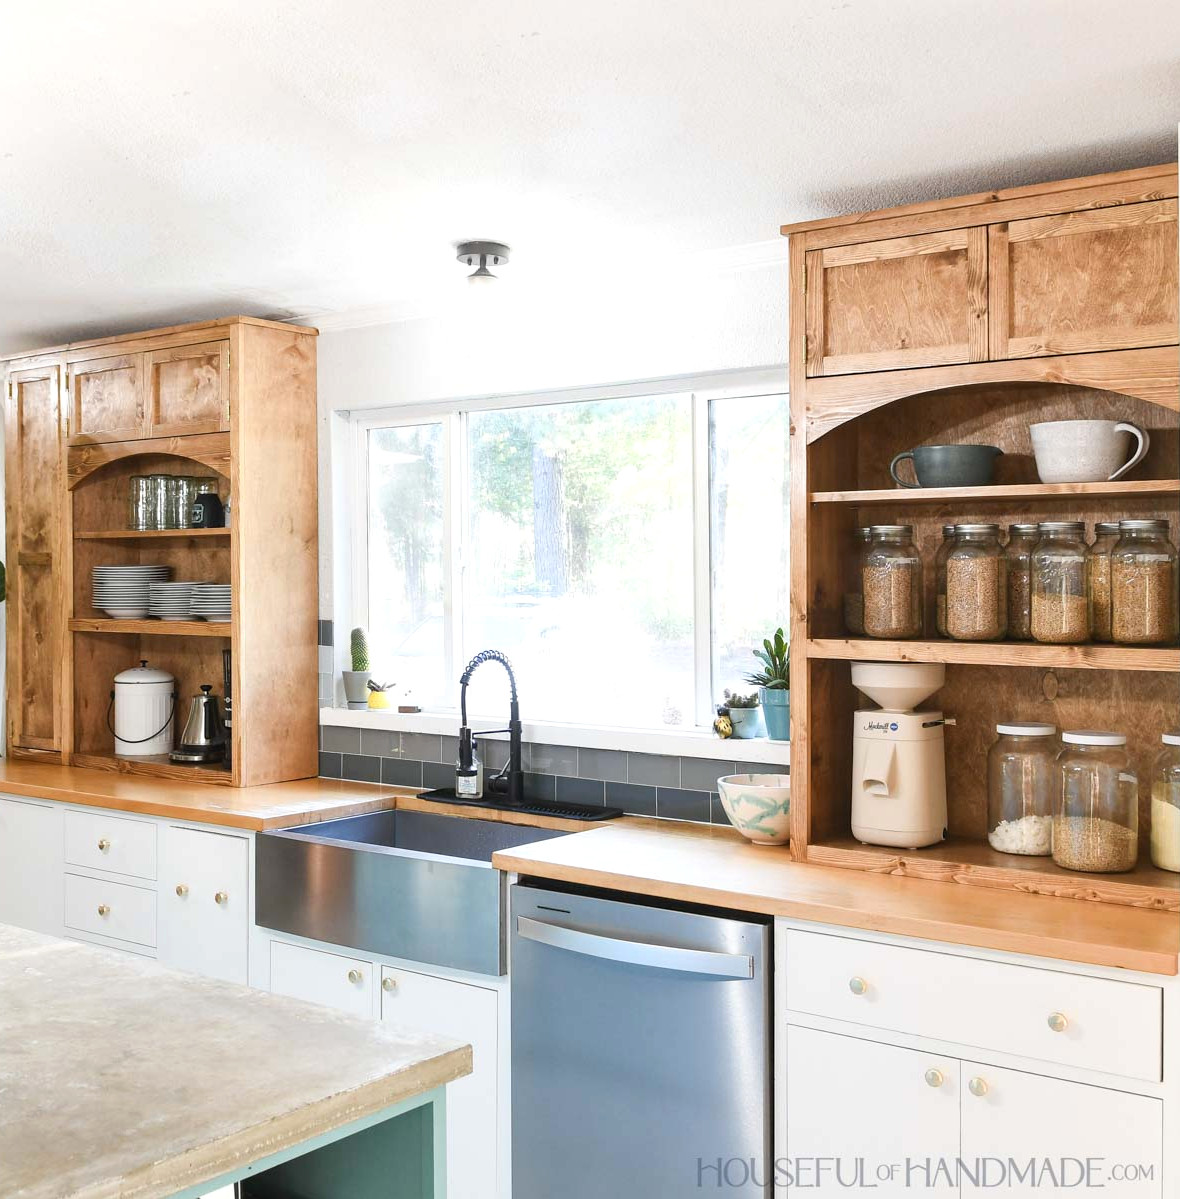
Kitchen Countertop Hutches
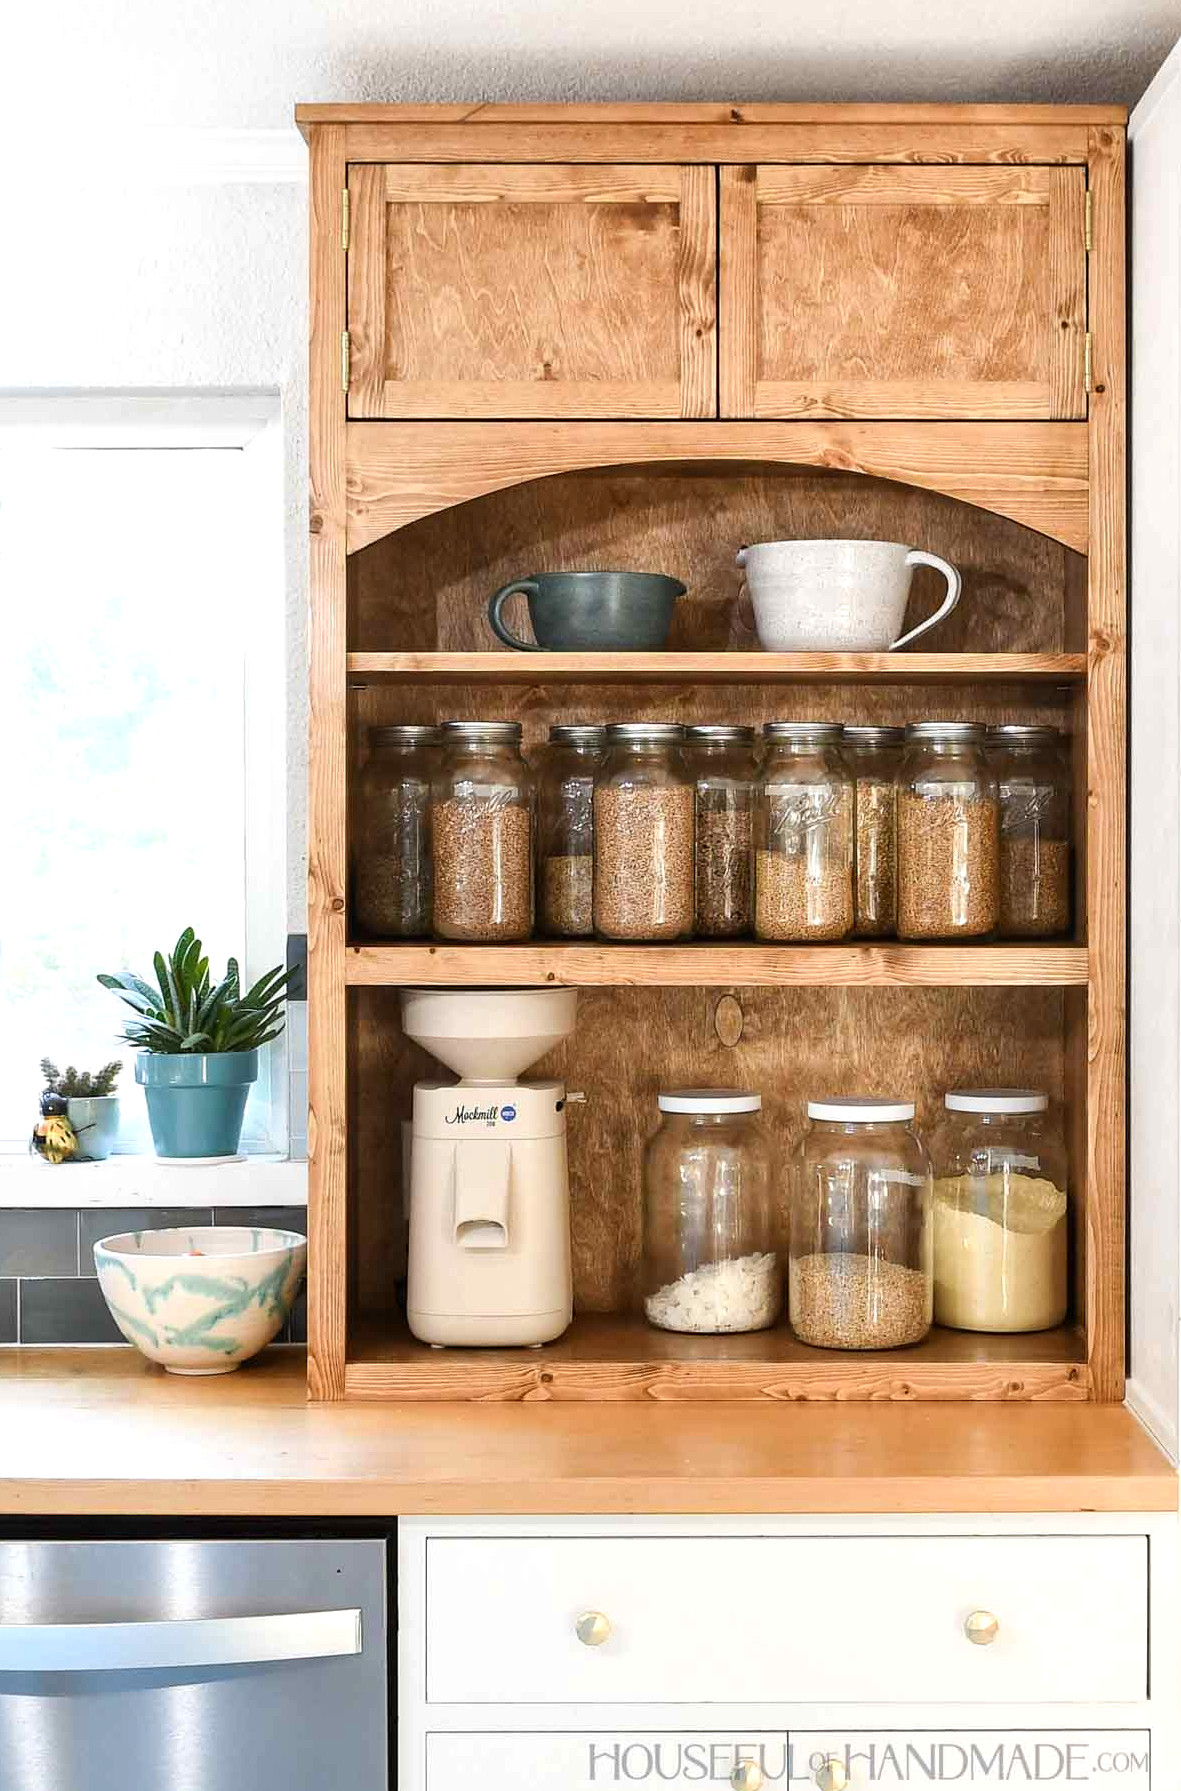
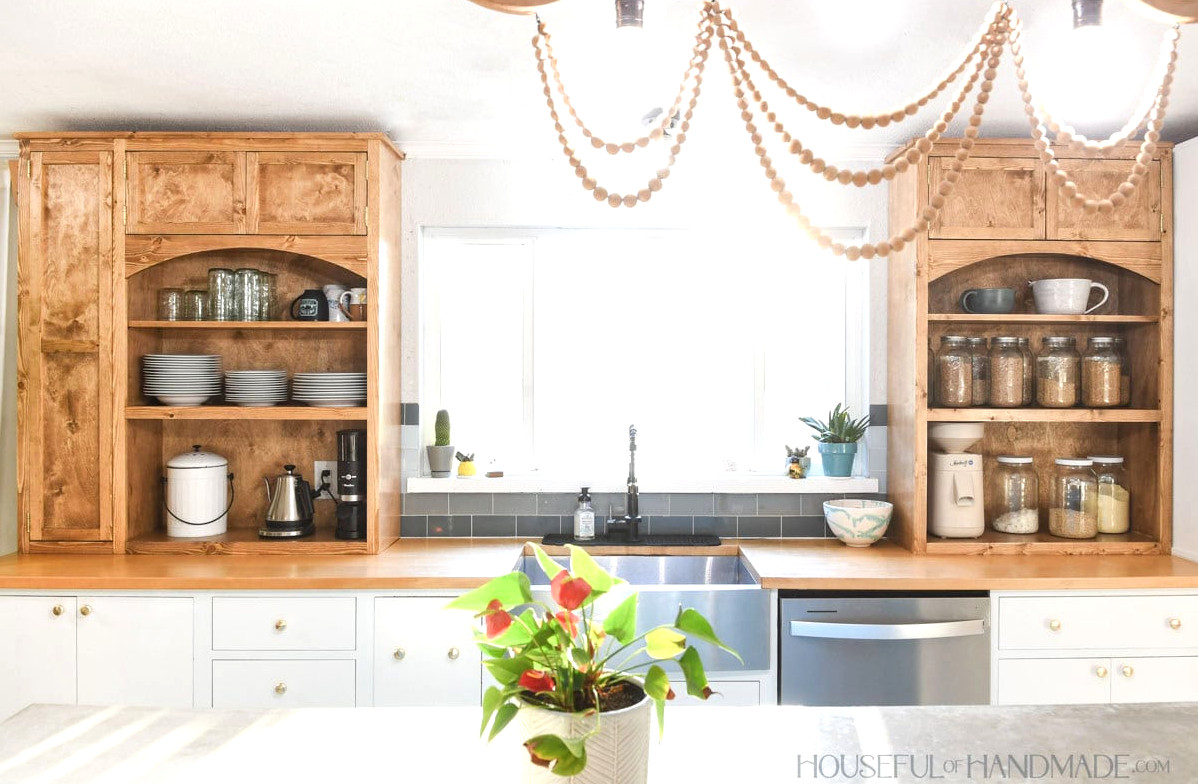
These kitchen hutches combine exposed shelving with concealed storage.
That makes them ideal for showcasing items we use every day, such as dishes and drinkware. At the same time, they make it simple to conceal anything that looks untidy.
I also love how these countertop cabinets give the appliances that once appeared messy on my counters a neat, tucked-away appearance.
My sink does not sit exactly in the center of my countertop. One side has 12″ more space than the other.
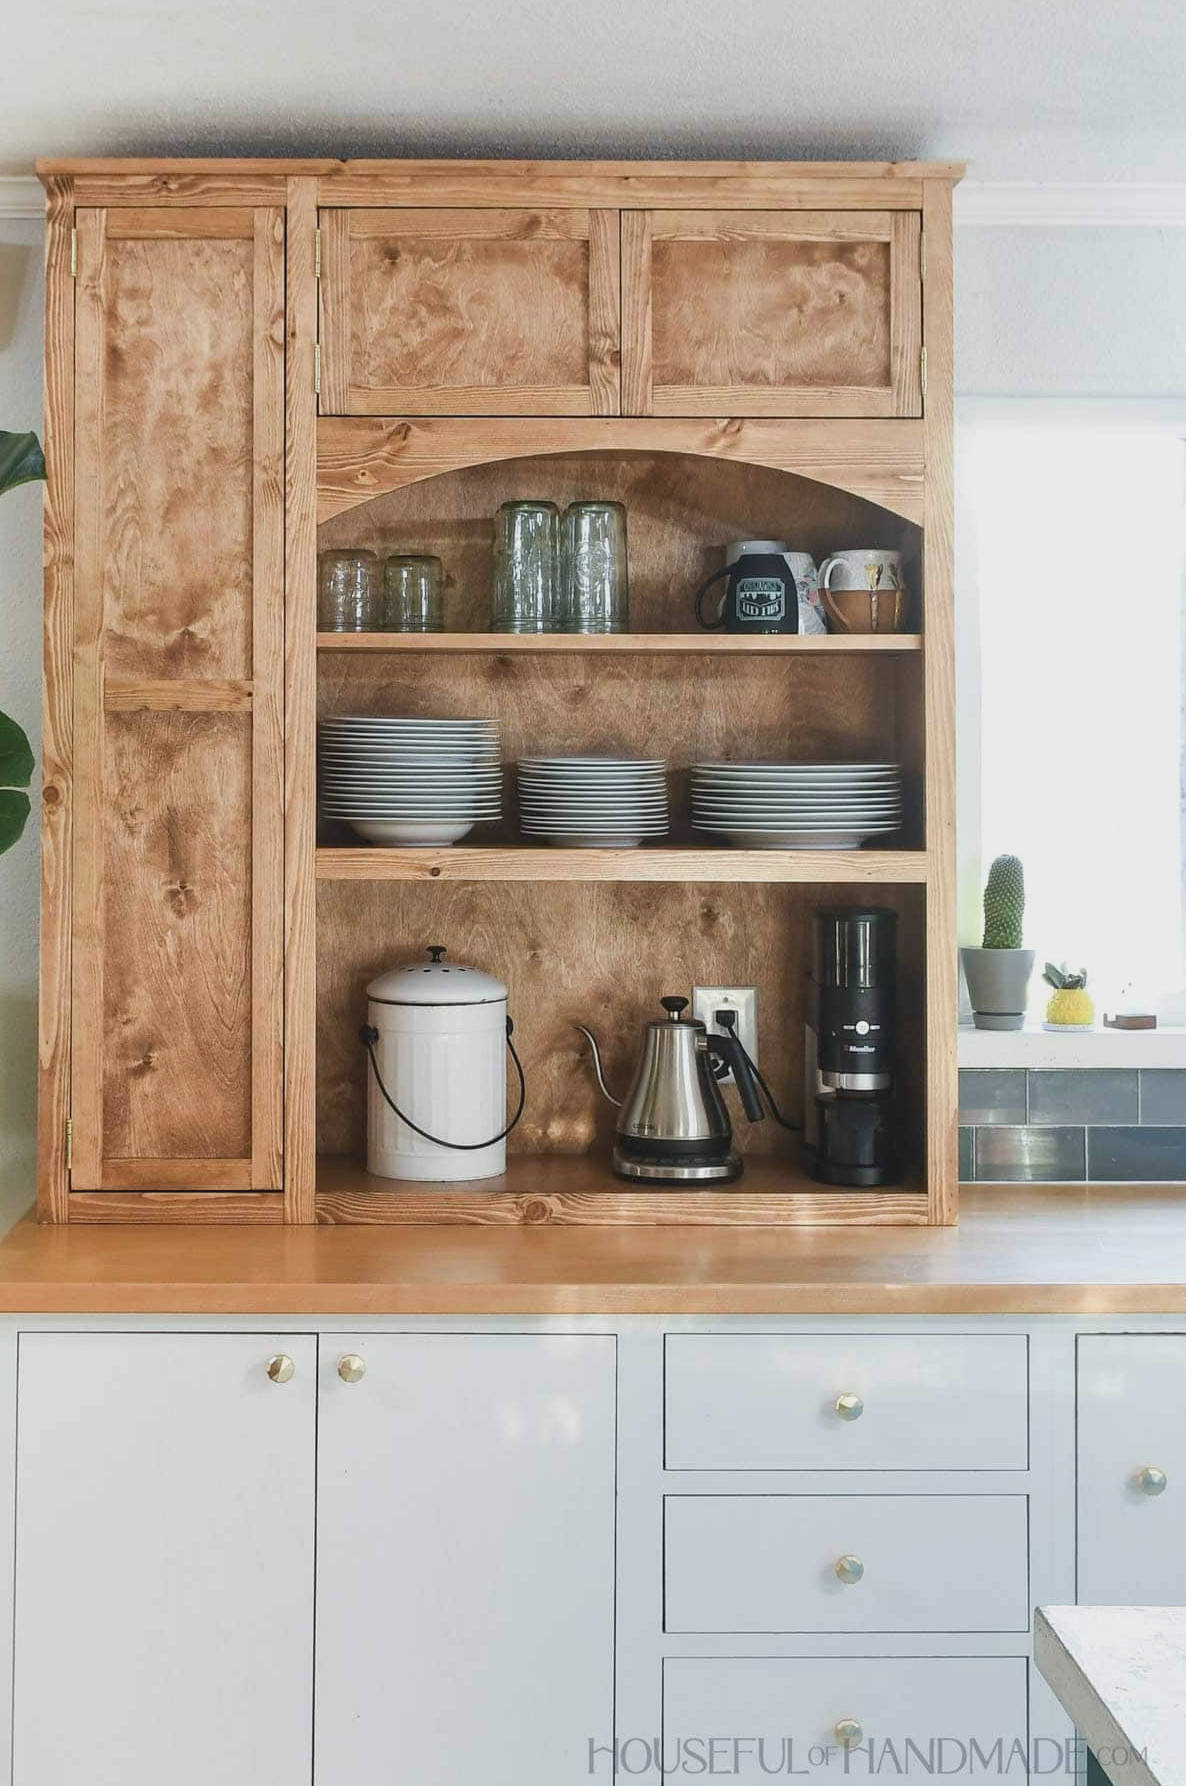
While planning my countertop cabinets, I wanted them to maintain a matching appearance. To balance things out, I added a narrow cabinet beside one of the hutches.
This compact cabinet is ideal for keeping appliances nearby while still out of sight. It also provides the balance my kitchen wall needed.
More Kitchen Storage Ideas
Because the kitchen is the center of the home, maintain its order with these enjoyable DIY projects.
How to Construct a Countertop Cabinet
Tools & Materials
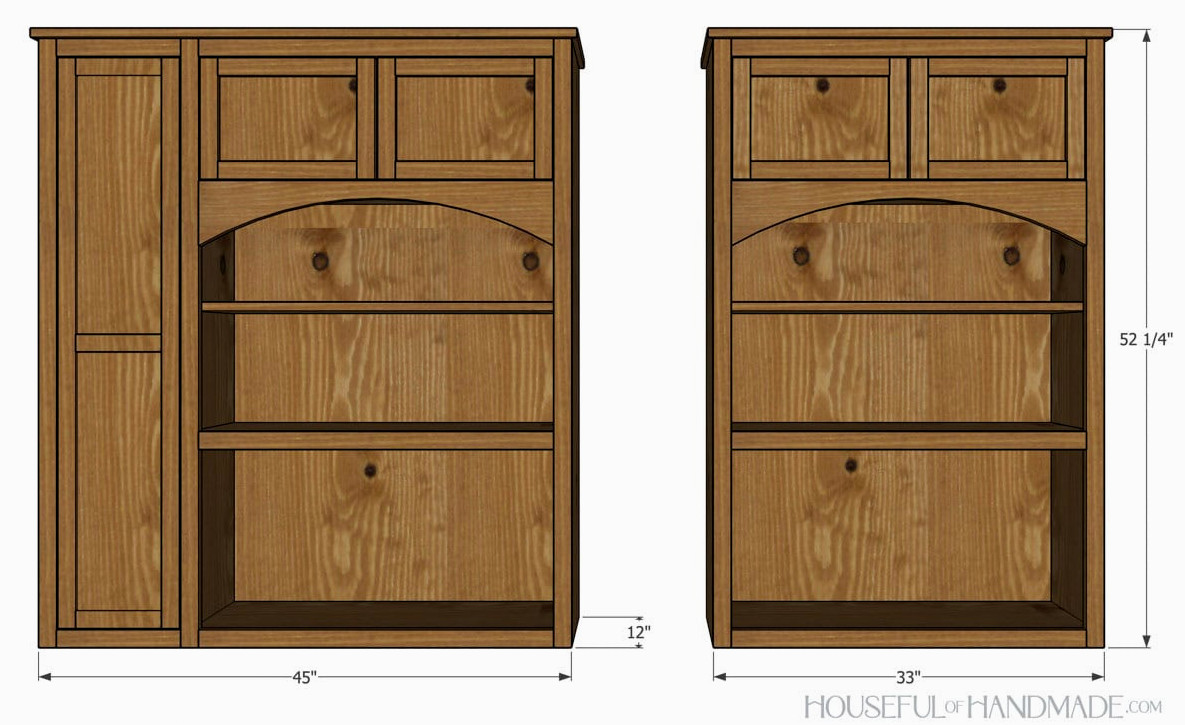
Overall Dimensions
Each cabinet measures 52 1/4″ high and 12″ deep. The single cabinet measures 33″ wide (34″ including the upper trim), while the double cabinet measures 45″ wide (46″ with the top trim).
Cut List
Cut each component using the straightforward table included in the PDF plans.
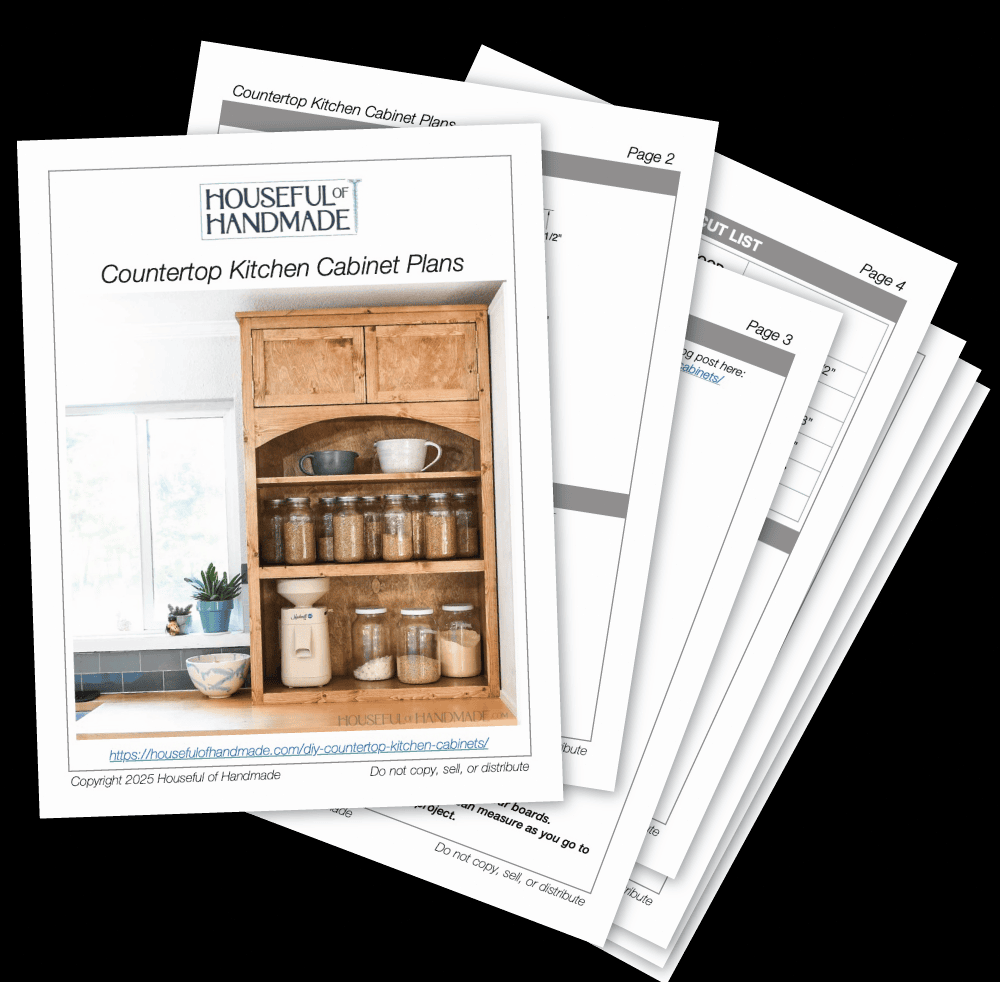
Download the Premium PDF Woodworking Plans
PDF plans include- Easy-to-Follow Cut List, Shopping List, Suggested Tools, Step-by-Step Directions with 3D drawings, & Useful Resources
BONUS- 3D SketchUp File
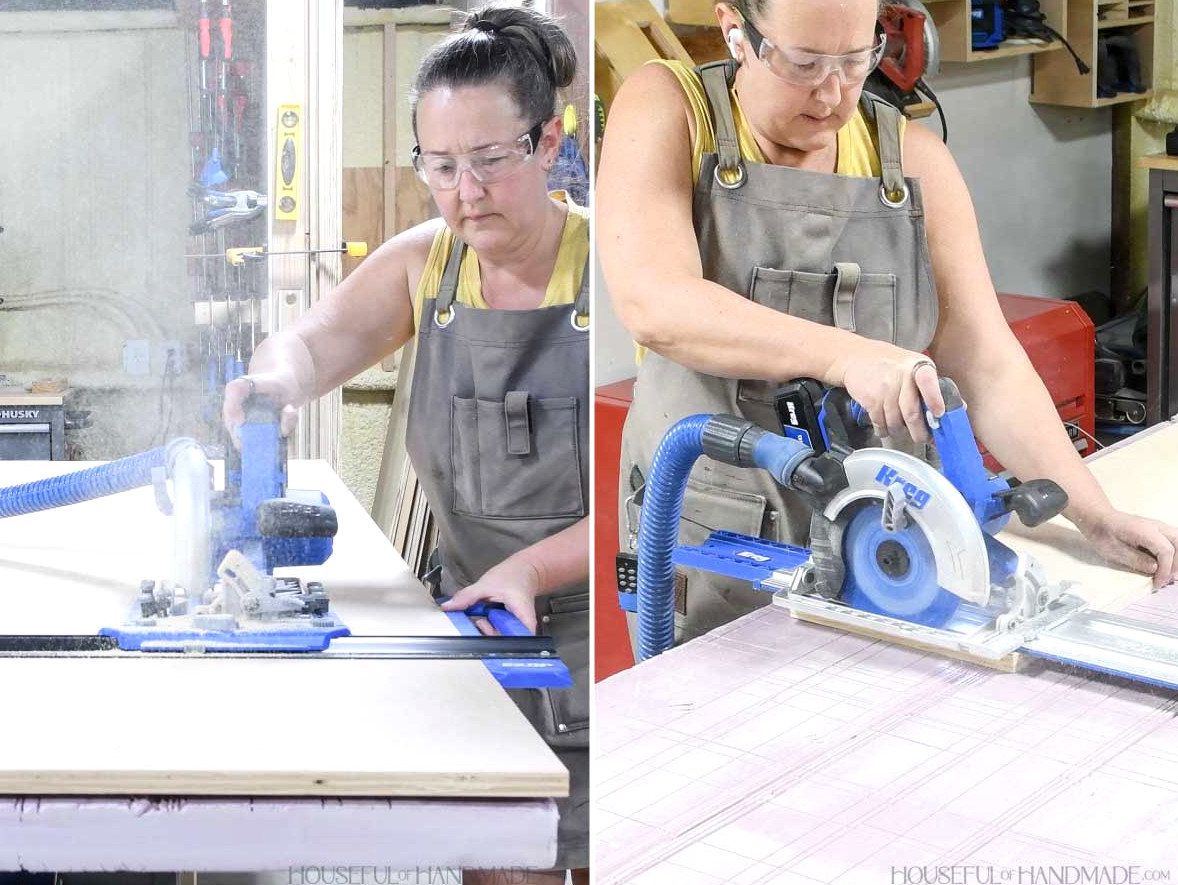
Begin by ripping the plywood into strips with the Rip-Cut guide. Next, use the AccuCut and your circular saw to crosscut the pieces to their required lengths.
You can find my simple method for breaking down plywood with a circular saw here.
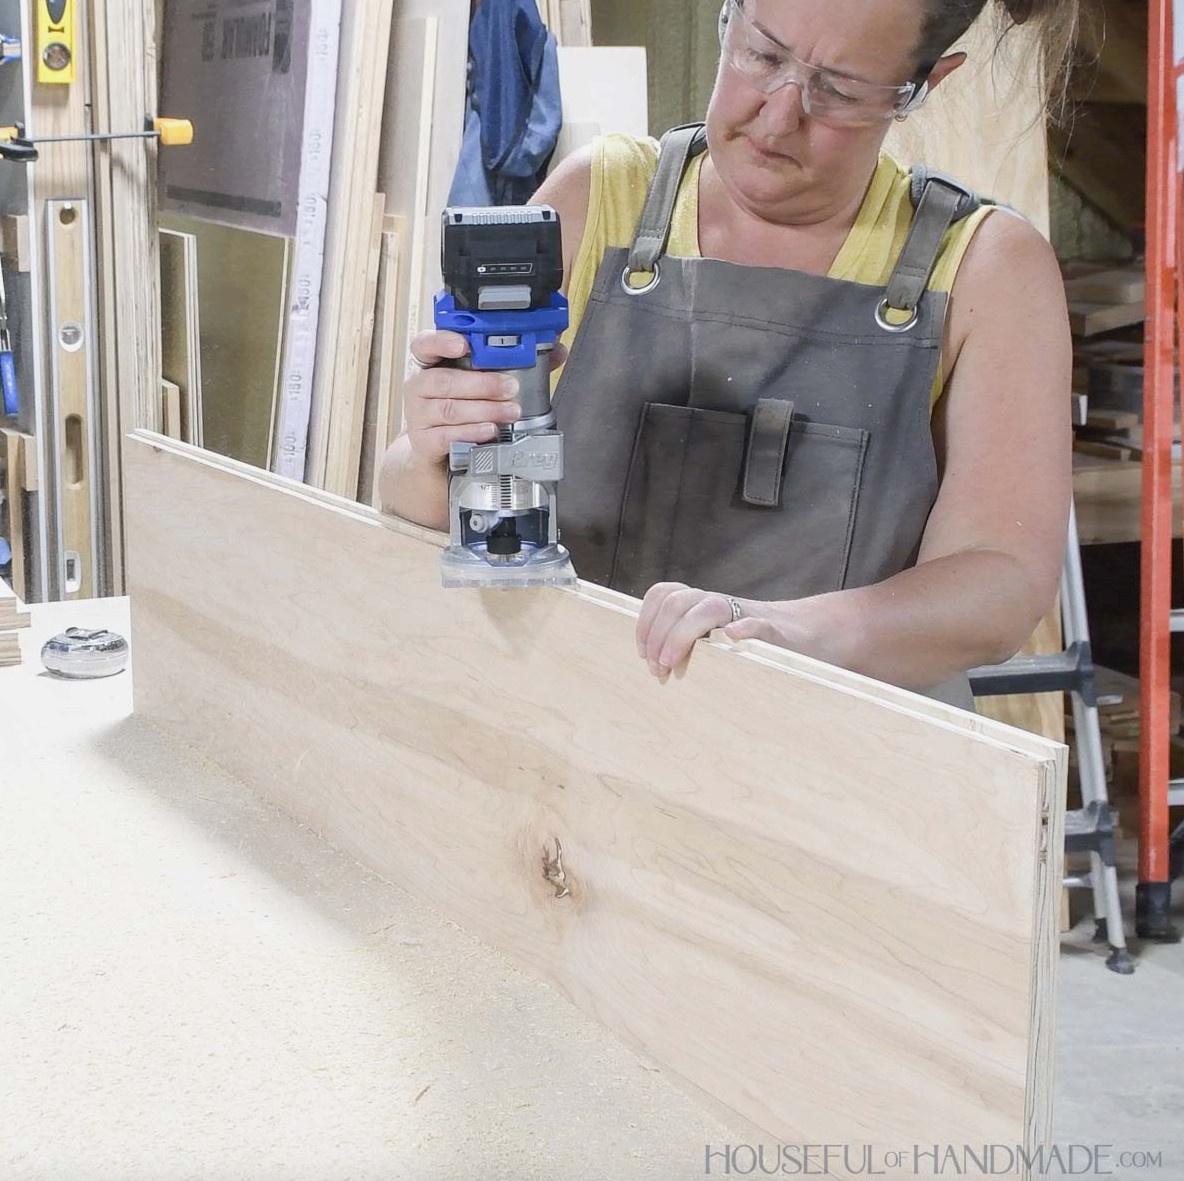
Cut a 1/4” x 1/4” channel into the inner back edges of the side panels. The back will rest inside this channel later.
You may create the groove with a router, circular saw, or table saw.
STEP 1- Build the cabinet box
NOTE: I put the complete cabinet together with dowel pins and a dowel jig. This kept the shelves free of visible fasteners. If you prefer, pocket holes can also be used to assemble the cabinet.
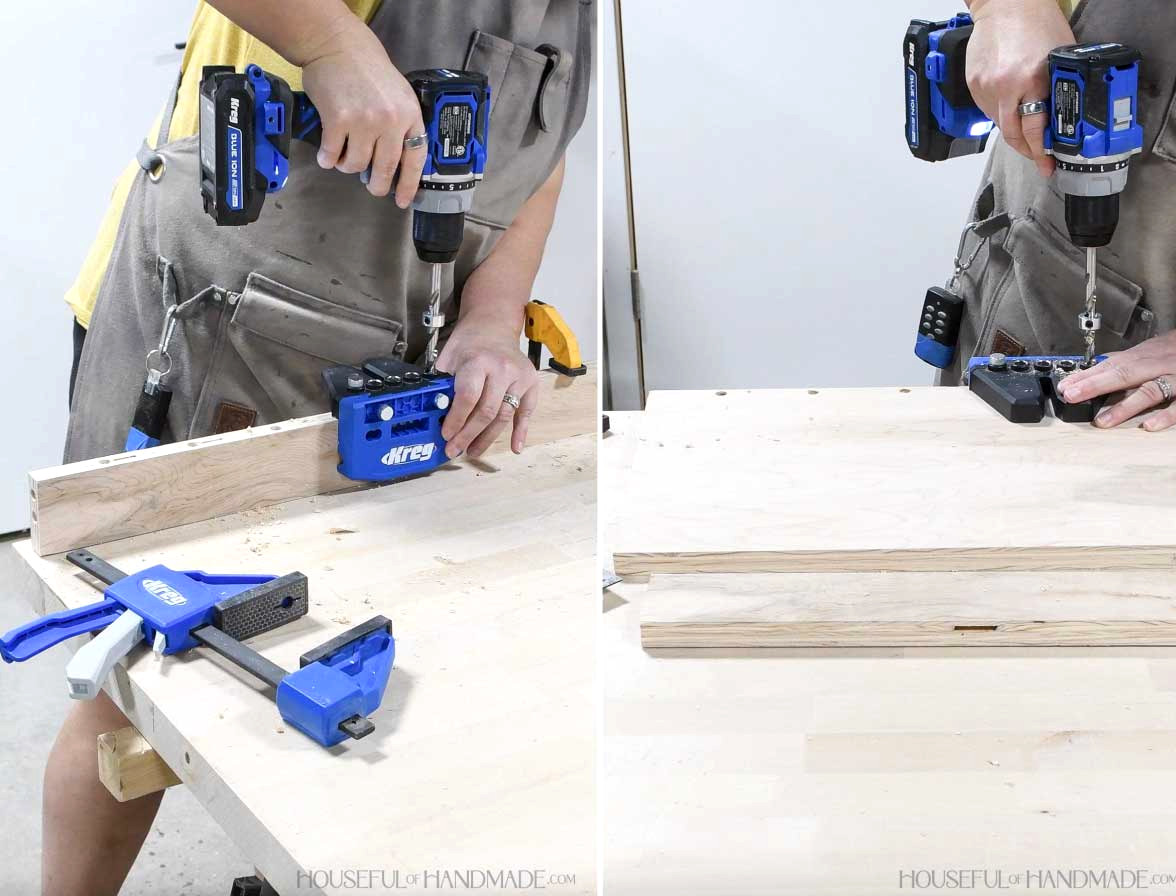
Bore 3/8” wide holes down both sides of every shelf board and into the ends of the back support.
I used Kreg Tools’ new dowel jig to create properly aligned holes for the dowel pins.
I began drilling at the front of each shelf board, positioning the edge of the dowel jig against the board’s front edge.
I then used the pin to maintain even spacing while sliding the jig along the board.
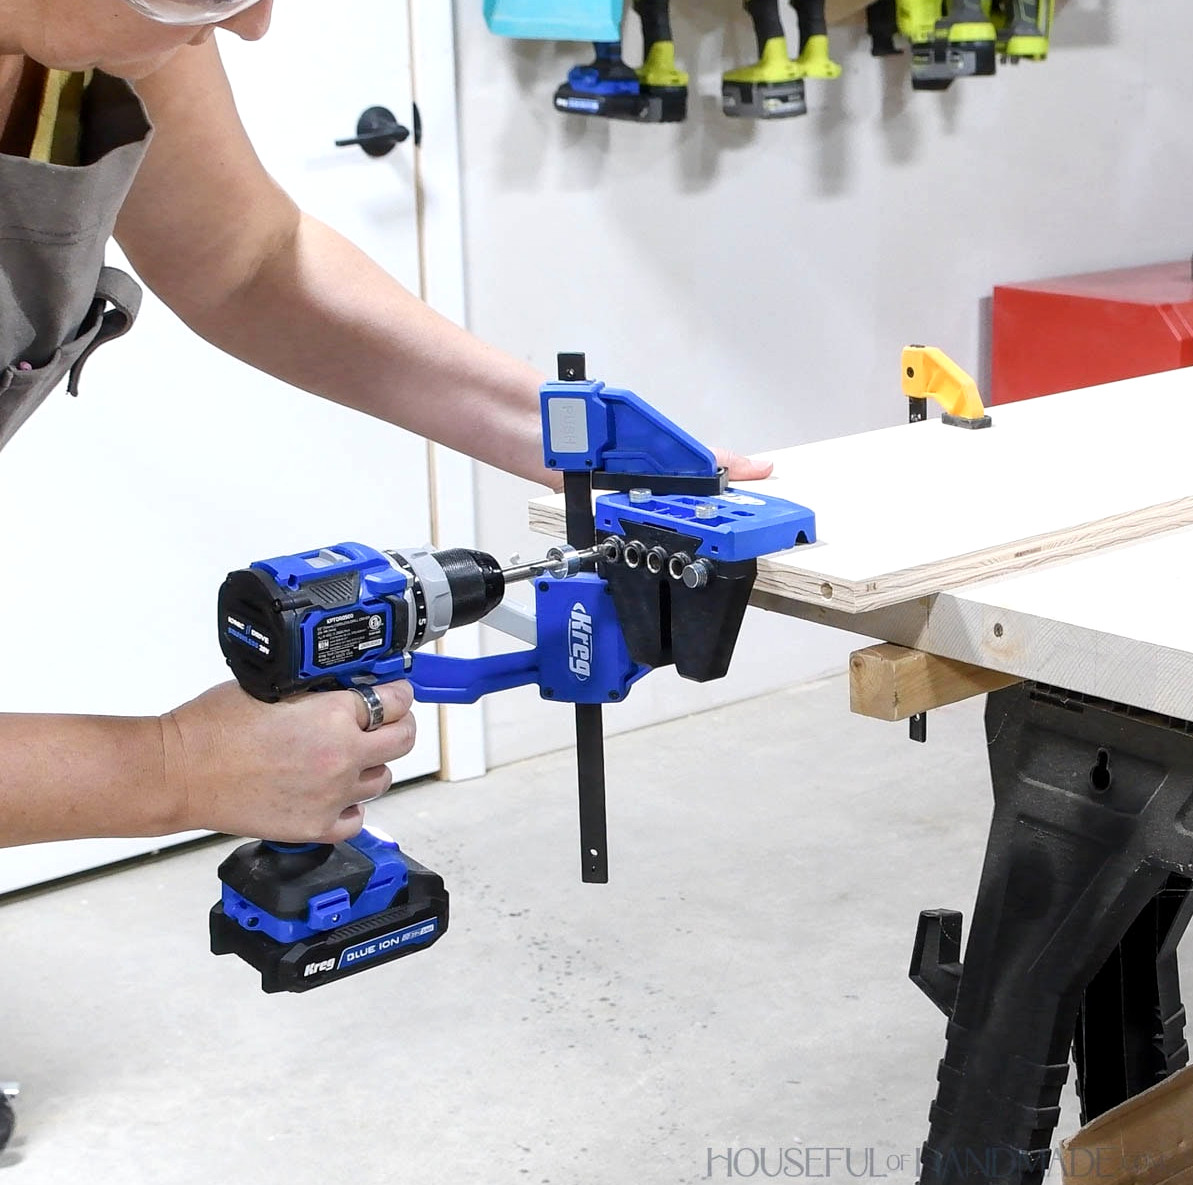
Afterward, I drilled holes across the back edge of one shelf board, along with matching holes across the top edge of the back support board.
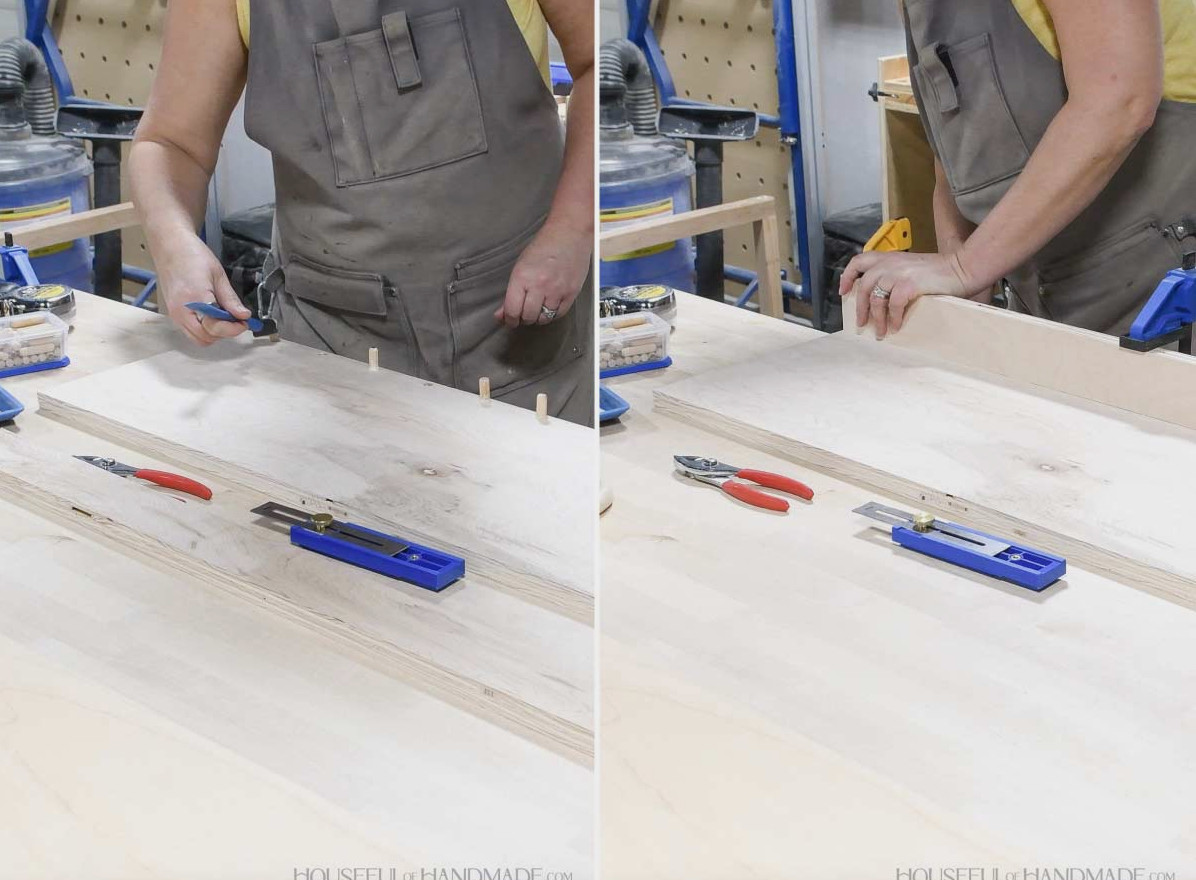
To join the back support, first dry-fit it with 1 1/2” dowel pins and make any necessary adjustments.
Next, fasten the boards with glue and dowels. Clamp everything until it has dried.
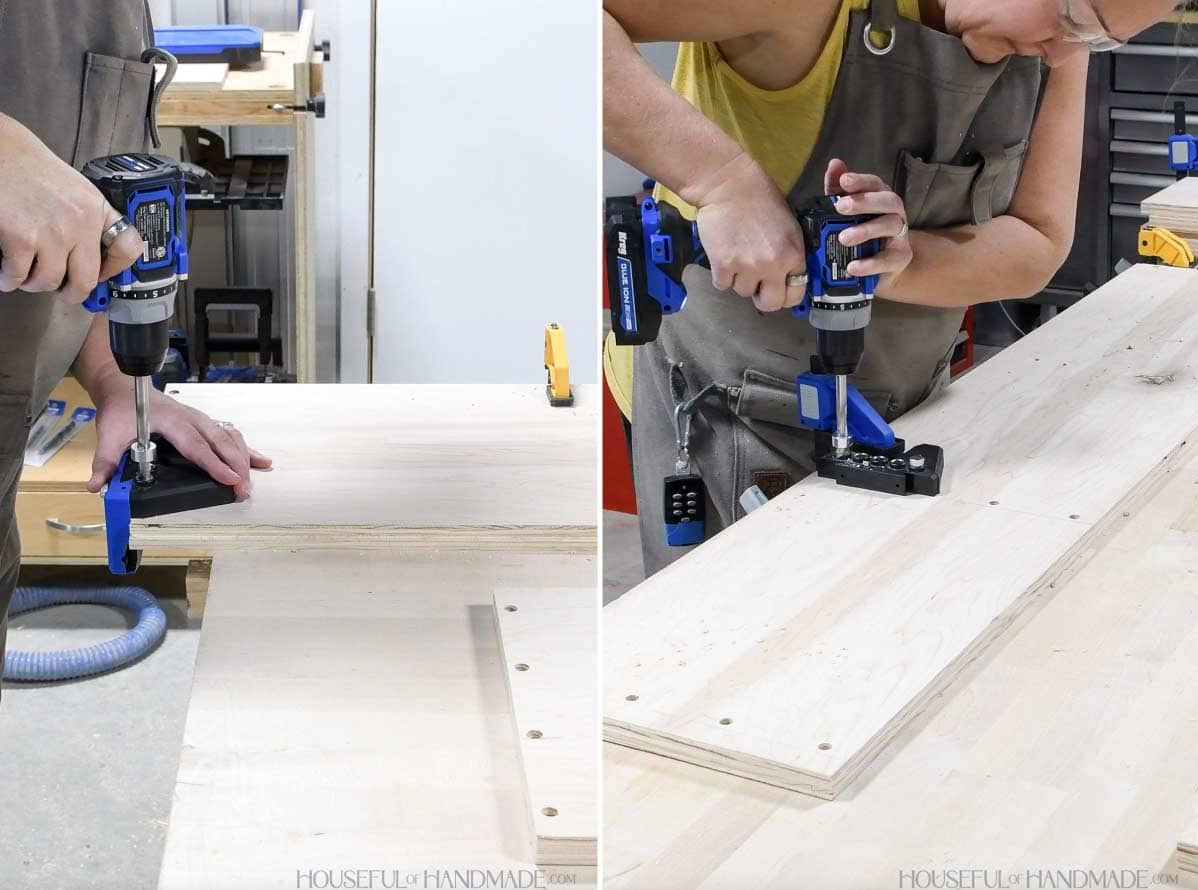
Drill dowel holes in the side panels where the shelves will be connected.
The upper shelf should sit flush with the tops of the side panels, while the other shelves should follow the measurements shown in the plans.
Check that every board is even with the front edges of the sides.
Test-fit the pieces with 1 1/2” dowel pins, making adjustments where necessary.
Next, join the boards using glue and dowels. Clamp them until the adhesive has dried.
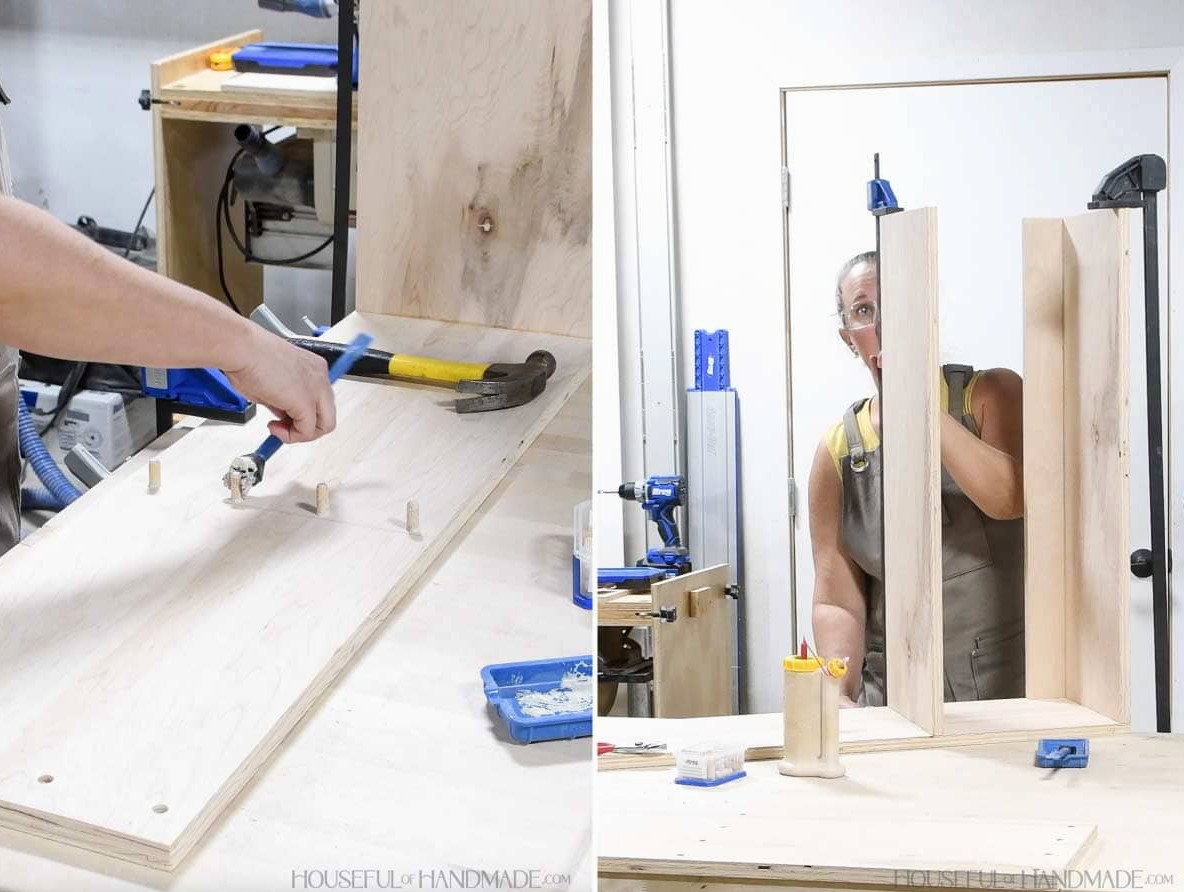
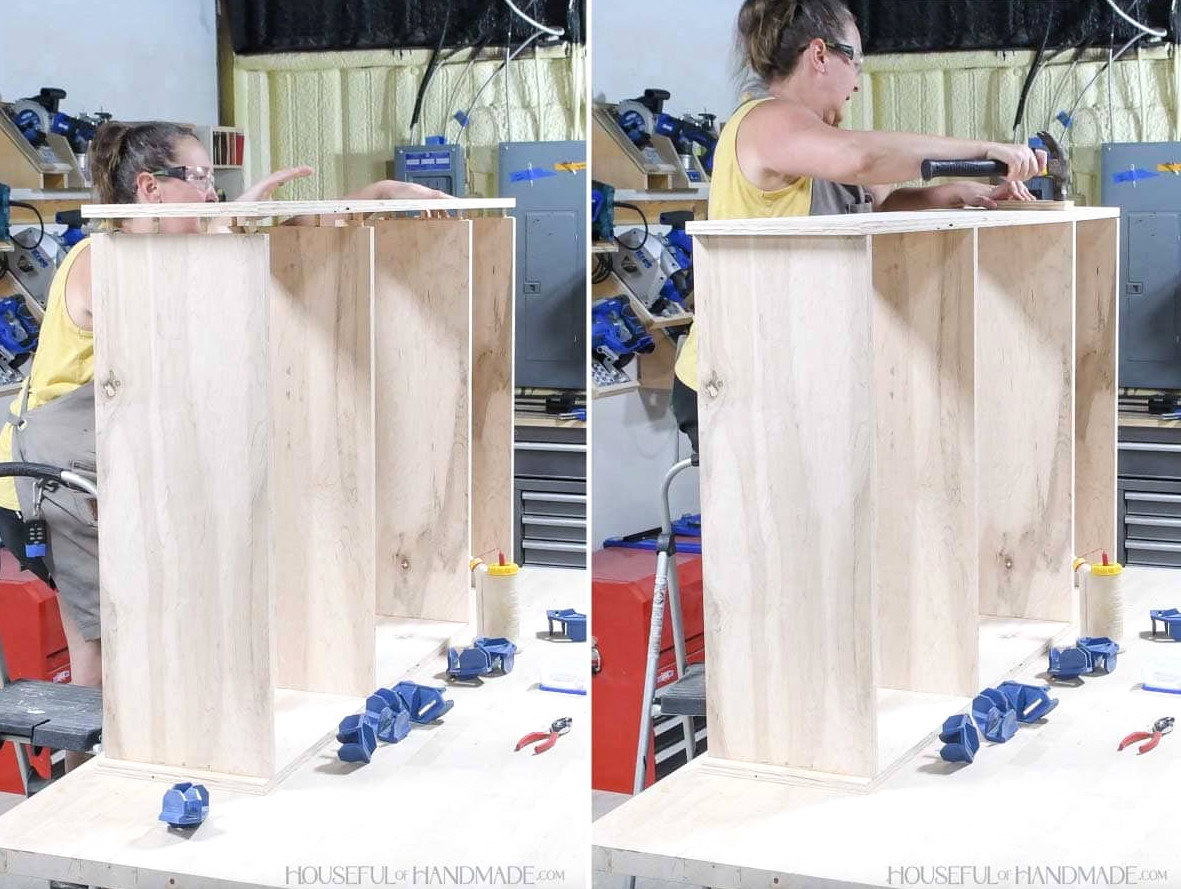
After attaching all the boards to one side, fasten them to the opposite side with glue and 1 1/2” dowel pins.
Positioning the second side can be somewhat challenging, so work quickly to clamp everything before the glue begins to set.
I prefer to begin at one end by aligning the dowel pins and pressing them in slightly, enough to hold them in place without completely closing the joint. Continue to the next shelf and repeat the process.
When every board is positioned, tighten the clamps to close the joints and allow the glue to cure.
For the larger countertop cabinet, I attached another smaller cabinet along the side.
I installed these shorter shelves using the same method as the larger ones, though I positioned the holes slightly away from those used for the large shelves.
The upper shelf needs to sit even with the top of the sides, while the lower shelf should be 3/4” above the bottom. Ensure every board is flush with the front and aligned with the groove edge at the back.
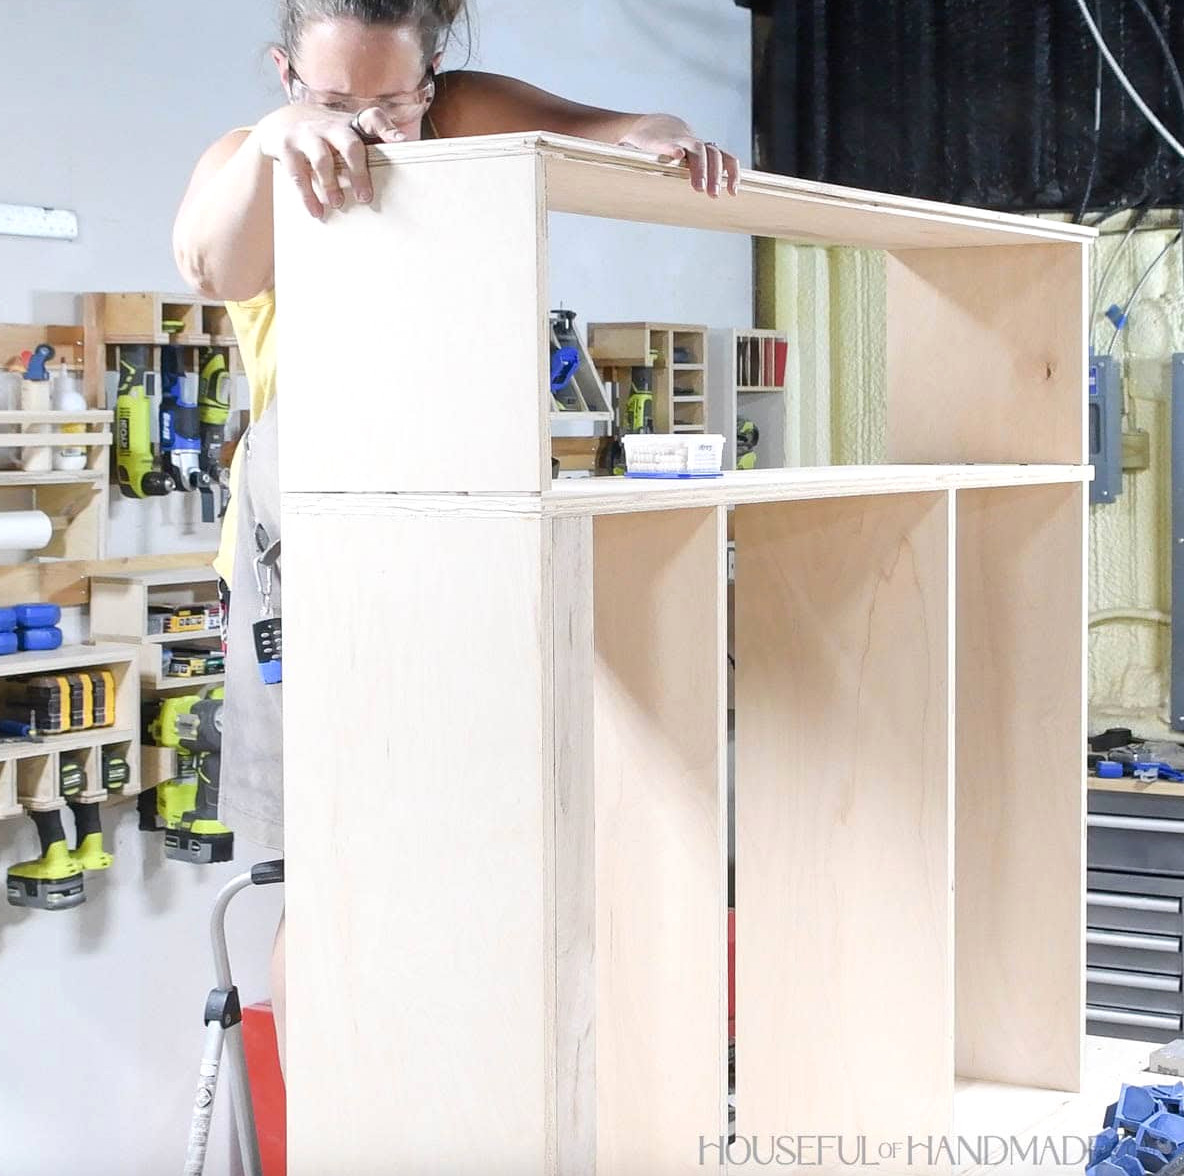
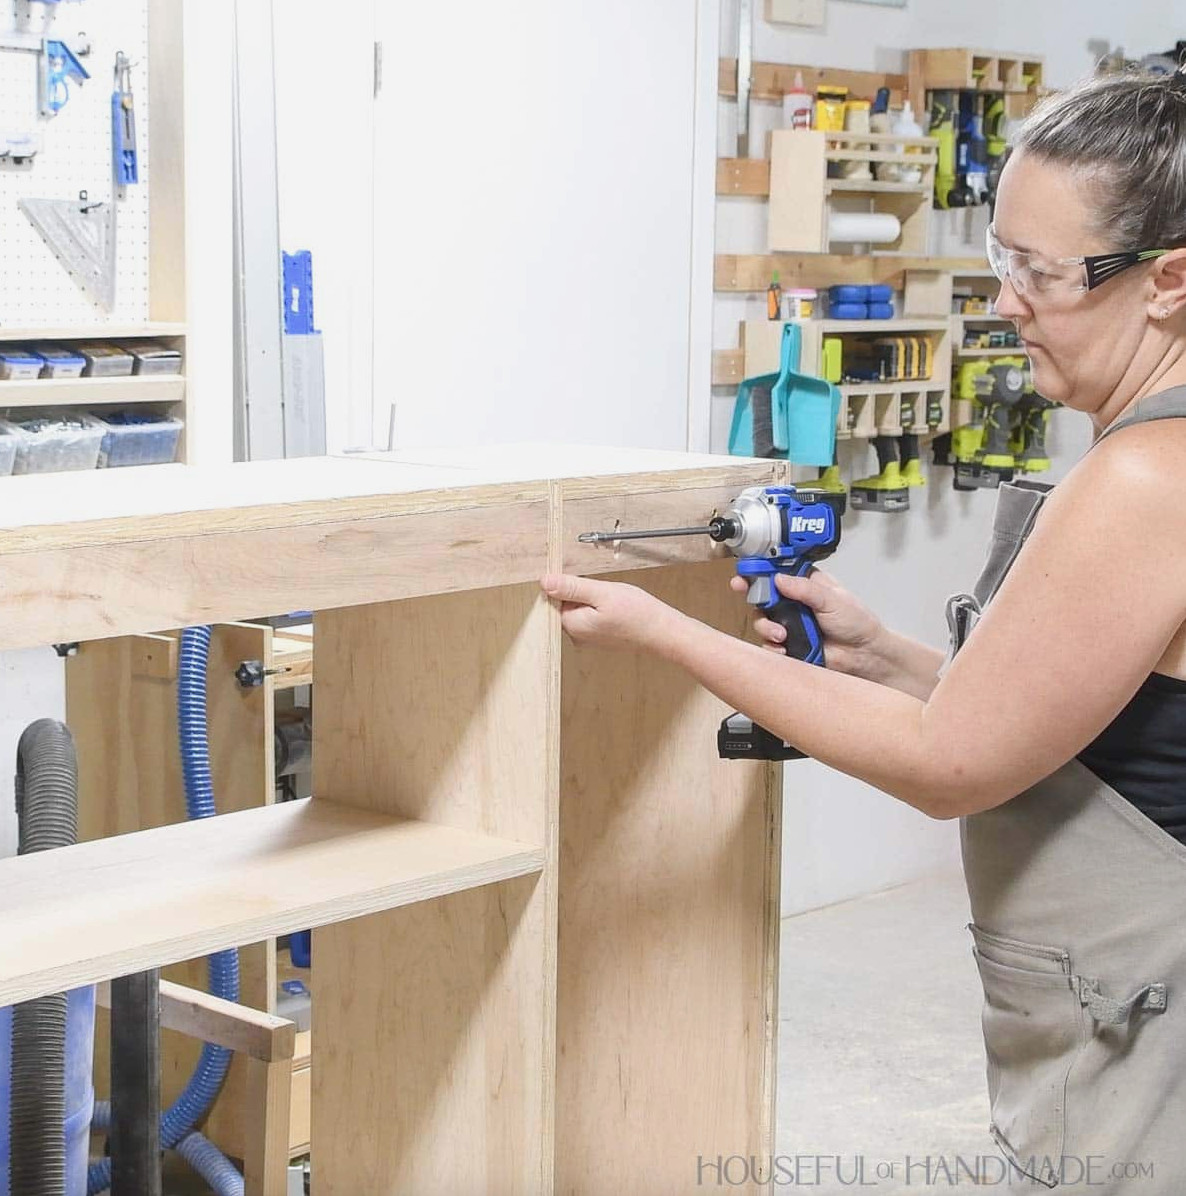
Once the side cabinet was attached, I noticed that the rear support had been overlooked.
Rather than remove the cabinet, I secured it with pocket holes because they will be fully concealed at the back.
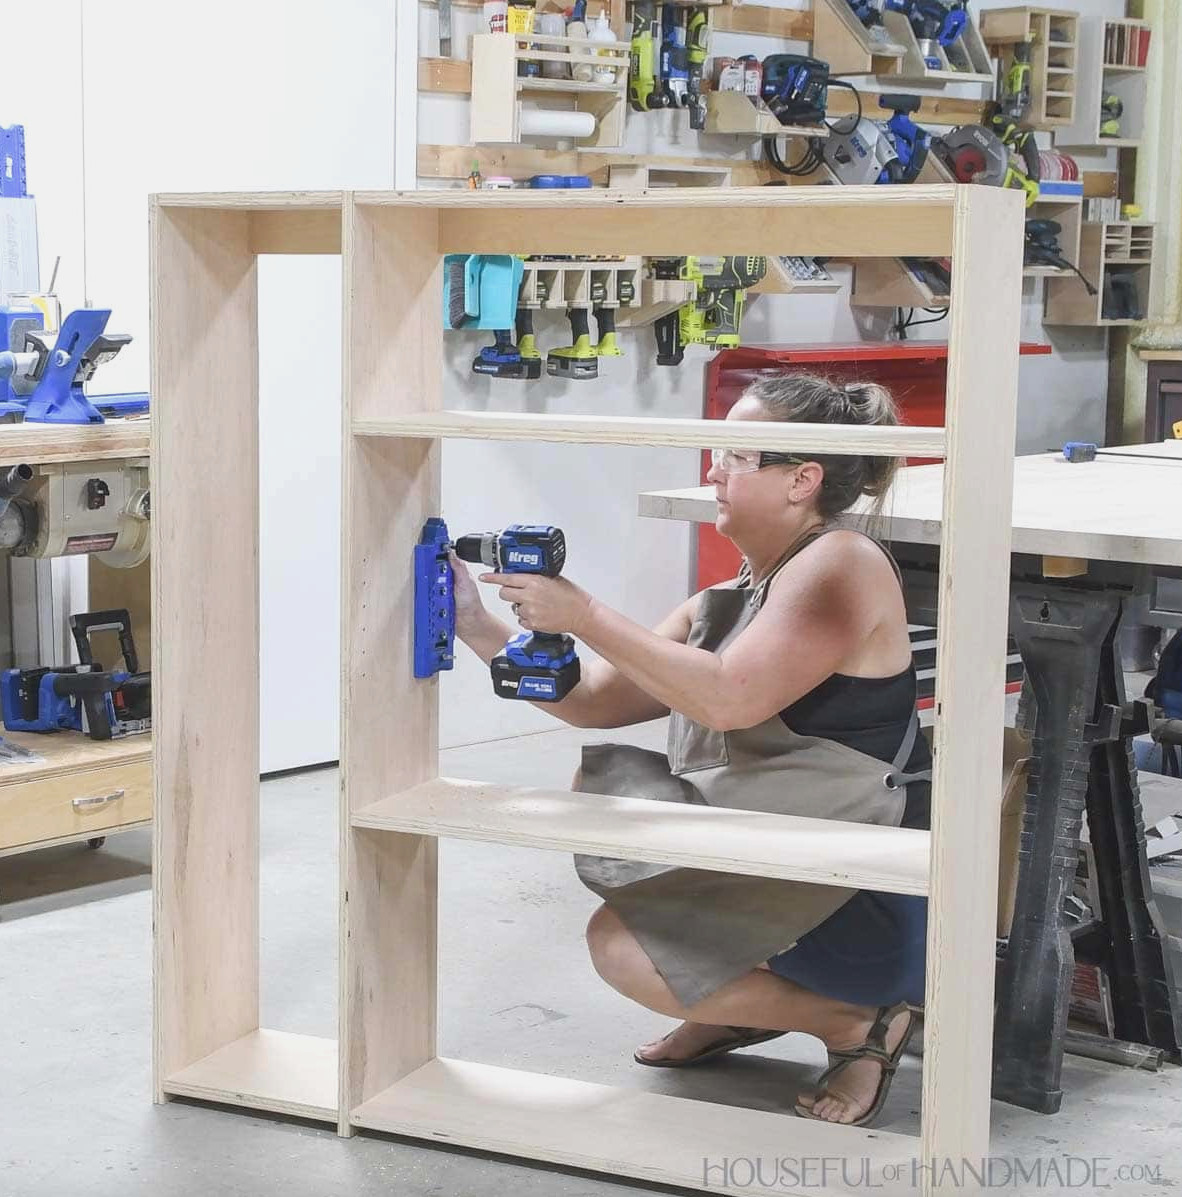
Shelf pin holes can be drilled either now or after assembly.
Make holes on both sides of the center section. I used a shelf pin jig to keep the holes equally spaced and properly aligned.
For the double cabinet, also bore holes for adjustable shelves along both sides. Be sure to place these shelf pin holes apart from those in the center section.
STEP 2- Assemble face frame
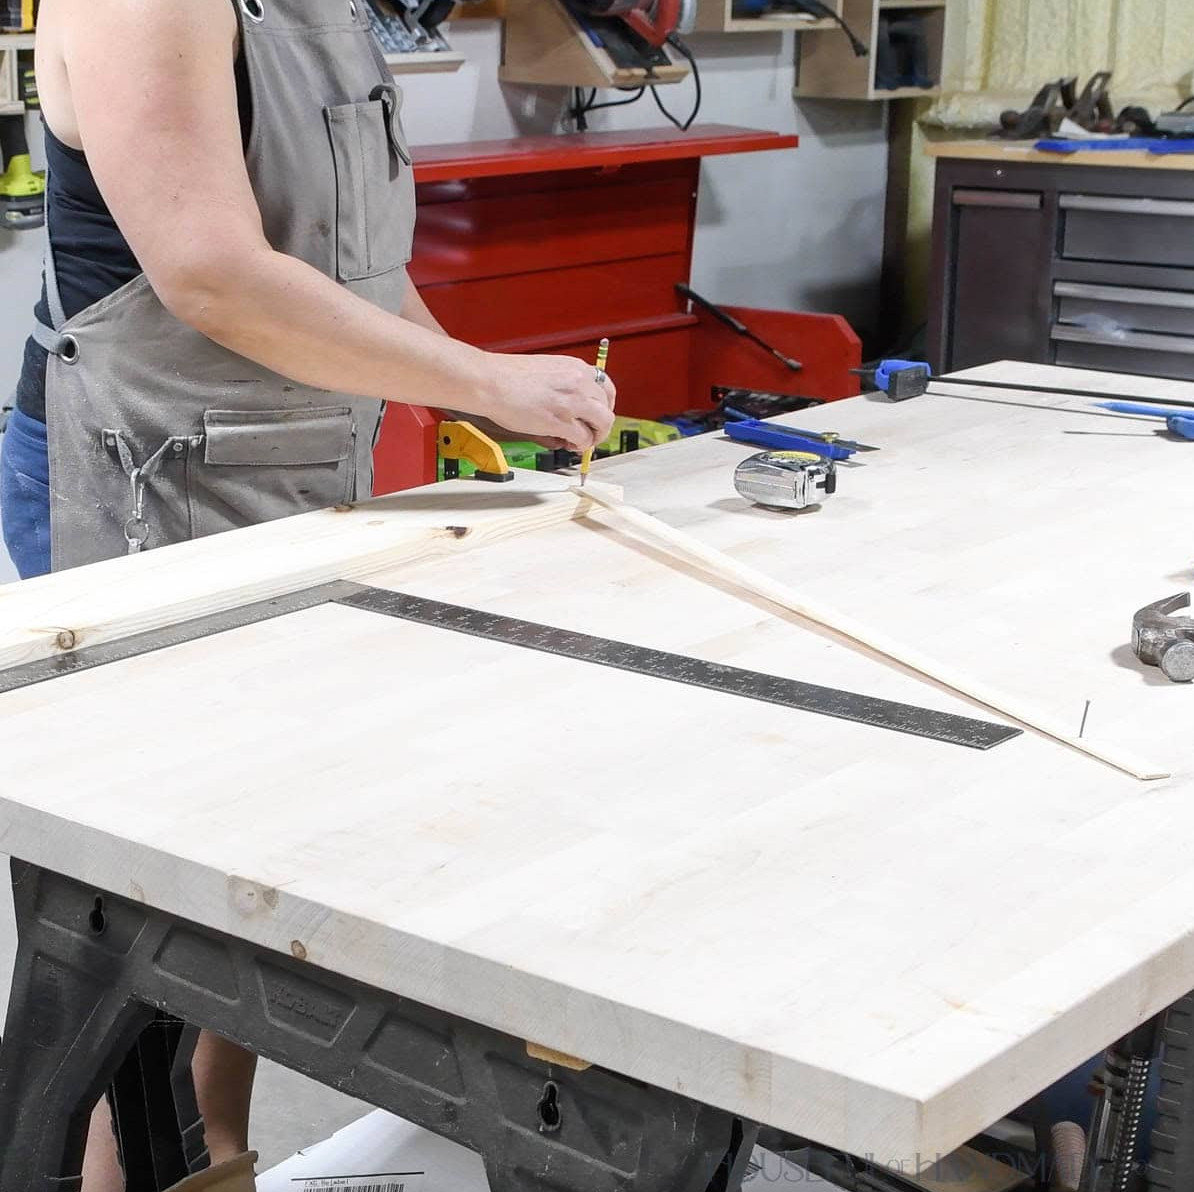
Mark an arch on the lower portion of the 1×6 face frame rail, positioning the arch’s highest point 1 1/2” beneath the board’s top center.
The simplest method I found was to clamp the board to my workbench. Measure 25 5/8” upward from the bottom, keeping the mark square with the center.
Drive a nail at that location, then use a narrow scrap of wood or a piece of string to swing a pencil around the point and trace the arch.
Modify the curve as necessary so it reaches the bottom corners and the center mark.
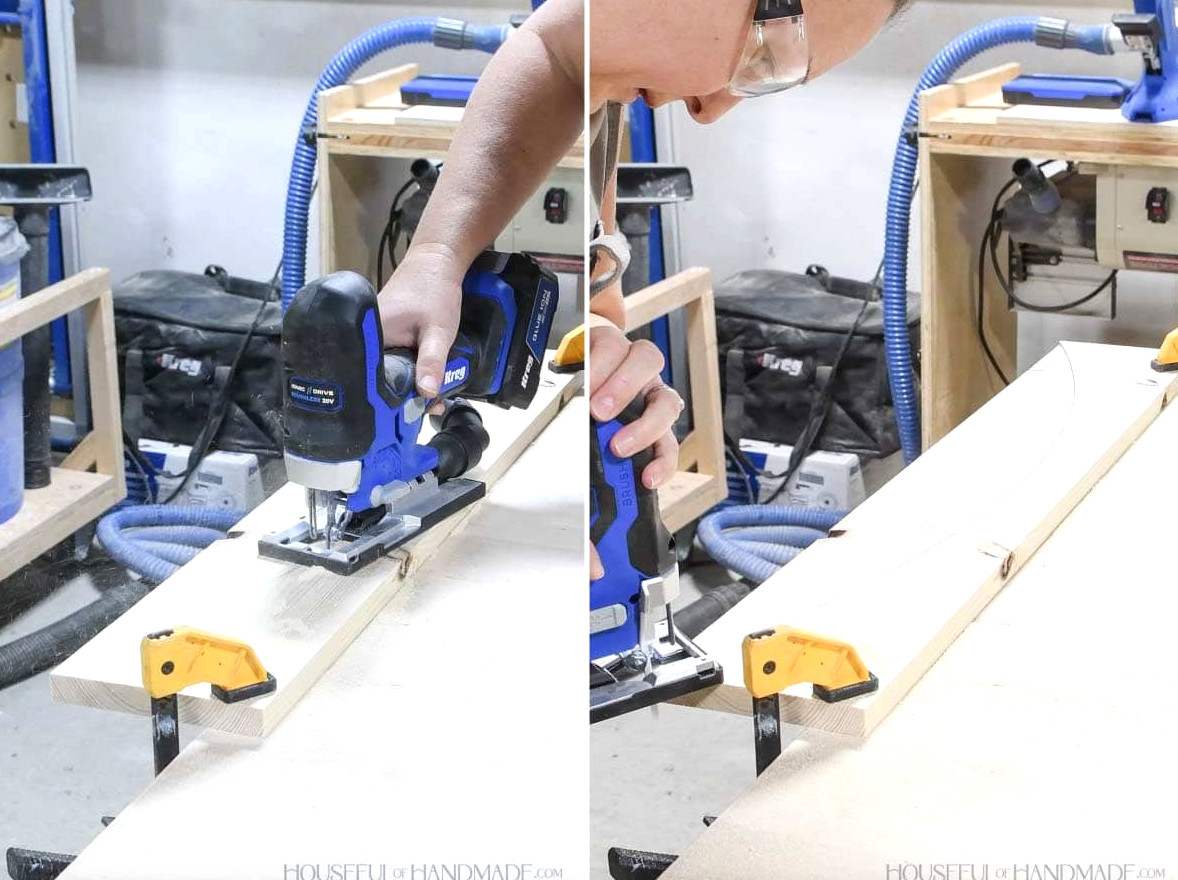
Cut out the arch using a jig saw.
Take care when cutting across the corners because the tips may chip. To avoid this, begin at the outside of each corner and cut inward.
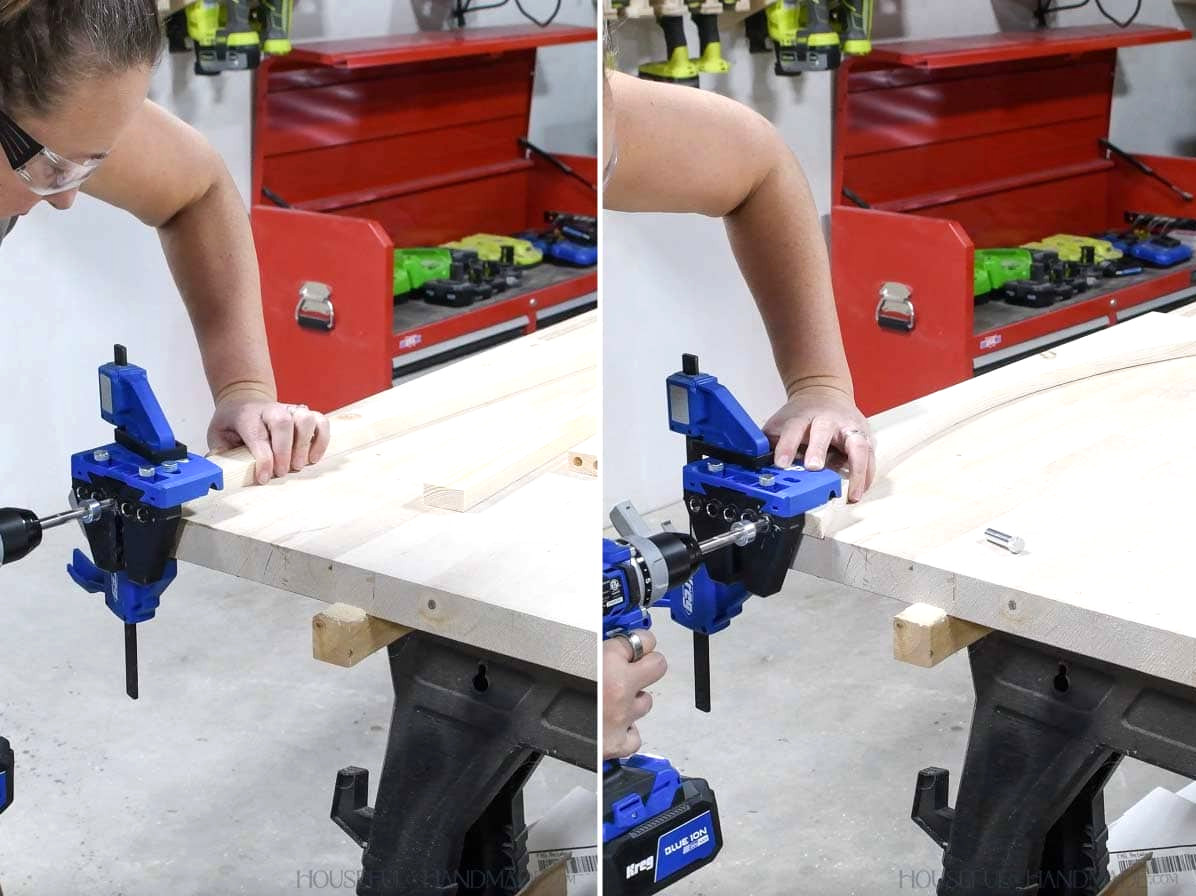
Make dowel holes at the ends of the face frame rails.
Using Kreg’s dowel jig, I positioned the pin at the front of the jig marked 1 1/2″. I then held the face frame end flat against the jig and flush with the pin.
This aligned the holes precisely along the center edge of the 1 1/2″ wide face frame boards.
For the arched rail, I aligned the jig with the board’s top edge and drilled through the upper, center, and lower guides.
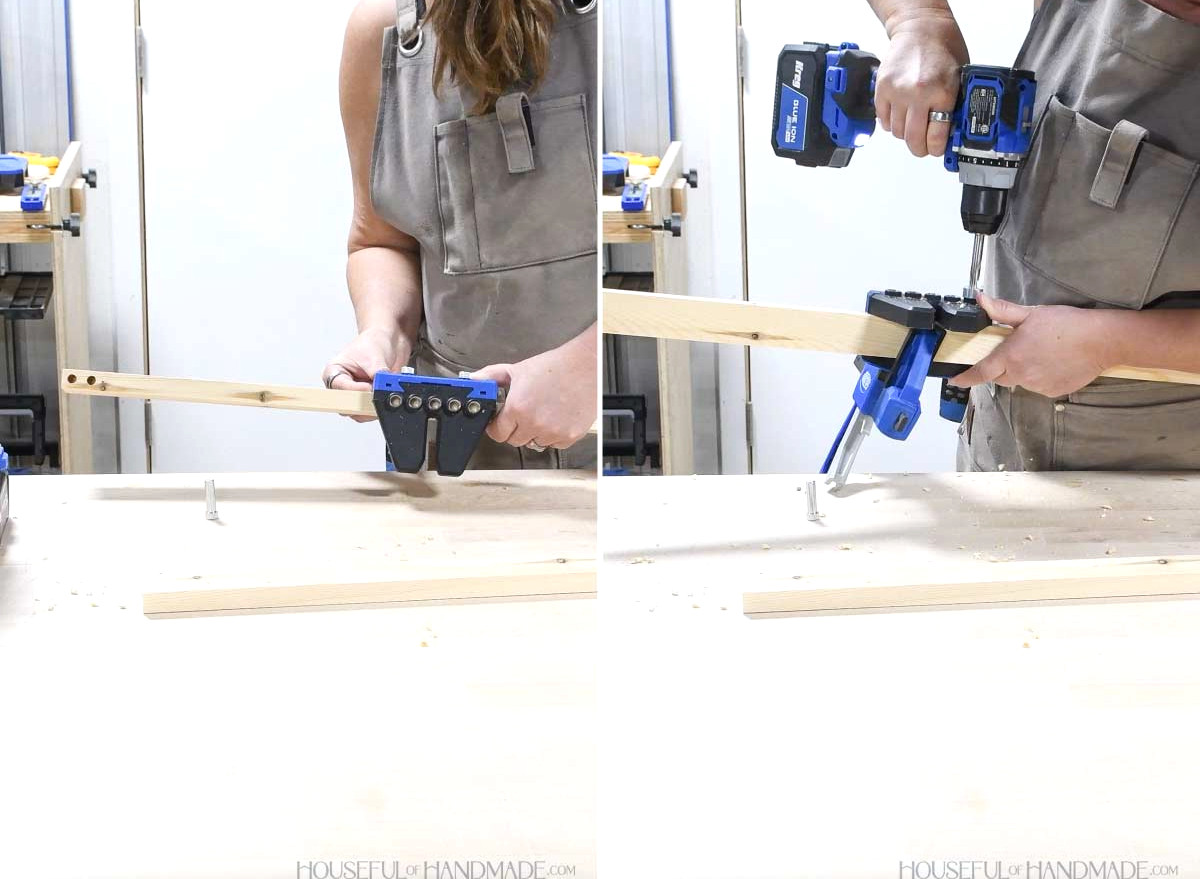
Bore dowel holes into the sides of the face frame stiles so the face frame matches the plan diagram.
The upper edges of all the rails should align with the tops of the cabinet shelves.
Test the fit, then join the pieces with glue and 1 1/2” dowel pins.
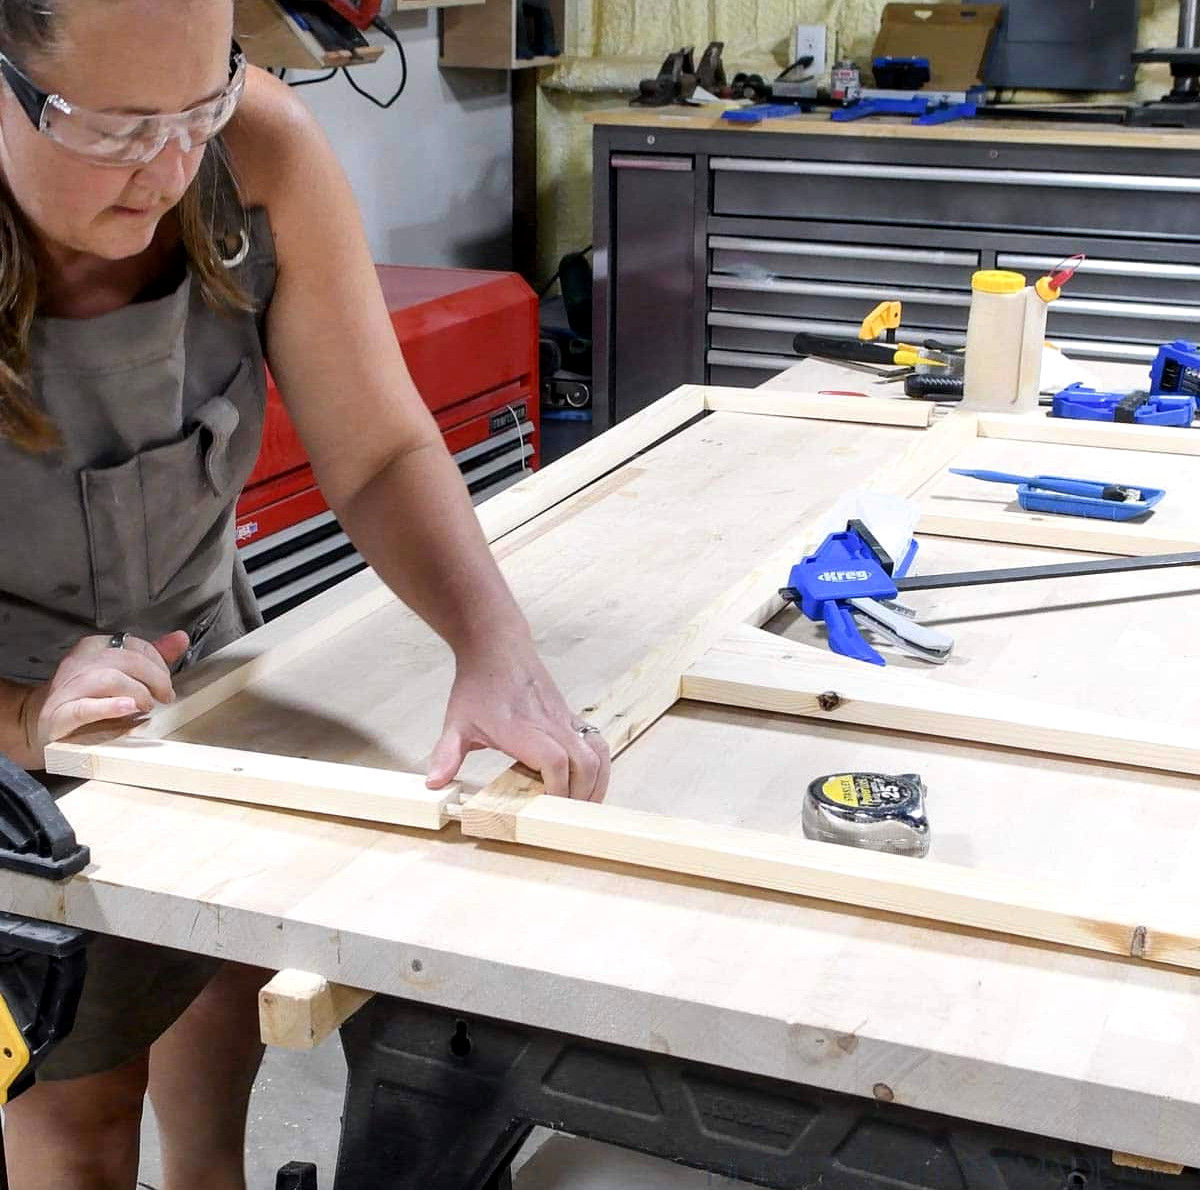
Begin by attaching all the rails to one stile. Clamp the assembly until dry.
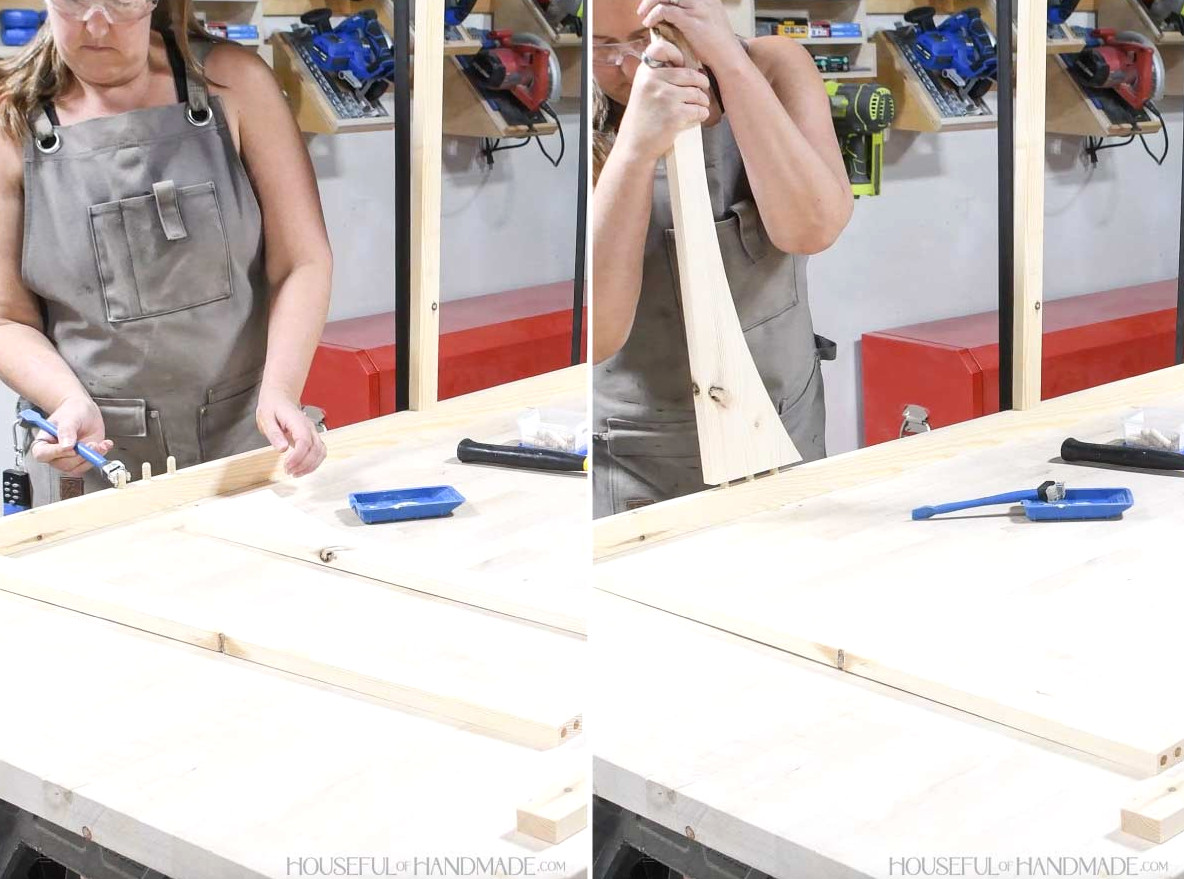
Install dowel pins into the second stile.
Bring it against the rails while carefully matching the dowels. Clamp securely, but avoid excessive pressure that could bend the frame.
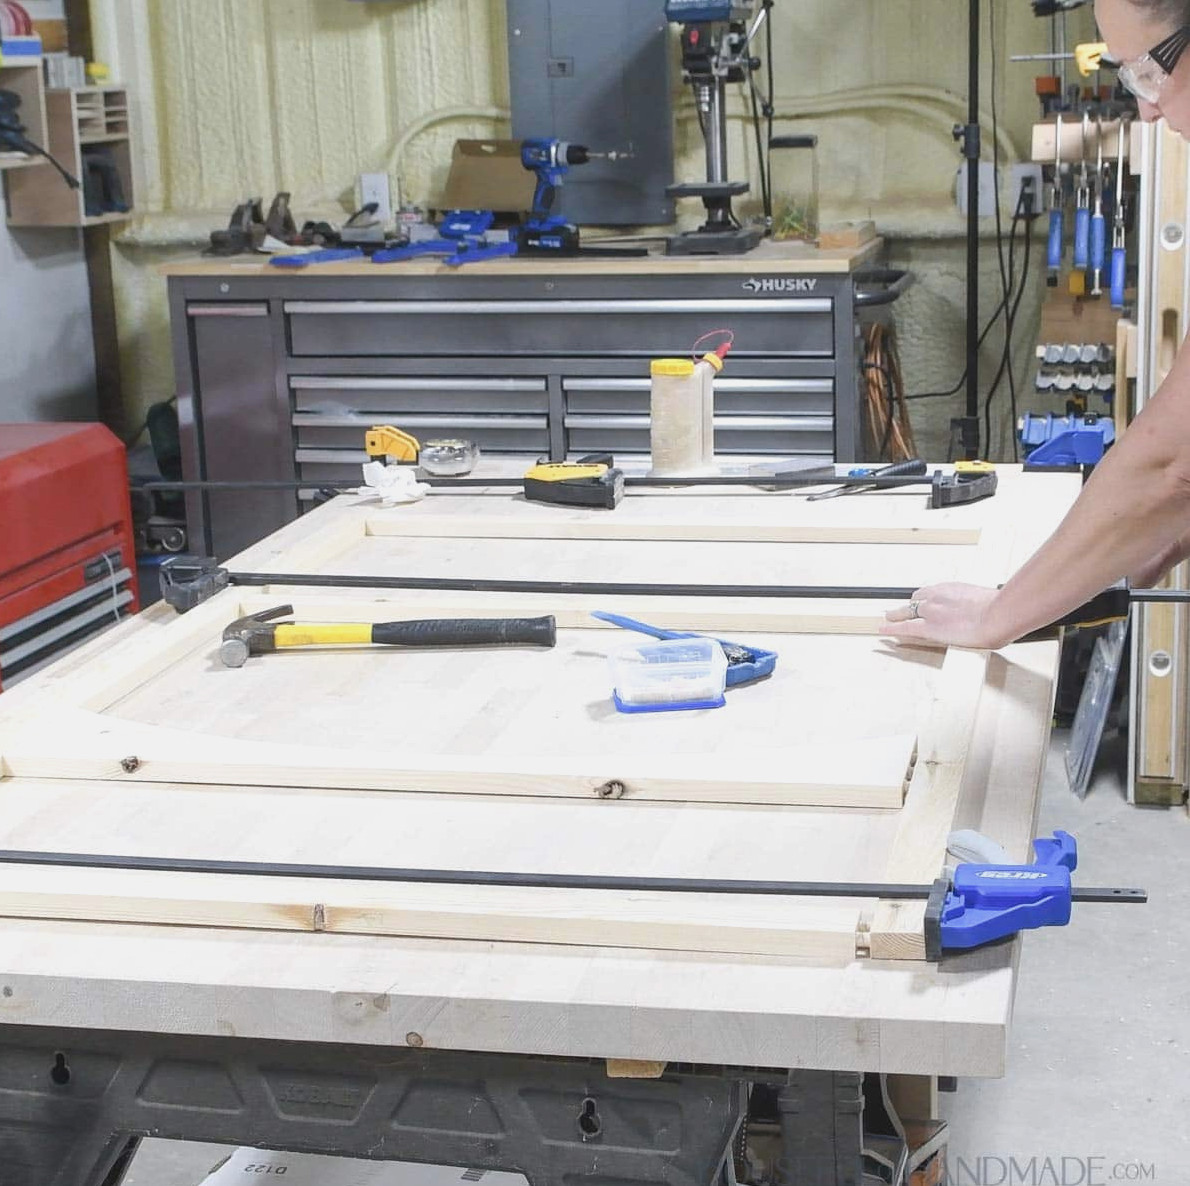
For the larger cabinet, repeat these steps with the two extra rails and one stile to complete the face frame.
STEP 3- Finish the cabinet
Position the face frame on the cabinet front, keeping the sides even and the rail tops aligned with the shelf tops.
Attach it with glue and 1 1/4” brad nails.
Cover the nail holes using wood filler. If you intend to stain the cabinet, choose a stainable filler.
If necessary, sand or router the edges until they are flush.
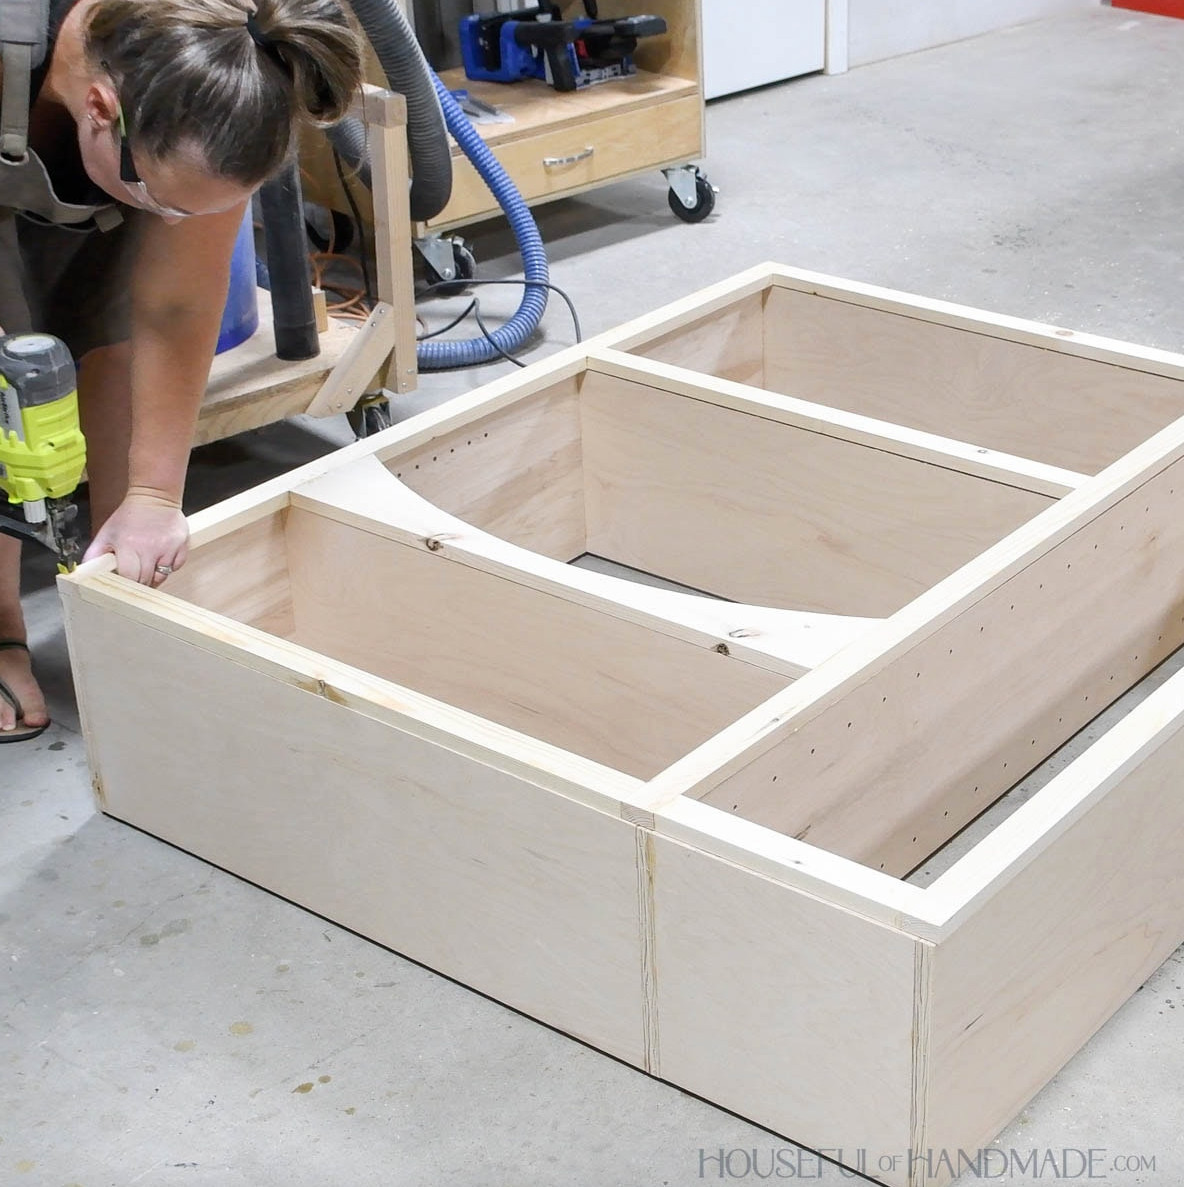
Using 1 1/4” brad nails, fasten the top trim boards to the cabinet so they extend 1/2” beyond the front edge and remain even with the back.
When the cabinet will sit against another cabinet or a wall, leave trim off that side. Instead, trim the front board so the side facing the wall is smooth and aligned with the cabinet edge.
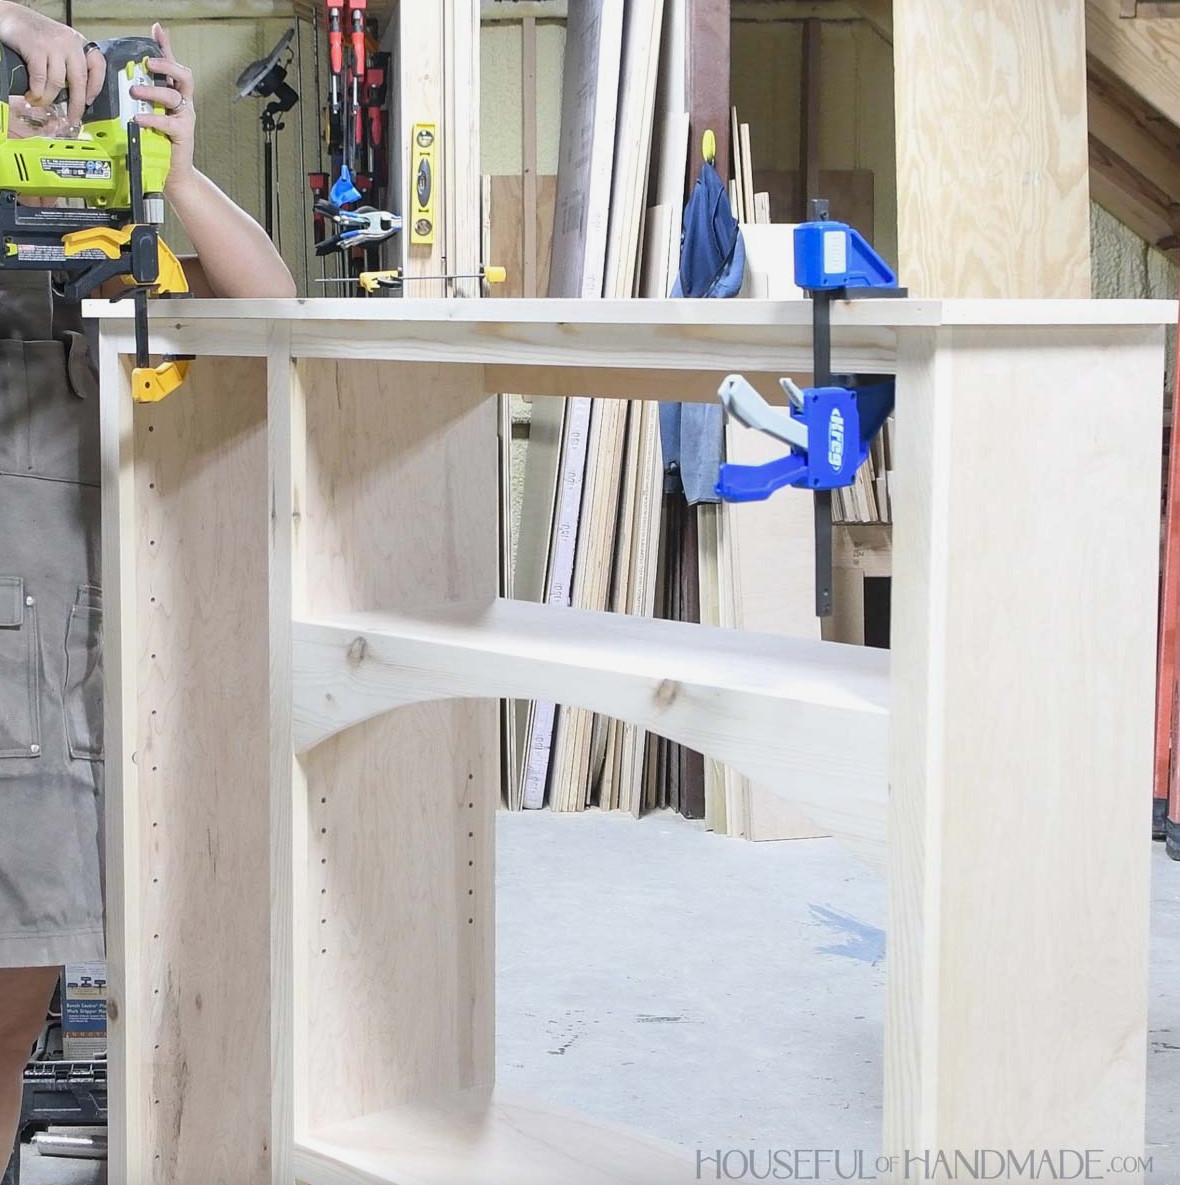
Before installing the back, I chose to sand and finish my cabinet. Without the back in place, reaching the shelves to sand and seal them was much simpler.
Set the back panel into the grooves to install it. It should line up evenly with the cabinet top and the underside of the bottom shelf.
Drive 5/8” brad nails through the sides and into the rear edges of the shelf boards to hold it in place.
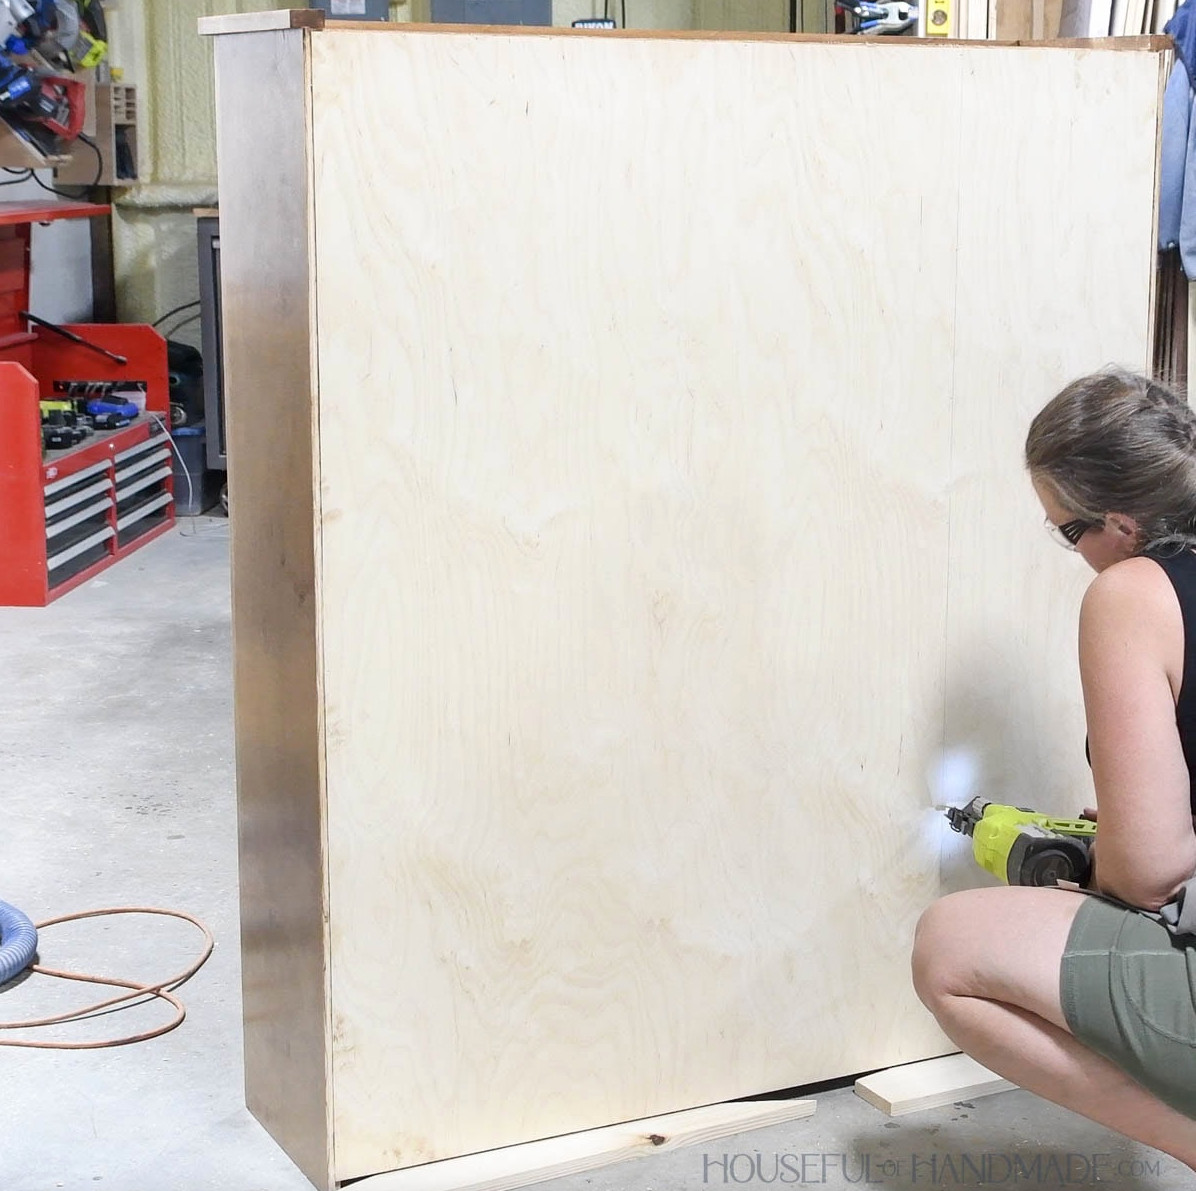
Apply edge banding to the front edges of the plywood shelves, or attach a 1/8” strip cut from the lumber used to make the face frame.
STEP 4- Construct doors
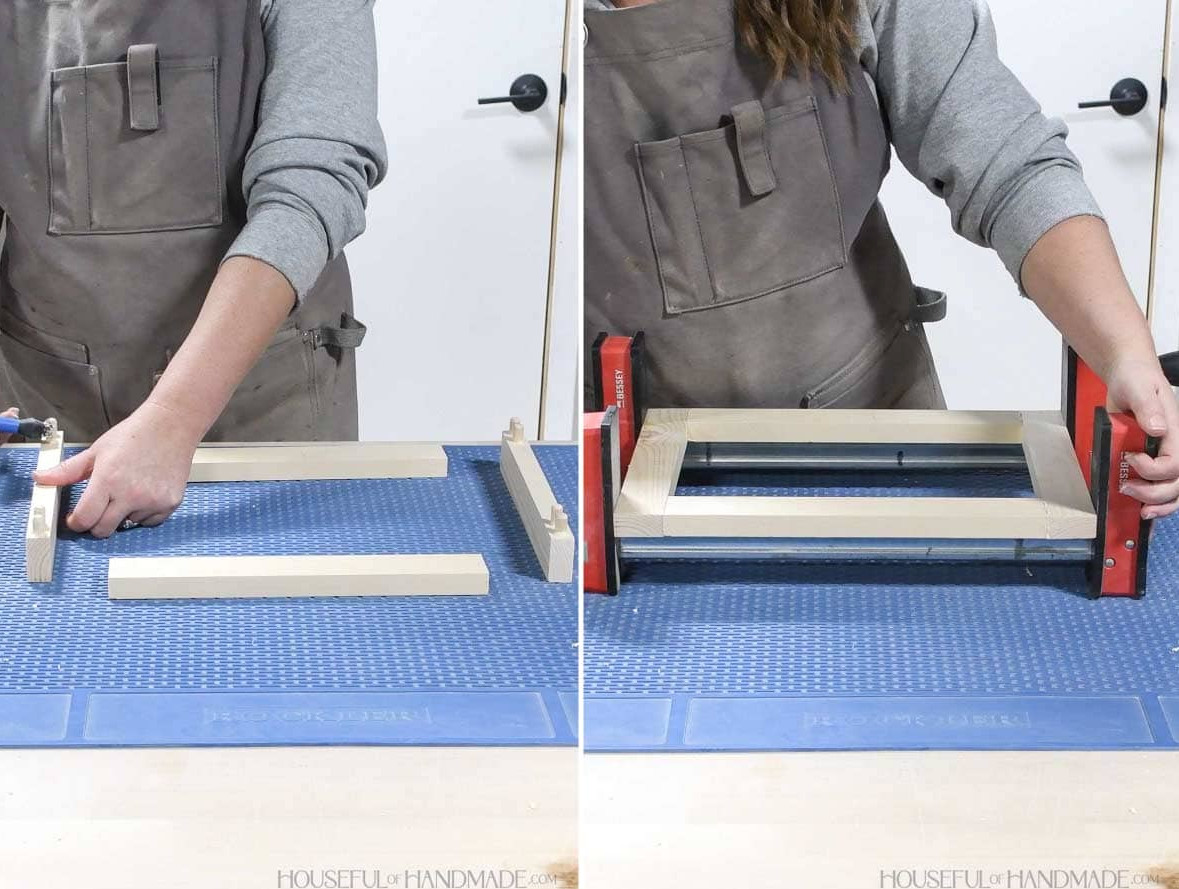
Make holes in the ends of the door frame rails, then line them up with matching holes in the ends of the door stiles.
Test-fit the pieces first, then join them with glue and 1 1/2” dowel pins. Keep them clamped while the glue dries.
Assemble the tall door in the same manner, adding a third rail across the middle.
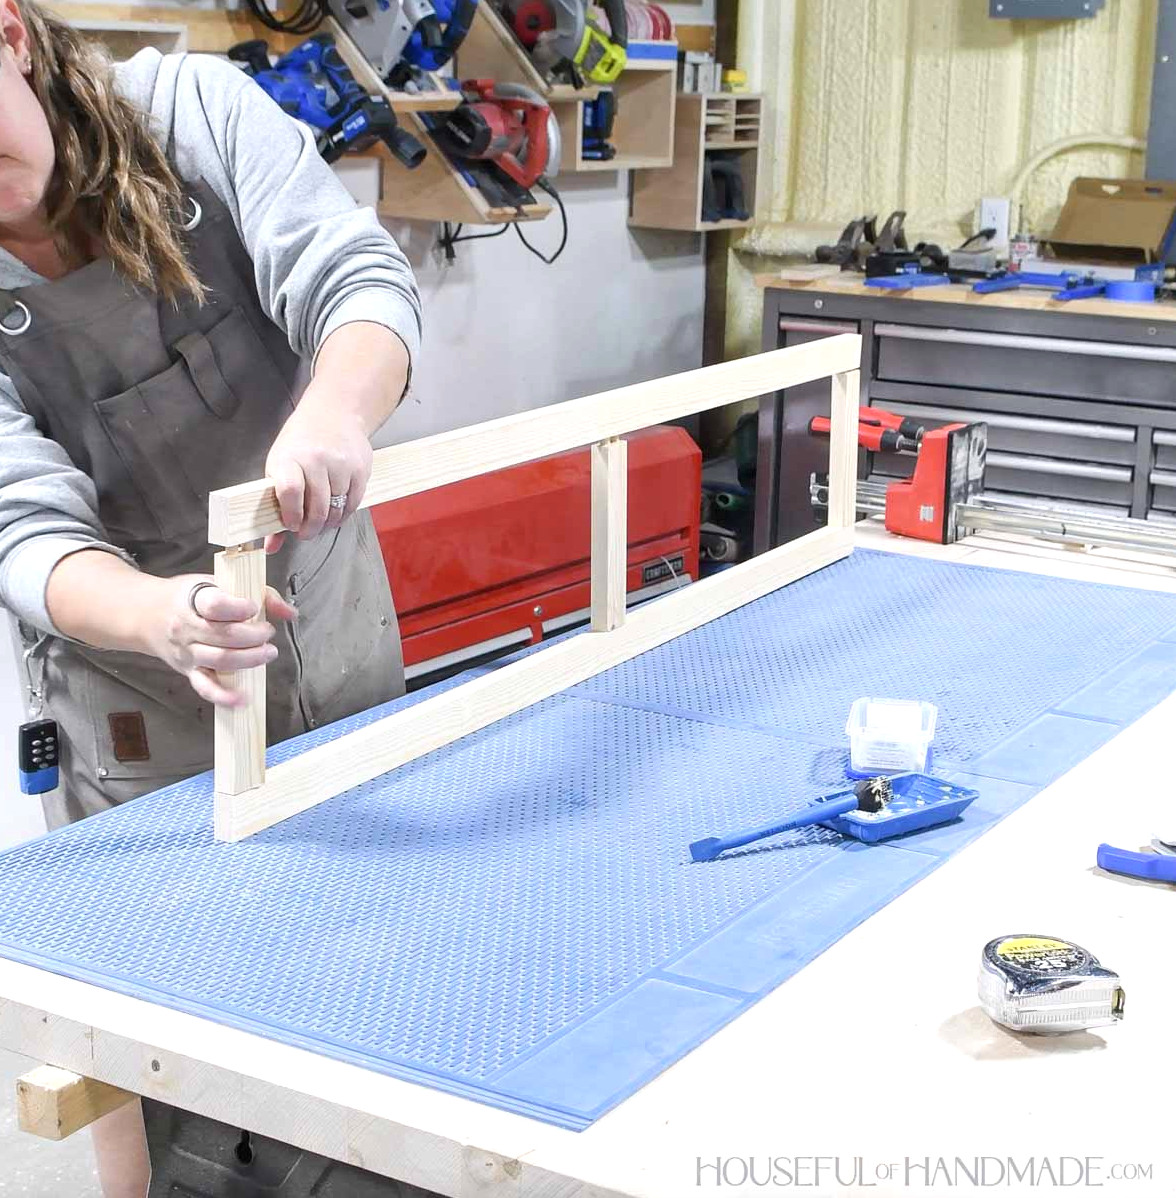
Use a router to cut a 1/4” x 1/4” channel around the inside back of the door frame. Afterwards, chisel the corners into square shapes.
You can find additional cabinet-door construction methods, including an option that requires no routing, here.
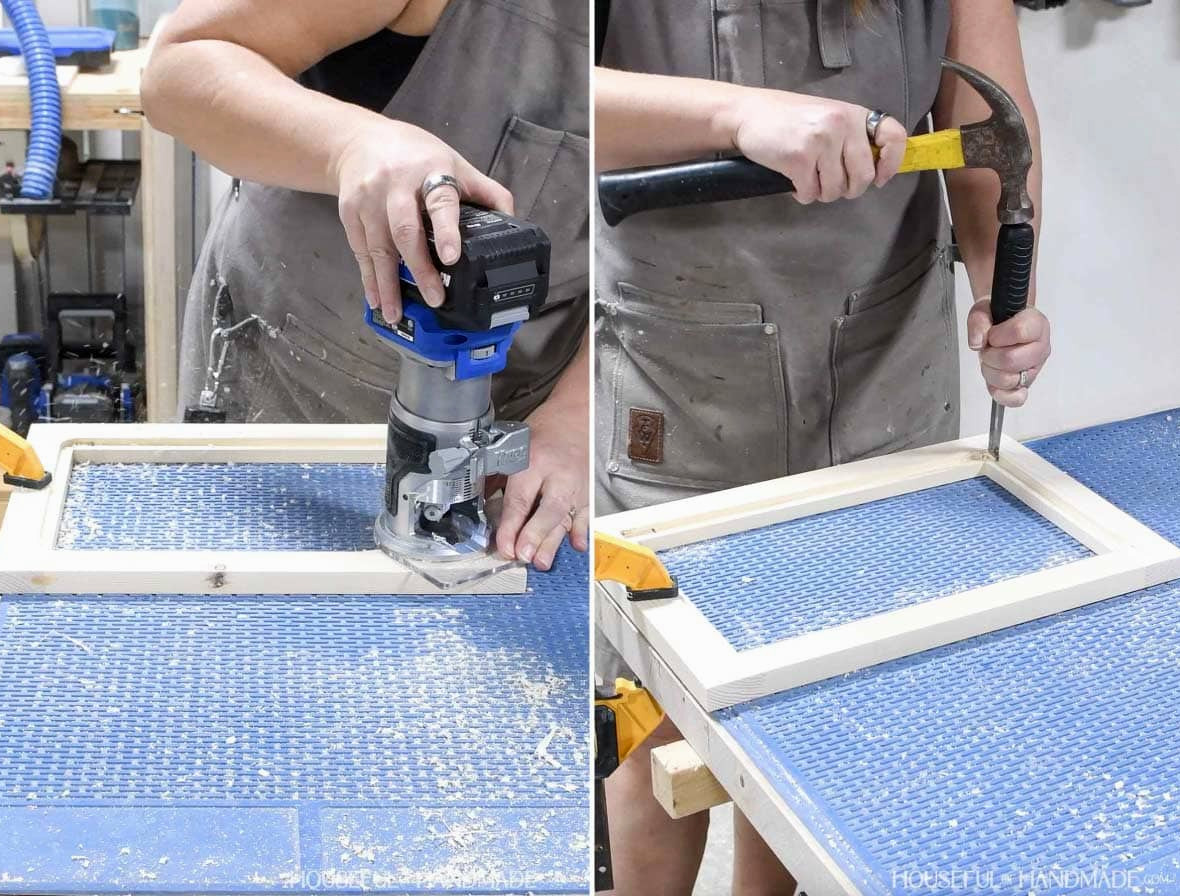
Trim the door panel to fit, then set it into the groove. Make any necessary adjustments.
Hold it in place with several 5/8” nails around the outside edge.
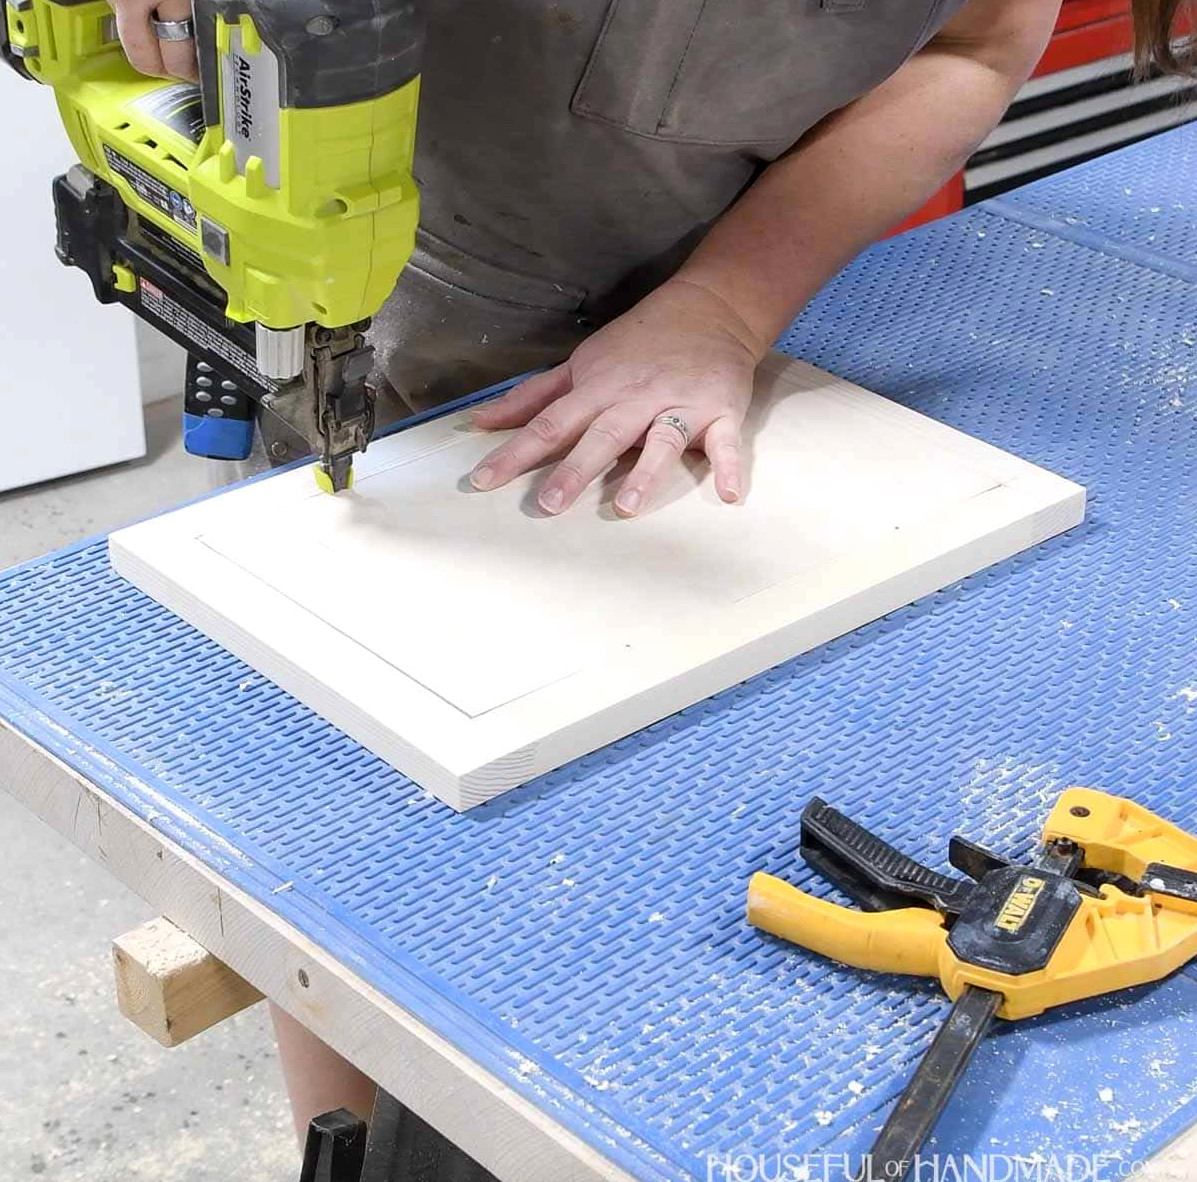
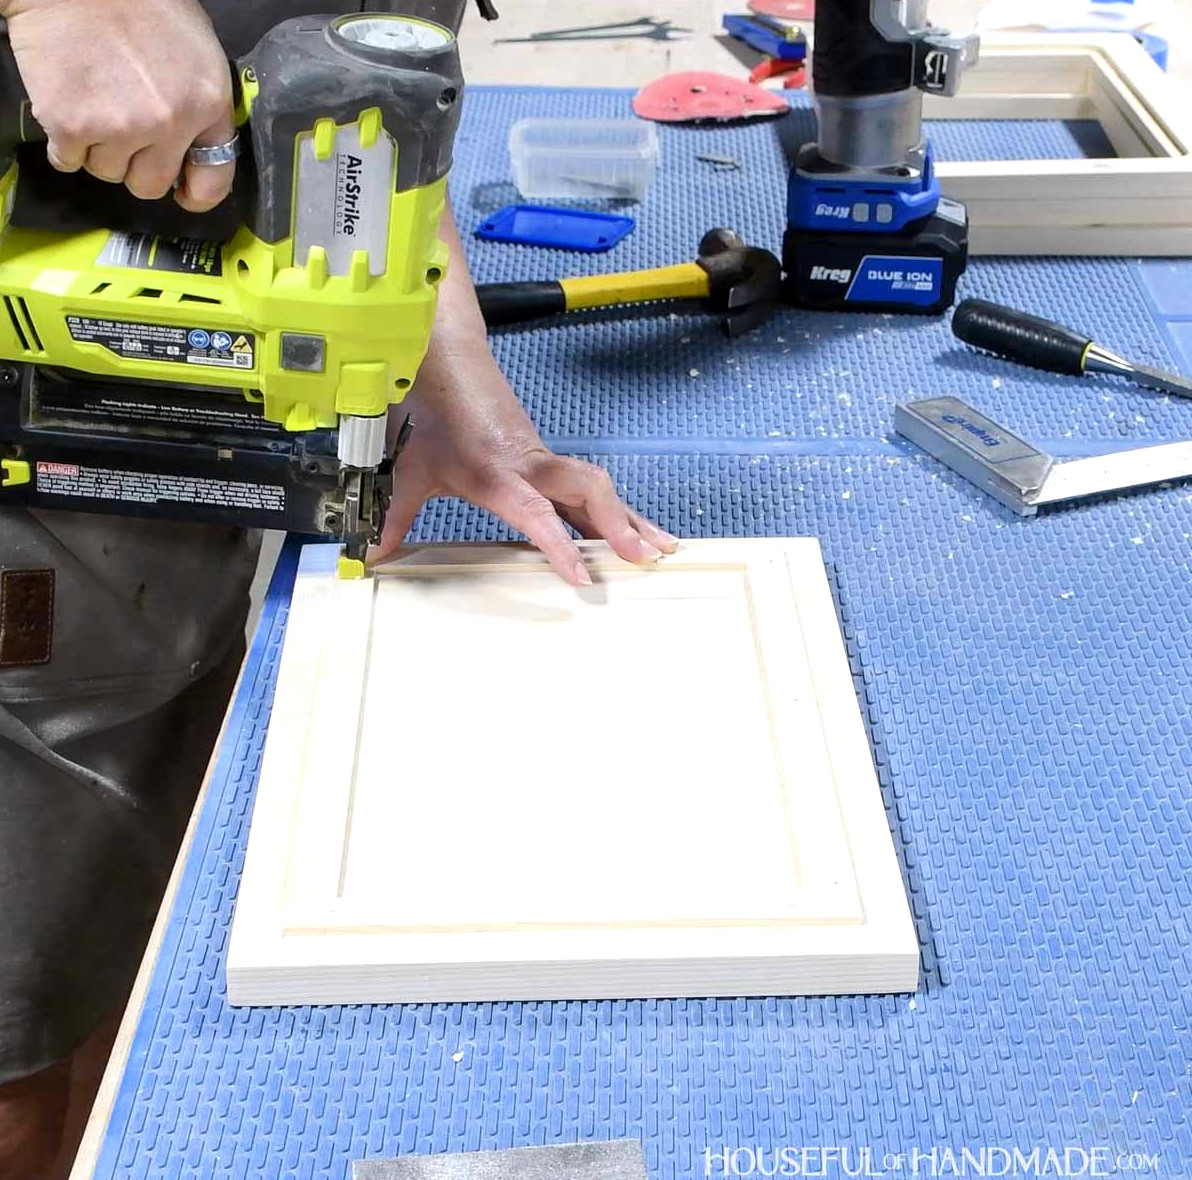
If you prefer, conceal the plywood edge and routed channel with 1/8” thick strips ripped from an additional piece of 1×2.
Fasten the strips using 5/8” nails.
STEP 5- Set up cabinet
Before installation, sand and stain/seal or paint the completed cabinet and doors. Thoroughly seal the lower plywood and face-frame edges to protect them if water spills onto the countertop.
For my cabinets, I used Early American stain from Minwax and applied 3 coats of wipe-on polyurethane for protection.
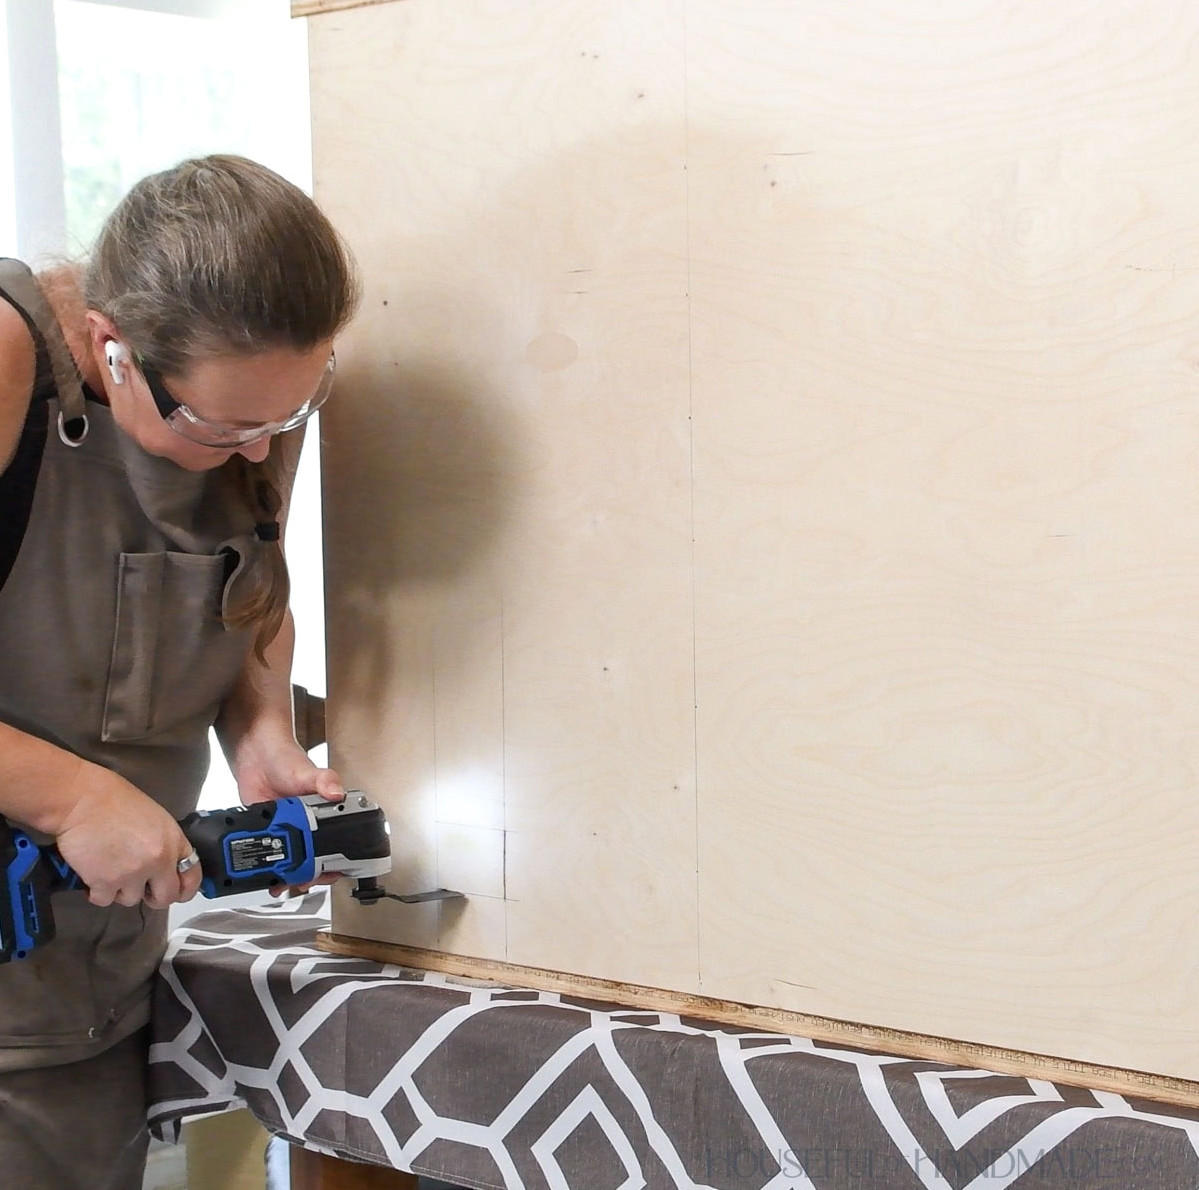
When an outlet is located on the wall behind the cabinet, measure its position carefully and cut a matching opening in the back panel.
Before placing the cabinet, I took off the outlet covers and loosened the outlets from their boxes.
Set the cabinet on the countertop, positioning it tightly against the wall and any neighboring cabinet or wall.
Fasten it to the wall studs with 2 1/2″ cabinet screws driven through the rear support. I also secured it to the adjacent cabinet.
Feed the outlet through the opening in the back. Reconnect it to the box, then replace the cover.
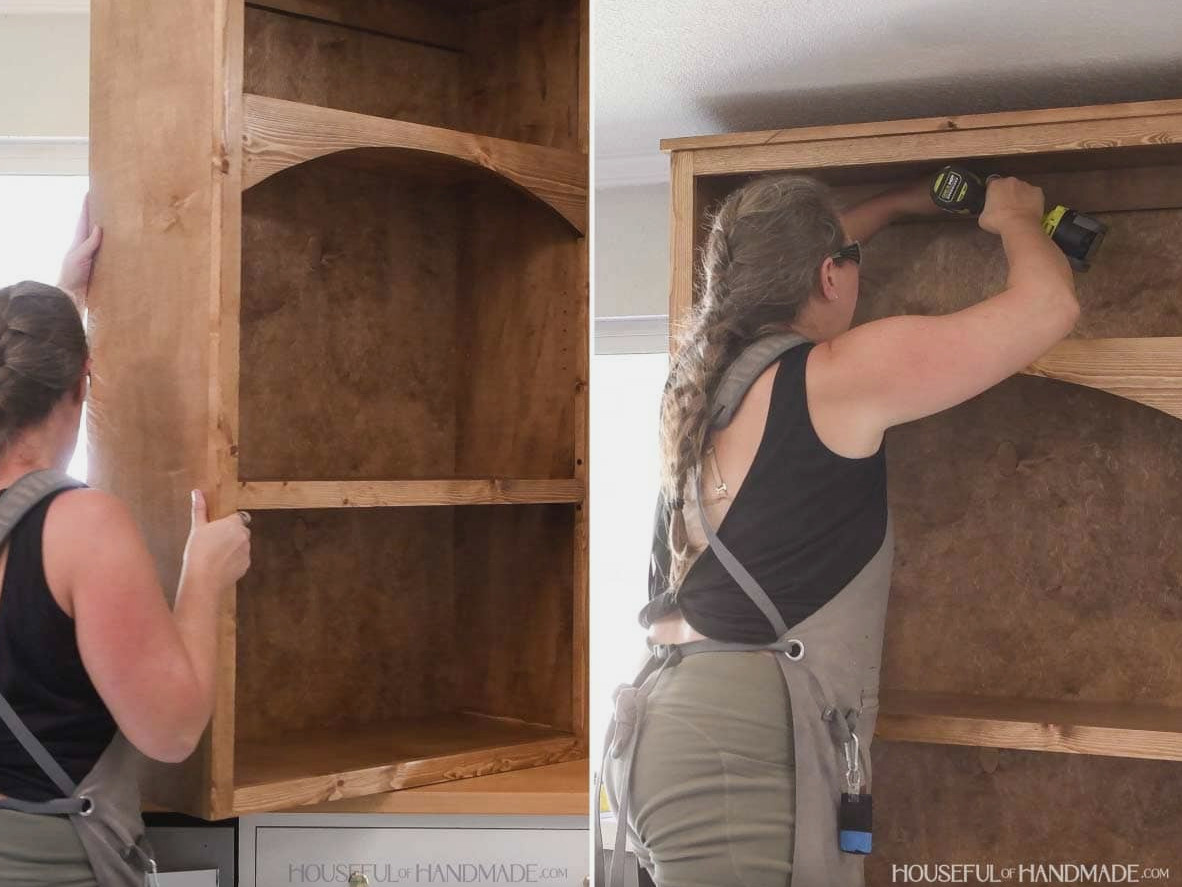
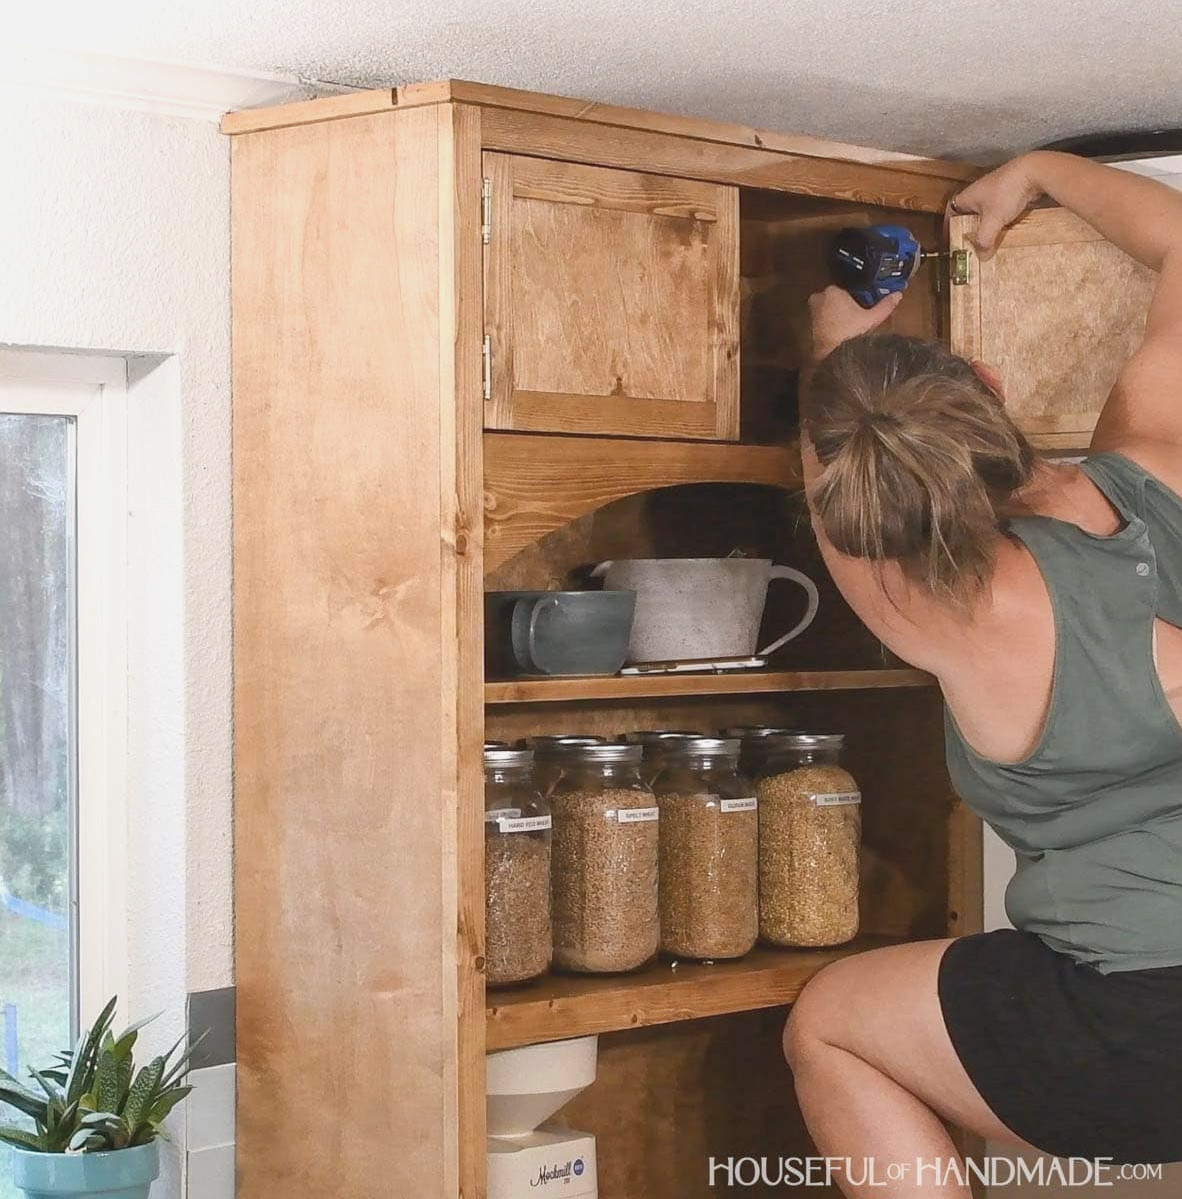
The final step was installing the doors! Position them within the cabinet’s upper opening, leaving a 1/8” reveal on every side.
Use inset hinges designed for face-frame cabinets to attach them. Finish by installing a knob or pull on each door.
Remember to Get the Printable PDF Plans Here!
Premium plans feature:
- Suggested Tools
- Materials list
- Simple-to-follow cut list table
- Cutting diagrams
- Detailed instructions with 3D renderings
- Useful resources
- BONUS: 3D SketchUp file
You’ve finished!
Fill your new cabinet with dishes and appreciate the attractive storage. I’m thrilled with the extra room it brought to my kitchen.
Enjoy building!