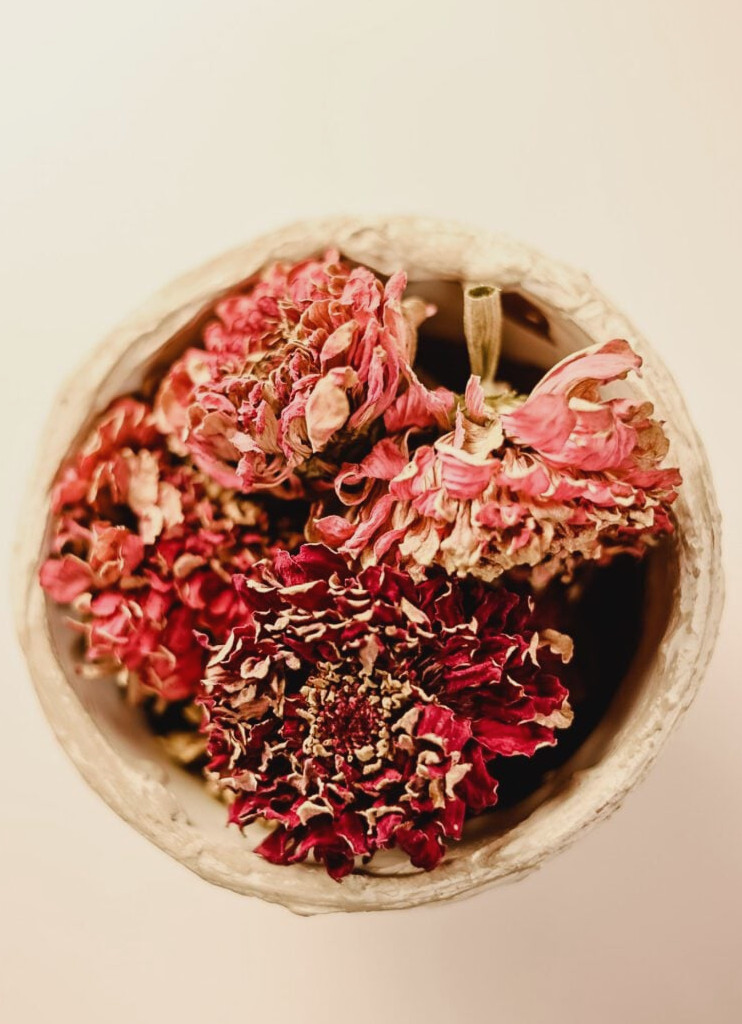
Fresh-cut blooms fade quickly, whereas dried flowers can remain lovely for many years. If you’ve ever wished to preserve flowers from your garden, a meaningful bouquet, or even a collection of grocery store stems that looked too beautiful to discard, drying them is simpler than you might expect. In this guide, I’ll explain the three most effective ways to dry flowers at home and share ideas for what you can actually make with them afterward.
Which Method Is Right For You?
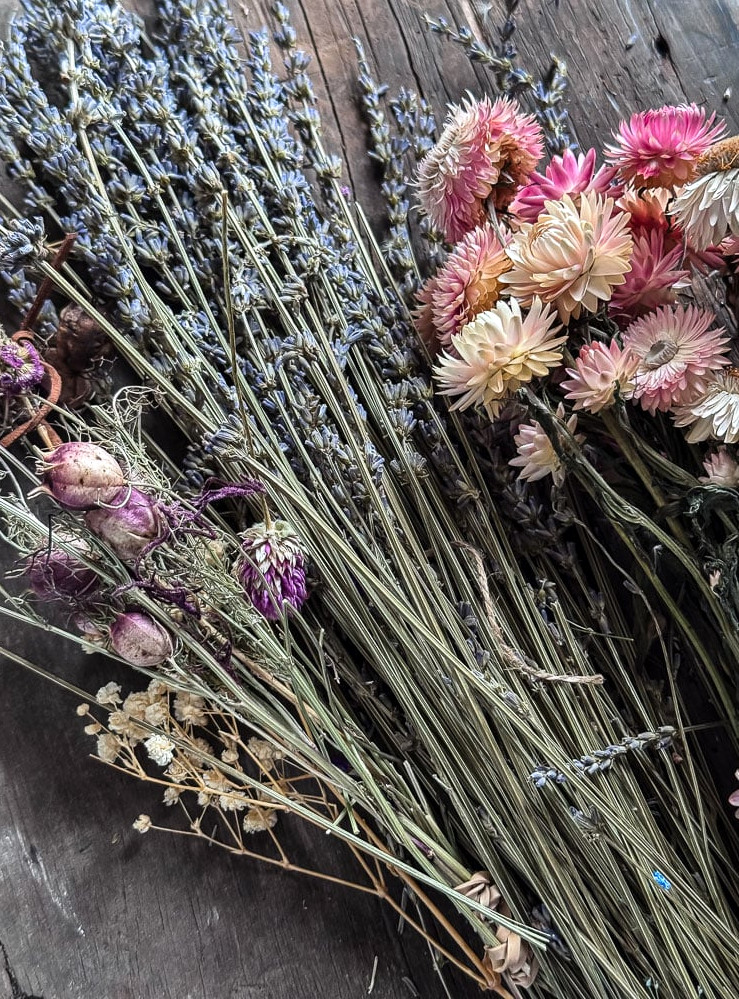
Air drying: The easiest approach. Suspend bunches upside down and allow time to handle the process. It works especially well for sturdy flowers such as lavender, strawflowers, statice, and celosia. The process takes 2–3 weeks and needs no special supplies.
Vase drying: The ideal technique for hydrangeas. Place them in a vase with only a small amount of water and let them dry gradually—there’s no need to hang them. It produces lovely results with very little work.
Silica gel: Choose this method when preserving the form and coloring of fragile flowers like roses and zinnias. It can take anywhere from several days to a few weeks, but the finished flowers look remarkable.
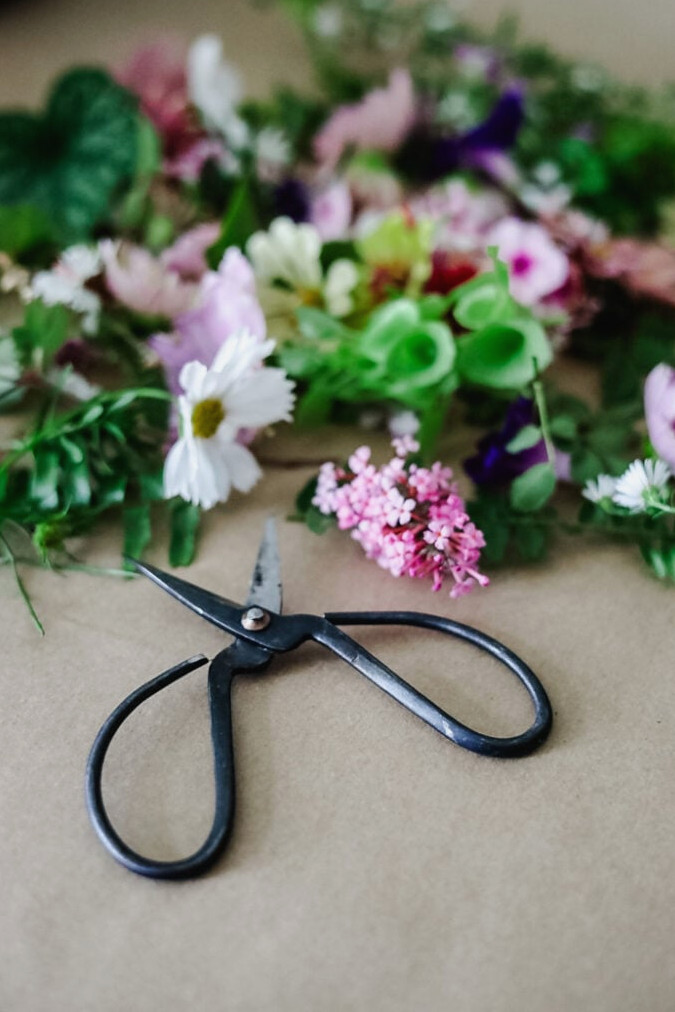
Welcome! I’m Jennifer, and I’ve long felt that nature provides the most gorgeous art materials. For many years, I’ve preserved New England’s flowers and greenery by pressing, drying, and crafting with them. Let me teach you how to preserve a small piece of the season and bring it inside—easily and beautifully.
Air Drying Flowers: The Simplest Technique
Air drying is the technique I rely on most often. Nothing fancy is needed—only some patience and a suitable place to suspend your bunches. This is my usual way of drying flowers from the cutting garden each summer, and it has honestly become one of my favorite end-of-season traditions.
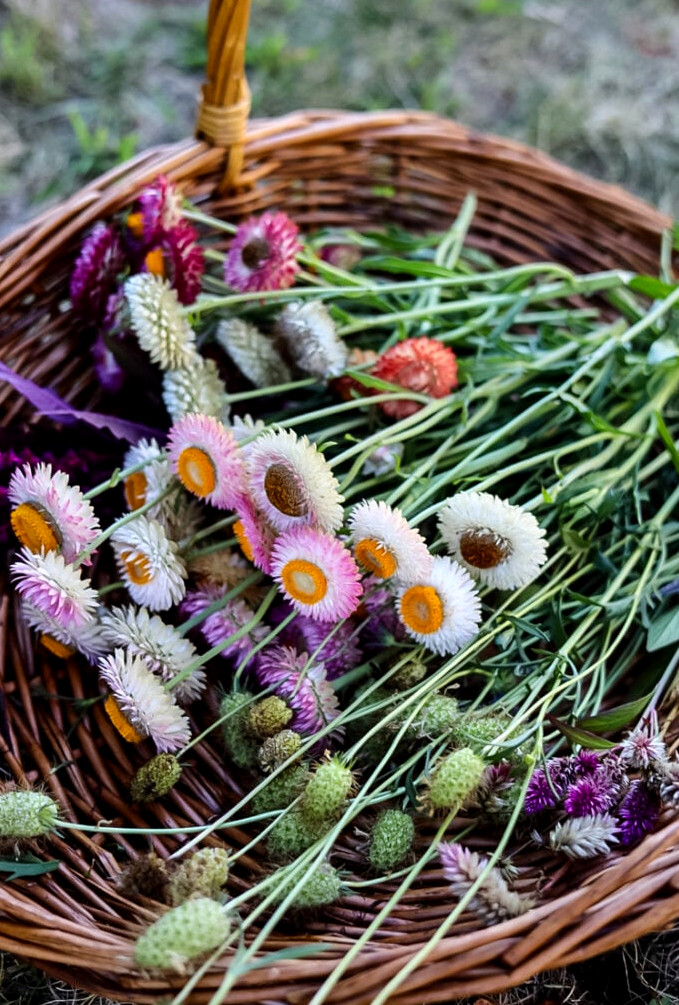
Best flowers for air drying: lavender, strawflowers, statice, celosia, roses, baby’s breath, nigella pods, globe amaranth, and many types of grasses. As a general rule, varieties with less moisture and firm petals tend to dry especially well using this method.
How To Do It
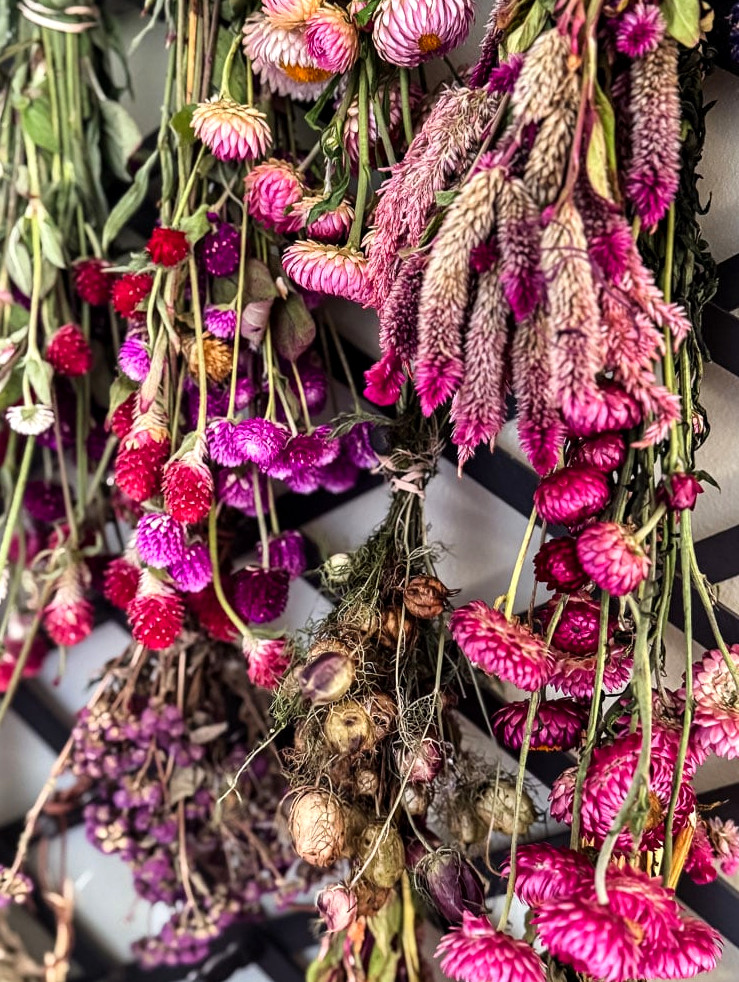
- Snip the stems as long as you can; they can always be shortened afterward. Strip away any unnecessary leaves from the stems.
- Gather the flowers into small bunches and fasten them with a rubber band, jute twine, or a piece of floral wire.
- Suspend each bunch upside down somewhere dry, dim, and well ventilated. A basement, wardrobe, or sheltered porch are all suitable options.
- Protect them from direct sunlight, both during the drying process and afterward. Nothing fades the colors more quickly than sunshine.
- Allow 2–3 weeks to pass, until the petals feel crisp and paper-like.
- Keep the completed bunches in a cool, dark location. I store mine hanging from an accordion peg rack
Vase Drying: The Ideal Method for Hydrangeas
If hydrangeas grow in your garden, this technique is worth trying. Rather than suspending them upside down, simply place them in a vase and let them dry gradually—it really is that easy.
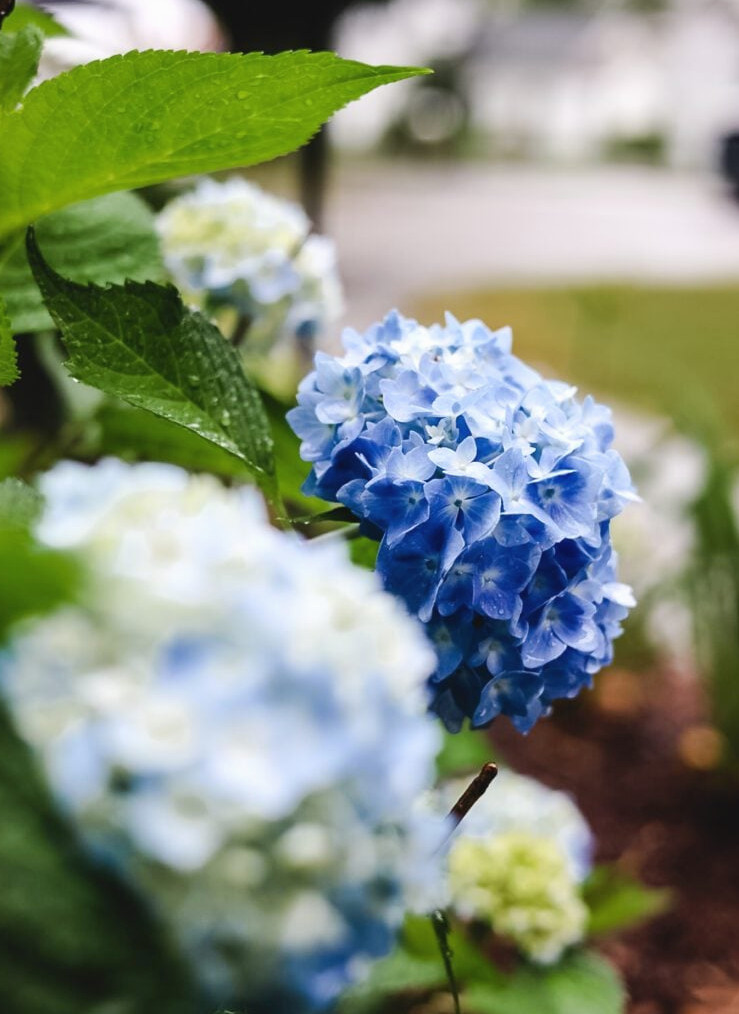
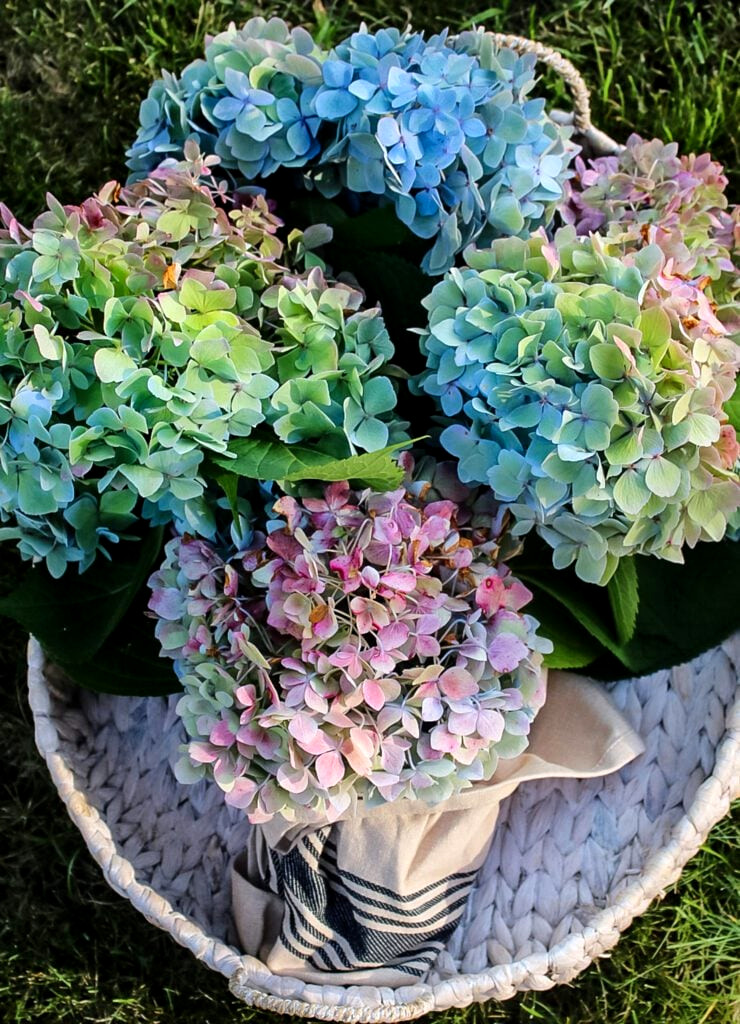
Choosing the right moment matters most. Hold off until the end of the season, when the blooms naturally begin changing shade and the petals develop a slightly papery texture. That’s the indication that the flowers are ready to dry successfully.
How To Do It
- Trim the stems, then take off the leaves.
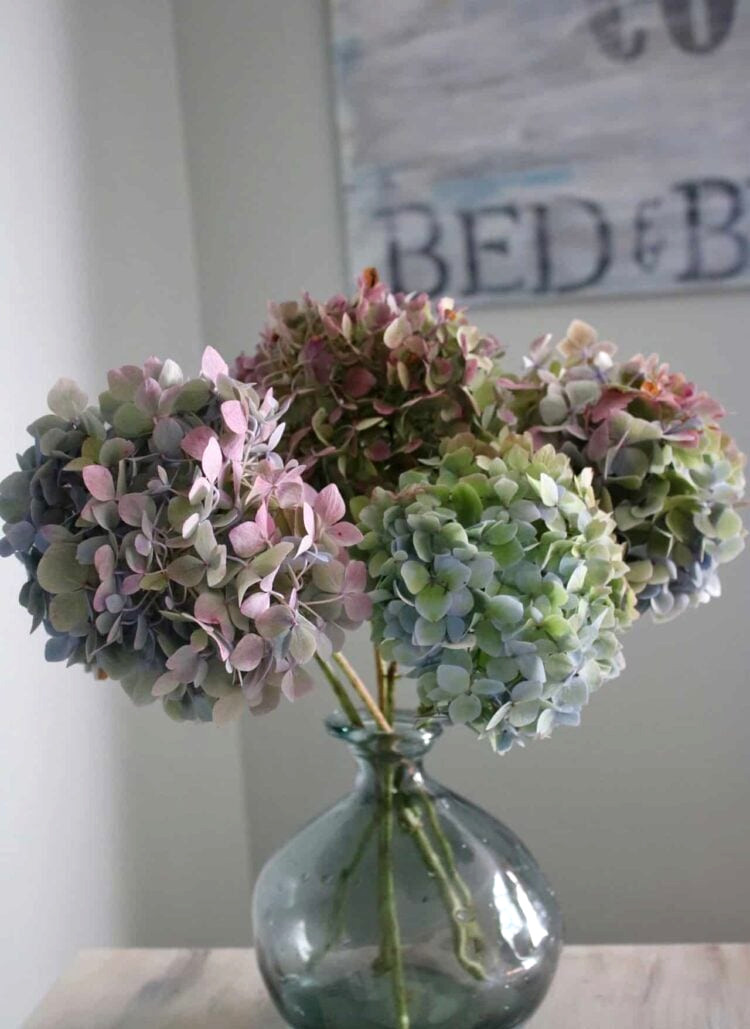
- Arrange the hydrangeas loosely in a vase containing about 1.5 to 2 inches of water. Avoid overcrowding them.
- Let them sit undisturbed. As the water gradually evaporates, the hydrangeas will dry right where they are.
- And that’s all there is to it!
The outcome is gorgeous. This technique allows the dried hydrangeas to retain their form and color beautifully, leaving you with blooms that are wonderfully preserved.
Silica Gel: The Top Technique for Maintaining Shape and Color
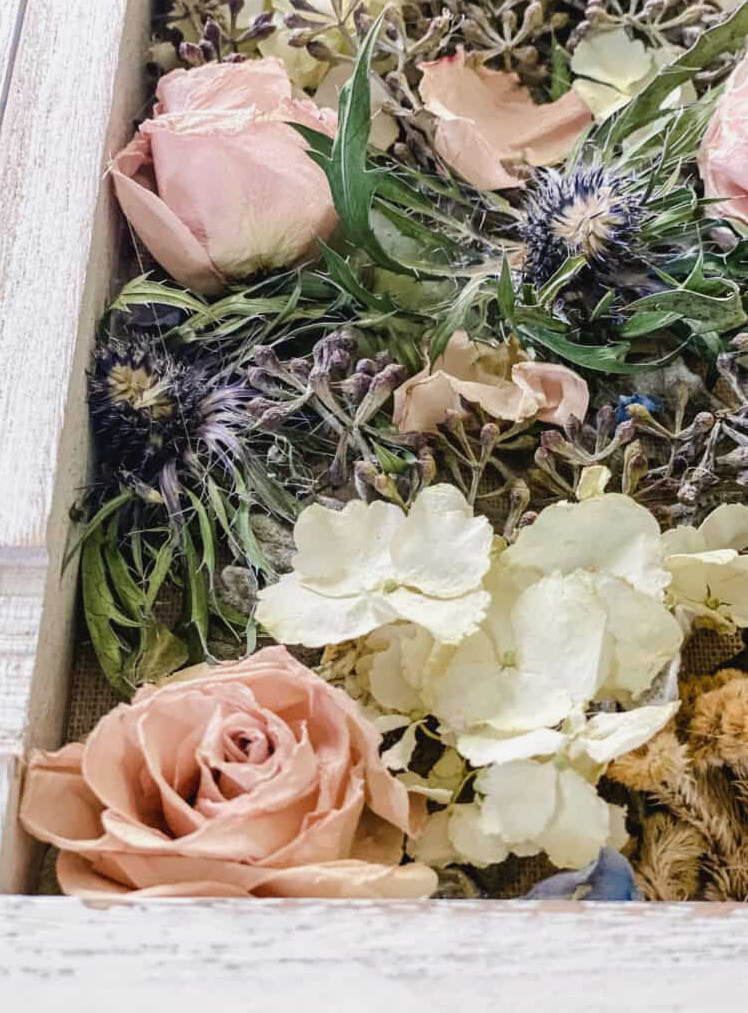
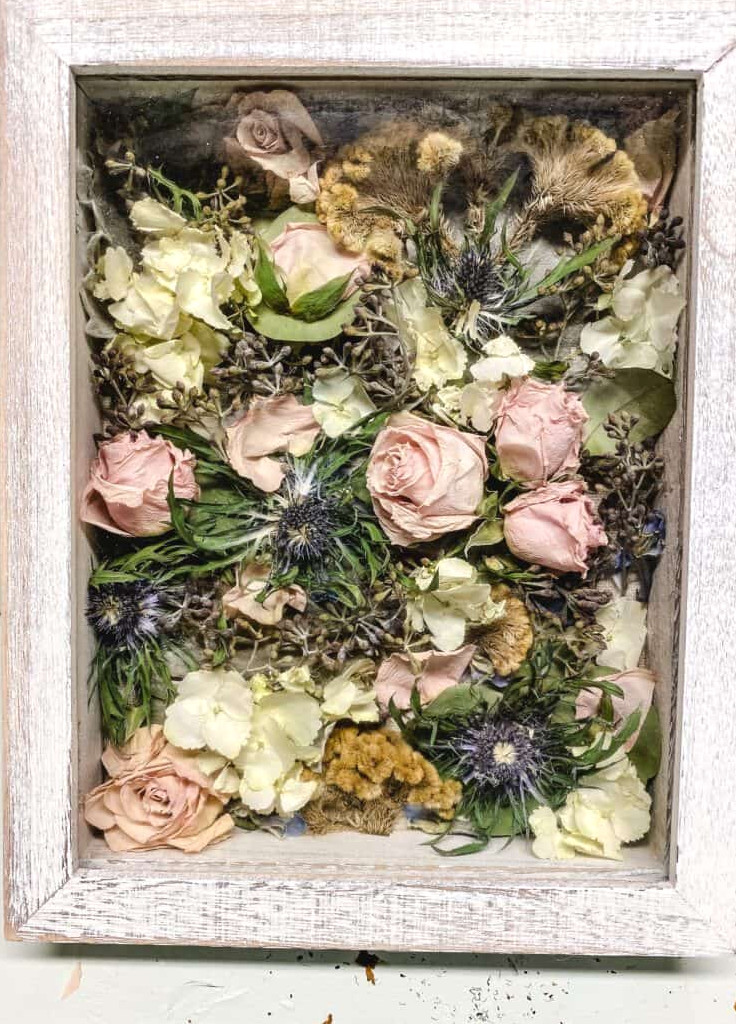
When you want to preserve a flower as accurately as possible, silica gel is the technique to choose. It’s especially useful when shape and color are important and you want to avoid the shrinking or drooping that can happen with air-dried flowers. I used this method to preserve flowers from a friend’s wedding centerpiece and turn them into a keepsake shadowbox, and the outcome was truly beautiful. The roses looked nearly fresh.
Silica gel is a desiccant, meaning simply that it draws moisture from whatever is enclosed in it. It’s available at most craft shops and through Amazon, and fortunately, it can be used again.
Supplies You’ll Need
- Silica gel flower-drying crystals (enough to cover the flowers completely)
- A lidded plastic container, such as a large food storage box, is ideal
- A gentle paintbrush for removing residue
Instructions
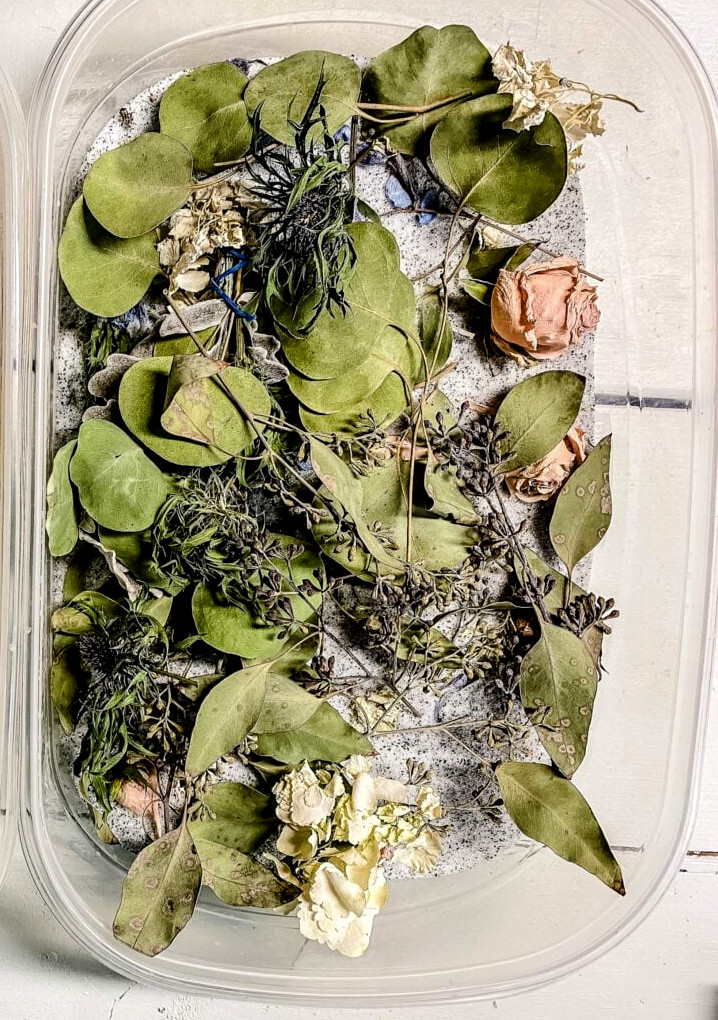
- Cut the stems down and remove any unnecessary leaves or petals.
- Cover the bottom of your container with a layer of silica gel.
- Set the flowers face-up on the layer of gel.
- Carefully add more silica gel over and around the flowers until they are fully buried.
- Close the container tightly to keep moisture out.
- Be patient. Depending on the type of flower, drying may take several days or up to two weeks. Begin checking after 3–4 days. Finished petals should feel dry and papery.
- Carefully lift out the flowers, then use a soft paintbrush to remove any silica gel left on the petals.
- Keep them on display or in storage away from direct sunlight.
A helpful tip: Pour the silica gel over the flowers gradually. If you add it too quickly, delicate petals can easily become crushed.
give this a try too!
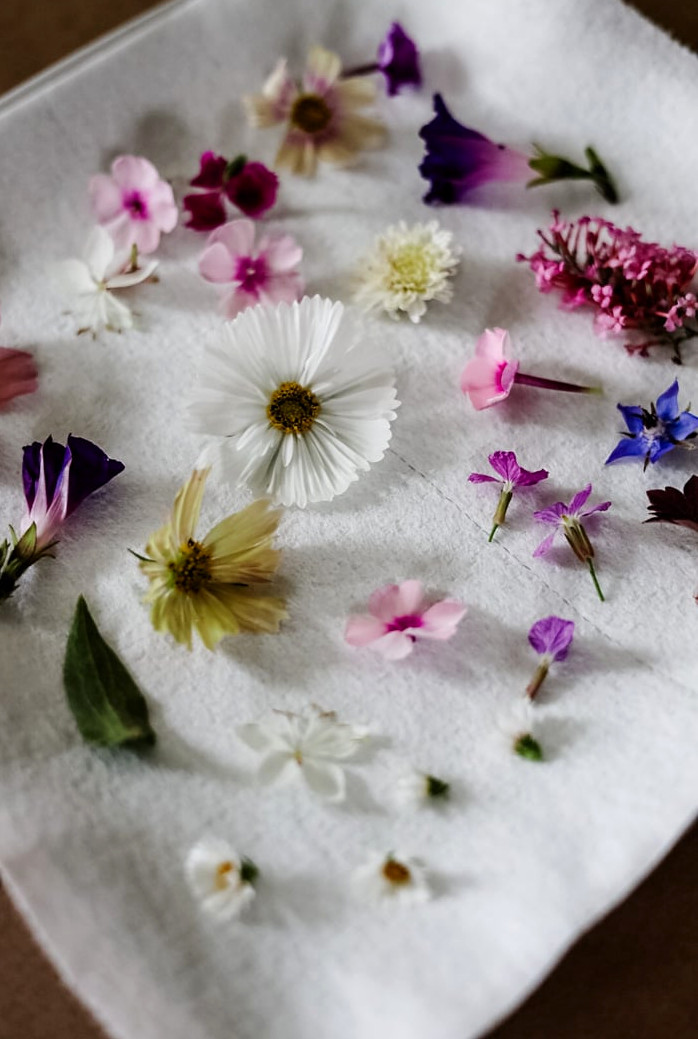
Microwave-Pressed/Dried Flowers
This combination technique dries flowers quickly while giving them a flatter shape.
Ways to Use Your Dried Flowers
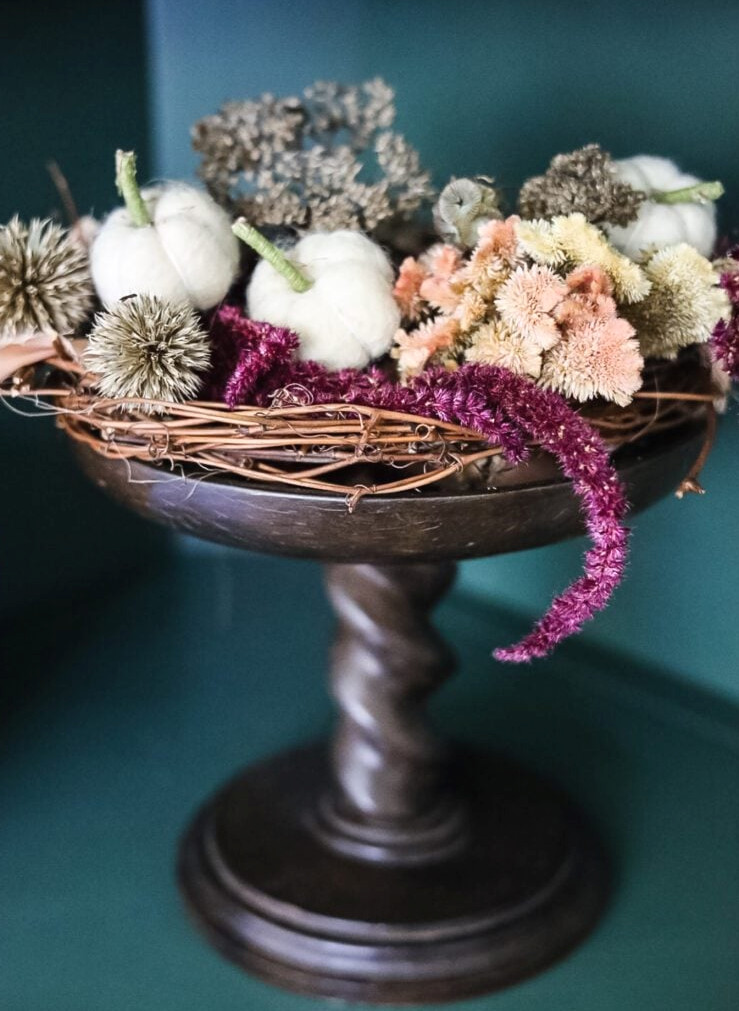
This is truly the part I enjoy most. After building a nice collection of dried flowers, you’ll find endless possibilities. Dried blooms can be incorporated into your home décor in countless ways. Placing them in a vase, crafting a wreath, or creating botanical prints are just a few options.
Here are a few of my top choices:
Arrange Them In A Vase
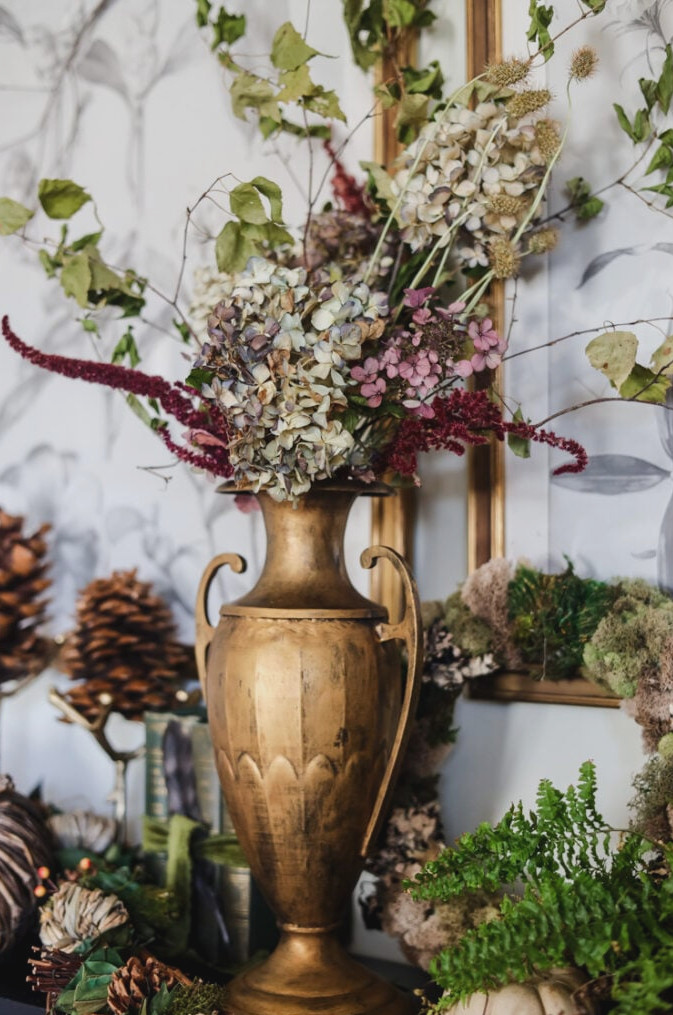
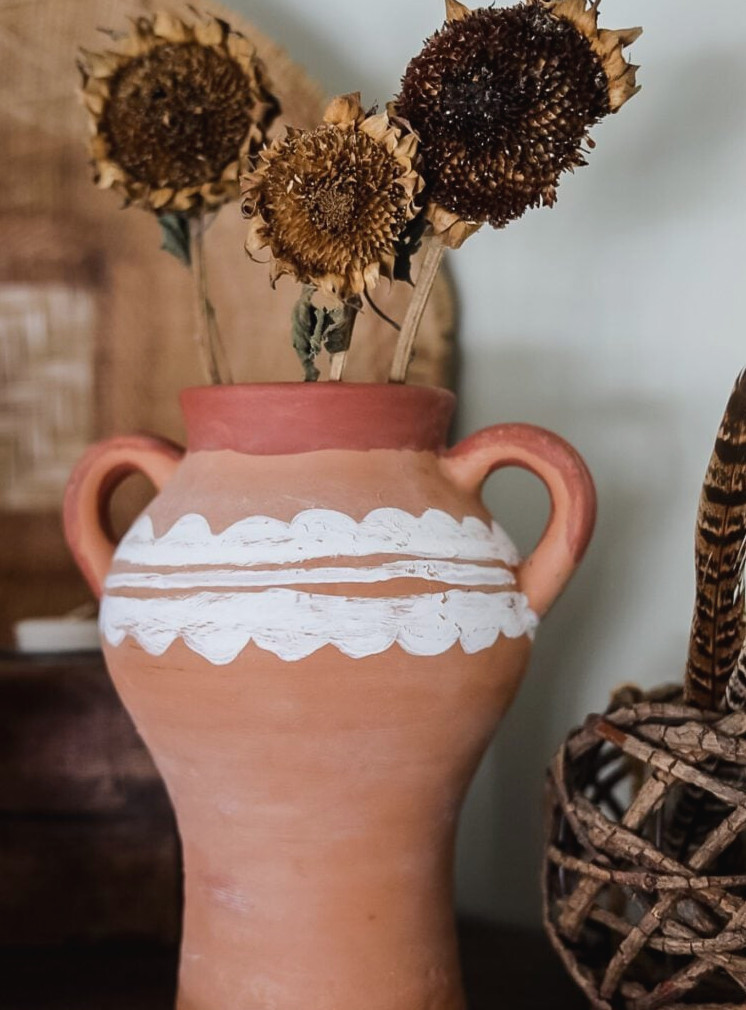
The easiest option, and often the most effective, is placing your dried blooms in an attractive vase or urn. To create an inviting Fall display, I filled this secondhand metal urn with a pleasing mix of dried hydrangeas, scabiosa, amaranth, and petite leafy branches. Even better, it didn’t cost me a thing!
When arranging dried stems, combine different textures and heights just as you would when working with fresh flowers.
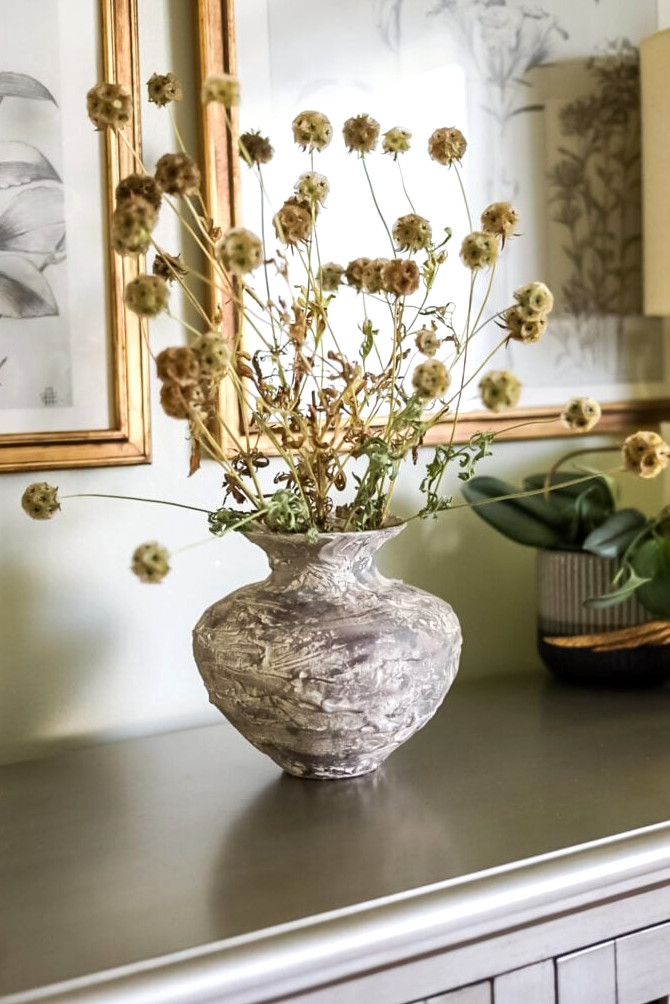
. A generous bunch of dried strawflowers or starflowers (I cultivate Scabiosa ‘Drumsticks’ in my cutting garden especially for this purpose) placed in an antique crock or a handmade pottery-inspired vase creates a lovely display that lasts throughout the season.
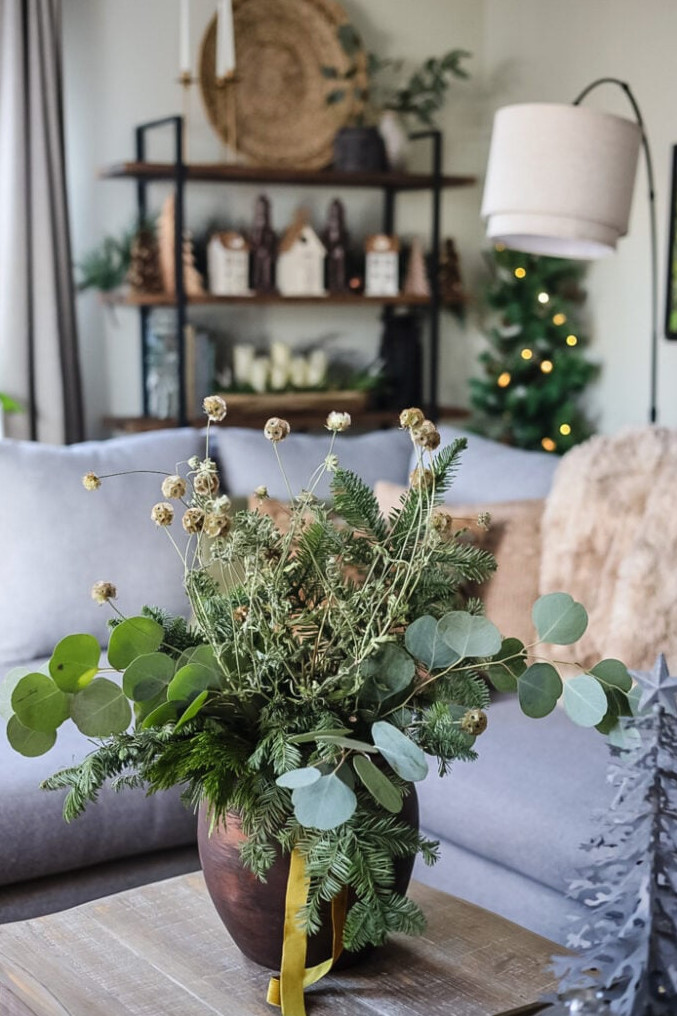
For the holidays, I arranged fresh greens and eucalyptus in a large vase, then finished the display with dried starflowers. (these are the seeds I planted)
Craft A Wreath
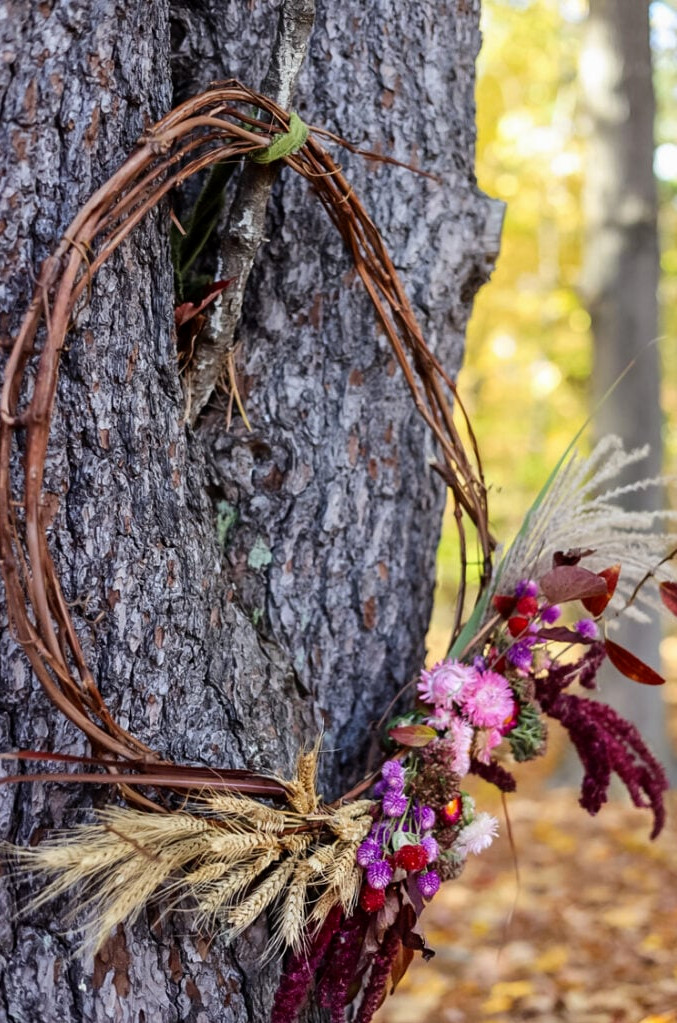
Dried flowers are perfect for making beautiful wreaths, and they remain attractive much longer than fresh varieties. I’ve created everything from a full autumn garden wreath filled with flowers I grew myself to a straightforward moss-covered bunny wreath decorated with strawflowers for spring. Whenever you have dried blooms available, making a wreath is an excellent choice!
Create Potpourri
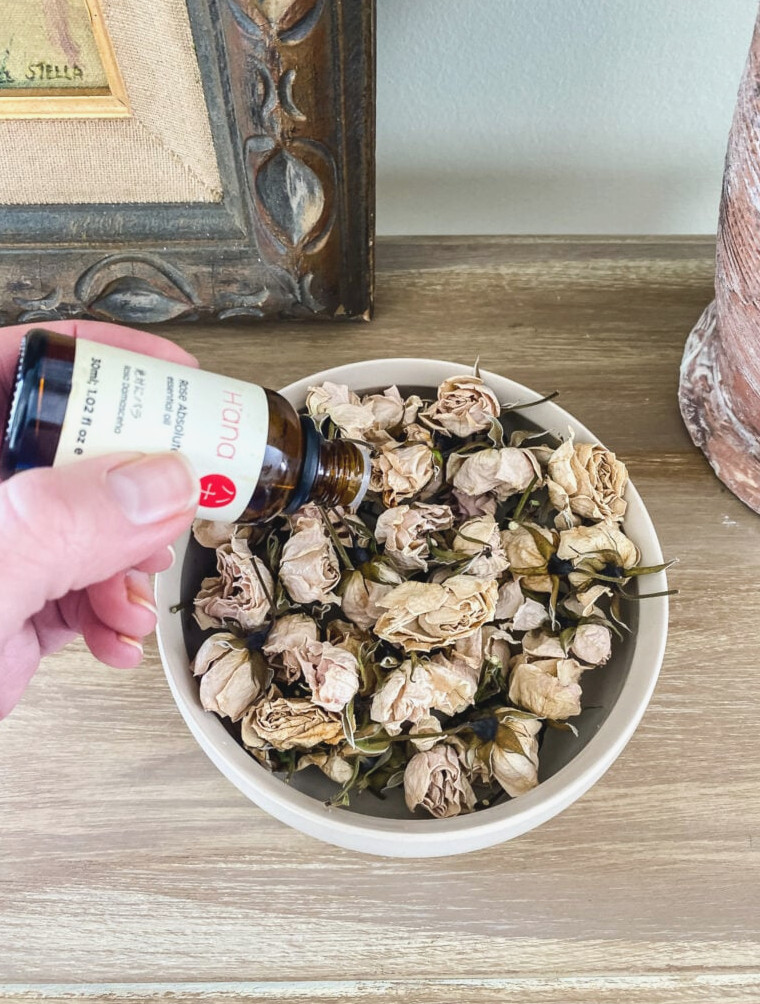
This is one of the easiest projects you can try. Let a few small roses air-dry. Trader Joe’s sells affordable bunches that work wonderfully for this. Once dry, snip off the stems, place the blooms in a shallow dish, and add several drops of rose essential oil or rose geranium oil to give them fragrance. That’s all. It creates a charming little display for a side table or bathroom shelf.
Craft a Hanging Frame for Dried Flowers
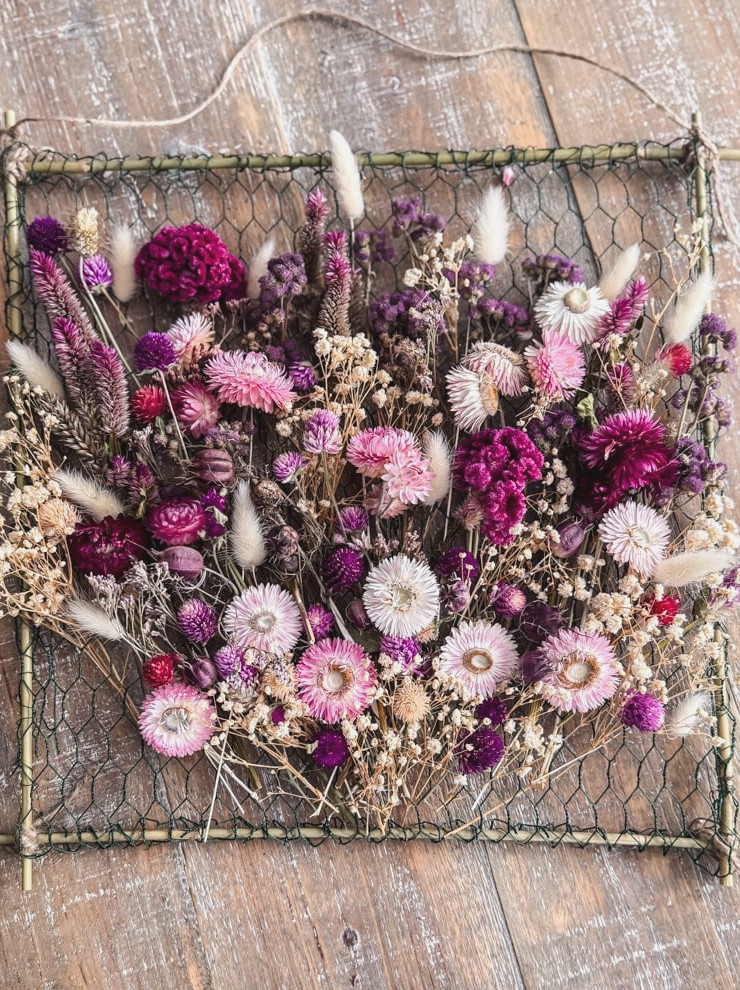
This is currently one of my preferred methods for showcasing dried flowers. With bamboo stakes and chicken wire, you can construct a hanging frame that resembles something from an upscale home décor store — at very little cost. Although it appears complex, this project is surprisingly simple, and it highlights your dried flowers beautifully.
Display Them in Oil (Japanese Herbarium Bottles)
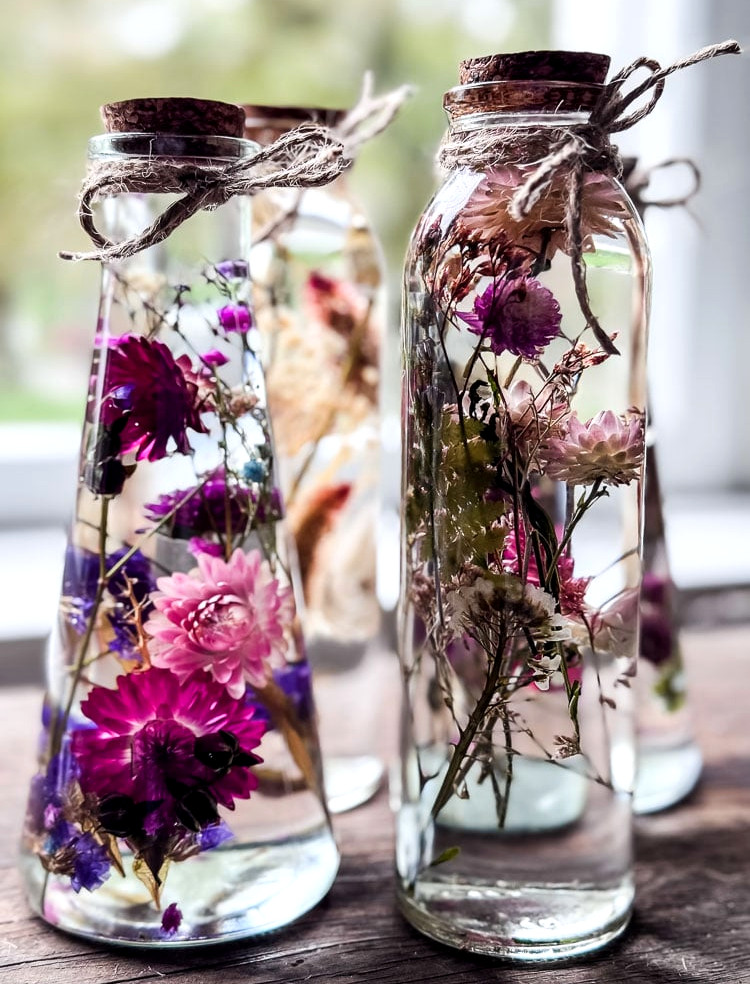
This project differs somewhat from the others listed here. Rather than showcasing your dried flowers in the usual way, place them in transparent mineral oil inside glass bottles. The effect is breathtaking, almost resembling a living still life. Known as Japanese herbarium, this method will make you want to create one as soon as you see it. It’s an ideal way to feature flowers you cultivated yourself.
Create Clay Impressions
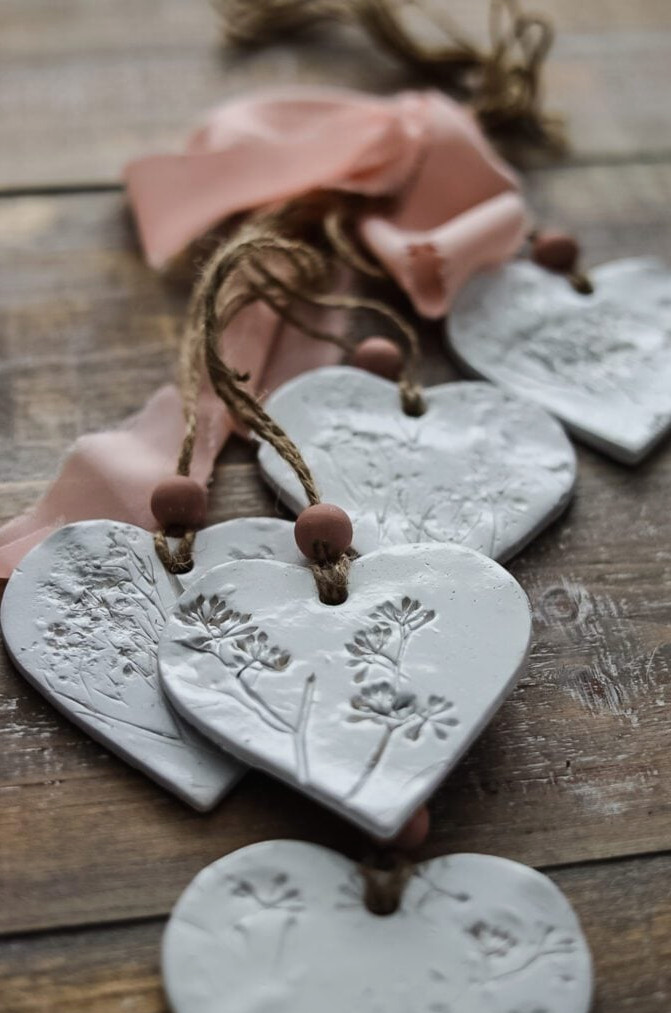
This project impresses people every time. Before air-dry clay hardens, press dried botanicals such as baby’s breath, eucalyptus, and small flower heads into its surface to create a gorgeous botanical impression. I’ve used this technique to make heart ornaments, floral plaques, and clay magnets. It’s an excellent way to use smaller stems and pieces that are not striking enough to arrange in a vase.
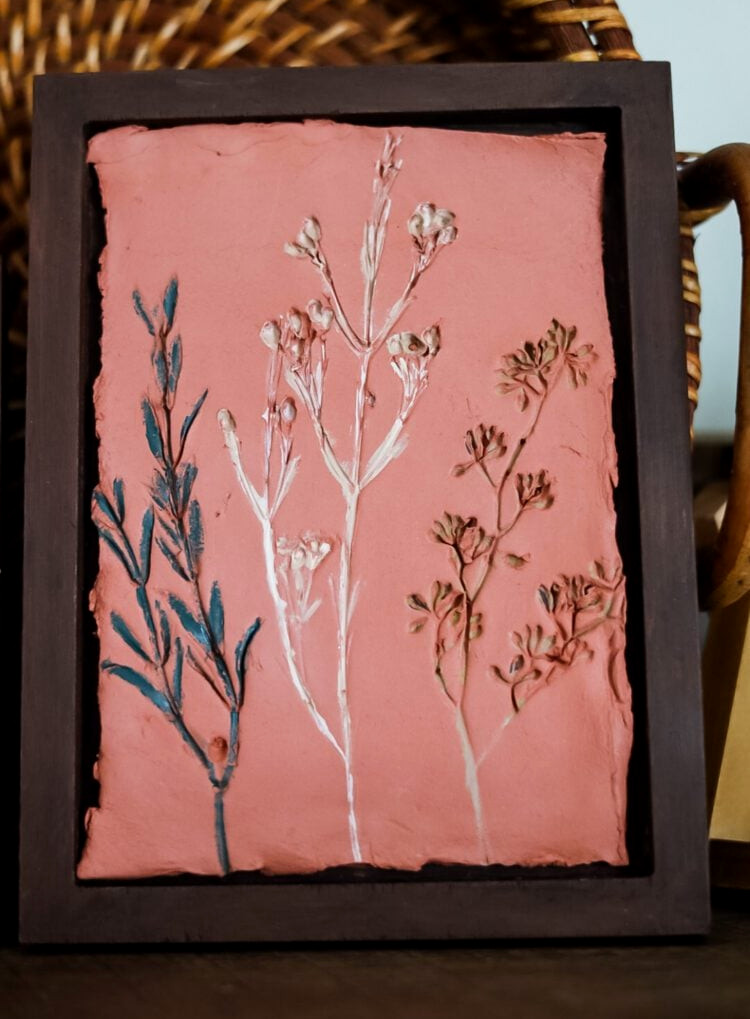
Here’s another project using air-dry clay. For this version, I chose terracotta colored air-dry clay along with several botanicals to create impressions. I then filled in the designs with paint markers before securing the clay onto the wooden plaque frames.
Create Filled Glass Ornaments
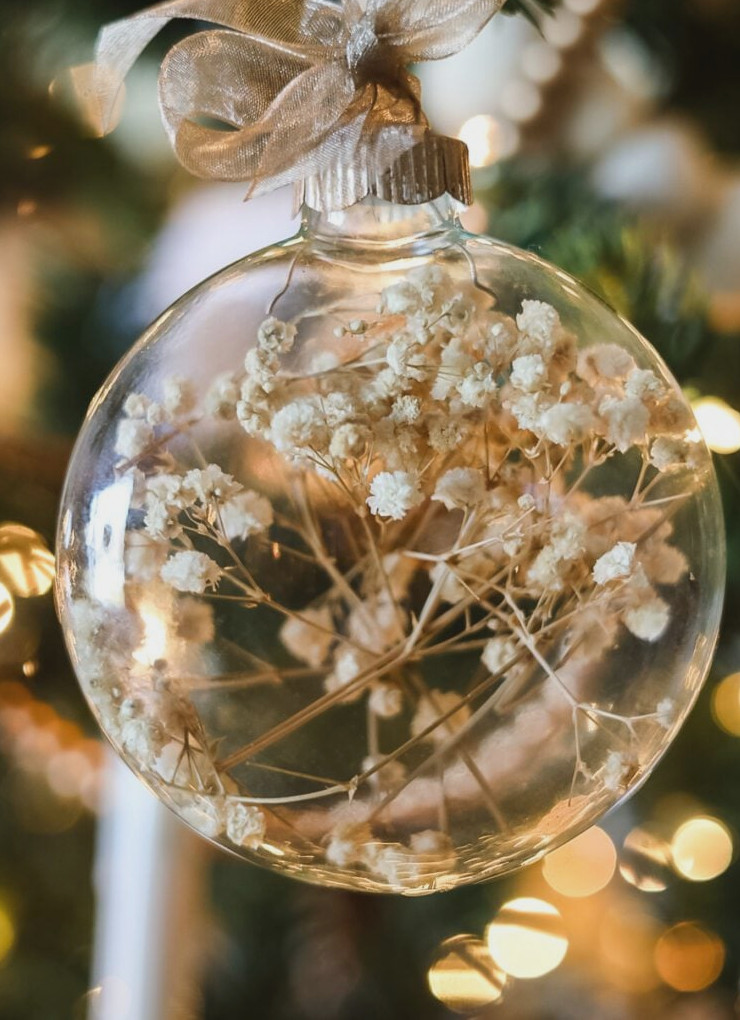
Here’s a speedy holiday project! Place tiny sprigs of dried baby’s breath or miniature dried blooms inside transparent glass ornaments for a soft, natural look on the Christmas tree. It takes around five minutes and has the appearance of something you might purchase at a $30 boutique.
Create a Botanical Shadowbox
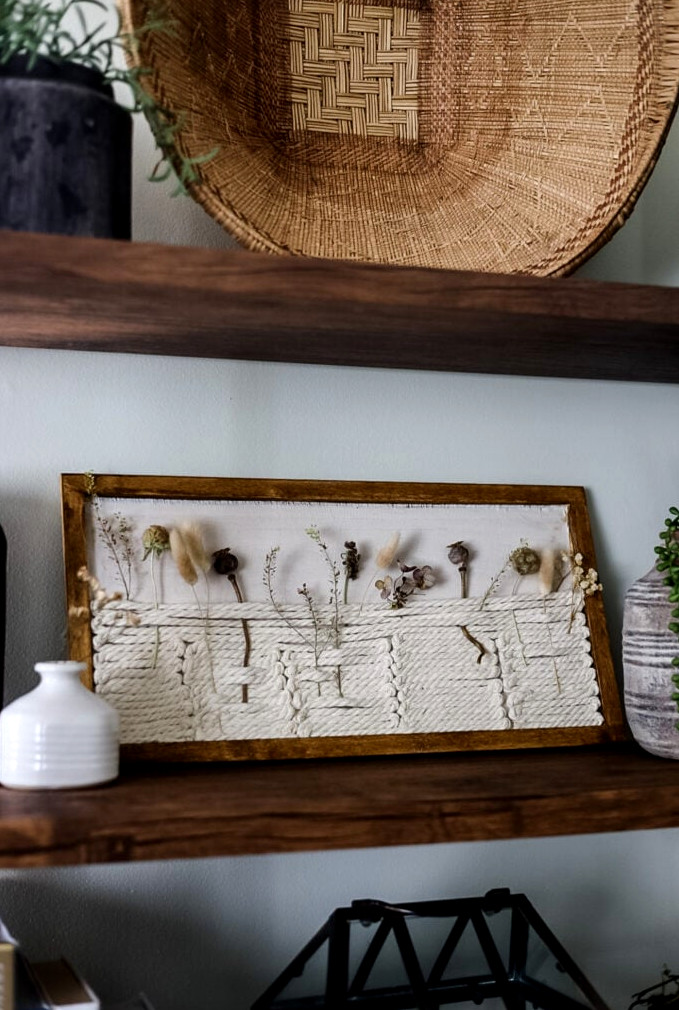
Here’s a charming way to showcase your dried flowers! Craft this woven shadowbox frame, inspired by Pottery Barn, and slip several flower stems inside. It adds a beautiful, natural touch to your home.
Create a Wedding Shadowbox Keepsake w/ Dried Flowers
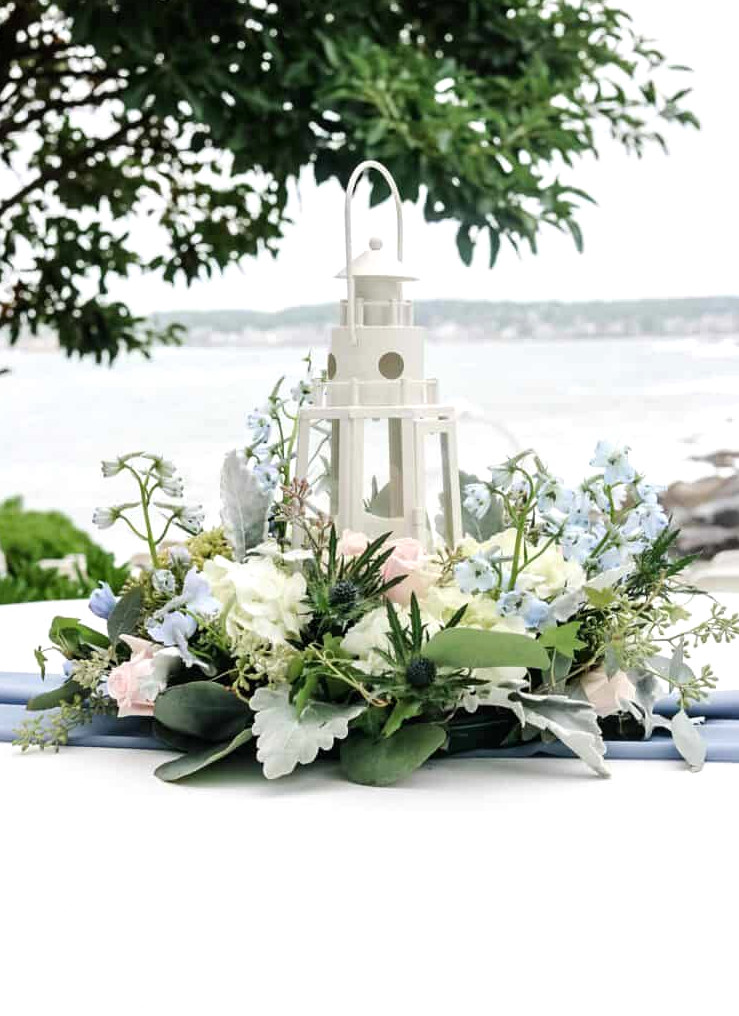
I created this project for a friend with her wedding flowers, which were preserved in silica gel. Place your dried blossoms inside a deep shadowbox frame, secure them with glue, and you’ll have meaningful wall art. You can also use flowers from your own garden to commemorate an especially successful growing season.
Ready to Begin Drying?
The ideal moment to begin is whenever flowers are available. It could be a bunch from the farmers market, summer’s final roses, or a small bundle of garden lavender. You only need a few blooms to start, and afterward, you’ll never view a fading bouquet quite the same way.
If you create something with one of these techniques, I’d truly enjoy seeing it. Email me a photo at jennifer@cottageonbunkerhill.com, and I’ll feature you in the Reader’s Spotlight gallery.
discover how to
Press Flowers
I’ll show you how to press flowers at home.
25 Creative Projects Using
flowers & botanicals
Explore my newest flower projects