
Discover how to prepare these charming mummy cake pops. They’re incredibly simple, and nearly anyone can make them! The nicest thing is that the icing doesn’t need to be flawless for them to look fantastic. These make a delightful Halloween treat to hand out!
RELATED: Learn How to Prepare Cake Pops
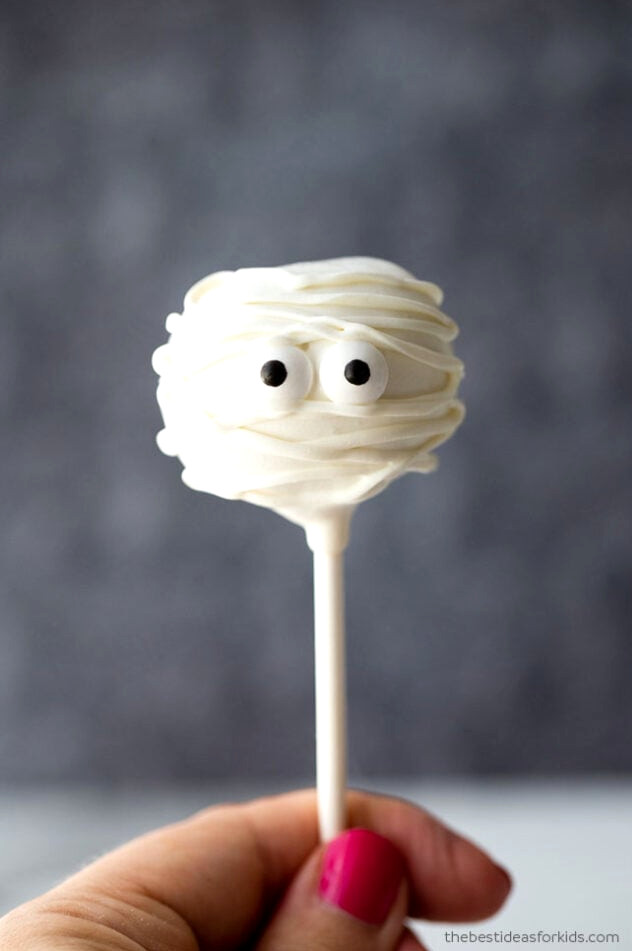
Cake pops are genuinely simple to prepare! They’re a wonderful way to use leftover cake that might otherwise go uneaten.
They also make adorable Halloween treats and presents! Put them in a transparent bag, then wrap ribbon around the candy sticks before handing them out as Halloween goodies.
For our detailed cake pop instructions, check out the blog post here.
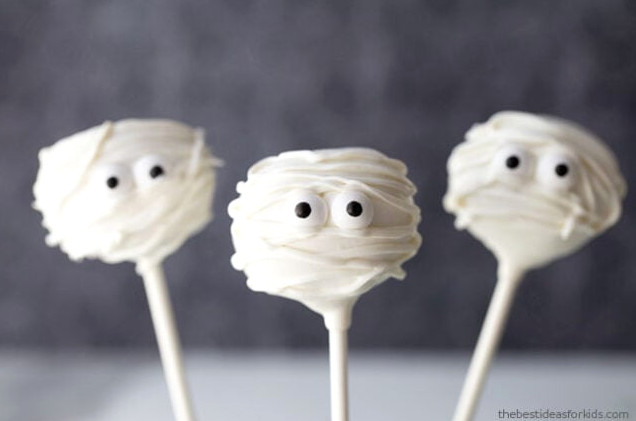
Required Supplies
To begin, gather these ingredients for making the Mummy cake pops:
- A boxed cake mix, or bake a cake yourself from scratch (leftover cake works wonderfully for cake pops as well!)
- 2 packets of white candy melts
- A piping bag with an icing tip or a large freezer bag
- Foam board (to hold the cake pops while they dry)
Preparing Mummy Cake Pops
1. Begin by baking a cake, or use cake leftovers!
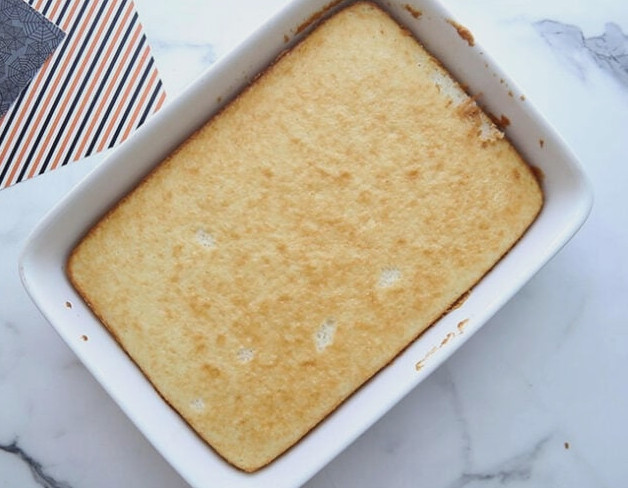
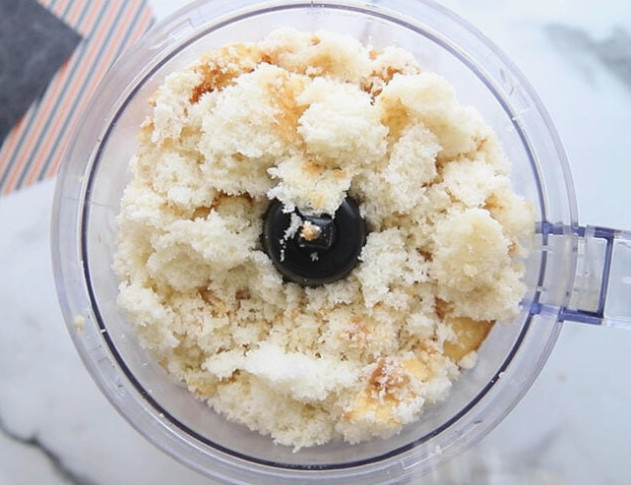
2. Process the cake in a food processor.
If you don’t own a food processor, crumble it by hand instead. Make the crumbs fine so the mixture won’t become overly lumpy after adding the icing.
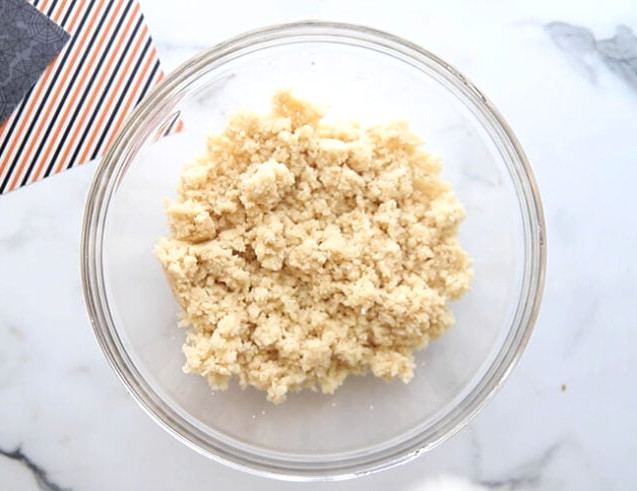
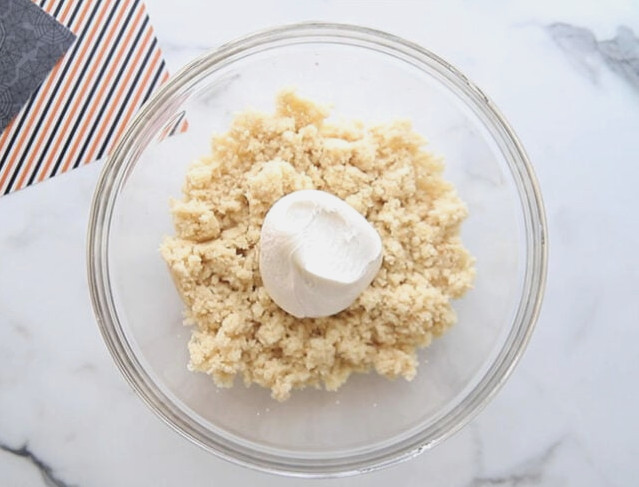
3.Combine the cake crumbs and icing.
(I added around 1/2of the jar, but you may need to incorporate it gradually until the consistency is right). The mixture should resemble dough without becoming overly iced or tacky.
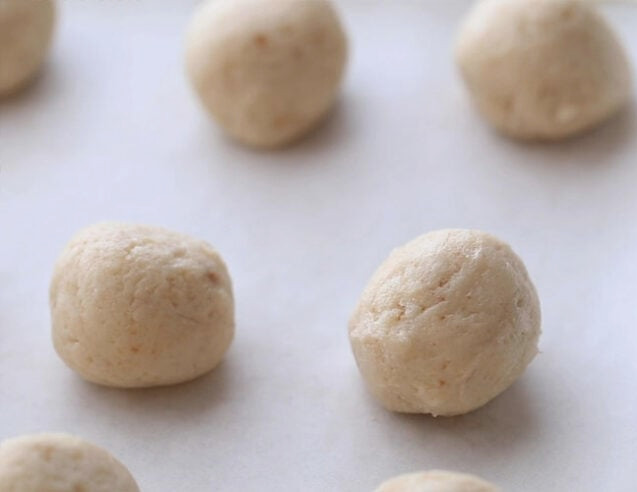
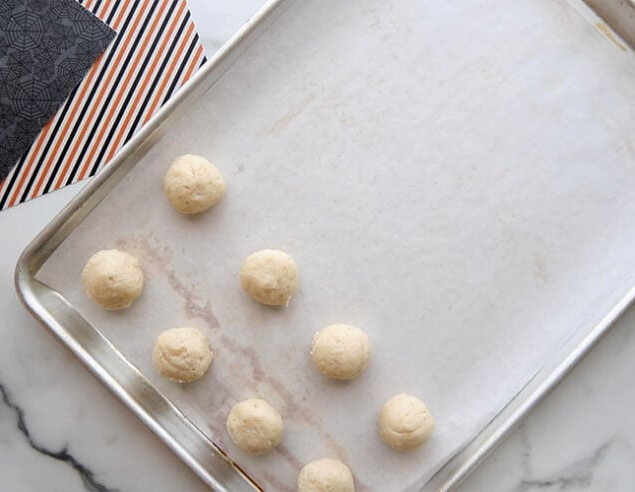
4. Shape the mixture into balls and set them on parchment paper.
The balls should not be excessively sticky as you roll them. If the mixture clings to your hands, you’ve added too much frosting. If there is extra cake available, mix more cake into it.
On the other hand, if the balls seem too dry while shaping, blend in a small amount of additional frosting.
5.Microwave the candy melts following the directions on the package.
The instructions on our package said to heat them for 30 seconds at a time. This part requires particular care. If the candy melts become too hot, stir in a little shortening.
Set the microwave to its lowest possible power and mix frequently between heating intervals. Allow the candy melts’ residual warmth to continue softening them before microwaving again, which helps avoid overheating.
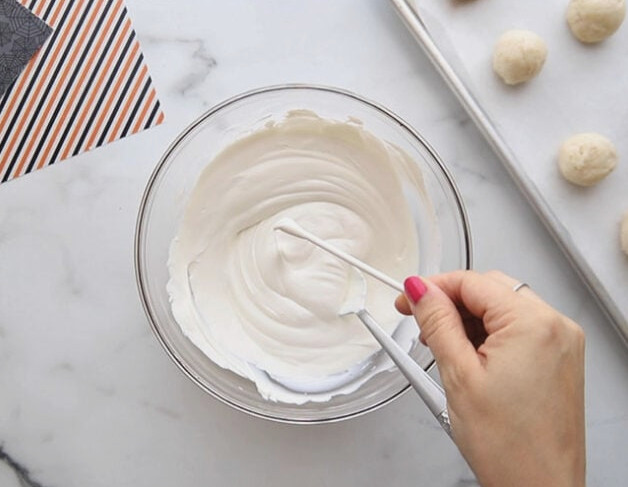
Next, coat the tip of a candy stick with a little candy melt and push it into each cake ball.
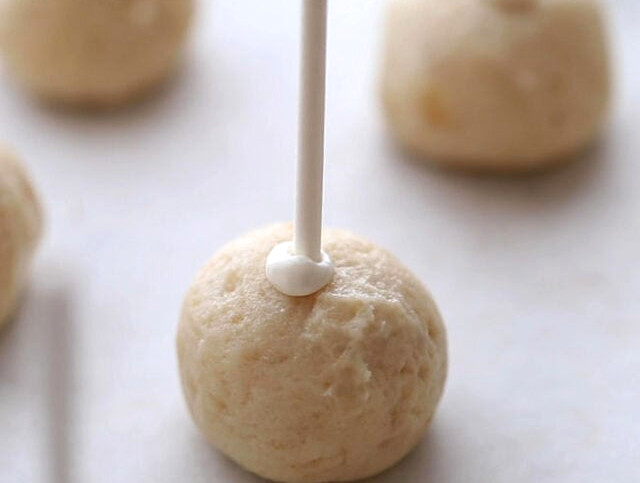
Refrigerate them to chill for one hour.
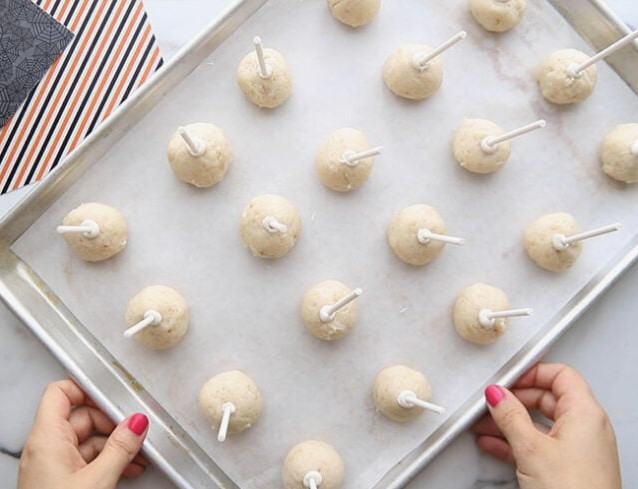
4. After chilling, remove them from the refrigerator and dip them into the melted candy mixture.
Tip
Begin by melting only a small amount of candy melts for the sticks, so you won’t have to warm the candy melts again when dipping the cake pops.
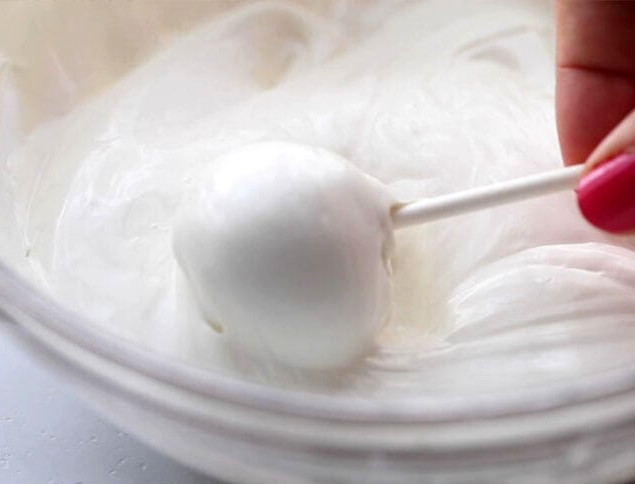
5. After dipping, wait until they are nearly set, then place on the eyes so they adhere.
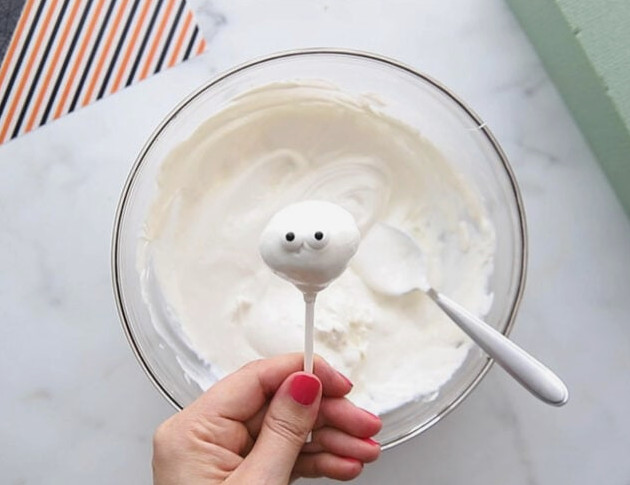
6. Place the leftover candy melt into a Ziploc freezer bag (snip a tiny opening in one corner) or use a piping bag.
Pipe stripes across the face to create a mummy-like appearance.
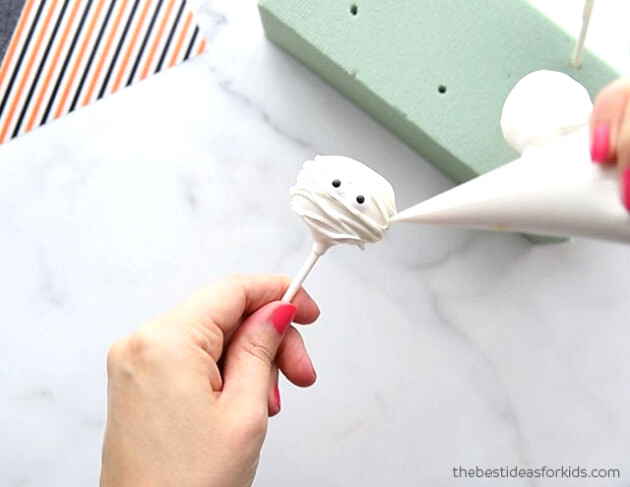
Allow the cake pops to harden on a foam board.
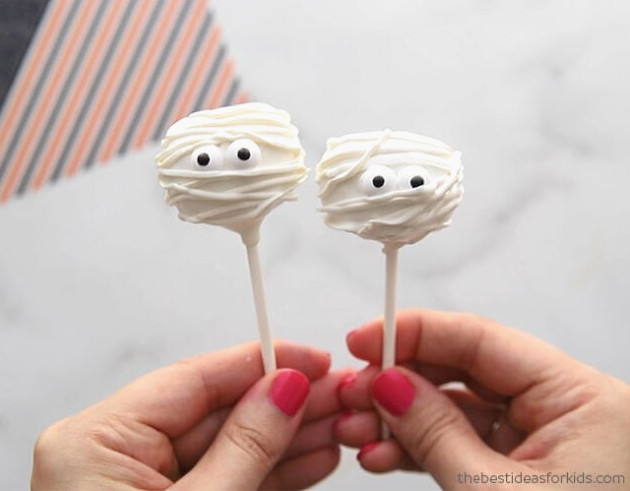
These Halloween treats are incredibly simple and enjoyable to prepare! Package them with a ribbon to create a delightful Halloween present!
-
Begin by baking a cake, or use cake leftovers instead!
-
Process the cake in a food processor. If you do not own a food processor, crumble it manually. Make the crumbs very fine so they do not become overly lumpy once the frosting is mixed in.
-
Combine the cake crumbs with the frosting.(I used roughly 1/2 of the jar, though you may need to add it gradually until the consistency is right). The mixture should resemble dough without being overly frosted or tacky.
-
Shape the mixture into balls and set them on parchment paper. They should not be excessively sticky while you roll them. If the mixture clings to your hands, too much frosting has been incorporated. If cake remains, mix in some additional cake.On the other hand, if the balls seem too dry during shaping, blend in a bit more frosting.
-
Heat the candy melts in the microwave following the package instructions. The directions on our package said to heat them for 30 seconds at a time. Pay close attention during this stage. Should the candy melts become too hot, mix in a little shortening. Use the lowest microwave setting available and stir frequently between heating intervals. Allow the warmth from the melted candy to finish melting it before microwaving again, which helps avoid overheating.
-
Coat the tip of each candy stick with a small amount of candy melt, then push it into the cake balls. Refrigerate them for one hour.
-
After chilling, remove the cake balls from the refrigerator and coat them in the candy melt mixture.
-
When the coating has been applied and is nearly set, press on the eyes so they adhere.
-
Transfer the leftover candy melt to a Ziploc freezer bag (snip a small corner opening) or a piping bag. Pipe horizontal stripes over the face to give it a mummy effect.Leave the cake pops to set on a foam board.
Begin by melting only a small portion of the candy melts for attaching the sticks, so reheating is unnecessary when it is time to coat the cake pops.