A certain type of uneasiness tends to arrive here toward the end of March. The snow has finally disappeared (for the most part), the mud is making its presence known, and you’re standing by the back door with your coffee, wondering where you should possibly begin.
The answer, like always, is: gradually.
Spring in New England takes its time, and you should too. This isn’t a checklist of chores that must be completed by a specific day or else your garden will suffer and your porch will look shameful. Think of it instead as a soft reminder. A nudge toward the many little tasks that, handled individually, come together to create a home and garden that feel prepared for the season. Pick up your coffee. We’ll go through it together.

Hello, I’m Jennifer. For me, home is a continuing expression of mindful living. As the New England seasons unfold, I search for ways to make our surroundings not just lovely, but genuinely comforting and restorative. I’m delighted that you’re here to discover it with me.
The Garden Checklist
This is the task most people are eager to begin with, and truly? That makes perfect sense. Once the garden is organized early, everything else seems much more manageable.
Clear Out The Garden Beds
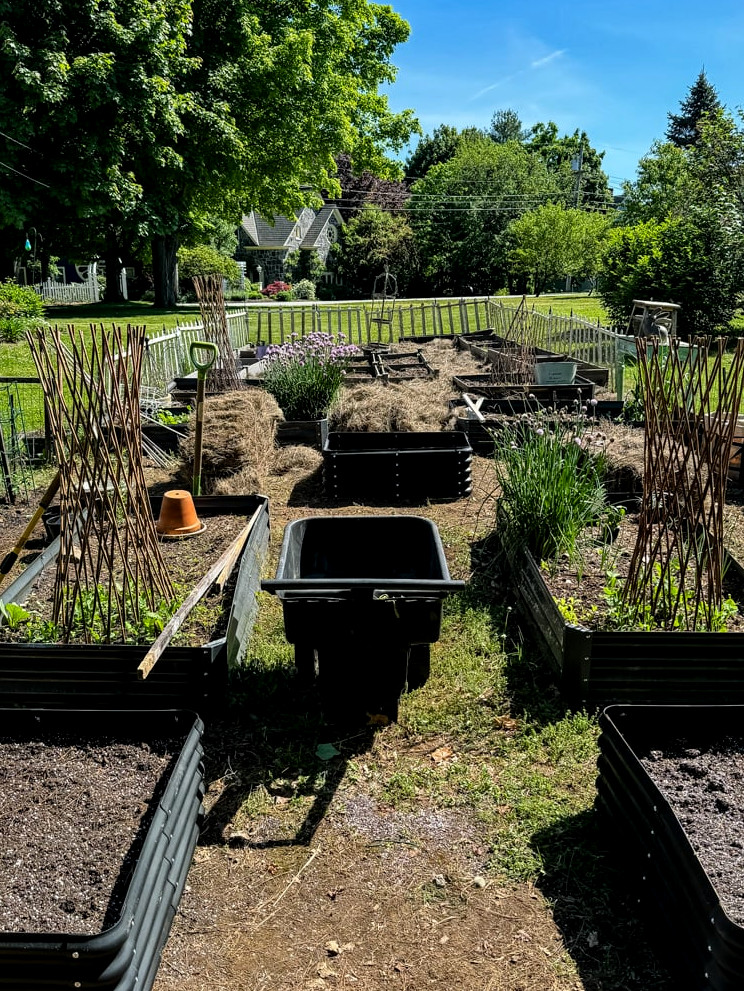
Remove the lifeless debris, trim back whatever you left in place for winter appeal, and inspect your beds carefully. Avoid digging too soon! When the soil remains cold and saturated, you risk compressing it. Hold off until a handful breaks apart in your fist instead of turning into a mushy clump.
Top-Dress With Compost.
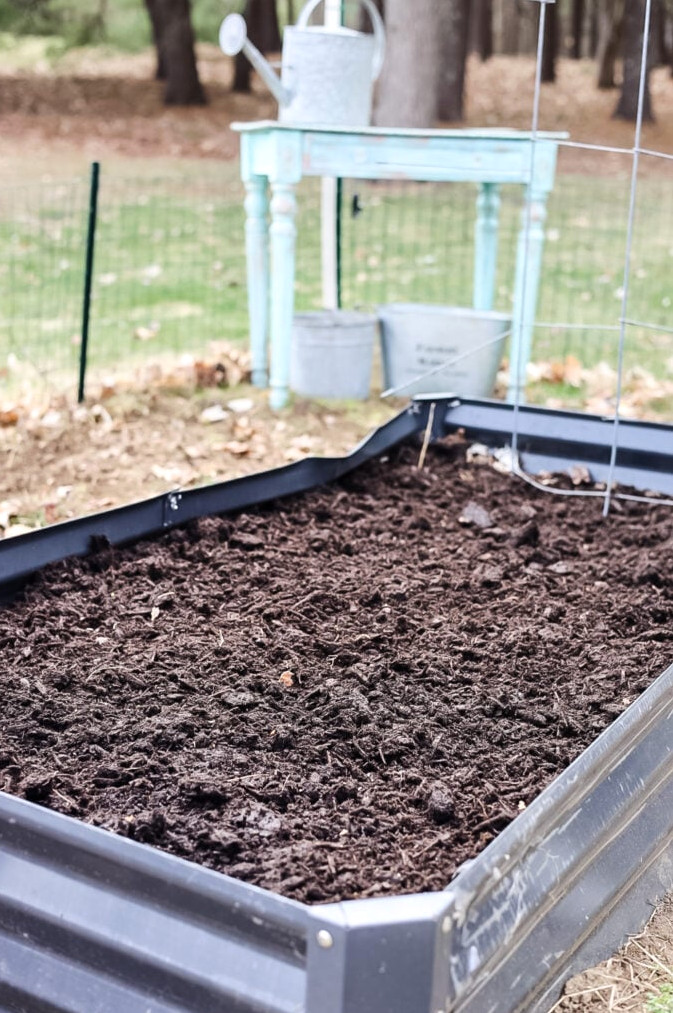
Even a modest coating can help. I take care of this before adding any plants, while the beds remain open and easy to reach.
Check On Your Perennials
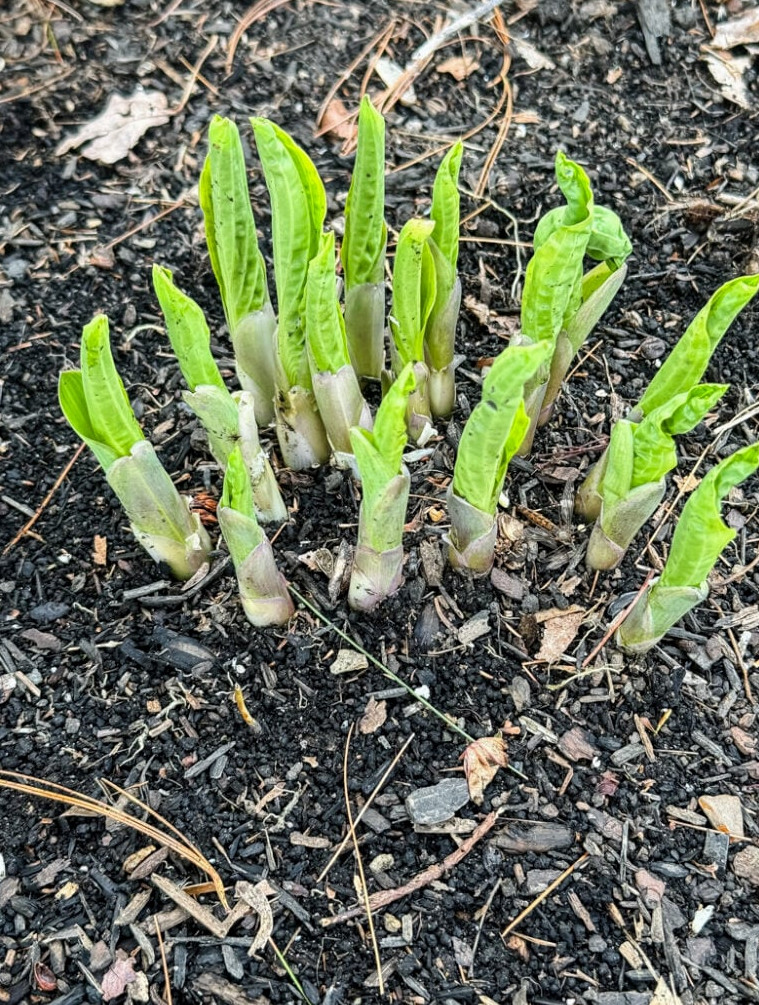
Most of them are already active beneath the soil. Watch for the small signs of new growth, and fight the temptation to uncover them for a closer look. (I say that as someone who has definitely done exactly that.)
I’d also include one especially New England addition to the garden checklist: checking for vole damage. If voles haven’t troubled you, count yourself fortunate! Those tiny animals are remarkably destructive. Last year, they destroyed at least fifteen established perennials in my garden, and I had no idea until I tried to rake around a rose bush and the entire plant simply… fell over. Every root had vanished. It’s the sort of situation that might be amusing if it weren’t so devastating!
Early Spring is also an ideal season for splitting your perennials. Who can resist free plants! I suggest dividing hostas and daylilies once every 3 years. You’ll end up with stronger plants, and it’s genuinely an economical way to fill those garden beds!
Begin Your Seeds Indoors If You Haven’t Done So Yet.
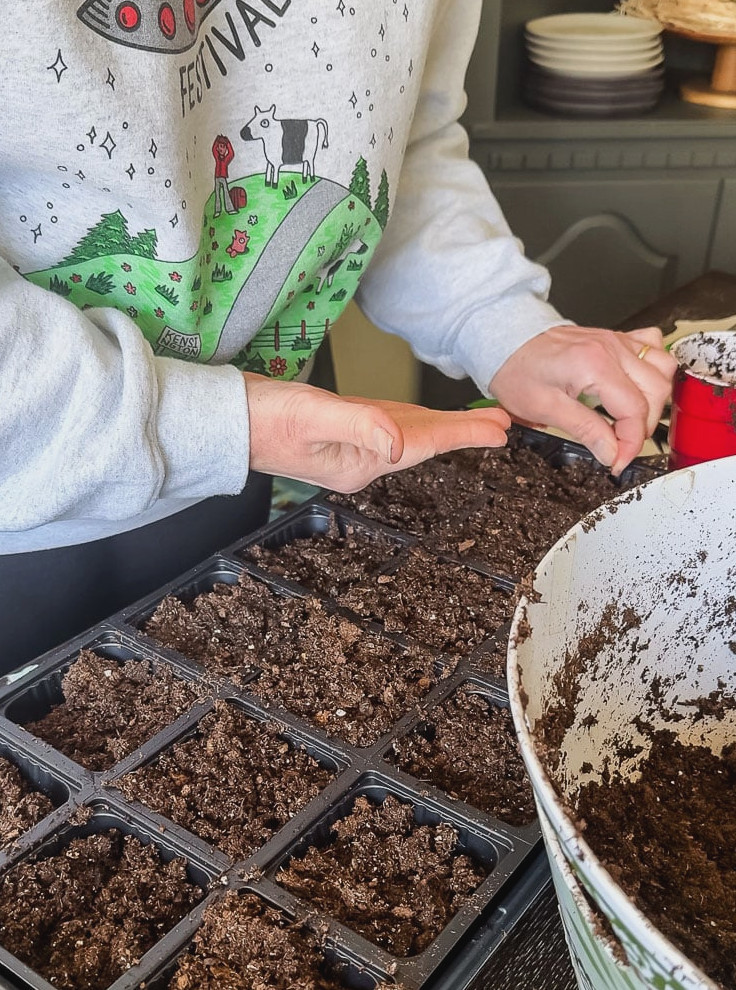
In Zone 6b, I sow many of the flowers for my cutting garden indoors around 6-8 weeks before I intend to move them outside. I realize most gardeners use their last frost date as a guide. However, in my part of New England, I stick with the Yankee tradition of waiting until Memorial Day for planting. If you missed the ideal timing for certain varieties, don’t worry—many flowers grow perfectly well when directly sown after the soil has warmed.
Create a Plan Before Planting.
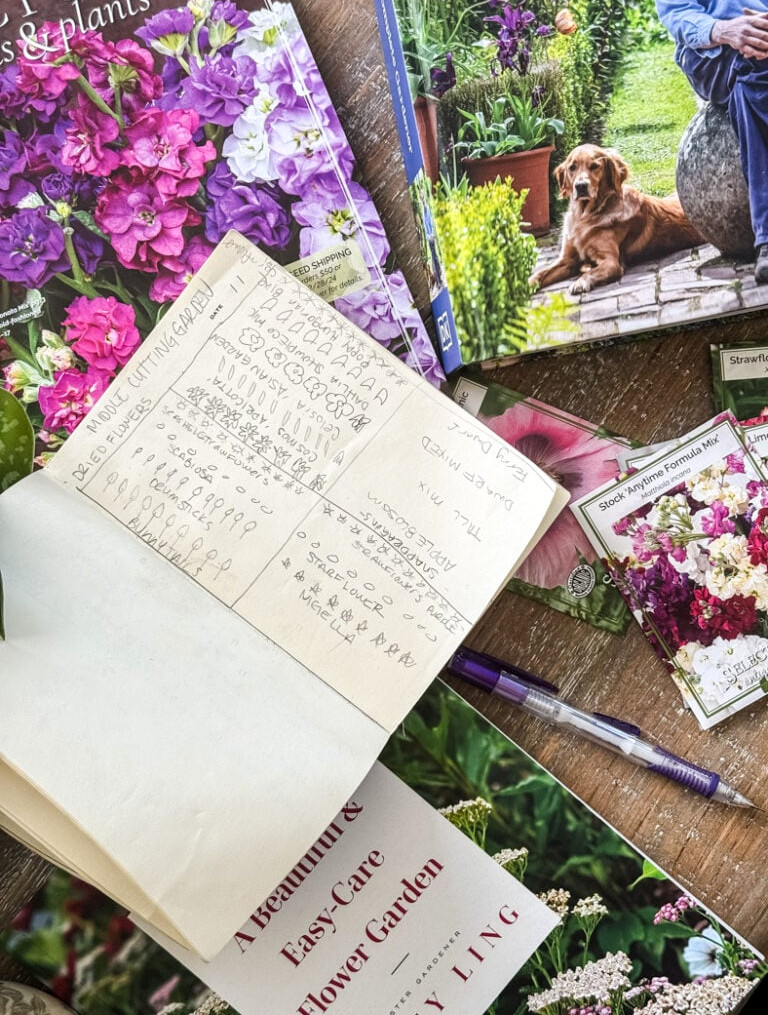
A few moments spent with a notebook can prevent plenty of “wait, what did I put there?” confusion later in the growing season. Draw your beds, record what’s returning, and identify any empty spaces. It doesn’t need to be elaborate! Pick up a little notebook or simple journal and a pencil!
Because I grow everything in my cutting garden from seed, organizing ahead accounts for half the effort. I think visually, so I begin by collecting all my seed packets—including those from Johnny’s Seeds, which are well known for not featuring photos on their packets. My solution is to snip the images from their catalog and attach them directly. Next, I arrange each raised bed on my counter using the packets as a guide. After that, I record everything in my notebook, deciding where each variety belongs and how many rows will fit. Putting the plan on paper before planting even one seed eliminates so much uncertainty later!
Purchase or Pick Up Plants

For anything you aren’t growing from seed. Farmers’ markets, nearby farms, and especially local greenhouses generally offer wonderful choices, while allowing you to support a local business.
I get all my vegetable and herb starts from a farmer located just around the corner. She is the 14th generation of her family to cultivate this land! One thing about living in New England…there are quite a few VERY OLD working farms!!
Note: Although I frequently collect my vegetable plants in early May, I wait until the month’s end to put them in the garden, once the threat of frost has genuinely passed.
The Household Checklist
Spring cleaning receives plenty of attention, but the lighter refresh is what I truly enjoy.
Replace Your Thick Textiles.
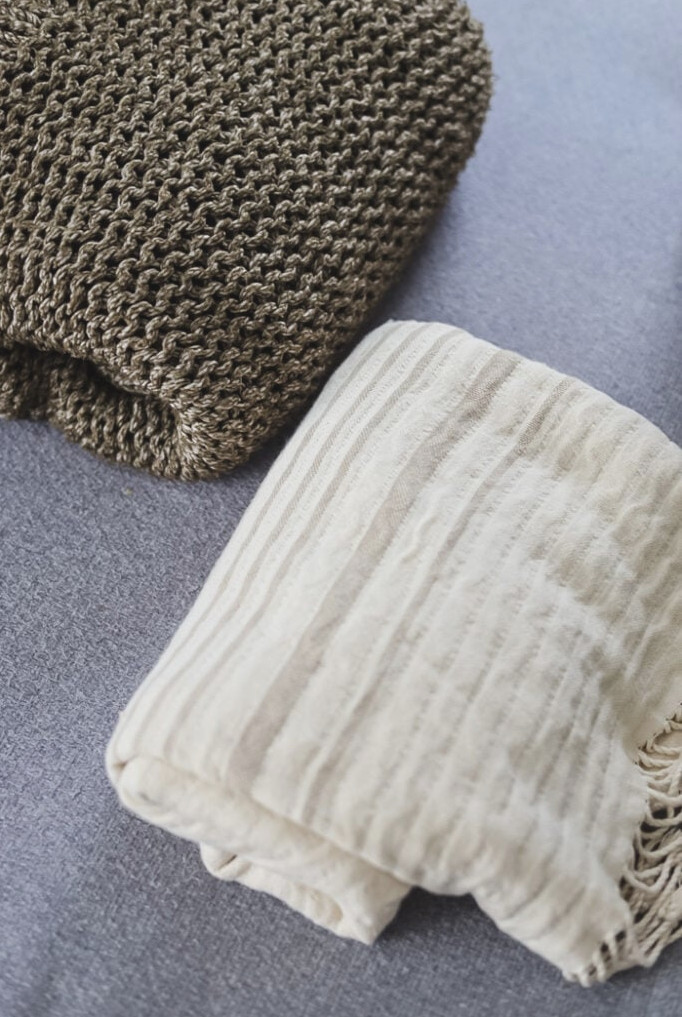
Thick throws, deep-toned pillow covers, and anything that made January feel snug can be packed away. Bring out airy linens, soft floral patterns, and fabrics that feel a bit more breathable.
If you don’t already have something suitable, this floral-and-leaf patterned throw would look lovely for spring. There’s no reason to purchase anything new unless you truly need to!!
Let The Fresh Air In!

Even if it’s only for an hour. A refreshing cross-breeze can make any space better. I eagerly await the first day when it’s no longer painfully cold to open a window and let that stale winter air escape!! This single, easy chore can make your home feel as though you cleaned it all day!!
Take A Fresh-Eyed Tour.

You’ve seen the same rooms throughout winter. Try viewing them from a visitor’s perspective. Which areas need a refresh? What might be rearranged, given away, or just wiped clean?
Following a long season with shut windows and the heat running, everything is likely to have collected dust! Ceiling fans, chandeliers, and baseboards are especially prone to it.
Refresh Your Artwork And Decor.
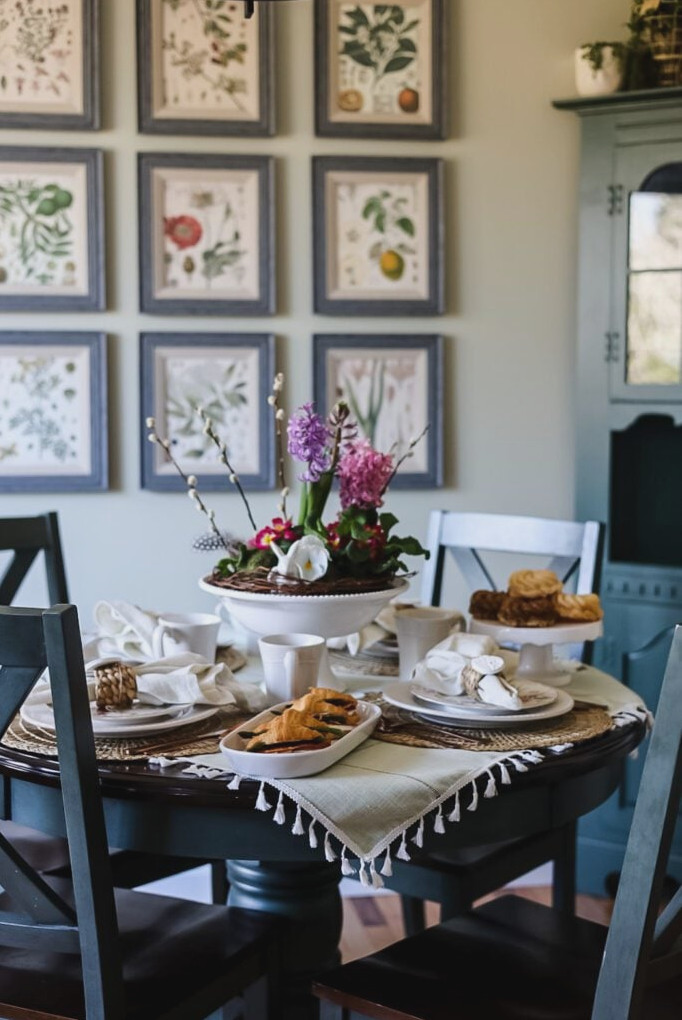
This is among my favorite money-saving ideas. Items tucked away in a closet for half a year seem completely new once they return. At times, I don’t even recall owning something until spring arrives.
Bring In Something Lively
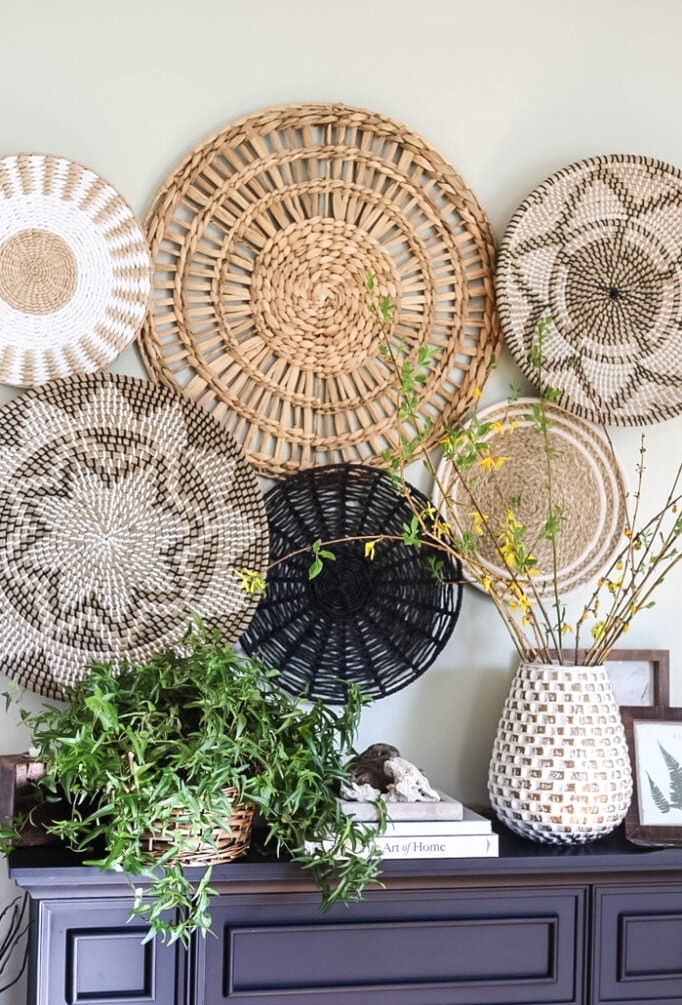
A grocery-store pot of tulips. A forsythia sprig from the garden. Or an uncomplicated bunch of whatever is available at the market. Fresh blooms transform a room more than nearly any decorating choice I can imagine!
Review Your Lighting

Winter illumination with numerous lamps and cozy bulbs can often seem too weighty as the days grow longer.With the days growing longer and the sun moving higher, I can rely on fewer small lamps throughout the house and allow more natural light to brighten the space.
As a result, I store away a few of the lamps placed around the house, creating extra room in my compact home for additional seasonal accents.
The Porch To-Do List
Your porch serves as your home’s greeting, and here in New England, we have to wait quite a while before we can truly enjoy it. So make it worthwhile.
Sweep & Scrub Everything.

Dust, leaves, winter residue, and an unbelievable number of pine needles… everything piles up. I’ll admit that my winter porch décor remains outdoors FAR longer than it should! Once the weather turns warmer, I remove the winter planters and store seasonal decorations such as ice skates and bundles of birch logs. After that, I wash the porch thoroughly with soapy water and a firm brush, which feels wonderfully rewarding.
Take Out Your Furniture.

Inspect the cushions for mildew (it happens) and clean off any metal or wooden surfaces. I’ve tried this Zep mold & mildew remover spray, and it’s straightforward to apply.
Now is also a great opportunity to repaint furniture that could use some attention; a single afternoon can add years to the lifespan of your pieces. The same applies to plastic planter pots-check whether faded ones would benefit from a new layer of spray paint.
- Outdoor Patio Set ( this set appears pricier than what I paid, BUT my husband and I did spend several hours assembling everything)
Put Out a New Doormat
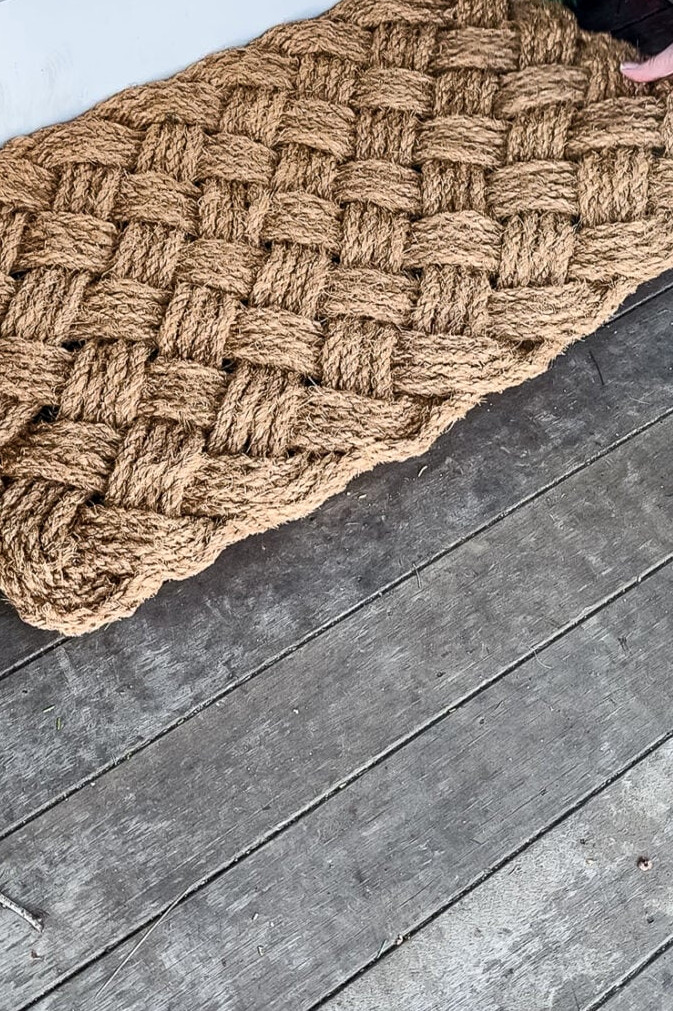
Swap out your doormat when winter has left it worn and damaged. It may seem like a minor chore, yet it makes a noticeable difference each time you arrive home. And to my fellow New Englanders…RIP Christmas Tree Shoppes, I think of them daily, especially whenever I’m shopping for a new doormat! Their selection was the best, and they cost only $6!
Make Use of What You Own!
Before purchasing anything, decorate with items you already own. To liven up my front porch, I gathered a few things from around the house: a weathered lantern, a small wreath crafted from fresh pussy willows, a secondhand basket holding a $2.99 pot of tulips, and several tiny DIY projects I had created (the moss bird house, DIY bird’s nest, metal flower bucket, & pansy wreath. Start by touring the house. You may be amazed at what turns up!
Add a Pot (Or Two!)
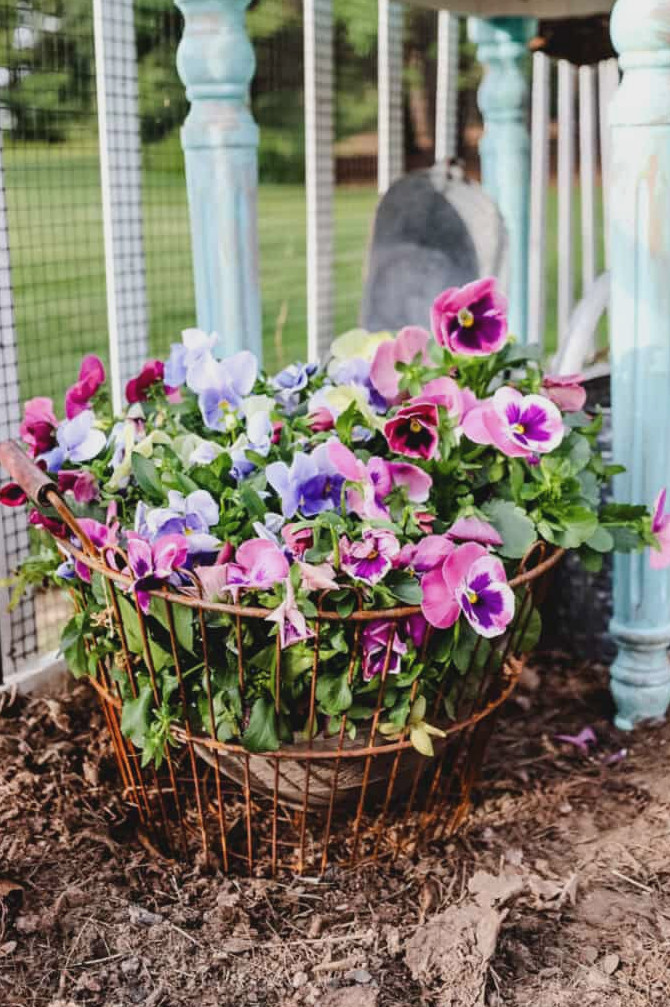
Place a pot or two near the entrance. Pansies are always my top choice; they tolerate a late frost and bring instant cheer. Nothing says spring quite like a basic terracotta pot filled with something bright and cheerful.
I enjoy using vintage metal clam baskets or galvanized buckets for displaying Spring blooms; that mix of rustic charm and freshness wins me over every time!
Springtime in New England is brief, slightly unpredictable, and completely worth waiting for. There’s no need to complete every item on this list this weekend. Choose one section, select one task, and begin there. Once you start, the season has a way of guiding you forward.
Could you use a bit more direction while preparing your home for Spring? Take a look at my Spring Cleaning Made Easy
What’s the first project you take on each spring? I’d love to hear! Share a comment below.
xo, Jennifer
Enjoy projects like this?Don’t miss out! Become part of my newsletter familyfor more warm, affordable DIY inspiration sent straight to your inbox. You’ll receive special tips, advance access to tutorials, and all the ideas you need to make your home feel personal and full of heart.