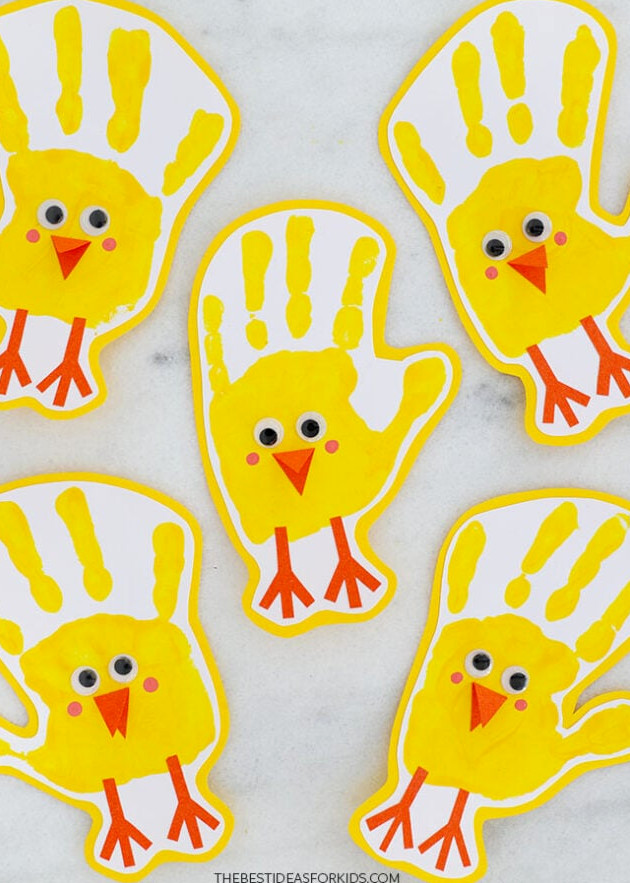
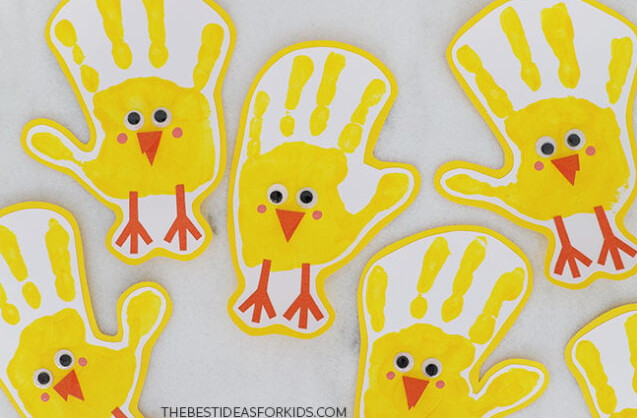
Celebrate spring with this incredibly easy Handprint Chick craft! It’s a breeze to make, and even the youngest children will enjoy taking part!
RELATED: Handprint Easter Cards
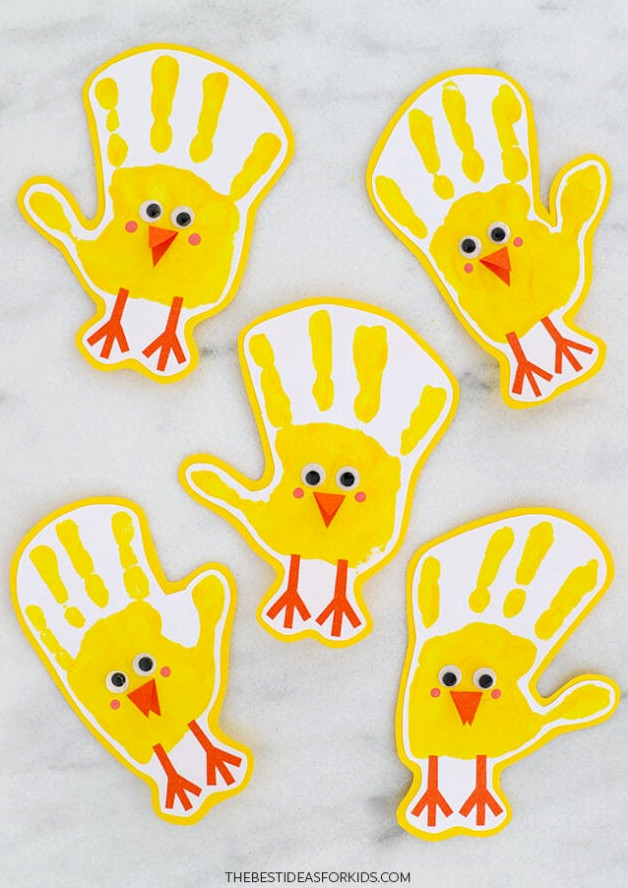
For handprint projects, we always choose non-toxic tempera paint. Keep a large bowl of soapy water, fresh rags, and baby wipes nearby to make cleaning the paint from little hands easier after stamping.
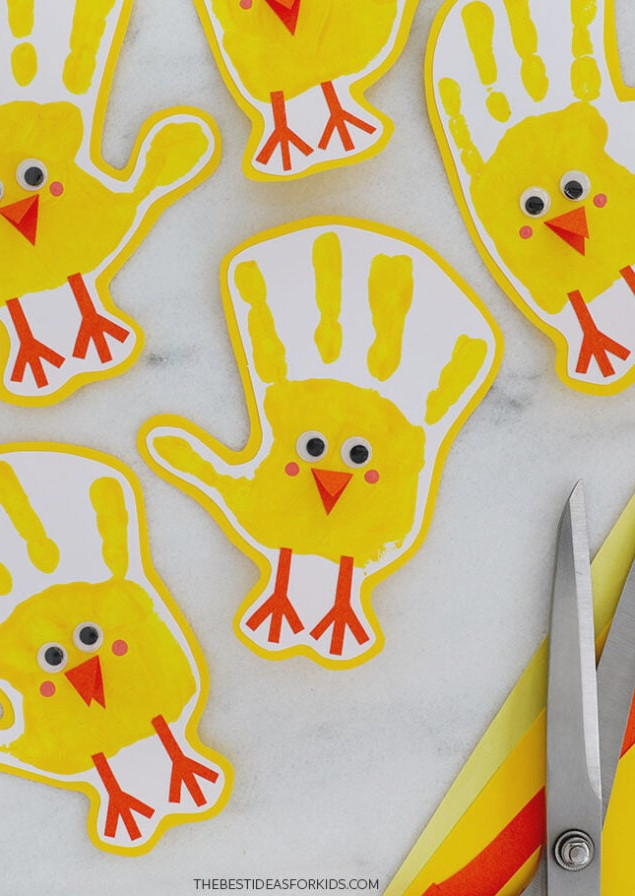
These adorable chicks make wonderful Easter mementos that can be treasured for many years! Be sure to add the child’s name and date to the back.
Materials Required
View the Video Guide!
Making Handprint Chicks
1. Make the handprint.
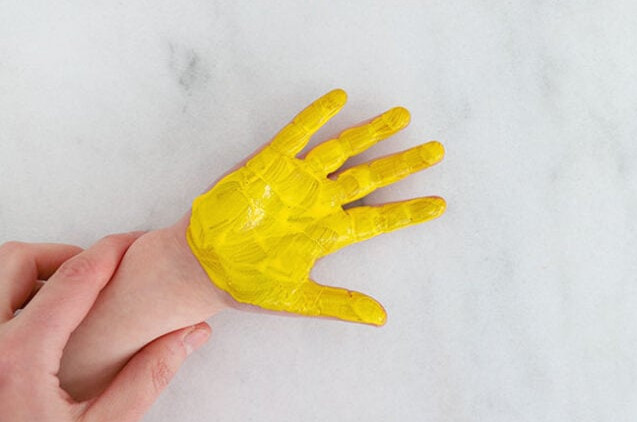
Brush yellow non-toxic tempera paint over your child’s palm.
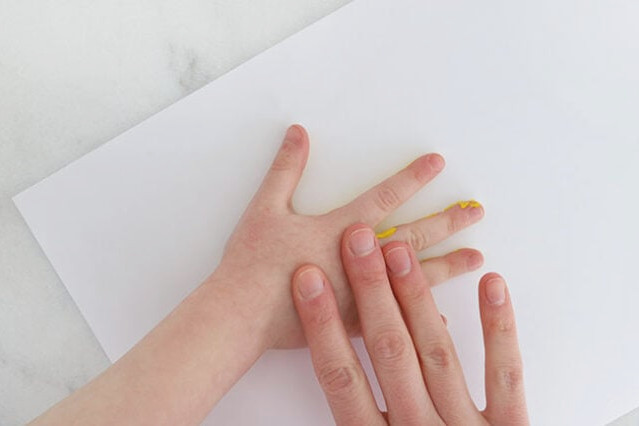
Help them press their hand onto a sheet of white cardstock to leave a handprint.
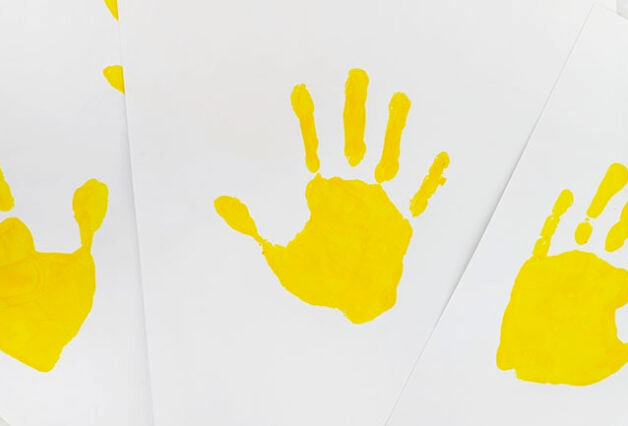
Lift their hand, coat it with paint once more, and make more handprints. Leave the prints to dry fully, then clean your child’s hand with warm, soapy water.
2. Prepare the feet and beak.
Sketch feet onto construction paper or orange cardstock, then cut them out. Alternatively, paint the feet using orange paint. To make the beak, fold a piece of orange paper, draw a triangle, and cut it out.
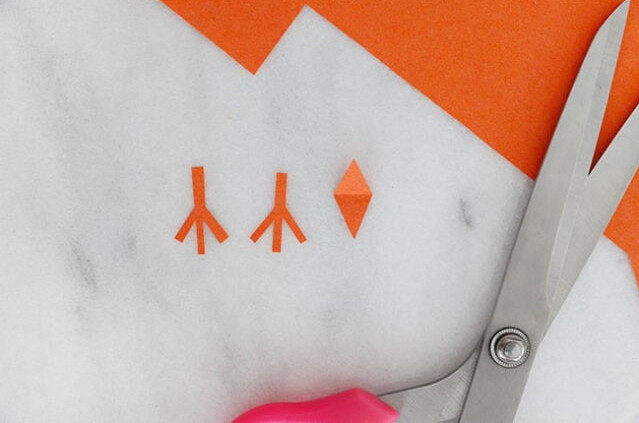
Attach the 2 feet to the lower part of the palm.
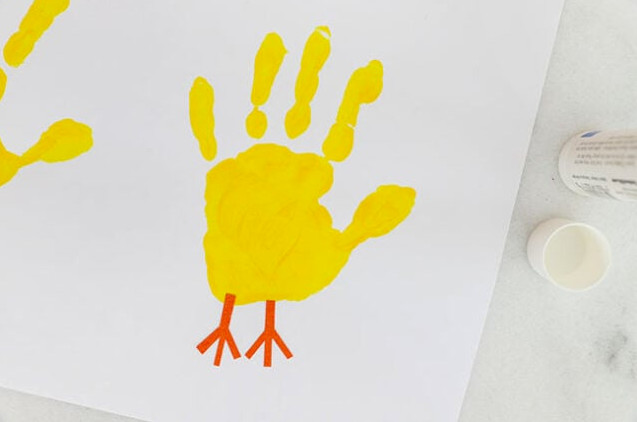
3. Trim the handprint.
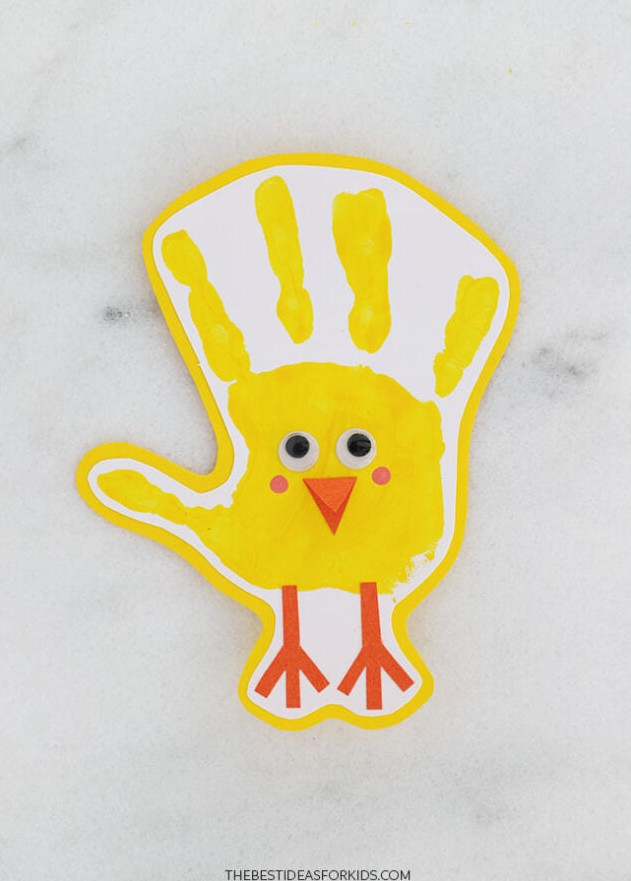
Carefully cut around the handprint, keeping a white outline around both the handprint and feet.
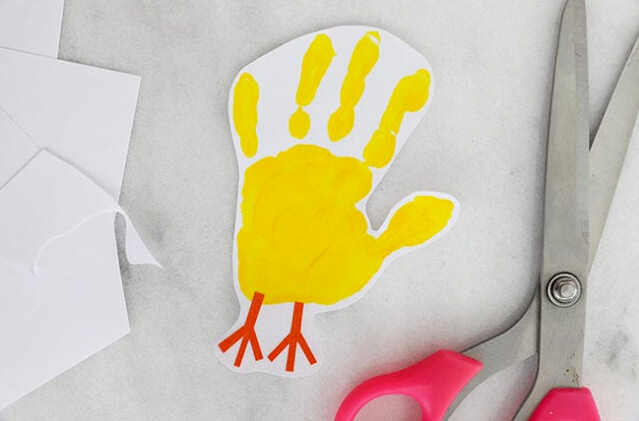
Mount the handprint on yellow paper, cut around it again, and leave a yellow outline on every side.
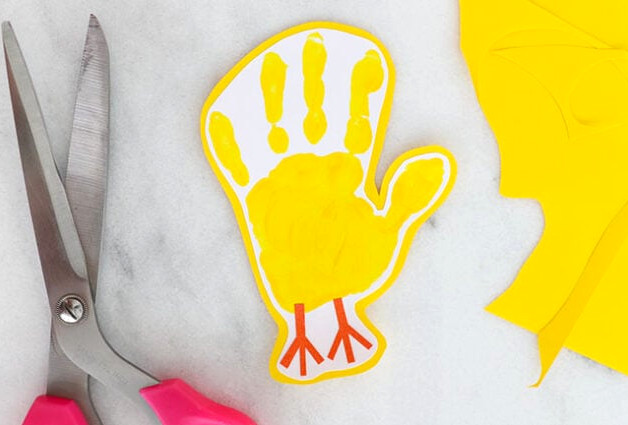
4. Create the face.
Crease the orange beak at the center, then glue it and the 2 googly eyes onto the handprint.
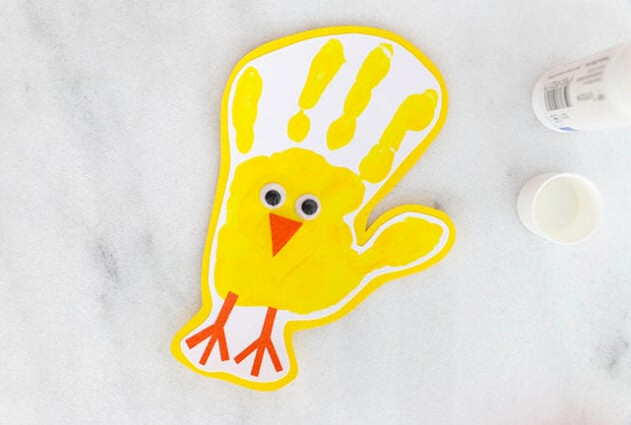
For sweet rosy cheeks, dip a paintbrush handle or pencil tip into pink paint and press one circle on each side of the chick’s beak. Let the paint dry thoroughly.
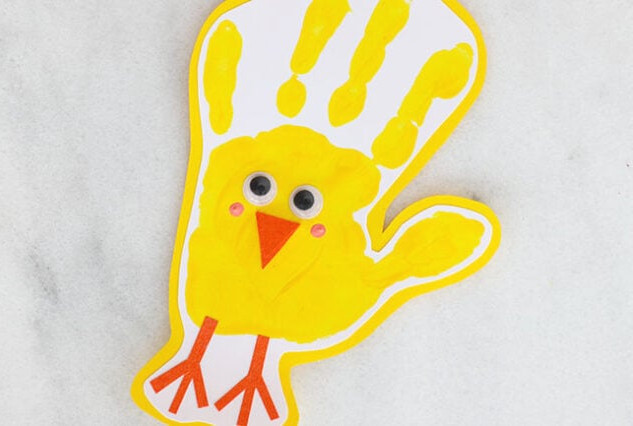
The handprint chick is finished! Create as many as you want, and remember to put your child’s name and the date on the back!