Have some birthday cake left over? Or perhaps you baked a cake that came out slightly dry? This step-by-step guide to making cake pops features simple instructions for transforming any cake into cake pops. Children will enjoy helping prepare these, but the most enjoyable part is eating them as a delightful treat!
RELATED: Making Gummy Bears

Your cake pops do not need to look perfectly bakery-made. Simply enjoy preparing them and savor their tender, gooey centers. In fact, they are quite simple to make. Kids will especially love creating them alongside you—particularly the dipping and decorating steps.

How to Make Cake Pops Round
To create spherical cake pops, you will need foam board to hold them upright, or you can use a cake pop mold. We are fine with making them slightly flat on the base because they are simpler to store that way, and they disappear quickly in our home! However, if you plan to present these as a gift, we suggest using the cake pop mold.
What Kind of Cake Should I Use?
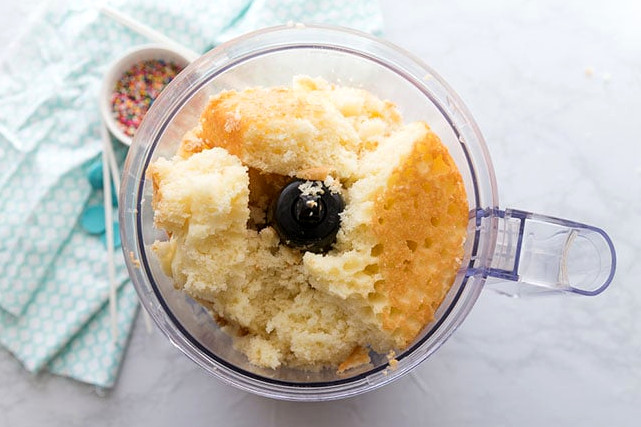
If you have cake remaining from a birthday celebration or another occasion, this is an excellent way to transform it into something different! If your cake did not turn out well and ended up overly dry, it would also be ideal for making cake pops.
You may also prepare a cake using a boxed mix or make one from scratch for your cake pops. No matter which cake you choose, a food processor can be used to break it into crumbs. Without a food processor, your hands work just as well.
How to Melt Candy Coating
Instructions for melting will be provided on your candy coating. This is the stage that requires particular care. Should it become overheated, mix in a little shortening. Set your microwave to its lowest possible power and stir frequently between heating intervals. Before microwaving again, allow the warmth from the candy melts to finish melting them so you can avoid overheating.
Tip: Heat the candy melts for half the time suggested on the package. Stir them, then check whether their own warmth will melt the rest of the chocolate. Since microwave temperatures differ, take care not to overheat the candy melts, or dipping your cake pops into them will not be possible.
-
If you have no remaining dry cake, prepare one following the package directions, then allow it to cool.Process the cake in a food processor until it resembles breadcrumbs. Without a food processor, simply break the cake apart by hand.
-
Combine the cake crumbs with your icing (we used approximately 3/4 of the jar, though you might need to add it gradually until the consistency is right). The mixture should resemble dough without becoming overly sticky from the icing. If it feels too sticky, mix in additional cake; if it is too dry, add more icing.
-
Shape the dough into balls by rolling it between your hands, then set them on wax paper or parchment.
-
Refrigerate the cake balls for several hours to chill.
-
Following the package instructions, melt the candy melts in the microwave. Take extra care during this step. Should they become overheated, stir in a bit of shortening.Set the microwave to its lowest possible power and stir frequently between heating sessions. Before microwaving again, allow the warmth from the candy melts to finish melting them so they do not overheat.
-
Next, dip the candy sticks into the melted candy mixture and insert them halfway into the balls. Let the candy coating set on the cake balls.
-
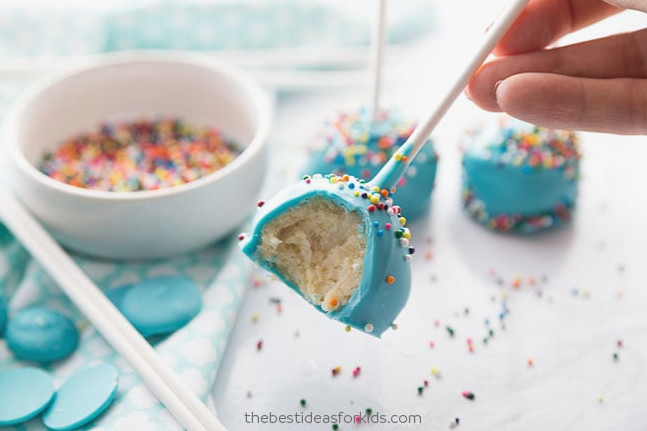
Coat each one in the melted chocolate, allowing any extra coating to run off to one side. Before the chocolate sets completely, you may add sprinkles as well. If you want perfectly round cake pops, place them in a cake pop stand while they dry.
Additional Recipes
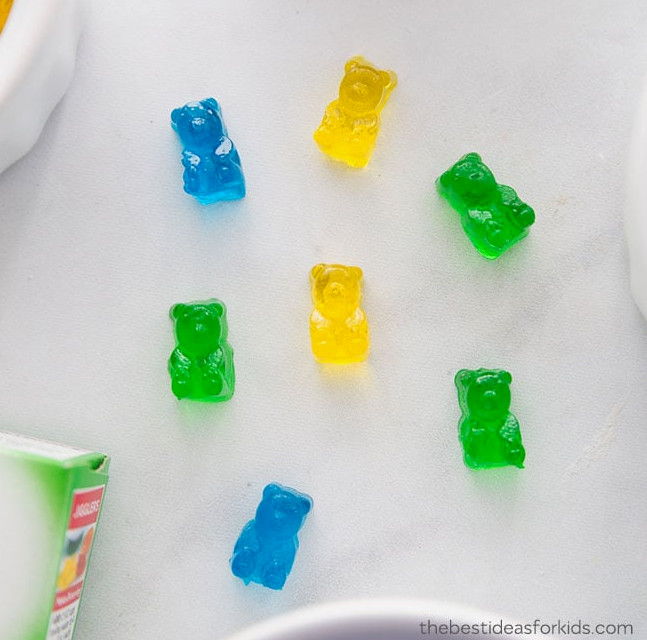
For another wonderfully simple treat to prepare with children, give this easy gummy bear recipe. a try.
Kids especially love helping us prepare this ice cream in a bag treat!