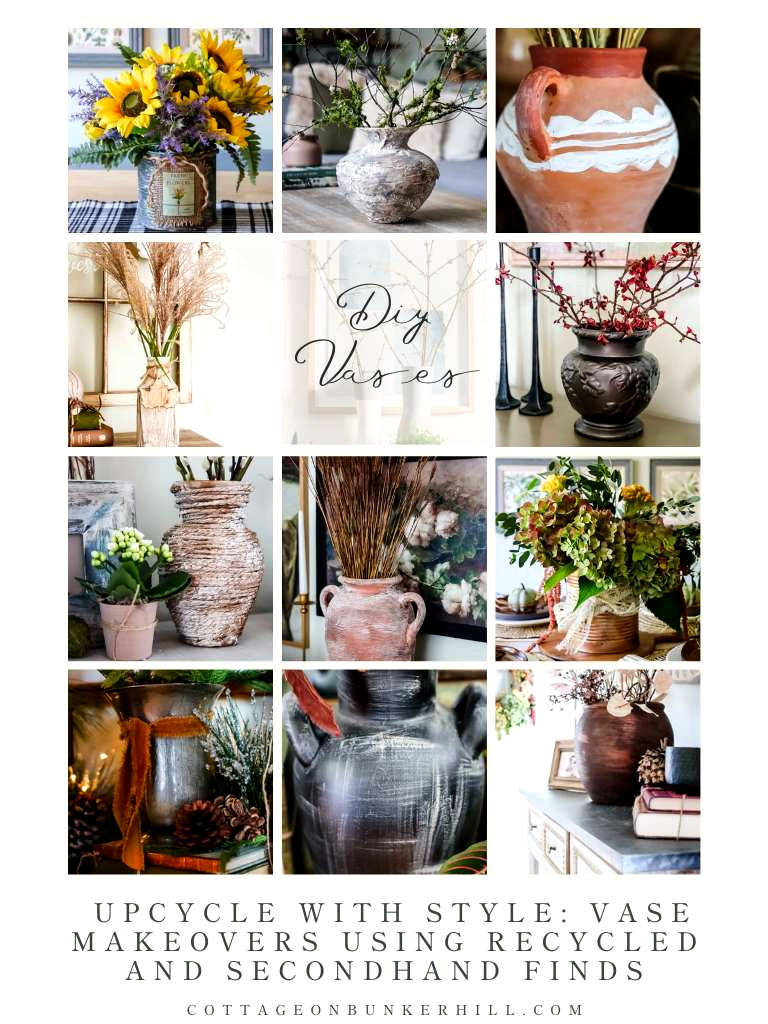
Move beyond mass-produced decorations and welcome the appeal of something distinctive! This roundup of DIY vase transformations highlights creative upcycling, turning thrifted and repurposed items into colorful focal points and fashionable decorative touches.
These affordable projects have an idea for every style and skill level. Refresh forgotten pieces and showcase your imagination while enjoying the process of revamping a thrift shop treasure.
DIY Vase Transformations: Repurpose & Reuse
If you’re anything like me, you admire the appearance of those designer vases showcased in beautiful catalogs! However, I’m not prepared to spend $100 on a vase!! That’s why I began giving thrift-store vases—and even objects destined for the recycling bin—a stylish second life.
Today, I’m sharing 13 of my favorite vase transformations, each featuring a different look to complement various decorating styles. Let’s get started!
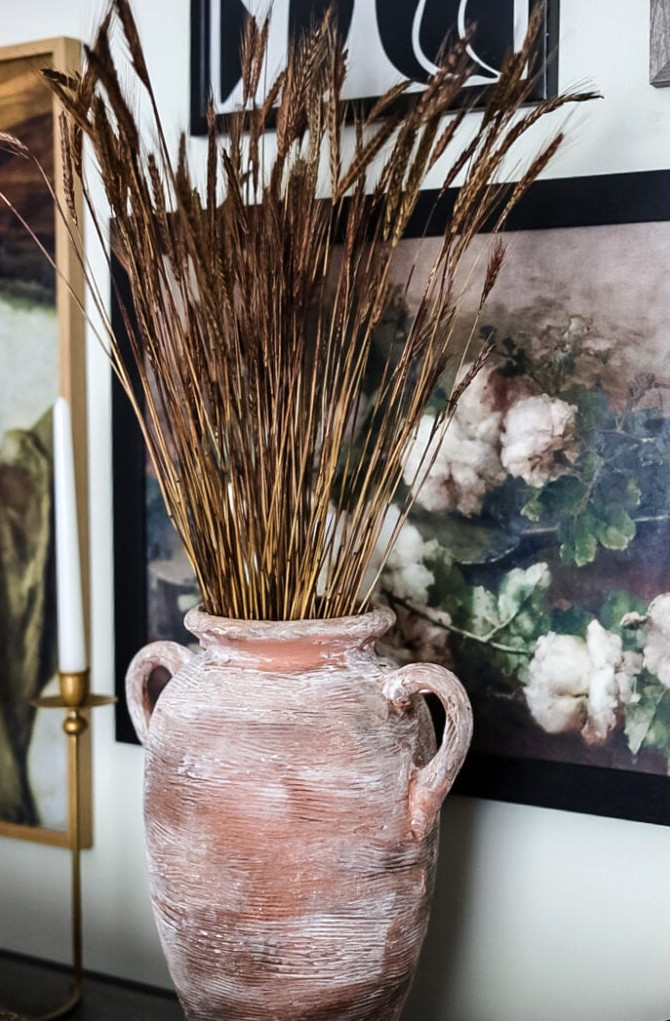
Of all the vase projects I’ve completed over the years, this makeover remains my favorite. At a flea market, I noticed a big, unattractive vase sitting on the ground and bought it for just $5! Standing about 2 feet tall, it makes an ideal statement accent for a shelf or tabletop.
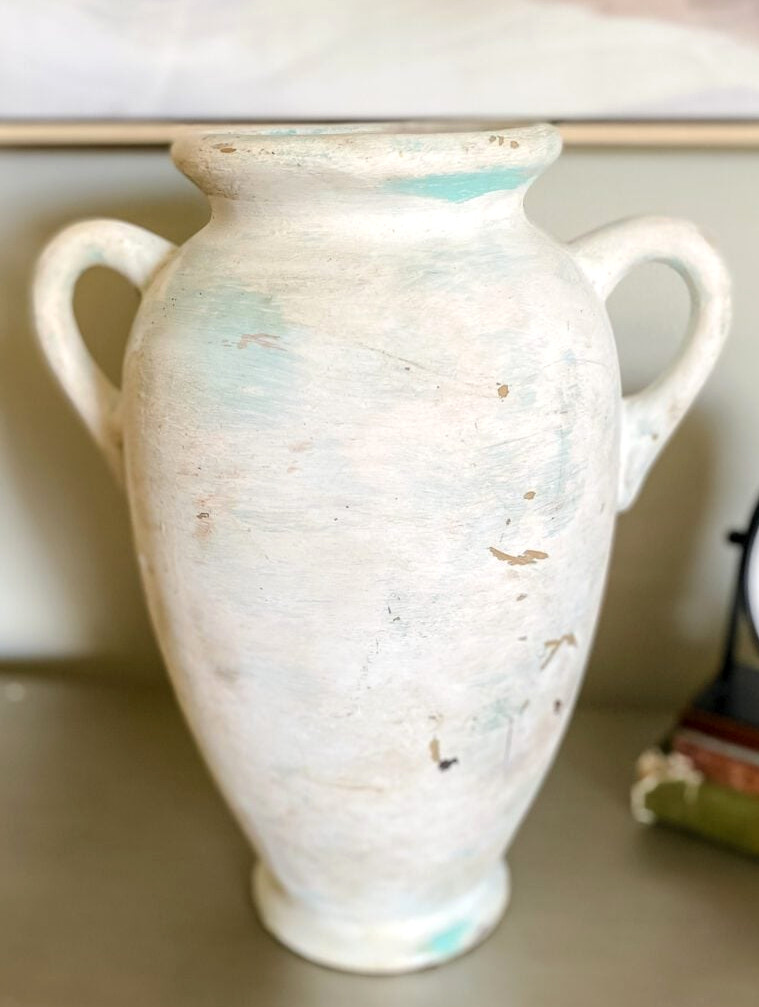
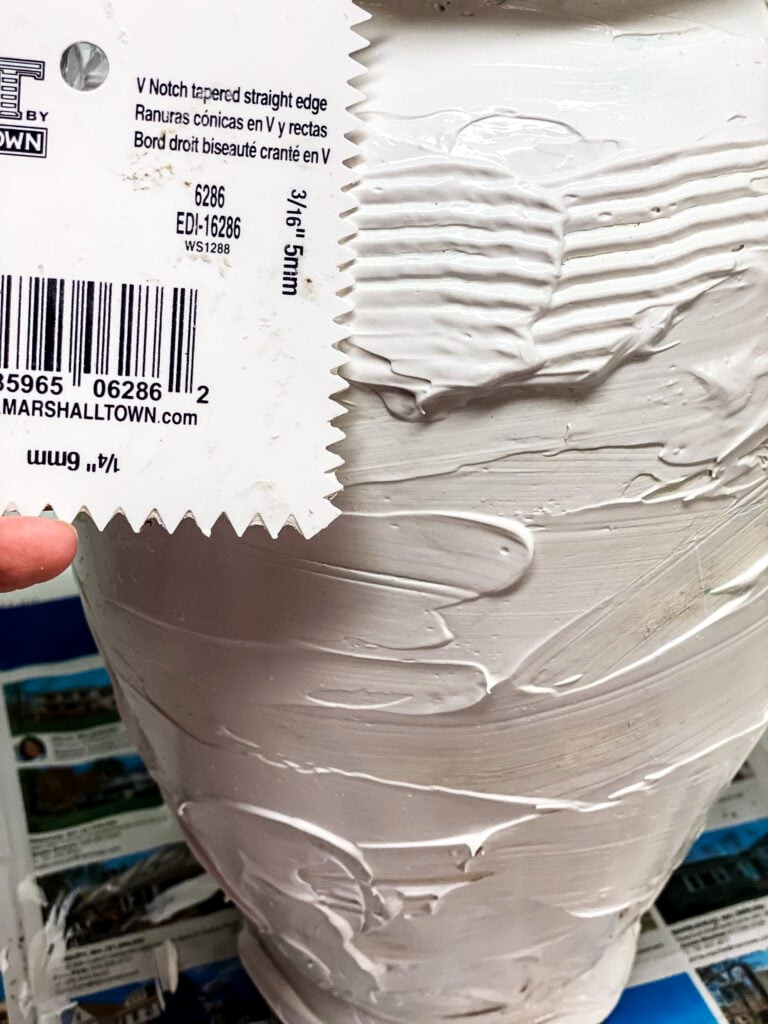
With one of my favorite DIY materials—joint compound—I created an eye-catching texture, then applied terracotta paint and a Saltwash glaze for a soft, chalky finish.
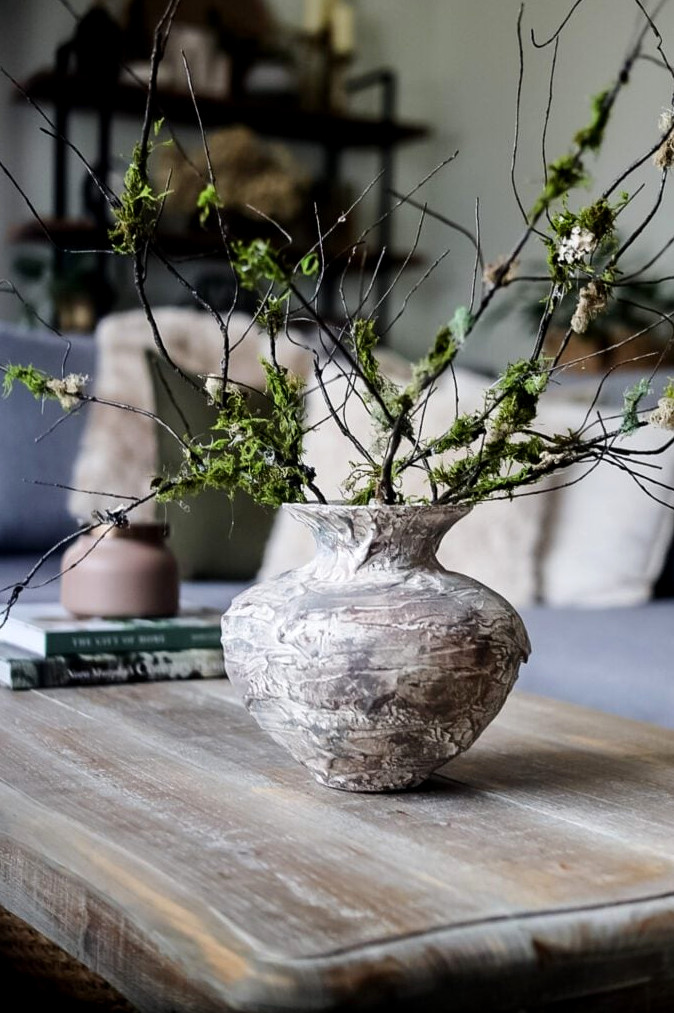
When browsing thrift shops, watch for glass vases with unusual silhouettes. The design of this one brought to mind the vases I had admired in the Pottery Barn catalog.
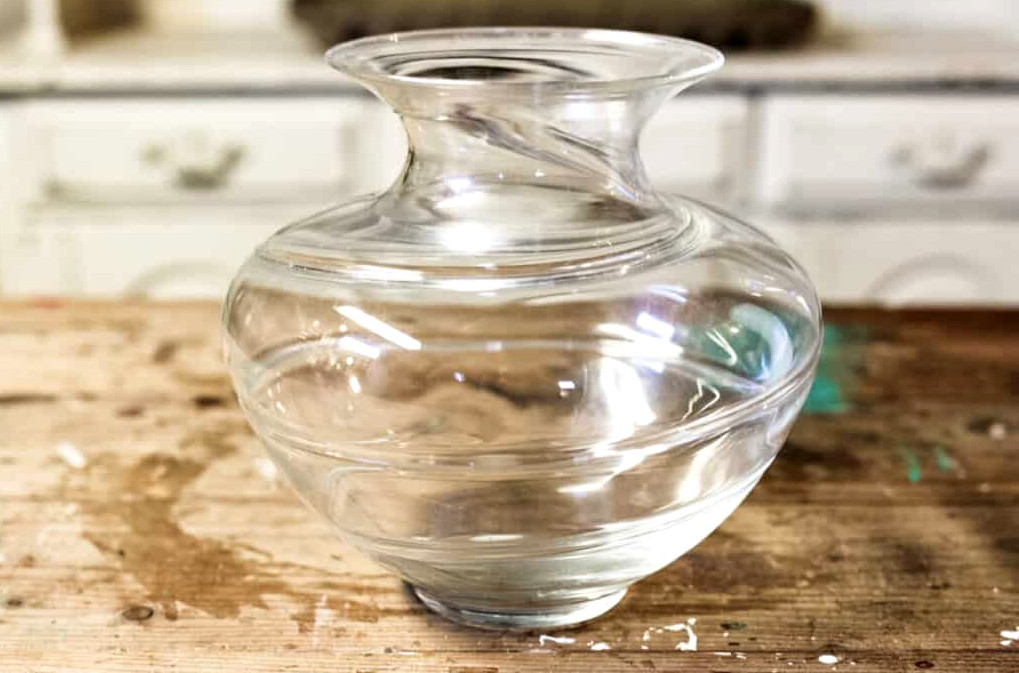
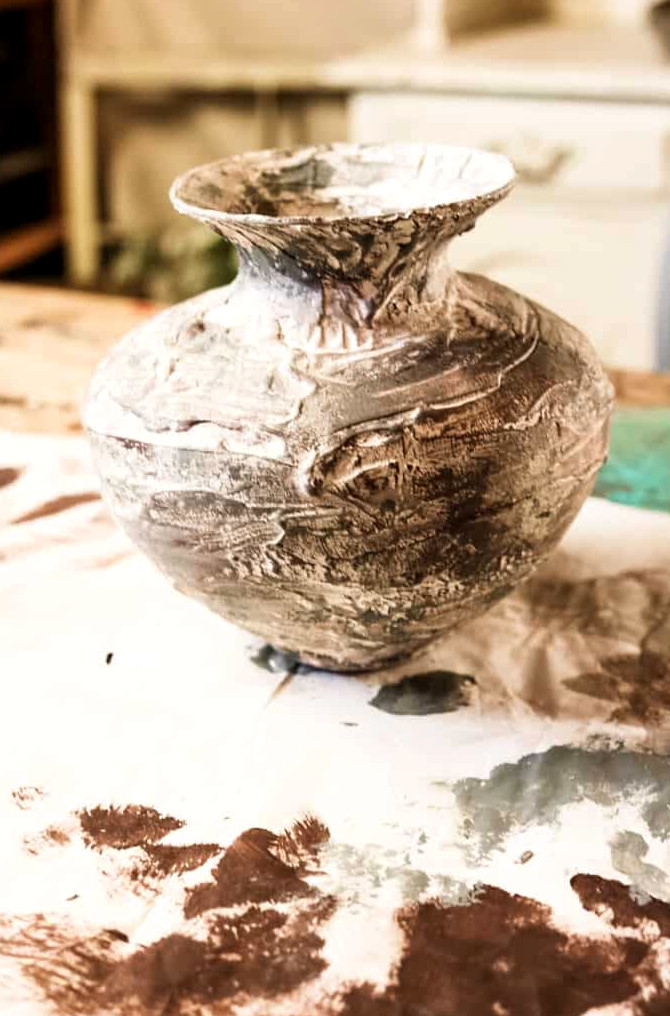
Discover how I transformed a glass vase to resemble weathered pottery. It remains the most visited vase project on the website.
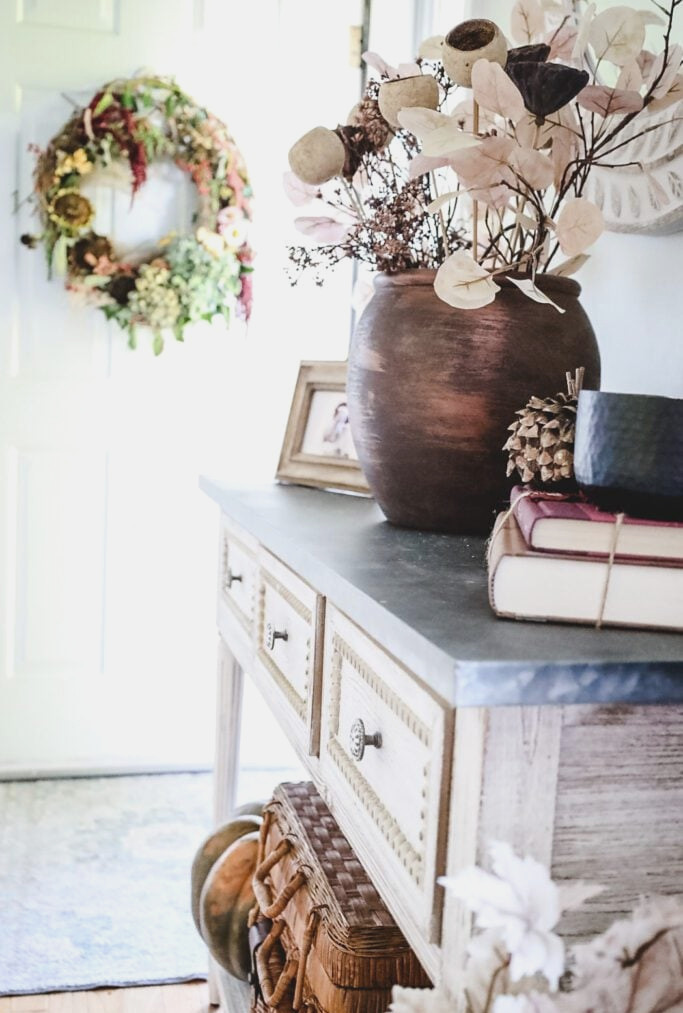
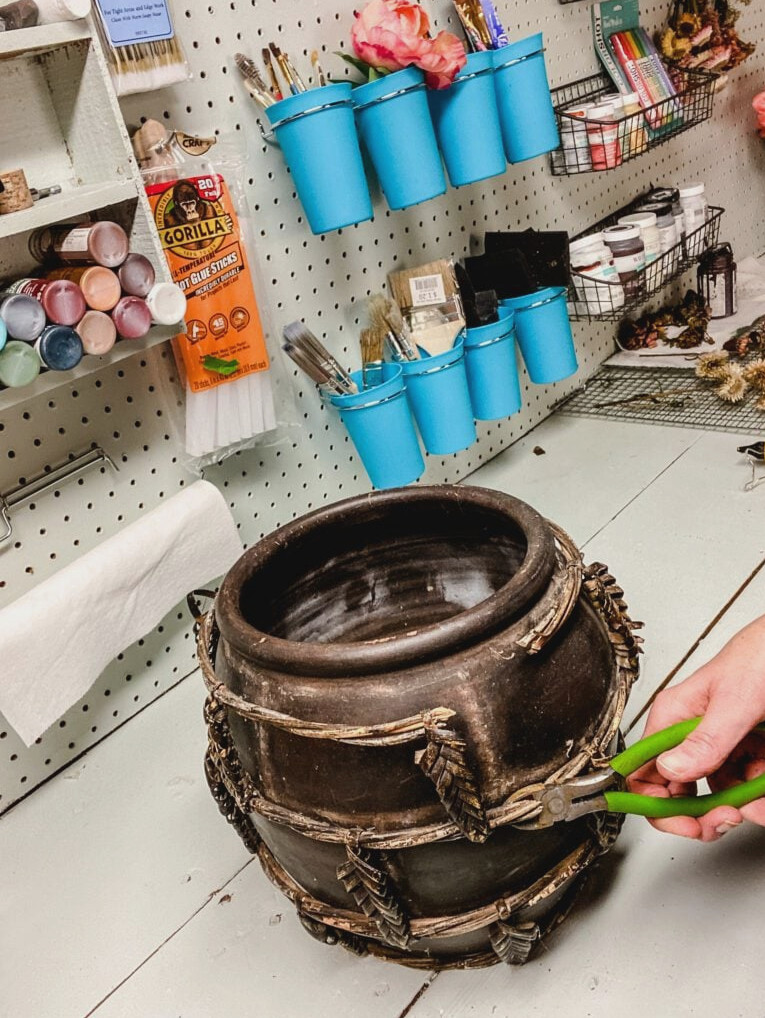
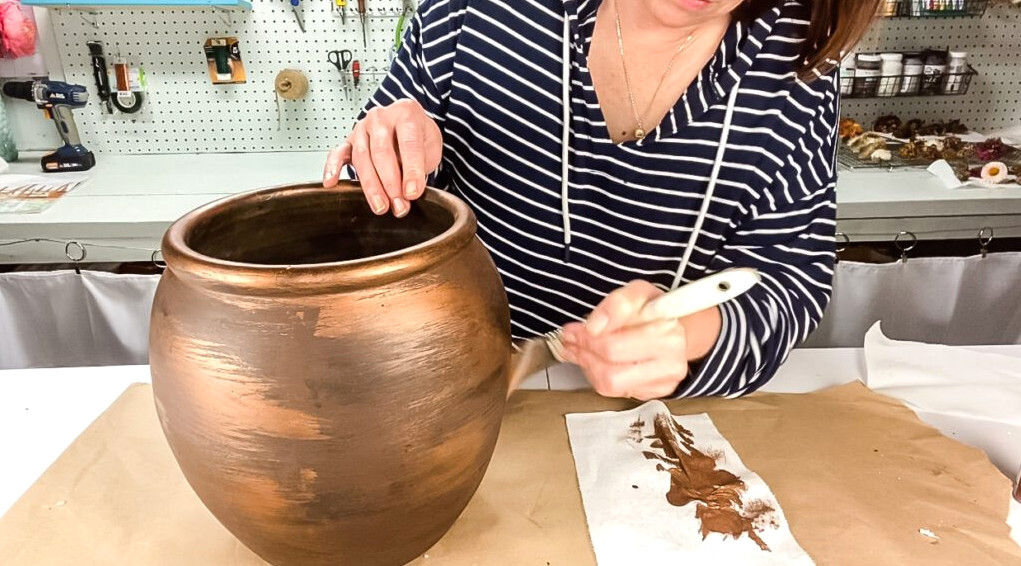
Never judge a thrift-store piece solely by its exterior and pass it up! While browsing one day, I came across a big, fairly unattractive planter. I nearly ignored it, but its shape was wonderfully appealing.
DIY Faux Mercury Glass Vase
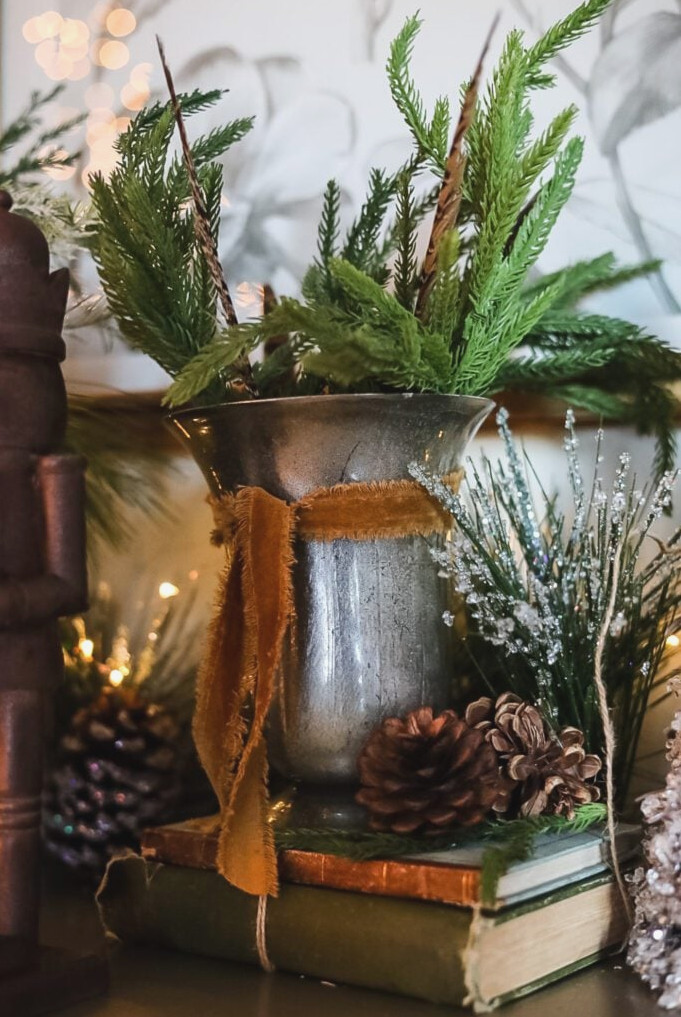
To create DIY mercury glass pieces, you need mirror paint. Several brands are available, but I chose Krylon Looking Glass Paint.
To achieve the reflective finish with this specialty paint, spray it onto the inside of your project.
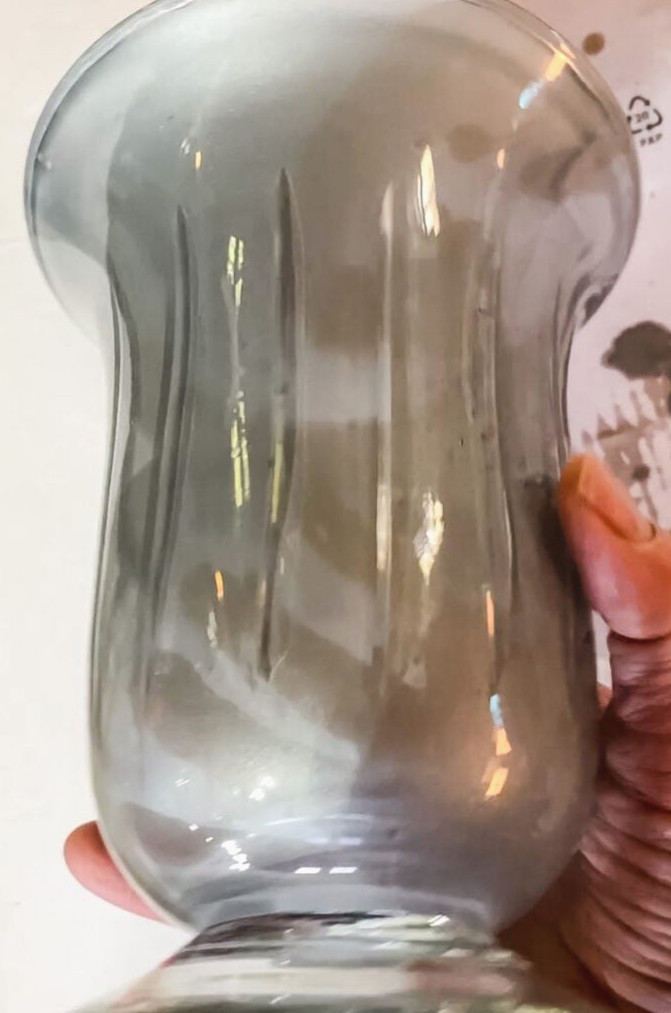
The reflective paint is very thin—almost like water—which is completely normal. Spray it inside the vase, then rotate and gently swirl it in your hand. As it shifts, the paint will cover the interior glass.
It dries rapidly, and the mirrored finish becomes more pronounced while drying.
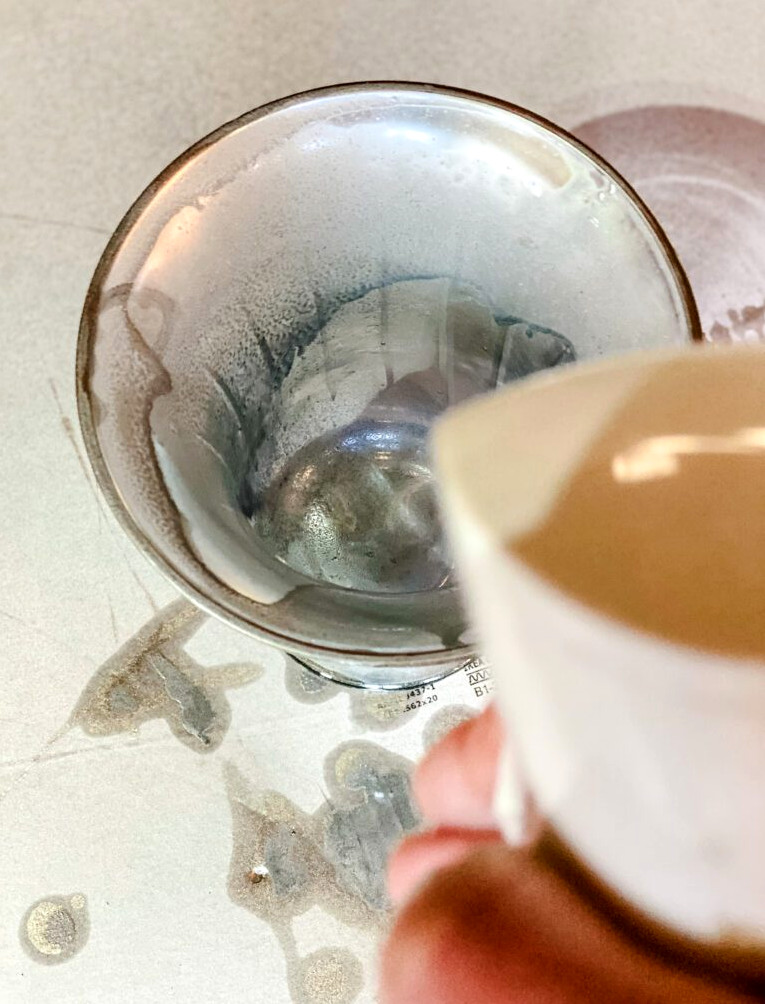
While the looking glass paint was still wet, I misted the vase’s interior with a 50/50 mixture of vinegar andamp; water.
As it settles, the droplets produce the distinctive bubbled mercury glass appearance.
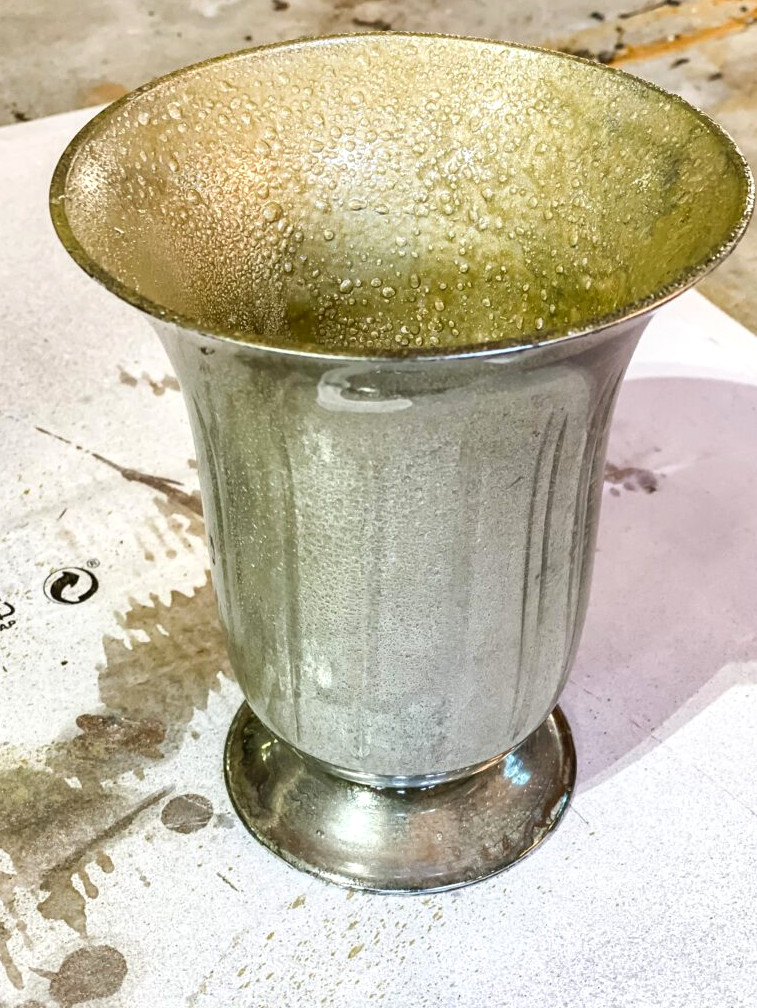
Next, I sprayed gold paint over the damp vinegar & water mixture. I used Krylon Hammered Gold because it was available, though any gold spray paint should do.
After the vase has dried, the beautiful mercury glass finish will appear. Isn’t it lovely? It’s incredible how paint can completely refresh an item!
Instructions:
A Quick Thrift Store Refresh
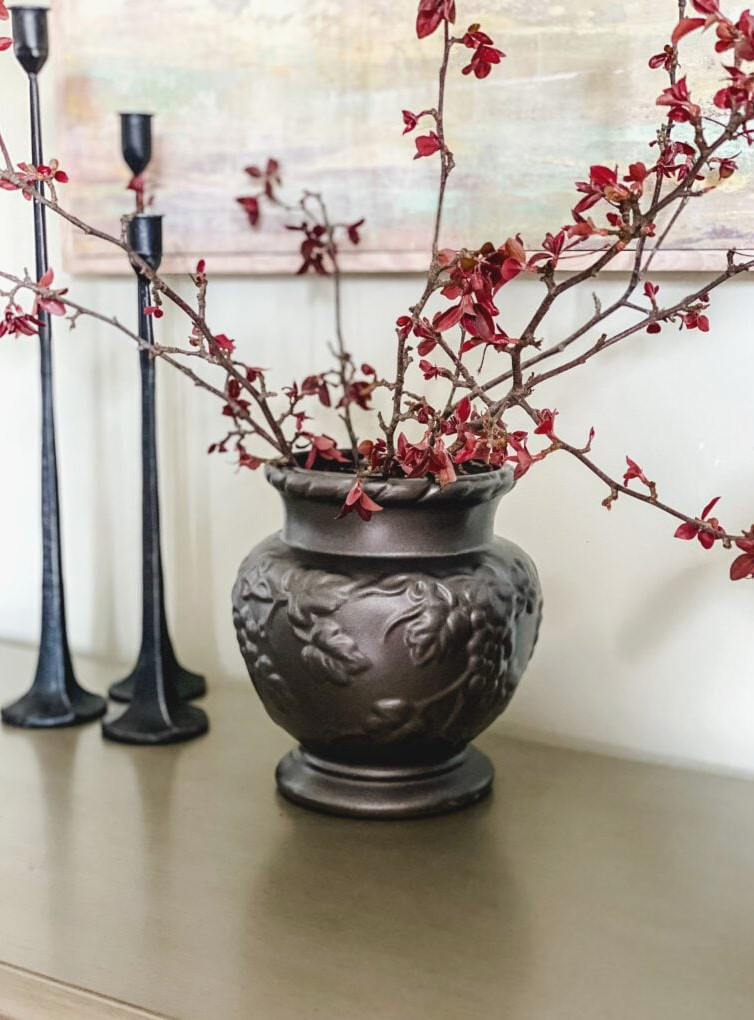
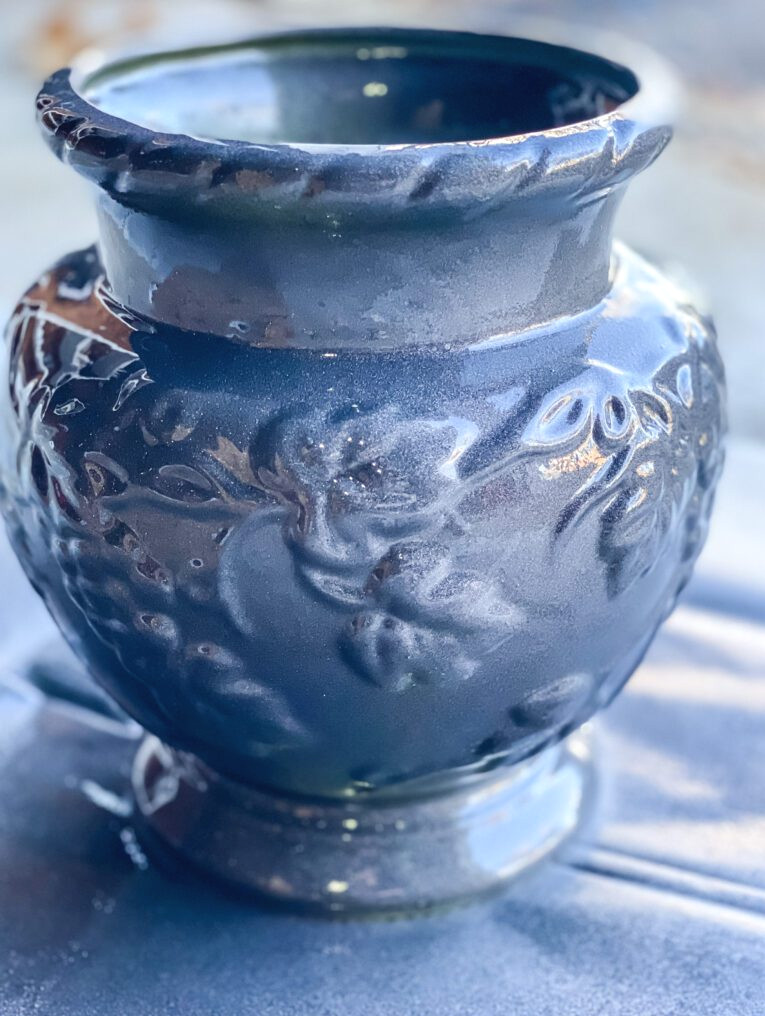
This upcycle was incredibly simple! You only need a can of paint.
For this makeover, I chose one of my go-to products: Rust-Oleum Universal Metallic Spray Paint in ‘Flat Soft Iron’.
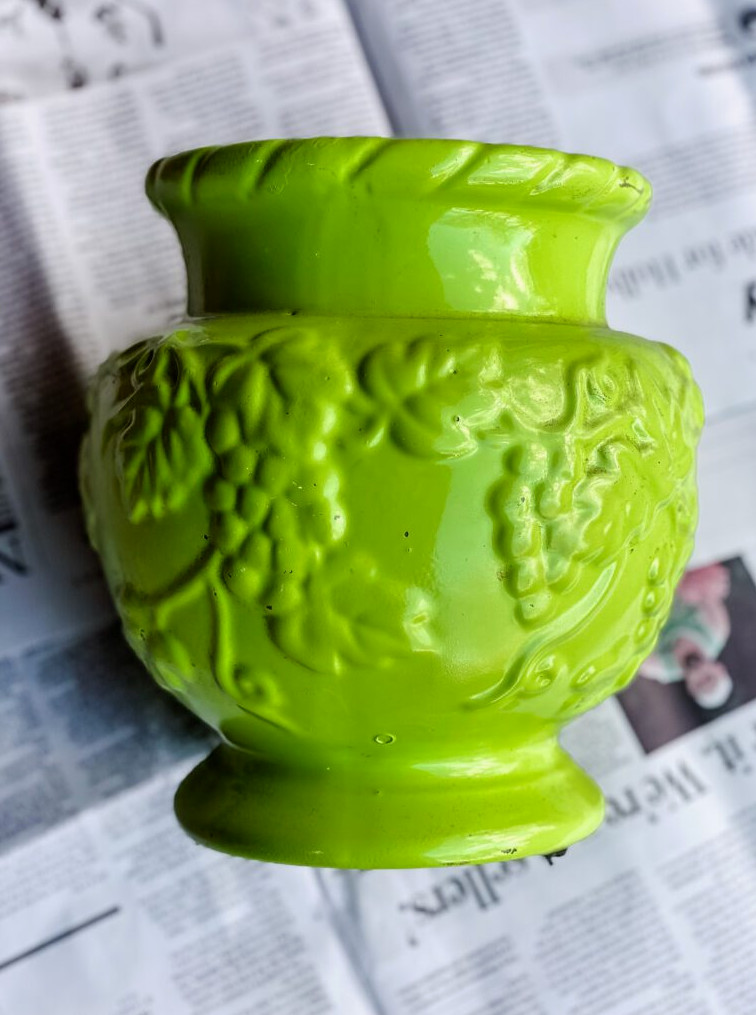
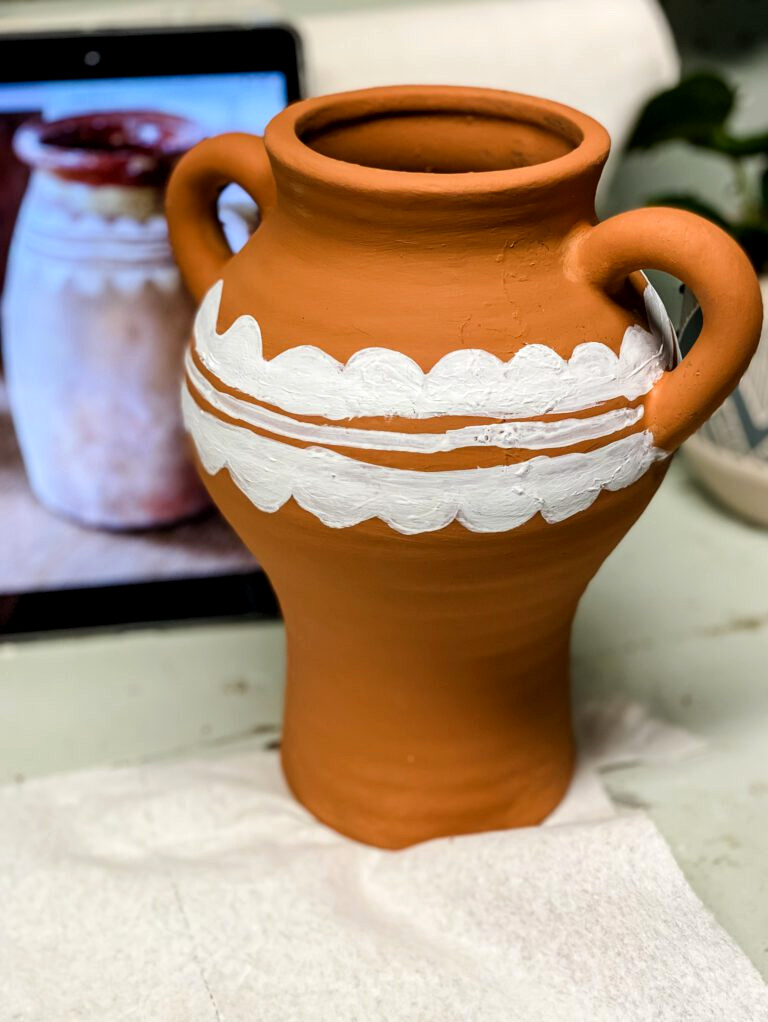
Create Your Own Pottery Replica
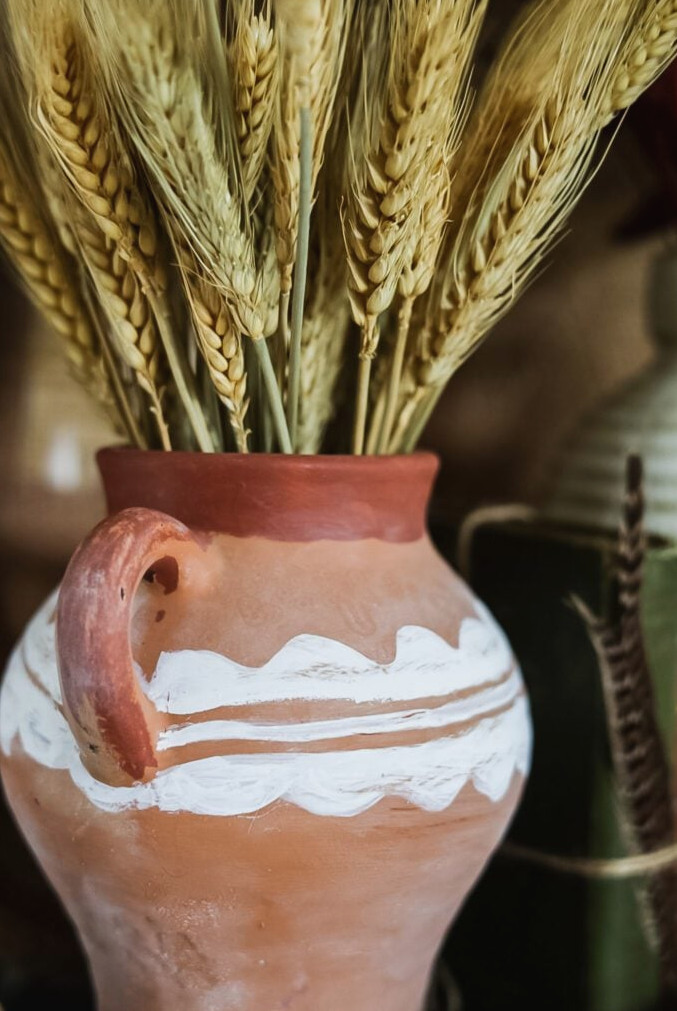
A little paint completely revamped this thrift store treasure! Although this DIY includes a hand-painted detail, you certainly don’t have to be an artist to try it!
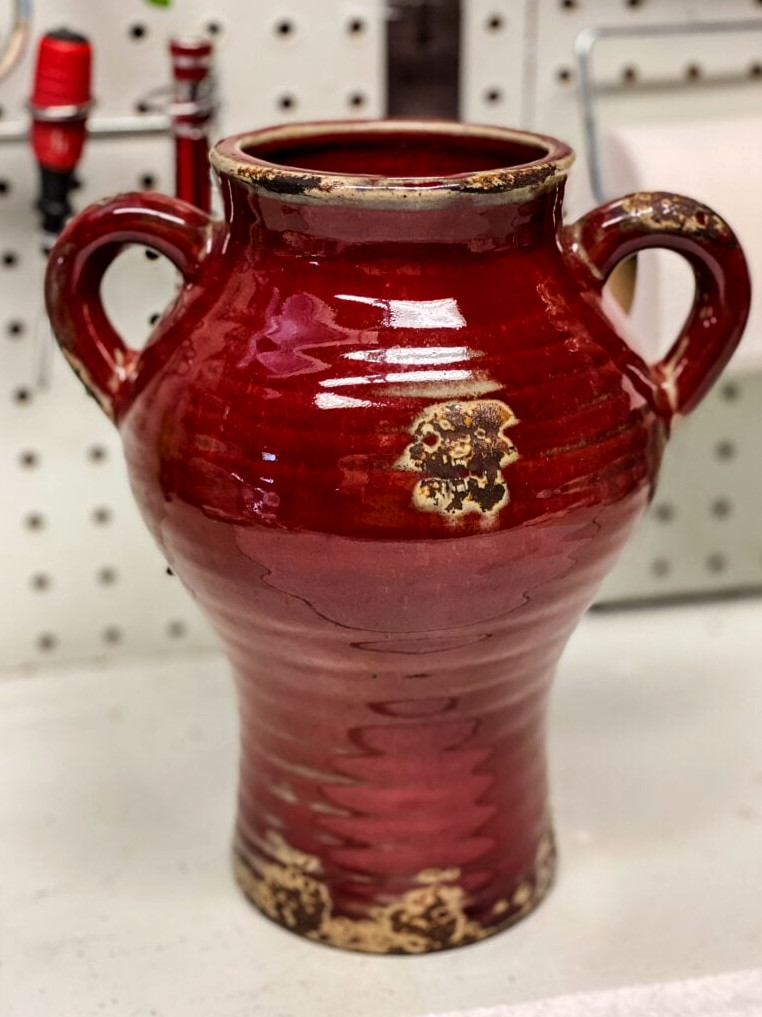
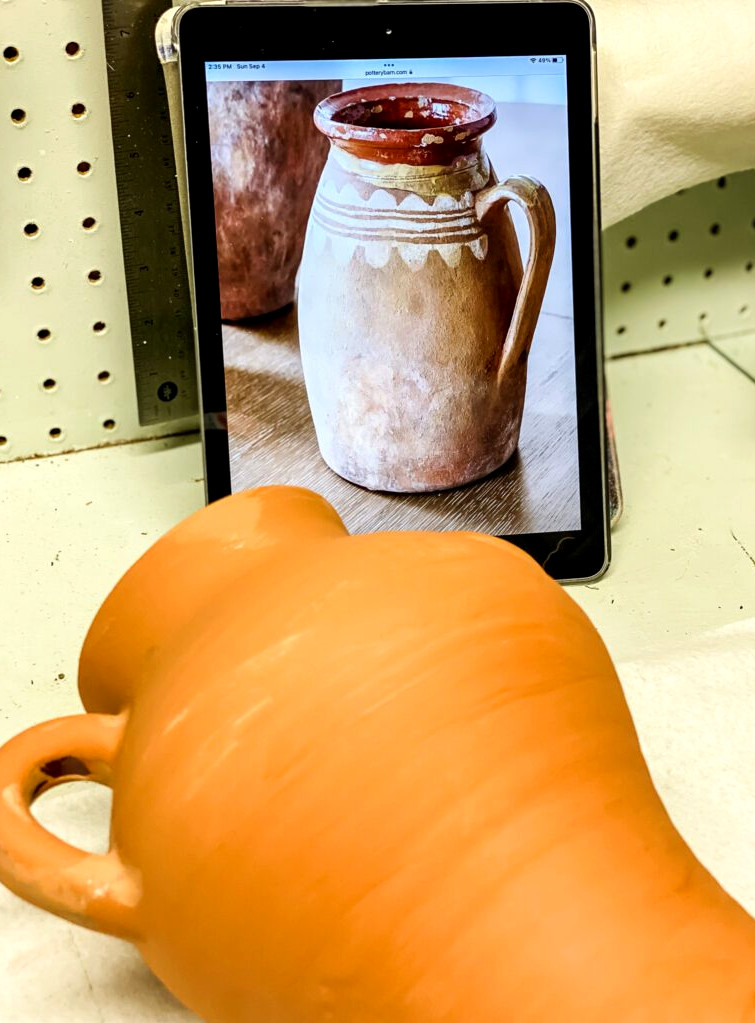
The vase’s original form was wonderful, yet its glossy red finish looked incredibly outdated. Whenever I come across a vase with handles, I pick it up since they’re ideal for repurposing projects.
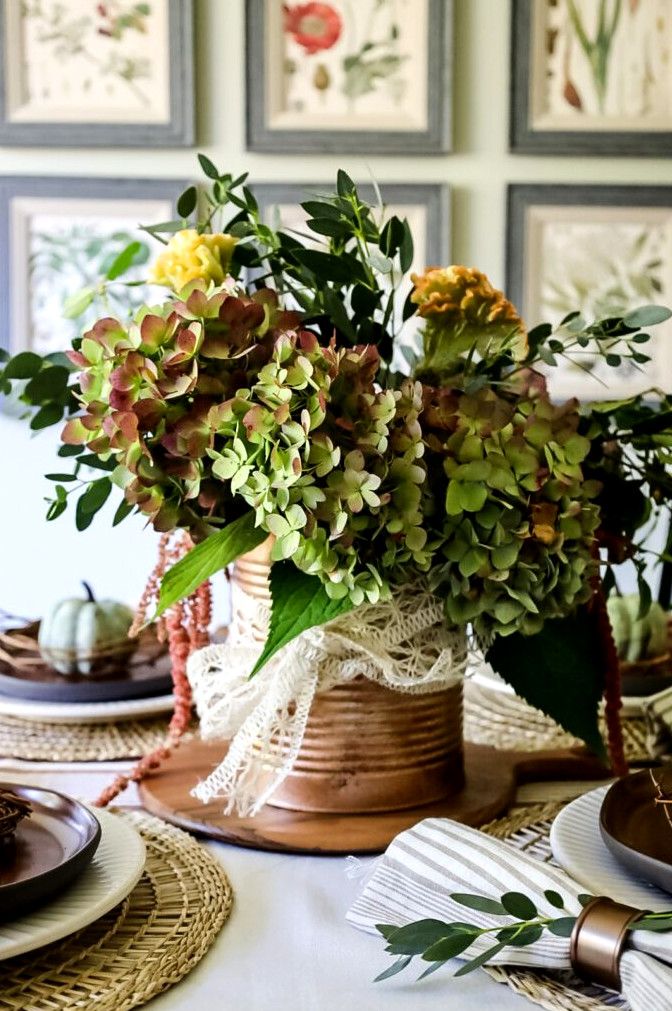
Here’s a creative recycling idea! Rather than tossing out those food cans, keep one and turn it into a charming “vase” for your table.
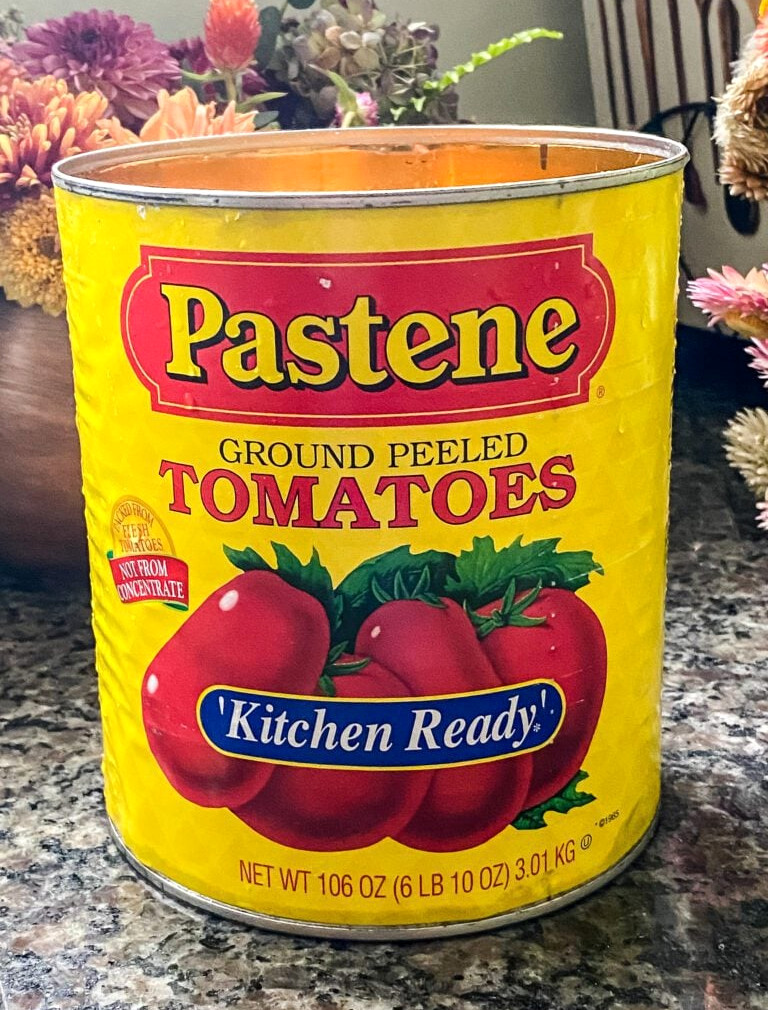
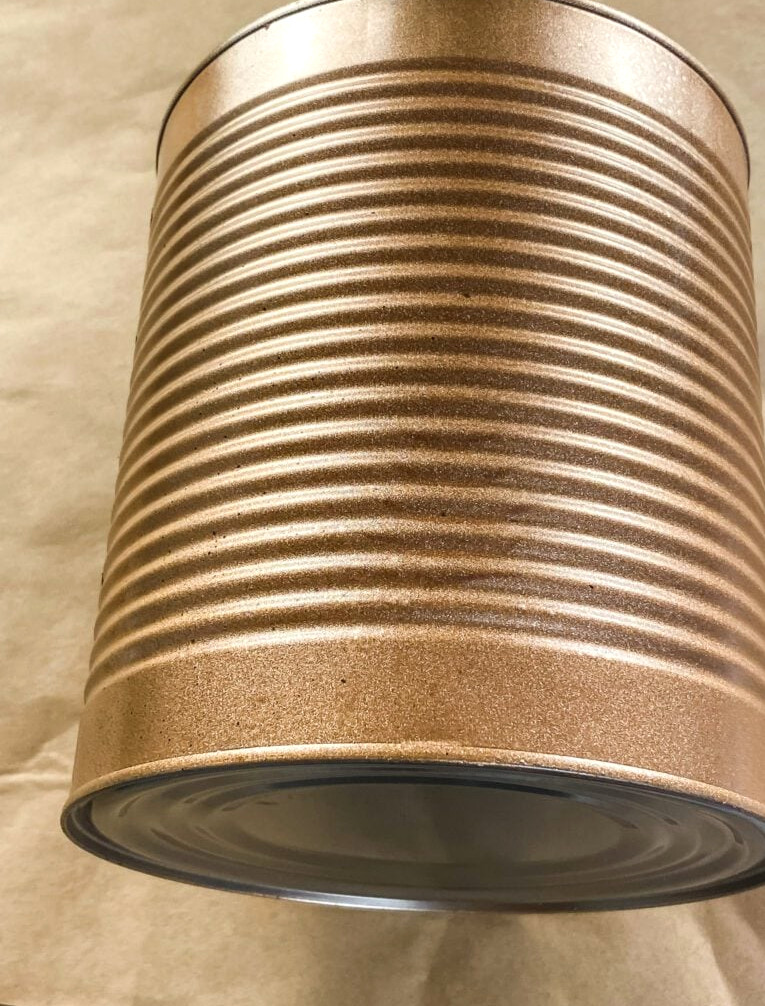
This idea suits either petite cans or bigger ones. Keep in mind that you’ll have to place a glass of water inside the can for the flowers, since the metal will eventually rust.
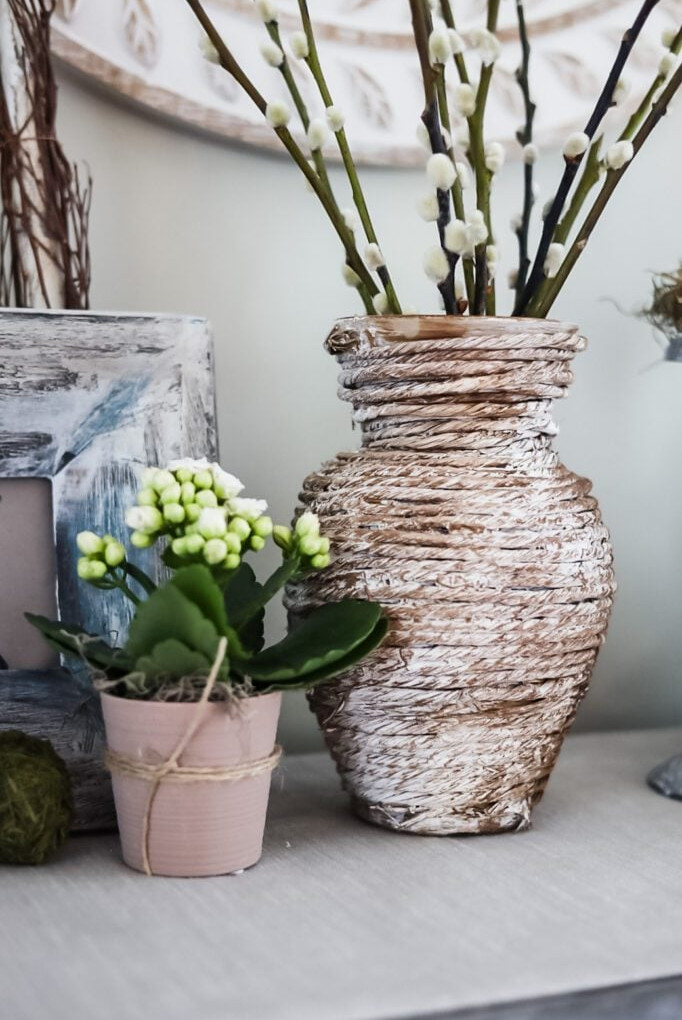
This DIY concept popped into my head unexpectedly! While styling my entryway table for Spring, I wanted a vase with a rustic character, but I didn’t have the look I was seeking.
Whenever inspiration appears, I add glass vases from the thrift store to my collection!
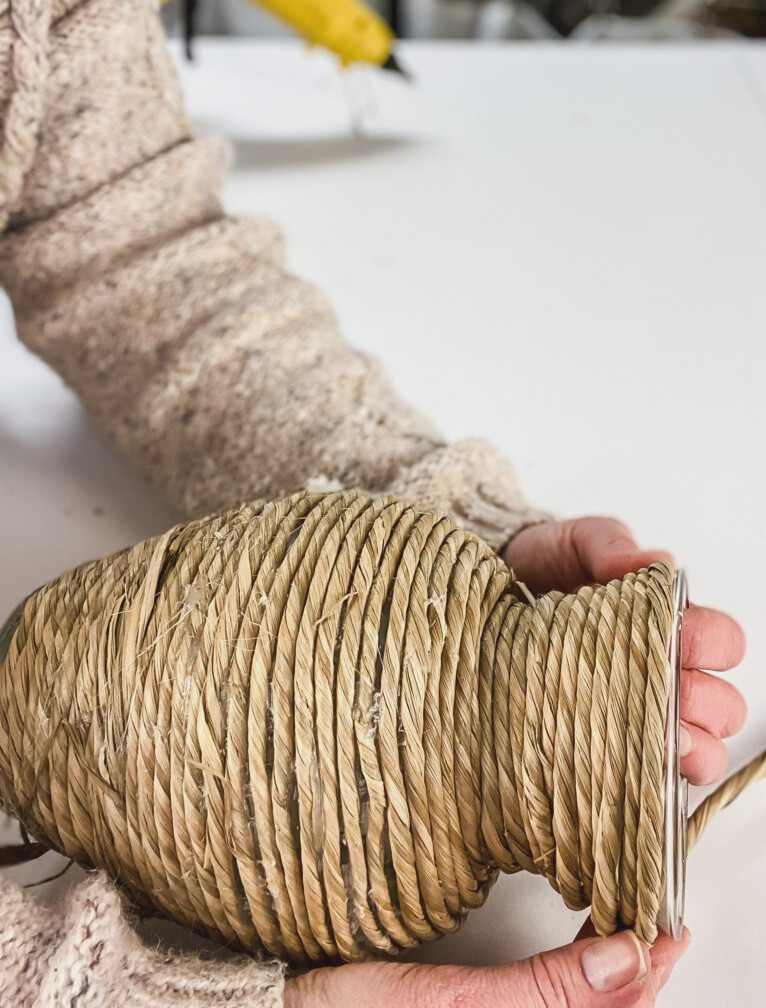
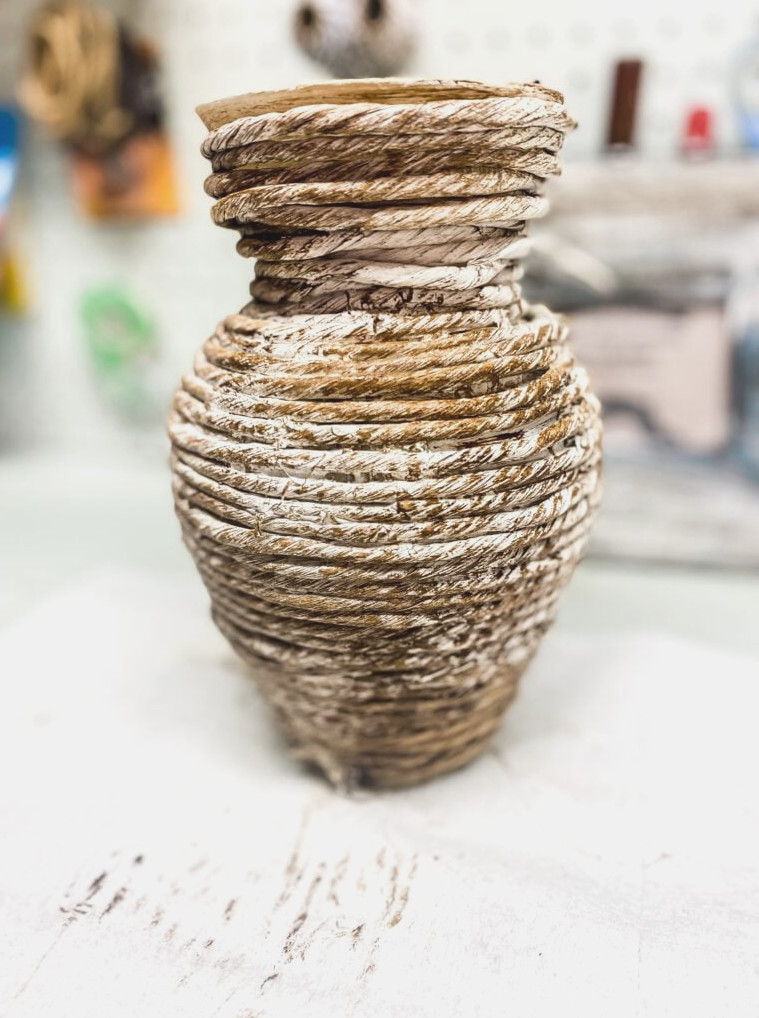
I simply secured twisted seagrass around the unadorned glass vase with hot glue to hold the rope in place.
After finishing, I lightly brushed it with white chalk paint and then applied antique wax to create a rustic appearance.
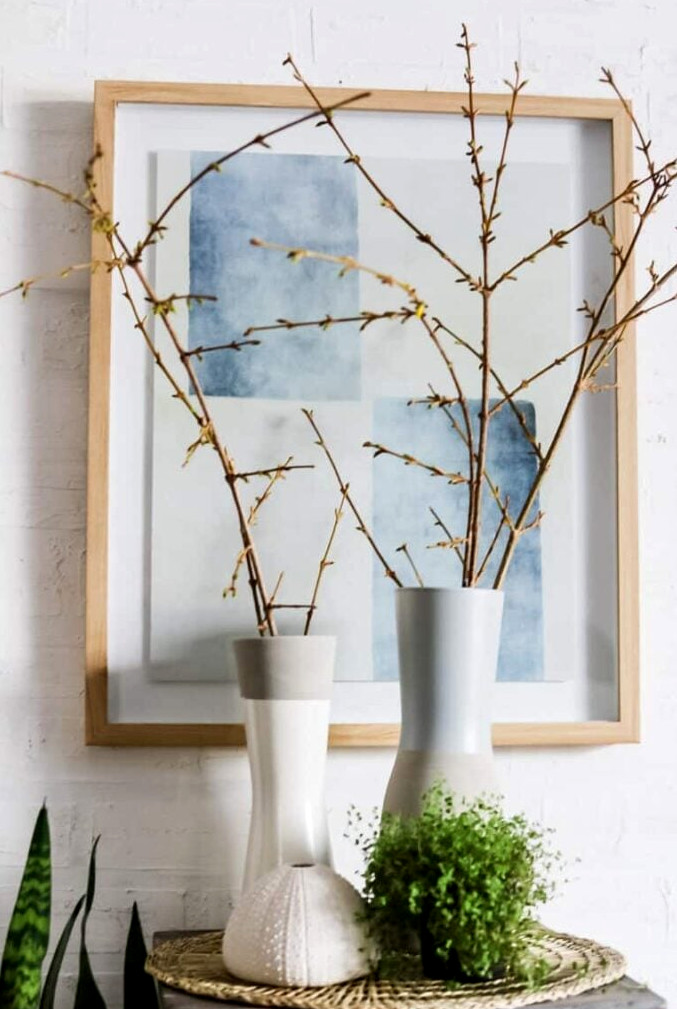
Transforming this thrift store vase set was enjoyable; textured paint and a two-color finish give them a contemporary feel.
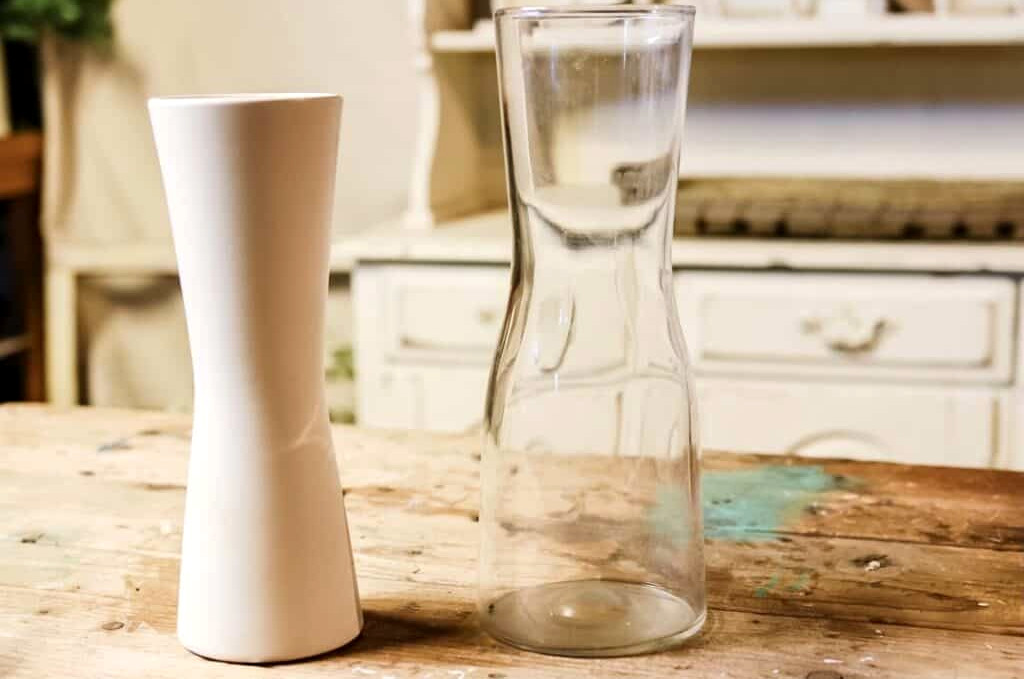
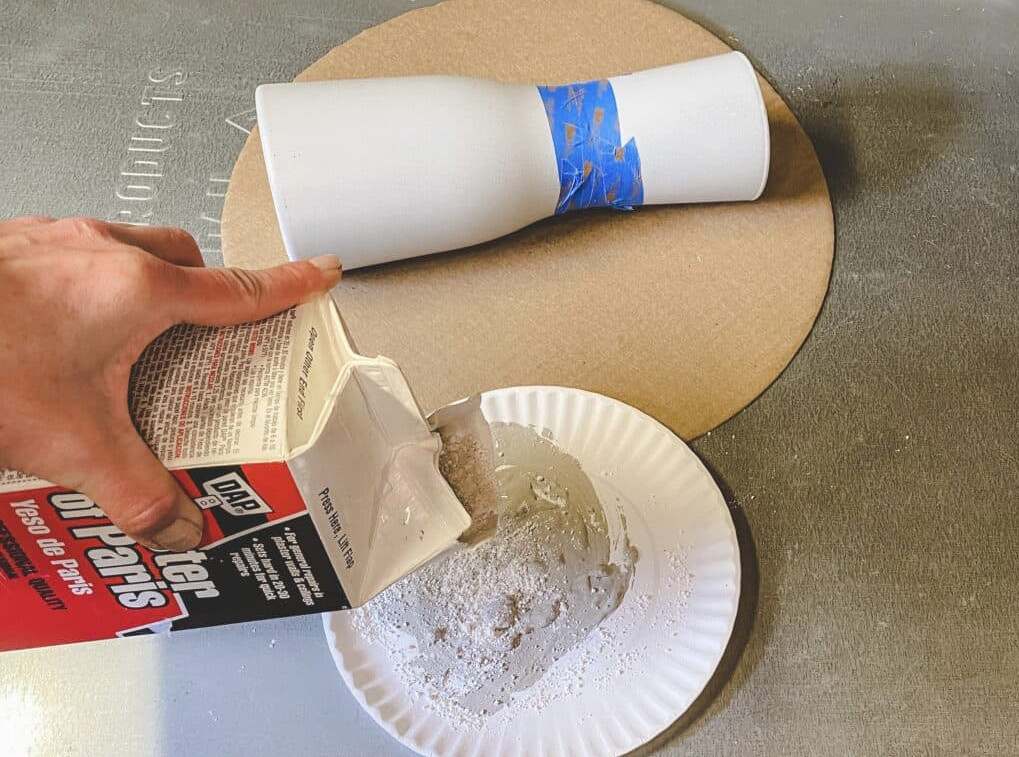
Making textured paint at home is simple. Just combine either Plaster of Paris or baking soda with your acrylic or chalk paint. Apply the mixture to your vase as usual, but work swiftly with the plaster since it sets quickly.
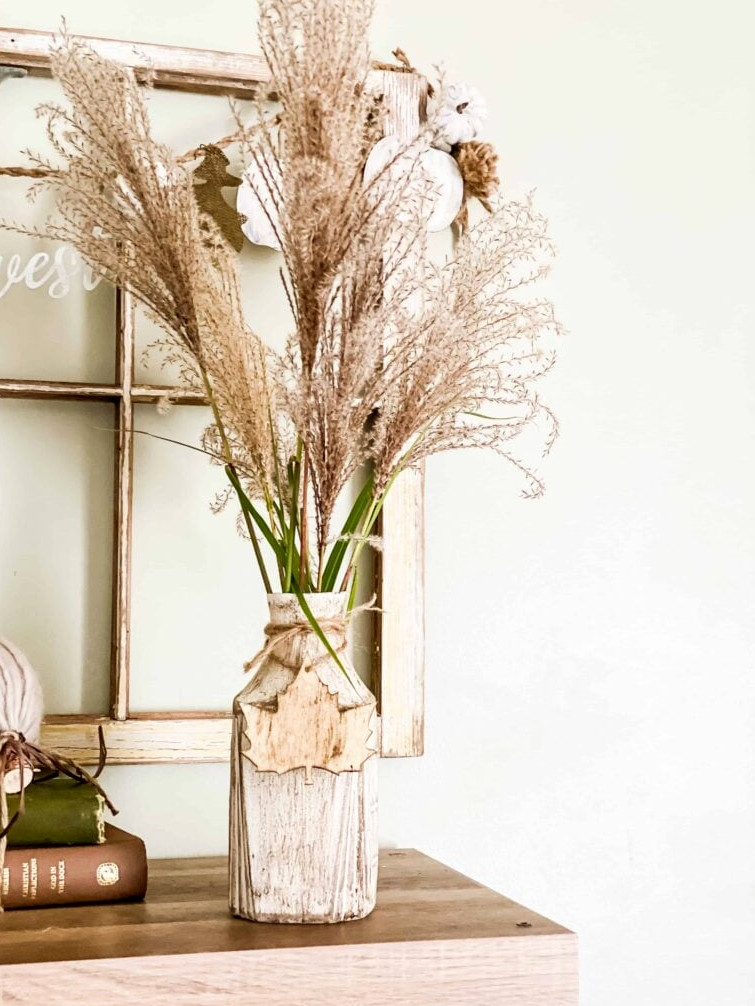
Here’s another creative way to recycle! Keep an empty plastic bottle from juice, lemonade, or iced coffee and transform it into an environmentally friendly vase.
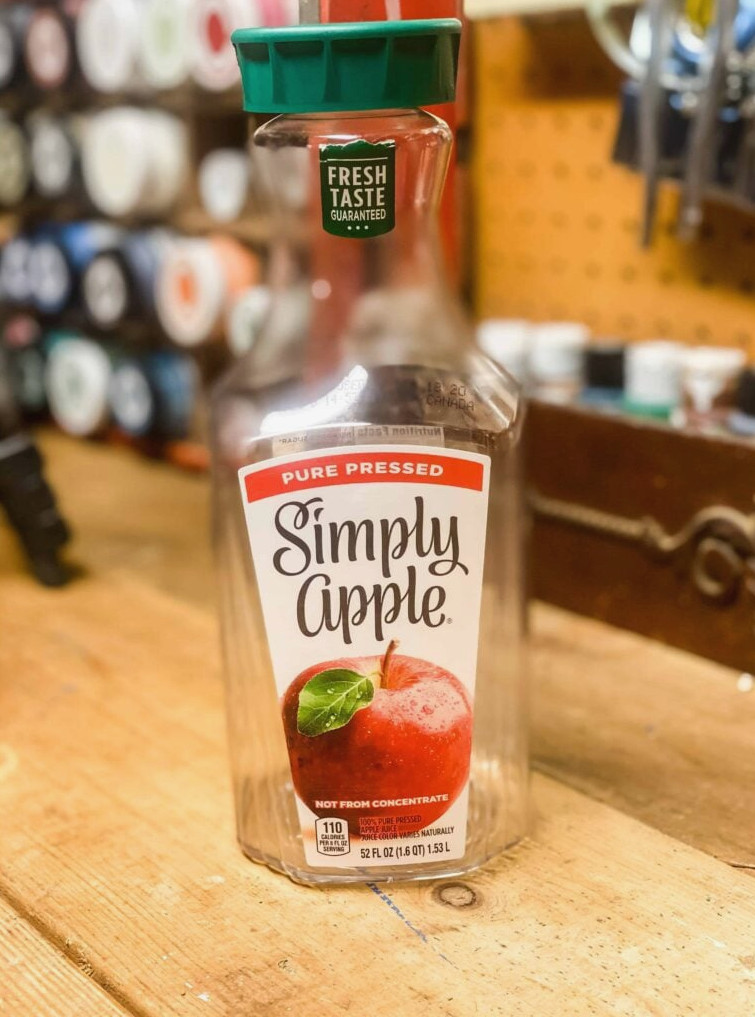
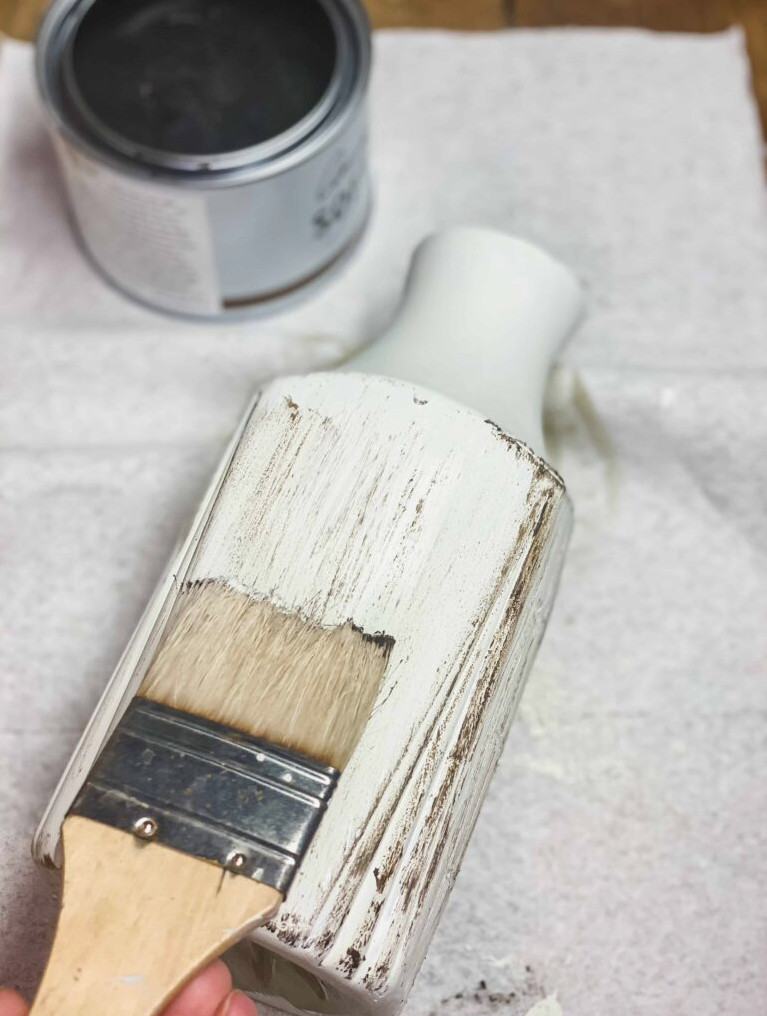
With a bit of paint, it becomes a vase that makes you say, “I can’t believe that’s plastic,” ideal for showcasing pampas grass or blooms.
Rustic Craft
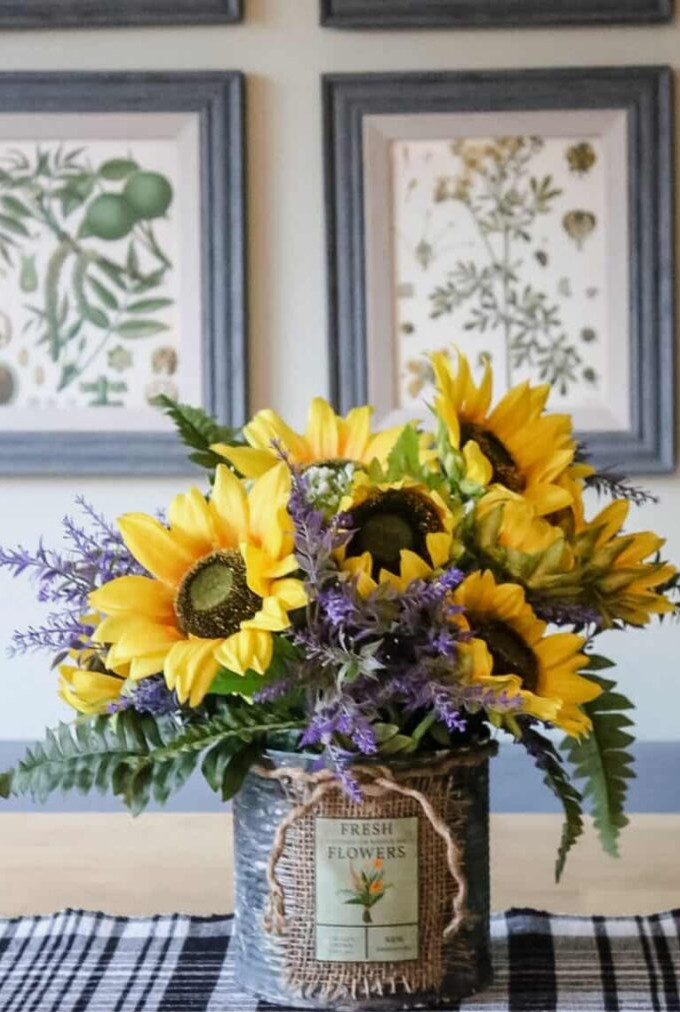
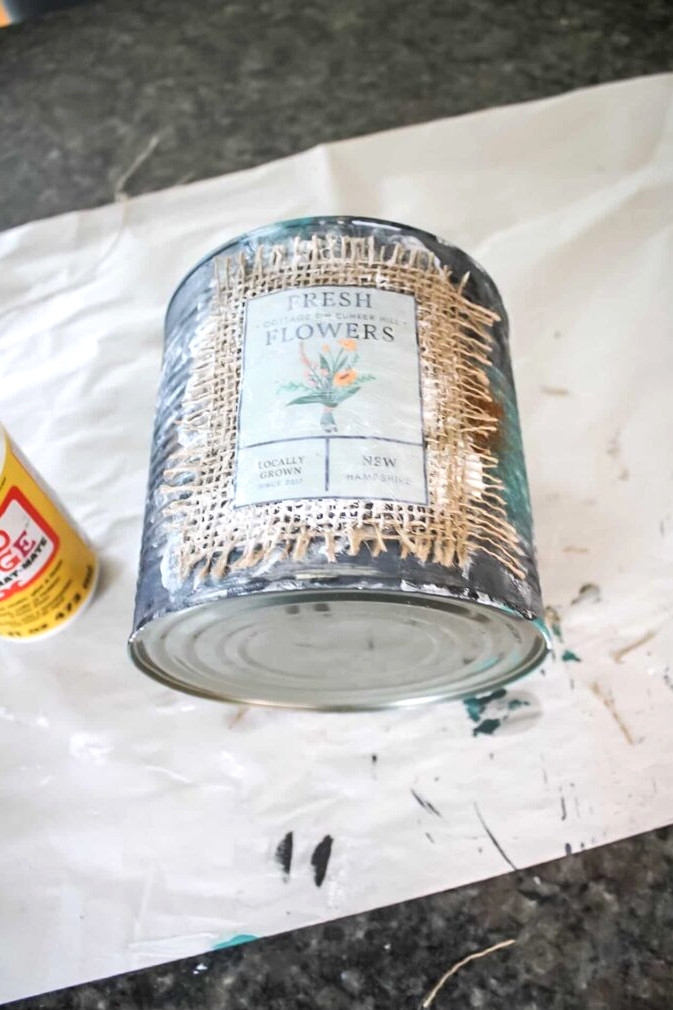
I’ve created another tin can vase…since I’m constantly purchasing huge cans of tomatoes for making sauce!
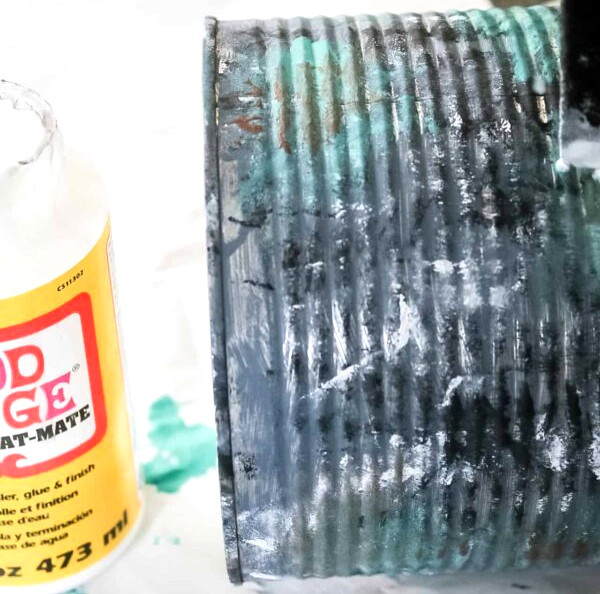
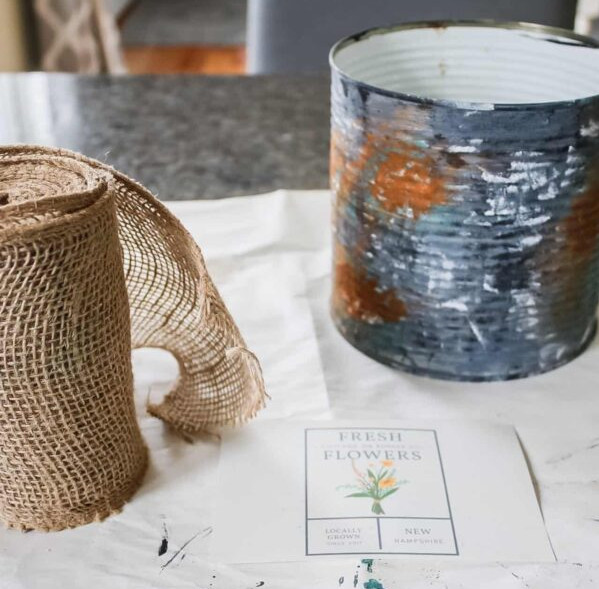
This piece has a weathered appearance, and I placed a rustic tag on the front. You can also download the label I created and make one of your own.
For the rusty effect, I used cinnamon!! It’s a playful method to add to your collection of crafting techniques.
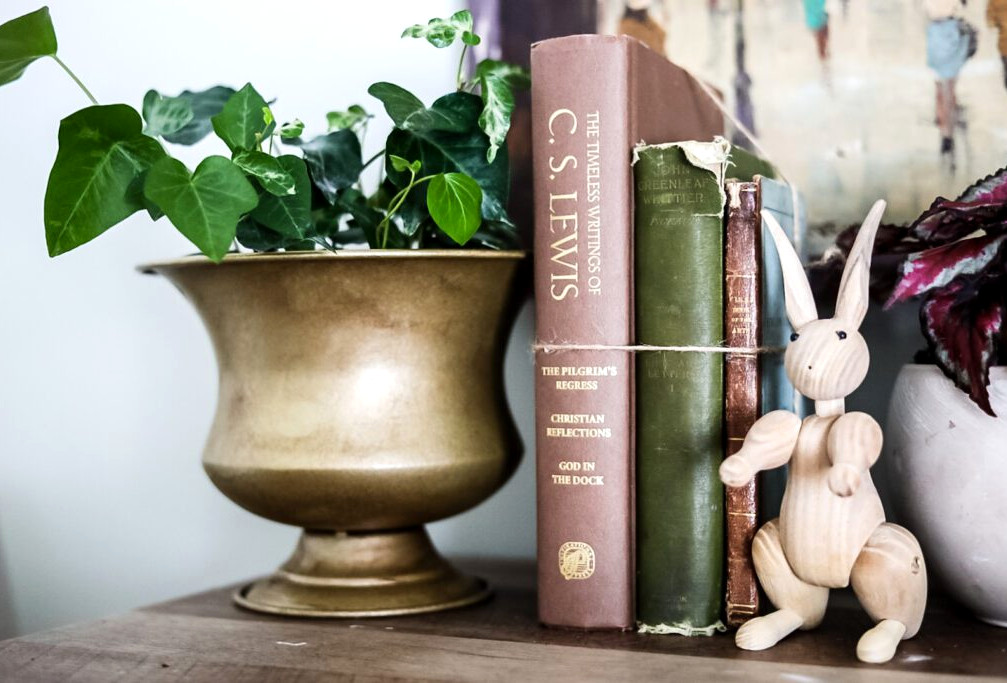
This makeover saved me more than $30! I had spotted a brass planter on the Magnolia website and absolutely adored it, but the price was steep…I had even placed it in my cart. Then, during a visit to my nearby thrift shop, I discovered 2 rather tacky silver planters—and can you believe it?? They had the exact same shape as the Magnolia versions!
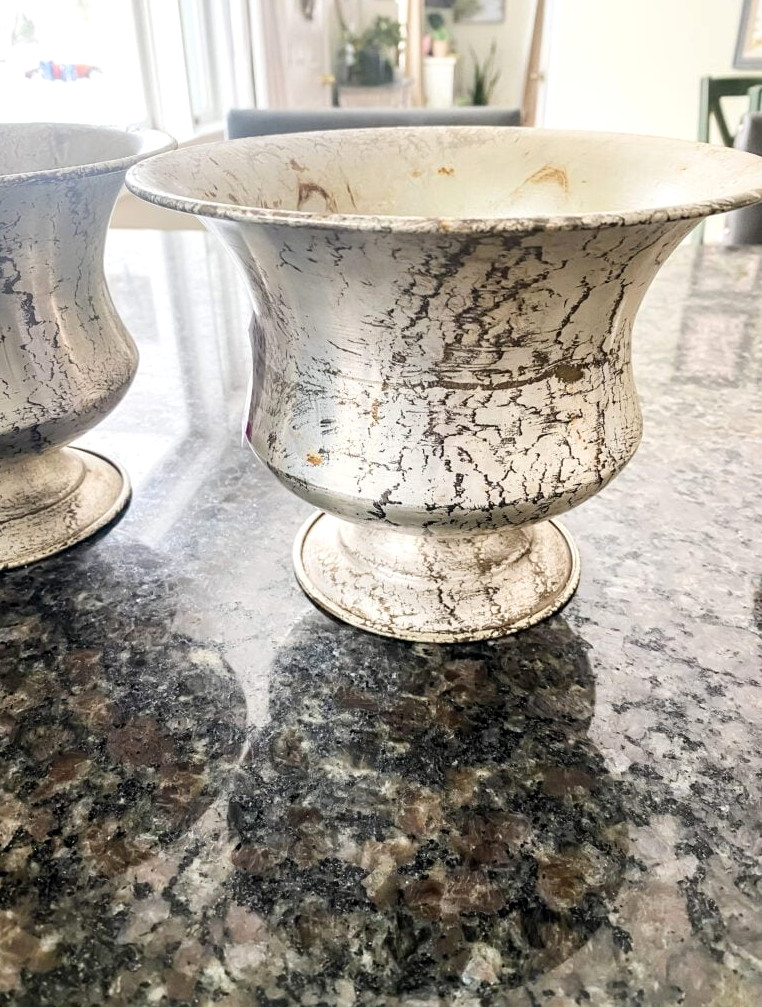
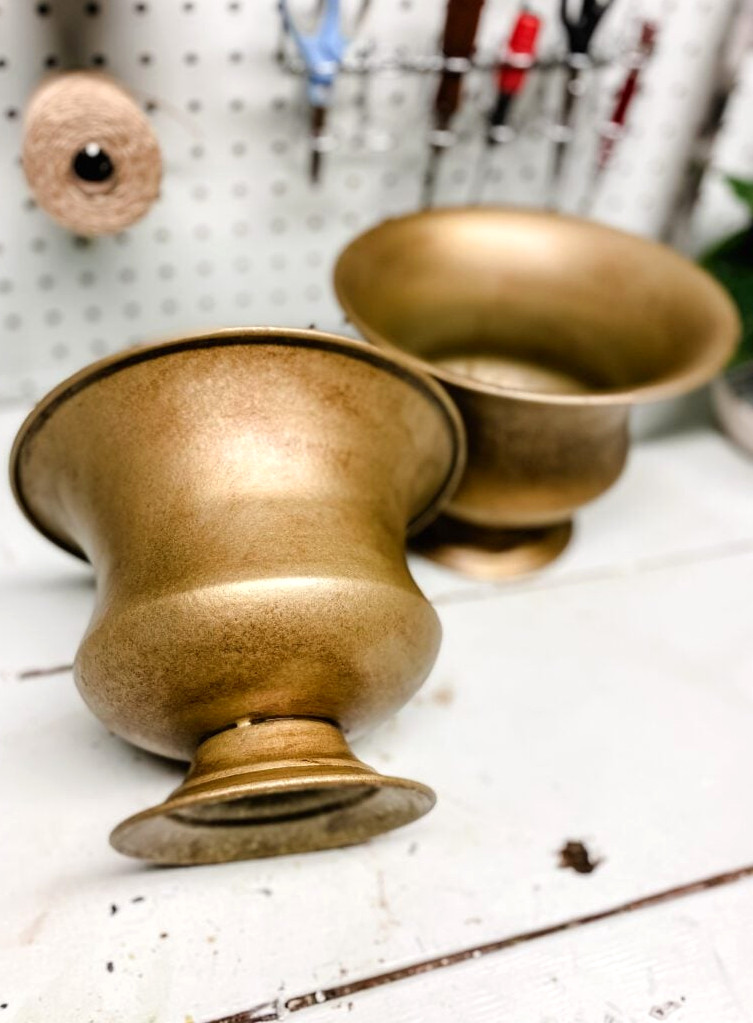
I quickly refreshed them with paint, and voila…now I had my own Magnolia-inspired copies!
Save Your Money & Create It!
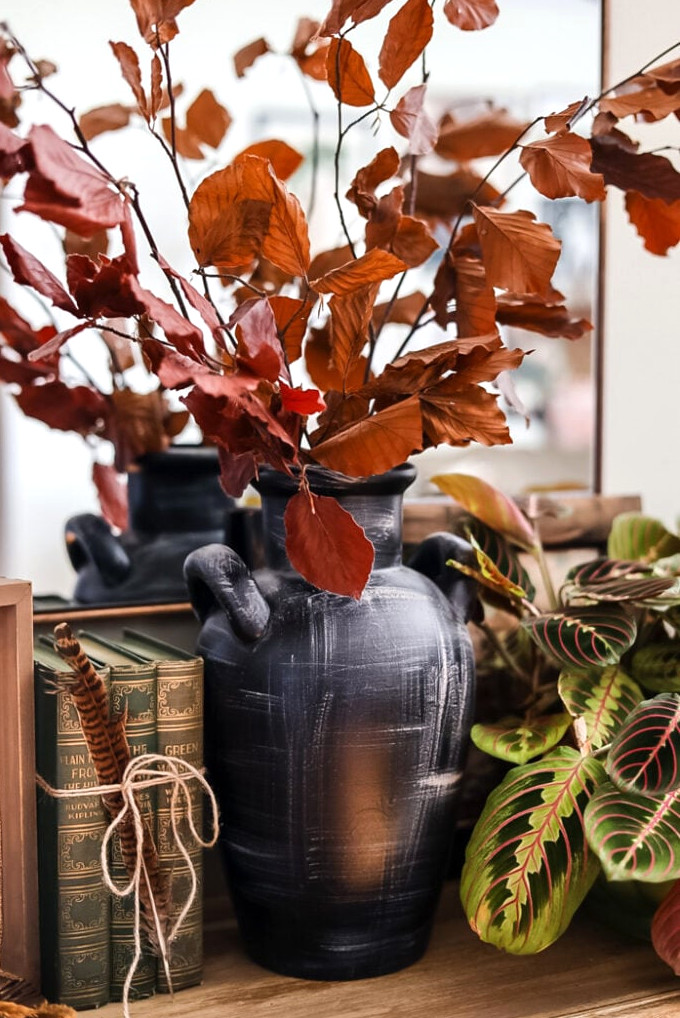
The Joshua ceramic vases from Pottery Barn caught my eye because of their beautiful design. And, of course, every room benefits from having a touch of black.
During a thrifting outing, I came across this ceramic vessel. Although its painted design was certainly not my taste, its silhouette was exactly what I needed!
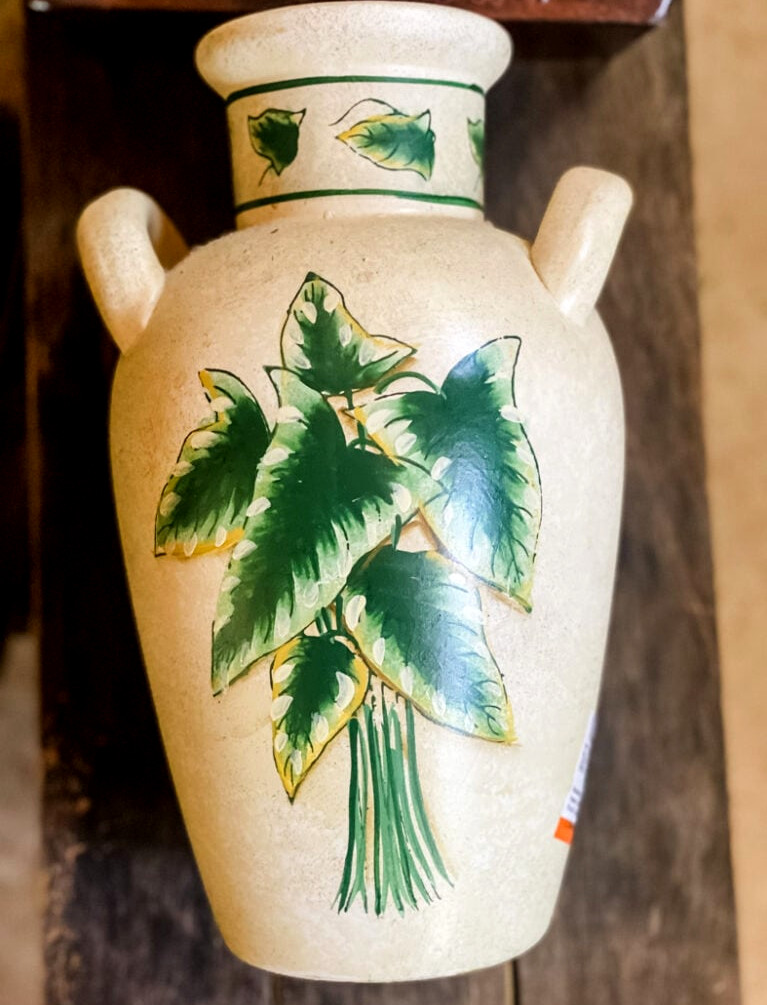
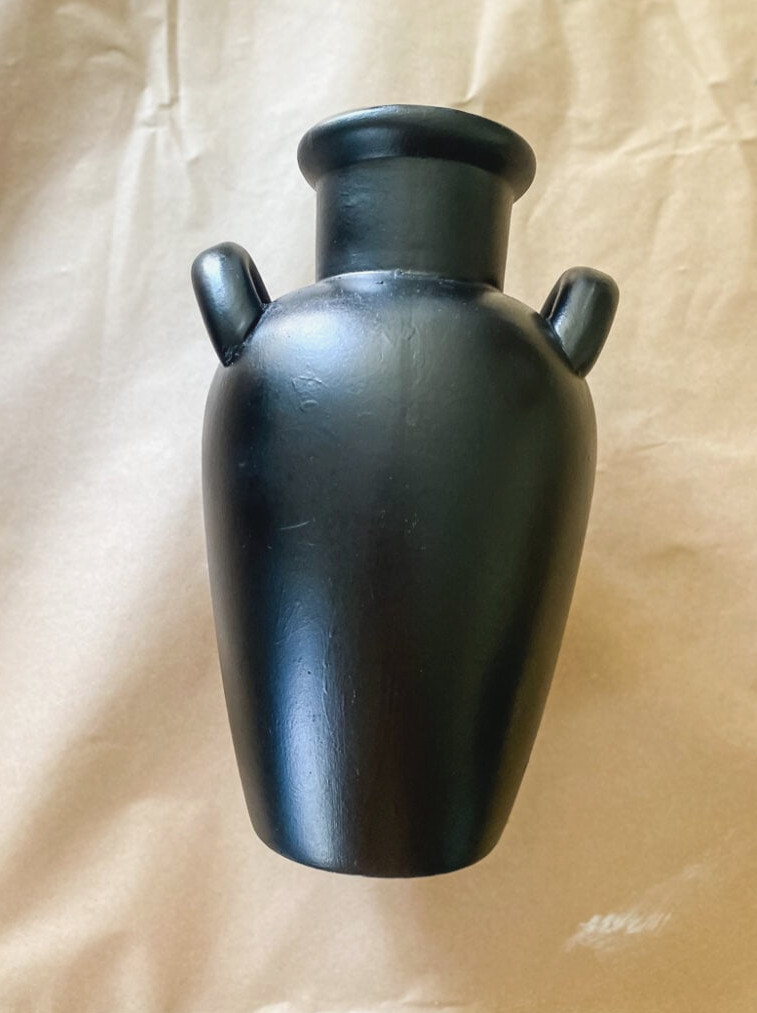
Several layers of matte black spray paint concealed the existing artwork.
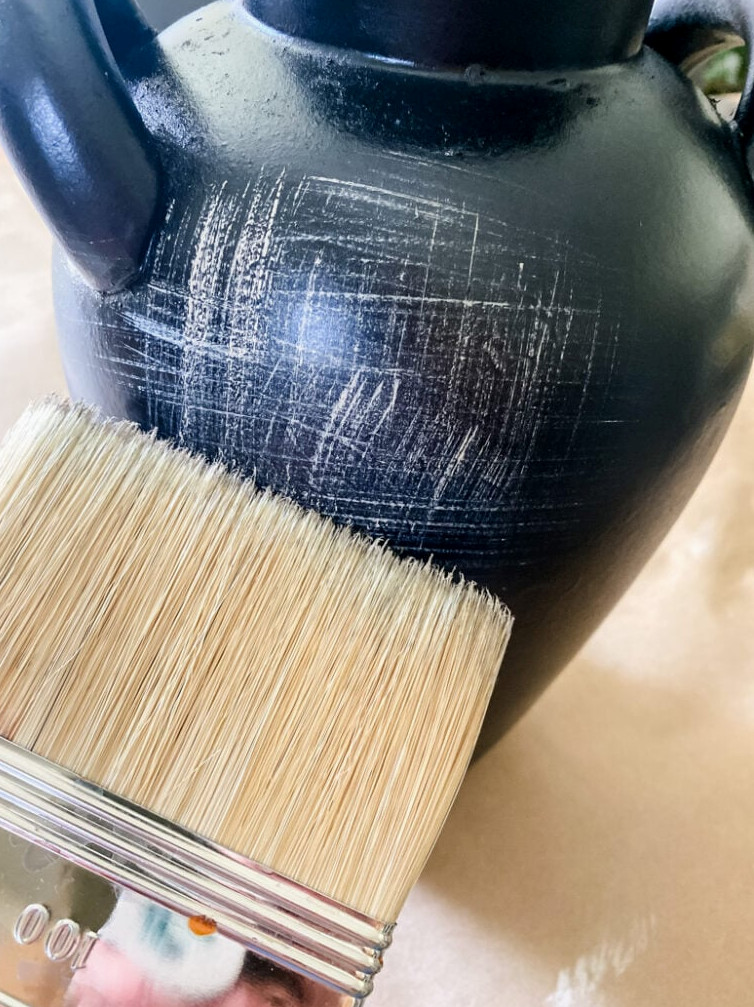
For a weathered appearance, I used a broad, straight-edged paintbrush and light beige chalk paint to create crisscross patterns across the vase.
Whew! We’ve explored 13 amazing DIY vase transformations! From the cozy appeal of twine-wrapped designs to the sleek shine of metallic makeovers, these projects demonstrate how thrifted pieces and recycled treasures can become breathtaking centerpieces and fashionable accents in any home.
I hope you’ve discovered the ideal project to spark your own imagination!
Showcase your creations! If this project or any of my other DIY ideas inspires you, I’d be delighted to see your work and include you in the Reader’s Spotlight gallery. Email a photo to jennifer@cottageonbunkerhill.com
xo, Jennifer