
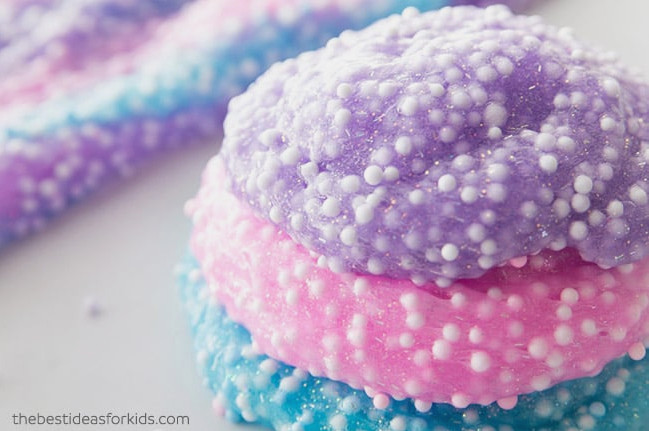
The shimmering chunky glitter gives this slime an incredible sparkle!It brought fairy dust to mind, so we decided to call it fairy slime. It would be a wonderful project for a fairy-themed party, an afternoon craft, or simply for the slime enthusiast at home. Children will enjoy making this fairy slime with you. Even better, it creates very little mess – there is no food coloring required, and the glitter will not transfer onto your hands.
RELATED: Mermaid Slime
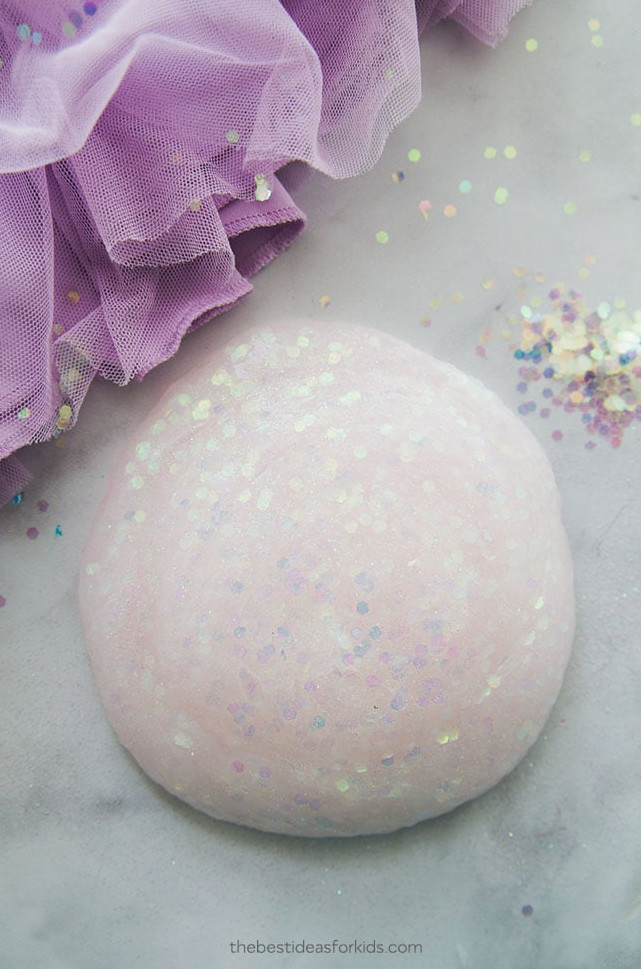
Fairy Slime Recipe
We should share a small confession about this slime. Our original plan was for it to be a little pinker than the final result. When fairies come to mind, we think pink. Therefore, we first intended to create an iridescent pink slime. However, after mixing in the chunky iridescent glitter, we adored its appearance exactly as it was and chose to leave the color unchanged! The shimmering glitter looks just like fairy dust to us. What’s your opinion?
Peter Pan fans may know that Tinker Bell’s fairy dust is actually golden. That means you can personalize this recipe and choose any fairy-dust shade you prefer! Replace the chunky iridescent glitter with chunky gold glitter to create Tinker Bell’s pixie dust instead.
If you enjoy slime and have a fondness for unicorns, make sure to check out these two unicorn slime recipes as well:
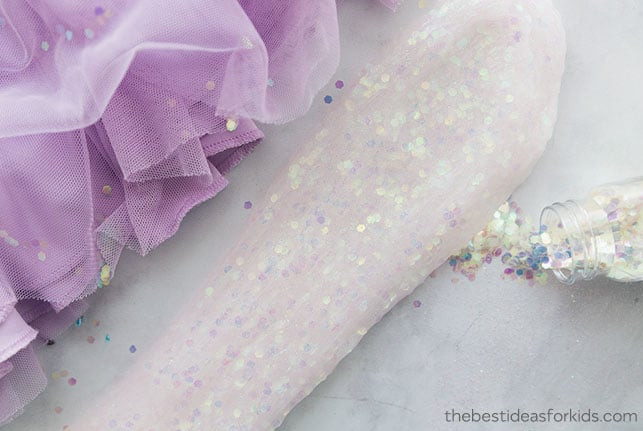
Making this slime is very simple, and it produces minimal mess because food coloring is not necessary.
What is Slime?
Slime belongs to a group of materials called polymers. Jell-O, gum, and rubber bands are additional examples of polymers. White glue is another polymer. Polymers consist of lengthy chains of polyvinyl acetate molecules. Because these chains move past one another with ease, the glue-like material pours smoothly.
The Science Behind the Slime
Adding contact lens solution to the glue causes a reaction that transforms it into a stretchy, moldable, viscous slime. The mixture develops because the glue molecules connect with the borate ions. This bonding prevents the large molecules from sliding freely past each other, unlike when the material is still glue. As a result, the slime mixture is formed!
Will this Recipe Work?
Each of our slime recipes is simple to prepare and should work well when the directions are followed carefully. Avoid replacing the recommended brands, since doing so could affect the outcome. The contact lens solution is especially important – it is the ingredient that changes the glue into slime. We consistently suggest Elmer’s glue because it is dependable and produces excellent slime. If Elmer’s glue is unavailable where you live, you may replace it with another high-quality PVA glue.
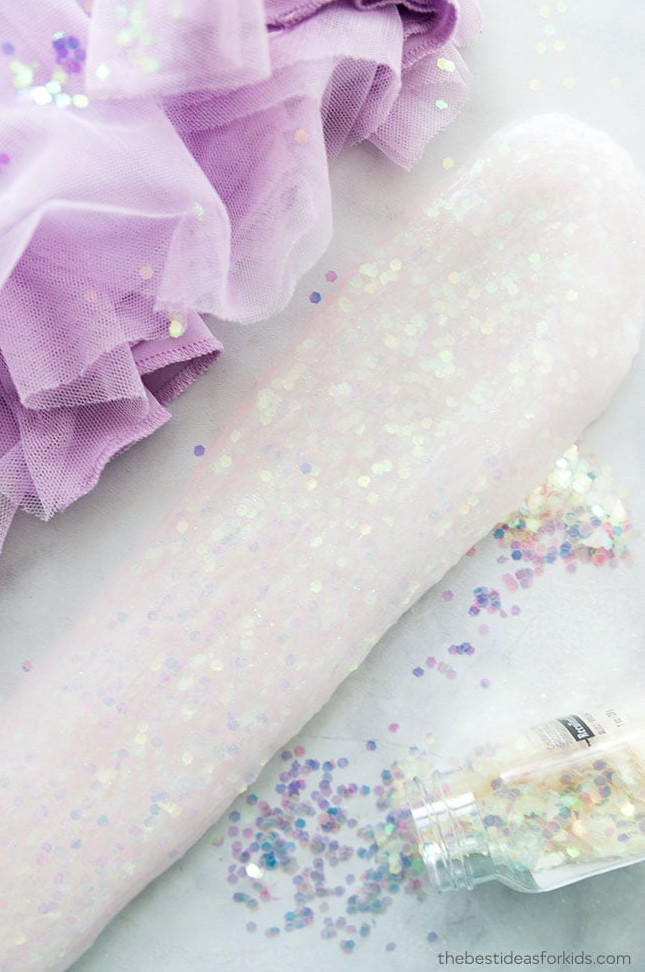
Another feature we enjoy about this slime is the chunky glitter. Its larger pieces create a more visible sparkle while remaining soft against your hands during play. Some glitter varieties can feel sharp, but this particular brand does not. Best of all, it should stay in place instead of flaking onto your hands.
Biodegradable Glitter – some readers have asked about an environmentally friendly glitter choice. As an alternative, we discovered this biodegradable chunky glitter on Etsy. Keep in mind that it begins decomposing after several weeks when it comes into contact with liquid.
How Long Does the Slime Last?
When kept correctly, this slime recipe should remain usable for at least 1 week. In most cases, it will last considerably longer. Place it in an airtight container or pouch. We prefer a resealable bag because it allows us to squeeze out all the air.
For an easy slime formula, you can find our basic recipe here:How to Make Slime With Contact Solution. In our slime recipes, we prefer contact lens solution over borax. This straightforward formula served as the foundation for our fairy slime, with a few minor adjustments.
Watch the Video Tutorial
Ingredients Needed to Make Fairy Slime
- Elmer’s Clear Glue (6 oz) Note: We have tested this recipe only with Elmer’s glue and suggest using this brand because other varieties may not work.
TIP: For a more affordable option, we prefer purchasing thegallon size container of clear glue.
- Chunky iridescent glitter. The glitter we chose was Glitz by Recollections from Michaels, though the identical glitter is also available from Darice here.
- Optional: fine pink glitter for adding a subtle pink tint to the slime
- 1½ tablespoon of.Contact lens solution.**Important:the contact lens solution you choose must include boric acid and sodium borate. Our favorite is this brand, which we use for all of our slime recipes. Check our complete contact solution slime recipe for the recommended brands. Avoid replacing it with another brand.
How to Make Fairy Slime
1. Prepare one bowl for combining the slime ingredients and another small bowl for the water.
2. Pour 1/4 cup of warm water into a bowl.
3. Stir 1/2 teaspoon of baking soda into the bowl of water.
Be certain that the baking soda dissolves completely and that the water turns clear.
4. Pour 6 oz of glue into your larger bowl.
Gradually pour in the water mixture while stirring softly.
TIP: Stir the clear glue gently as you prepare the slime to avoid creating excess air bubbles and a cloudy appearance.
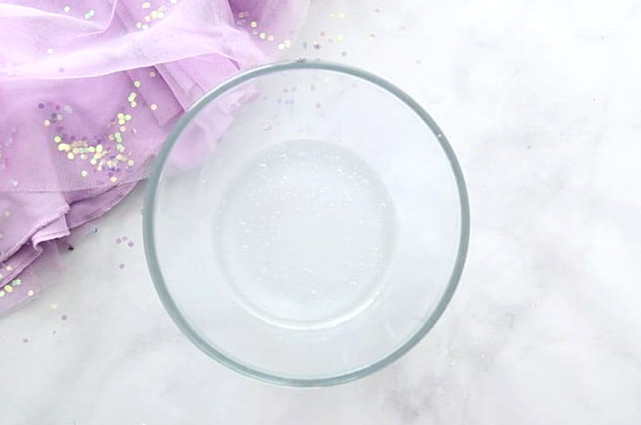
5. Next, mix in the fine pink glitter and the chunky iridescent glitter.
We added plenty of chunky glitter to coat the slime.
The same chunky glitter we used is available on Amazon here.
6. Gradually pour in the contact lens solution.
Add one teaspoon at a time, stirring between additions. Work slowly so you do not overmix the slime or create excessive bubbles.
Reminder: the contact lens solution must contain boric acid and sodium borate for the slime to develop properly.
When the slime begins separating from the bowl, remove it and knead it by hand. It will be sticky at first, which is completely normal. Continue kneading for 5 minutes; the stickiness should decrease as you work it.
If the slime remains sticky after 5 minutes of kneading, first apply a little baby oil or lotion to your hands. This helps prevent over-activating the slime. Should it still feel too sticky, you may add additional contact lens solution. Add only one teaspoon at a time and keep kneading until the desired texture is reached.
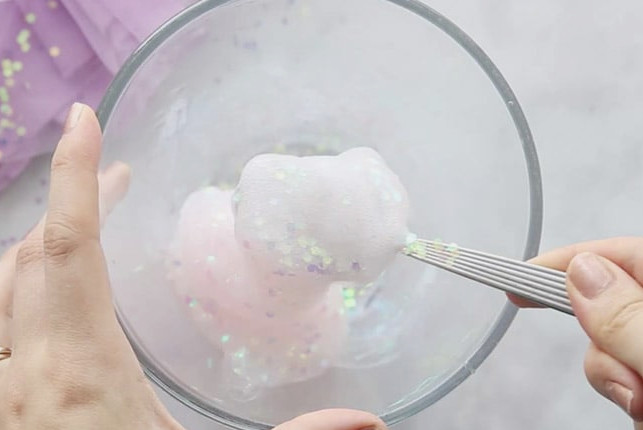
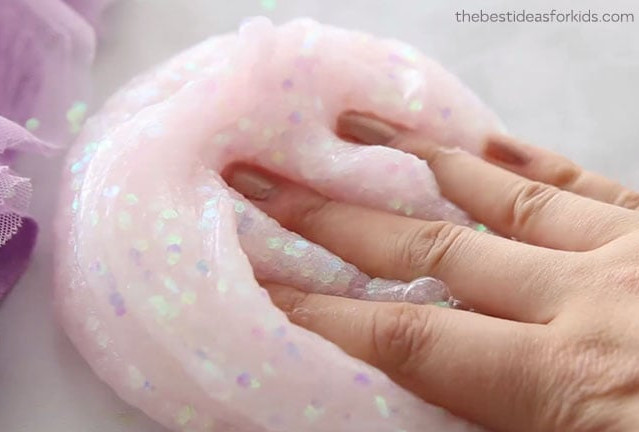
Your slime is now ready for play! Children will enjoy stretching this fairy slime!
How to Store:
Keep the slime inside an airtight container or bag, where it should remain usable for at least one week.
See More Slime Recipes:
More Slime Recipes
Have you made fluffy slime before? It is enjoyable to create, and its texture is genuinely “fluffy”!
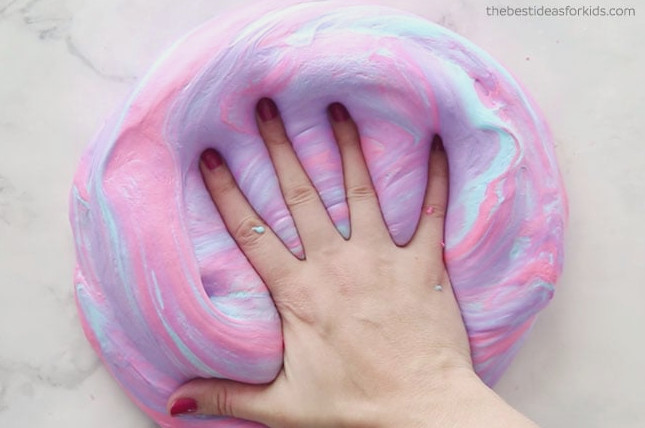
This mermaid slime is among our favorites! Learn how to create this slime, which resembles a mermaid’s tail.
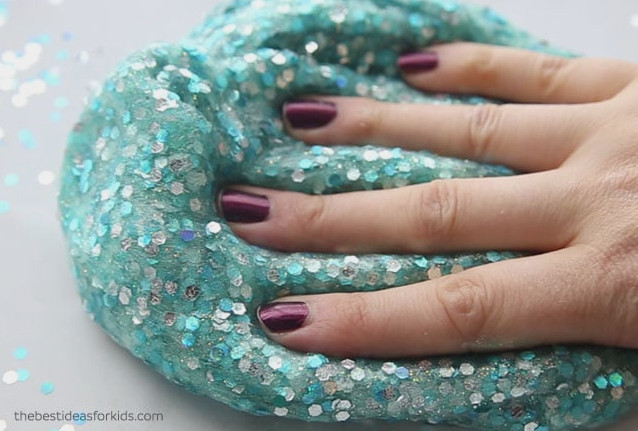
You can also check out our unicorn floam recipe, which is simple to prepare and makes wonderfully crunchy slime!
Slime Safety & Precautions
Note: Slime making is a science experiment, so appropriate safety measures should be followed during the process. By making this slime, you agree to our site terms, which are available here.
- Adults should manage all chemicals and materials
- Slime should be prepared by adults
- Carefully read and follow the instructions on every product label. If contact lens solution is swallowed accidentally, obtain medical assistance right away.
- This activity is inappropriate for children younger than 4.
- Never put slime in your mouth. Wash your hands before and after handling the slime.
- Stop using the slime immediately if you observe skin irritation. People with sensitive skin should wear gloves when making or playing with the slime.
- Because slime is a science experiment, it should be created and enjoyed in moderation. Children should not make slime independently, and playtime with slime should not continue for long periods.