This Book Christmas Tree offers a creative way to make your own book advent calendar! It also serves as a wonderfully original Christmas decoration to complement your DIY advent calendar.
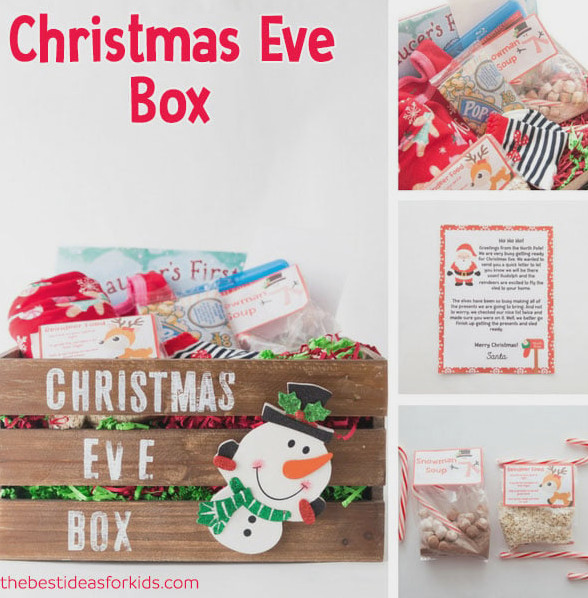
RELATED: Christmas Eve Box
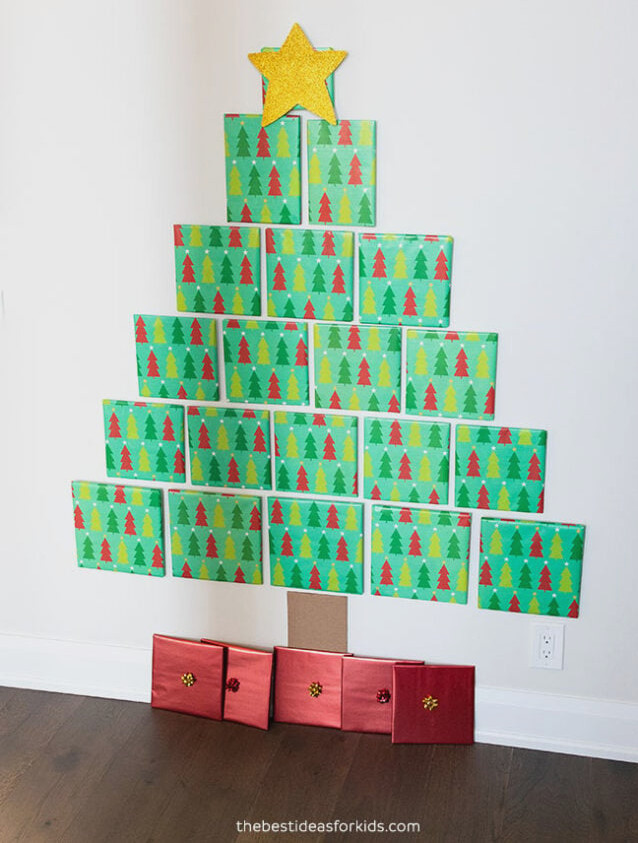
Book Christmas Tree – Book Advent Calendar Idea
Making your own book advent calendar can be such an enjoyable project. You could also create this tree simply to present several books as Christmas gifts. Plus, it’s a lovely way to bring extra festive décor into your home!
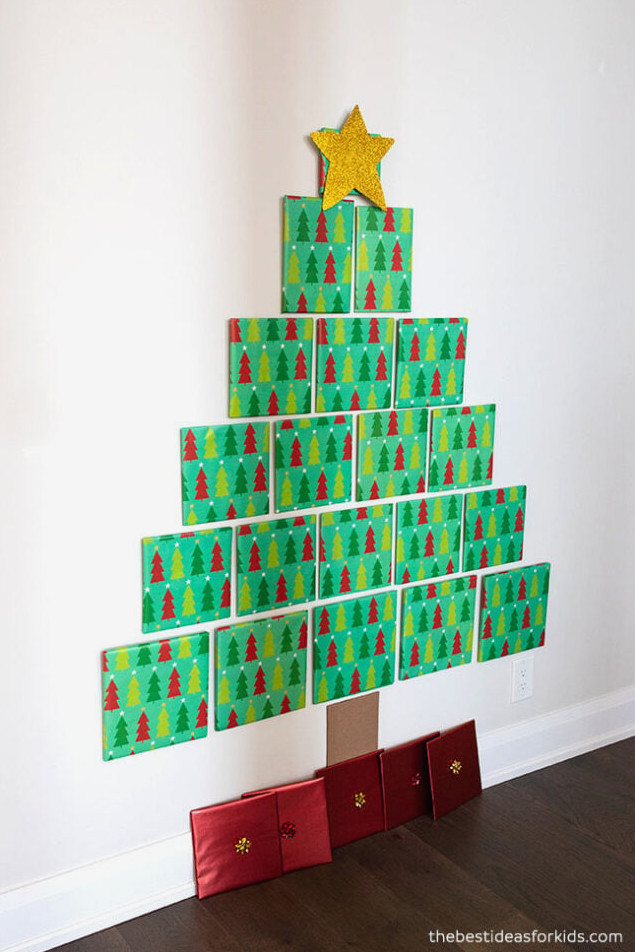
Putting together this book Christmas tree was very simple! Although wrapping all the books may seem time-consuming, the process moves along quickly since their shapes are easy to cover.
For the tree, I selected green wrapping paper and chose red paper for the gifts beneath it. However, feel free to use whichever colors or wrapping paper you prefer!
Getting 25 Books to Make the Christmas Tree
Purchasing 25 brand-new books can become expensive. Search thrift shops, secondhand bookstores, dollar stores, and bookstore sales for affordable new books. You can also use books that you already own!
I purchased a few new titles and reused many Christmas- and winter-themed books we already had. Since we don’t read most of these holiday books during the rest of the year, reopening them will be a pleasant surprise. It will also be exciting to discover whether each wrapped book is new or familiar.
We intend to use this as a book advent calendar.
Beginning on December 1, the children will unwrap one book each evening, and we’ll read it together.
Tip
As you select books, review the instructions below for choosing titles with similar dimensions to build the tree. Most books are available in several common sizes, making them simple to pair.
Supplies to Make a Book Christmas Tree
- 25 Books
- Green and red wrapping paper
- Command Hanging Strips – you’ll need as many strips as the number of books you intend to mount on the wall. If you prefer not to hang so many books, create a smaller tree and place additional presents beneath it.
- Gold Glitter Paper
- Small bows
- Cardboard
- Painter’s tape
How to Make a Book Christmas Tree
1. Begin by wrapping every book.
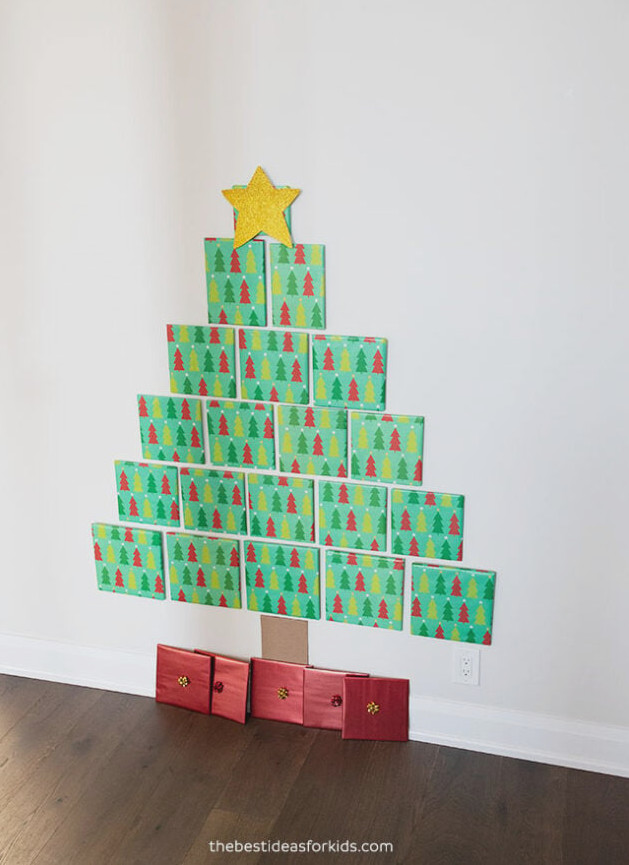
We set aside 5 books for beneath the tree and covered them with red wrapping paper. Afterward, attach a bow to each gift.
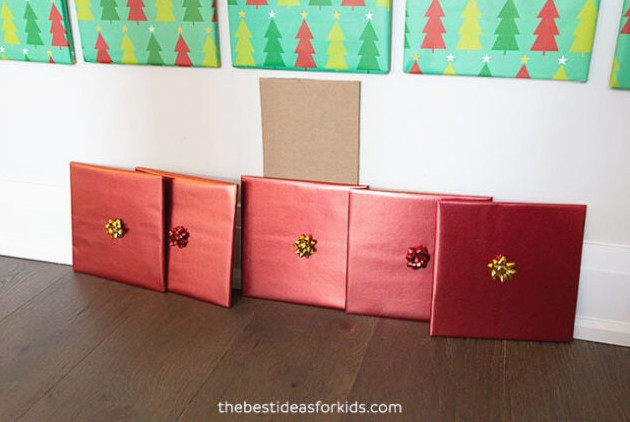
2. Arrange the book pattern before attaching anything to the wall.
Place the biggest books at the tree’s foundation, and aim to pair books with matching sizes and shapes on each level. Since most books come in several standard dimensions, finding suitable matches is straightforward.
- The largest books formed the bottom row, where I placed 5 books.
- For the following 3 rows, I used square books, arranging 5, then 4, and then 3.
- For the row beneath the star, I placed 2 rectangular books.
- A small square book completed the top row.
3. Begin with cardboard to create the Christmas tree trunk.
Trim a section of shipping cardboard and secure it to the wall using painter’s tape. It will serve as the tree trunk and provide the central guide for building the tree.
4. Hang the books with the command strips.
Use the instructions included with the Command Hanging Strips to mount the books. This process was considerably quicker than I anticipated. After you become comfortable hanging them, attaching strips to each book’s back is simple.
5. Create a star to place at the tree’s peak.
I made the star from gold glitter foam paper. I sketched it freehand, though you could print a star pattern and trace it onto the paper’s reverse side. Secure the star to the top book with tape.
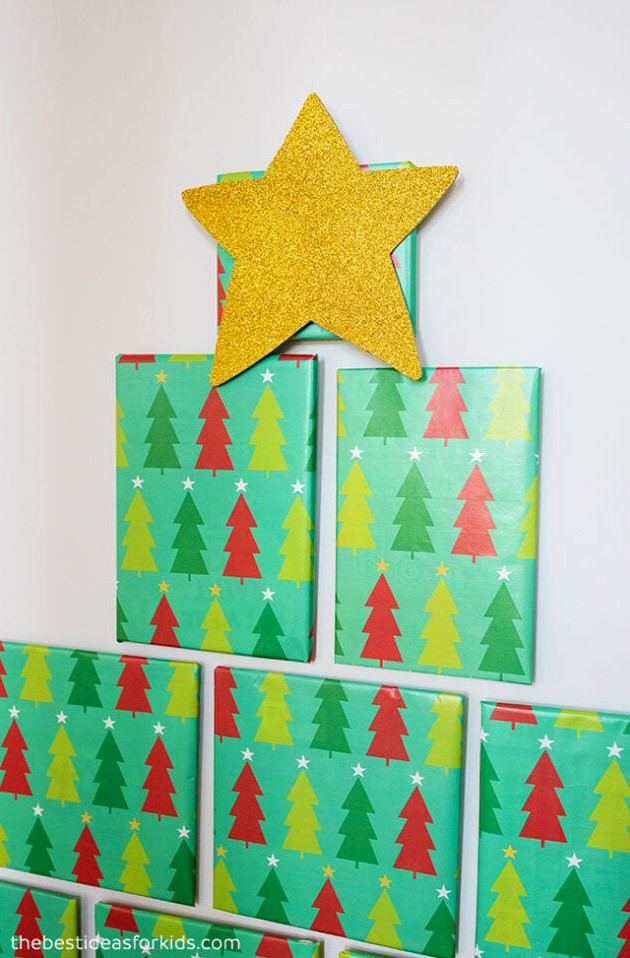
If you’re using this as a book advent calendar, begin with the gifts at the tree’s base. Each day, move upward until you arrive at the star. Be sure to place a new or meaningful book at the star, since that one will be opened on Christmas Day.
You could also create the tree as a decoration and unwrap every book together on Christmas Day!
For another enjoyable Christmas tradition, learn how to create a Christmas Eve box!