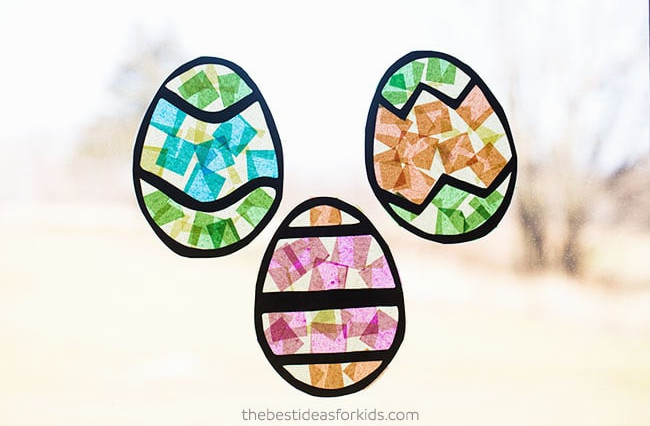
Kids will love making this colorful and entertaining Easter suncatcher craft! We adore how simple they are to create. Brighten your windows for Easter with these vibrant suncatchers.
RELATED: Easter Crafts for Kids
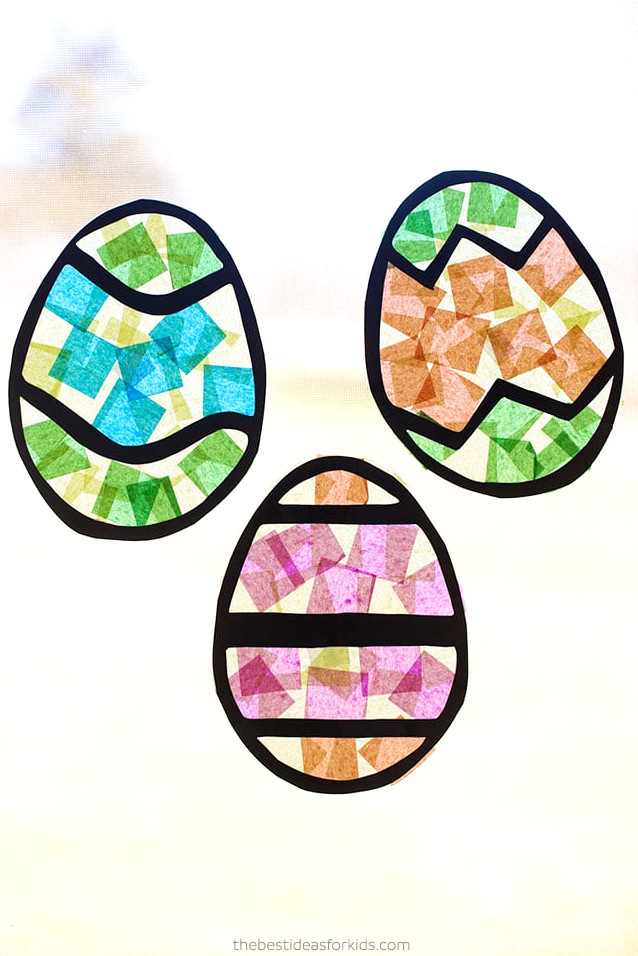
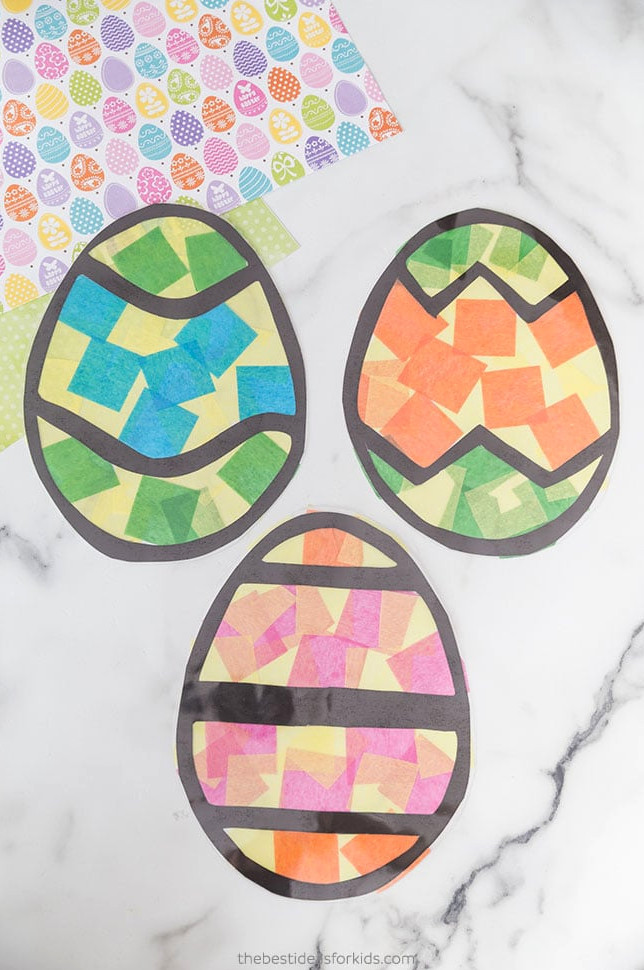
You only need a handful of supplies for these suncatchers, and you may already have them at home. Gather laminating paper, tissue paper, black cardstock, and our free printable Easter egg templates. Drawing your own Easter eggs is another option!
We also offer free printable Easter egg templates that kids can color here.
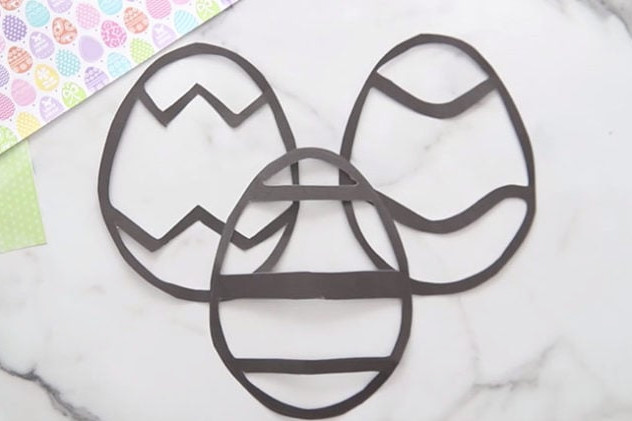
With 3 designs available, you can select your preferred one or create the complete set!
Supplies You’ll Need
View the Video Tutorial
How to Create an Egg Suncatcher
1. Begin by printing the template.
The template is available at the bottom of this poston the email form displaying a preview of the template.
After cutting out the template, trace its shape onto black cardstock. Alternatively, use the template directly and place it onto laminating paper or contact paper.
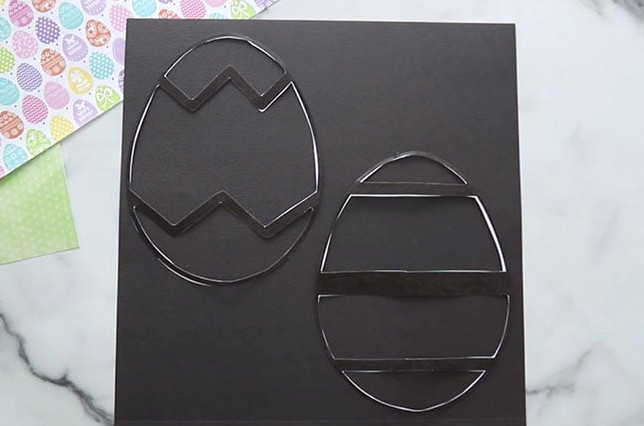
2. Cut the Easter egg shapes from your black cardstock.
Gently fold the center to help cut out the template’s middle, keeping just the black border.
You may also use the template without tracing it and attach it to laminating paper or contact paper.
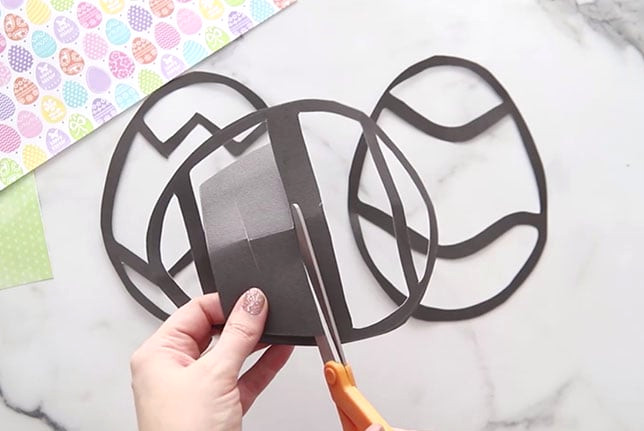
Your black cardstock should now include 3 designs that look like this:
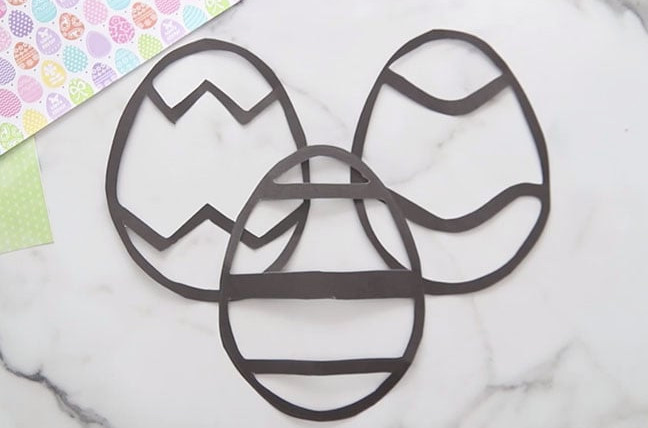
3. Attach it to laminating paper.
Next, position the Easter egg outline on the adhesive side of a sheet of contact paper or self-adhesive laminating paper.
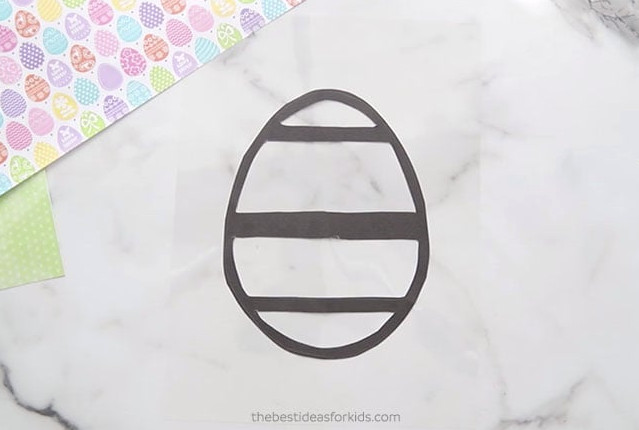
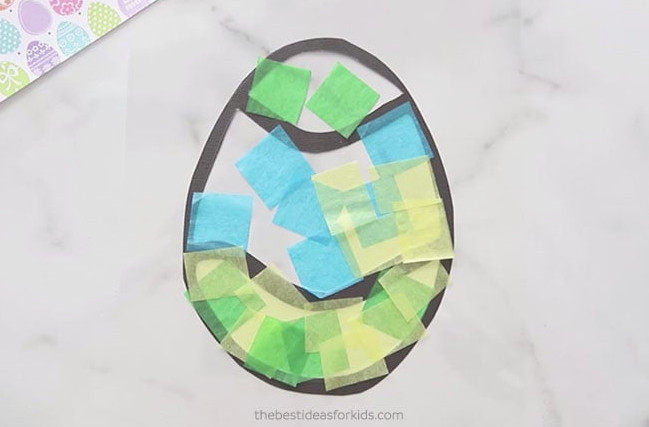
4. Include the tissue paper.
Snip the tissue paper into tiny squares. You can also purchase square tissue paper pieces.
Arrange the tissue paper squares over the contact paper or laminating sheet. It is fine if they extend beyond the border, as those edges will be cut away later!
We created varied color patterns according to each Easter egg section. When my children made theirs, they spread colors across the entire template, and that turned out nicely too!
5. Cover it with another sheet of laminating paper.
Set another piece of self-adhesive laminating paper or contact paper over your completed Easter egg, then press it down securely. Carefully smooth the final sheet into place to prevent bumps or air bubbles.
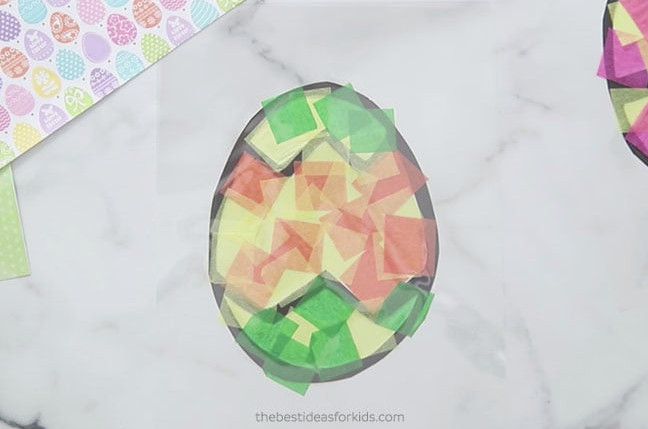
6. Cut around the Easter egg.
Finally, use tape to attach it to your windows!
We hope you have fun crafting these bright Easter egg suncatchers to illuminate your windows this Easter!
Note – if both sides of the suncatcher will be visible because of the window’s location, cut out an additional black cardstock shape for the reverse side. Glue it over the tissue paper, then finish by adding the laminating sheet.
Free Printable Templates
Download the Free Printable Templates
Have the FREE printable Easter egg suncatcher templates sent straight to your inbox. You’ll also get our complimentary weekly newsletter.
Already signed up? No problem—you won’t be enrolled twice!
Additional Easter Crafts
Explore 25+ Easter Crafts for Kids – this collection has an idea for everyone!
You can also download the free template for this charming Easter bunny card!

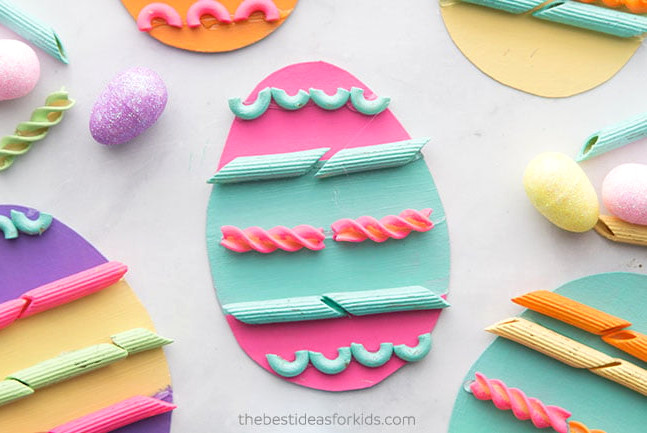
Kids will have fun decorating their own Easter eggs with these pasta Easter eggs!