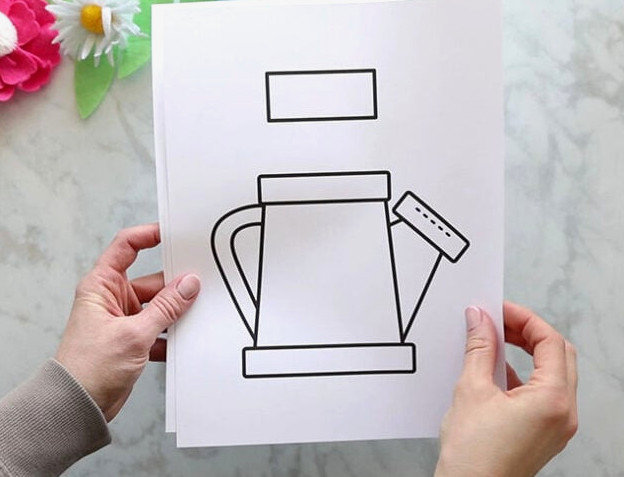

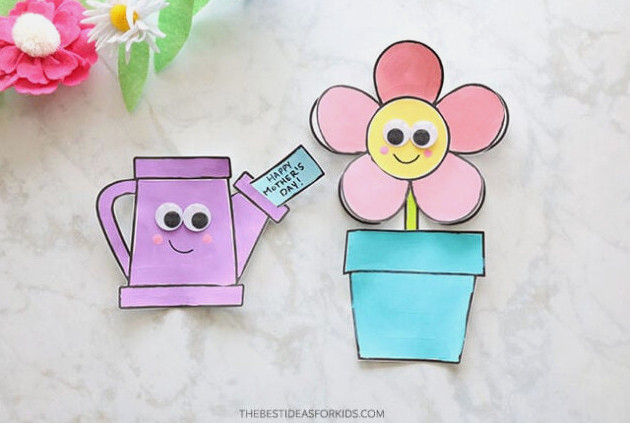
Create this charming flower pot and watering can project for springtime, a birthday celebration, or Mother’s Day! Children will enjoy decorating each piece and adding their own personalized messages.
RELATED: Mother’s Day Projects for Children
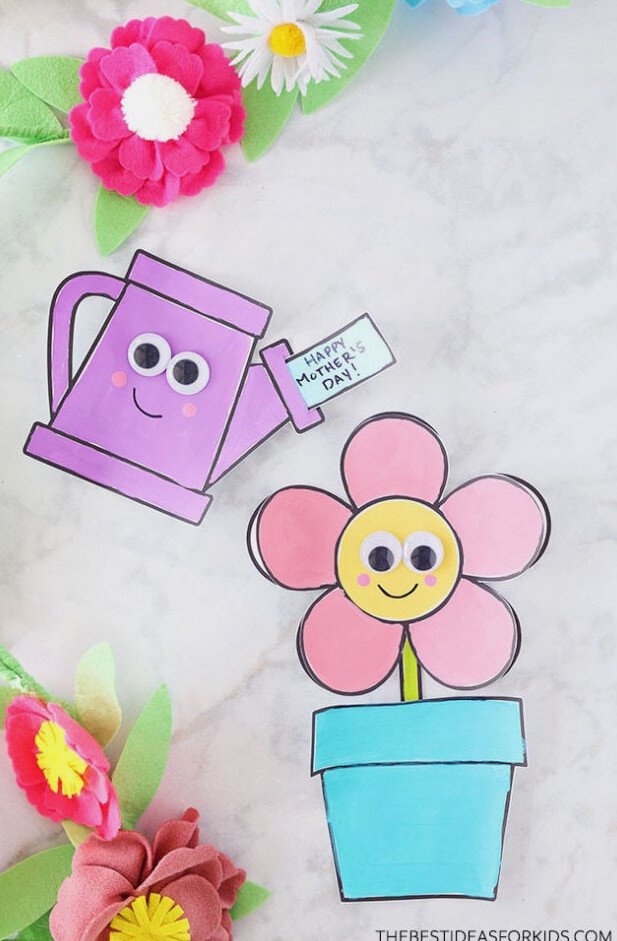
Children can write a message on the “water” inside the watering can. Beneath the petals of the flower pot, they can list qualities they adore about their mom.
A complimentary template is also available for creating both projects.
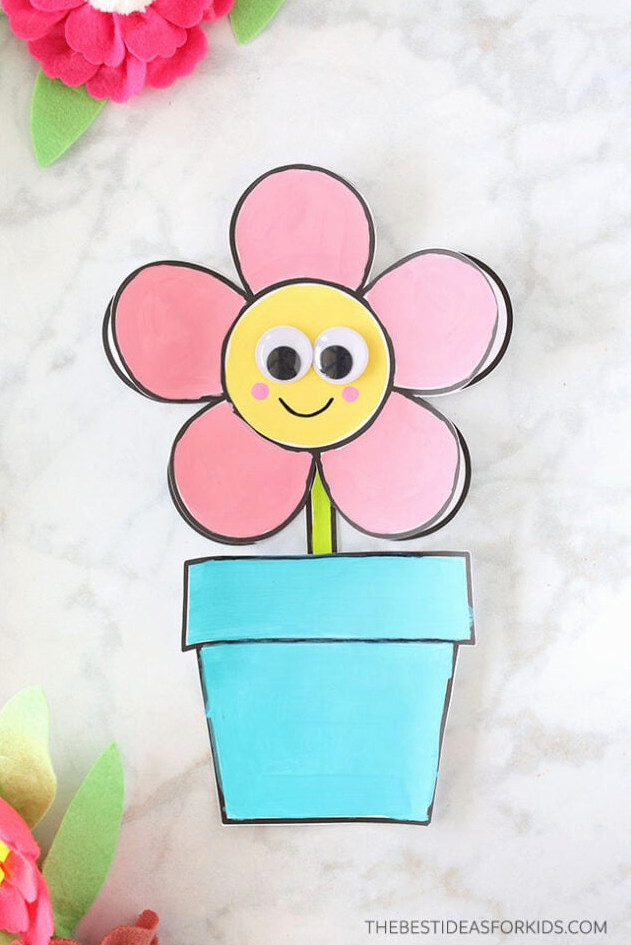
Find the free printable template at the end of this post.
Materials Required
- Coloring Materials – we painted the templates, though you may use any supplies you prefer. Markers, crayons, and colored pencils are great options as well.
- Adhesive – use a glue stick to join the flower pot templates
- Complimentary Template – have the template sent to your inbox at the end of the post
View the Video Guide
How to Create the Watering Can & Flower Pot
1. Print the templates.
You can have the template sent by email at the end of the post.
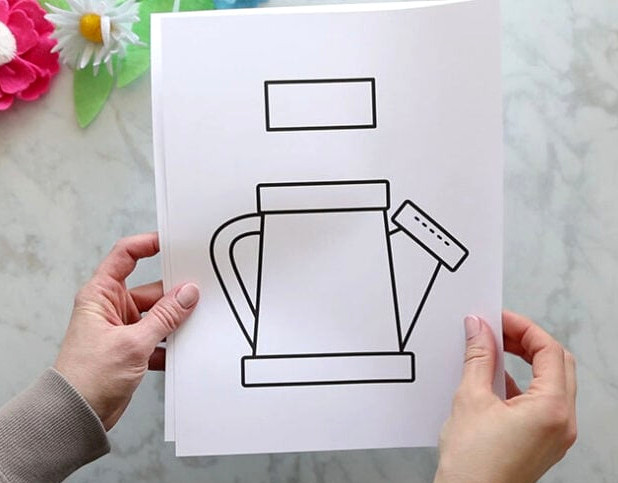
2. Trim out the templates.
Note: the dotted line on the watering can marks where the paper slides through. An X-acto knife (adults only) may make this opening easier to cut. Make the opening precisely the same size as the paper so it fits securely without sliding out. Should it come loose, use tape or glue to hold it in place.
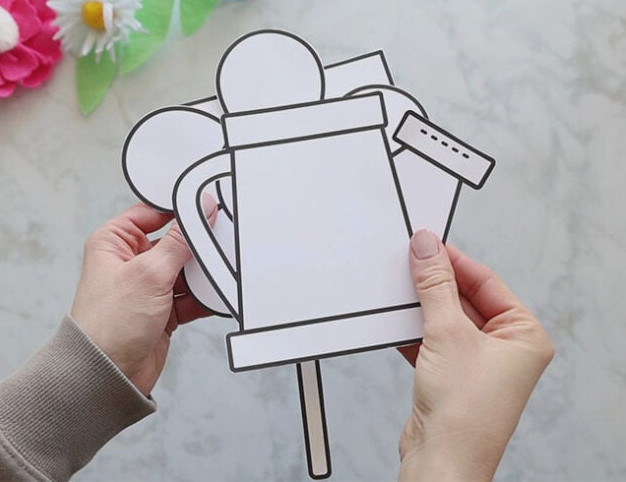
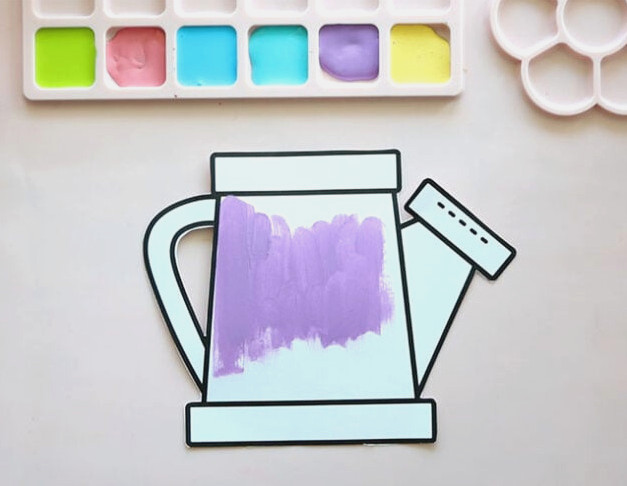
3. Paint or color the templates.
We chose paint, but markers, crayons, or colored pencils can be used too. Children may also decorate the templates with their own patterns.
4. Write on the Bottom Flower
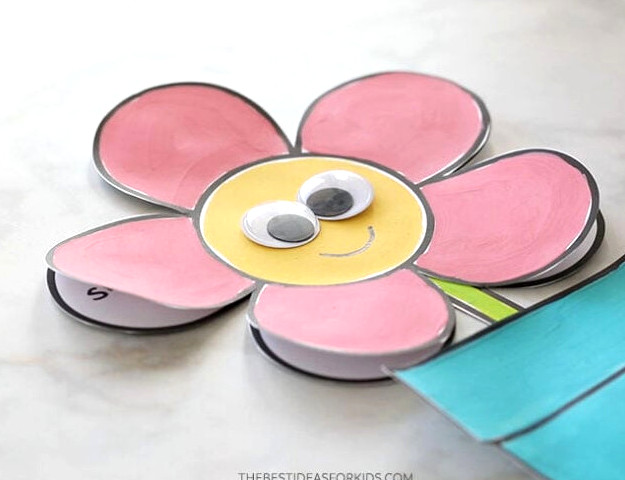
Cut out the flower and stem, then write a word on every petal. Only the stem needs to be colored on this piece.
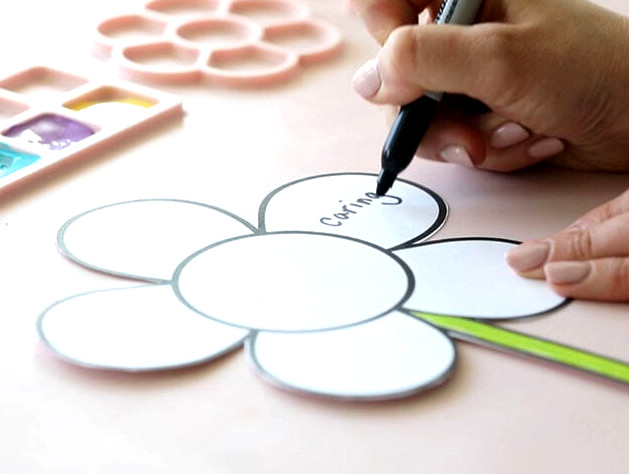
Color the flower-only template, then attach it to the flower-and-stem template by gluing only the center.
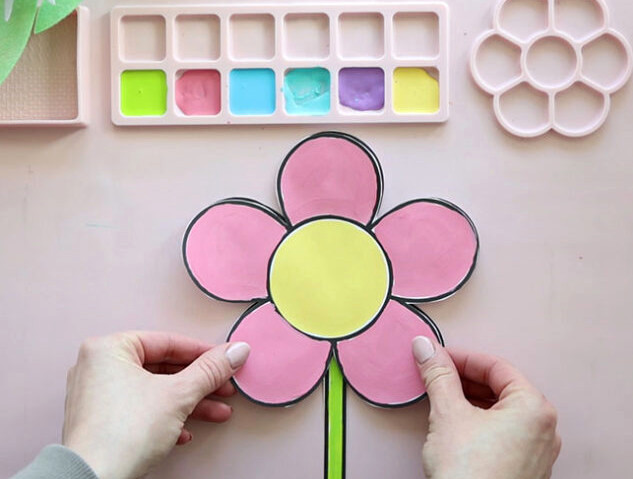
The upper petals should open so the words or notes beneath them can be seen.
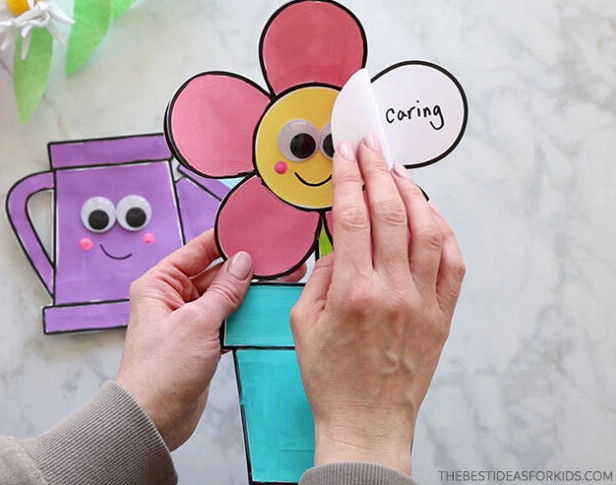
Attach the flower pot to the stem with glue.
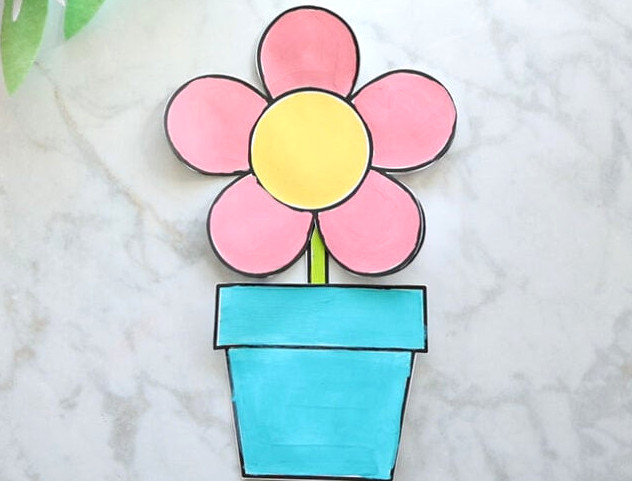
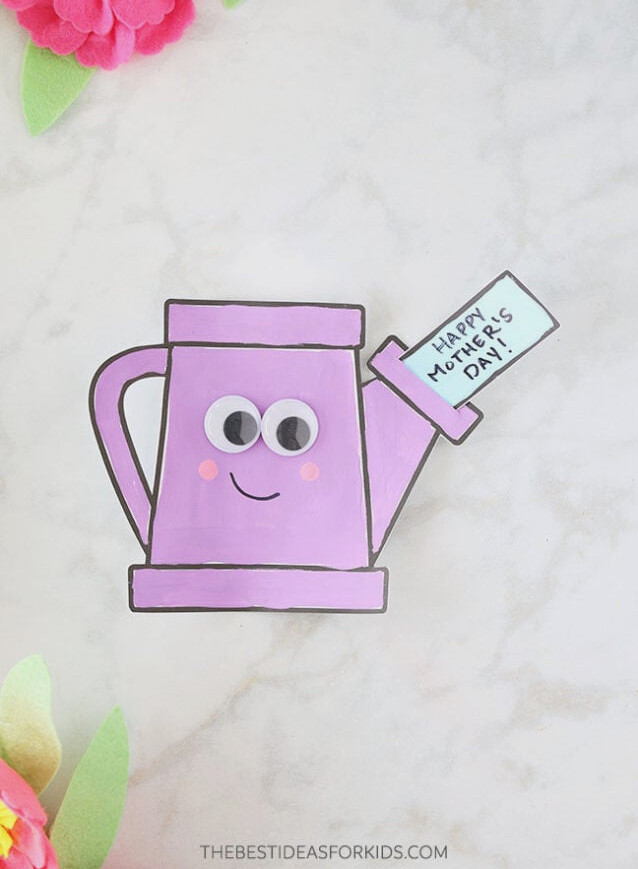
5. For the watering can, decorate the paper water and write a message on it.
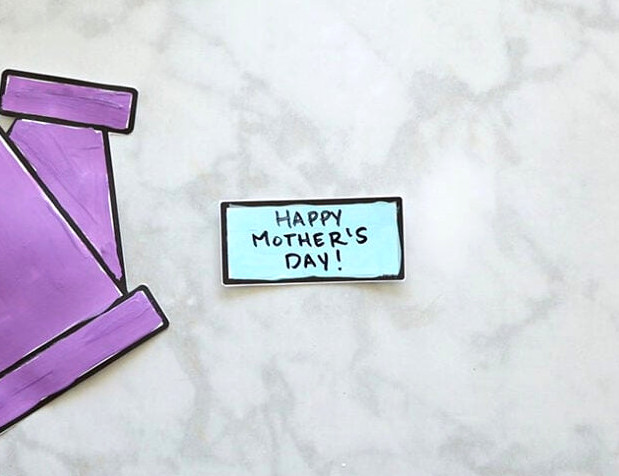
6. Give the cards faces or add decorations.
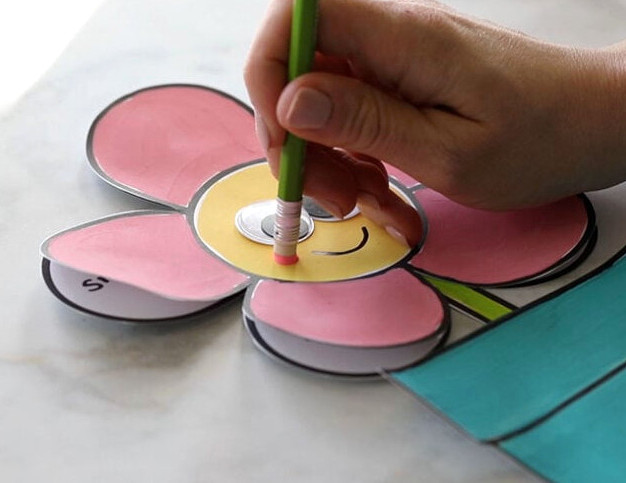
We attached large googly eyes, made cheek marks using the back of a pencil (a paintbrush works as well), and drew a smile on each card with a black marker.
7. Insert the water paper into the watering can.
When the paper opening is too wide and the paper slides through, secure it with tape or glue (although it will no longer move in and out)

Find the Free Printable Templates Here
Download the Free Printable Templates
Have the FREE templates delivered directly to your inbox. You’ll also get our complimentary weekly newsletter.
Already signed up? No need to worry—you won’t receive a duplicate subscription!
For additional enjoyable Mother’s Day projects, visit our Mother’s Day Projects for Children.