Here’s a simple and enjoyable way to create Easter paintings! The greatest thing about these stamps is that you can use them over and over again. Plus, they cost far less than purchasing them yourself!
RELATED: Easter Crafts for Kids
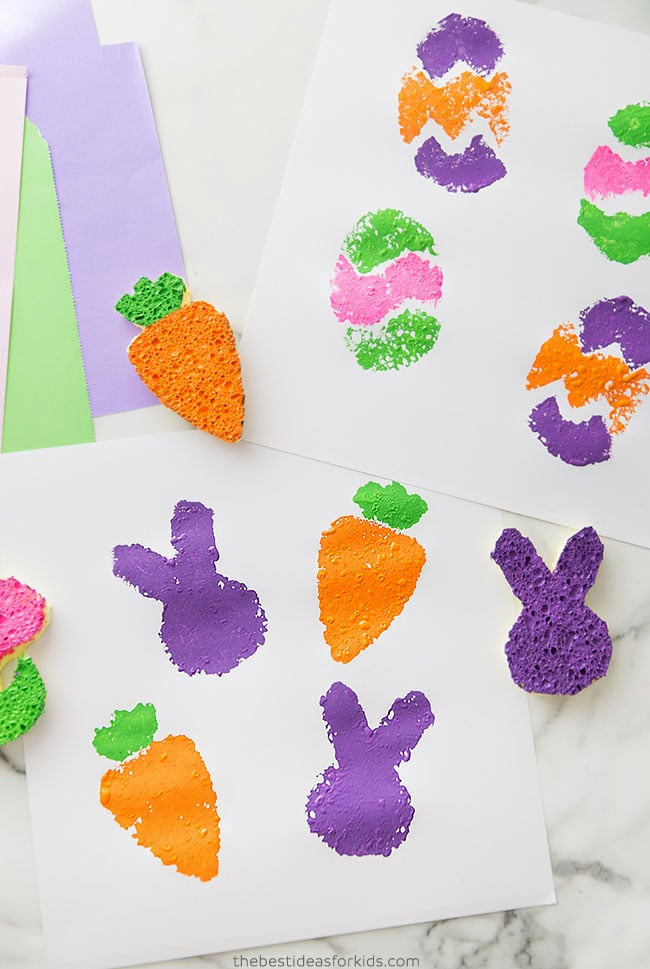
Creating these Easter sponge stamps makes for a delightful afternoon project. Children can create their own shapes, or you can use our free printable template.
Enjoy making easy artwork with these Easter sponge stamps. You could also use them to decorate Easter cards or cut out the stamped shapes to create an Easter banner.
Supplies Needed
- Plain Sponges – choose sponges without scrubbers because they are simpler to cut. Ones like these.
- Strong Scissors – sponge material may be challenging to cut. You’ll need heavy duty scissors for the job. This step should be completed by adults only.
- Sharpie Marker
- Acrylic Paint
- White Cardstock – we prefer 12×12 white cardstock because it gives children a larger surface on which to stamp
- Paper Plate or Plate (to load the sponge stamps with paint)
Watch the Video Tutorial Here!
Directions for Easter Sponge Painting
1. Begin by printing the free templates.
The templates can be found at the end of the post.
2. Cut out the templates, then position them on your sponge.
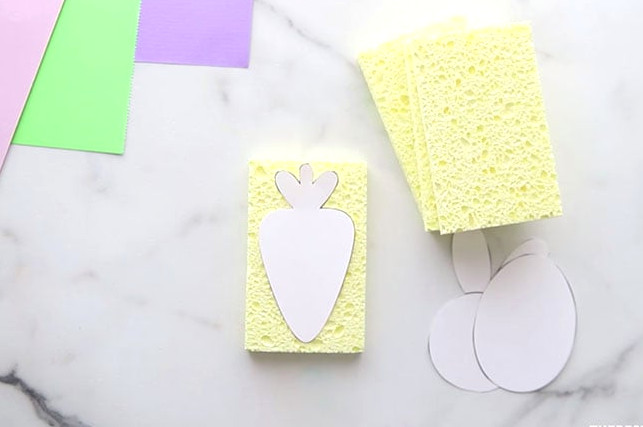
3. Use a Sharpie or marker to outline the template.
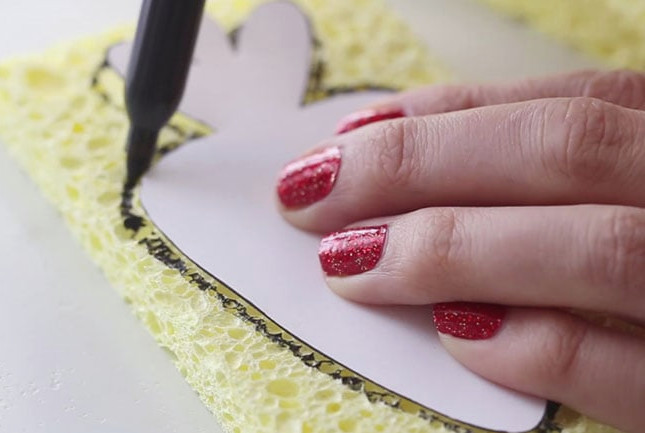
4. Continue outlining each template, or create your own designs!
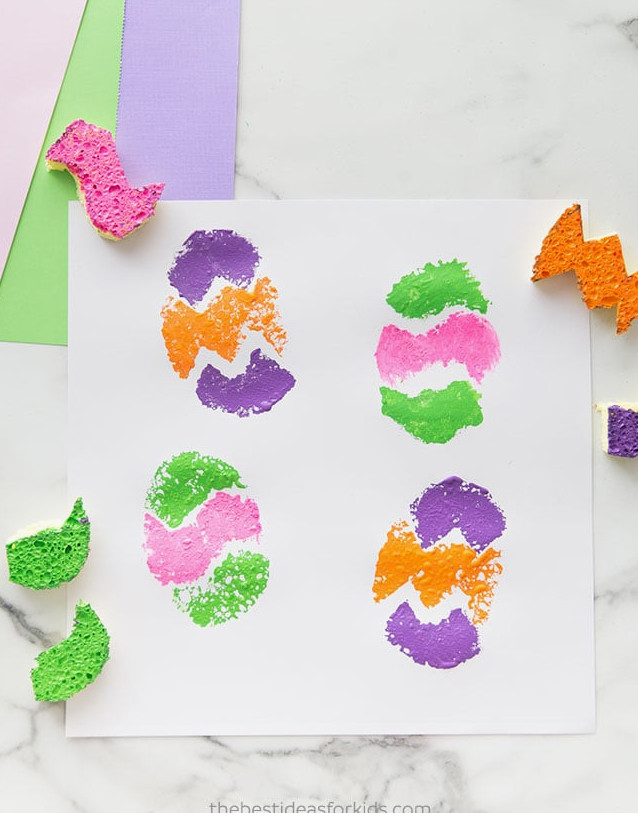
If you’re making Easter eggs, add patterns to divide the egg into 3 sections. We used 2 wavy lines and 2 chevron stripes.
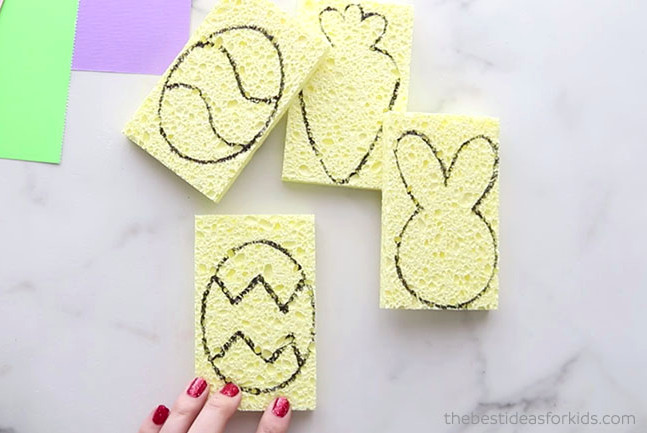
5. Next, cut out the designs. Depending on the thickness of your sponges, this may be tricky without heavy-duty scissors. We suggest using scissors such as these. An adult should handle the cutting.
Creating smooth, rounded shapes can be tricky when trimming the sponges, so don’t stress about achieving perfect edges. After cutting out each shape, use the scissors to smooth and round the sides. Focus on the surface that will be pressed onto the paper.
6. Enjoy using your new stamps!
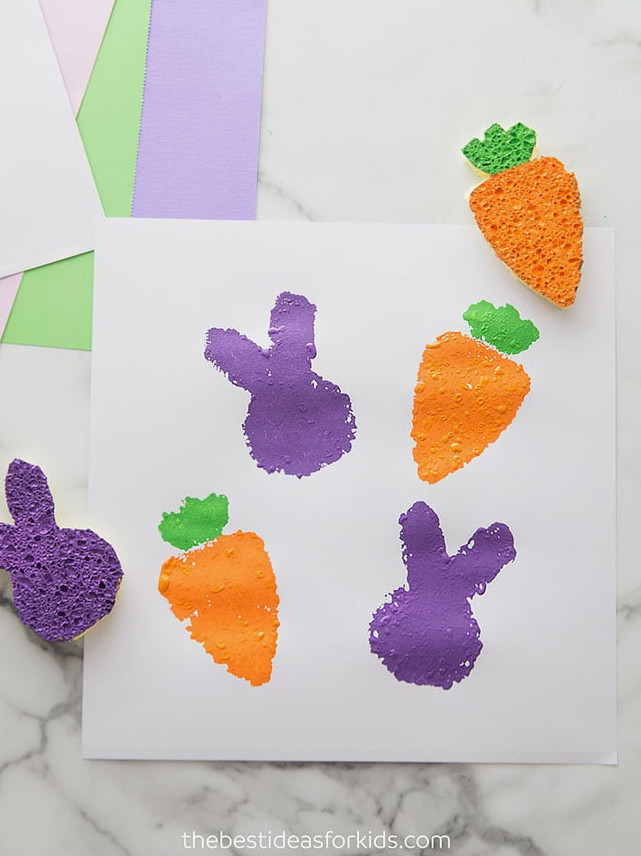
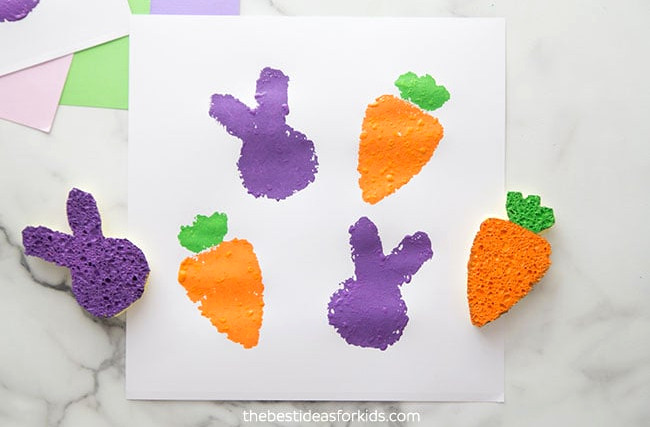
For the carrot stamp, we applied paint directly to it so that the top could be green and the bottom orange. With a paintbrush, apply orange paint to the lower part and green paint to the upper section.
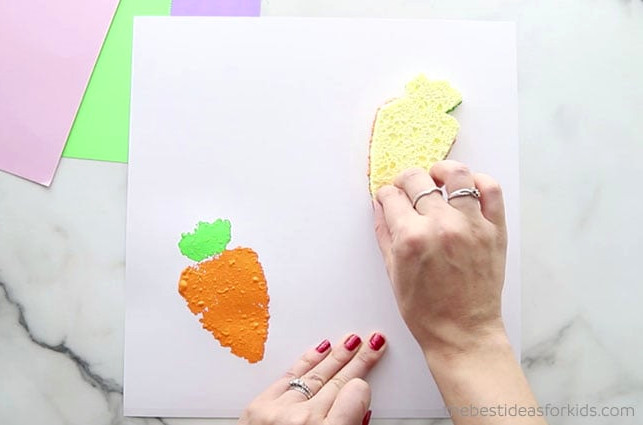
Another option is to use a single shade for the carrot, such as orange, and let children dip the stamp onto a plate of paint before pressing it onto paper.
For the bunny design, we poured purple paint onto a paper plate and dipped the stamp into it. Before stamping, be sure the entire stamp is coated while avoiding an overly thick layer of paint.
We created several patterns for the Easter egg stamps by dividing the eggs into three sections. Let children stamp each section separately. We used one shade for the top portion and another color for the center of the egg.
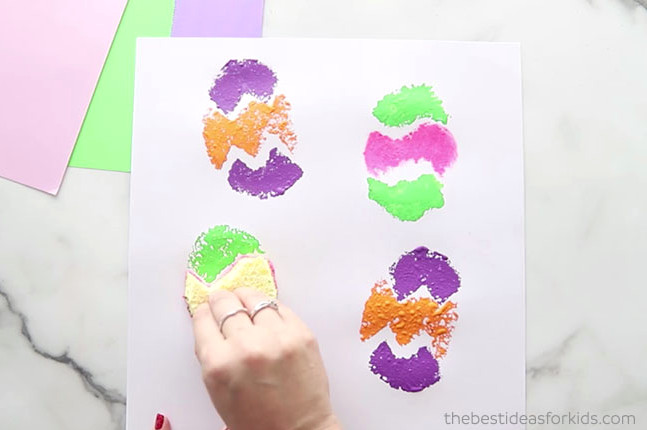
For younger children, simplify the process by making every section the same size to create stripes, allowing the top and bottom pieces to be swapped. Alternatively, leave the Easter egg stamp intact and use just one color.
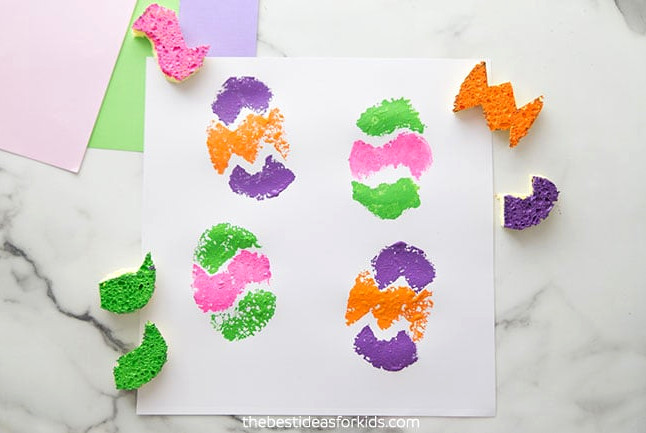
After using the sponges, wash away the paint, and they’ll be ready to use over and over!
We hope you have fun creating your own Easter art sponges this year!
Additional Easter Crafts for Children
Explore more than 25 simple Easter craft projects for kids.
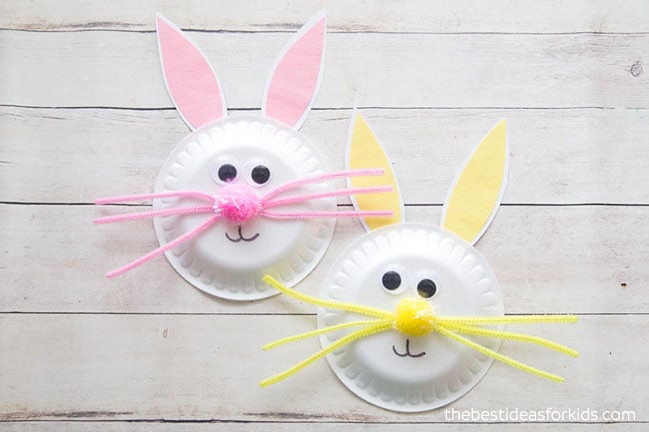
These adorable and simple Easter Bunny Paper Plates are a delight to create!
Searching for an Easter card project? This charming Easter bunny card is a fun one to create!