If handmade crafts using handprints are your favorite, these Halloween ideas are just right! Kids can create the sweetest Halloween handprints and turn them into handmade cards. There are 4 fun designs to pick from, including a handprint ghost, handprint pumpkin, handprint frankenstein and handprint vampire! Best of all, they’re super simple to make.
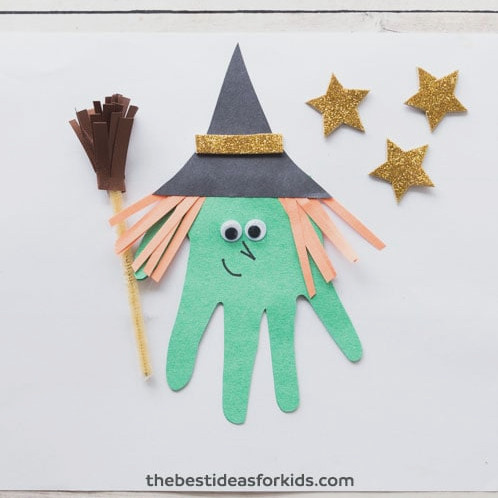
RELATED: Handprint Witch
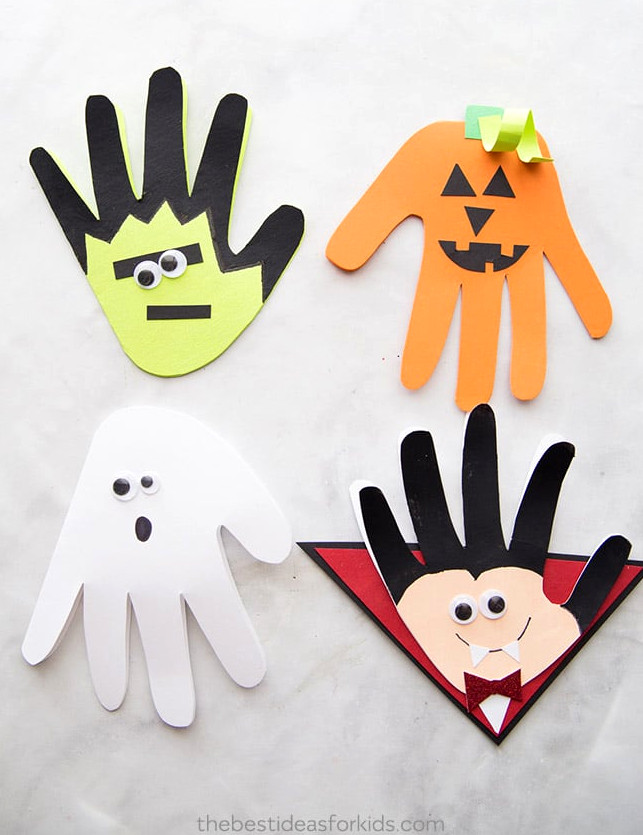
Here’s how to create these simple Halloween handprint cards. Each card opens so children can add a personal Halloween greeting inside, such as “Have a spook-tacular Halloween!” for the ghost or simply “Happy Halloween!” Gather some paint, paper and googly eyes, and you’re ready to begin!
Materials Required
Frankenstein
Pumpkin
Ghost
Vampire
View the Video Tutorial
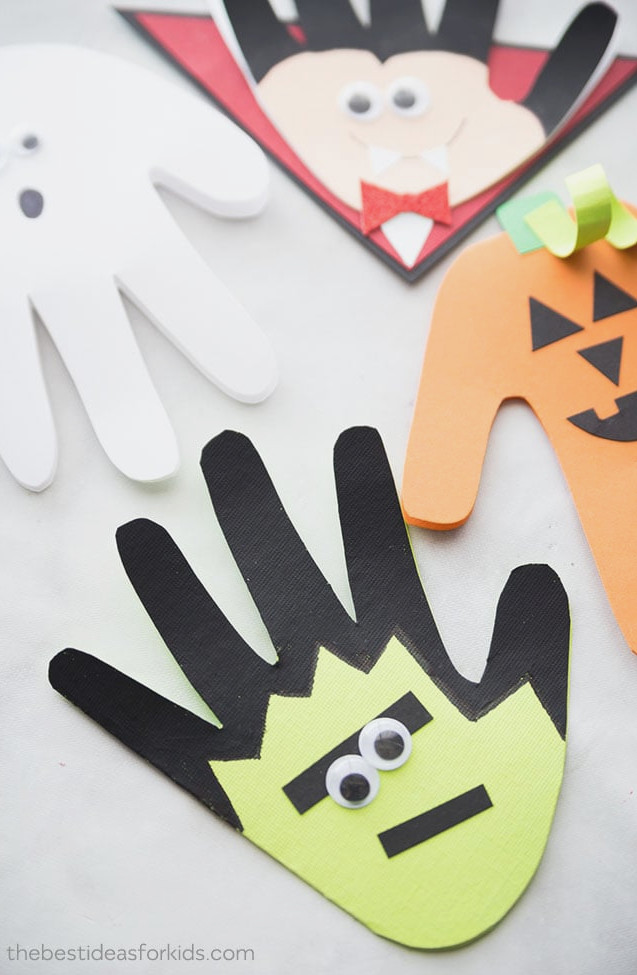
How to Create Halloween Handprint Cards
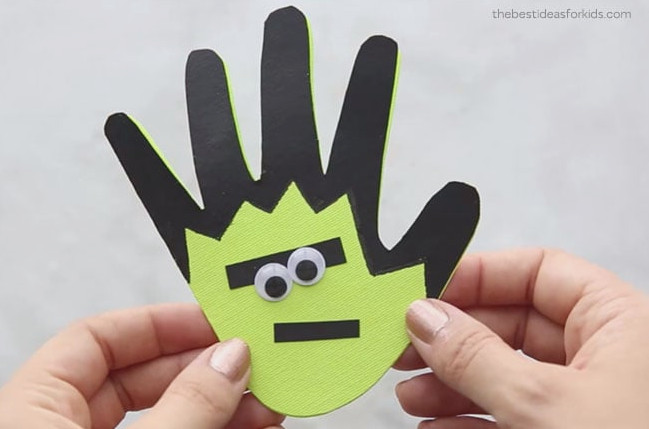
Handprint Frankenstein
1. Start by folding the neon green cardstock in half. Position the handprint so the pinky rests along the folded edge, then trace it. Cut around the hand, leaving the pinky section attached so the card can open there.
2. Paint the upper portion of the hand black to create the hair. While painting, include a few zigzag details in the hair.
3. From black cardstock, cut two strips and glue them in place as the eyebrows and mouth.
4. Attach the googly eyes above the eyebrows with glue.
Handprint Pumpkin
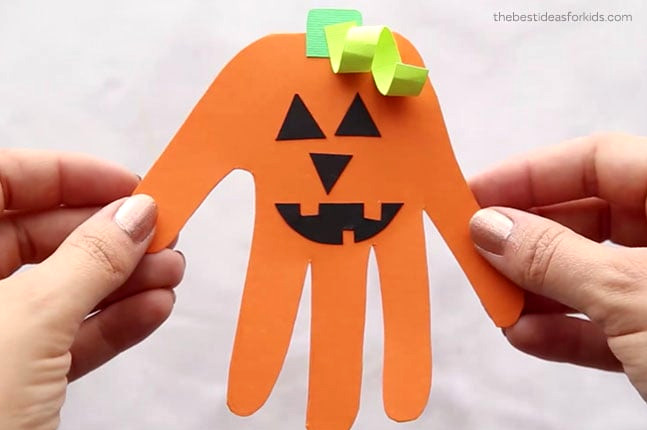
1. Fold the orange cardstock in half. Trace the hand with the wrist positioned on the fold. Cut around the handprint, keeping the wrist uncut so the card can open from that point.
2. Use black cardstock to cut out the pumpkin’s eyes, nose and mouth, then glue each piece into place.
3. Cut a little stem from dark green cardstock and secure it with glue.
4. Cut a narrow piece of light green cardstock and wind it around a pencil to create a curl. Glue the curled piece onto the stem.
Handprint Ghost
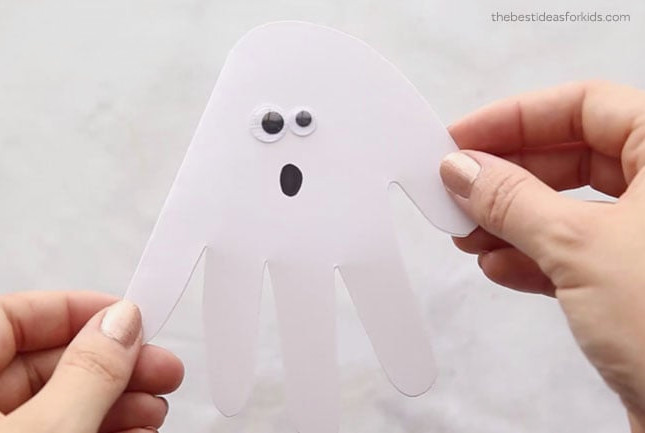
1. Take a sheet of white cardstock and fold it in half.
2. Trace the handprint with the pinky placed on the paper’s folded edge. Cut it out, keeping the folded section by the pinky connected so the card can open. For complete instructions on the opening mechanism, watch the video tutorial at the end of this post!
3. Glue the googly eyes in position, placing one slightly smaller eye on the right.
4. Use a black sharpie to sketch the mouth.
Handprint Vampire
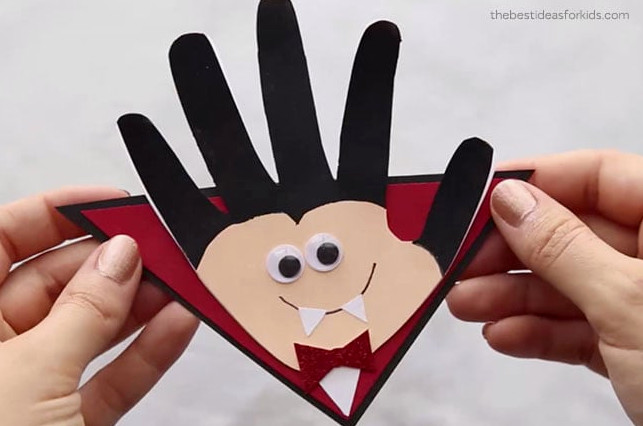
1. Fold a white sheet of cardstock over. Trace the handprint with the pinky aligned to the folded edge. Cut it out while leaving the pinky-side section connected, allowing it to open as a card.
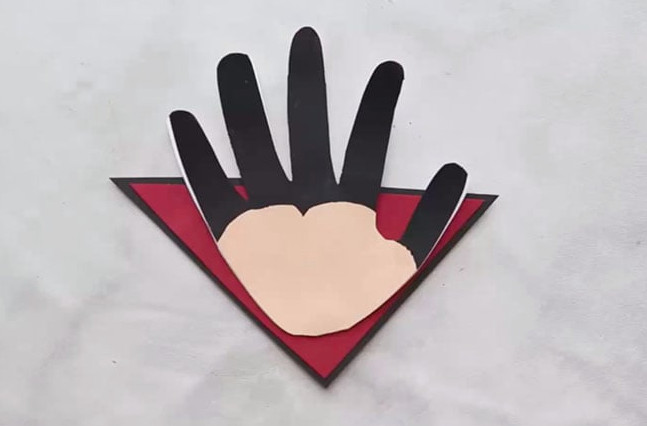
2. Apply this paint color to the lower part of the handprint and allow it to dry.
3. Next, cover the upper portion of the handprint with black paint, shaping the hair so it ends in a point.
4. Sketch the mouth using a black sharpie. Cut two tiny triangles from white cardstock and attach them to the mouth.
5. To create the cape, cut a large triangle from red cardstock. Cut a slightly larger matching triangle from black cardstock and glue the two pieces together. Finish it with a small white triangle at the lower point.
6. Attach the cape with glue to the back of the handprint.
7. Cut a bow tie from red glitter paper and glue it near the bottom of the handprint. Attach it to the handprint only, avoiding the cape so the card remains able to open.
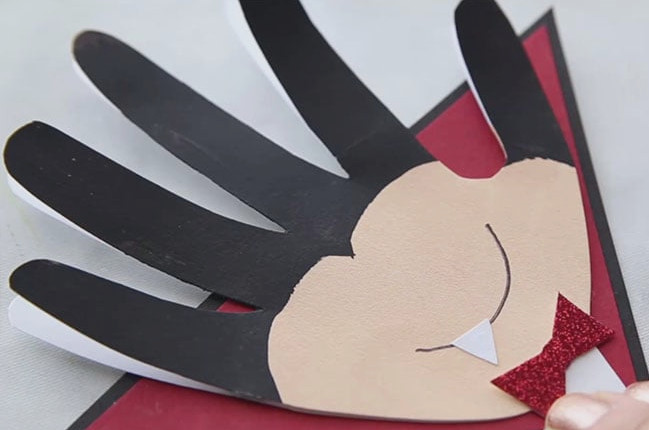
8. Finish the project by gluing on the googly eyes.
We hope you have fun creating these charming Halloween handprints! Be sure to share your finished projects with us in our group.
Additional Halloween Crafts for Children
Explore 50+ Halloween Crafts for Kids – this collection of craft ideas has something for everyone!
For one more adorable Halloween handprint card project, check out this handprint witch.