
Brighten your windows with these DIY Easter Egg Window Clings! This enjoyable Easter project creates lovely decorations for your windows as the warmer season arrives.
RELATED: Easter Egg Suncatchers

Create your own personalized design with our free printable template! Combine various colors and patterns to craft adorable window clings you can enjoy year after year.

Supplies You’ll Need

View the Video Tutorial
Making Easter Egg Window Clings
1. Prepare the black glue.
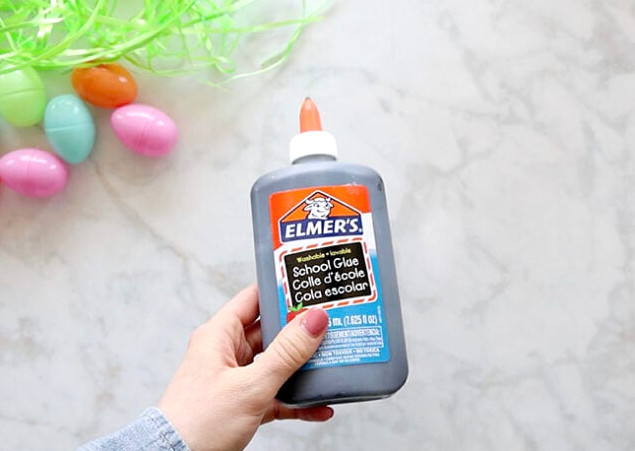
Combine black acrylic paint and white glue to create the mixture needed for the dark outlines around the stained-glass window cling.
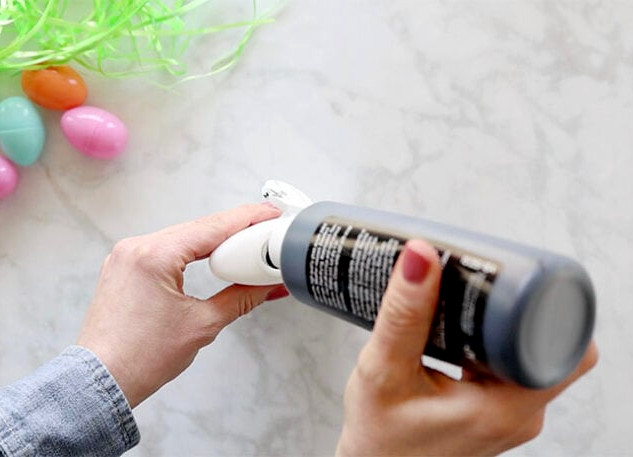
Squeeze in about two generous squirts of paint, then shake the white glue bottle until everything is blended. Check the shade; if it looks too gray or needs to be darker, mix in a little additional black paint. Avoid adding too much, since the glue could become runny. If that occurs, simply pour more white glue into the bottle.
2. Form the window cling outline.
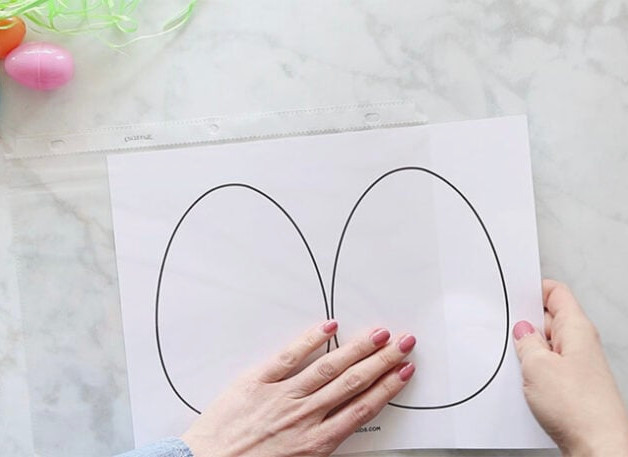
Print the egg template—we chose the blank egg with two per page—and place it inside a transparent sheet protector. Recycled clear plastic works as well; the glue needs a plastic surface on which to dry.
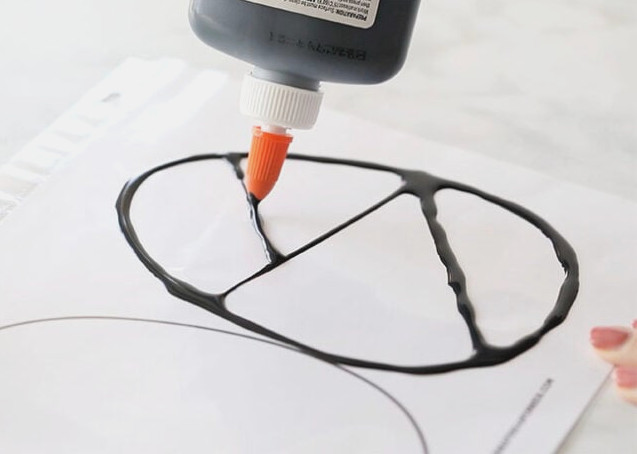
Trace the egg’s outer edge with the black glue, using the printed design as your guide.
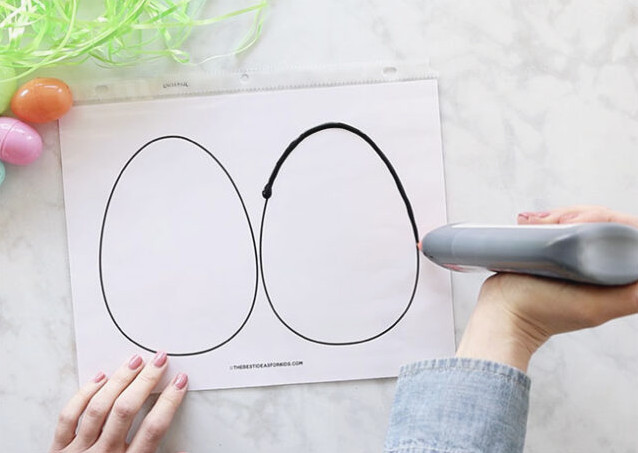
Next, draw lines inside the egg to create additional details. Choose geometric patterns or design any imaginative egg you prefer! After finishing, allow the black glue to dry. Plan to continue the project the following day, as the black glue might begin separating slightly from the sheet protector.
3. Bring color to the window cling.
Pour concentrated food coloring into a bottle of clear glue, making a separate bottle for every color you want to use. Add three small drops of clear dish soap to each bottle to help the finished cling adhere to the window. Shake each mixture thoroughly.
Note: Colored glue is another option if you would rather skip this step.
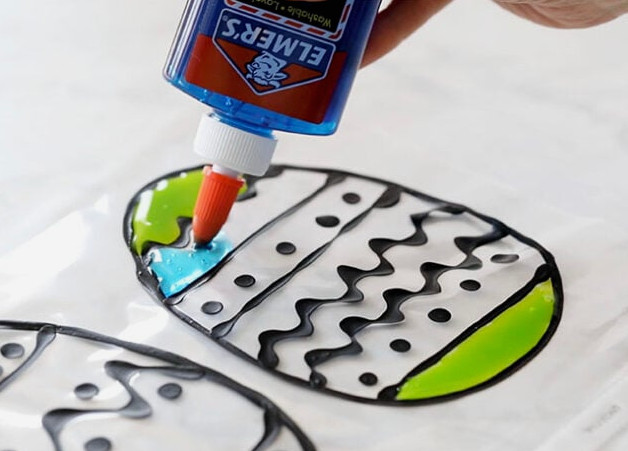
Use the tinted clear glue to fill the remaining sections of the egg. Keep the coating thin, since a thick layer may run over the borders. Spread it evenly, then leave it until it has dried completely.
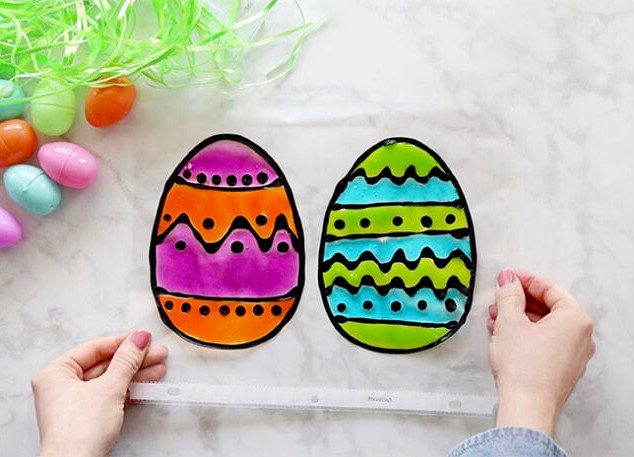
5. Remove and display!
After it has dried overnight, gently lift the window cling from the sheet protector. Should it lack enough stickiness, lightly brush its back with a little water.
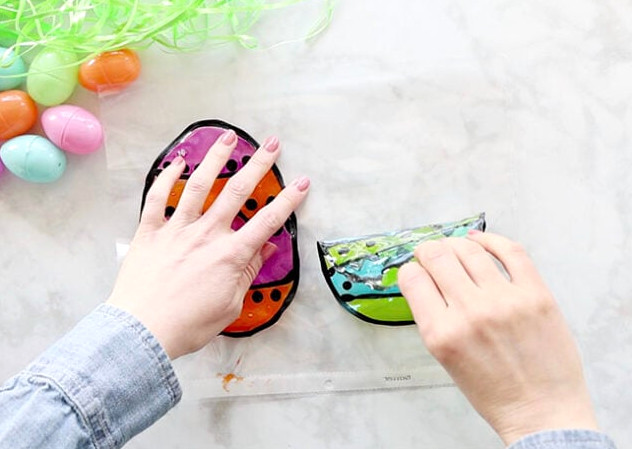
Tip: When the clings do not adhere well to the glass, secure them in place with tape.
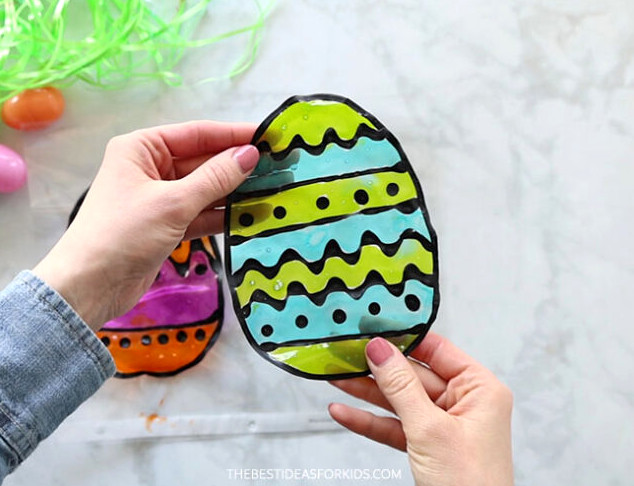
Note: If you wait several days before placing the clings on the window, the glue may curl slightly. Restore its flexibility by brushing a small amount of water onto the back and pressing it against the glass. Keep in mind that this may leave some glue behind when the clings are removed. Use washable glue, and clean any remaining residue from the window with soap and water.
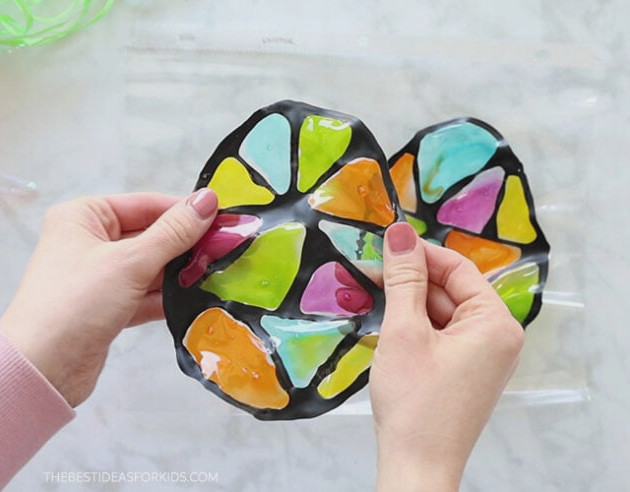
Place it on the window, then enjoy your colorful creation!
Discover more enjoyable Easter projects in our collection of 25+ Easter Crafts for Kids.