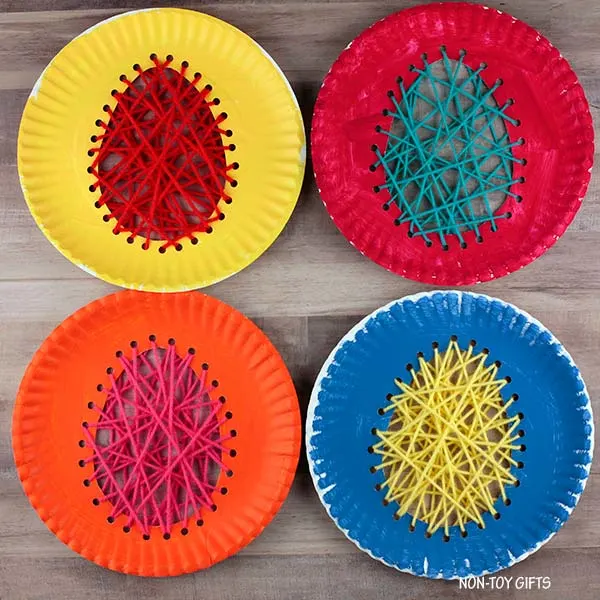
Searching for an enjoyable, simple sewing project for Easter? This paper plate Easter egg activity is perfect! Despite being such a delightful craft, it’s very inexpensive–all you need is a paper plate, paint, and yarn. If you need a quick Easter project for home, school, or church, this one is sure to work wonderfully!
Begin by printing the complimentary template- you’ll find it at the end of the article-, which will guide you through the activity. Then, gather your supplies. You’ll need scissors, a hole puncher, yarn, paint, and a paper plate.
Let your child paint the plate. Choose one shade, or encourage them to be imaginative with several colors. Be sure to explain that the middle will be removed, especially if they plan to add lots of tiny details. To make things faster, you can also complete this step ahead of time.
MORE PAPER PLATE CRAFTS:
When the paint has fully dried, use the template to trim out the egg shape and create the holes. A child may be able to help with part of this process, but an adult should handle it for the most precise results.
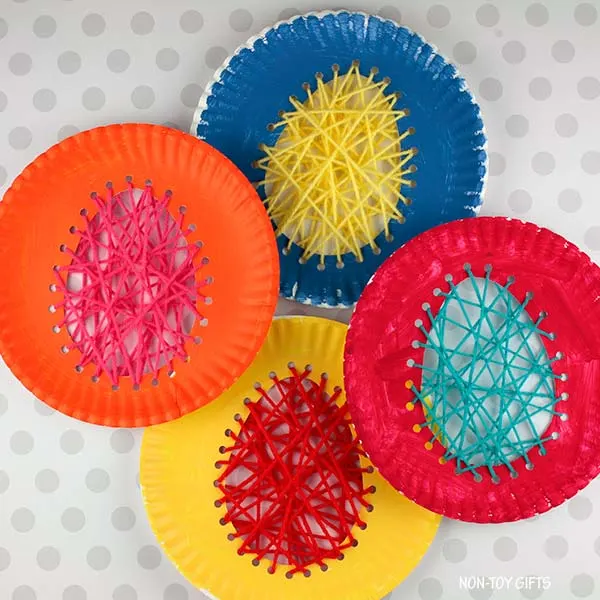
With the holes ready, show your child how to thread the yarn over and under through the craft. Once you give it to them, let them work their way through every little opening. It’s a wonderful way to practice fine motor abilities! If you’re working with a big group, you might play soft music while everyone completes this portion.
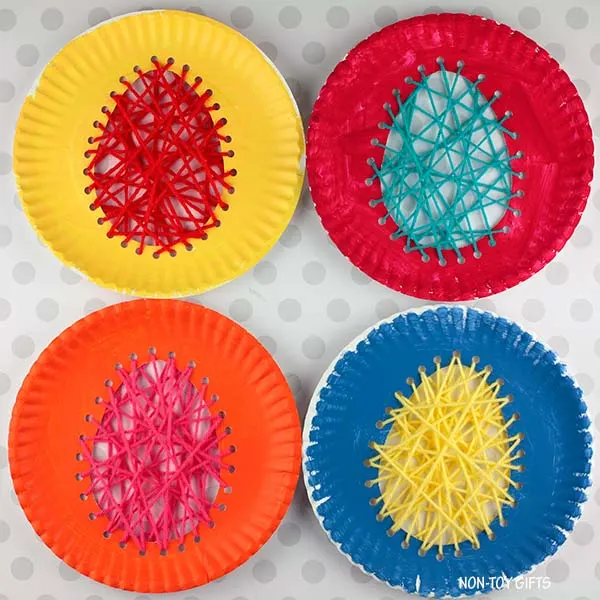
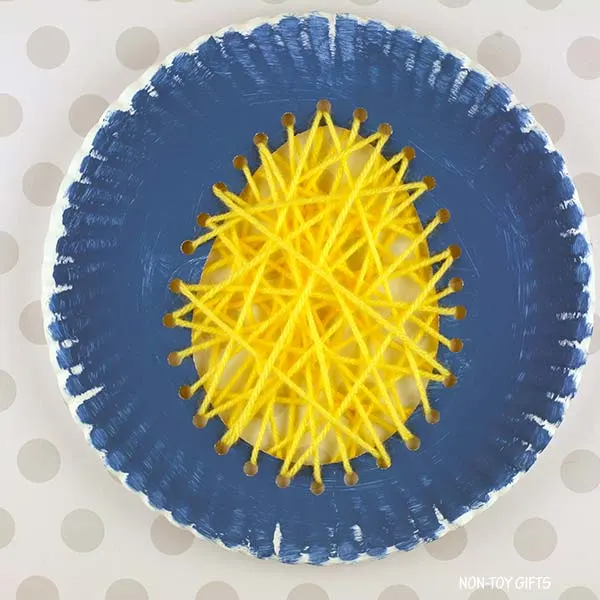
Once the project is finished, your child will surely be eager to display it! This sewing activity supports fine motor development and encourages color matching as well. The paper plate Easter egg craft is a project you’ll be happy to make again each year!
Paper plate Easter egg craft
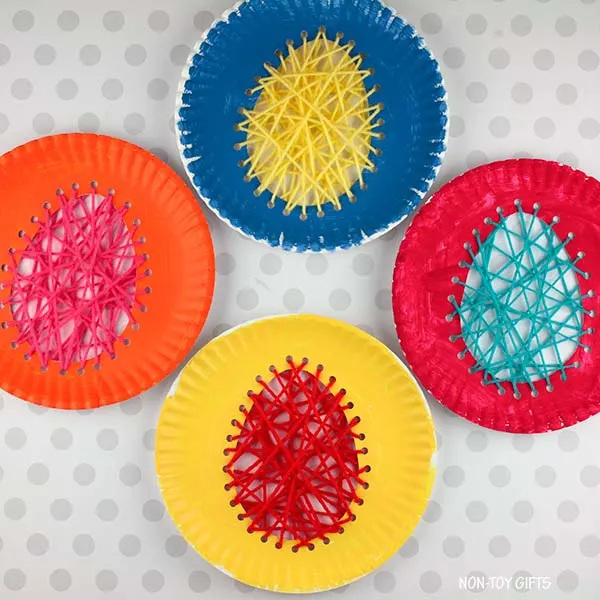
Supplies:
How to create an Easter egg craft with paper plate and yarn
Paint the paper plate first, then place it aside so it can dry thoroughly.
Get the craft template (available at the end of the article), trim out the egg, and trace it at the center of the painted paper plate.
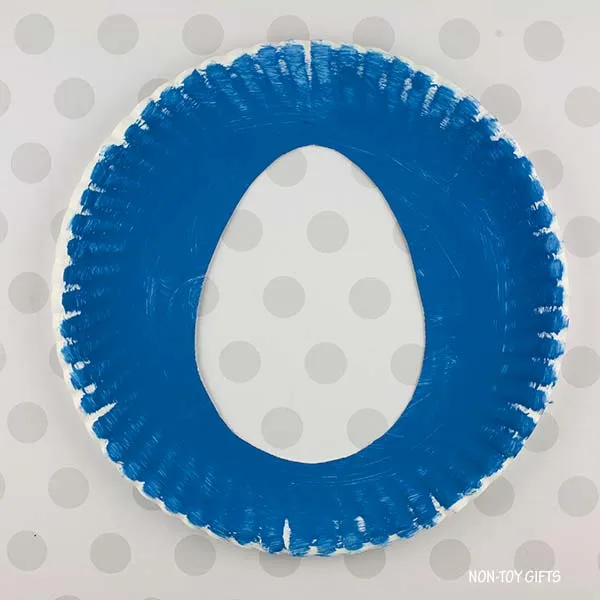
Trim the egg shape from the paper plate.
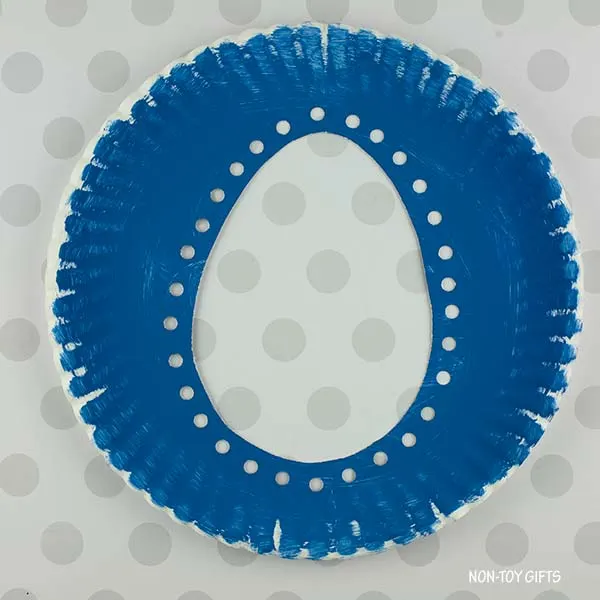
Make openings around the egg with a hole punch.
Snip a length of yarn, pass it through theplastic yarn needleand knot one end onto the needle. Fasten the opposite end of the yarn to the back of the paper plate with tape. You’re ready to begin pulling the yarn through the holes in the paper plate.
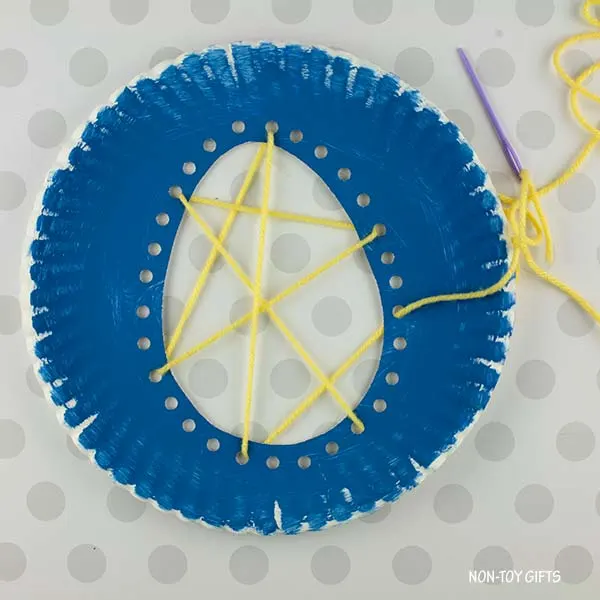
Thread through each opening once or multiple times. Continue weaving until you use up the yarn. Then, tape the yarn’s end to the back of the paper plate to hold it in place.
Materials
- Easter egg template – available at the end of the article
- paper plate
- craft paint (shade of your choice)
- yarn paint (shade of your choice)
- pencil
- tape
- paint brush
Tools
- scissors
- hole punch
- plastic yarn needle
Instructions
-
- Paint the paper plate first, then leave it aside to dry completely.
- Obtain the craft template (available at the end of the article), cut out the egg, and trace it in the center of the painted paper plate.
- Trim the egg shape from the paper plate.
- Create holes around the egg using a hole punch.
- Cut a piece of yarn, guide it through theplastic yarn needleand knot one end onto the needle. Tape the yarn’s other end to the back of the paper plate. You can begin pulling the yarn through the openings in the paper plate. Pass through the holes once or multiple times. Continue weaving until the yarn runs out. Fasten the yarn’s end to the back of the paper plate with tape.
Subscribe to our Newsletter and receive this Ester Egg Template as a thank you!