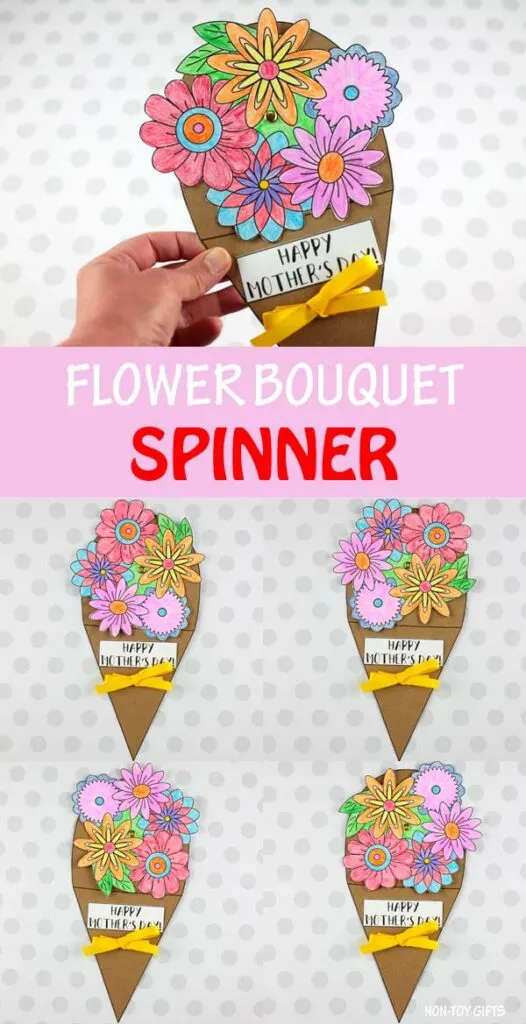
We designed this flower bouquet spinner with Mother’s Day in mind. However, mom would also be delighted to get it for her birthday or on any other day, for that matter.
Grandma would enjoy it on Grandparent’s Day as well. Children can create the flower bouquet for their teachers during Teacher’s Appreciation Week or at the close of the school year. This flower bouquet is perfect for all kinds of special occasions.
Although our flower bouquet features the words “Happy Mother’s Day!”, the template includes a blank note as well, allowing you to add any message you want, even in a language other than English.
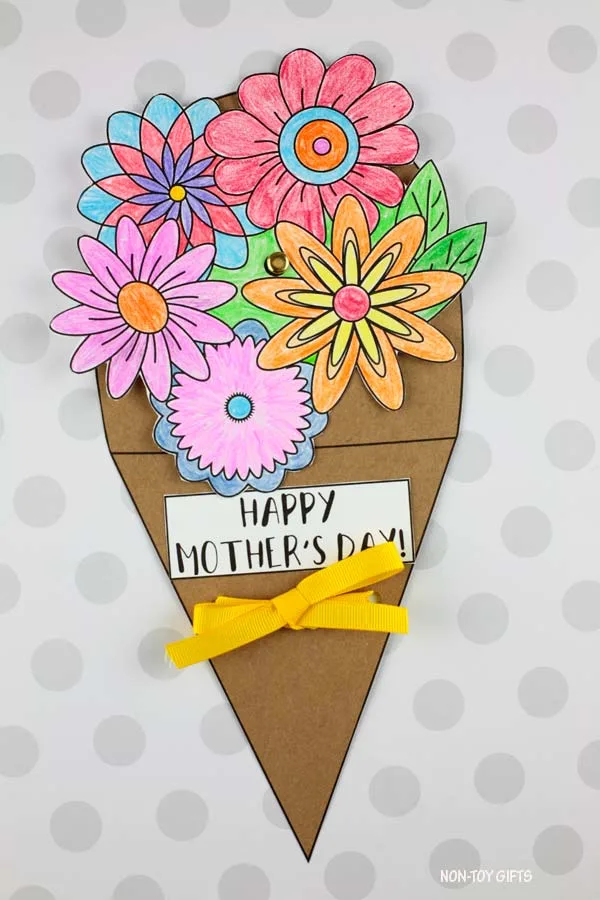
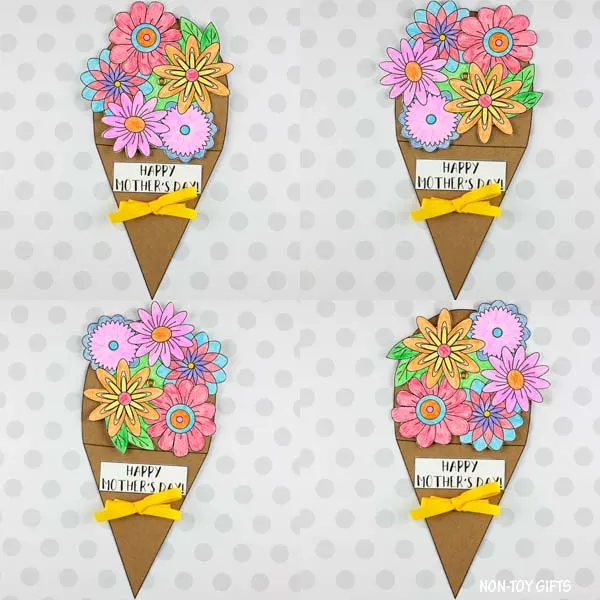
When several children make this Mother’s Day flower craft together, each one will be different. There are two reasons for this. Children may decorate the flowers with colored pencils, markers, or paint, and they can position the flowers in the bouquet in whichever direction they choose. If they change their minds, they only need to spin the flowers to give the bouquet a fresh appearance.
Picture this craft being created in a classroom. The result would be wonderful! You would have a wide assortment of flower bouquets, each bright and one-of-a-kind.
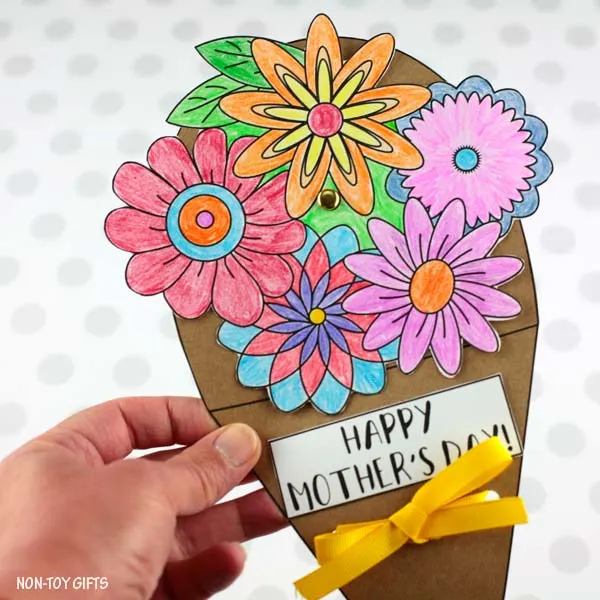
This craft project blends the Mother’s Day spinner with the handprint flower bouquet. The flower bouquet spinner truly stands out among our Mother’s Day craft ideas.
Flower bouquet spinner
Materials:
- Flower bouquet pattern
- White and brown cardstock
- Colored pencils
- Paper brad
- Hole puncher
- Pencil
- Scissors
- Ribbon
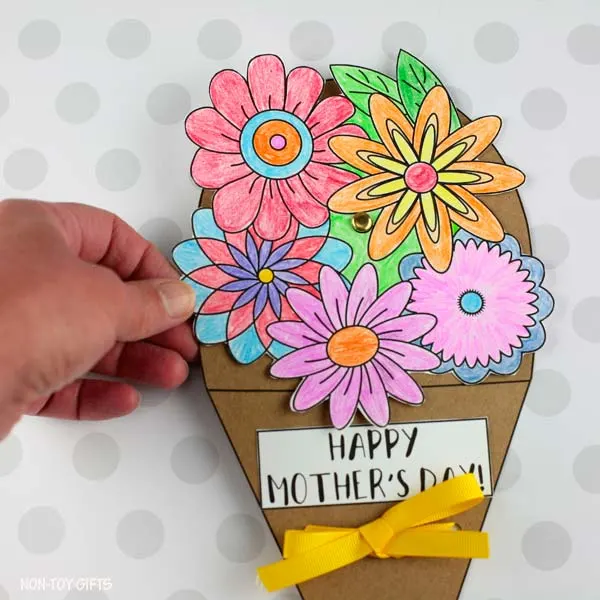
Steps for making the flower bouquet spinner
First, print page one of the template (bouquet paper) onto brown paper, then print page two (flowers and signs) onto white paper.
Decorate the flowers with color.
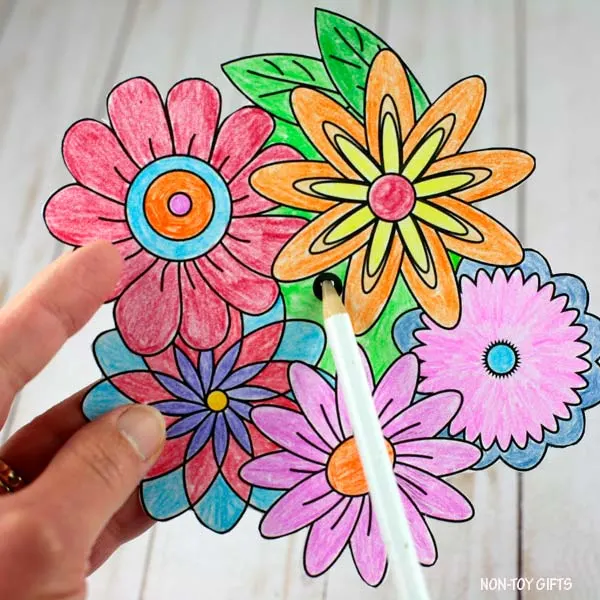
Make an opening in the center of the flowers with a pencil. (where indicated)
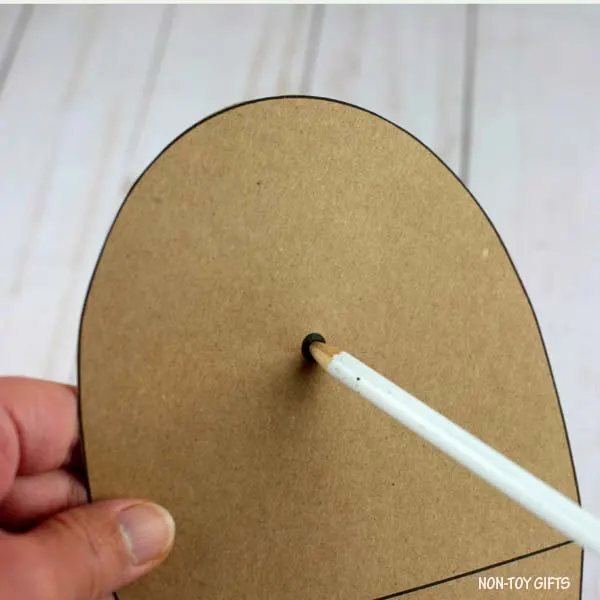
With a pencil, create an opening at the top of the bouquet paper. (where indicated)
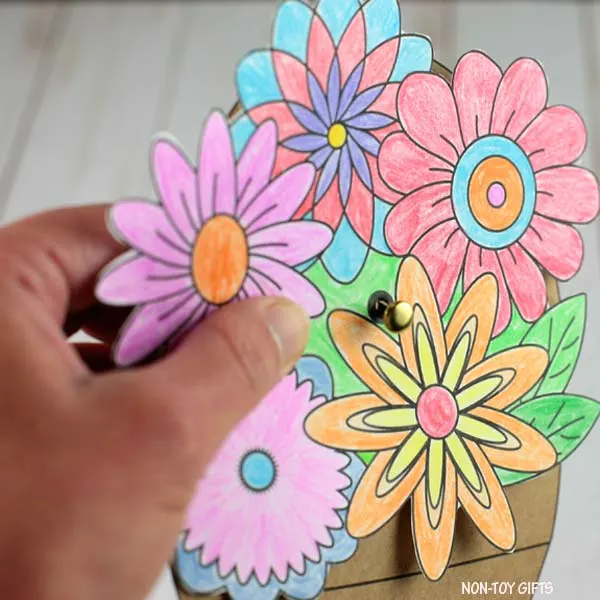
Fasten the flower and bouquet paper together using a paper brad.
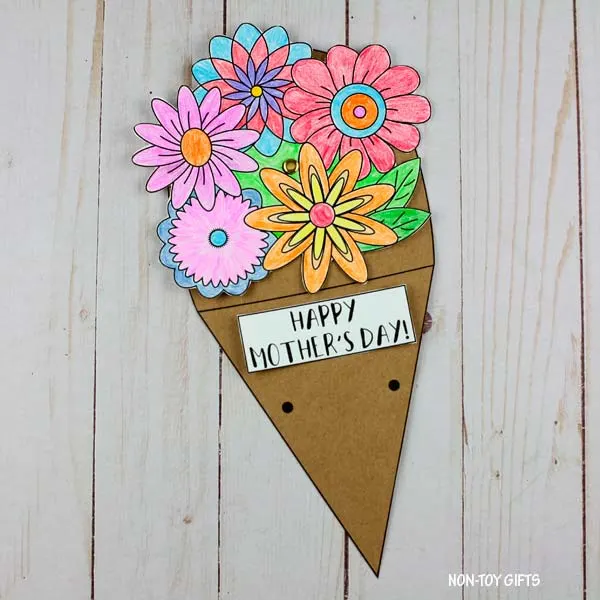
Adhere the sign to the brown paper, positioning it between the flowers and the two black dots.
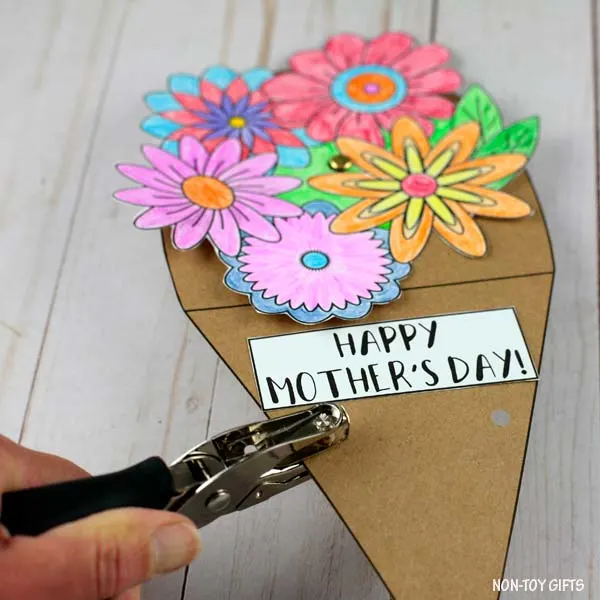
Punch a pair of holes in the center of the brown paper. (where indicated).
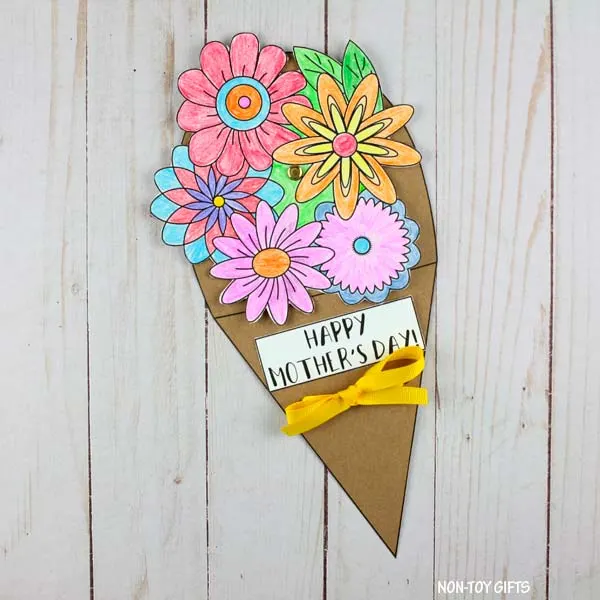
Pass the ribbon through both holes, then tie it into a bow.
SAVE IT: