Create a charming paper plate owl with this simple kids’ craft! It’s an enjoyable, easy project that’s ideal for classrooms, autumn, or creative rainy-day fun.
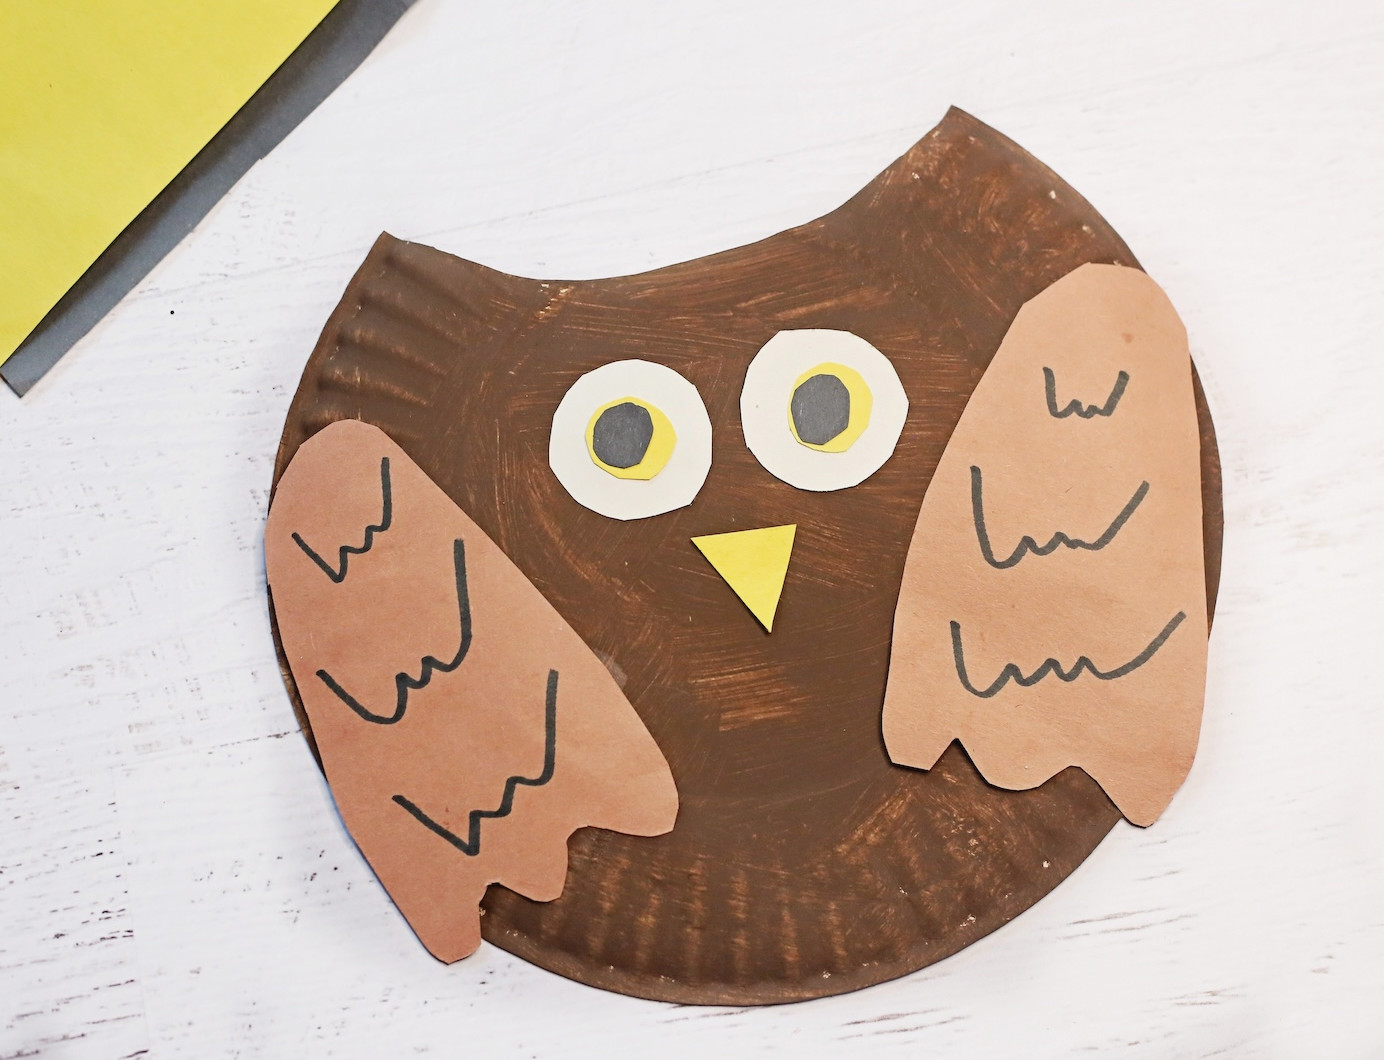
Whooooo’s ready to make a craft that’s adorable, affordable, and completely kid-approved? (I couldn’t resist that owl pun.) If your little ones are climbing the walls this autumn and you’re looking for a quick activity that doesn’t involve visiting the craft store, this paper plate owl is just what you need.
All that’s required is a plate, a few simple materials, and a willingness to enjoy a bit of glue-covered chaos.
Here’s the thing: paper plate projects are incredibly helpful. They’re inexpensive, rely on supplies you likely have at home, and let children cut, paint, and glue as much as they like.
This owl is not only cute, he’s also “versatile.” Create a thoughtful old brown owl, a colorful rainbow party owl, or even a glittering nighttime owl covered in sparkles (if you’re feeling courageous).
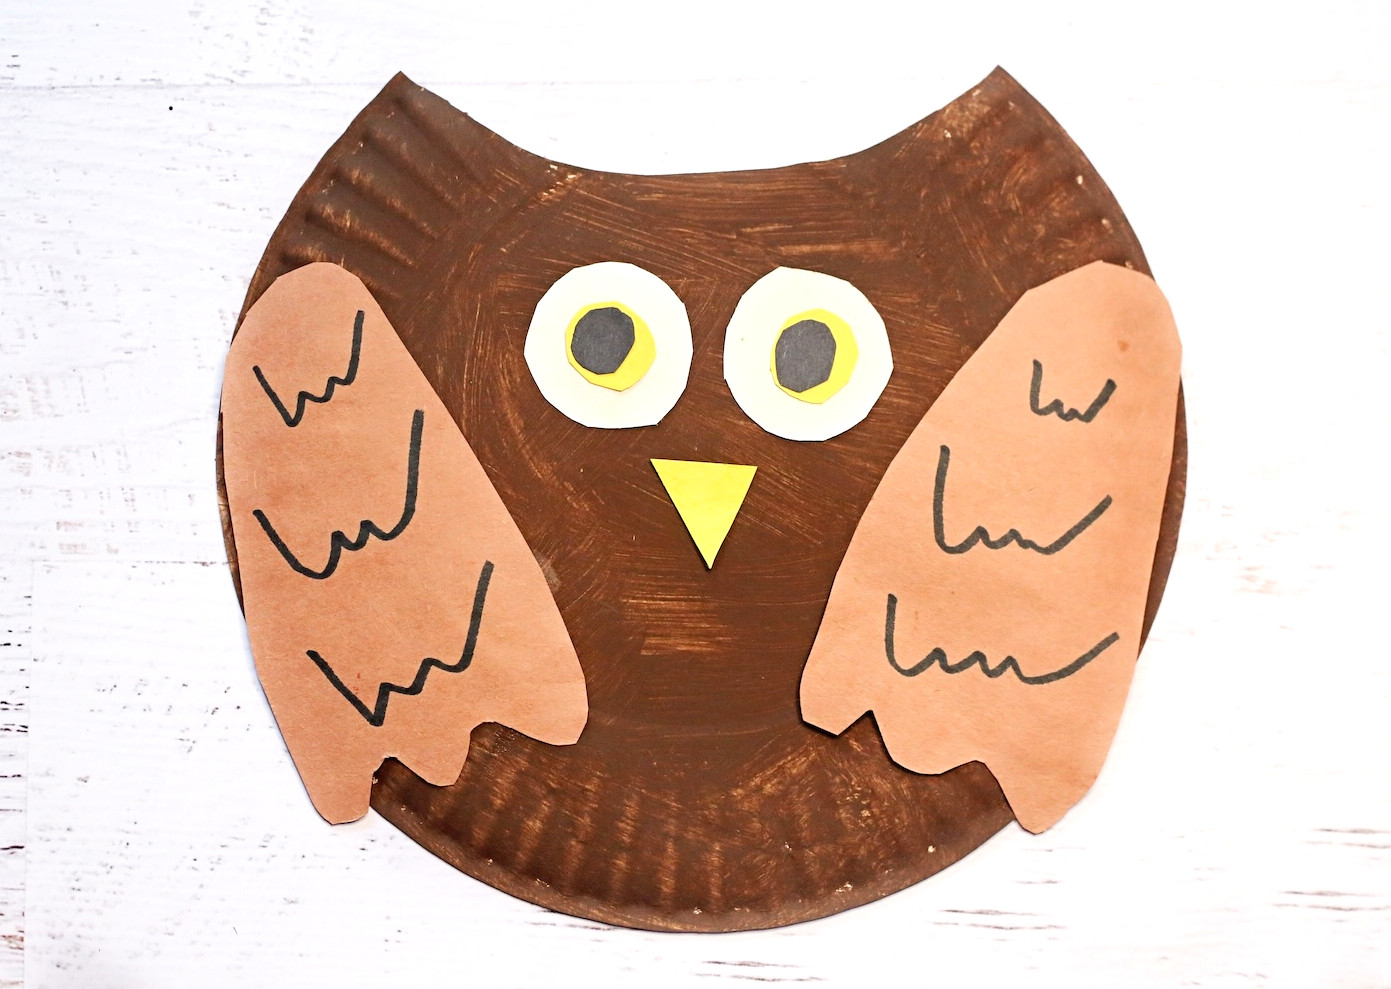
The greatest part? There’s no correct or incorrect way to create it. Your child’s owl could resemble a clever professor, a silly cartoon figure, or something pulled right from a Dr. Seuss book – and every design is a success.
Teachers appreciate this activity in the classroom, parents enjoy it on rainy afternoons, and children adore it because, honestly, owls are simply amazing.
So collect a pile of paper plates, put on a nature program for ideas, and let’s begin crafting. When you’re finished, you’ll have an owl that’s charming, playful, and completely worthy of a spot on the refrigerator.
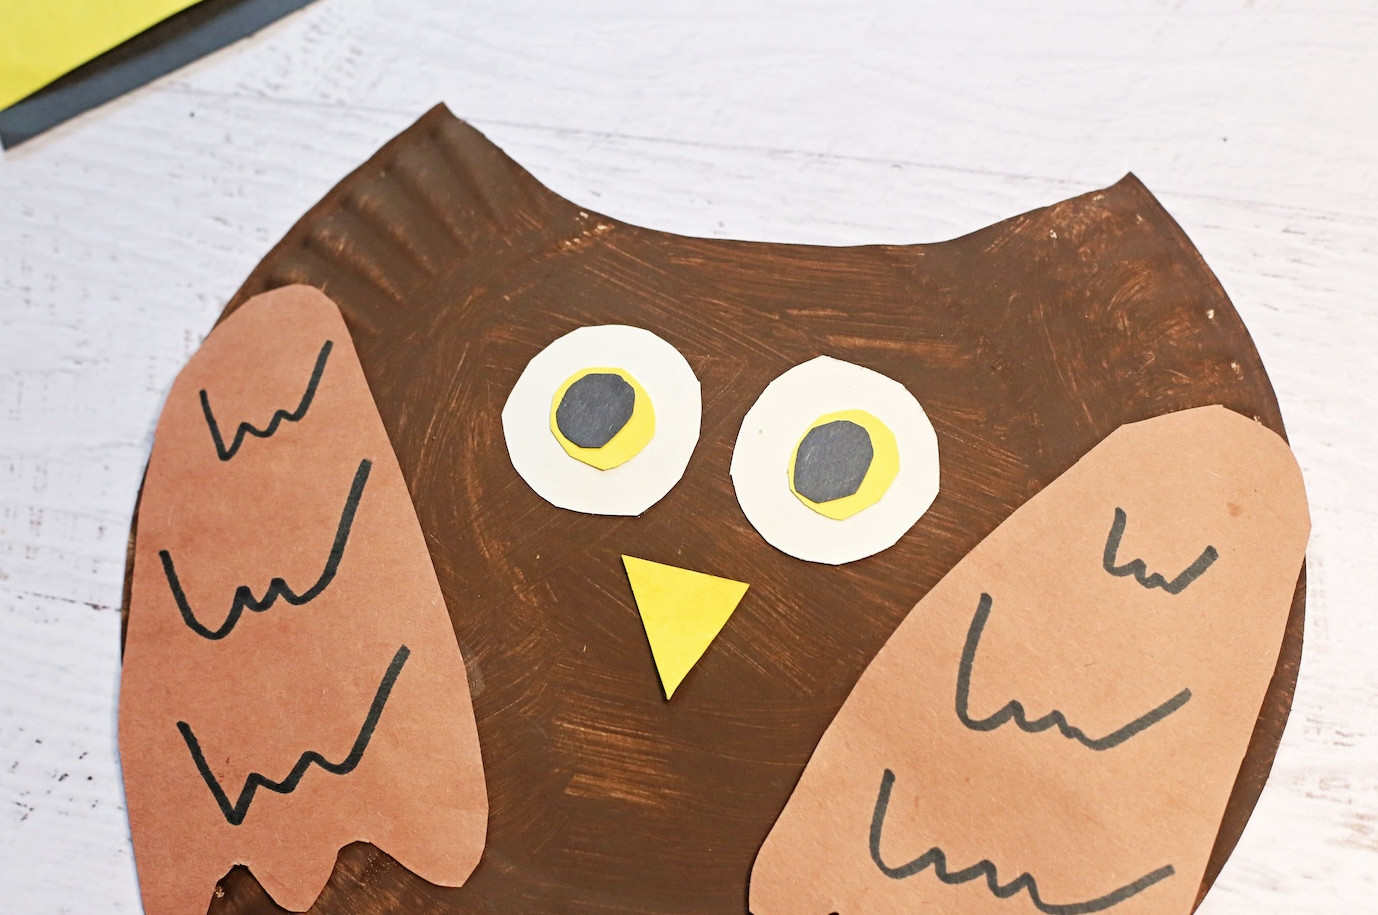
Ready to get creative? Find the printable instructions below:
Paper Plate Owl Craft
This enjoyable autumn craft for children explains how to create an owl from a paper plate.
Yield: 1 owl
Cost: $.25
-
Use the scissors to snip a small curve into the top edge of the plate.
-
Cover the plate with brown paint. Let it dry as you complete the next steps.
-
Prepare two medium white circles, two smaller yellow circles, one yellow triangle, and two tiny black circles. Then, cut two wing forms from the brown paper.
-
Attach the yellow circles to the centers of the white circles, then glue the two black circles within the yellow circles.
-
Sketch wavy W patterns on the wings to represent feathers.
-
After the paint is completely dry, glue both wings onto the owl. Add the eyes, followed by the yellow triangle, to the plate.
Did you have fun with this autumn craft? Tell me about it in the comments! And take a look at these other adorable ideas for little ones:
Clay Leaves • DIY Autumn Wreath • Handprint Leaves • Melted Crayon Pumpkin • Mini Autumn Banners • Owl Pom Pom • Paper Pumpkins • Pumpkin Perler Beads