This simple autumn wreath project for children is ideal for toddlers, preschoolers, and older kids. Created with cardboard, paint, and stickers, it requires no special materials. It’s an enjoyable, hands-on fall activity for home or the classroom!
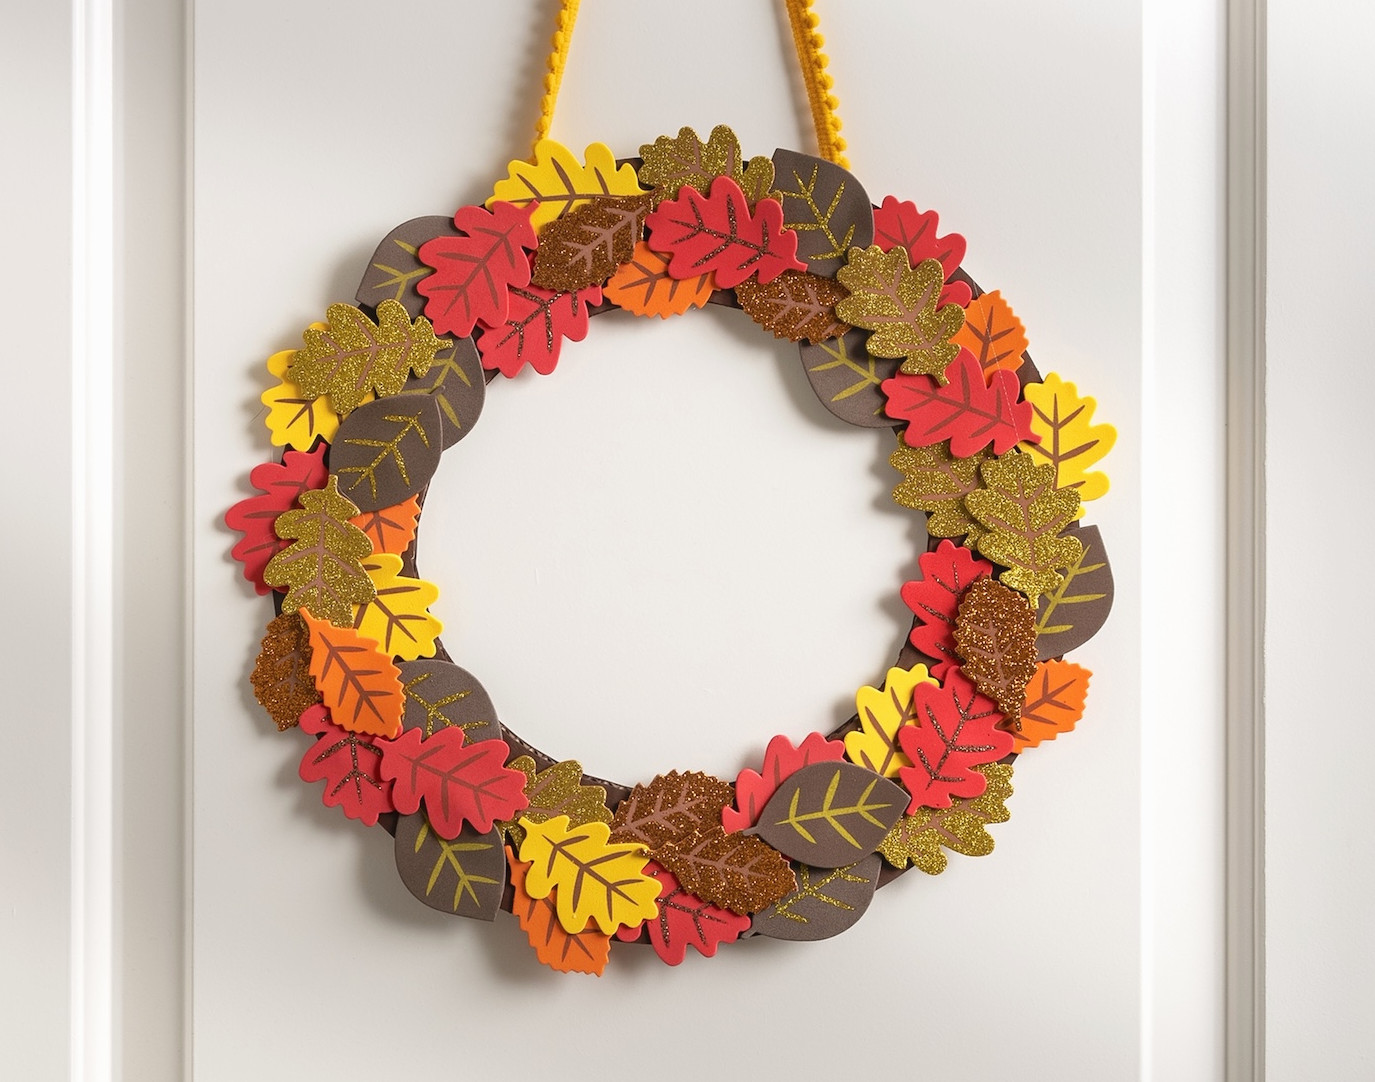
Fall has a way of making me crave everything warm and cozy – sweaters, cider, and naturally, crafts. With the temperatures dropping, it’s the perfect time to bring out the paint, stickers, and glue and create something seasonal with the little ones.
That’s exactly why this autumn wreath project is such a hit. It’s easy, bright, and, best of all, centered around stickers. If you have a child who enjoys peeling and placing stickers, they’ll love this activity.
Only a handful of materials are needed, and you likely already have them at home: cardboard, bowls to trace around, paint, leaf stickers, plus a bit of ribbon or pom-pom trim for the back.
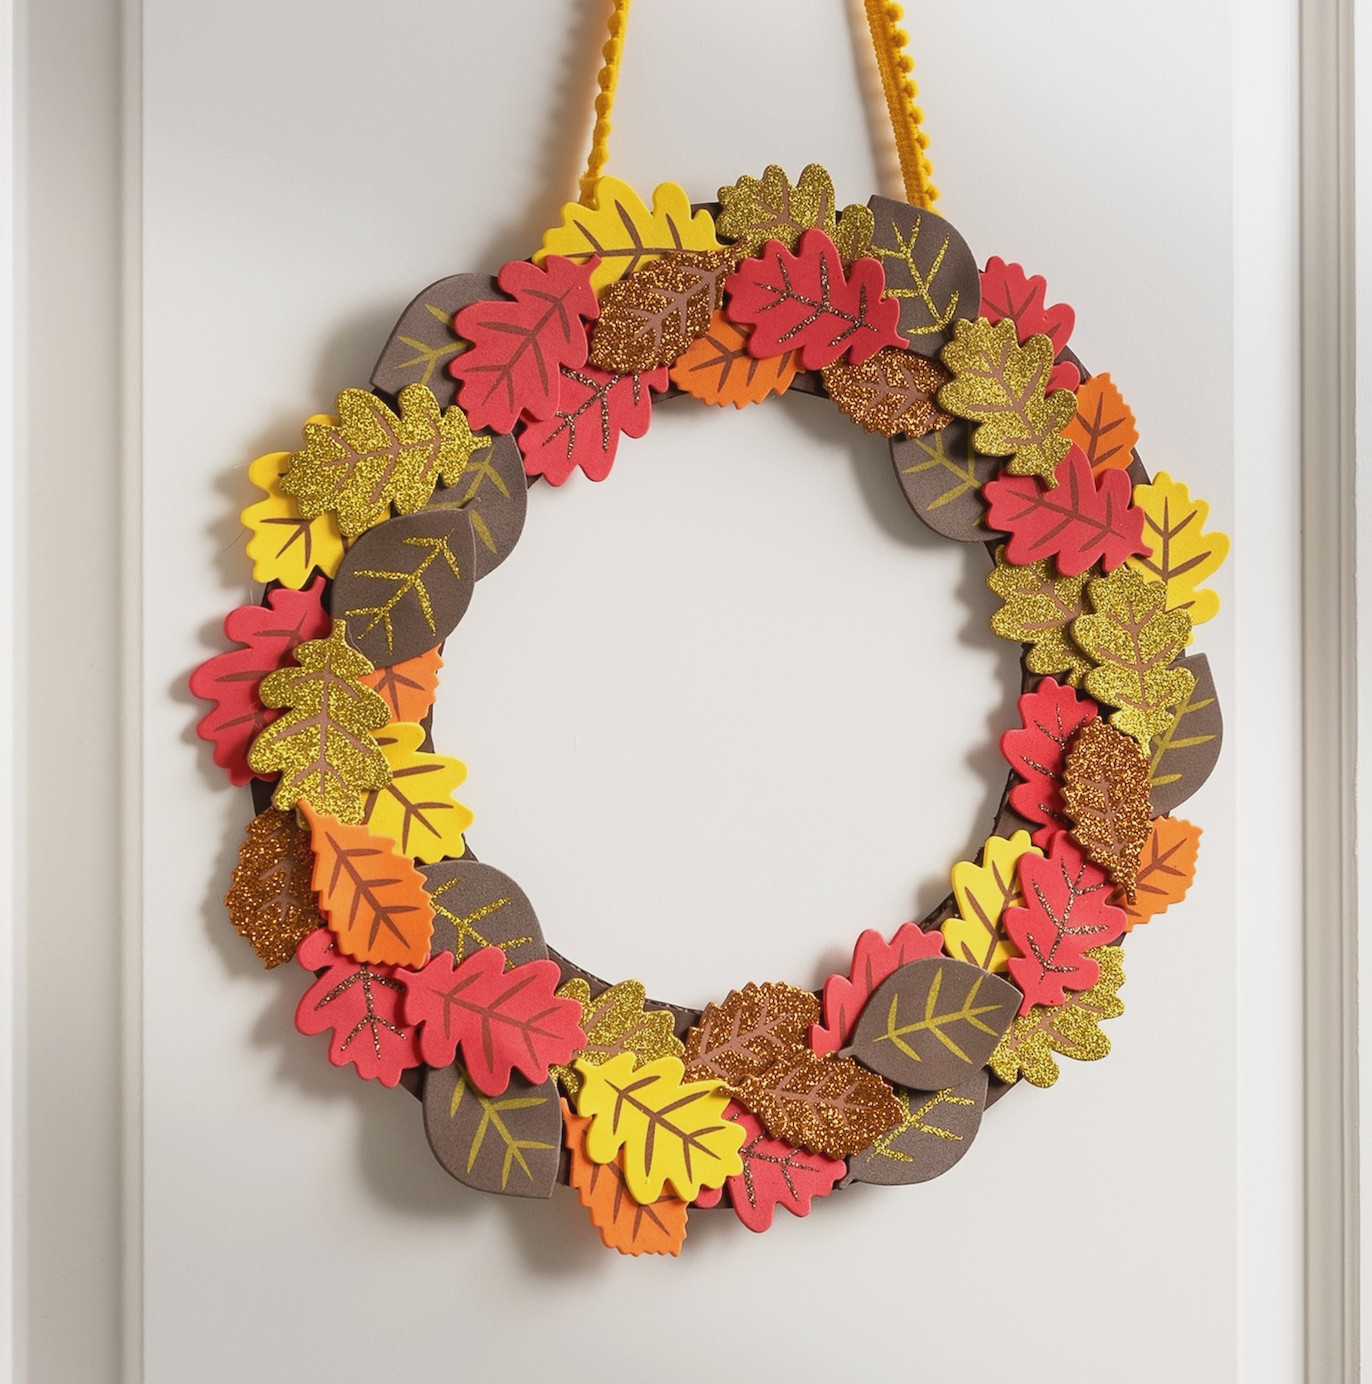
In essence, children get to assemble their own wreath, and it’s much simpler (and more enjoyable) than using wire frames or dealing with real leaves scattered across the table.
This craft is a wonderful choice for the classroom, a homeschool lesson about the seasons, or a wet Saturday when the kids are full of energy and you need an hour of concentrated entertainment (drying time included – extra bonus!).
Preschool children may need some assistance, while older kids should be able to complete nearly everything independently.
Gather your stickers in fall shades, and let’s create something adorable to display on the wall or front door. It’s autumn brought to life . . . kid-style!
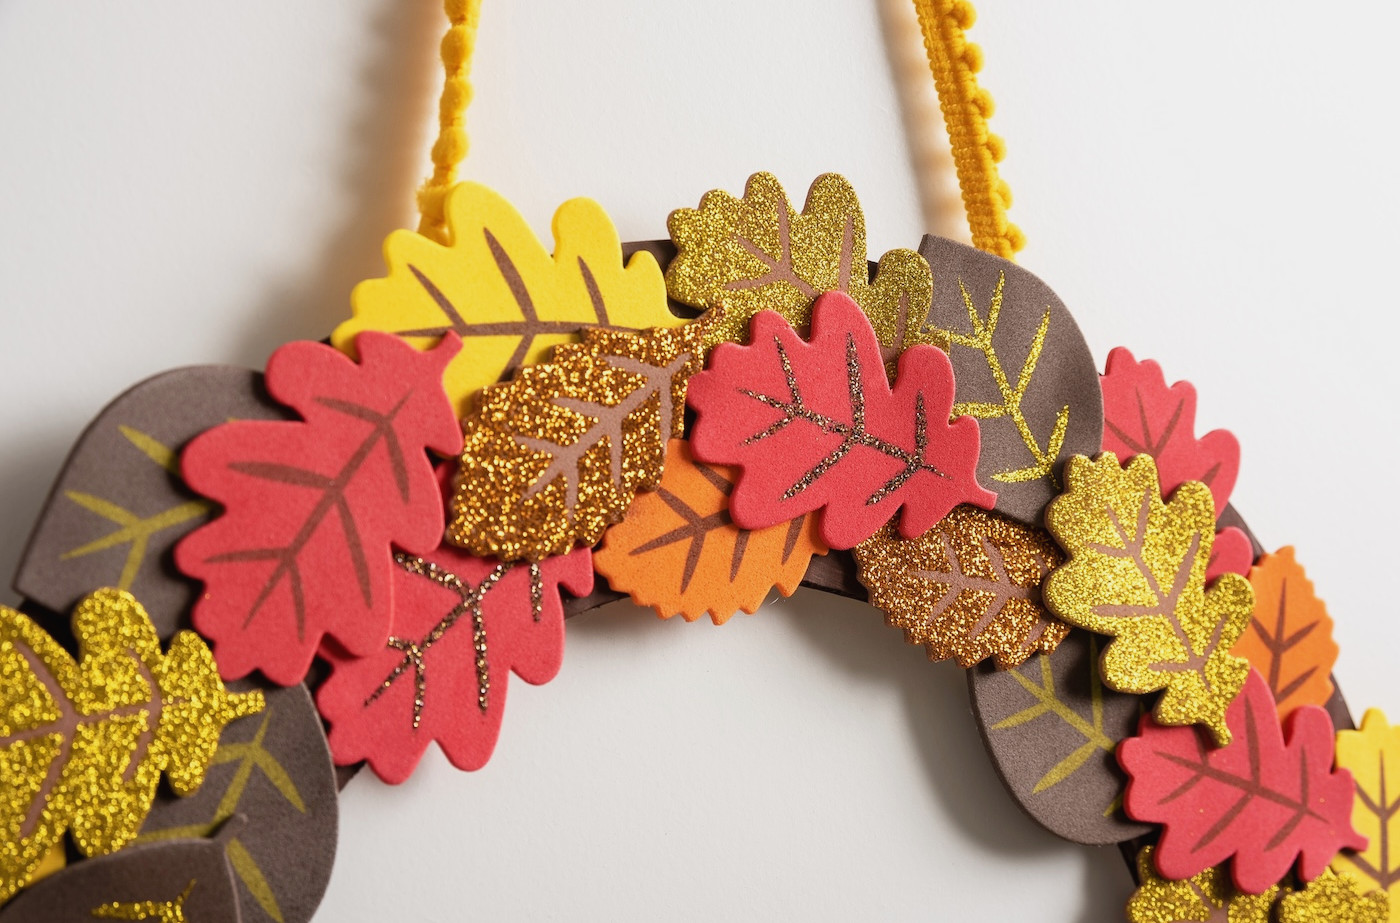
Find the printable instruction card below:
Children’s Autumn Wreath Project
Create a charming fall wreath with children using cardboard, paint, and stickers! This project is simple enough for every age group.
Makes: 1 wreath
Price: $2
- 1 sheet Cardboard
- Art paint brown
- 1 setFoliage stickers I used 48 stickers
- Hanging trim pom pom
-
Set the large bowl on the cardboard and trace around it. Next, position the smaller bowl inside the ring and trace its outline.
-
Cut around both the outer and inner edges of the ring with scissors or a craft knife. Neaten the edges until the shape is perfectly circular.
-
Apply the craft paint color of your choice to one side of the ring. Allow it to dry.
-
Start attaching the leaf stickers to the wreath form. Angle them slightly toward the outer edge of the ring and overlap them.
-
Keep adding stickers at random around the ring until the entire surface is covered.
-
Attach the pom pom trim to the back of the wreath with glue for hanging. Leave it to dry.
Did you have fun with this project? Share your thoughts in the comments! I’d also love for you to explore the following projects: