Create this luminous DIY skull decoration in minutes with an apothecary jar and a handful of Halloween essentials. It’s eerie, fashionable, and incredibly simple to make!
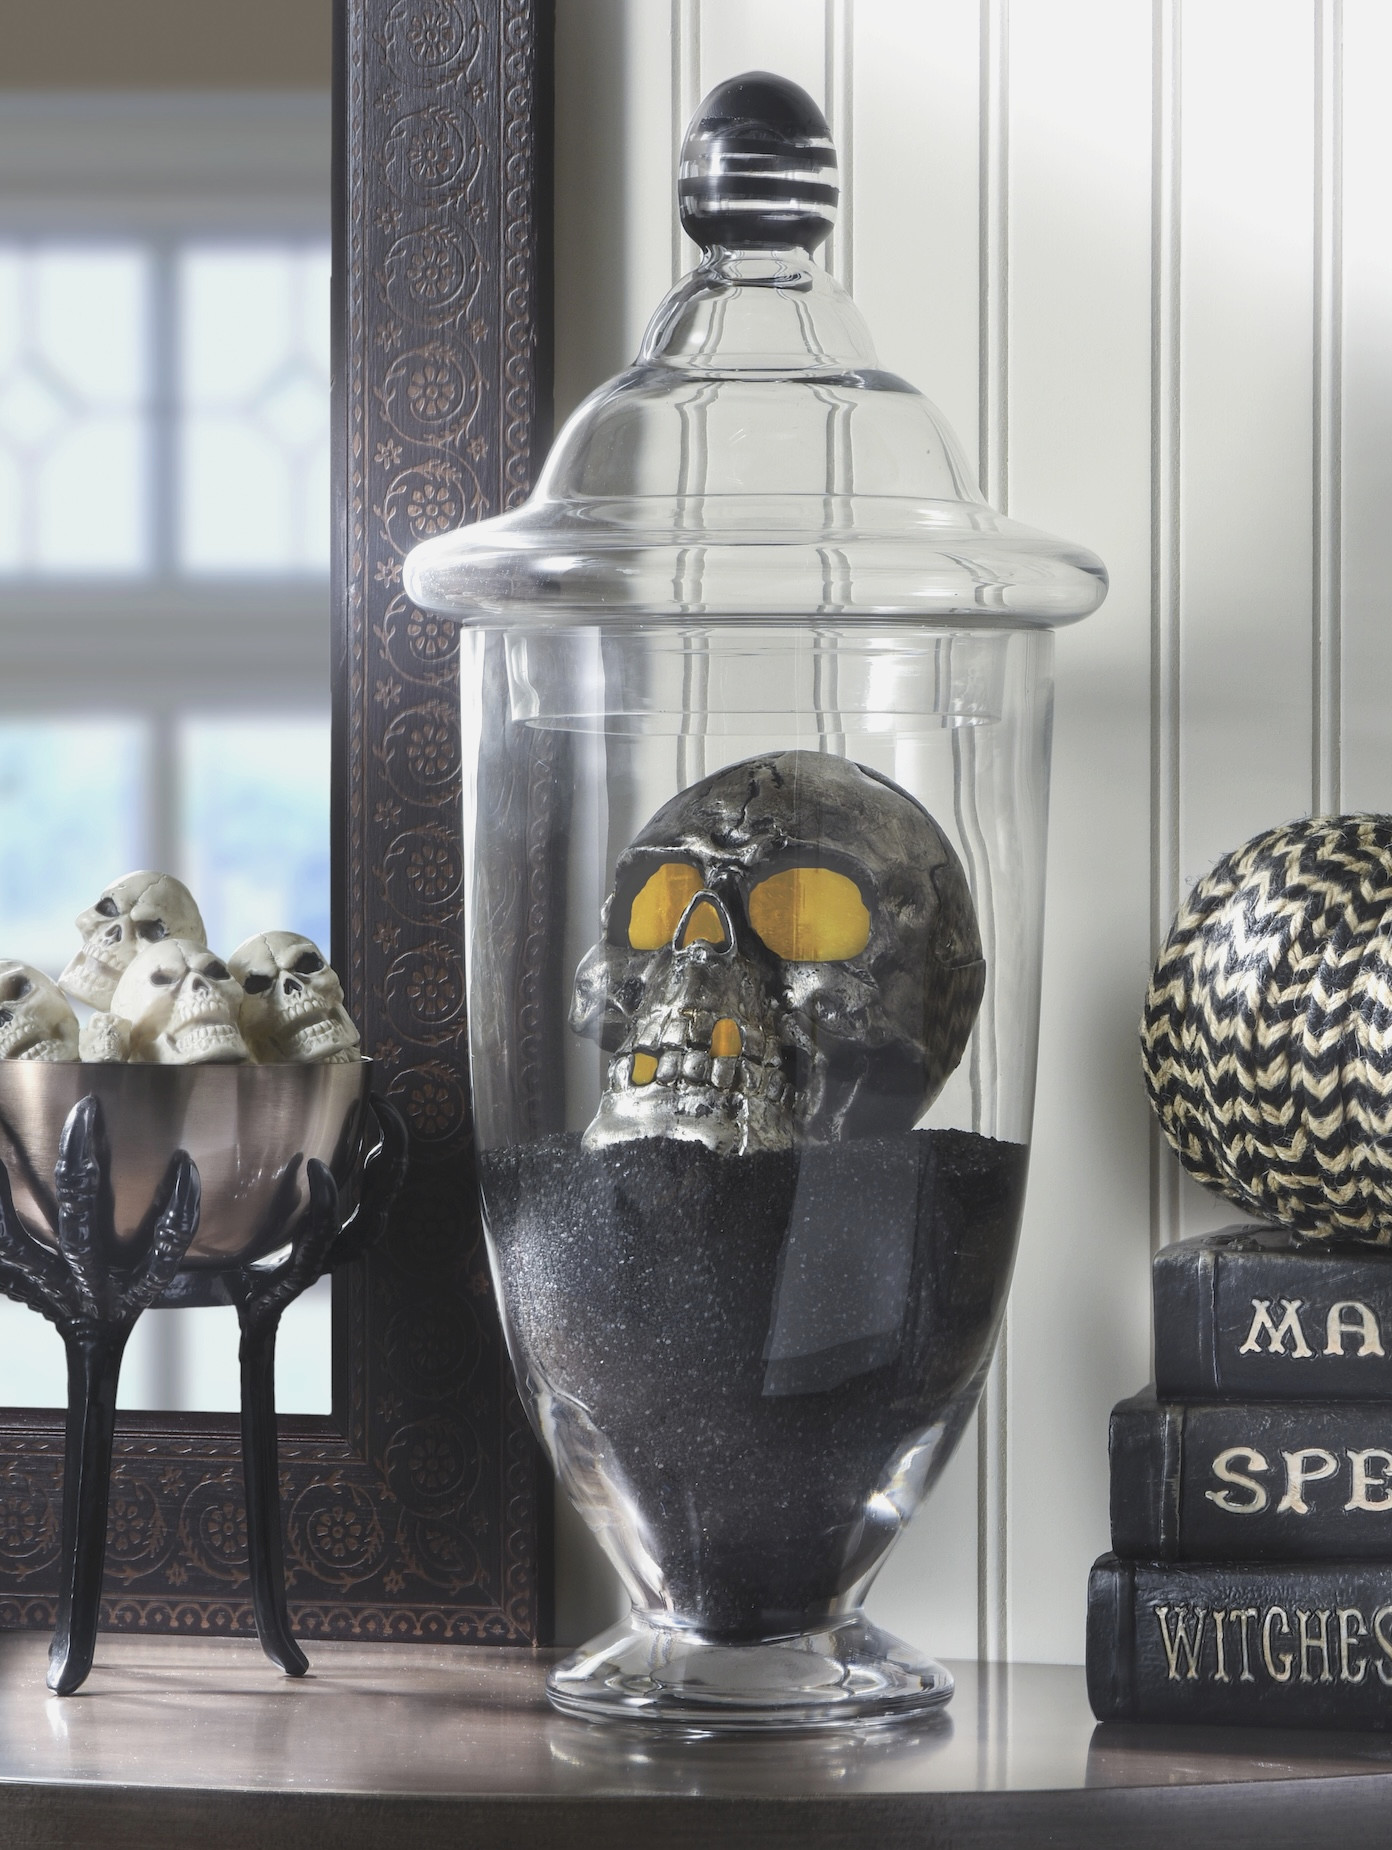
You know those spur-of-the-moment Halloween decorating impulses – when you unexpectedly have to add another creepy accent to your home? That’s precisely how this DIY skull decor was created.
A close friend and I were browsing the aisles at Michaels (as usual), when this eye-catching apothecary jar made us both stop. “That would be an incredible Halloween centerpiece,” I remarked, and suddenly the ideas began flowing.
After finding the ideal skull for the inside, we applied a touch of paint to add some drama. Before long – bam! We had a spooky-yet-chic skull arrangement that comes together in only a few minutes.
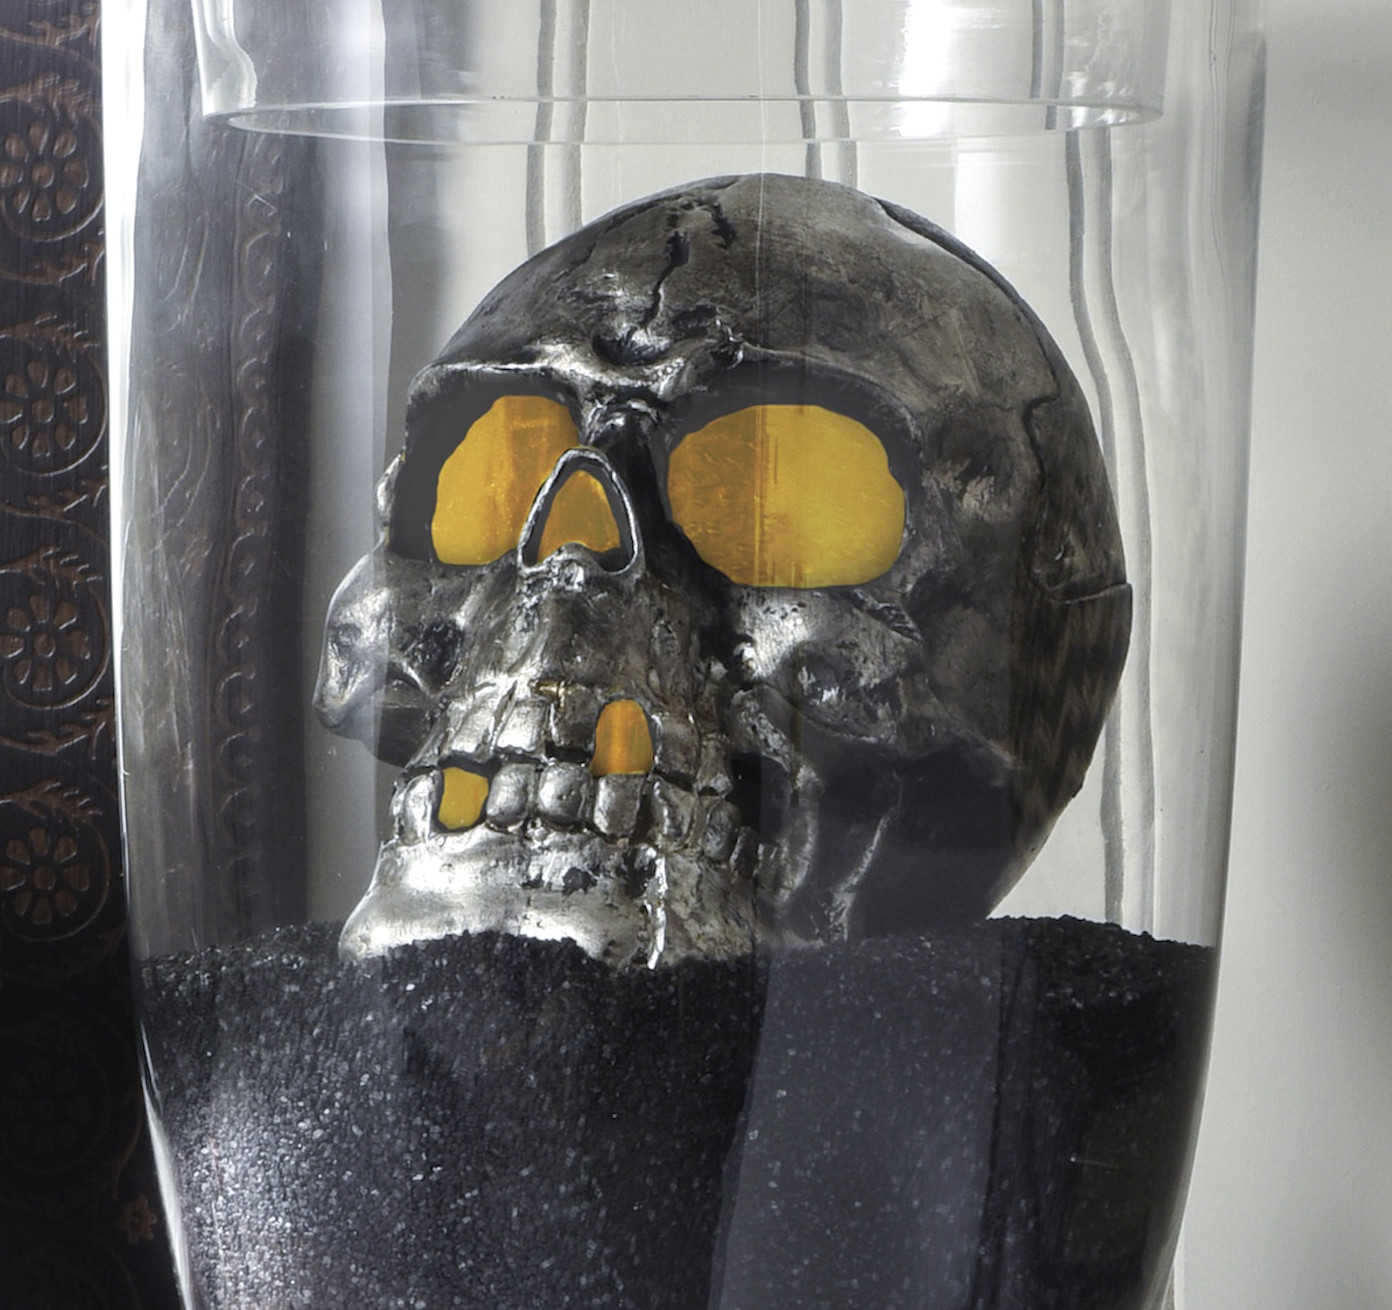
This is the kind of craft that appears far more elaborate than it actually is (my favorite type). When you’re pressed for time but still want a handmade element in your Halloween decorations, this project is perfect. It only requires a few minutes.
Well, perhaps slightly longer than a few minutes, but it truly comes together quickly.
I absolutely adore this eerie decoration, and I’m amazed that we designed it so fast. Here’s everything you’ll need to begin.
Collect These Materials
- Apothecary jar – ours measured 18.5″
- Skull – we purchased this one at Michaels as well; the back comes off and a votive fits inside
- Decorative stone granules – located in the floral department
- FolkArt Multi-Surface Paint, Pure Black
- 1/4″ stencil tape
- Paintbrush
- LED votive (to place inside the skull)
The light shining from inside the skull is ideal for the season. Spookiness at its best! Find the printable instruction card below:
DIY Halloween Skull Decoration
Discover how to assemble this Halloween skull decoration with simple materials. It looks wonderful on a mantel!
Yield: 1 piece
Cost: $15
- Apothecary jar
- Plastic skull
- Decorative stone granules
- Multisurface paint
- Stencil Tape
- LED votive candle
-
Begin by making the skull look more frightening. With the paintbrush, cover the entire skull in black paint.
-
Before the paint sets, use paper towels to remove most of it. Wipe off as much as desired until you achieve your preferred spooky appearance.
-
For the jar handle, wind some 1/4″ stencil tape around the knob, as illustrated.
-
Next, apply the multisurface paint. Peel off the stencil tape immediately, then allow the paint to dry.
-
Pour the stone granules into the jar. Place the LED votive inside the skull, set the skull into the jar, and finish with the lid.
If you make this project, share your thoughts in the comments. Have a wonderful Halloween. Also, take a look at these additional ideas!
Borax Crystal Skull • Cross Stitch Canvases • DIY Halloween Doormat • DIY Skull Earrings • Felt Ball Garland • Home Sweet Haunted Home • Lighted Pumpkin Topiary • Jack O’ Lantern Jars • Mesh Halloween Wreath • Pumpkin Terrarium • Shrunken Apple Heads • Skull Bean Art • Skulls Makeover • Spooky Apothecary Jars • Wine Cork Skeleton • Witch Hat Wreath