Create a gorgeous DIY planter from leftover wood.
After making my favorite contemporary Adirondack chairs, I had quite a few 9-12″ pieces left over from 1×4 cedar boards.
Since cedar can be expensive, I didn’t want to toss them out. Once I spotted them in my scrap pile, I realized they were perfect for another project.
To make use of the leftovers, I created this playful scalloped planter box. In my opinion, there is no such thing as too many plants, whether indoors or outside, so a scrap wood planter seemed like the ideal solution!
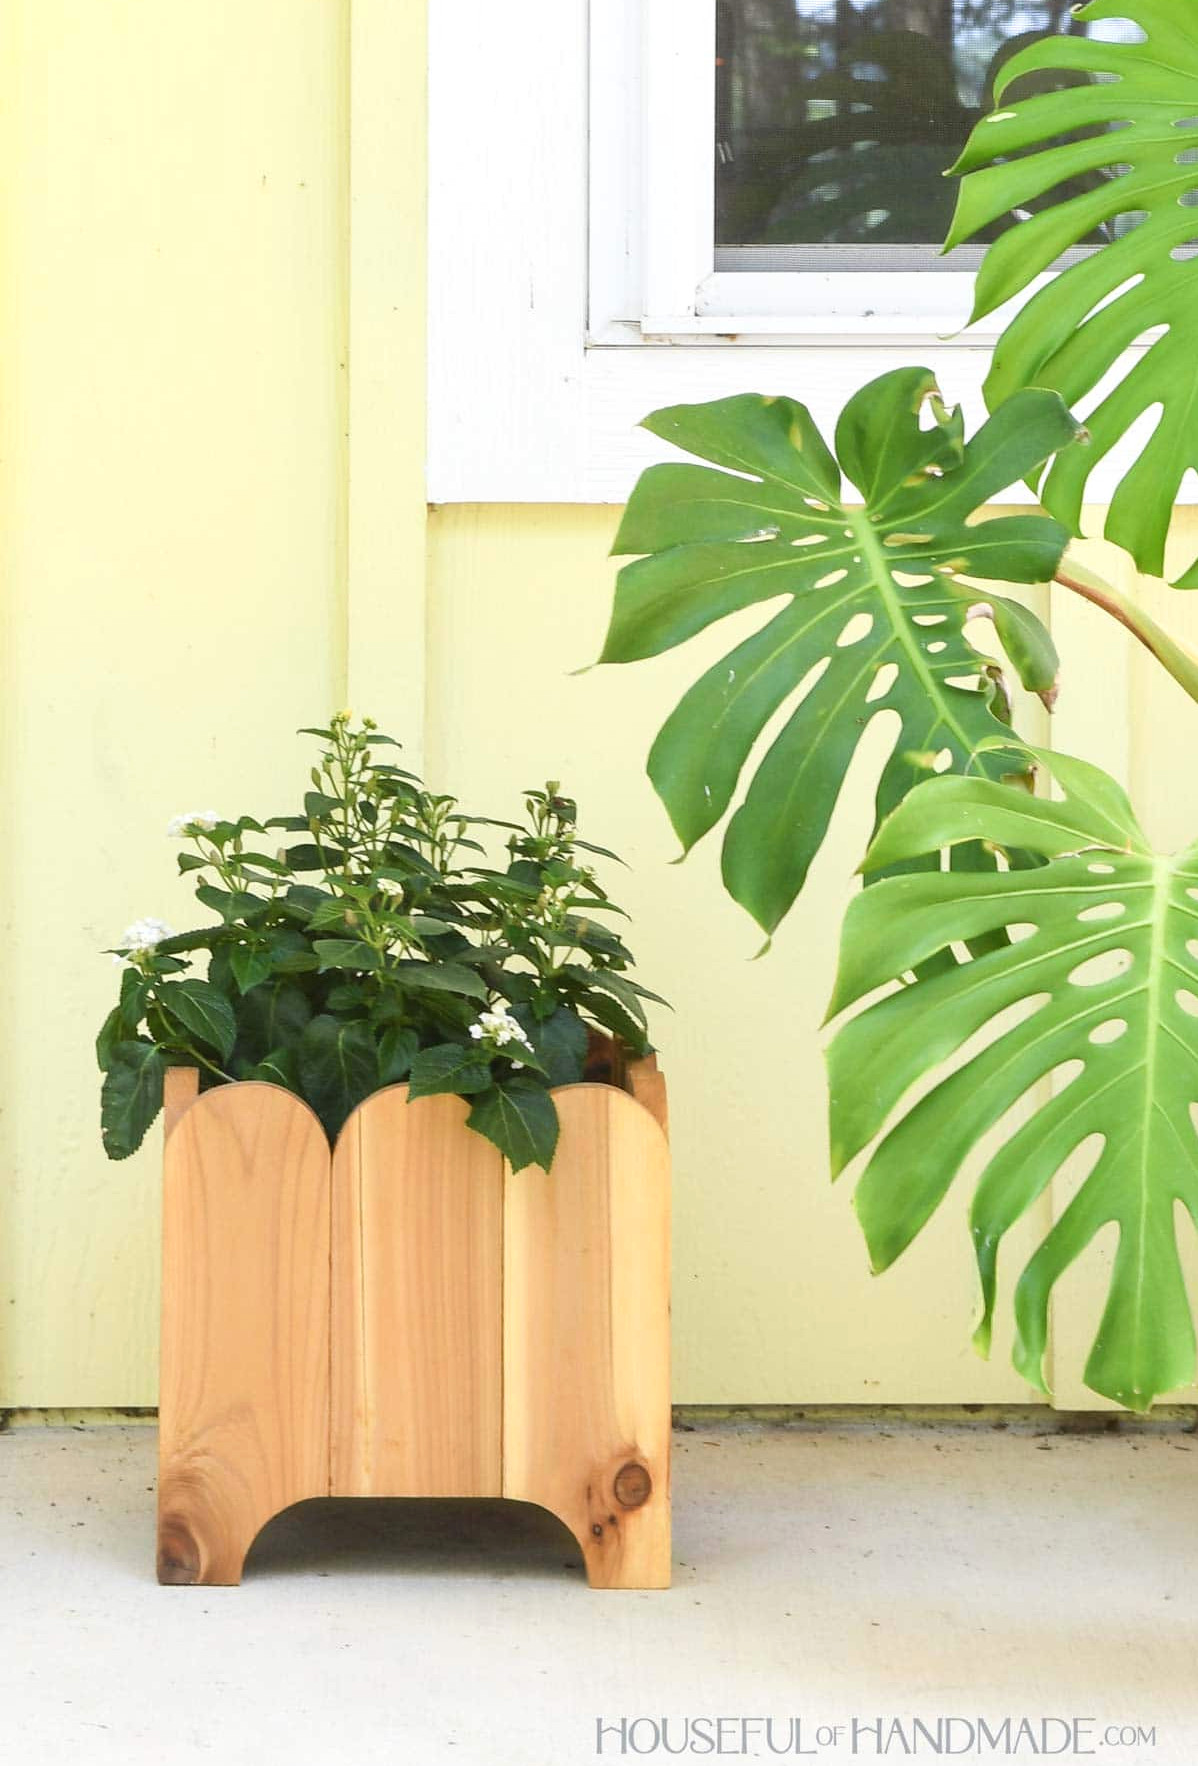
Planter Made from Scrap Wood
This scalloped wooden planter can be made from whatever type of wood you prefer. I chose cedar because I enjoy its warm tone and already had some pieces on hand.
If the planter will be kept outside or you intend to place a plant directly inside it, choose a moisture-resistant wood such as cedar or redwood.
Alternatively, apply a sealer to shield the wood from water.
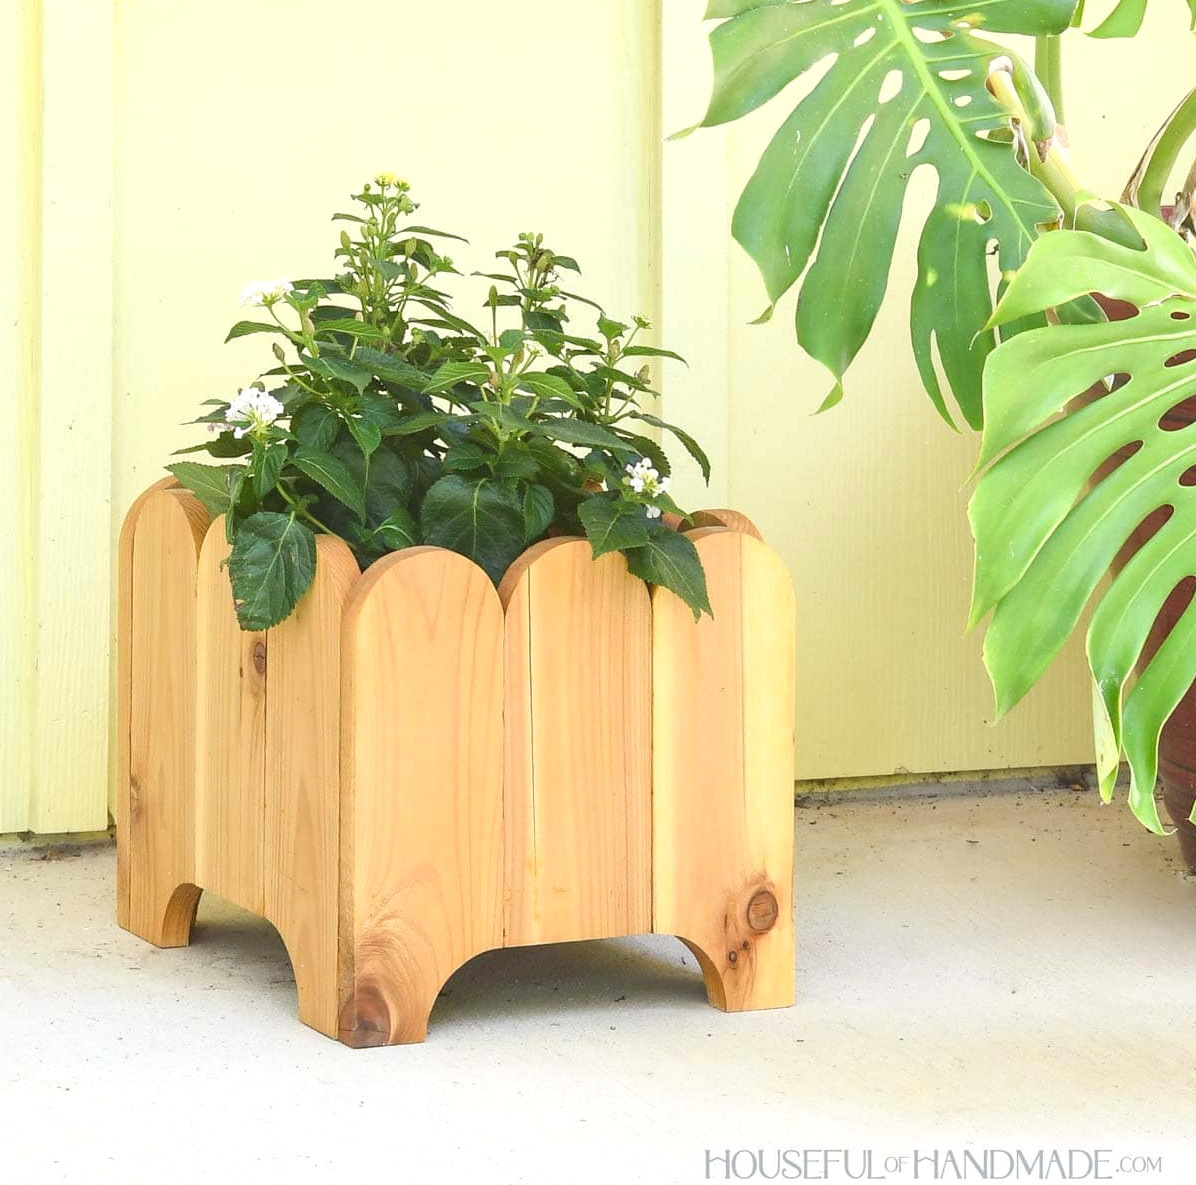
However, this attractive planter box does not have to be filled with soil.
You can simply set the plant, still in its nursery pot, inside the scalloped planter. The wooden structure will conceal the plain container nicely.
Because the wood will not be in direct contact with moisture (although a little splashing may happen), you can use practically any scraps you have available!
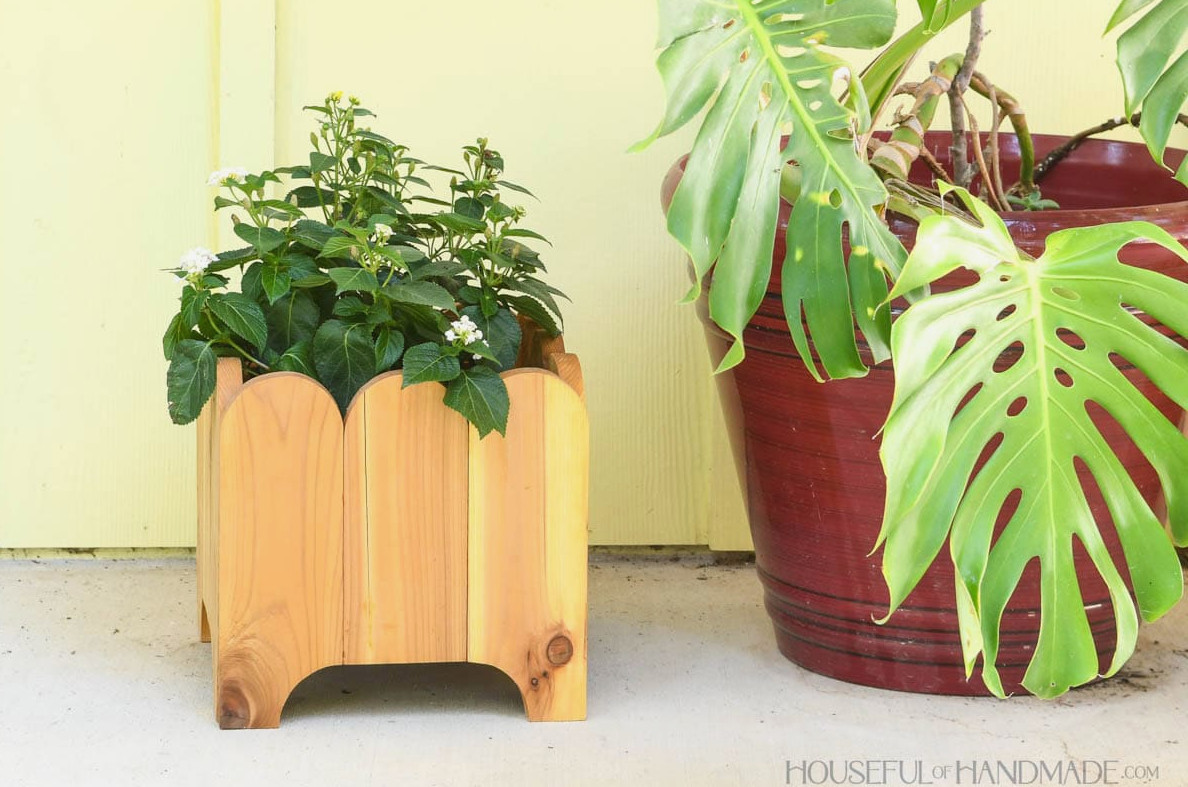
I made this project for Scrap Wood summer. Be sure to explore the other scrap wood projects listed below, and return every Tuesday in August to see more.
Building a Wooden Planter Box
Tools & Supplies
Finished Measurements
The completed planter measures 10 1/2″ wide and 12″ deep. Its height is 10″, with a planting space that is 6 1/2″ deep.
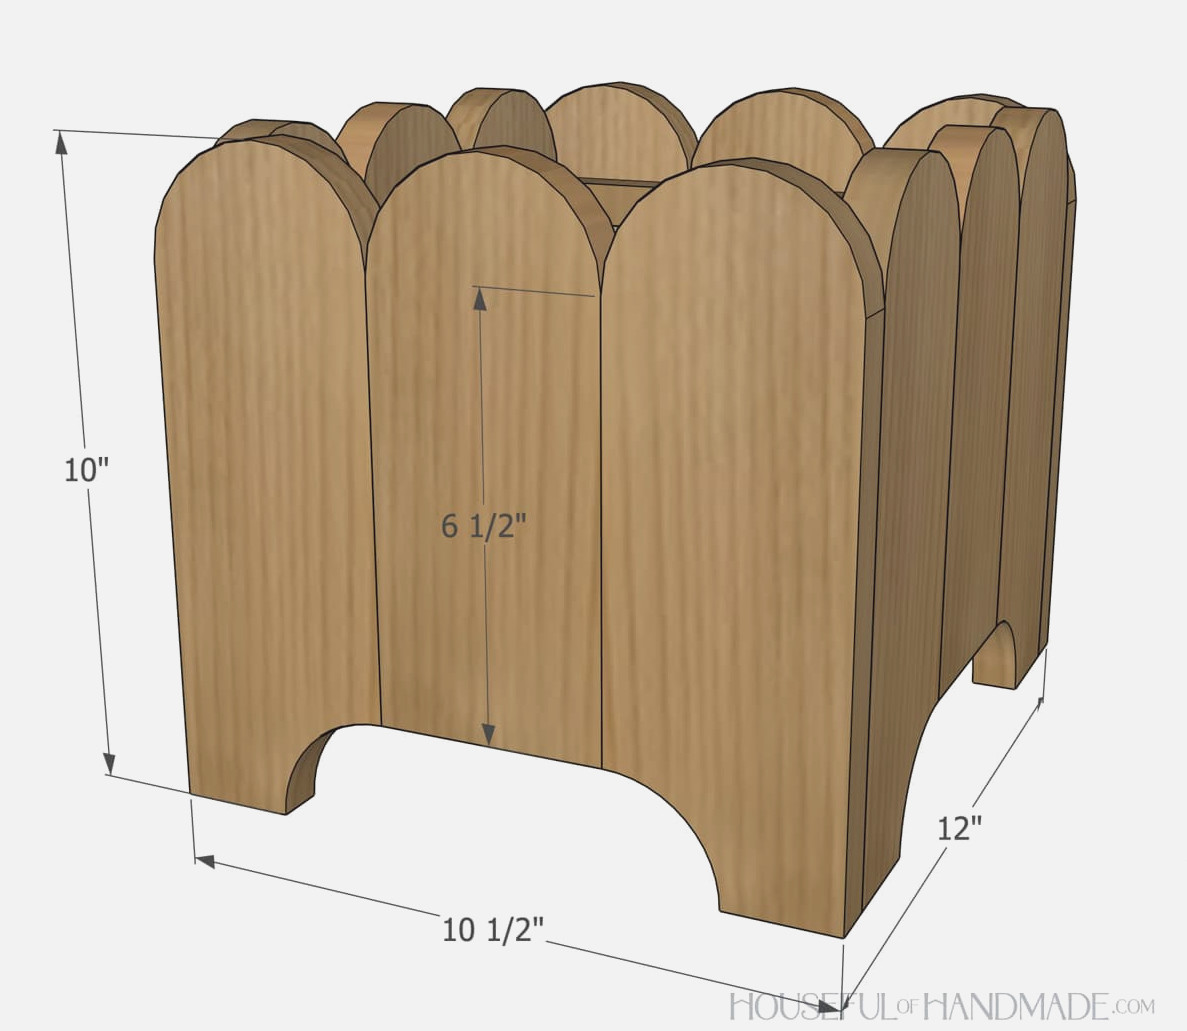
Cutting Guide
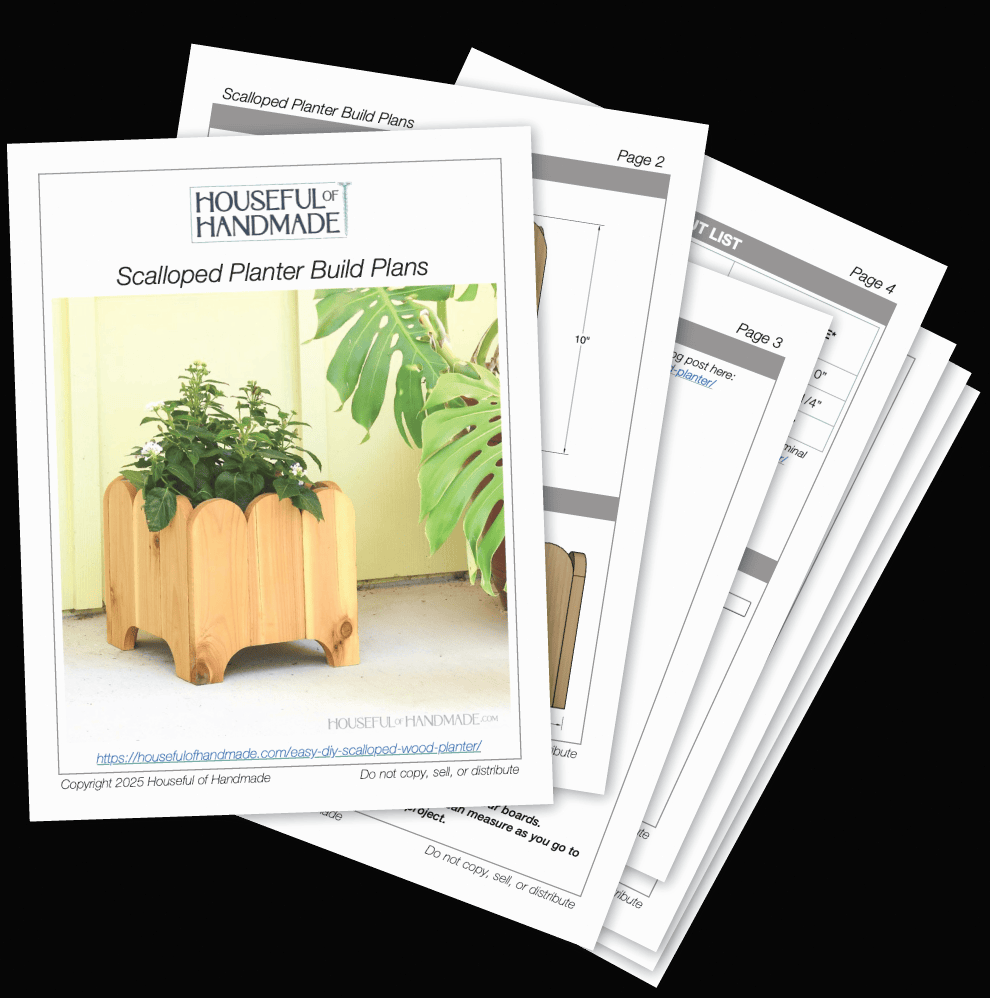
Prepare the components using the clear, easy-to-follow chart in the PDF plans.
Download the Premium Woodworking Plans in PDF Format
PDF plans feature- Simple Cut List, Materials List, Suggested Tools, Detailed Instructions with 3D illustrations, & Useful Resources
BONUS- 3D SketchUp Model
STEP 1- Shape the boards
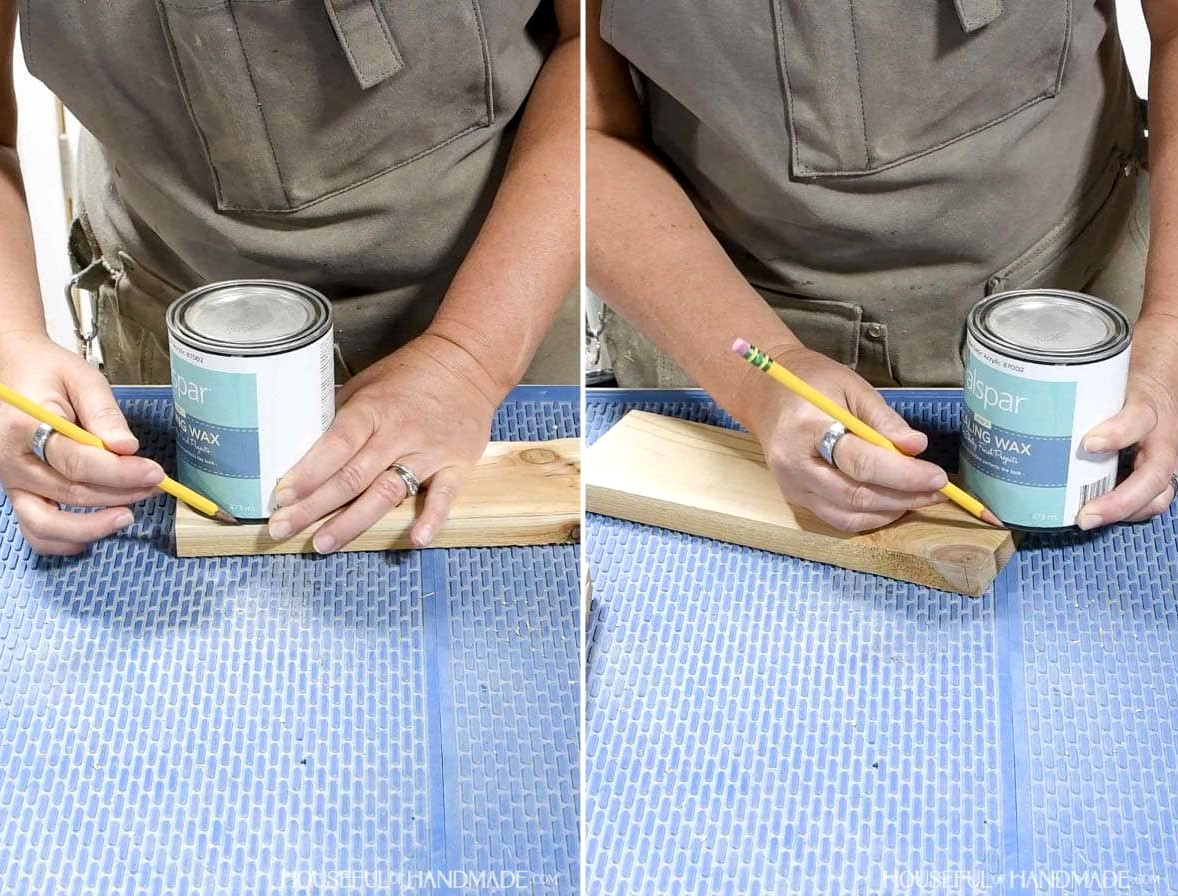
On every edge board, measure and mark the leg curve. Then, on each edge and center board, sketch an arch along the top.
I discovered that a 16 oz paint can provided the ideal size for tracing the curves onto the boards.
EXPERT TIP:
Be sure to create matching mirrored pairs of edge pieces. Because my cedar 1x4s had one smooth face and one rough face, I curved the right side of half the pieces and the left side of the rest.
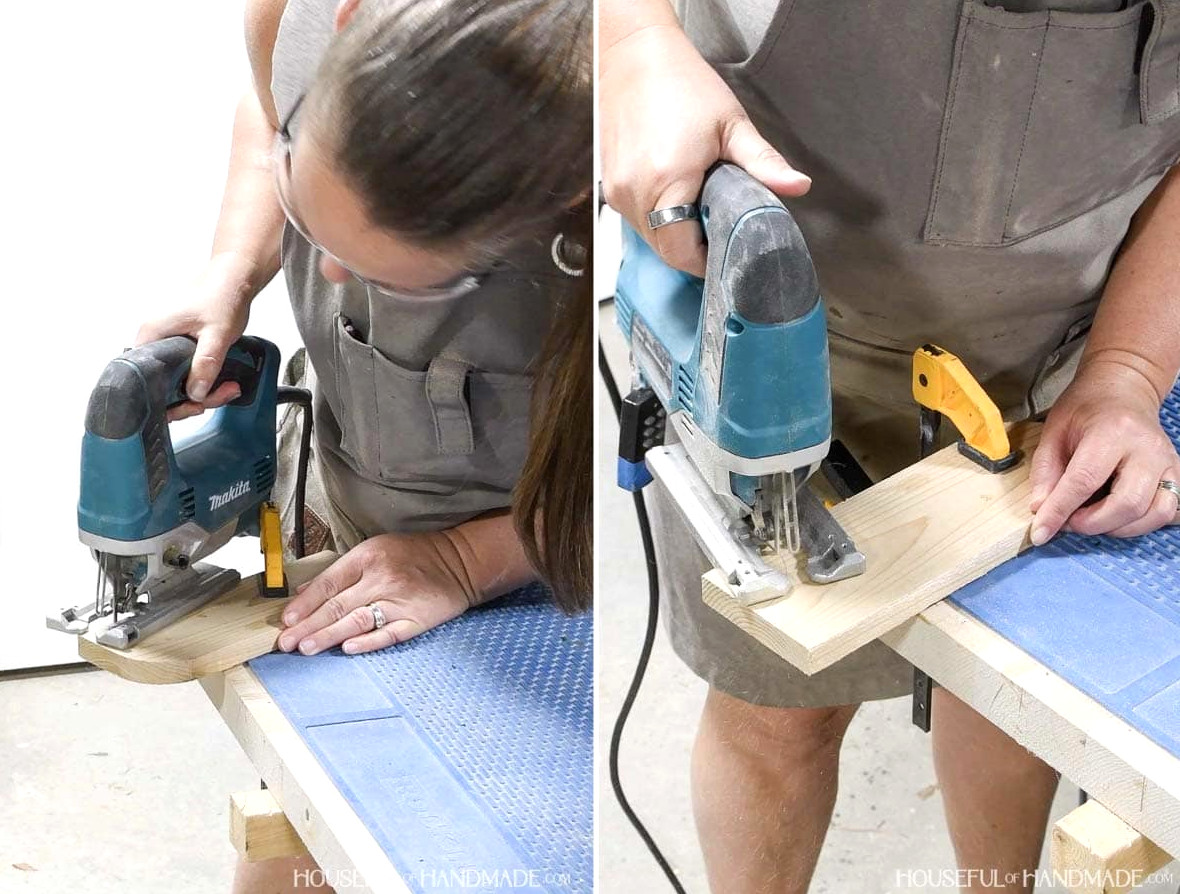
Use a jig saw to cut along the curved lines.
STEP 2- Assemble the sides
Measure the finished side’s width. Then cut the inner supports 1 1/2” shorter than that measurement, leaving 3/4” at both ends.
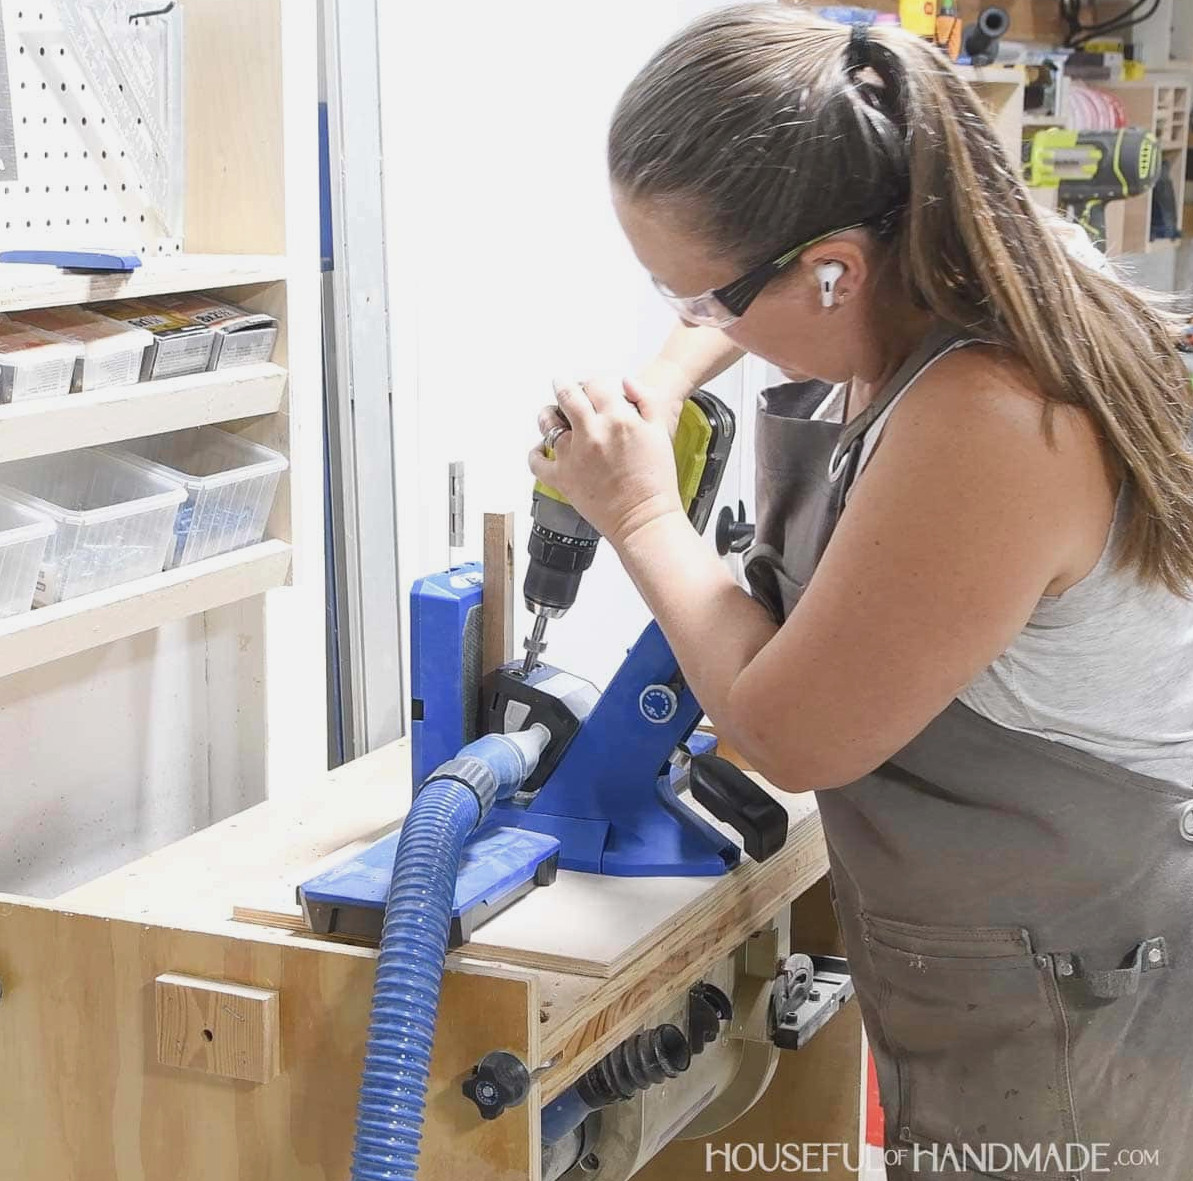
Make pocket holes designed for 3/4” thick stock at both ends of the interior support pieces.
Arrange two mirrored edge pieces with a center piece between them, keeping the tops even and the center bottom aligned with the inside of the curve.
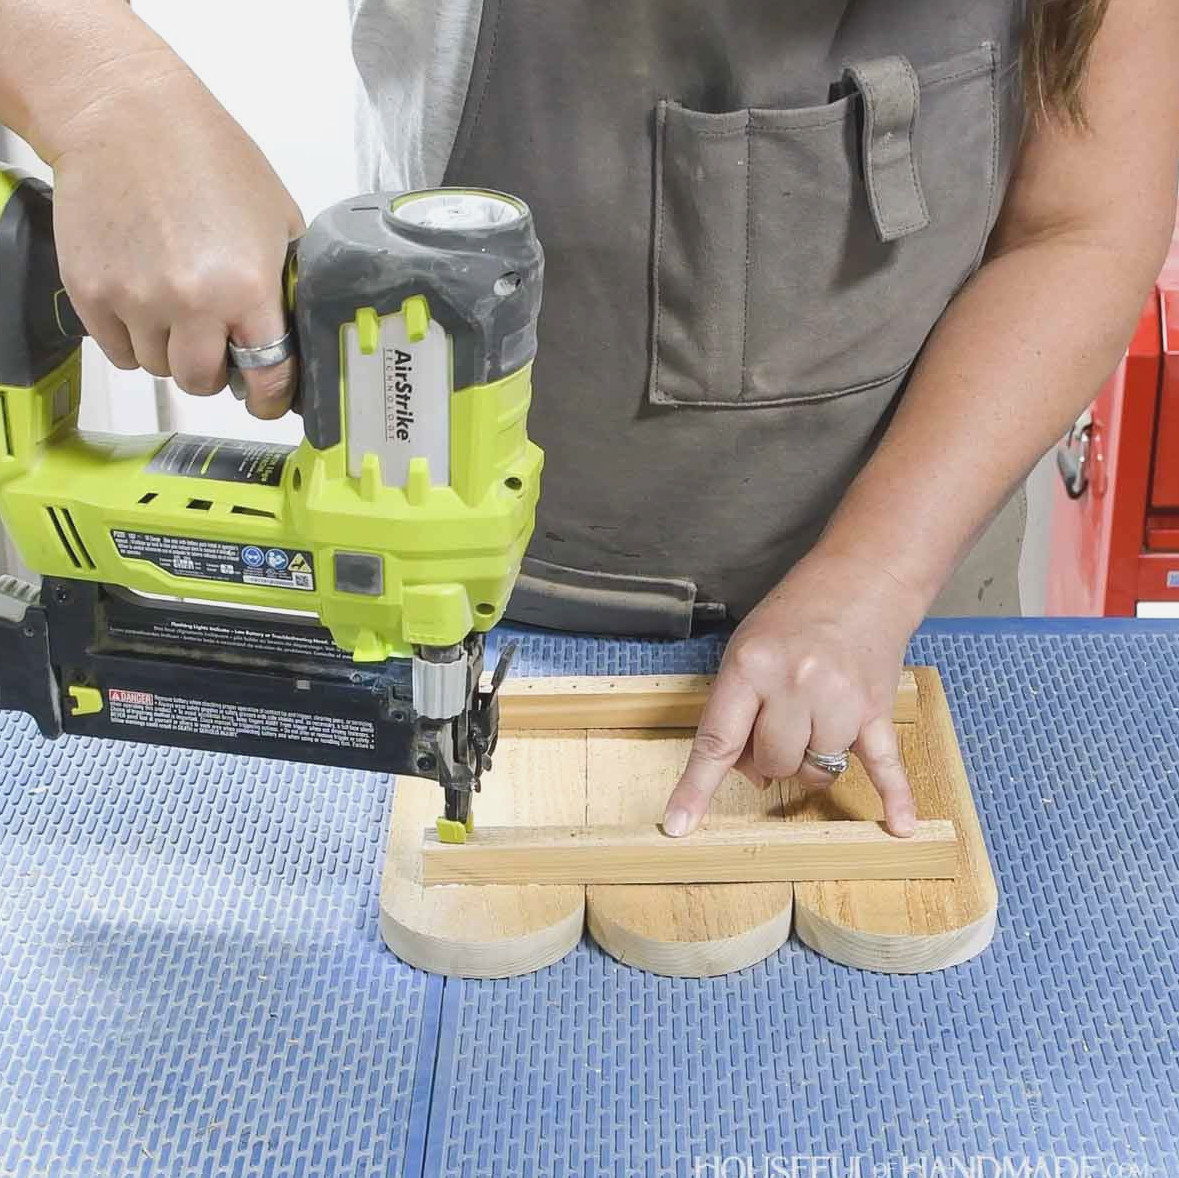
Install the interior supports with one positioned 1 3/4” below the top and the other 1 3/4” above the bottom. Place them 3/4” inward from each side.
Two side assemblies should include supports with pocket holes, while the other two should not. Fasten everything with wood glue and 1 1/4” nails.
Avoid driving nails in front of the pocket holes or near the ends of boards that do not have holes, as screws will later join them during assembly.
STEP 3- Put the planter together
Join one completed side with pocket holes to another side without them. The pocket-hole side should fit inside the rear of the other piece, allowing the interior supports to align flush.
Use wood glue and 1 1/4” pocket hole screws to fasten the pieces.
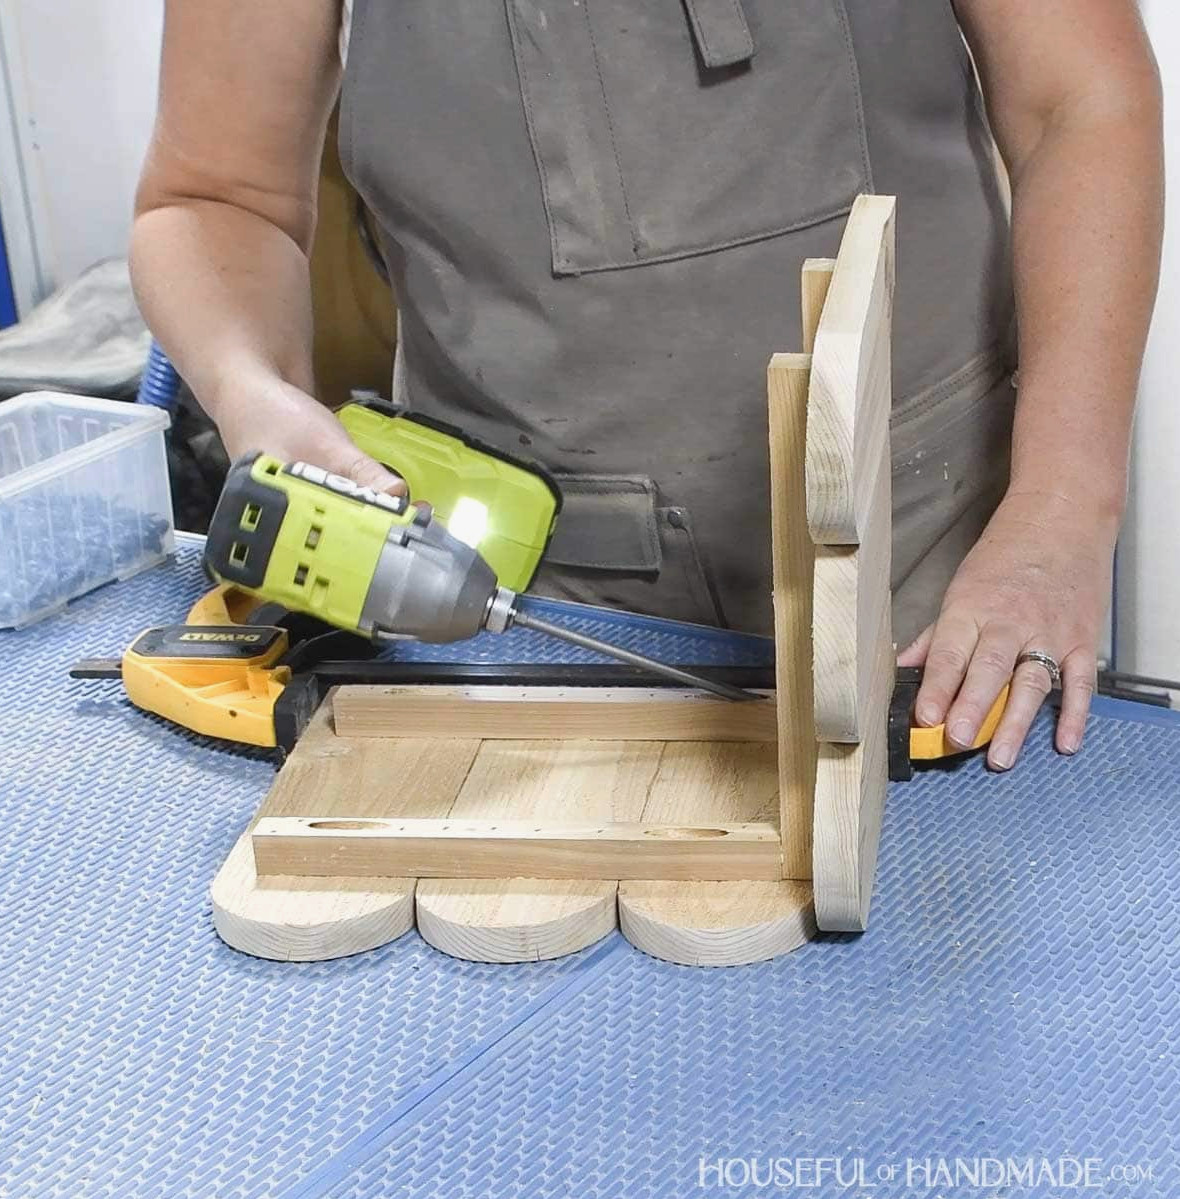
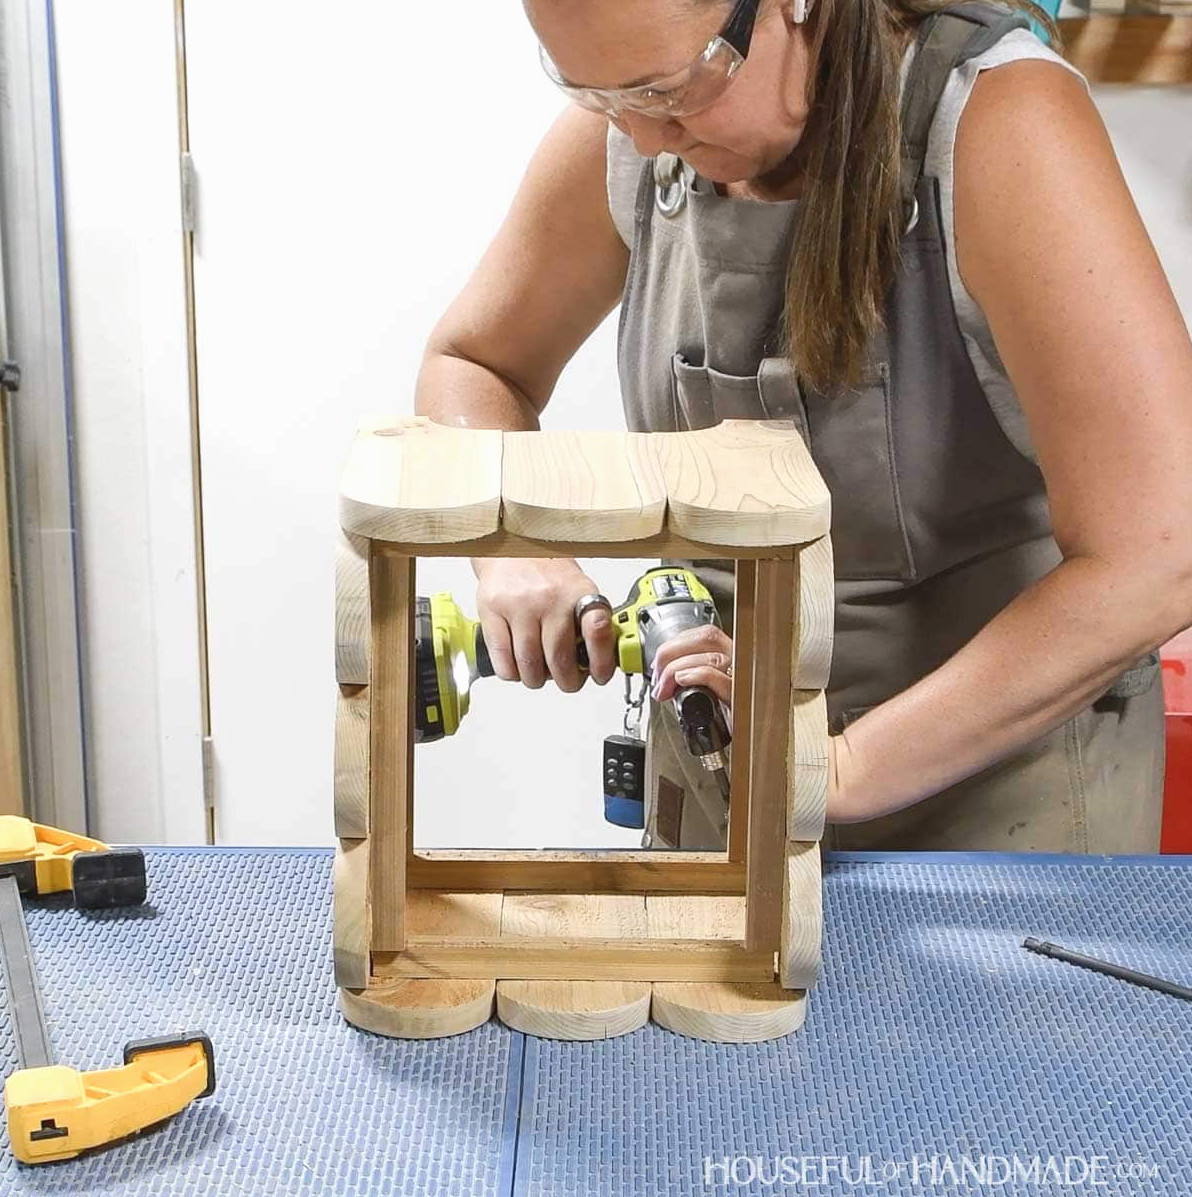
Connect the remaining sides in the same way, joining the pocket holes to the interior supports without pocket holes.
Secureusing wood adhesive and 1 1/4” pocket-hole screws.
For driving the pocket-hole screws into the final piece, you may need to attach a 90-degree adapter to your drill bit.
STEP 4- Complete the Finish
Smooth your new planter with sandpaper, then seal or paint it.
I neglected to seal mine before installing the hardware cloth. However, applying the finish beforehand is much simpler.
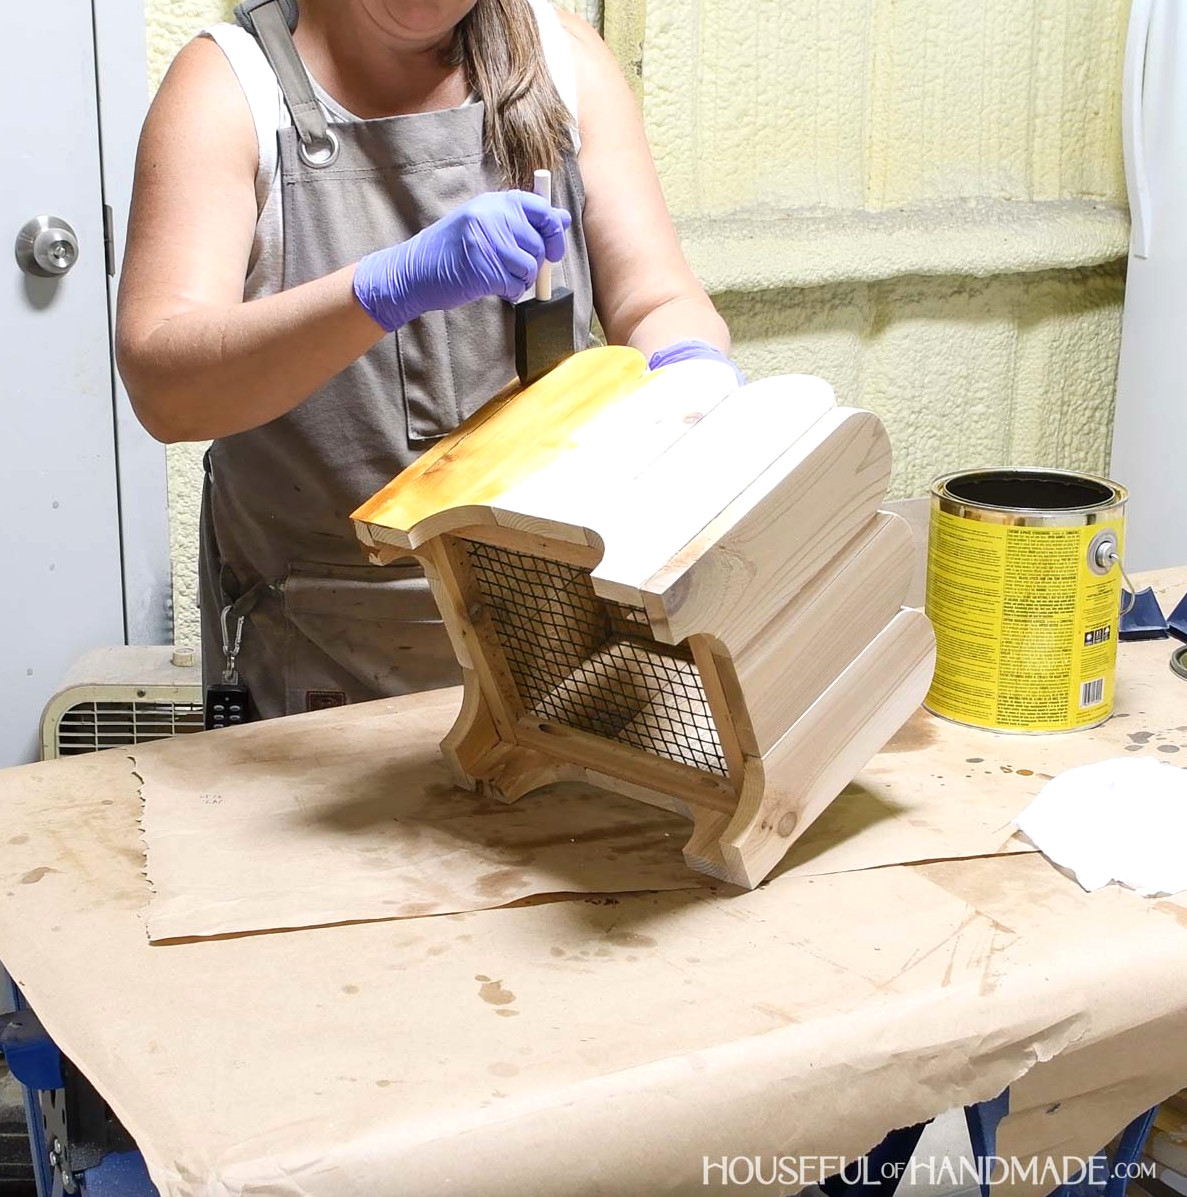
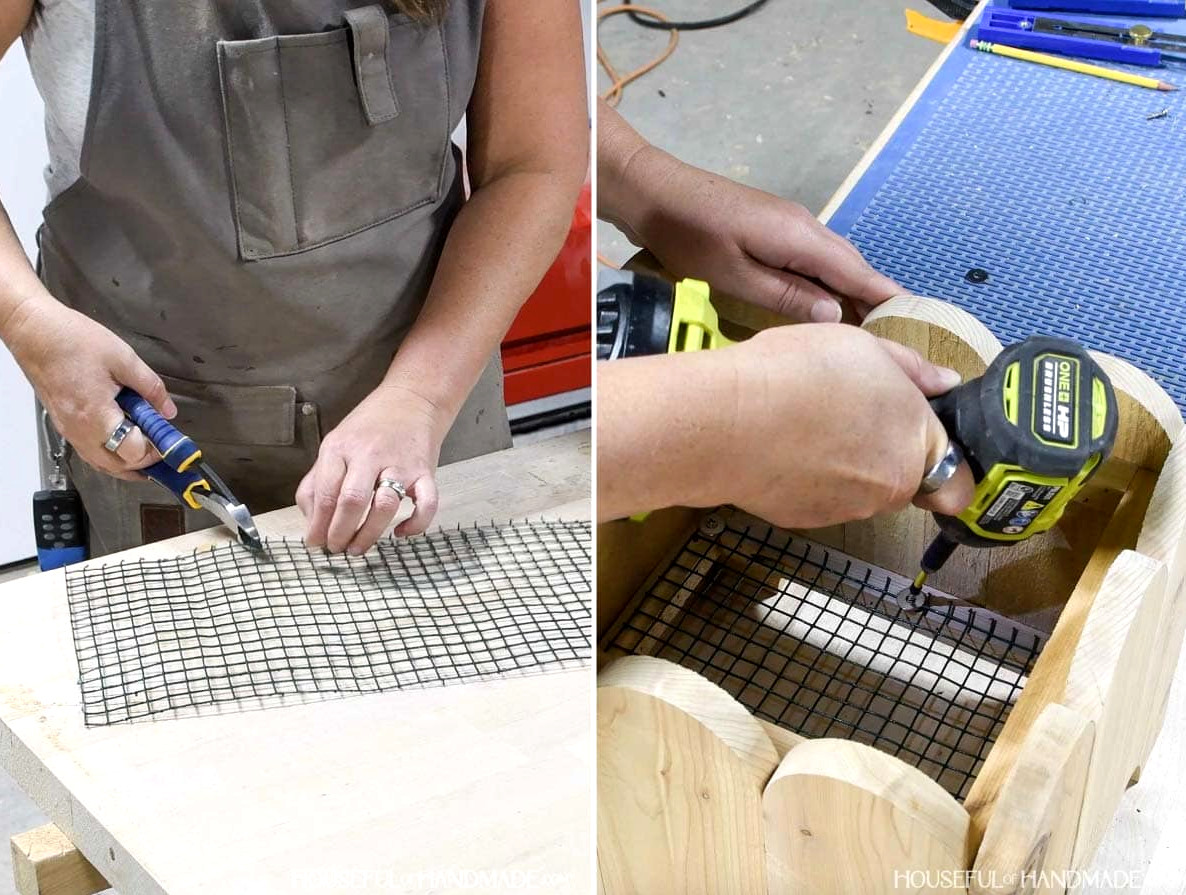
Trim a section of hardware cloth so it fits inside the base. Pliers worked well for cutting it down to size.
Set it inside the planter on top of the lower supports. Slightly bend the cloth so it can fit within the upper supports.
At the corners and center, fasten it to the lower supports using a 3/4” wood screw and washer.
A nursery pot can go straight inside the planter. Alternatively, line the bottom with landscape fabric before adding soil and planting directly in the container.
Remember to Get the Printable PDF Plans Here!
Premium plans contain:
- Suggested Tools
- Materials list
- Simple-to-read cut list chart
- Cutting diagrams
- Detailed instructions with 3D renderings
- Useful resources
- BONUS: 3D SketchUp file
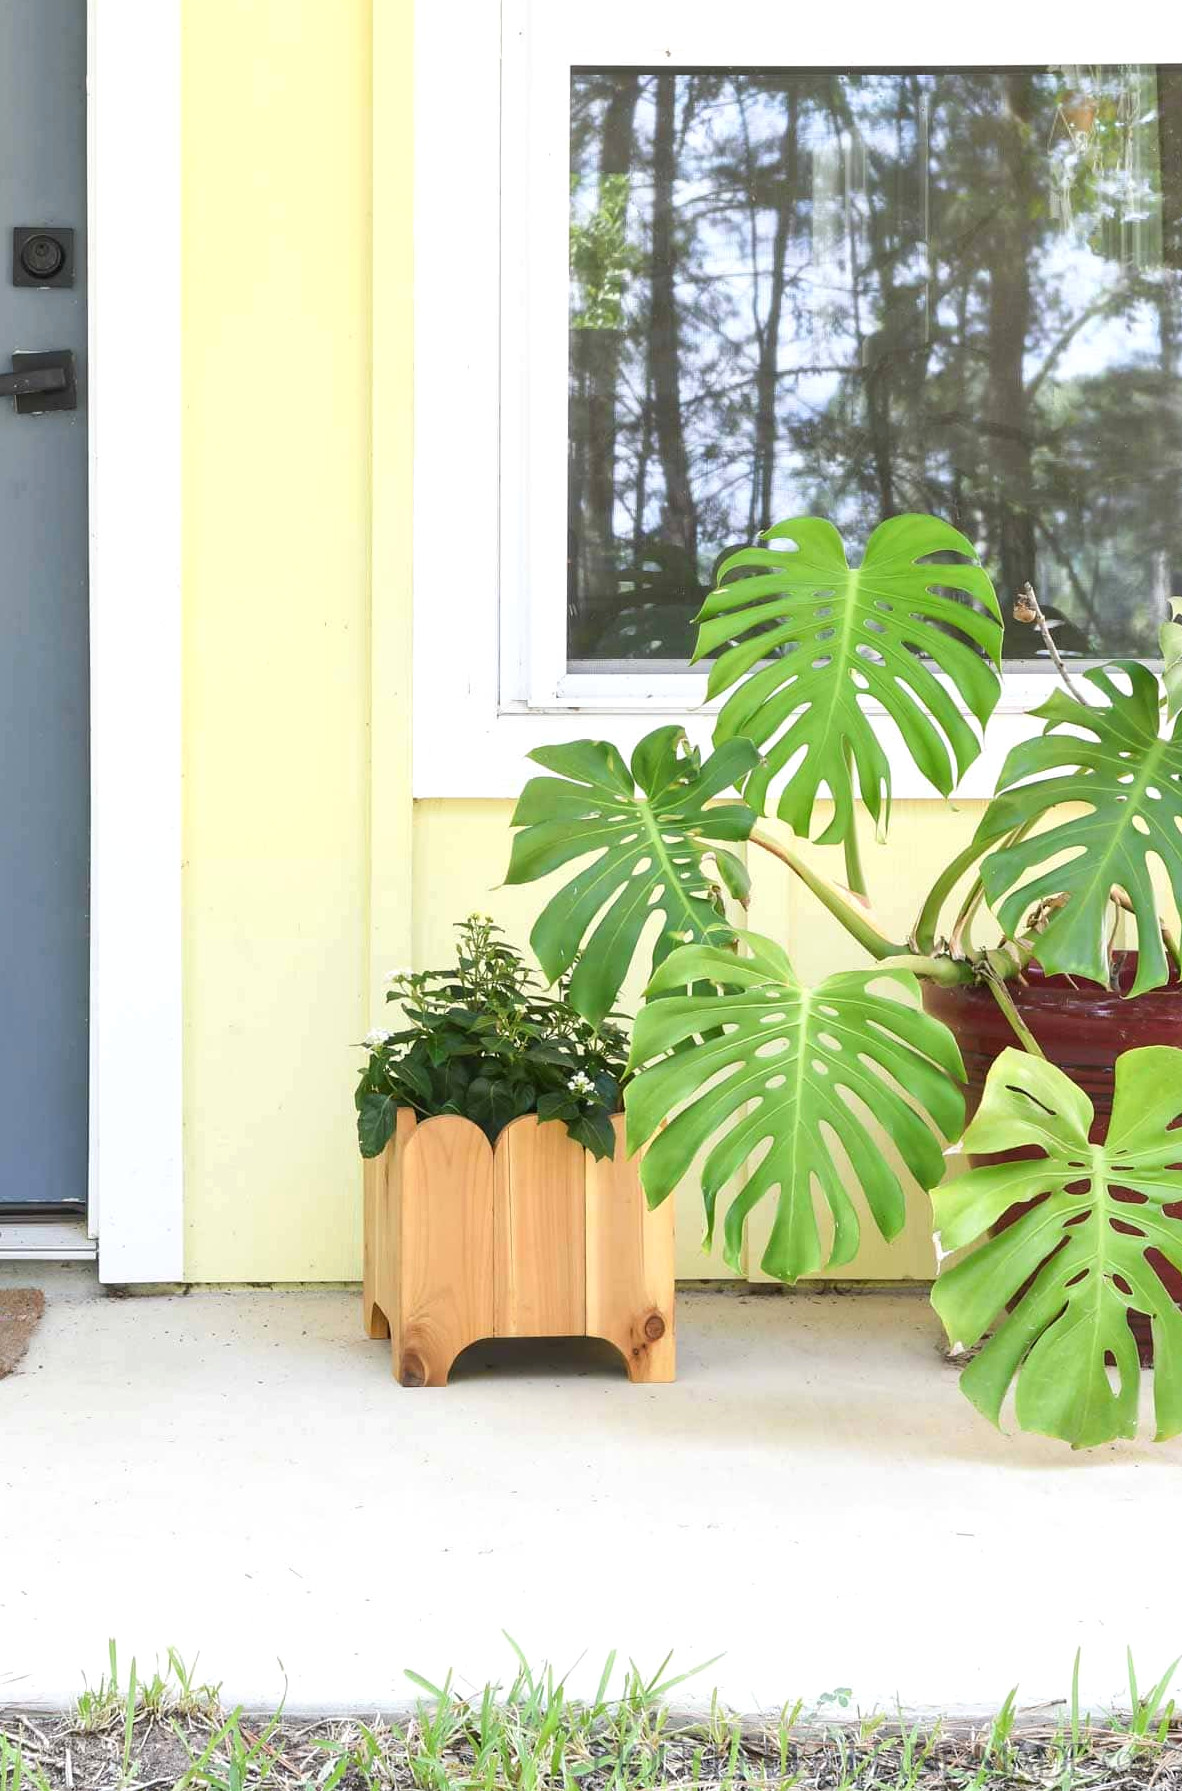
All done!
Now decorate your front porch with your new plants.
Additional Scrap Wood Projects
Scrap Wood Summer is already in its third week. Throughout the month, my friend Shara from Woodshop Diaries and I have been presenting fresh projects created from leftover materials.
Every Tuesday in August brings new projects. Be sure not to miss next week’s last scrap wood creations.
Below, I’ll feature each week’s projects so you can put your scraps to use as well!
Enjoy building!