Create a one-of-a-kind side table with an octagonal top for indoor or outdoor use.
You can never own too many side tables! They are ideal for placing beside the sofa or next to any chair.
They are also enjoyable and simple to construct! In just one weekend, you can easily make one or two end tables to enhance your home.
I made my side table from cedar 2×4 and 2×3 boards since I intended to use it outside. However, it turned out so attractive that I may decide to keep it indoors.
Whether you need a table for inside or outside, this design should work perfectly.
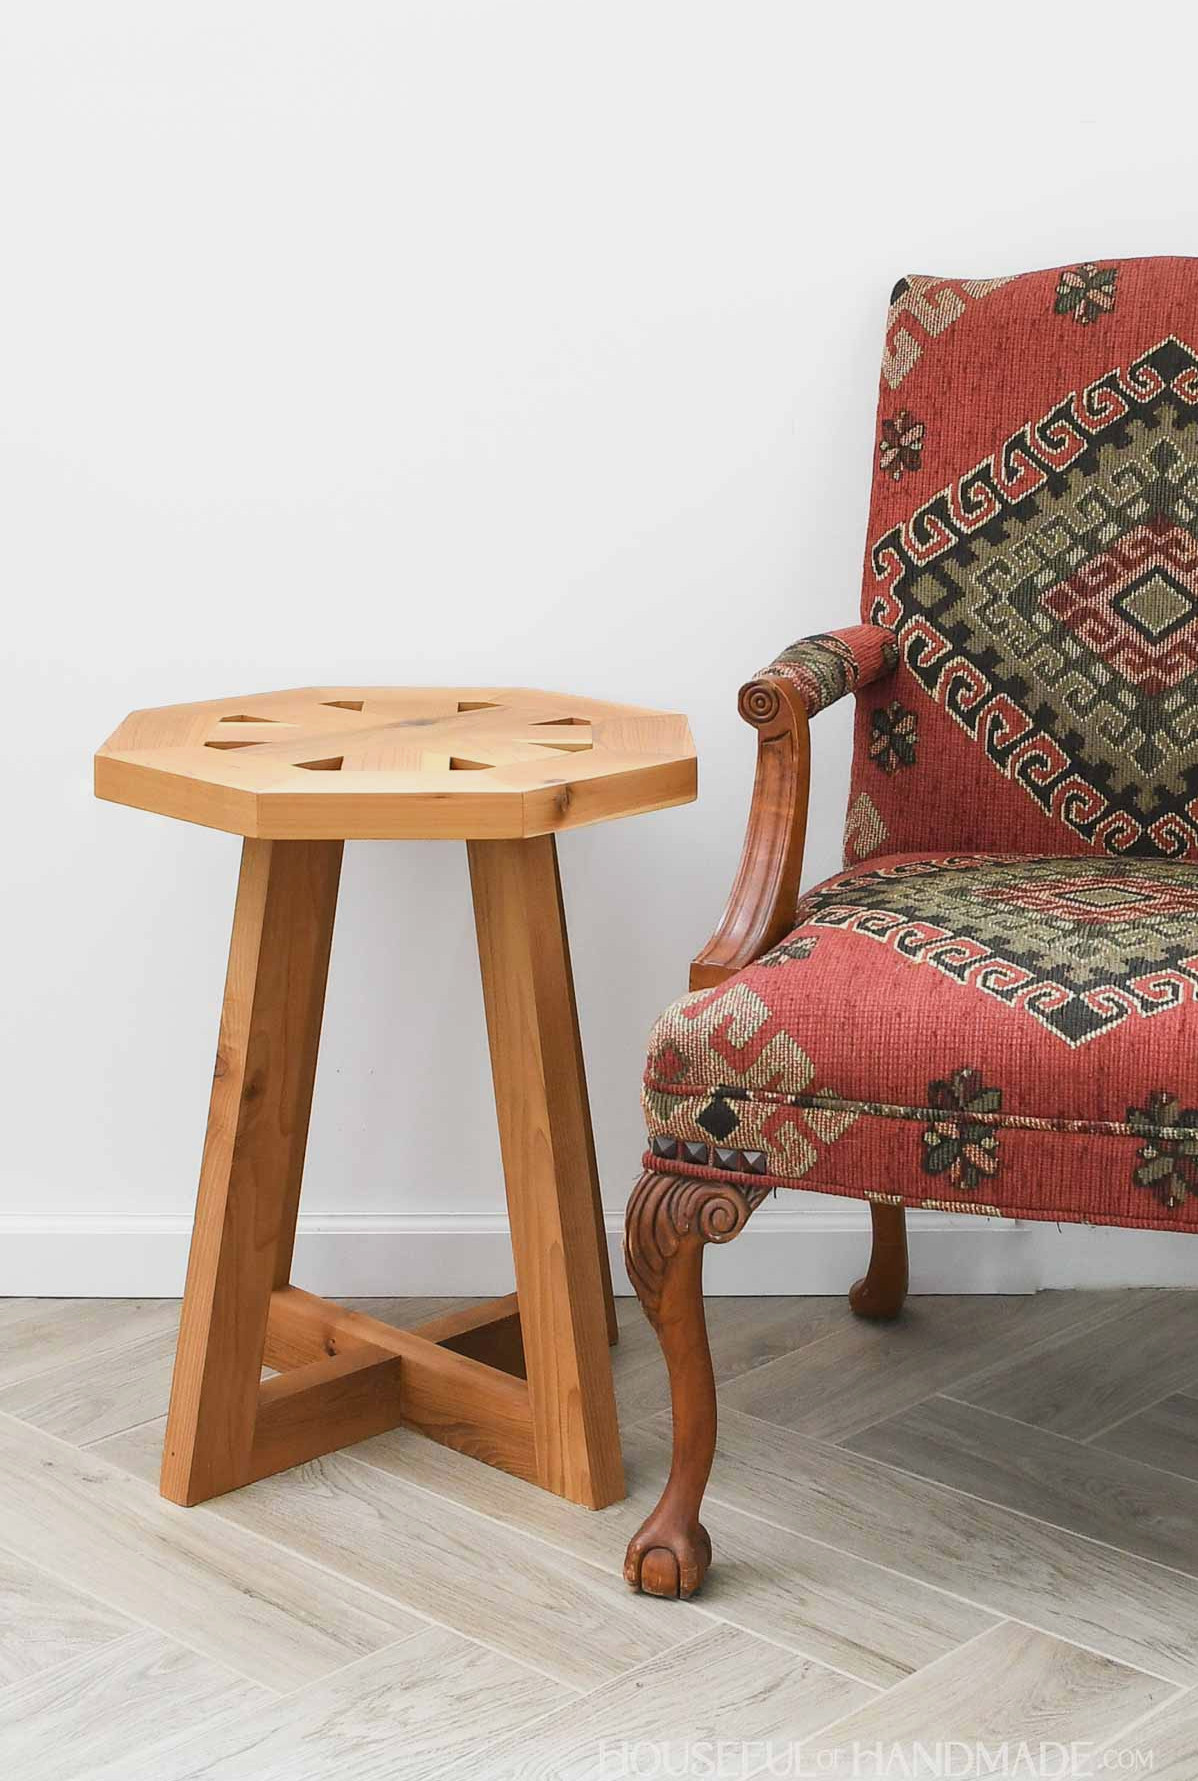
Wooden Pedestal Side Table
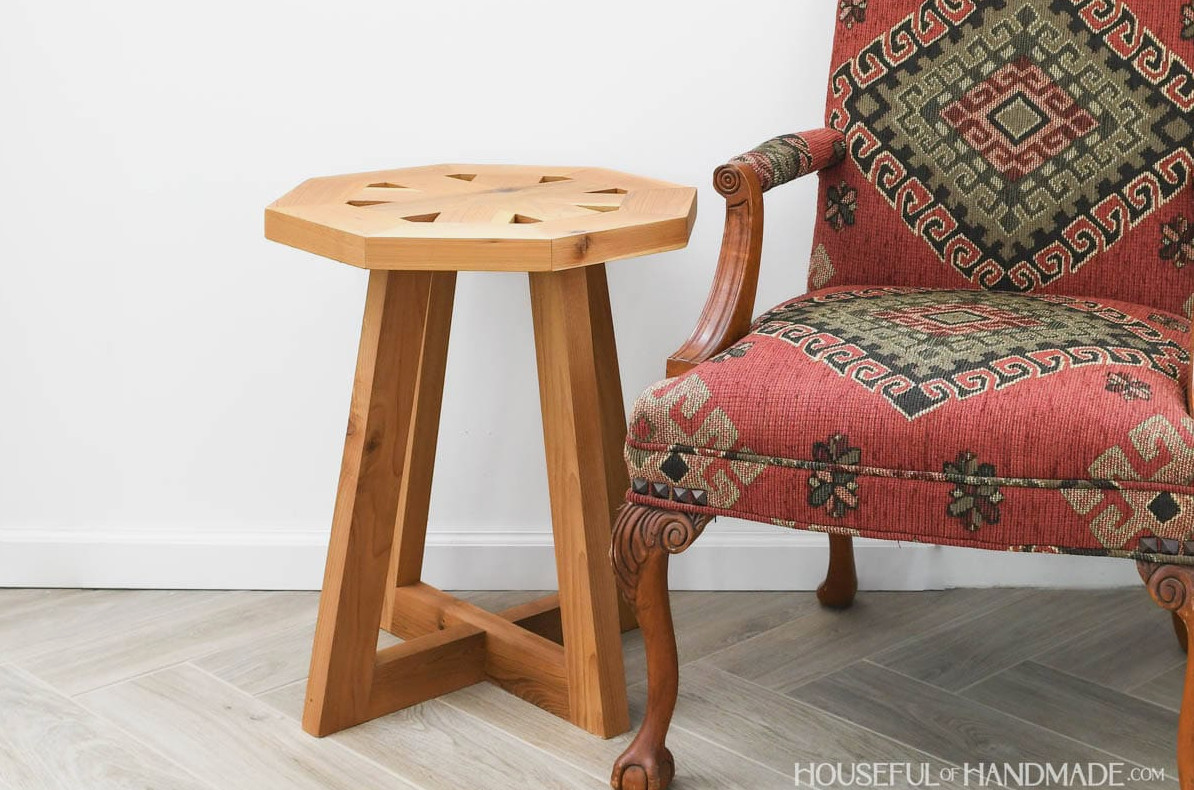
The side table legs taper inward to form an open pedestal base.
These legs provide the end table with a distinctive contemporary appearance and are simple to make using one angled cut.
In addition, all the hardware is concealed underneath, creating a streamlined foundation for the attractive tabletop.
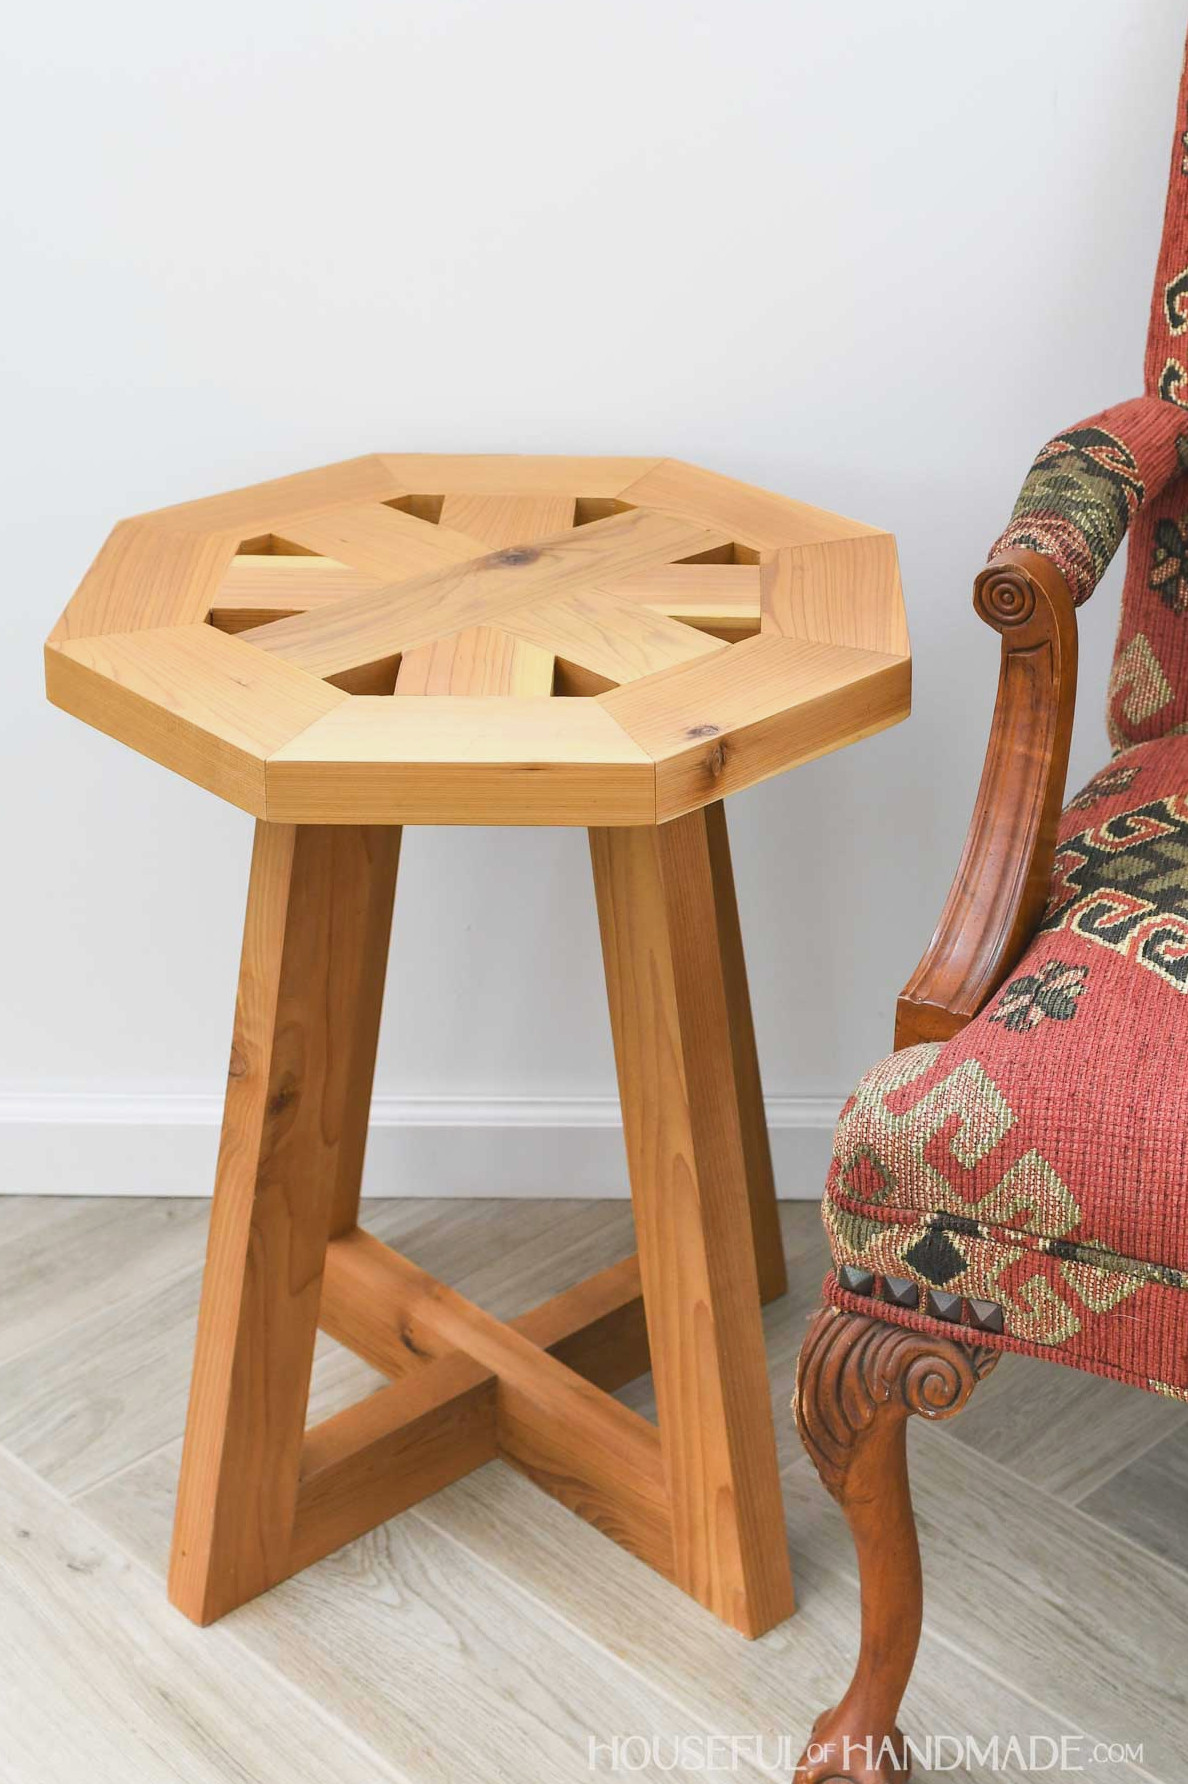
This distinctive end table has an octagonal tabletop featuring an interior starburst pattern.
The starburst design creates tiny openings across the tabletop. That feature makes it especially suitable for outdoor use because rainwater can drain through easily.
Still, the openings are narrow enough that the whole surface remains usable.
Collect your boards and let’s begin building!
Additional DIY Small Table Projects
Add beauty and practicality to your home with small tables designed for every space.
Building an Octagon End Table
Tools & Supplies
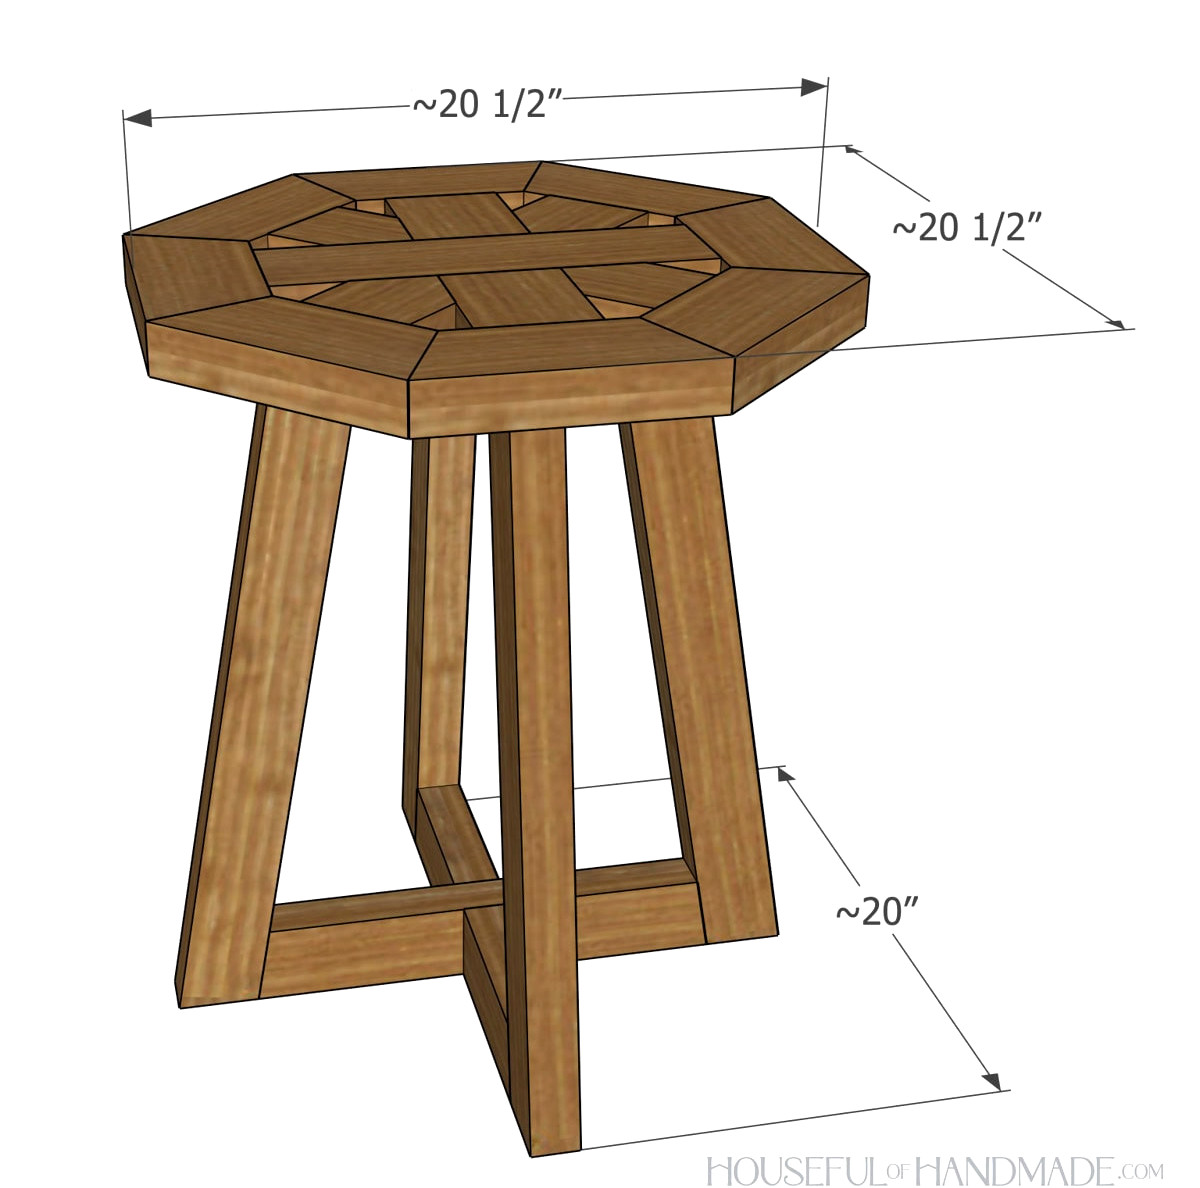
Finished Measurements
The completed side table top measures 20 1/2″ wide and 20 1/2″ deep. Its height is 25 1/2″, while the base measures roughly 20″ across.
Cutting Guide
Cut the components based on the easy-to-follow chart in the PDF plans.
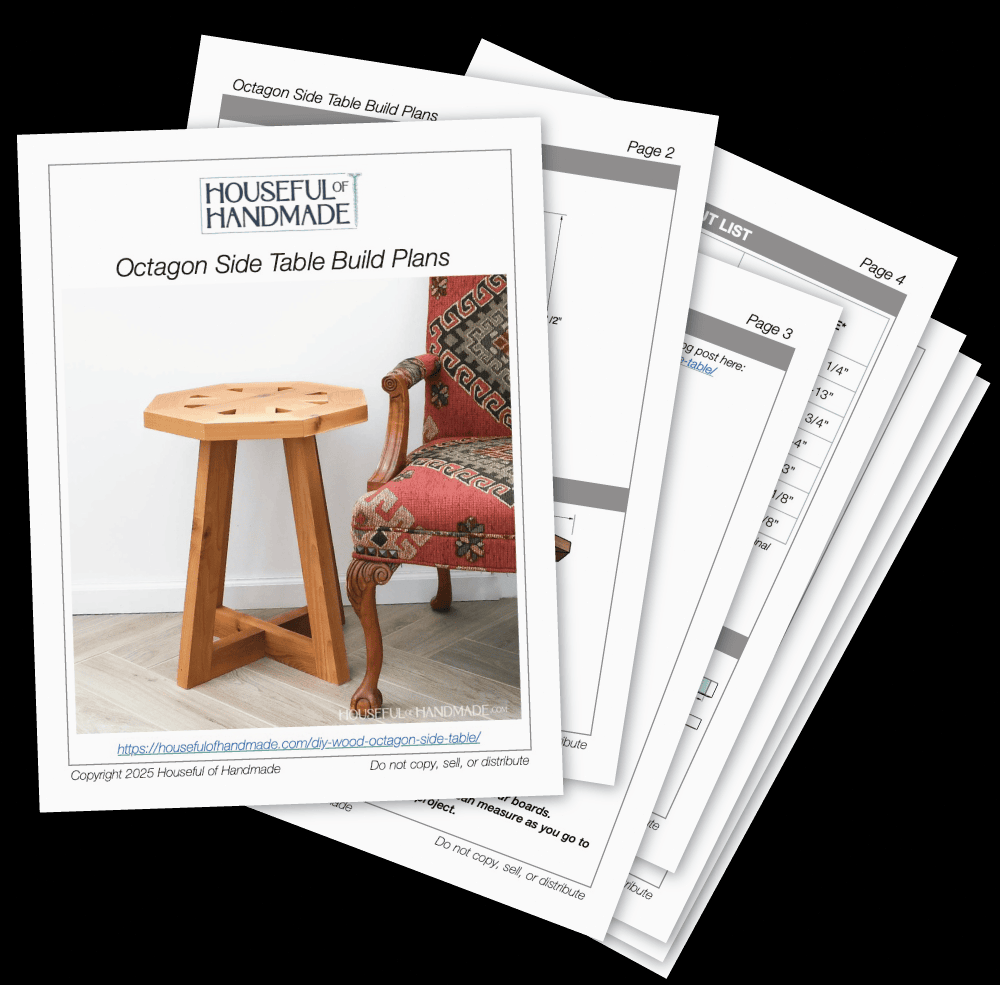
Download the Premium PDF Woodworking Plans
PDF plans contain- Simple Cut List, Shopping List, Suggested Tools, Detailed Instructions with 3D illustrations, & Useful Resources
BONUS- 3D SketchUp Model
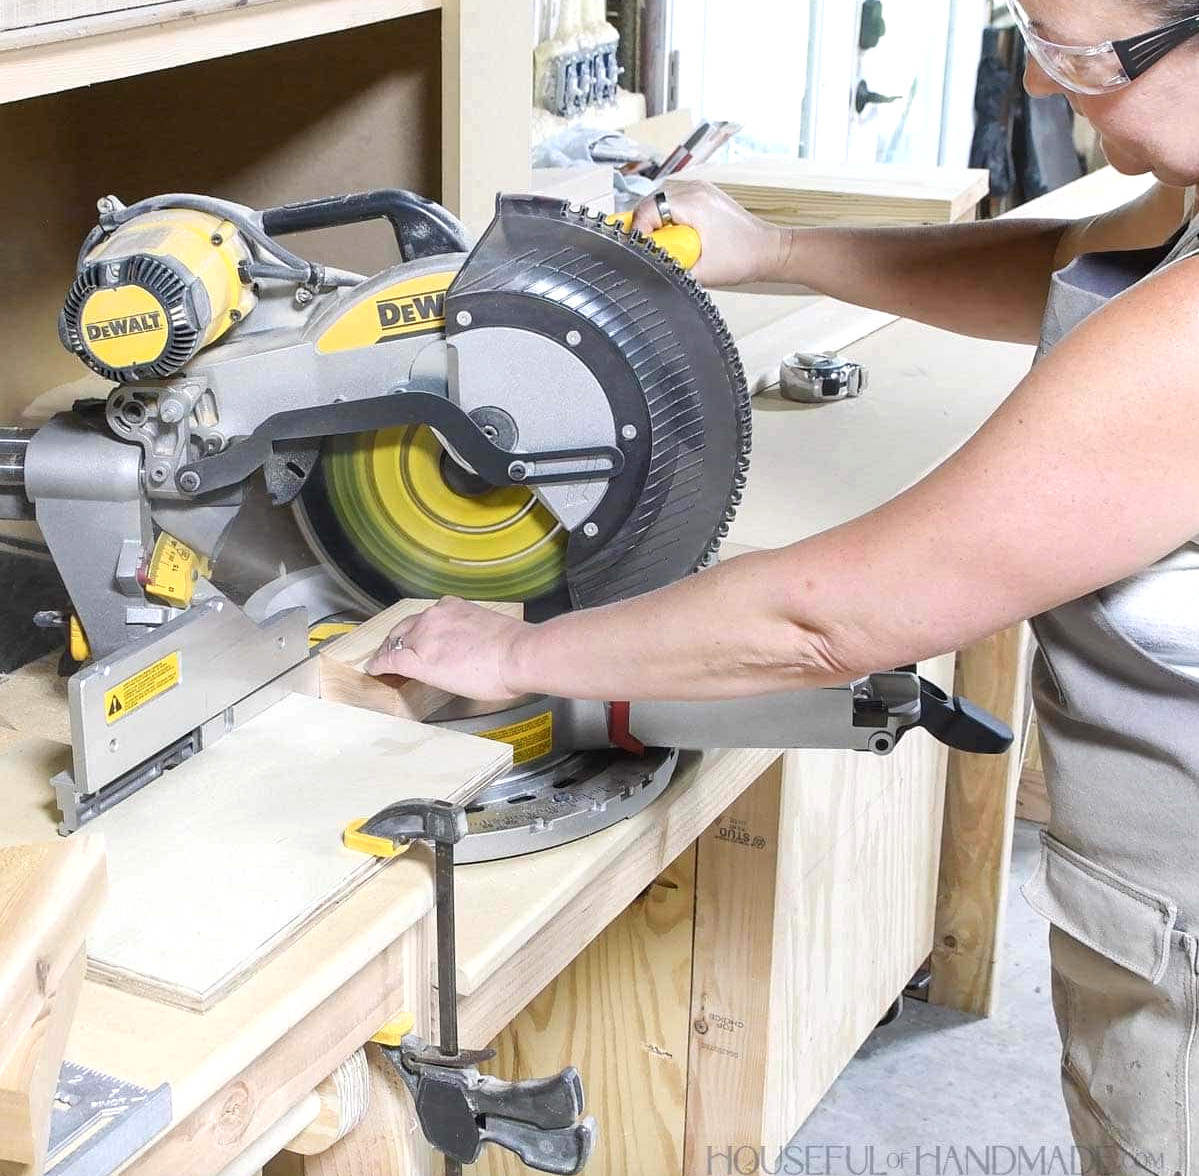
The octagon top and leg components require angled cuts as outlined below. Check the cutting diagram in the plans for visual examples of these angled cuts.
- Top octagon pieces: cut both ends at a 22.5 degree angle, pointing toward one another.
- Leg pieces: cut both ends at a 10 degree angle so the ends remain parallel.
- Bottom center piece: cut both ends at a 10 degree angle, directing them toward each other.
- Bottom side pieces: cut one end at a 10 degree angle.
EXPERT TIP:
Whenever I have several pieces to cut to an identical length, I set up a stop on my miter saw. You can simply clamp a speed square or scrap piece of wood beside the saw.
STEP 1- Assemble the octagon
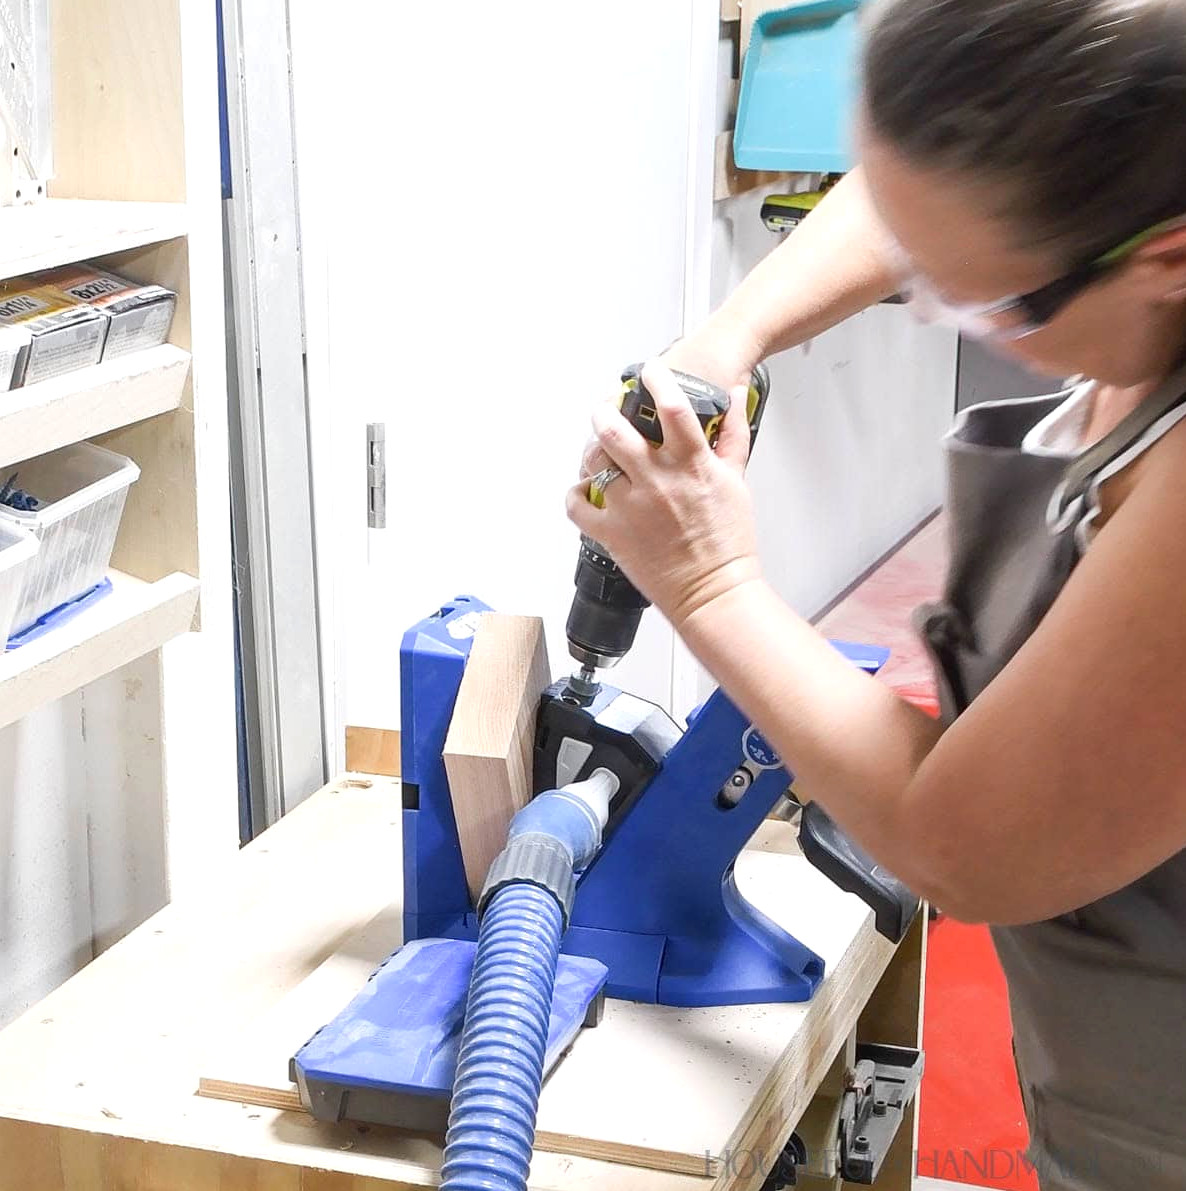
Adjust your pocket hole jig for drilling into 1 1/2″ thick material.
Make 2 pocket holes on one face of every top octagon board. Be certain that the same side faces upward on each board.
Spread glue along the joint between two boards.
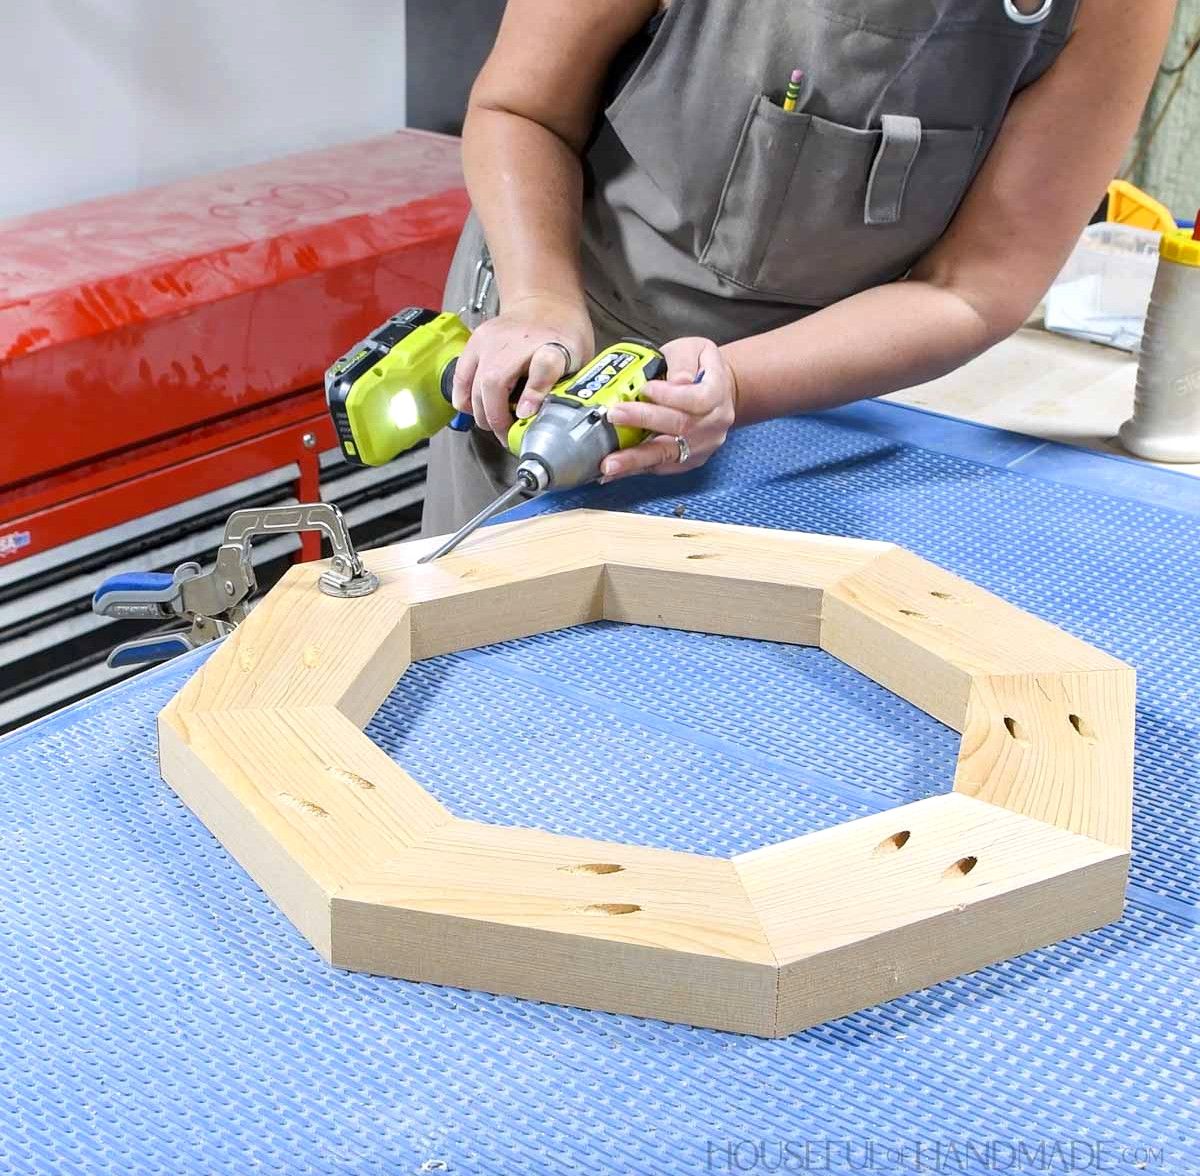
Hold the boards together with a face clamp, then fasten them using 2 1/2″ pocket hole screws.
Continue this process around the shape until 7 pieces have been joined.
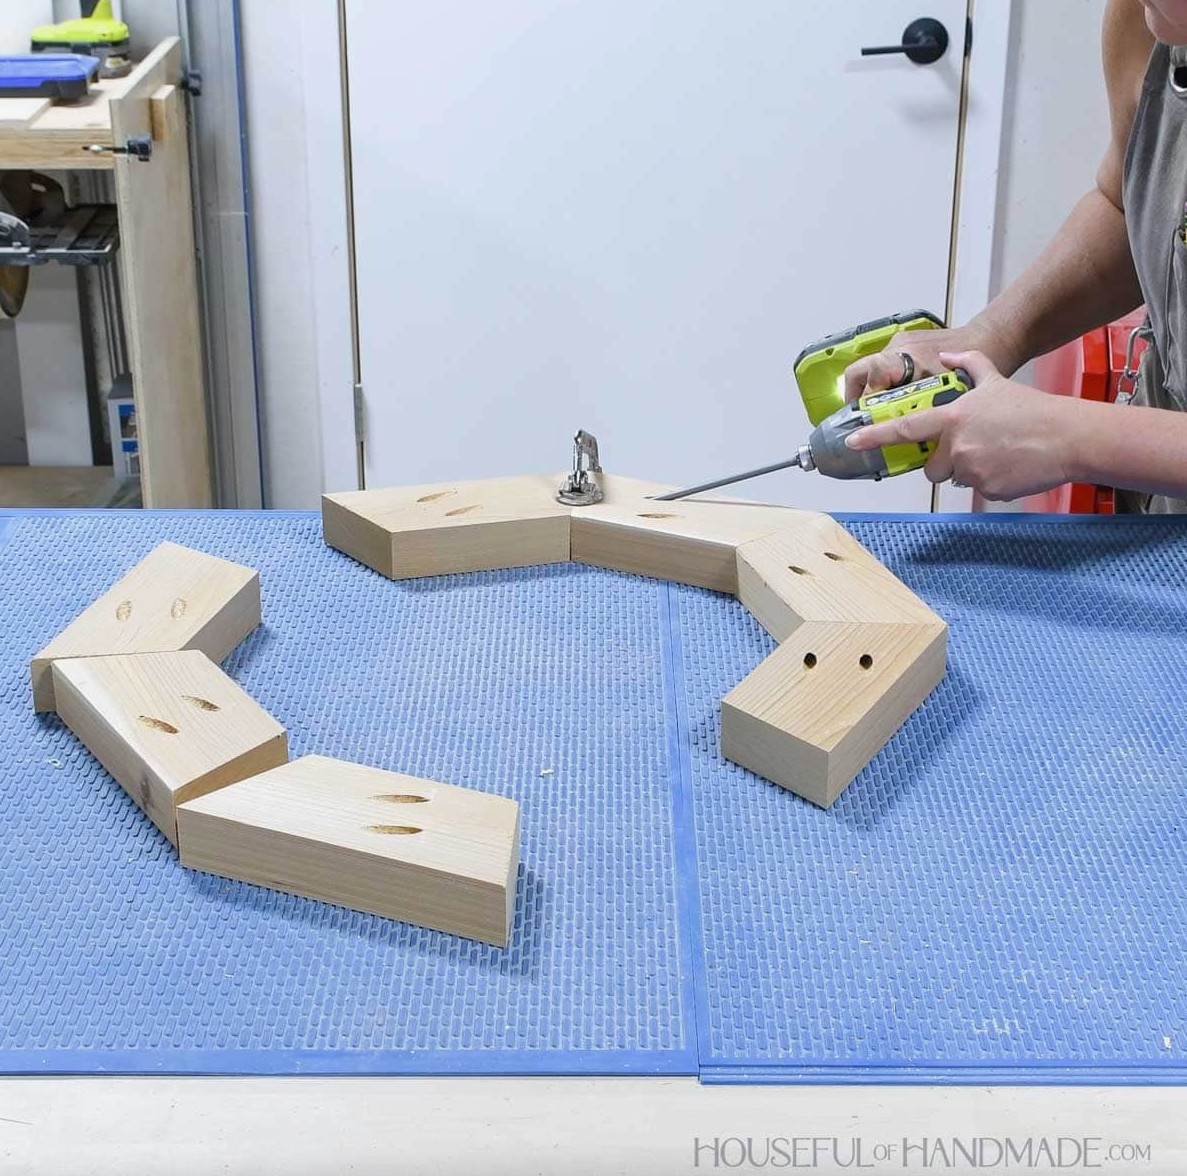
For a precise fit with no spaces, I suggest cutting and joining only the first 7 octagon pieces at the beginning.
Next, position the remaining 2×4 board beneath the octagon in the location of the eighth piece. Mark the edges of the neighboring boards around the opening.
Use a speed square to determine the proper angle for your miter saw.
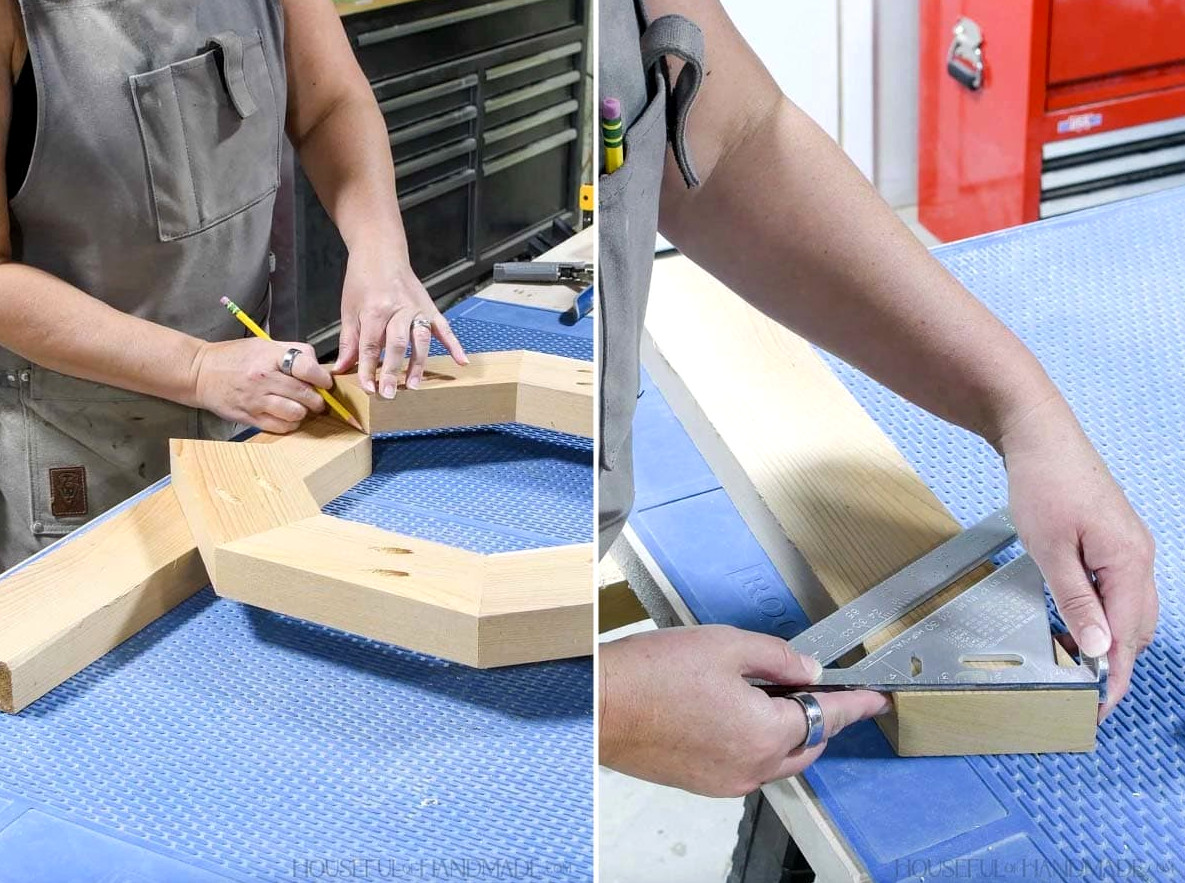
You can now cut the final board.
Drill pocket holes into the eighth piece, then fasten it to both adjoining sides for a snug fit.
STEP 2- Install the center pieces in the top
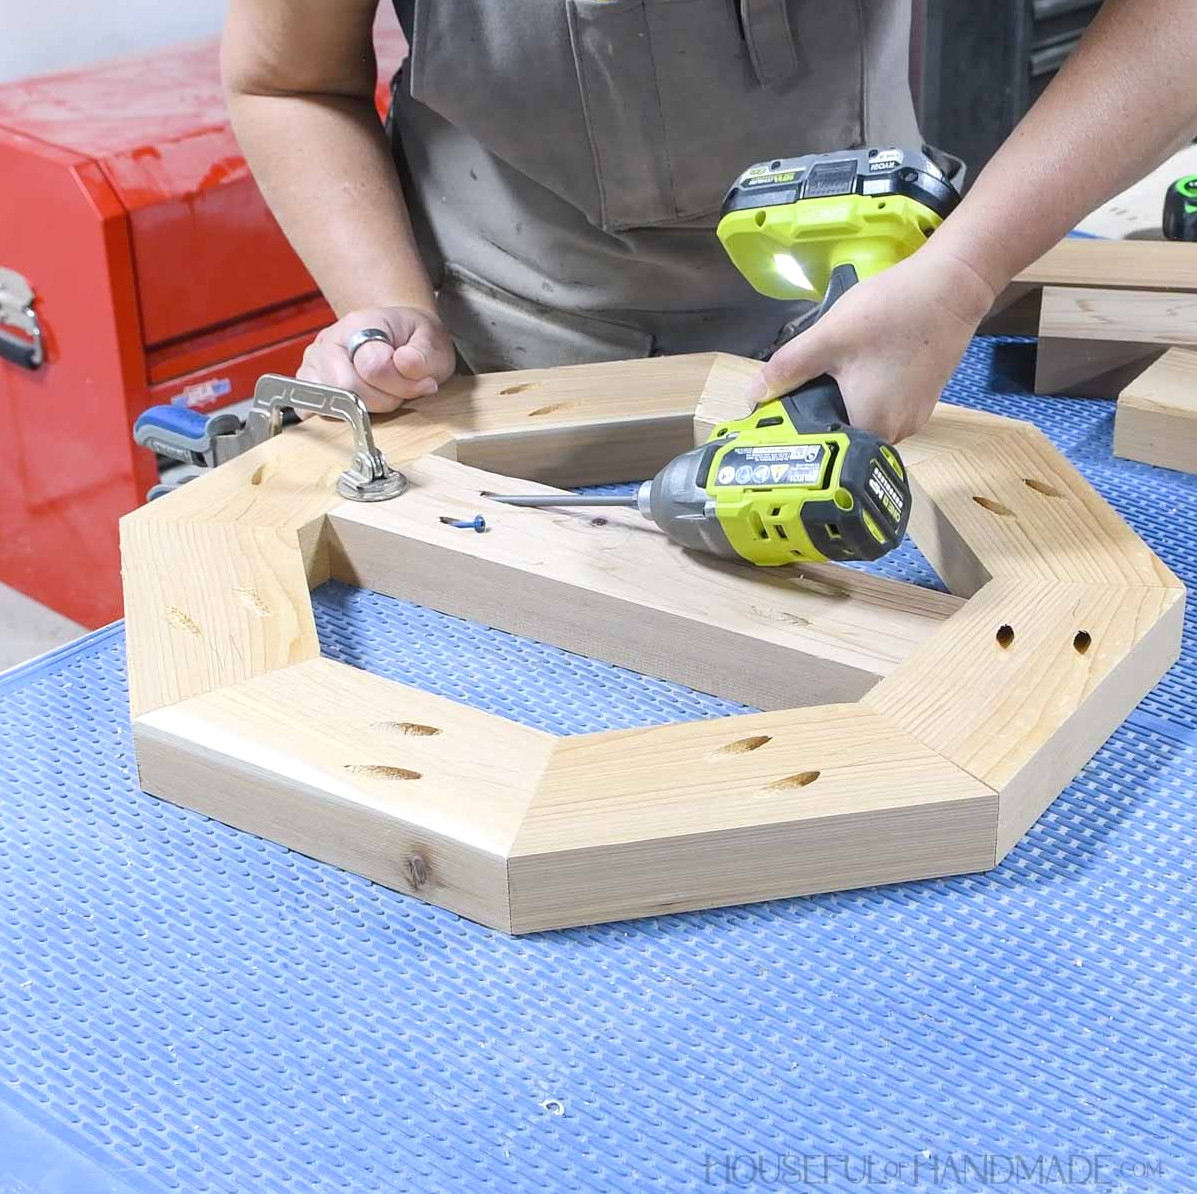
Measure the octagon’s interior, then trim the long center top piece so it fits properly.
Set the pocket holes for 1 1/2” thick material and drill into both sides. Position the center piece within the octagon, making sure it is aligned in the middle.
Attachusing 2 1/2” pocket hole screws and adhesive.
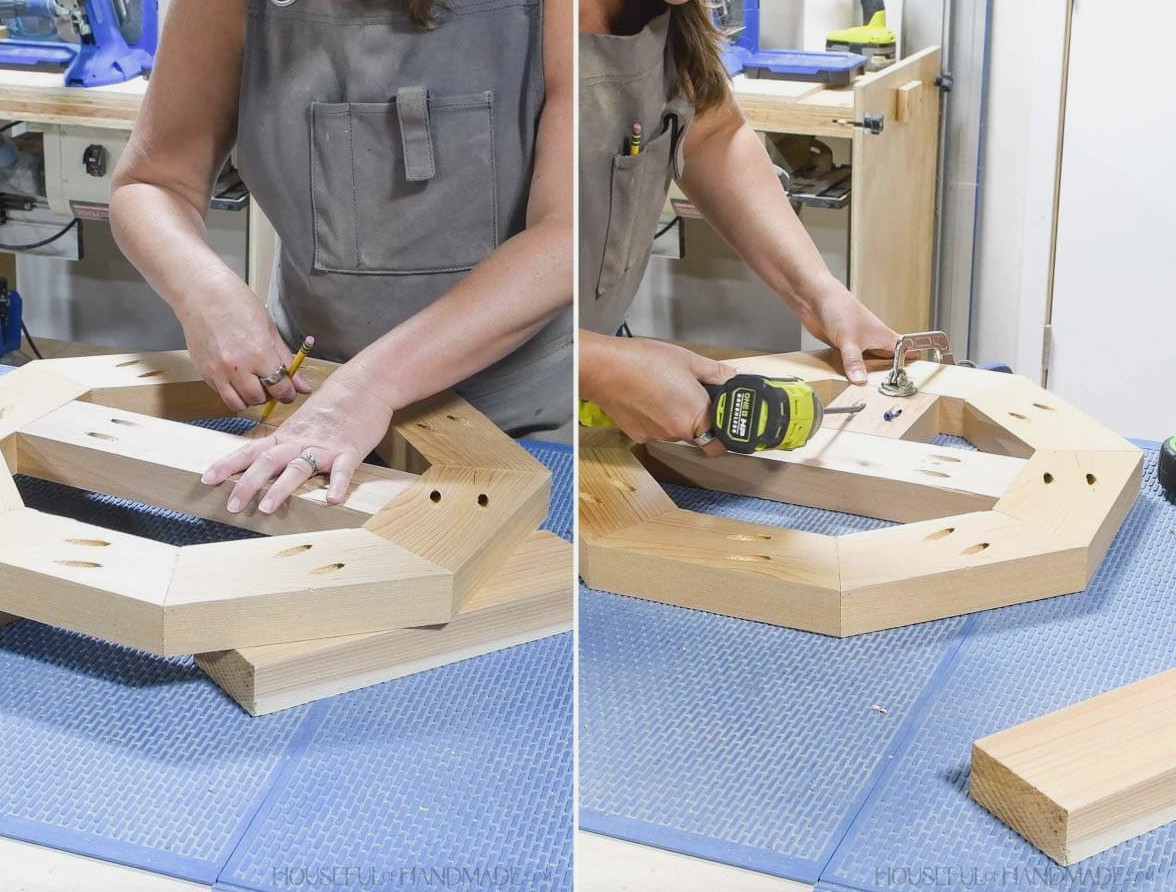
On each side, measure from the center board to the octagon’s edge, then cut the short top center pieces to size.
EXPERT TIP: Set scraps of 2×4 beneath the top to lift it, then position a board where the measurement for your cut is needed. Trace along the board’s edges to achieve a snug fit.
Create pocket holes at both ends of each piece.
Position the short center pieces so they are evenly centered. Fasten them with wood glue and 2 1/2” pocket hole screws.
Set the remaining 2×4 beneath the cross corner. Center it within the opening, then trace the outline onto the board.
Cut out the house-shaped piece. Begin slightly oversized, then gradually trim the edge until it fits properly.
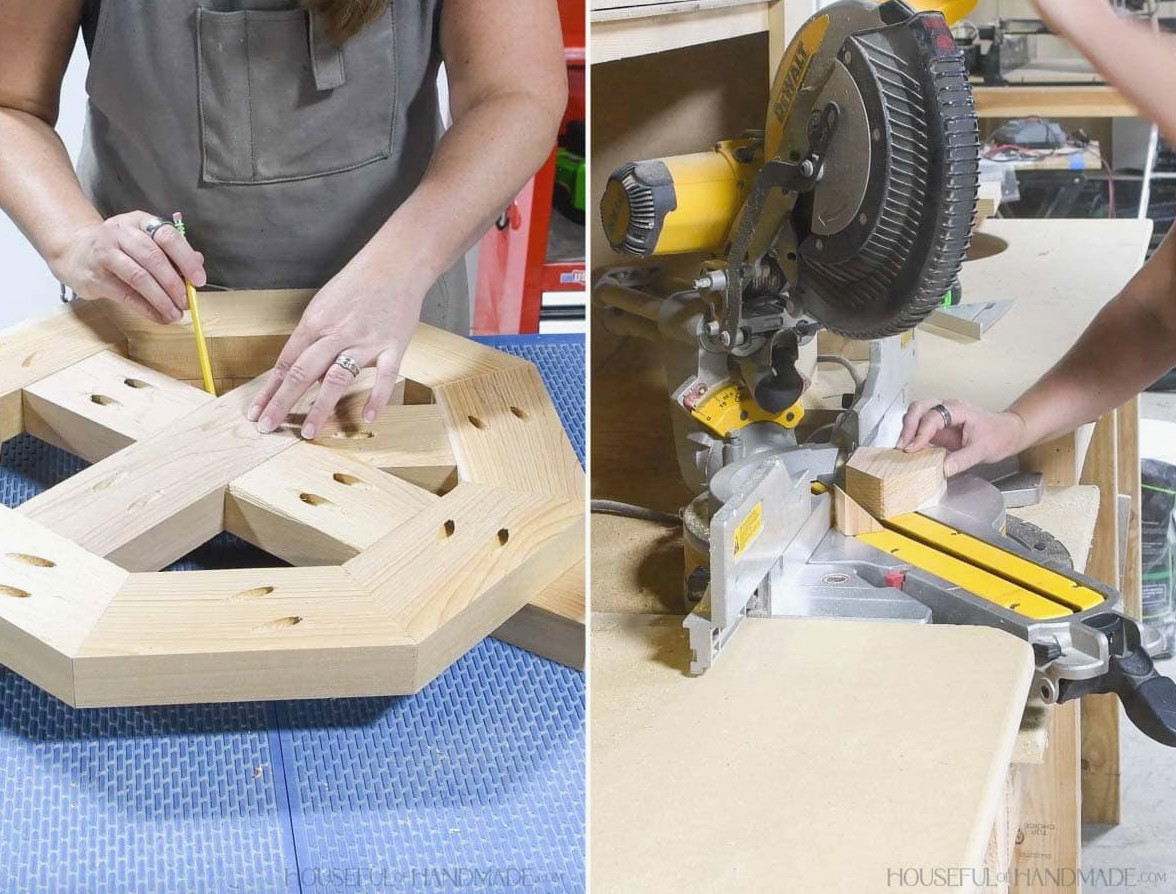
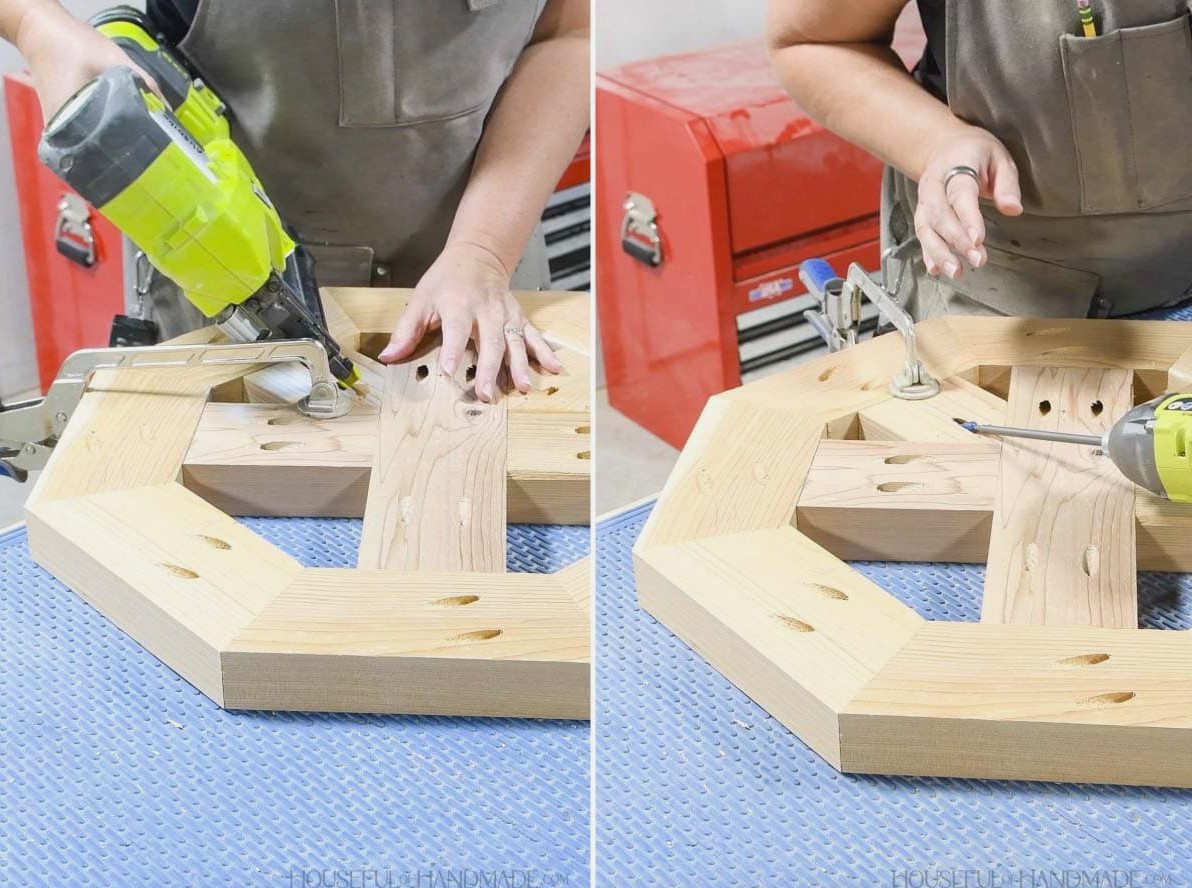
Make a pocket hole in the middle of the straight edge. Apply glue to the two angled edges, then tap the piece into position.
Fasten the straight edge using a 2 1/2” pocket hole screw, and attach the angled edges with 1 1/4” brad nails driven in at an angle.
Do the same for each of the cross’s four corners.
STEP 3- Build the legs
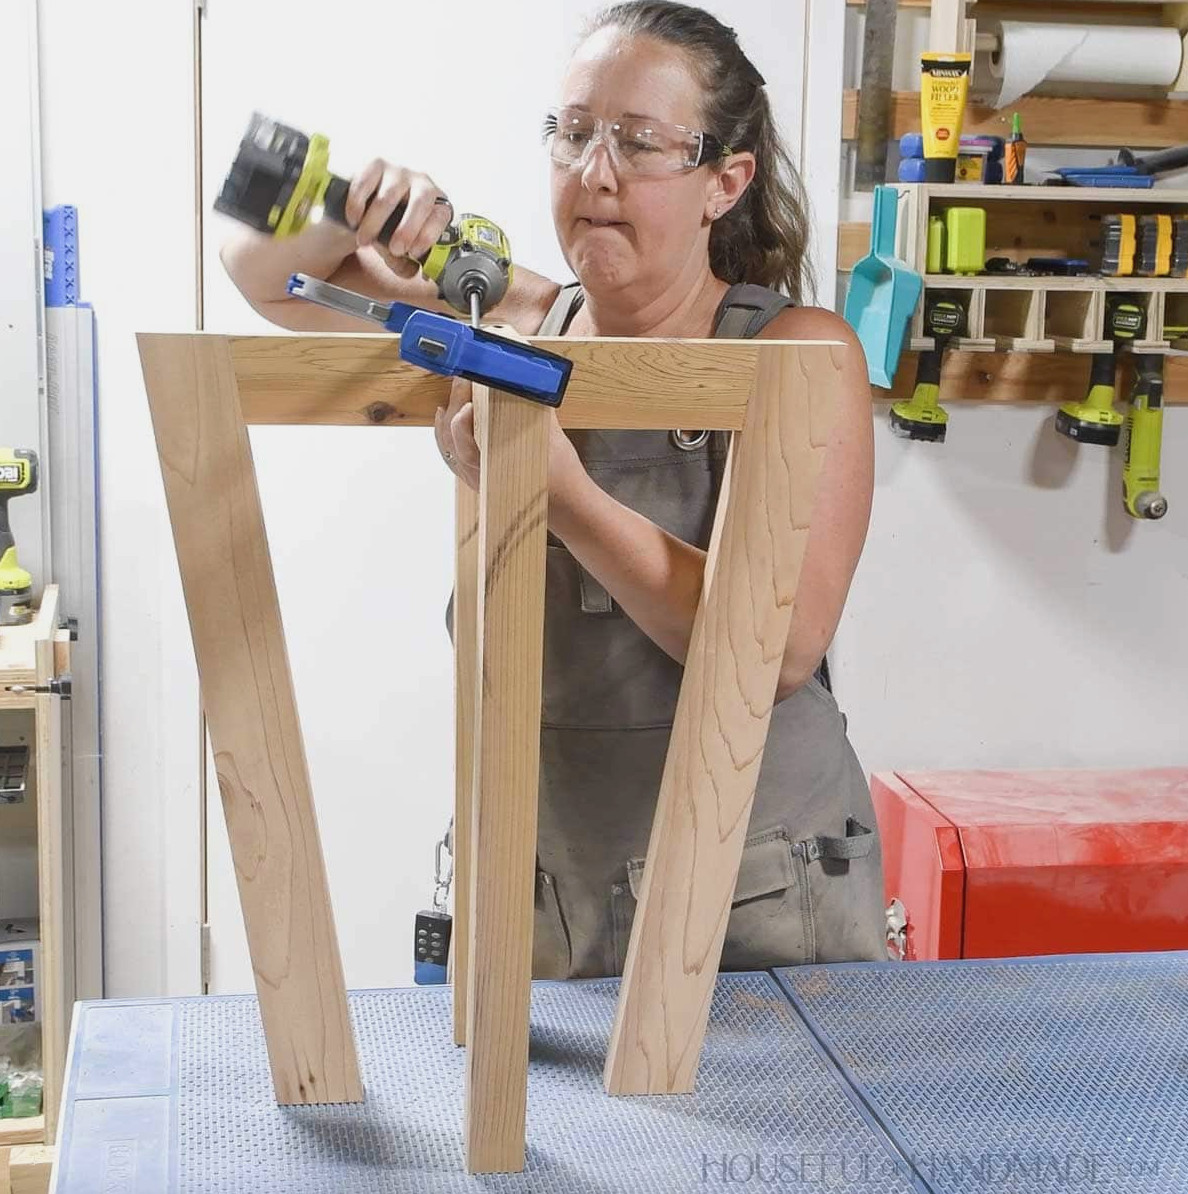
On the 1 1/2″-wide underside of the 2×3 bottom boards, drill pocket holes configured for 1 1/2″-thick material at both ends.
EXPERT TIP:
The Kreg 720 or 520 jigs cannot be used to drill pocket holes in these boards since they are too thick (2 1/2″). That is why the 320 is so useful in my shop! You can clamp it onto boards of any size.
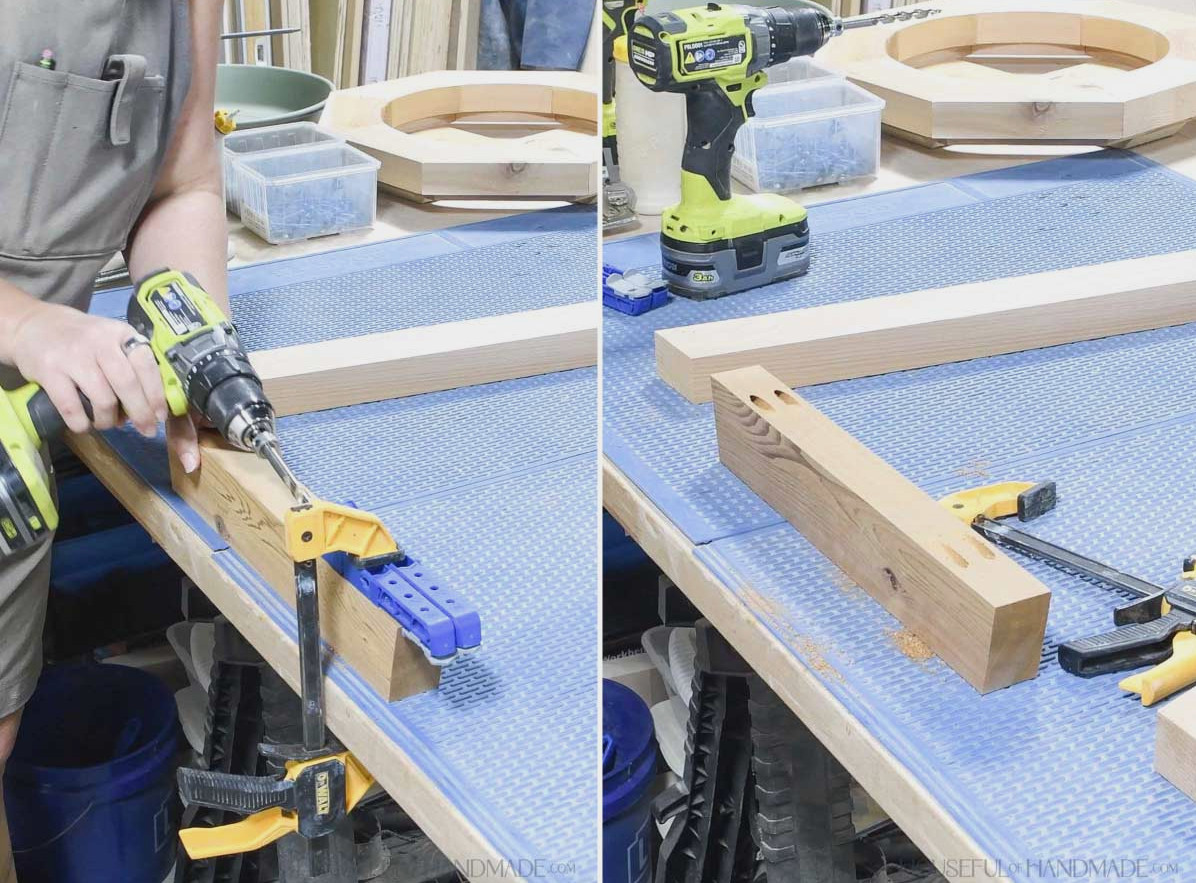
Fasten the bottom pieces to the legs, positioning the center between two leg boards and connecting the angled side edges to one leg board.
Use wood glue and 2 1/2″ pocket hole screws to secure them.
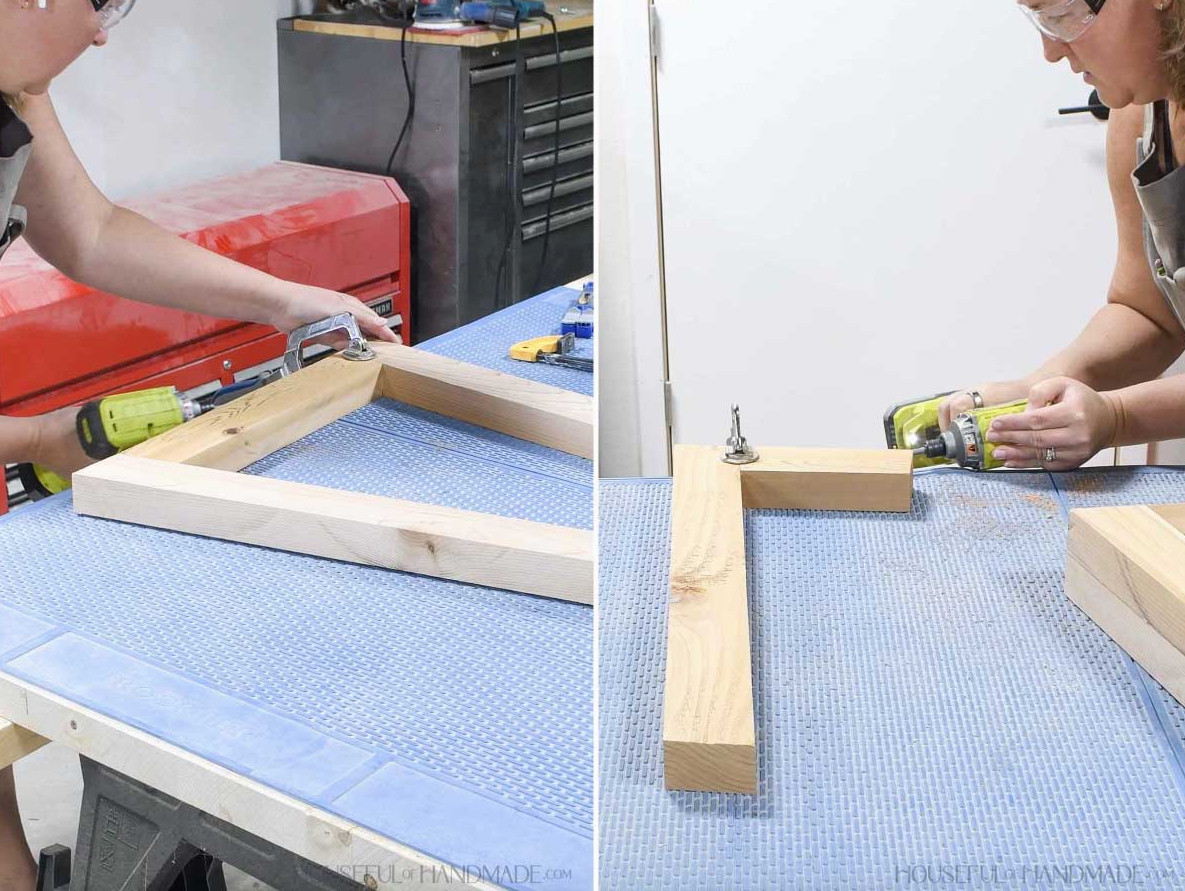
Join all 4 legs at the bottom boards, centering the two side pieces over the bottom center board.
Fasten everything with 2 1/2″ pocket hole screws and wood glue.
STEP 4- Attach legs to top
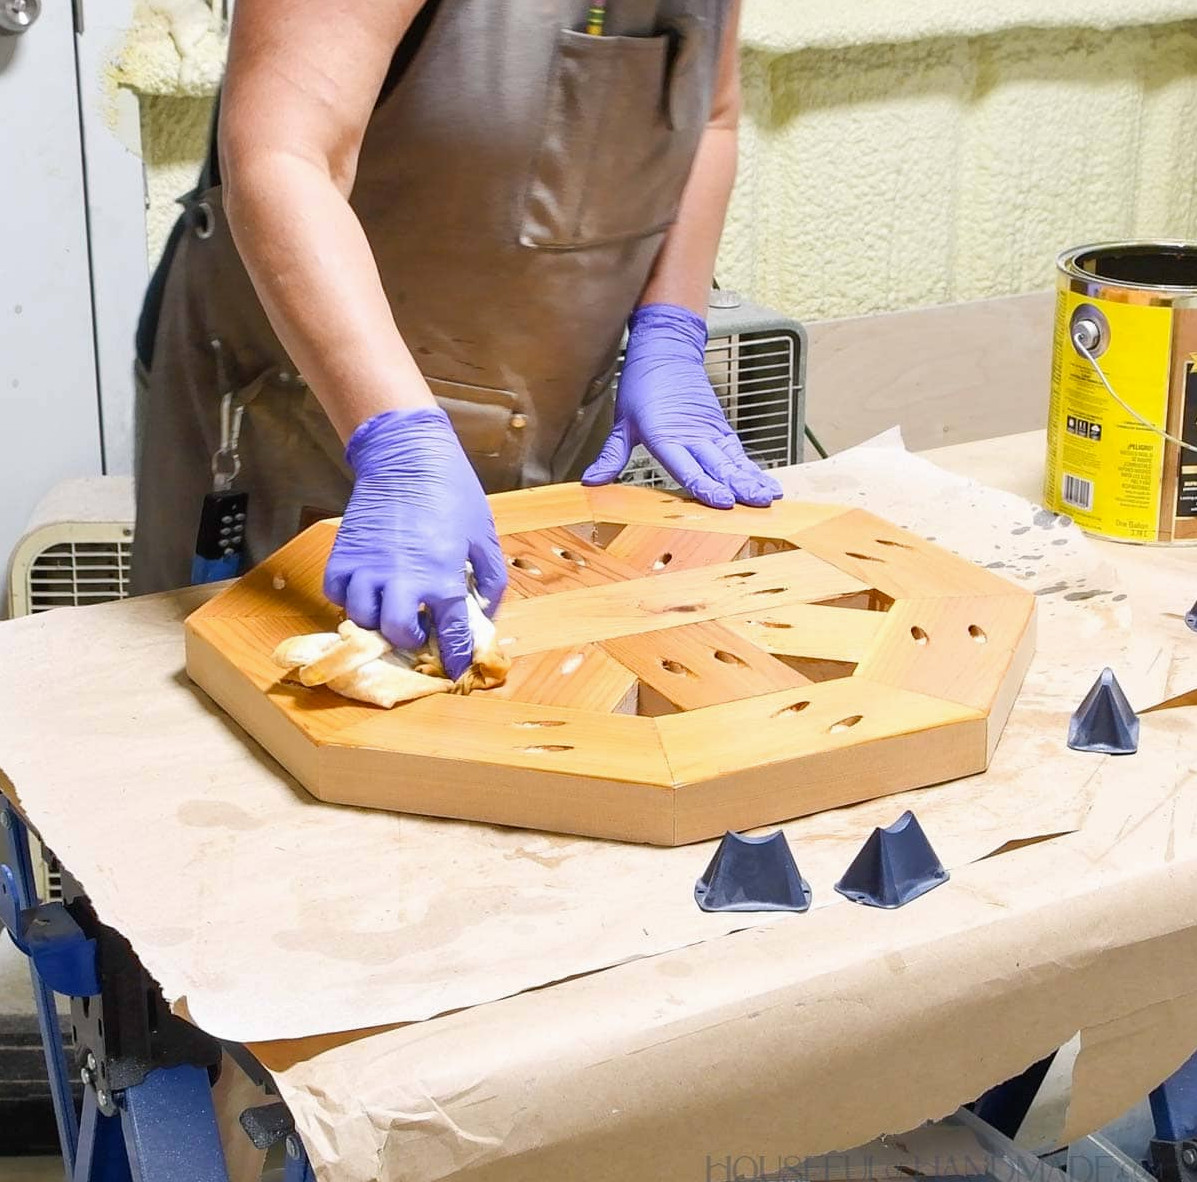
Before joining the legs, I decided to sand and finish the top and the legs separately.
Sand the table surface. Should your tabletop have gaps, fill them with wood putty.
Next, finish the new side table. I found that applying sealer with a cloth made it simple to reach the openings in the tabletop.
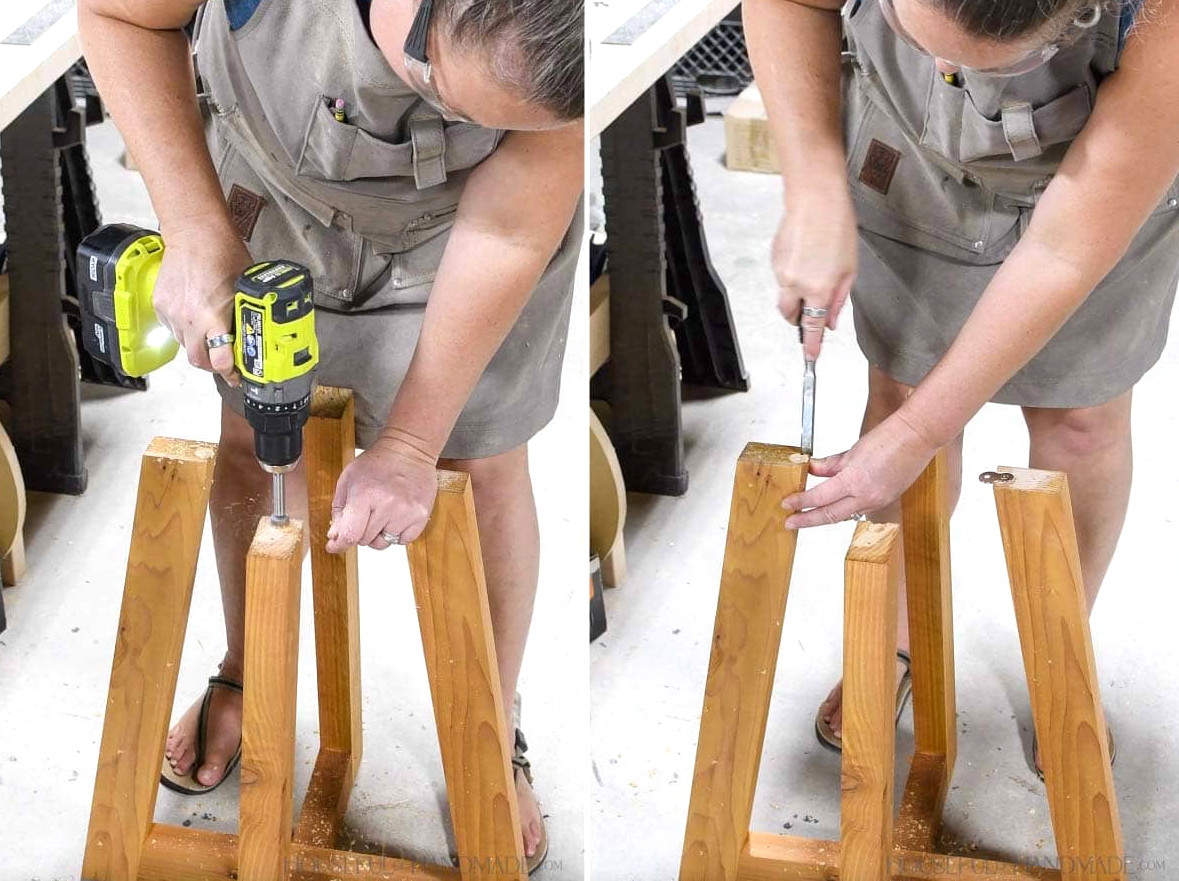
Drill recesses in the tops of the legs so the figure 8 fasteners can sit inside them.
When the recesses are not flush with the leg edge, use a chisel to create enough space for the fasteners.
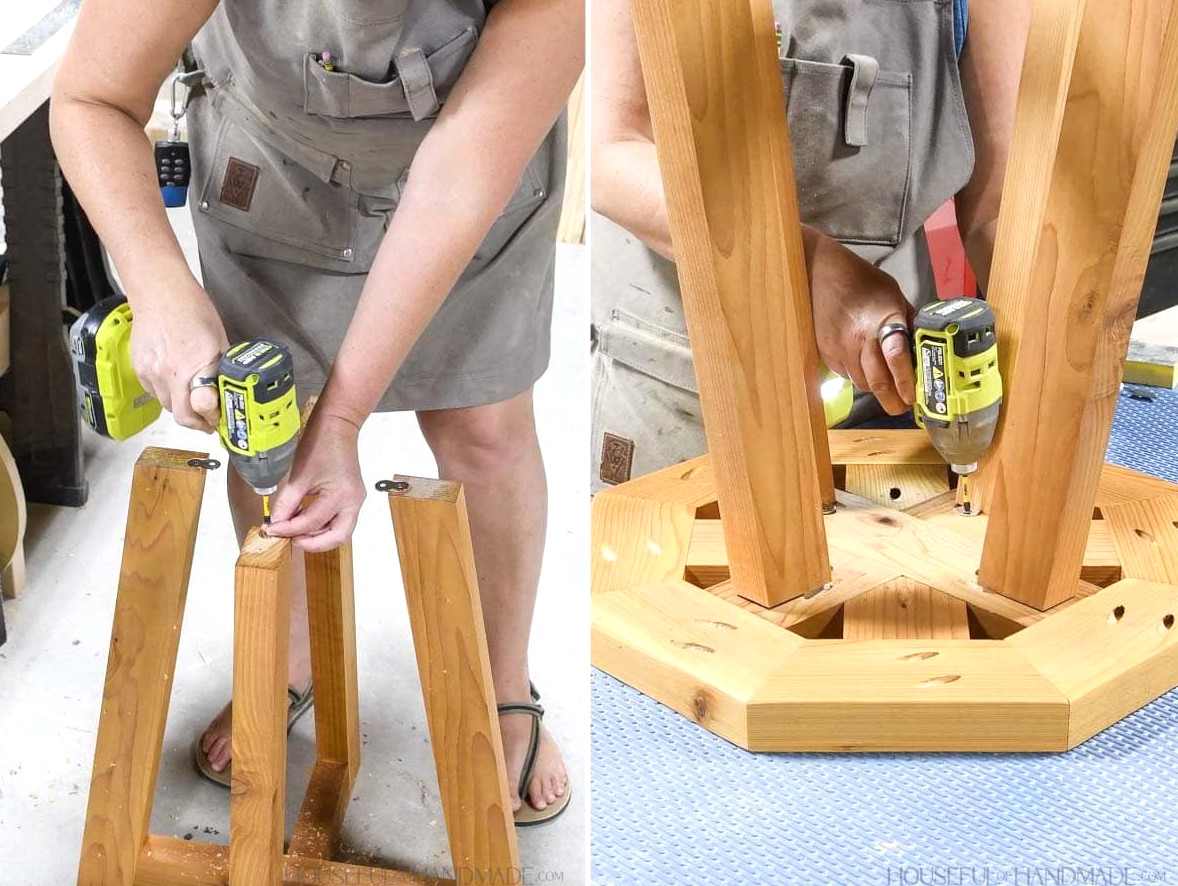
Attach the fasteners using the provided screws.
Turn the top upside down and position the legs centrally over the cross pieces. Attach the top by driving a screw through the exposed side of every fastener.
Don’t Forget to Grab the Printable PDF Plans Here!
Premium plans include:
- Suggested Tools
- Materials list
- Readable cut list chart
- Cutting diagrams
- Detailed instructions with 3D renderings
- Useful resources
- BONUS: 3D SketchUp file
You’ve finished!
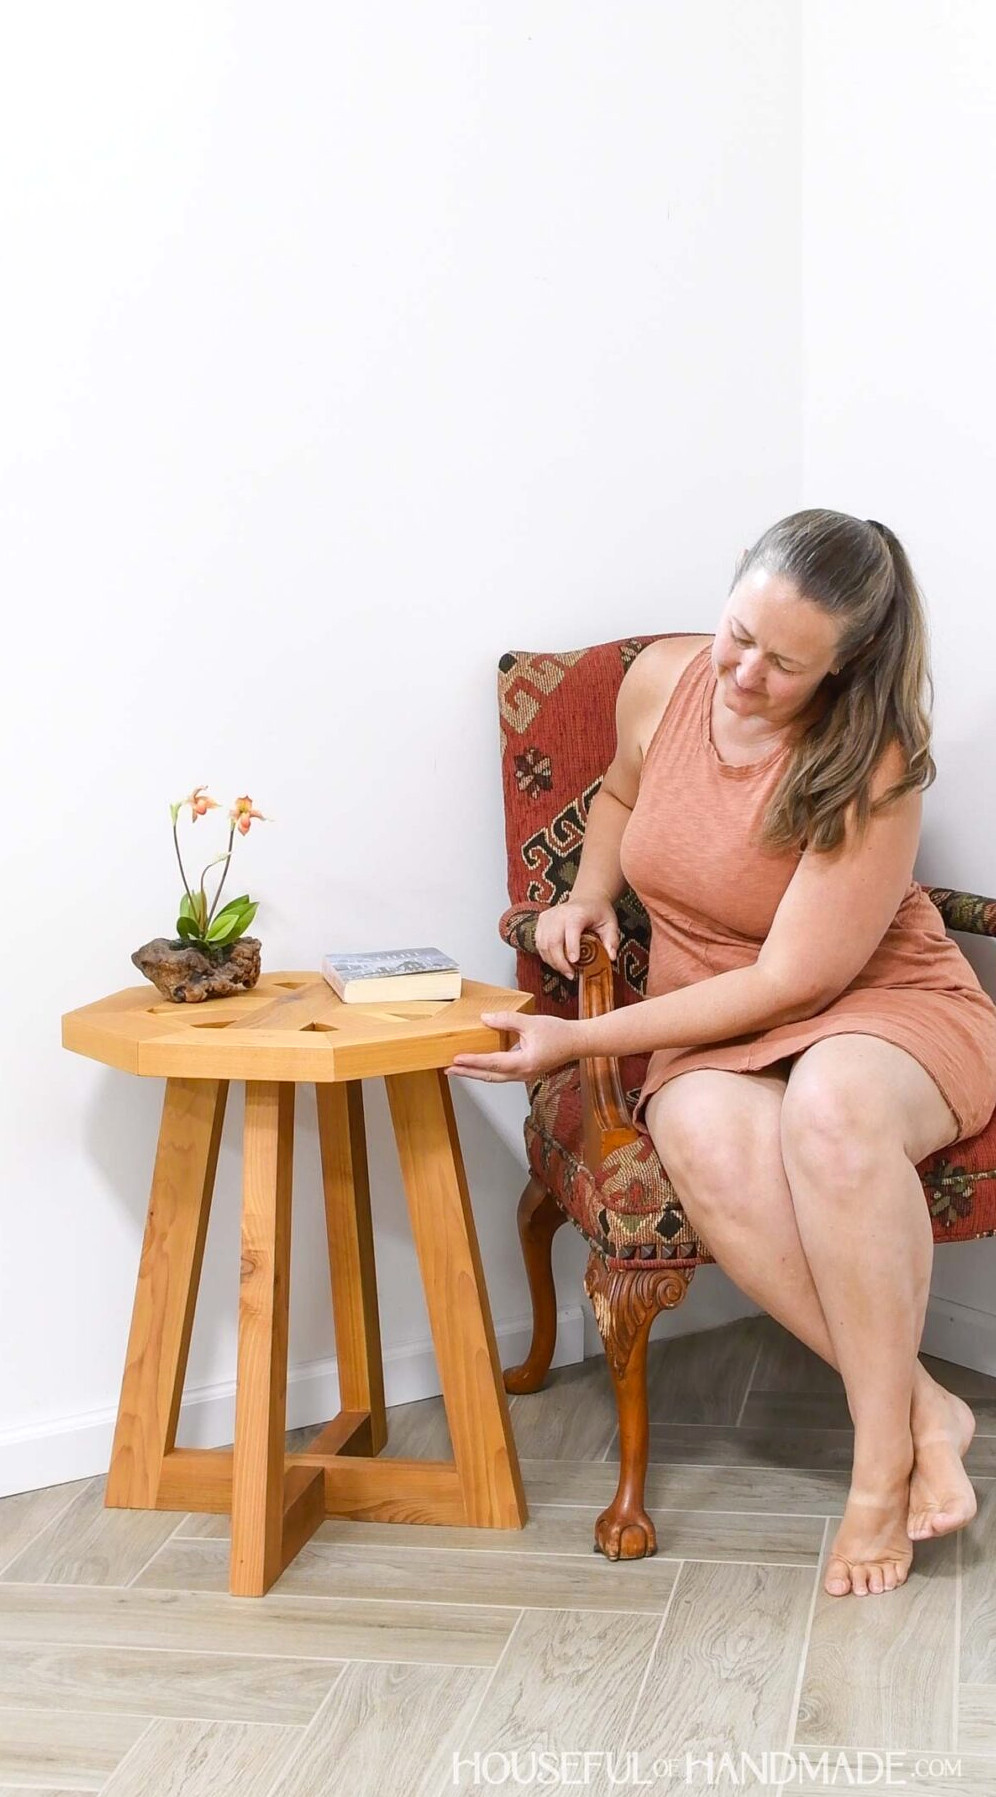
Now you can relax and enjoy your beautiful new table, perfect for holding your drink and book.
Enjoy building!