Bring birds to your backyard with a lovely wooden birdbath you made yourself.
I may be getting older, because enjoying a peaceful morning coffee on the patio while watching the birds has become one of my favorite pastimes.
Still, I thought I could make those mornings even more enjoyable with a gorgeous new birdbath. Few things are prettier than a cheerful cardinal bathing in the water.
So I teamed up with Kreg Tools, used their Kreg jig, and created my own backyard birdbath. I’m also giving you the plans at no cost so you can make one yourself!
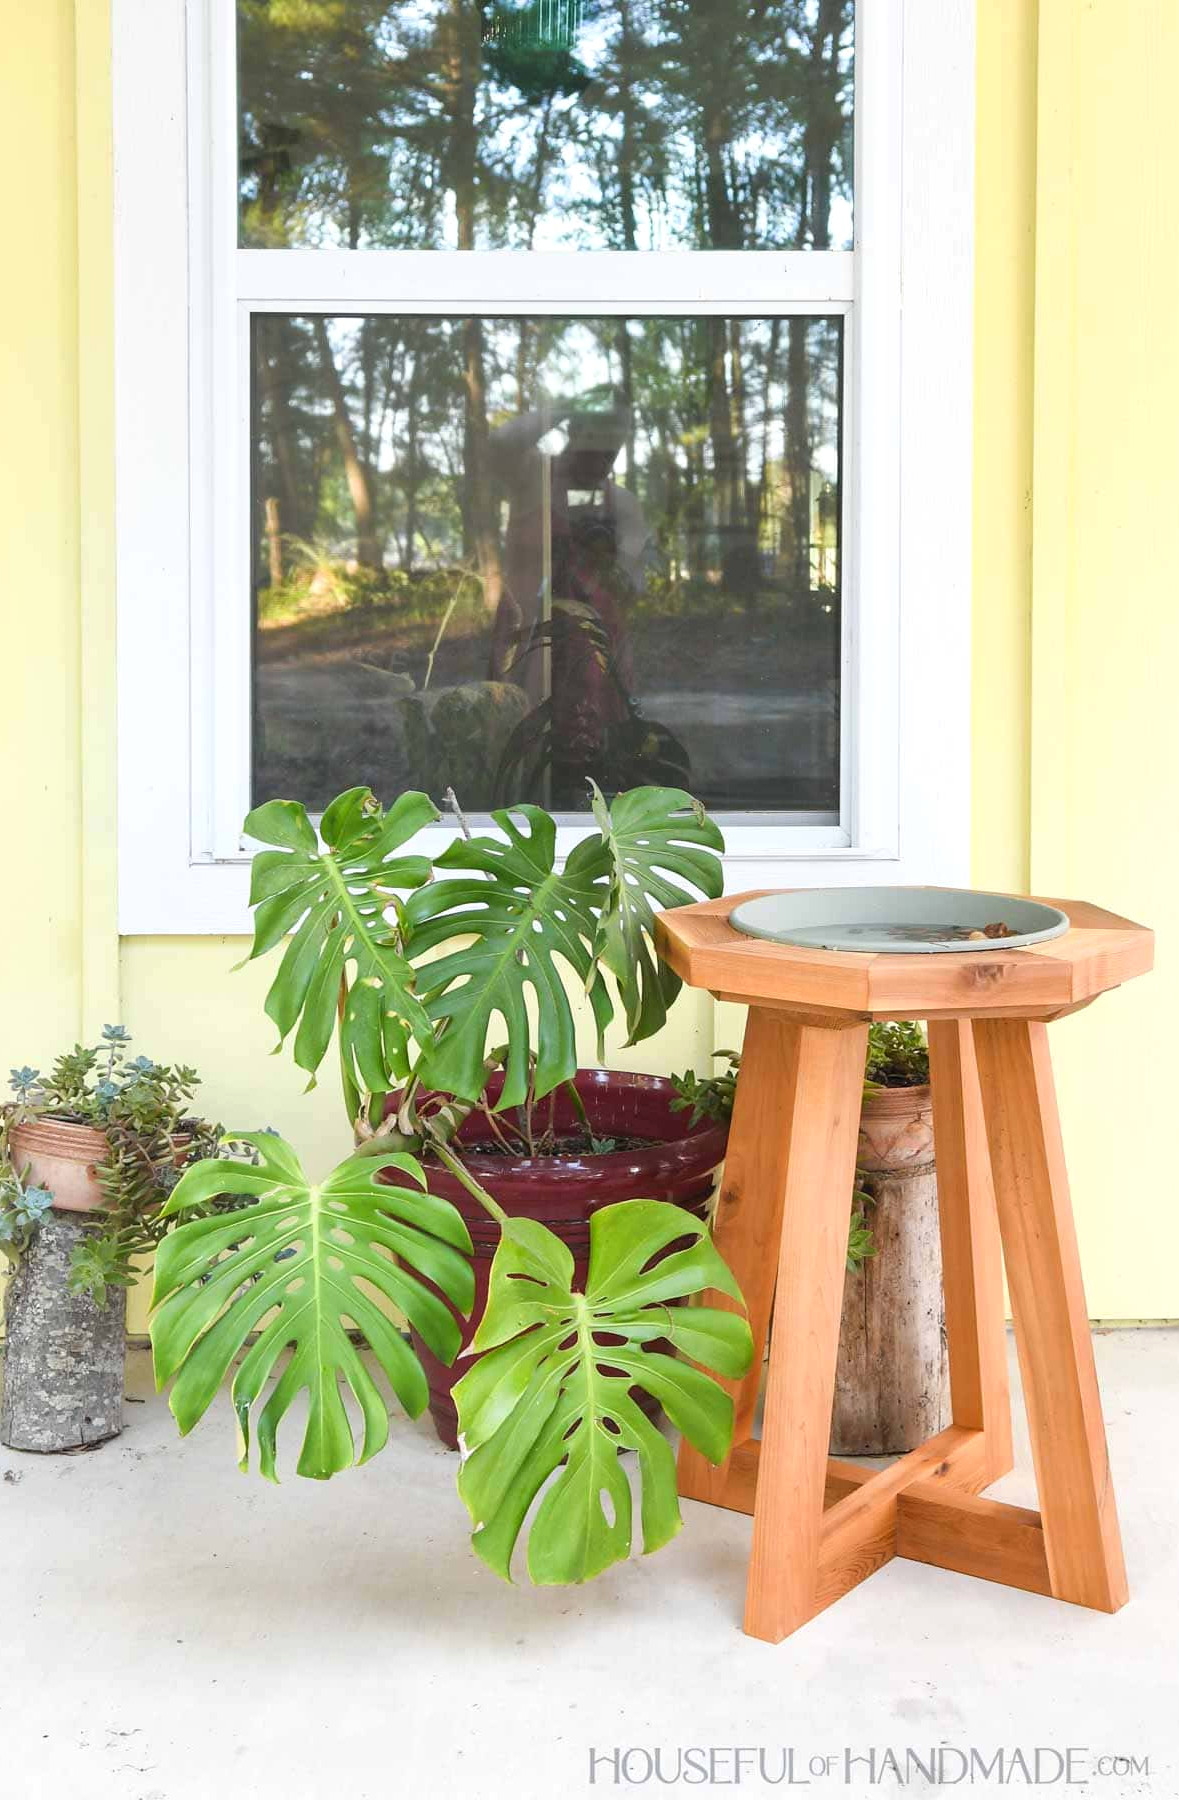
Pedestal Bird Bath
I’ve always admired traditional pedestal birdbaths, although I wanted to give mine a contemporary style.
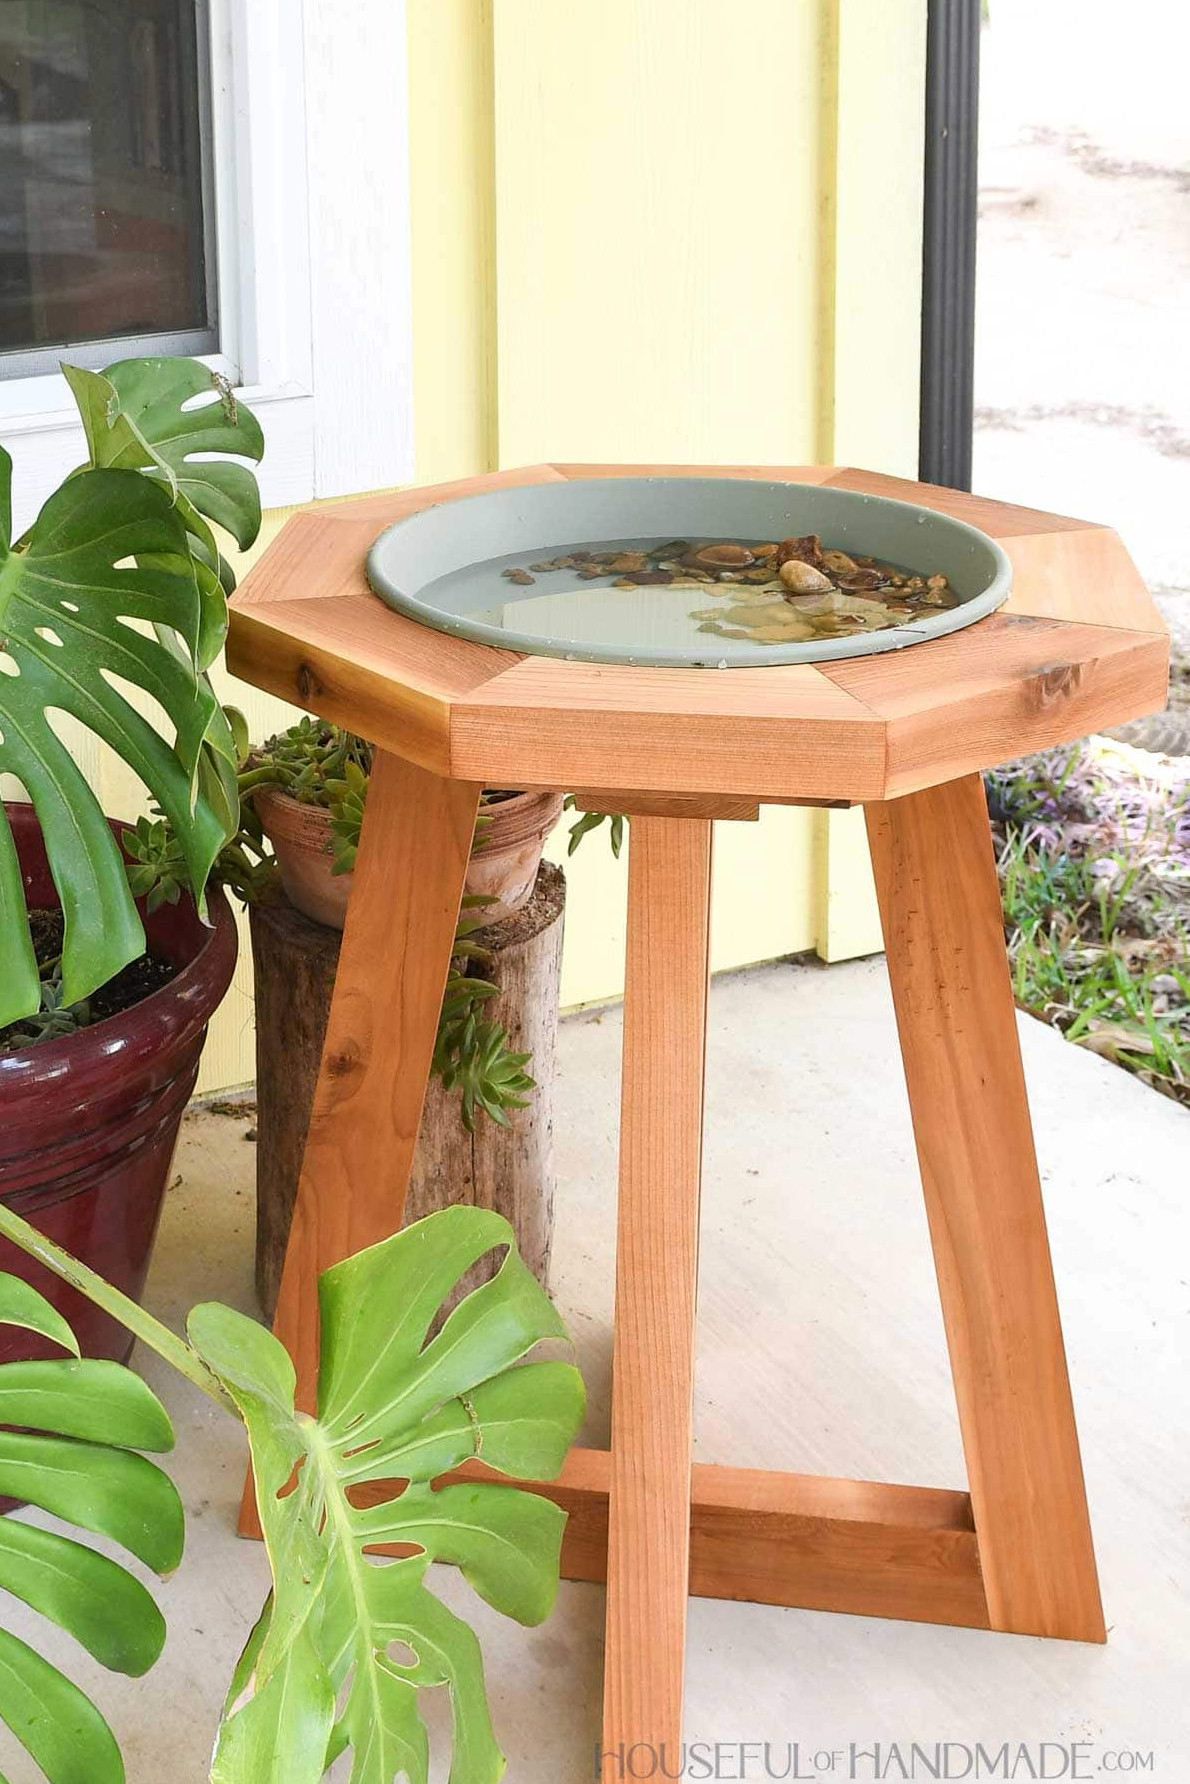
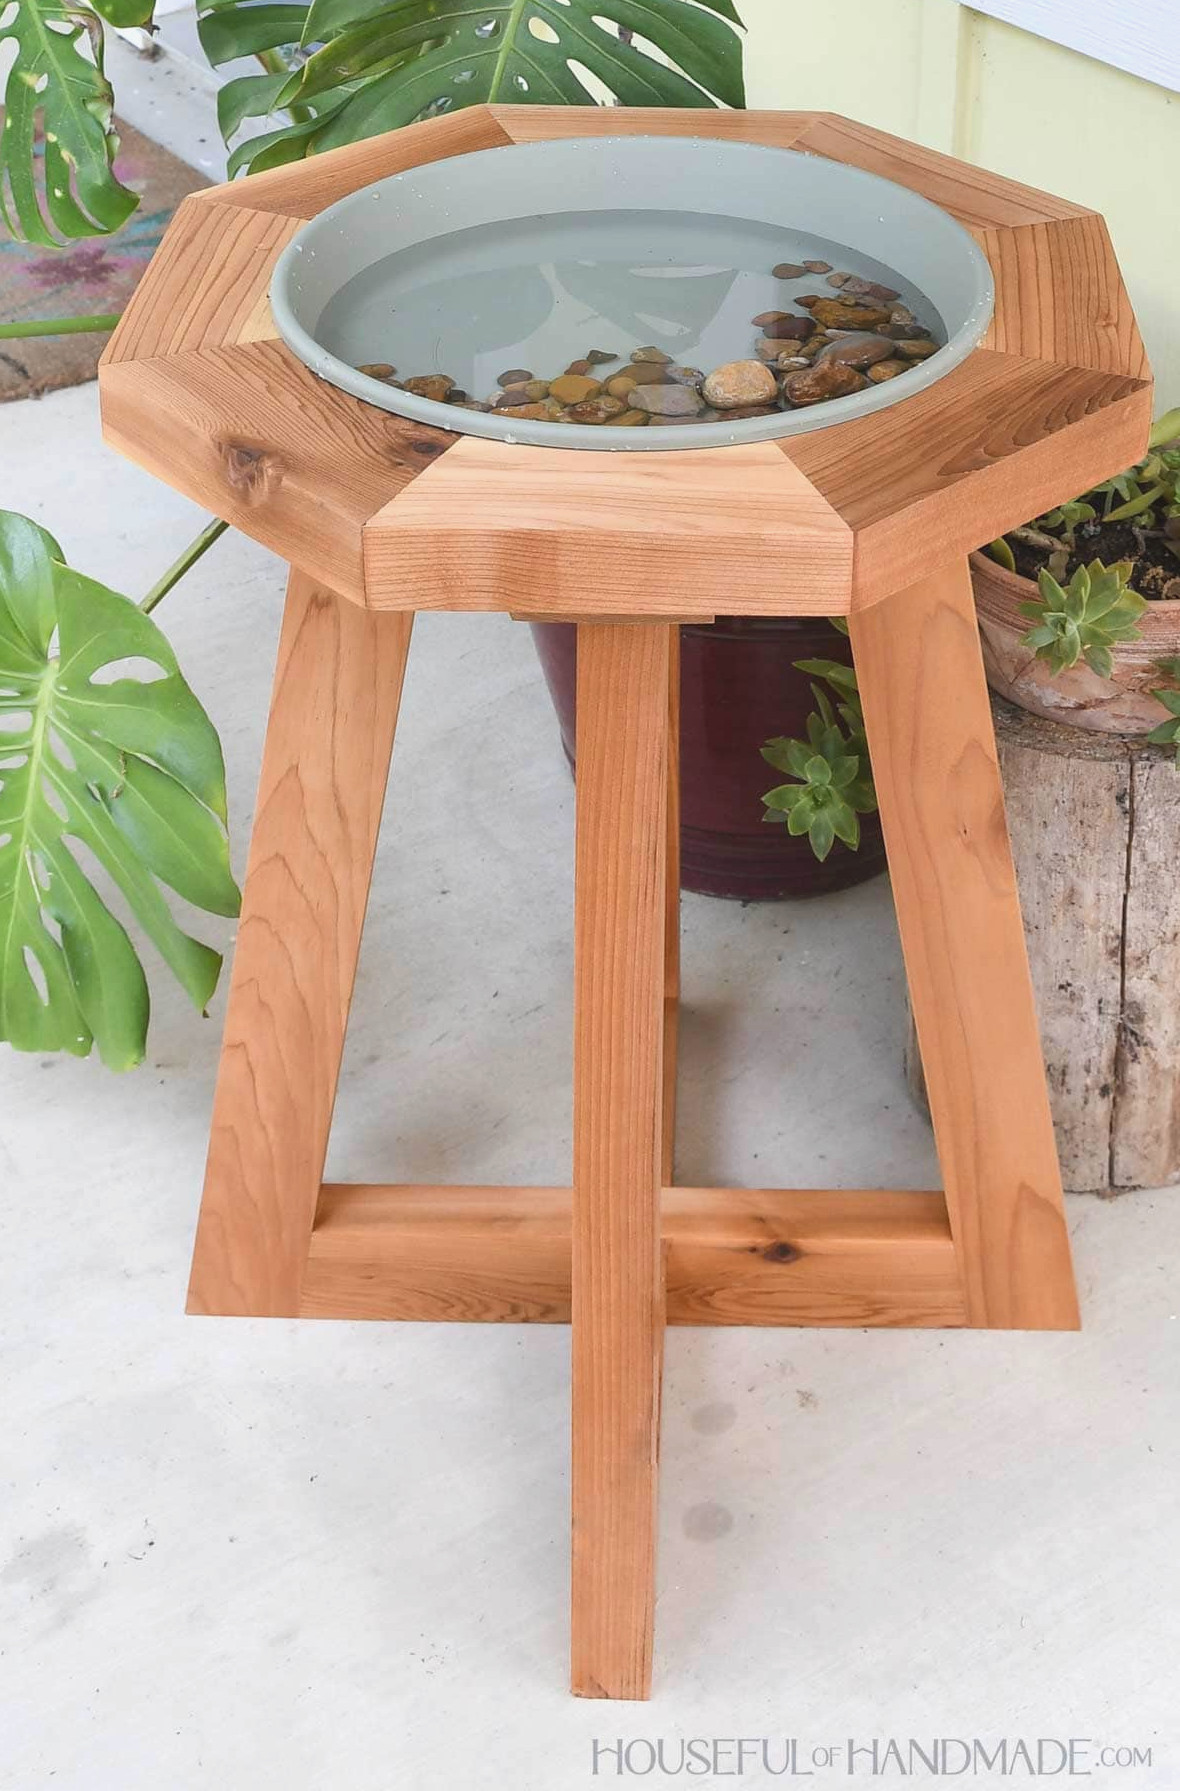
That’s why I created this straightforward birdbath with an octagonal top. A saucer filled with water sits in the center for birds to splash around in.
The broad octagon surrounding it also gives the birds a convenient spot to land before and after bathing.
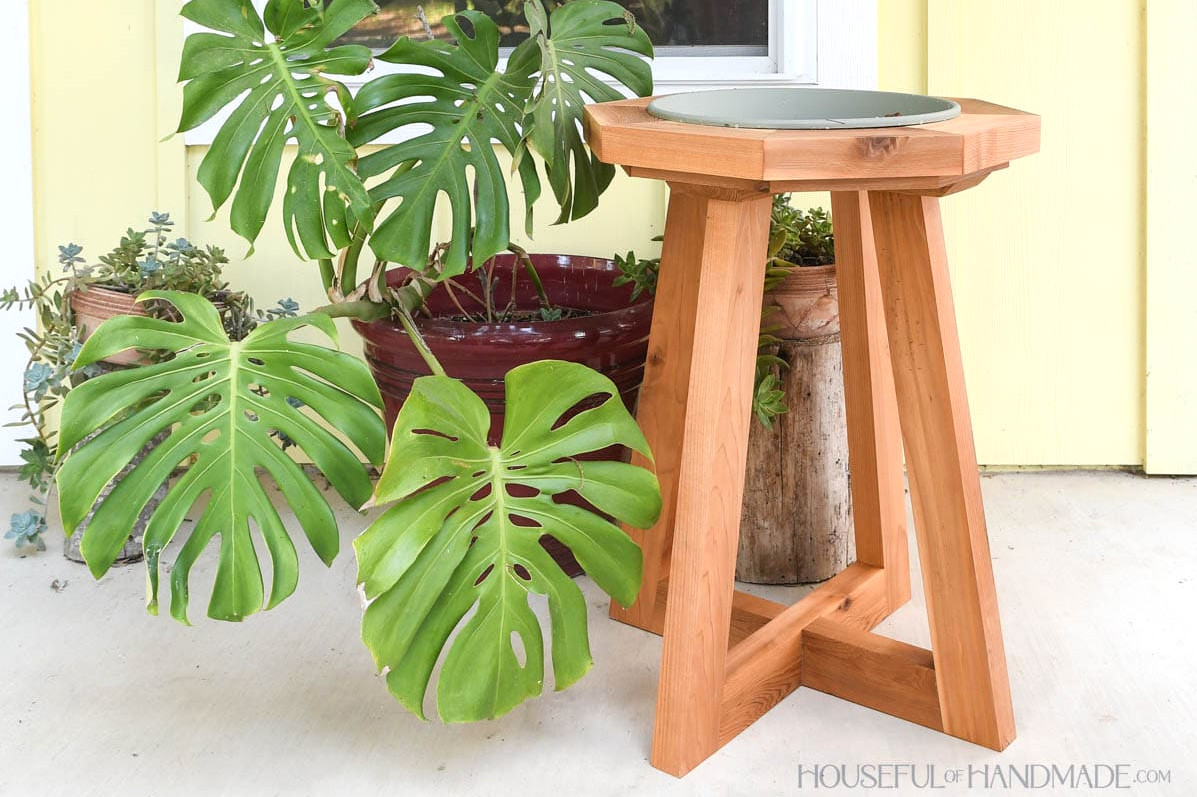
The pedestal is made from 4 legs that slope inward toward the top. These legs can also serve as trellises for climbing plants or vines int he garden.
At the base, the legs connect to form a solid foundation. You want the birds to feel safe and stable so they’ll linger and enjoy themselves.
More Yard & Garden DIYs
Turn your yard into your favorite hangout with these enjoyable projects.
How to Build a Bird Bath
Tools & Supplies
Overall Dimensions
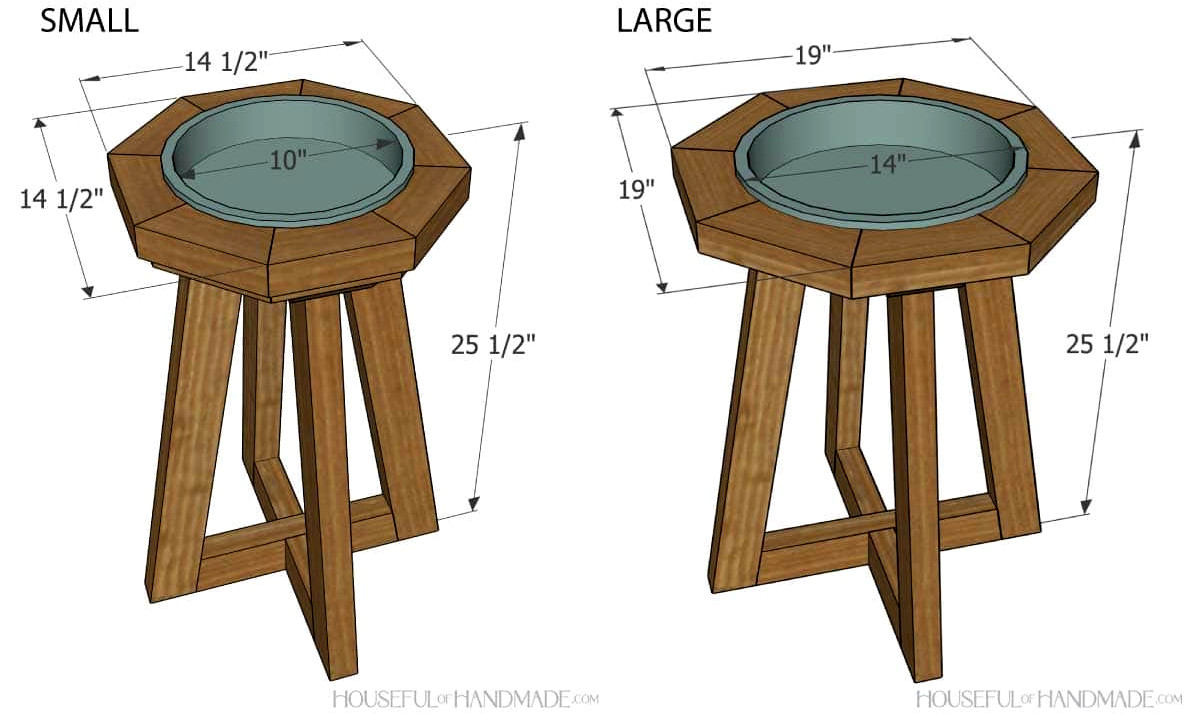
I created two birdbath sizes.
The smaller version measures 14 1/2″ wide x 14 1/2″ deep at the top and stands 25 1/2″ tall. Its top accommodates a 10″ wide saucer for the bathing area.
The bigger model is 19″ wide x 19″ deep at the top and 25 1/2″ tall. Its top fits a 14″ wide saucer for the bathing area.
Cut List
Cut each component based on the construction plans.
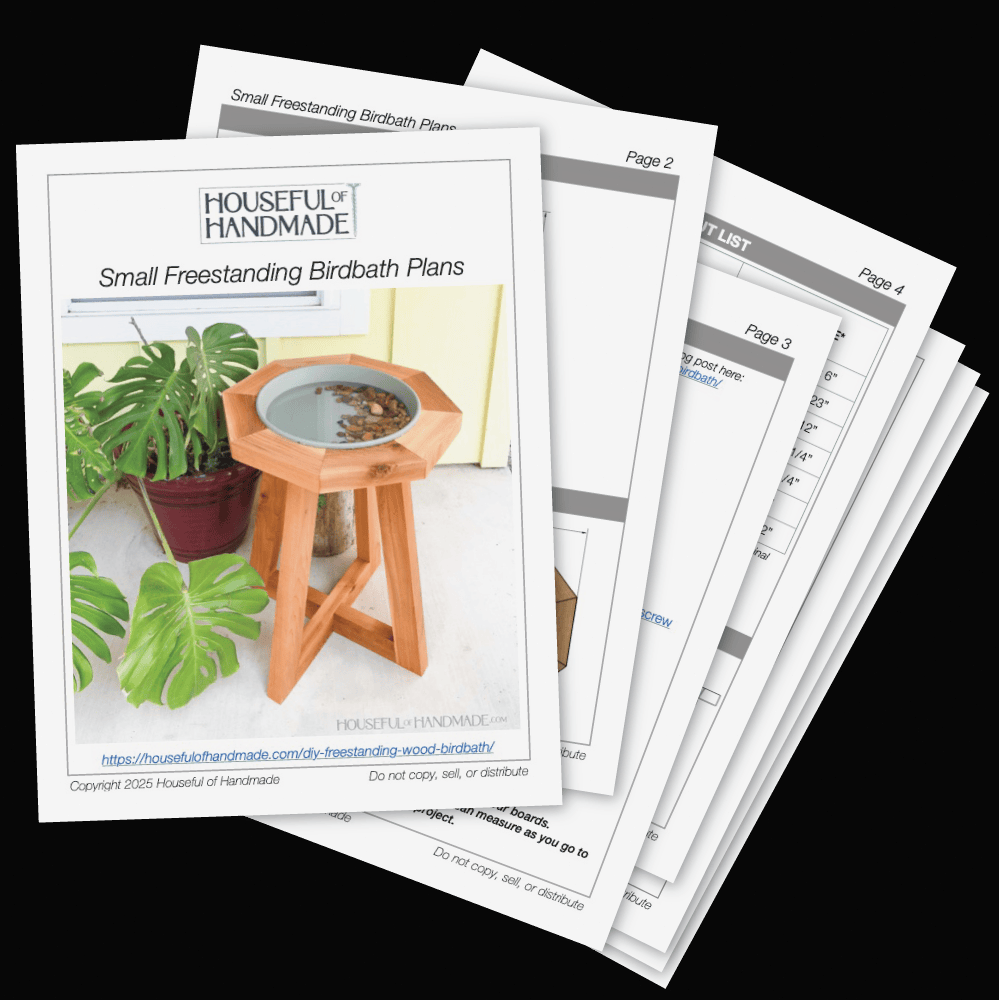
You can find thesmall freestanding birdbath plans here.Or locate thebuild plans for the large birdbath at Kregtool.com.
Download the Premium PDF Woodworking Plans
PDF plans contain- Clear Cut List, Shopping List, Suggested Tools, Step-by-Step Directions with 3D illustrations, & Useful Resources
BONUS- 3D SketchUp File
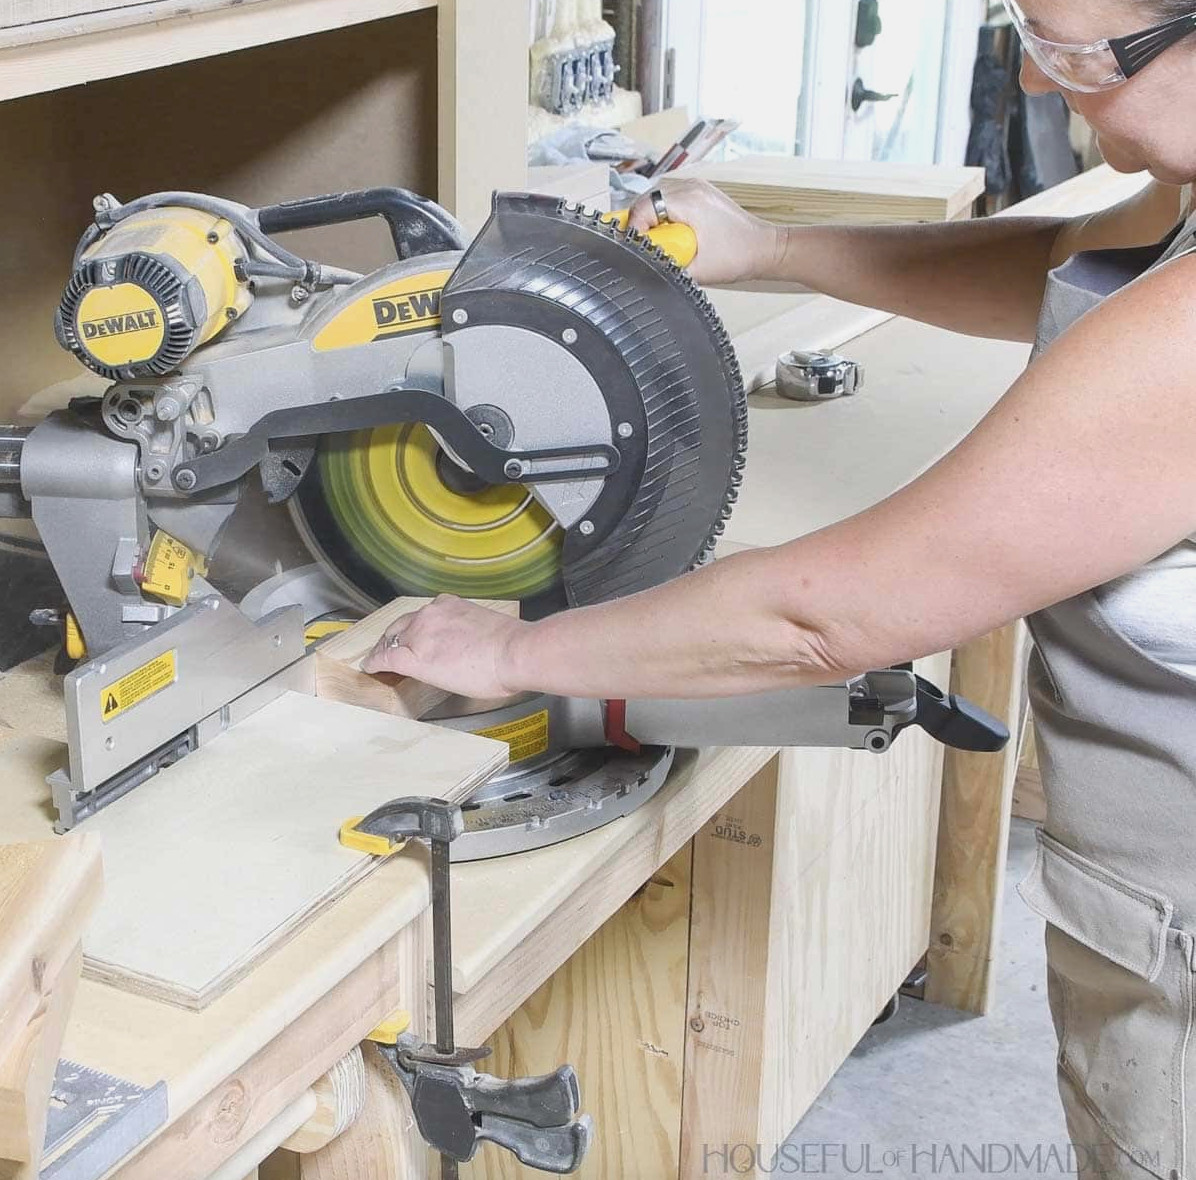
The upper octagon and leg components require angled cuts as outlined below. Check the cut diagram in the plans for illustrations of these angled cuts.
- Top octagon and lower octagon components: cut both ends at a 22.5 degree angle so they slope toward one another.
- Leg components: cut both ends at a 10 degree angle so they remain parallel.
- Bottom center component: cut both ends at a 10 degree angle so they slope toward one another.
- Bottom side components: cut one end at a 10 degree angle.
EXPERT TIP:
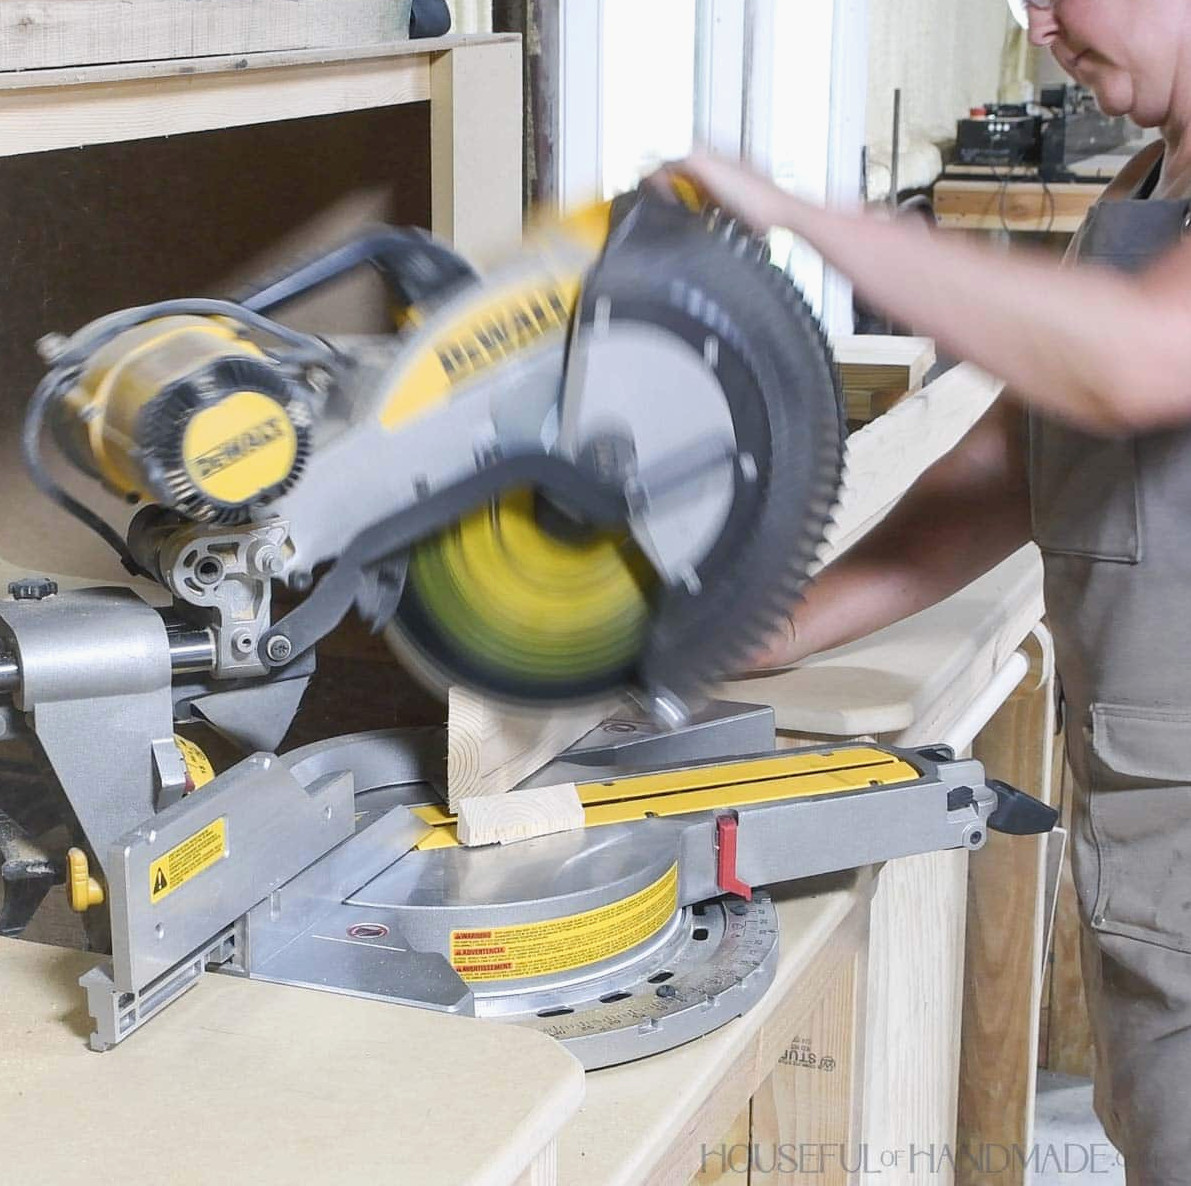
Whenever I need several pieces cut to an identical length, I set up a stop on my miter saw. You can simply clamp a speed square or scrap board beside the saw.
For the upper support pieces, rip the outside ends at a 45 degree angle to create a slope.
Another option is to sand the slope into the ends after assembly.
STEP 1- Assemble the octagon
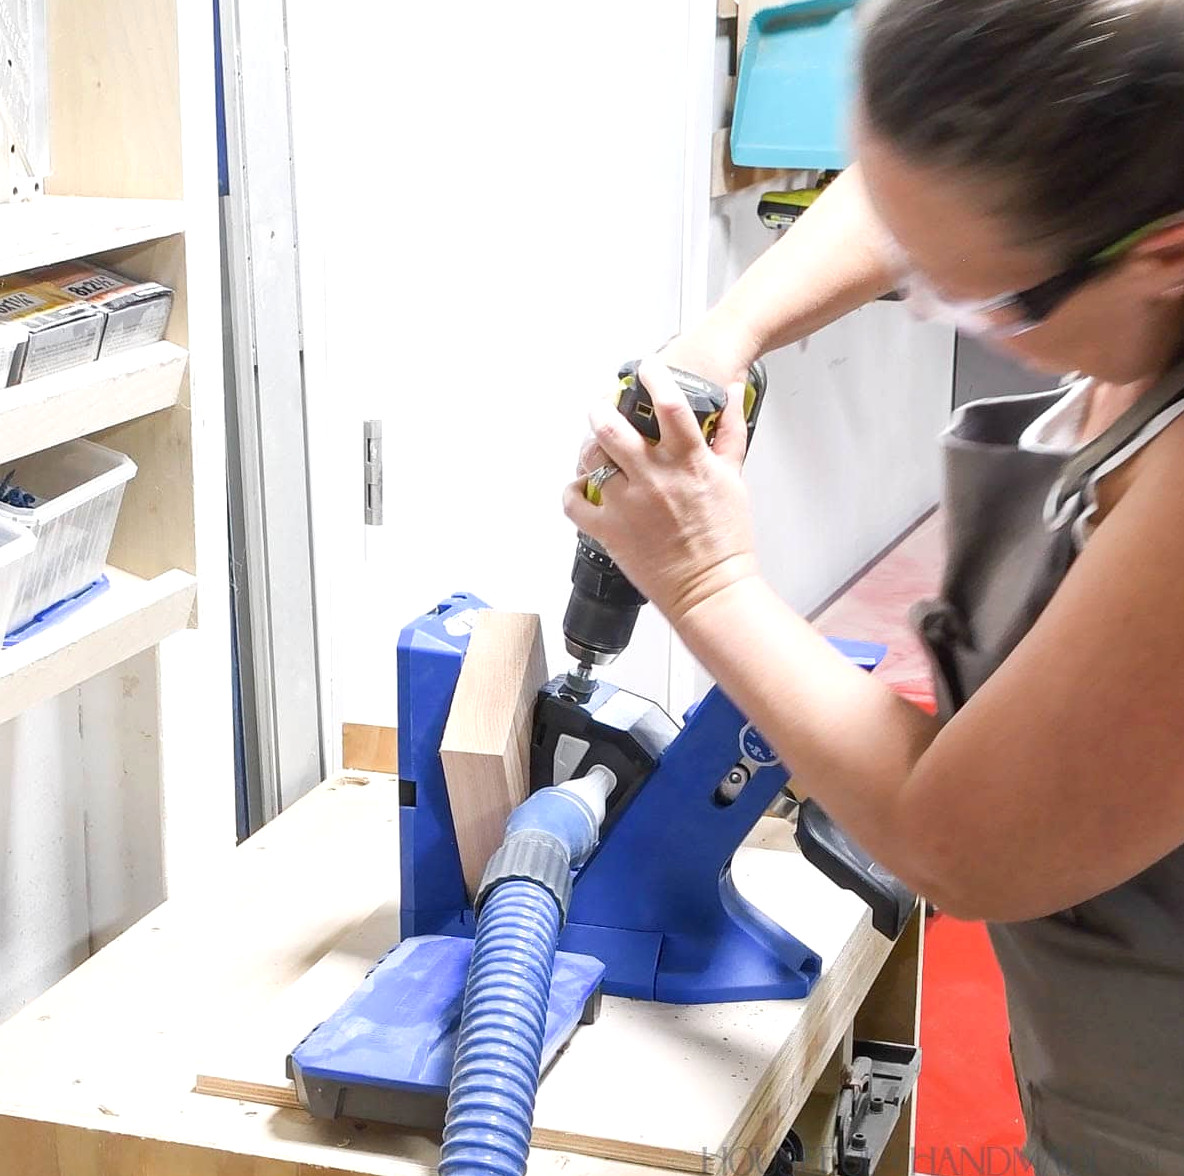
Adjust your pocket hole jig for drilling into 1 1/2″ thick material.
Make 2 pocket holes on one side of each upper octagon board. Be consistent and use the same side for every board.
I became eager and drilled pocket holes on both sides of every board before realizing that wasn’t necessary. Therefore, ignore the additional holes shown in the photos below.
Spread glue along the edge where two boards meet.
Hold the joint with a face clamp while fastening the boards together using 2 1/2″ pocket hole screws.
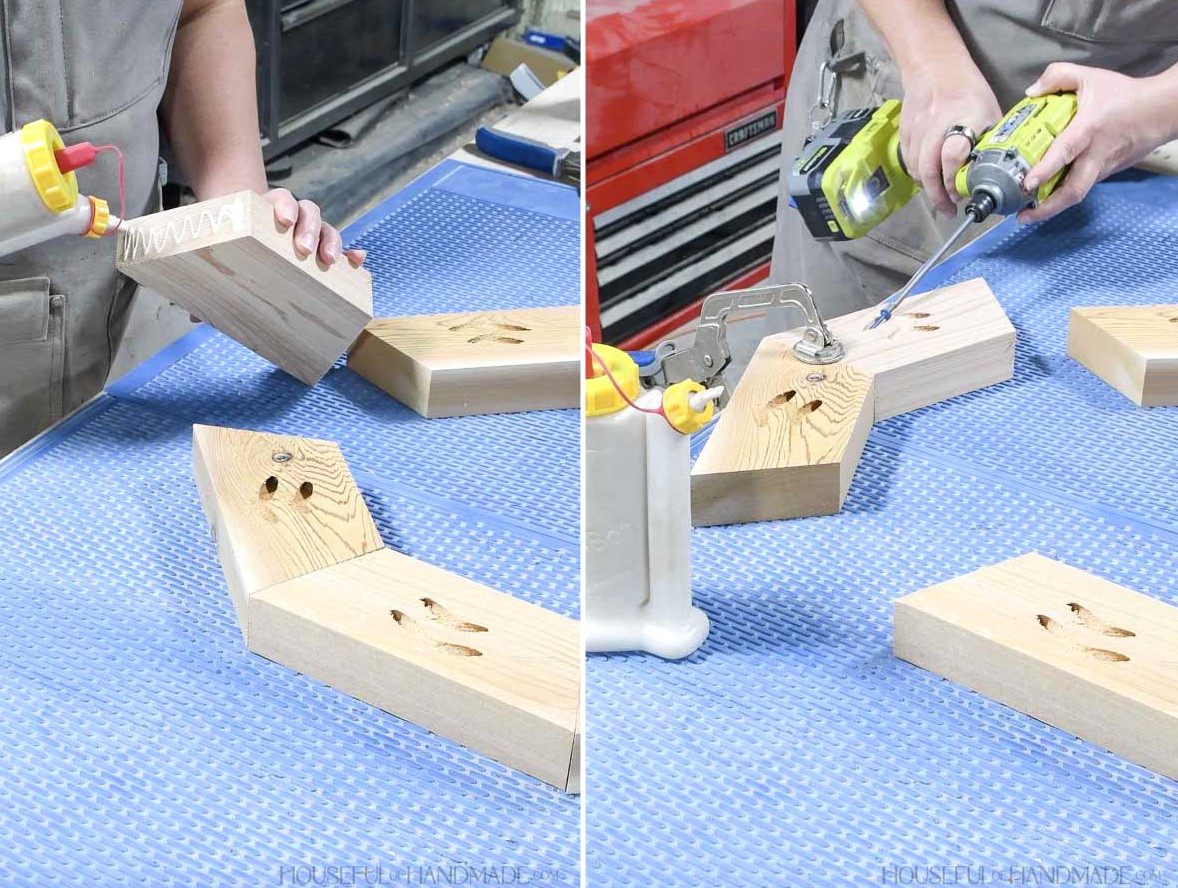
Continue around the shape until every piece is connected and the octagon is complete.
For the best fit and to avoid gaps, I suggest cutting and joining only the first 7 octagon pieces at the beginning.
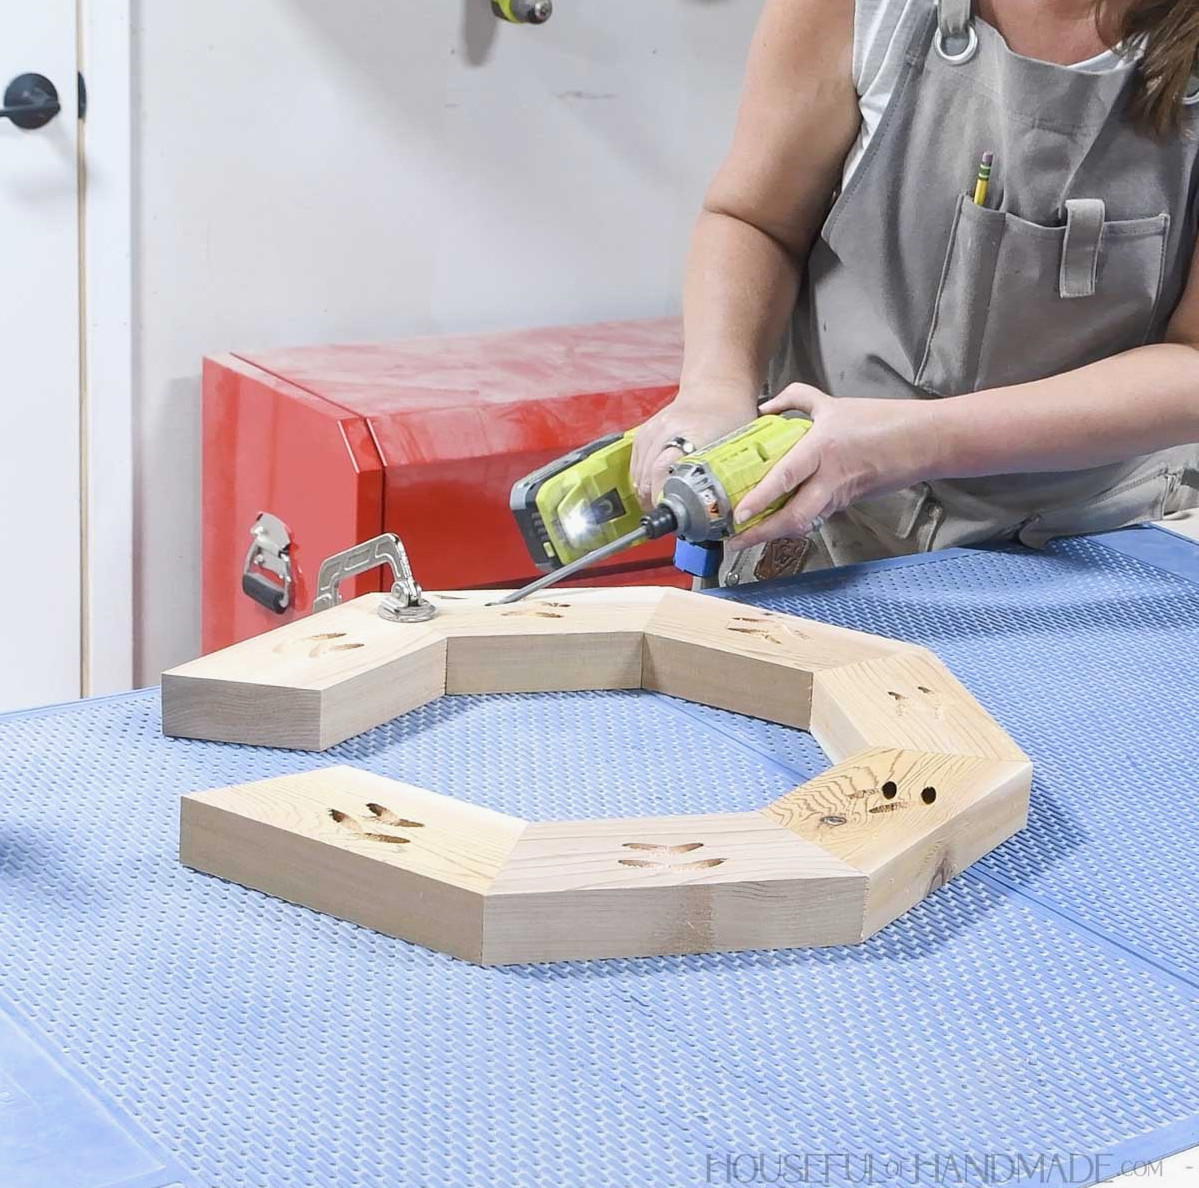
Next, laythe remaining section beneath the octagon where the eighth piece will be installed. Outline the edges of the boards beside the opening.
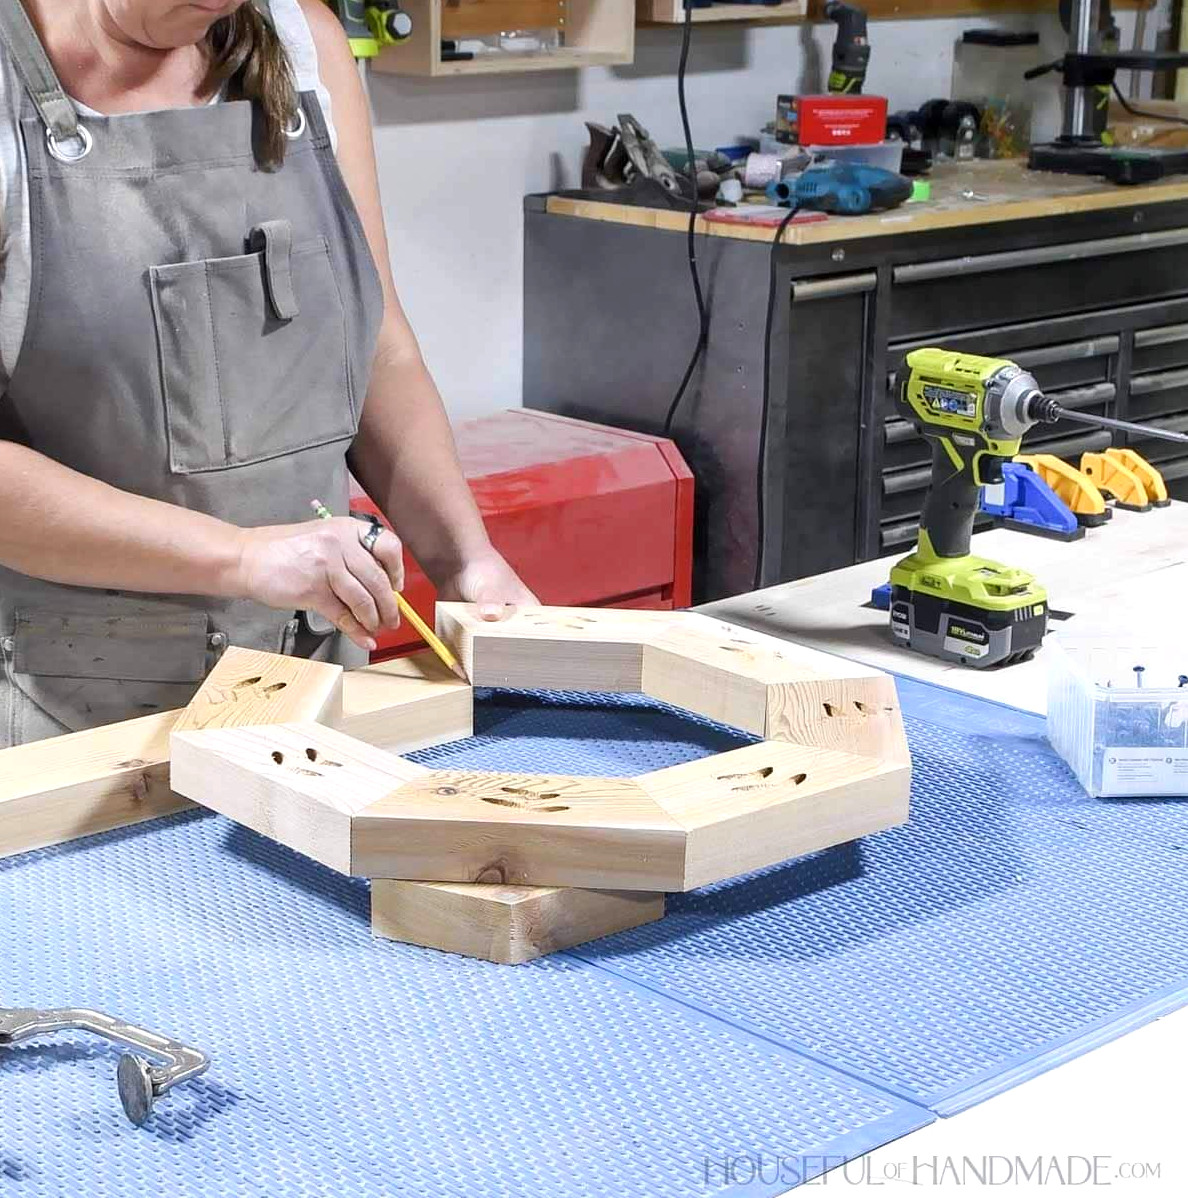
You can now trim this piece (you may need to fine-tune the angles so they align with your markings).
Drill pocket holes into the eighth piece, then fasten it to both sides for a snug fit.
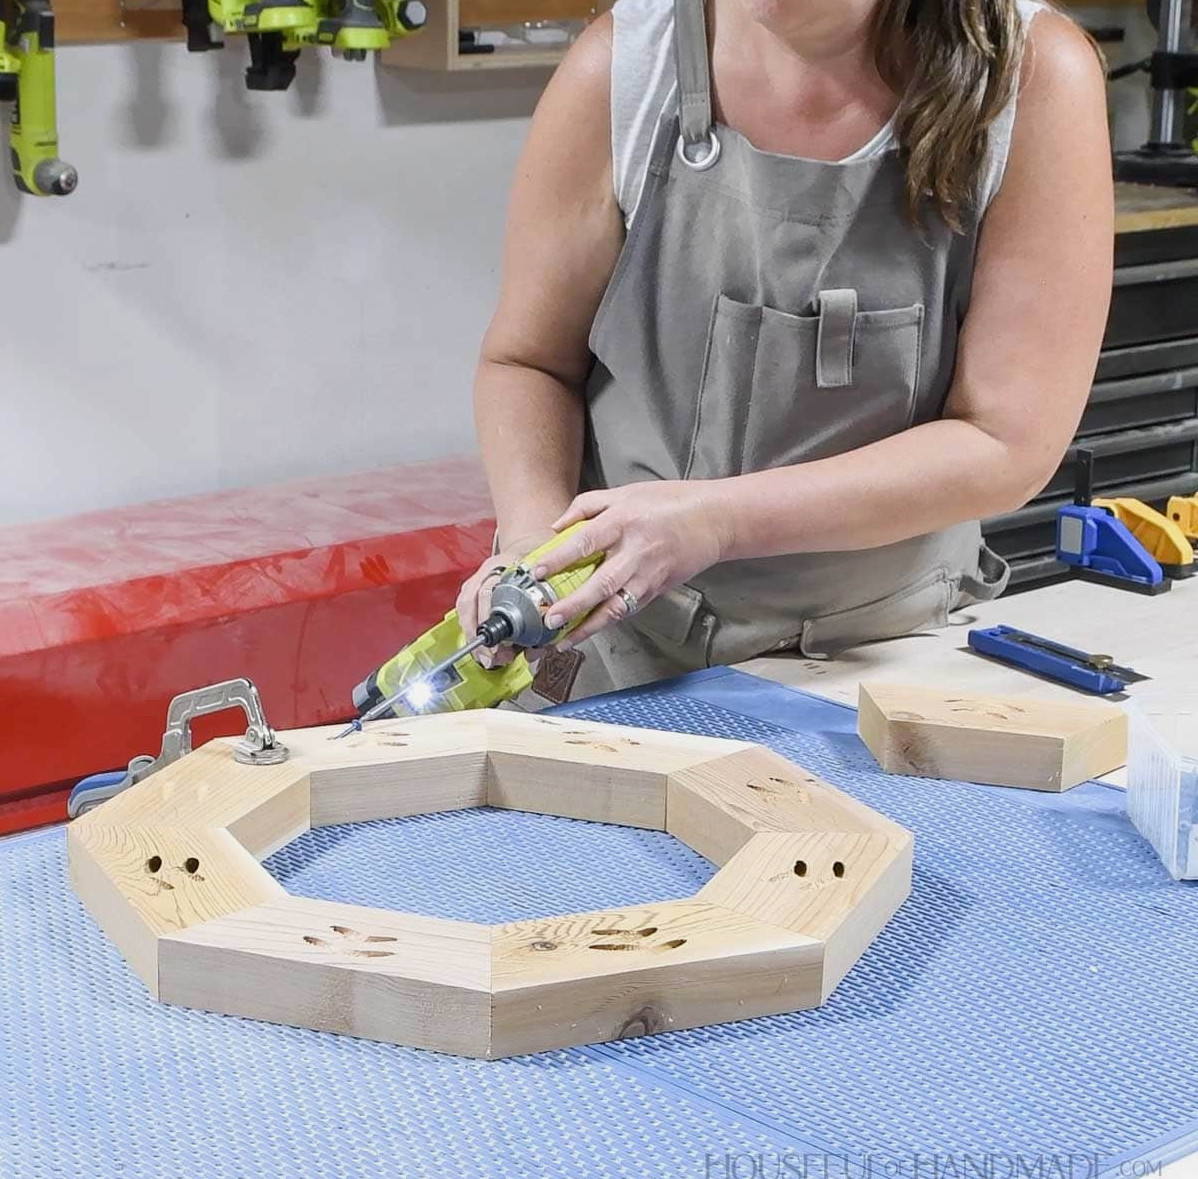
Find the diameter of the plant saucer beneath its rim. Mark a matching circle on the octagon’s inner surface.
With my saucer, I only needed to cut the circle between the joints. The distance from one seam to the next matched the measurement of my saucer.
EXPERT TIP:
Trace around the saucer’s edge to create the circle between every seam.
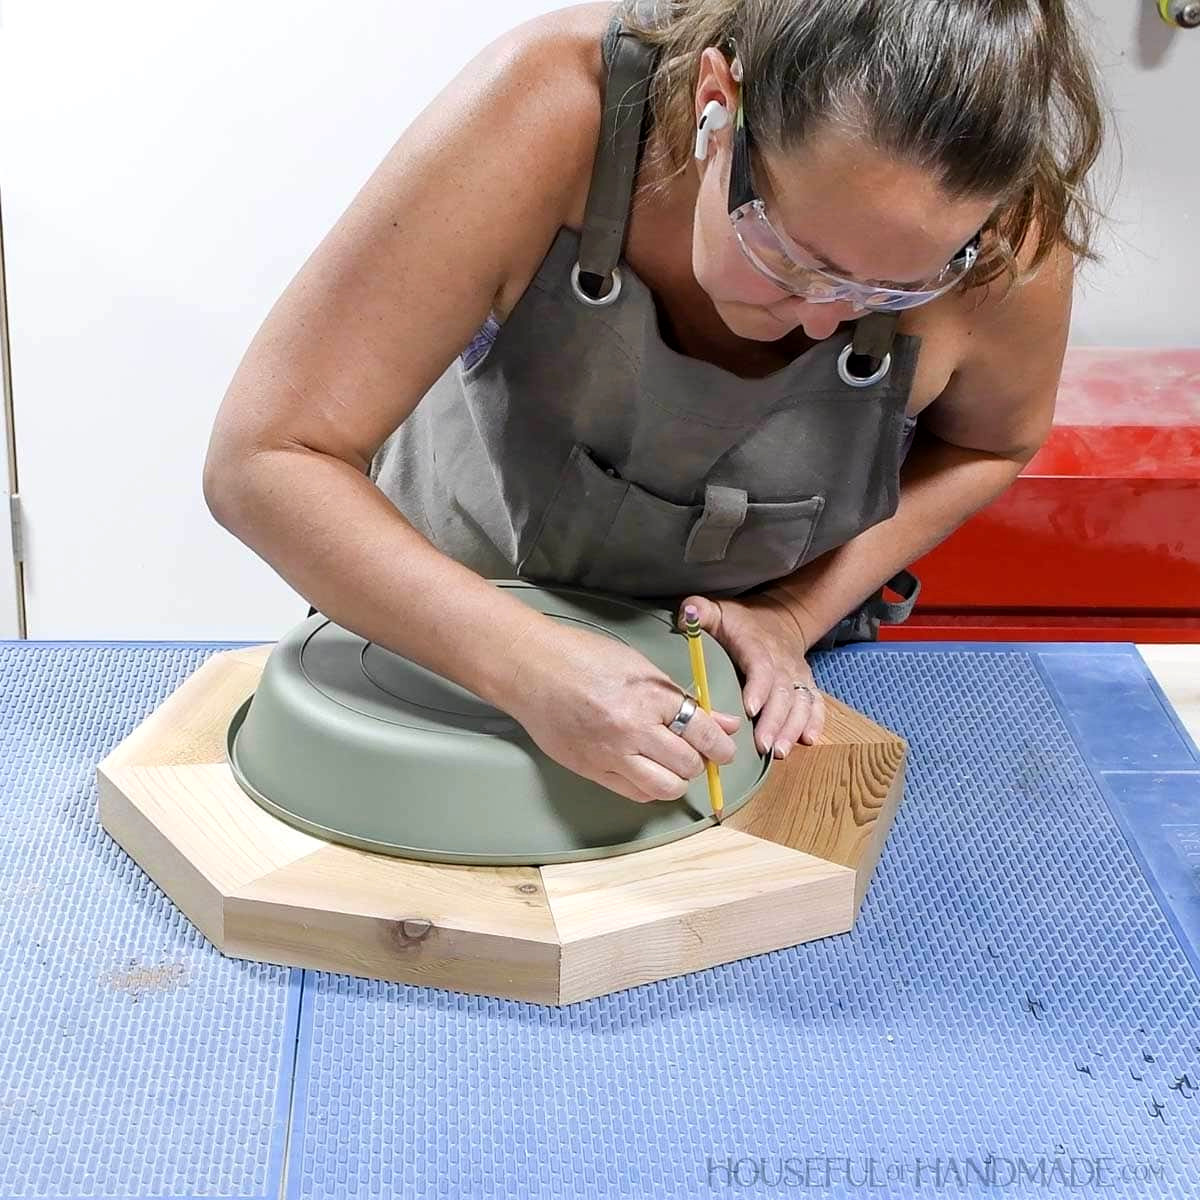
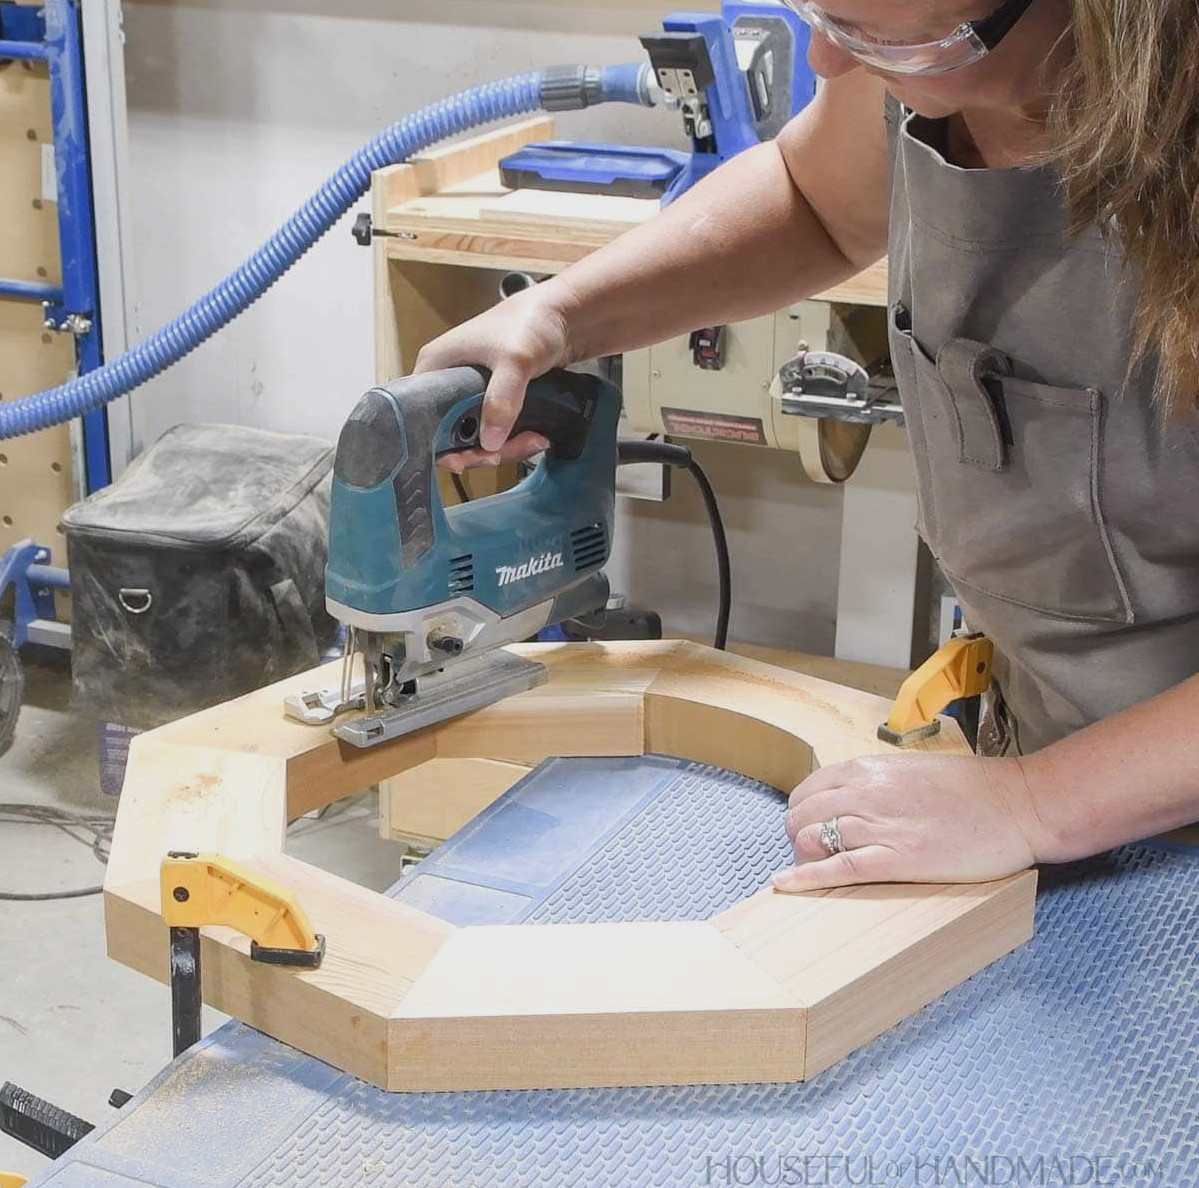
Next, use a jigsaw to remove the circle from the middle.
Place the saucer into the opening to check the fit, making adjustments if necessary. The rim should rest on top of the boards.
STEP 2- Complete the top
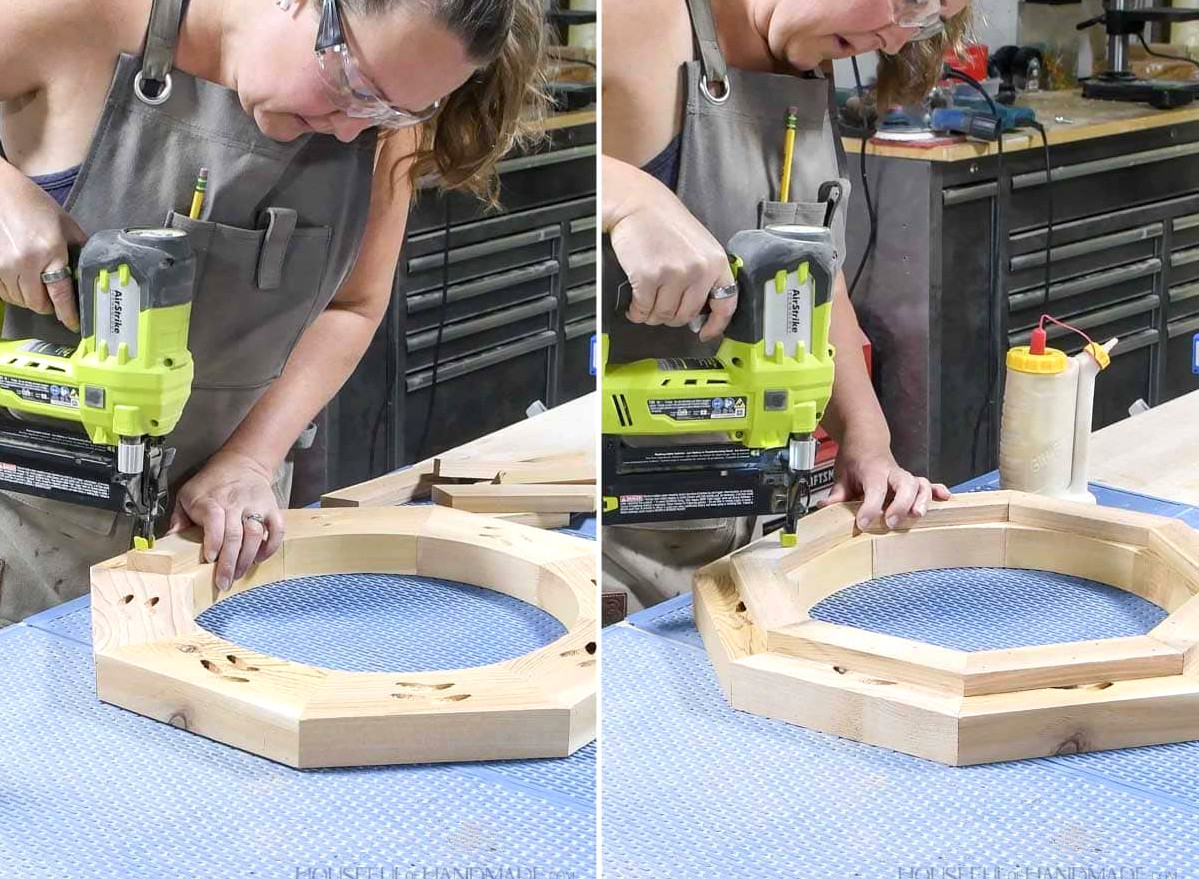
Fasten the lower octagon pieces beneath the completed top using glue and 1 1/4″ brad nails.
As you secure them, align the slanted edge of each lower octagon piece with the seams on the top.
If the pieces are a little misaligned, don’t be overly concerned; they will be mostly concealed once the birdbath is complete. Alternatively, trim the final piece so it fits, just as you did with the top.
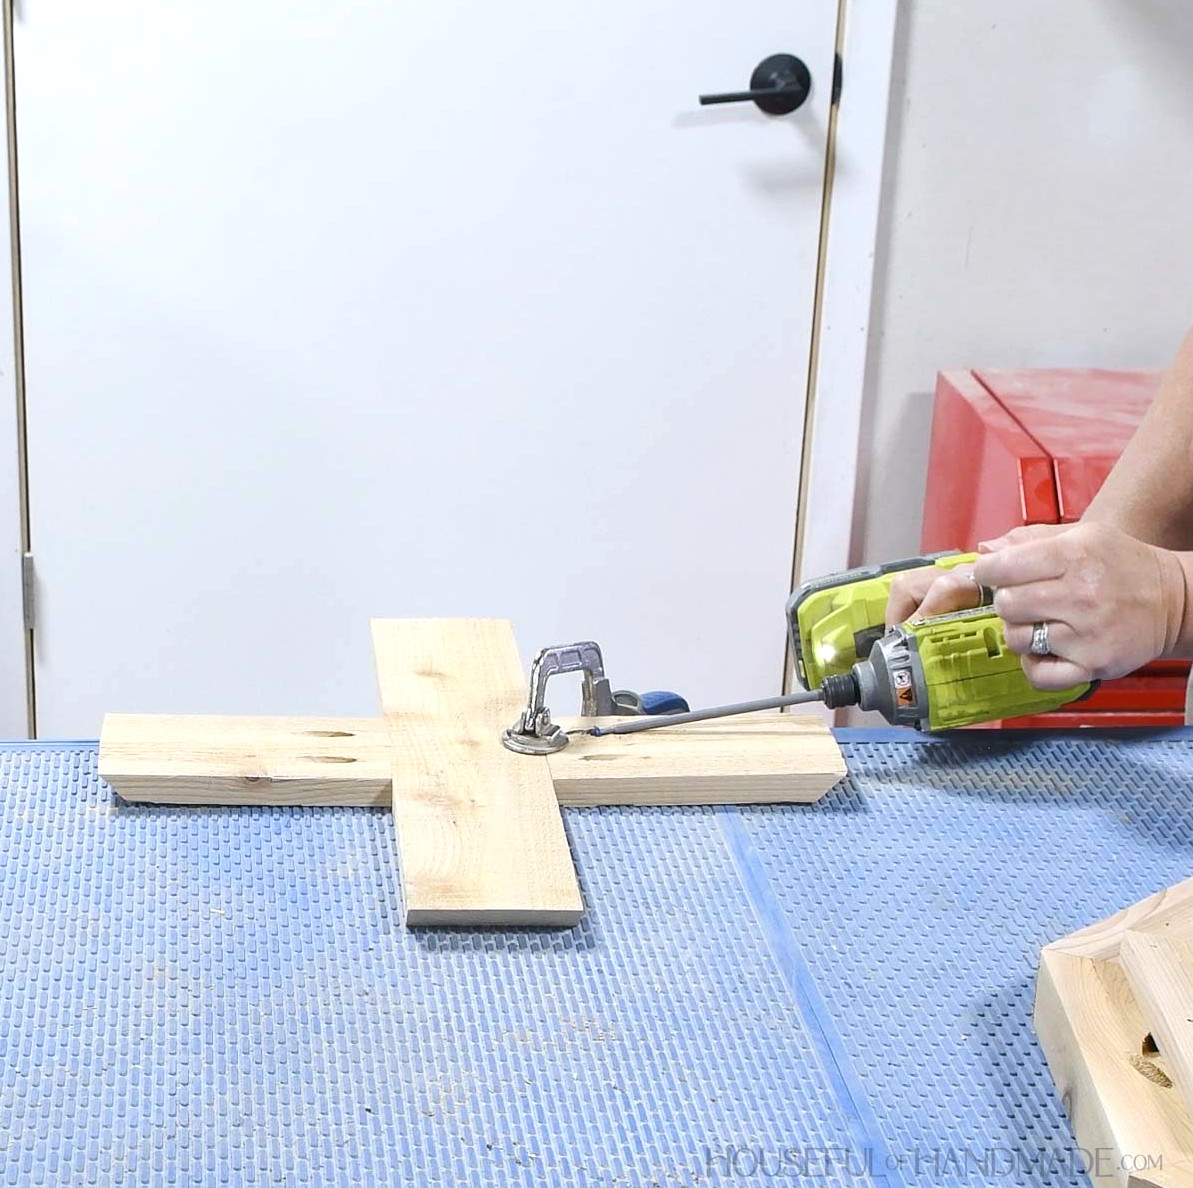
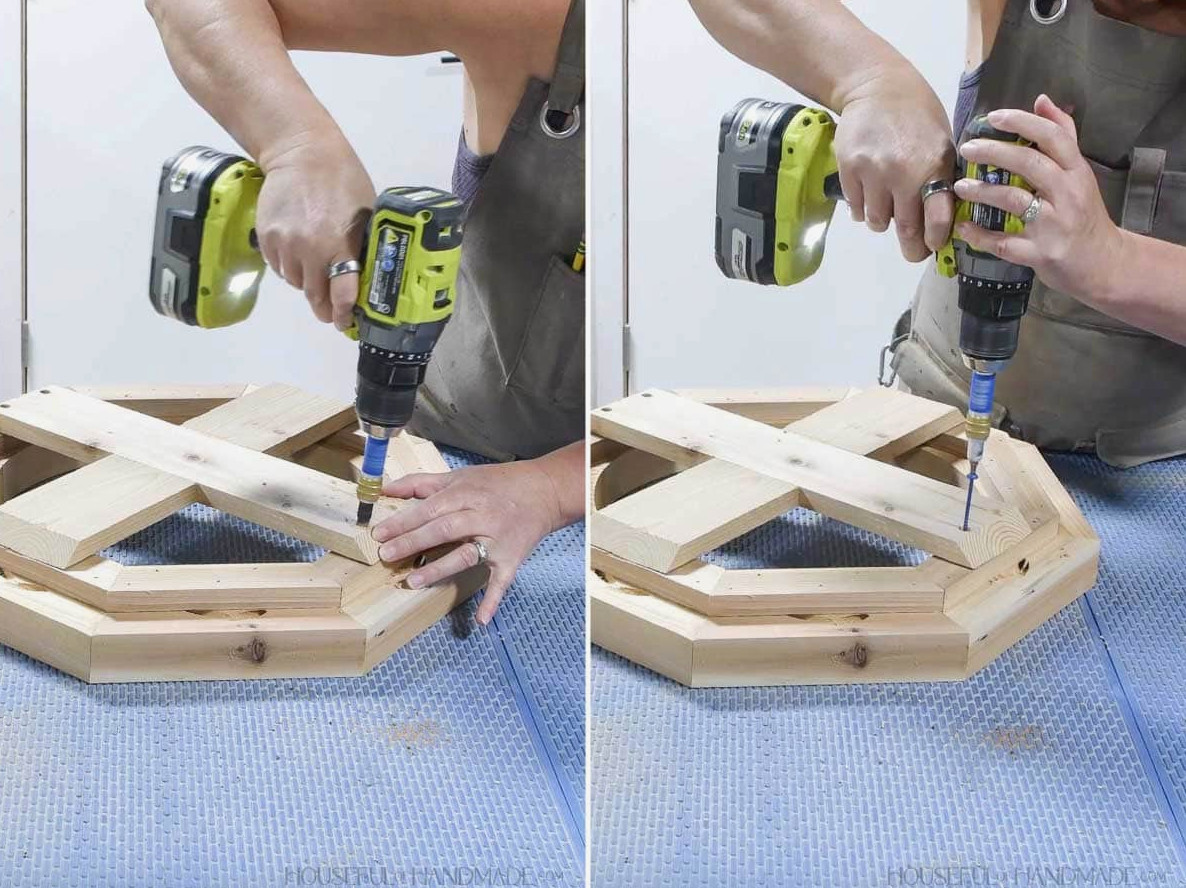
Adjust your pocket hole jig for 3/4″-thick material, then make 2 pocket holes in the non-angled end of each top support side.
With glue and 1 1/4″ pocket hole screws, fasten them to the middle of the top support’s center piece.
Position the assembled support in the center beneath the assembled octagon.
With the Quick-Flip tool, bore a hole where the support meets the lower octagon pieces. Countersink the screw head only about 1/4″.
Fasten it using 2 1/2″ pocket hole screws.
STEP 3- Construct the legs
On the 1 1/2″-wide underside of the 2×3 bottom pieces, create pocket holes for 1 1/2″-thick material at both ends of each board.
EXPERT TIP:
The Kreg 720 or 520 jigs cannot be used to make pocket holes in these boards because they are too thick (2 1/2″). That’s why the 320 is so useful in my workshop! It can be attached to boards of any size.
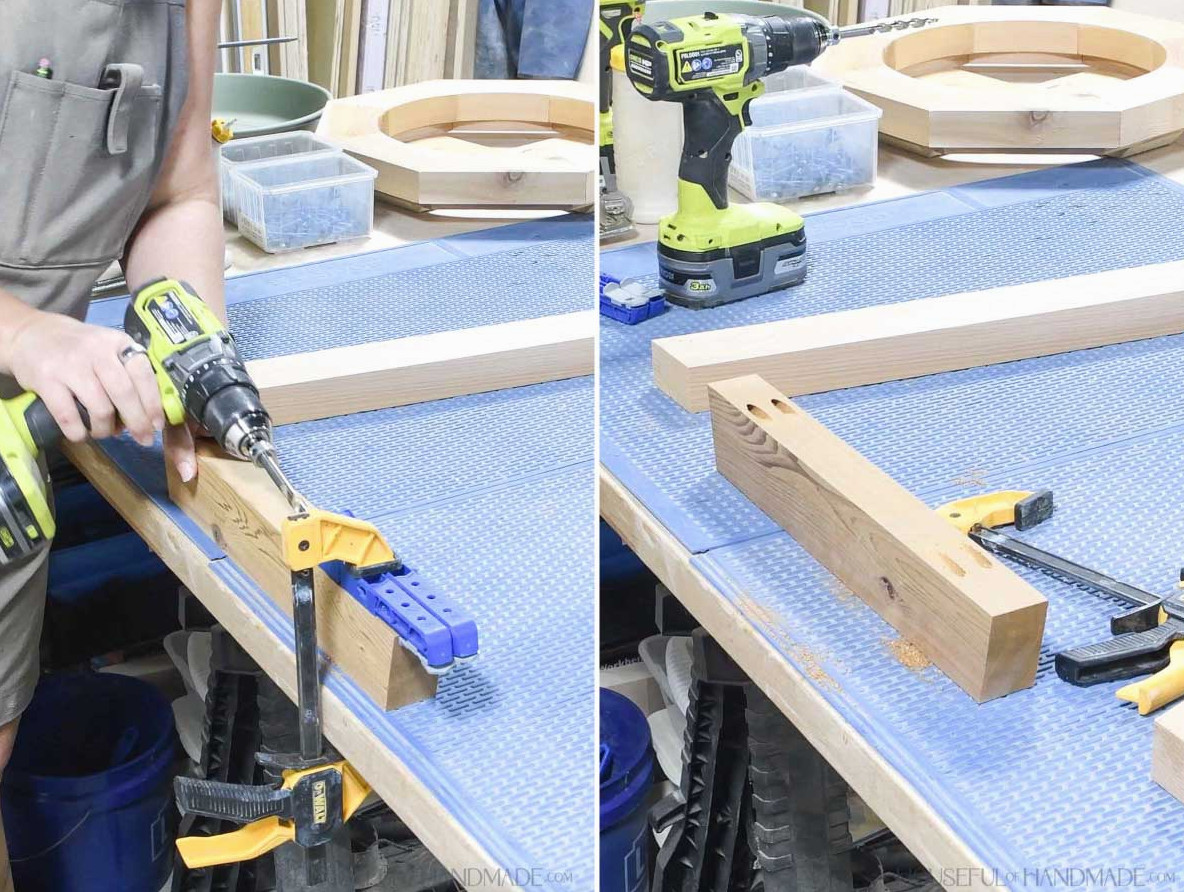
Fasten the bottom pieces to the legs with the center positioned between 2 leg boards, while the angled side edges connect to 1 leg board.
Use wood glue and 2 1/2″ pocket hole screws to secure them.
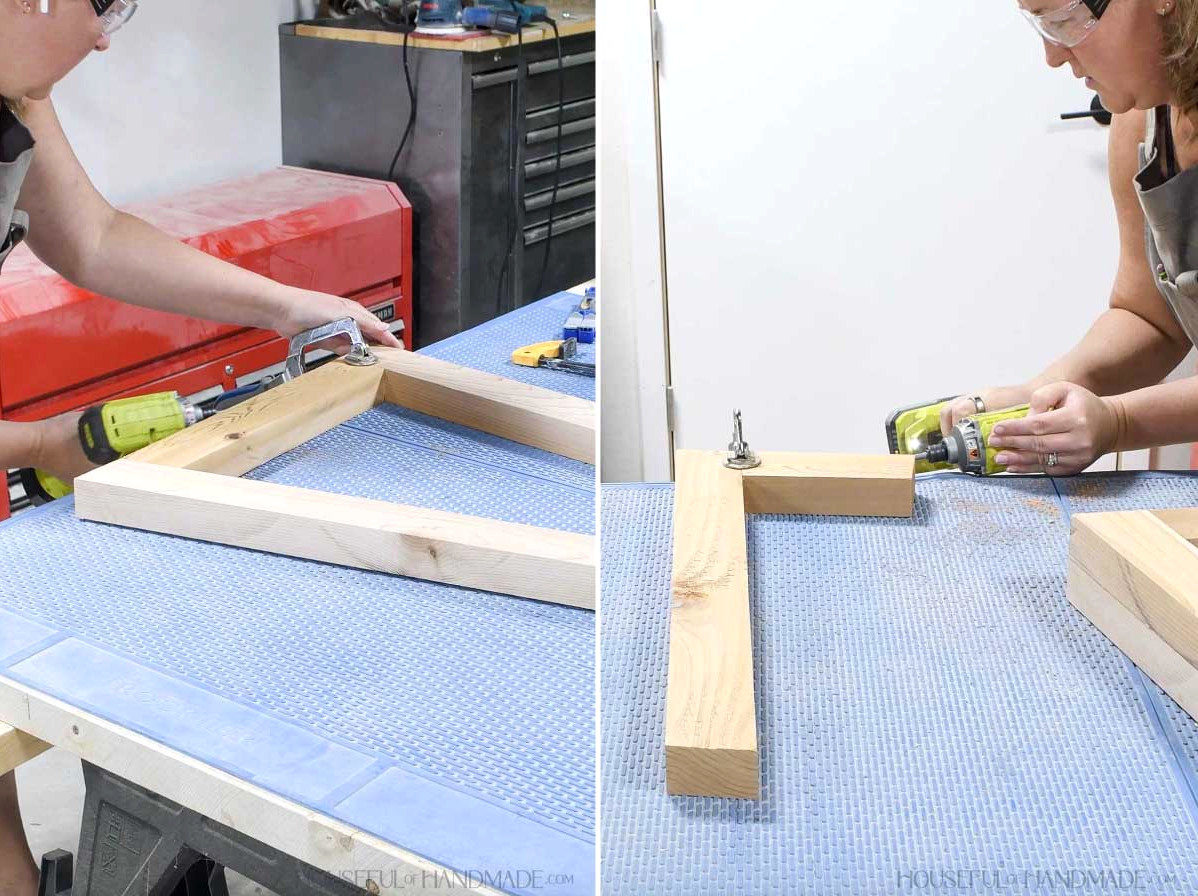
Join all 4 legs at the bottom boards, centering the two side pieces on the bottom center board.
Fasten everything with 2 1/2″ pocket hole screws and wood glue.
STEP 4- Fasten legs to the top
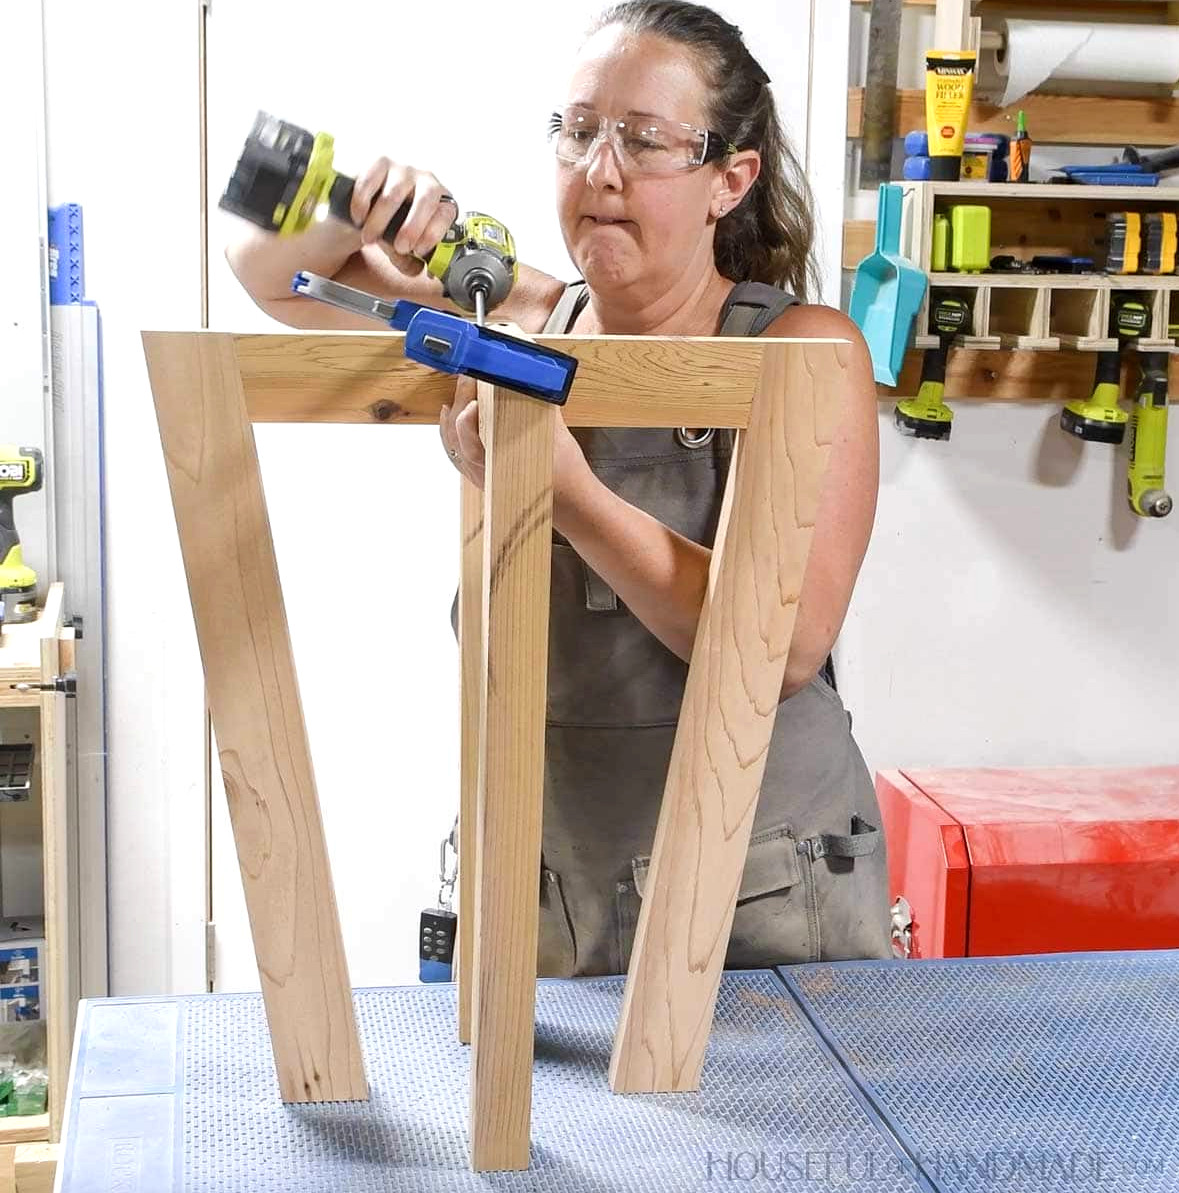
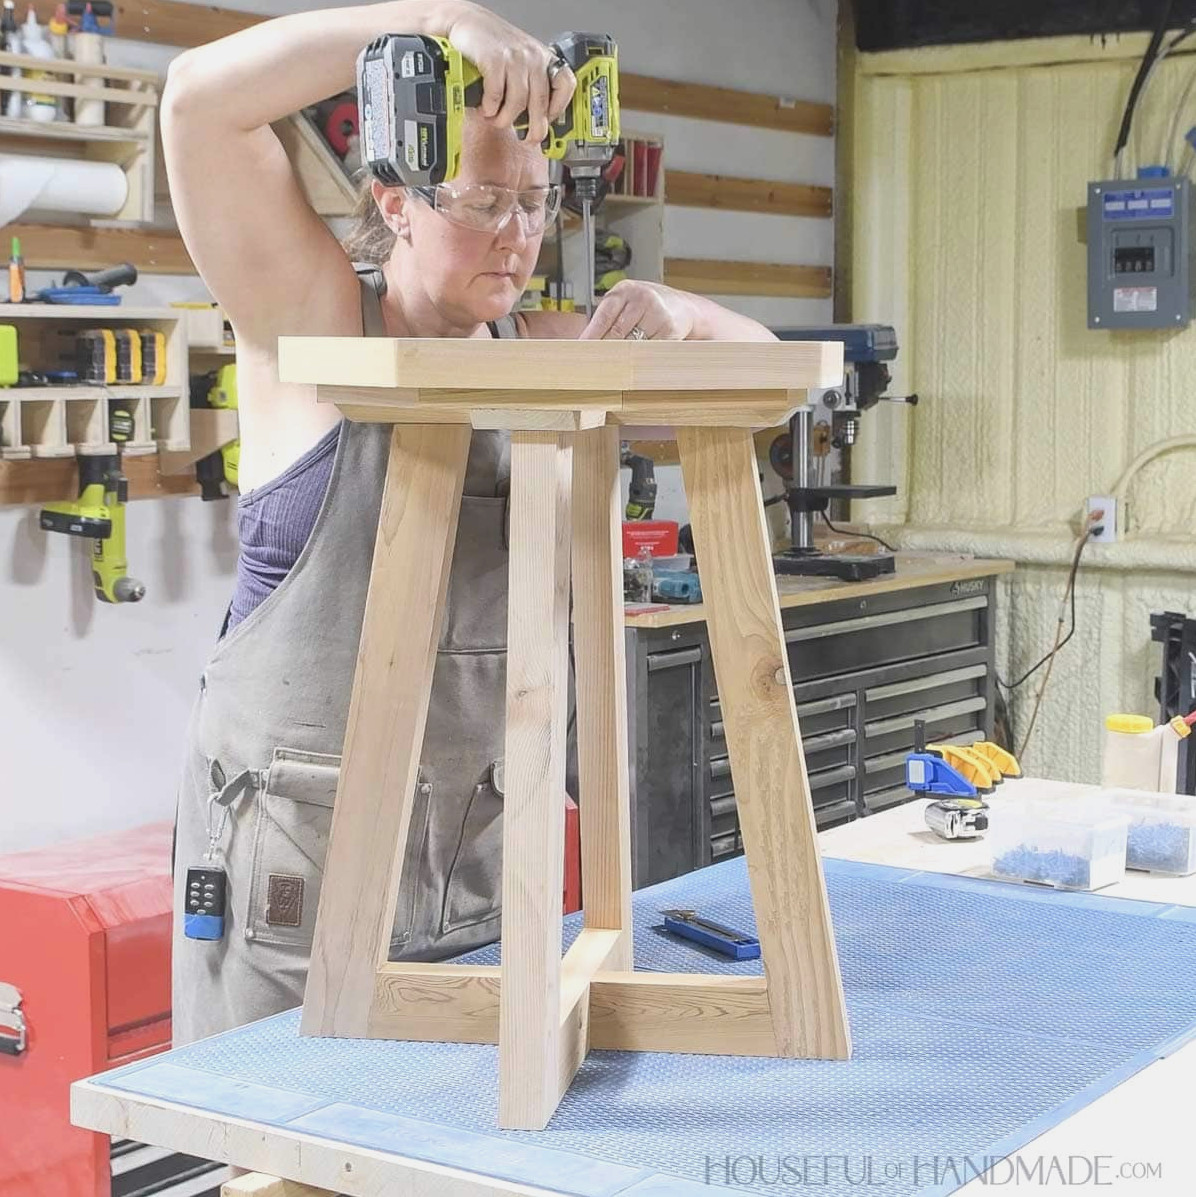
Set the octagonal top onto the leg structure. Align the legs beneath the support pieces.
Use the Quick-flip to bore a hole, then attach everything with 2 1/2″ pocket hole screws. Install 1 screw in each leg.
STEP 5- Sand and seal
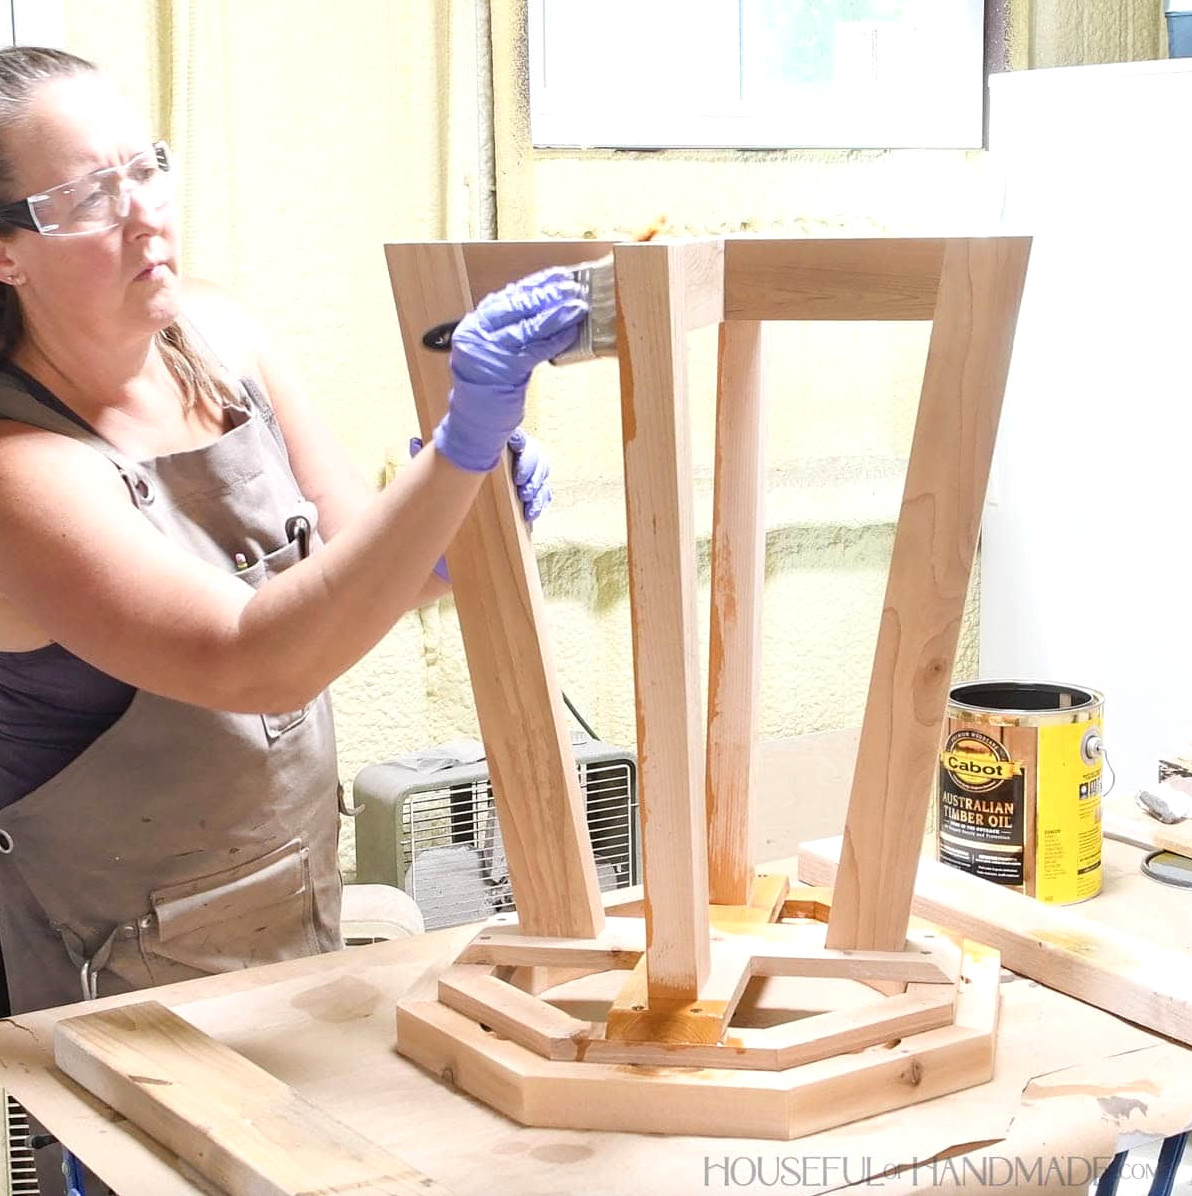
Sand the birdbath and apply a finish. Be sure to use exterior paint or sealer.
Set the saucer into the top and add a few inches of water. I also placed some small stones and pebbles on one side for smaller birds.
Remember to Get the Printable PDF Plans Here!
Premium plans contain:
- Suggested Tools
- Materials list
- Simple cut list table
- Cutting diagrams
- Detailed instructions with 3D renderings
- Useful resources
- BONUS: 3D SketchUp file
You completed it!
Now you can relax and wait for the birds to find their new bathing spot!
Enjoy building!