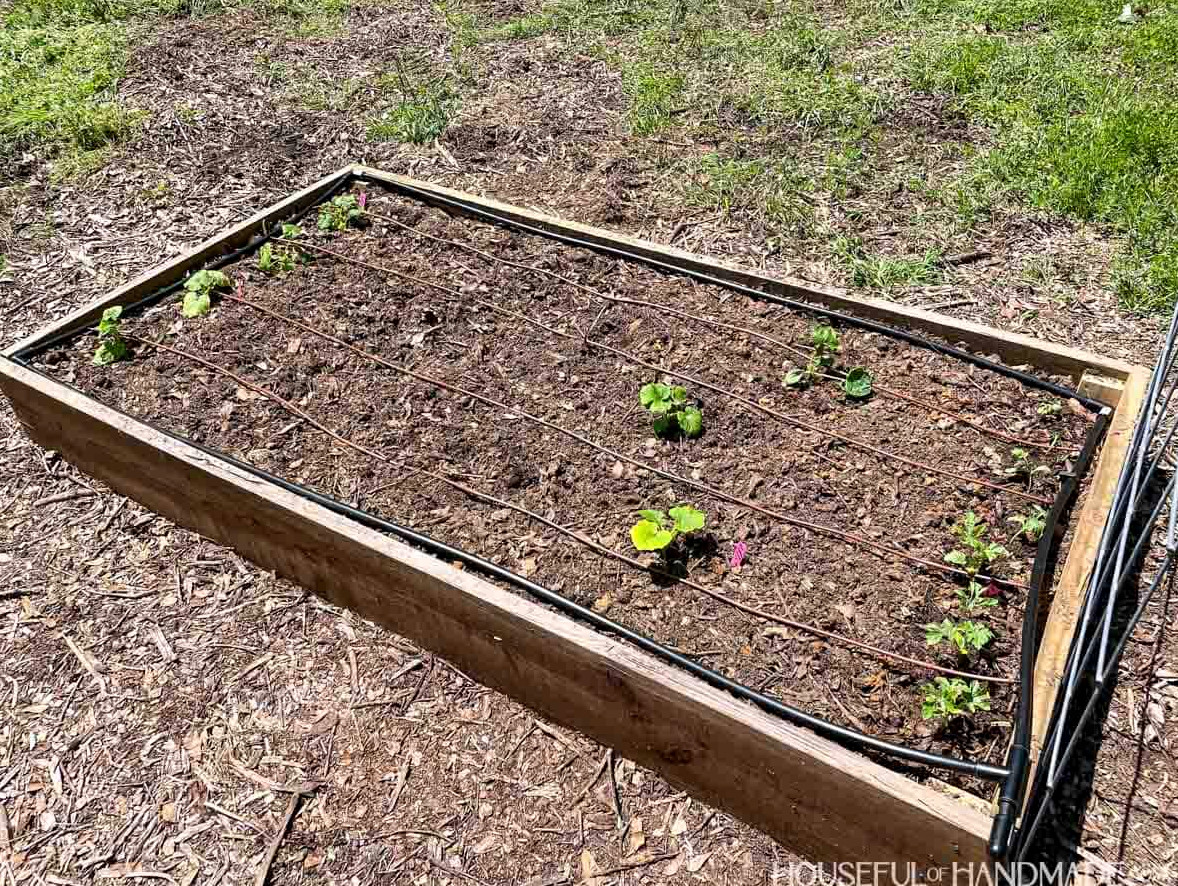
Build a garden anywhere with these simple raised beds.
One of the things I enjoy most about spring is growing a vegetable garden! At our Utah home, my garden occupied an in-ground area along the back of our small yard.
However, at our new home in East Texas, I needed raised beds for growing vegetables. Over the past few years, I have constructed quite a few of these straightforward garden beds.
There are several methods for making a wooden garden bed, but this is the easiest and most budget-friendly design I have discovered. Plus, gardening in these beds is incredibly enjoyable!
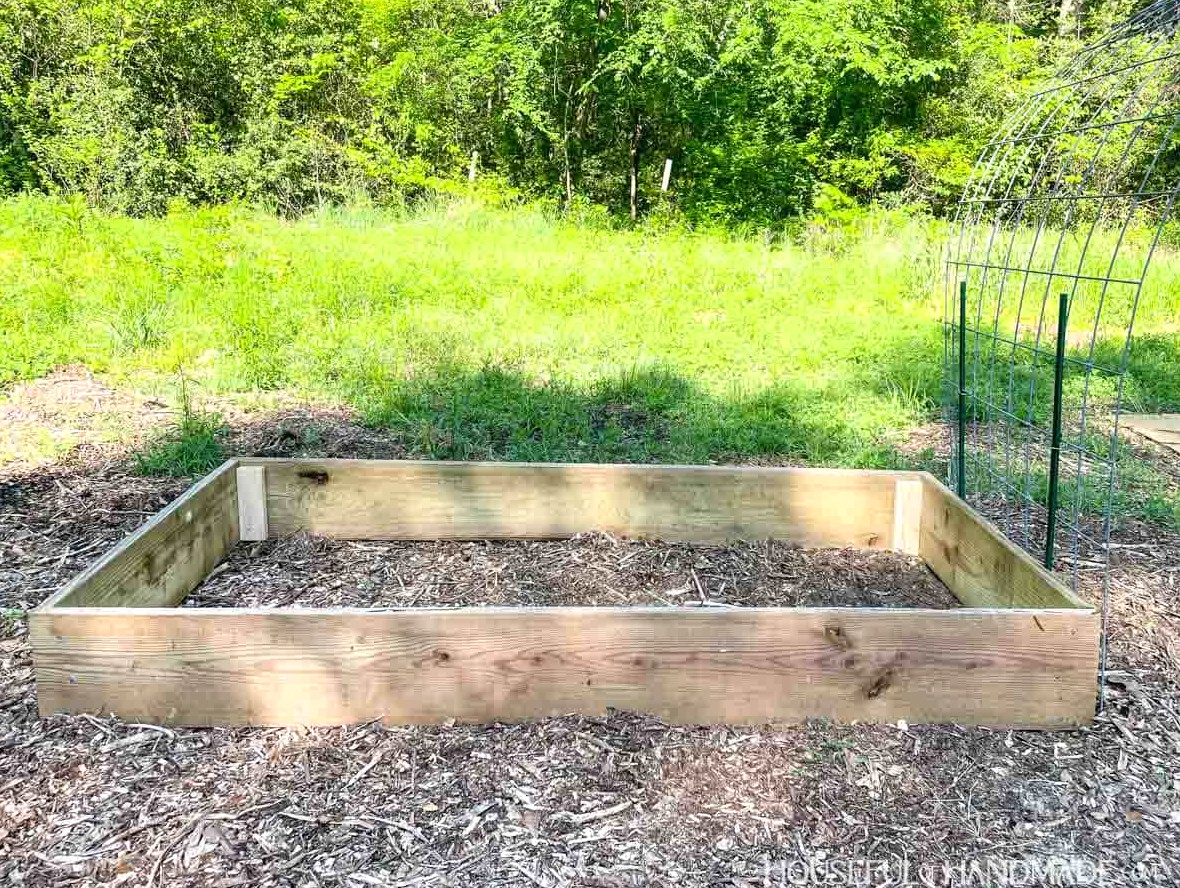
Why choose raised garden beds?
Raised garden beds offer plenty of advantages and practical reasons to use them. Here are a few reasons to select a raised bed instead of planting directly in the ground:
- If your soil quality is poor
- If your area receives heavy rain or flooding
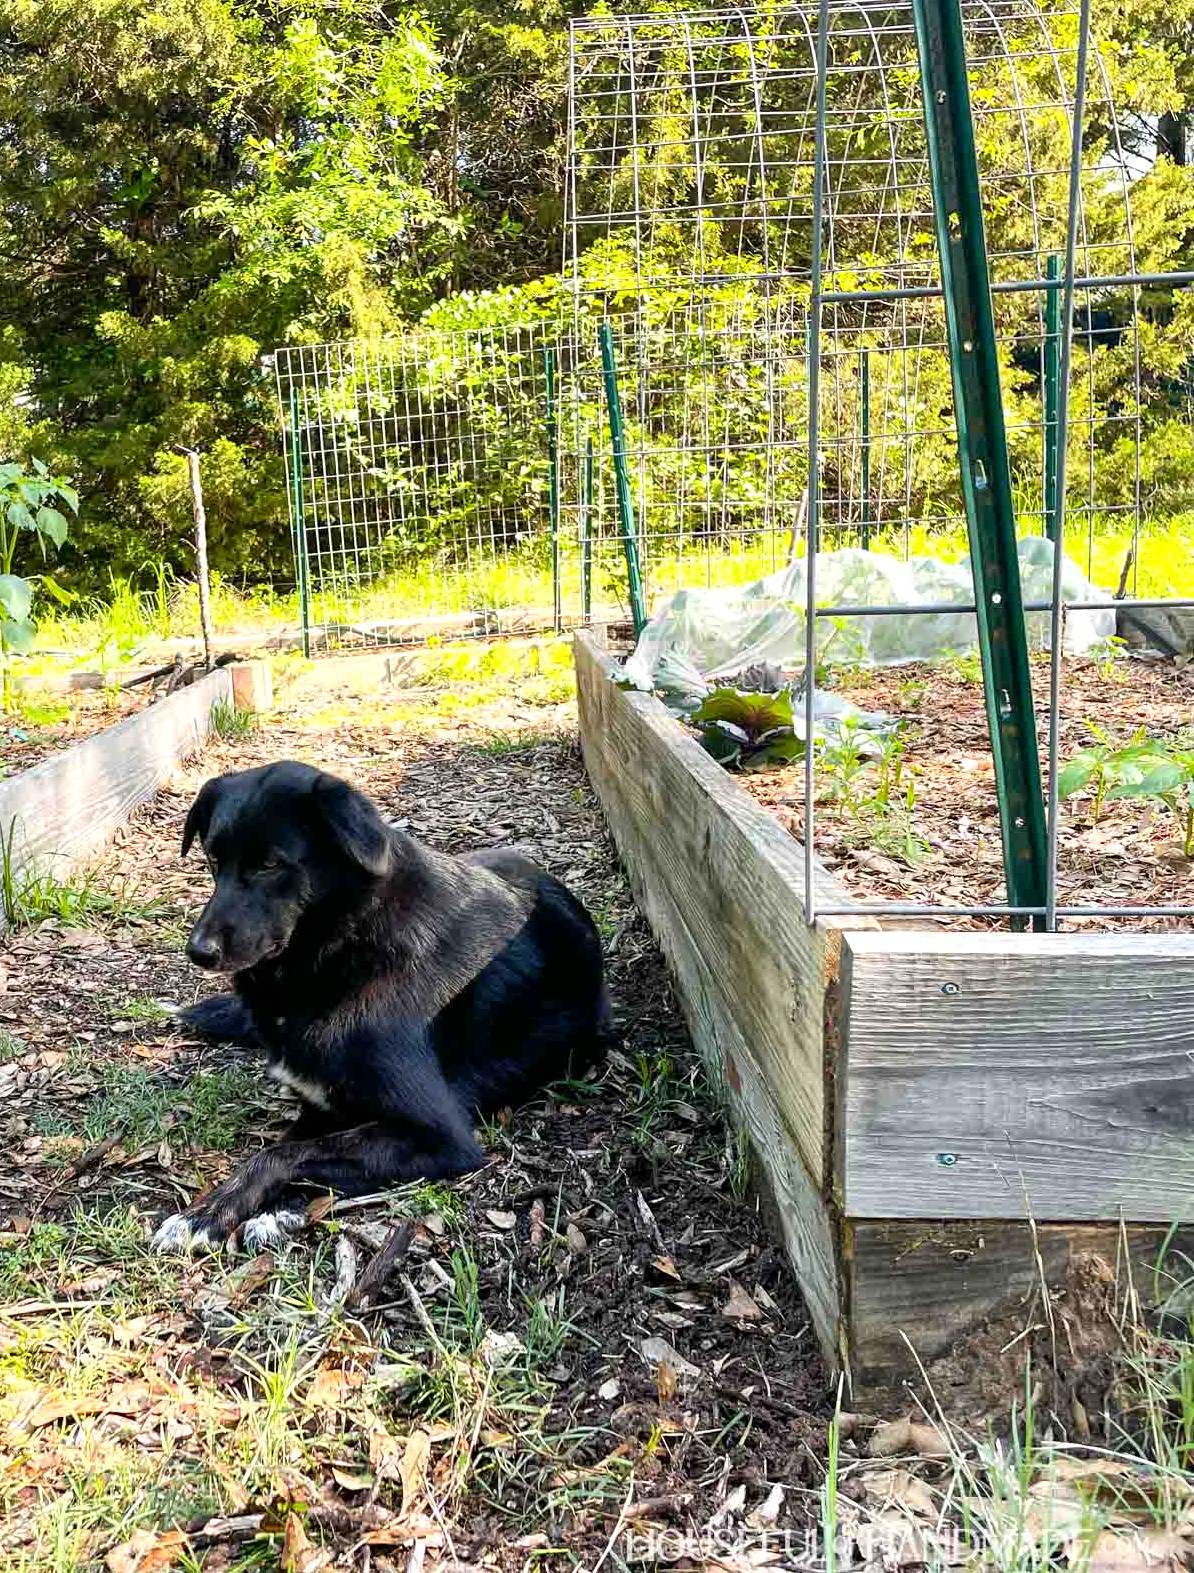
- If you have children or pets
Raised beds must be filled, allowing you to mix in high-quality compost and other amendments to produce excellent soil.
My favorite benefit, though, is how raised beds separate the growing area from the paths. This prevents my dogs and kids from accidentally stepping on my plants.
Which wood should you use for raised beds?
The type of lumber selected for your garden beds will affect both their price and their durability.
The most affordable choice is Douglas fir or pine 2x boards. They will decompose into the soil relatively quickly, so expect them to last only 3-5 years before replacement is necessary.
For more durable garden beds, select cedar or redwood boards. These types of wood resist decay better and generally last 5-10 years.
Hardwoods can also be used to construct garden beds, and they offer the longest lifespan. However, unless you own a lumber mill and can source hardwood trees, they can be quite costly.
For organic gardening, stay away from treated boards. They are commonly marked as “For ground contact.”
Sealers and paint may also seep into the soil. If you plan to use them, be certain that you choose products whose ingredients you feel comfortable with.
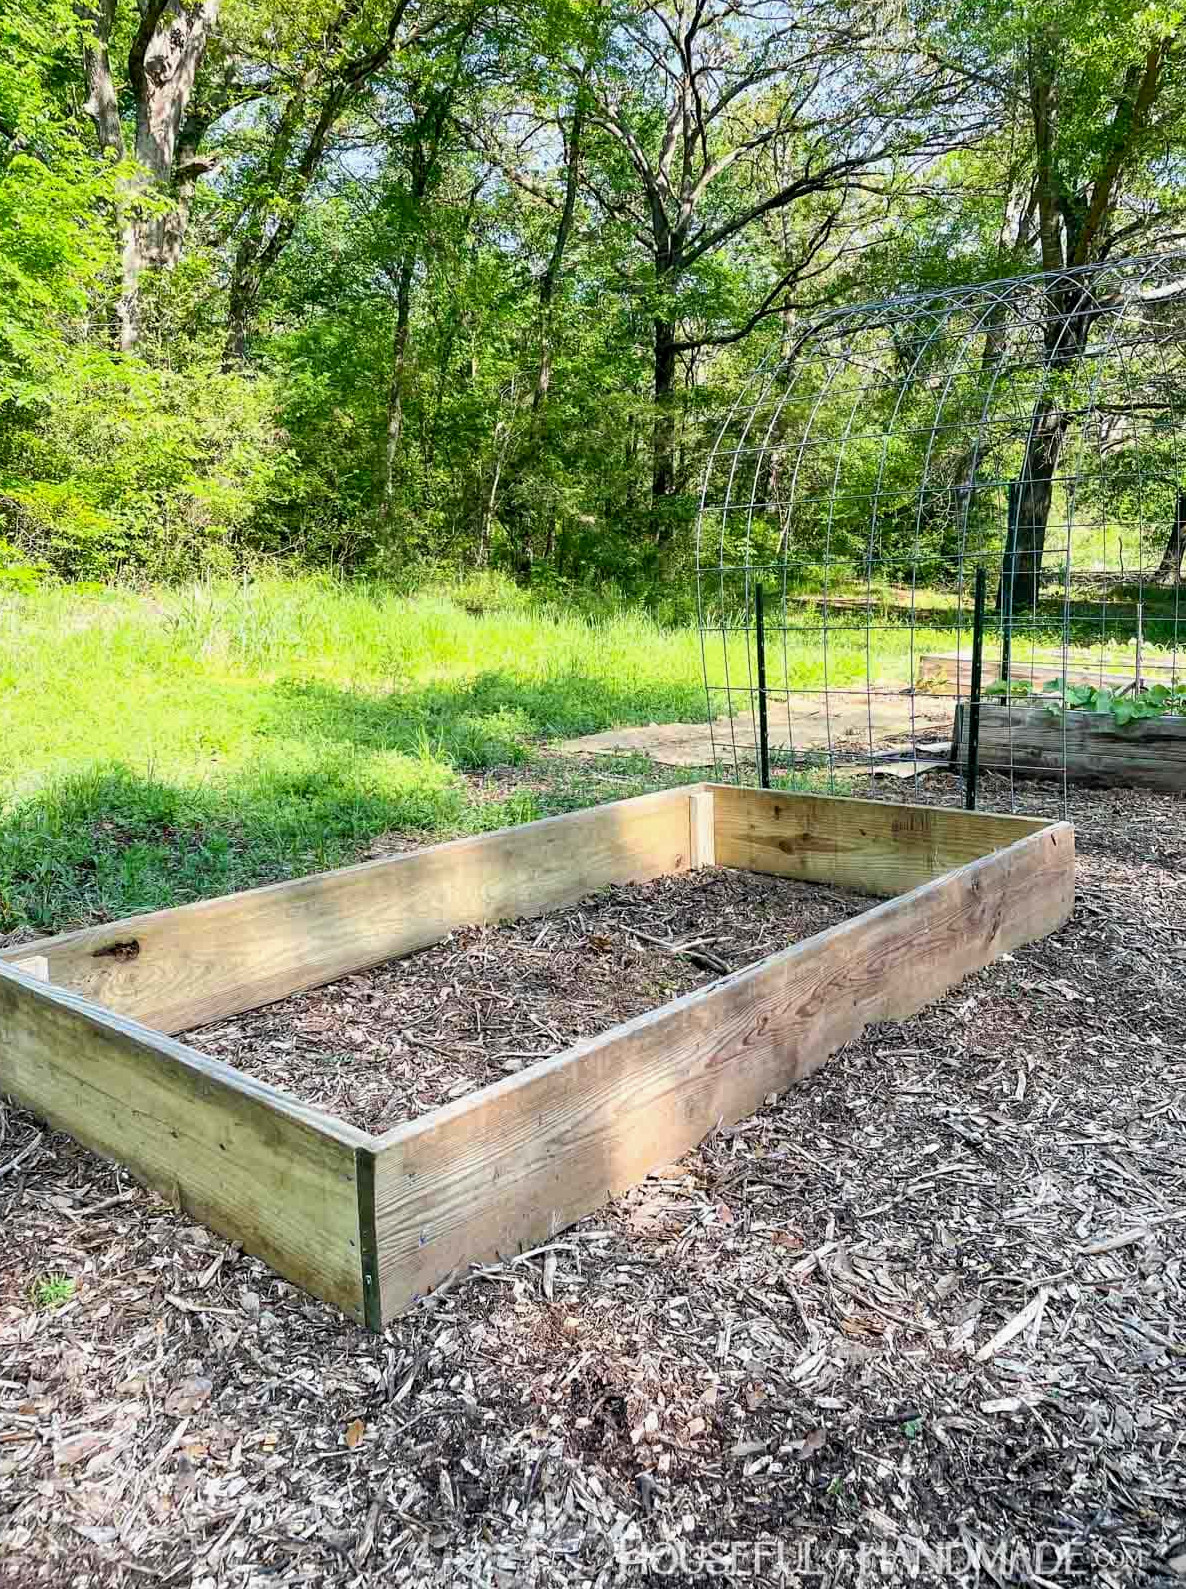
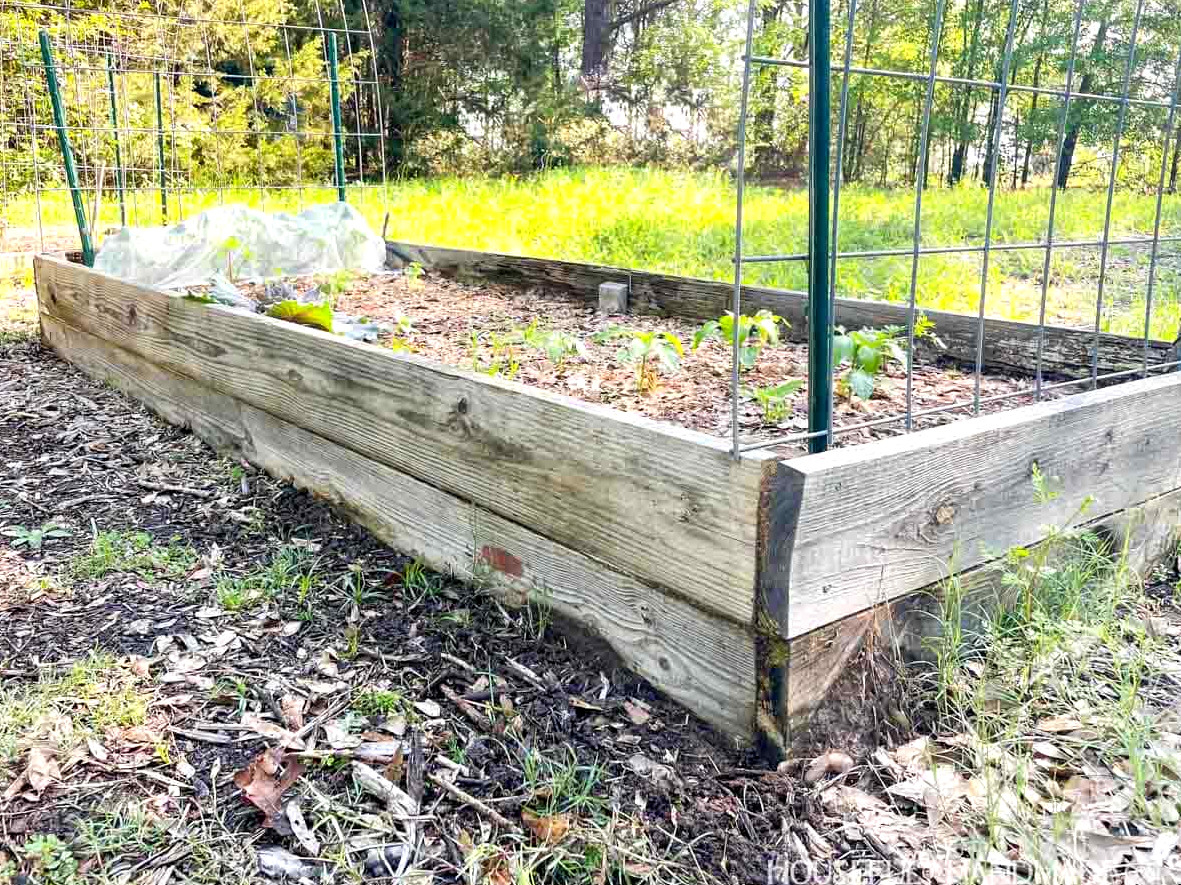
My current garden contains a combination of leftover and donated boards. I even repurposed some old deck boards to build several beds.
I realize these boards probably will not survive for many more years, but replacing the wood is simple because the soil stays piled up when the boards are removed carefully.
Eventually, I plan to replace every board with cedar as time and finances allow. Until then, I am perfectly content growing my garden in a space that is not picture-perfect.
Additional DIY Gardening Projects
Gardening becomes even more enjoyable when paired with hands-on DIY projects like these.
Build Your Own Garden Bed
Tools & Supplies
Finished Dimensions
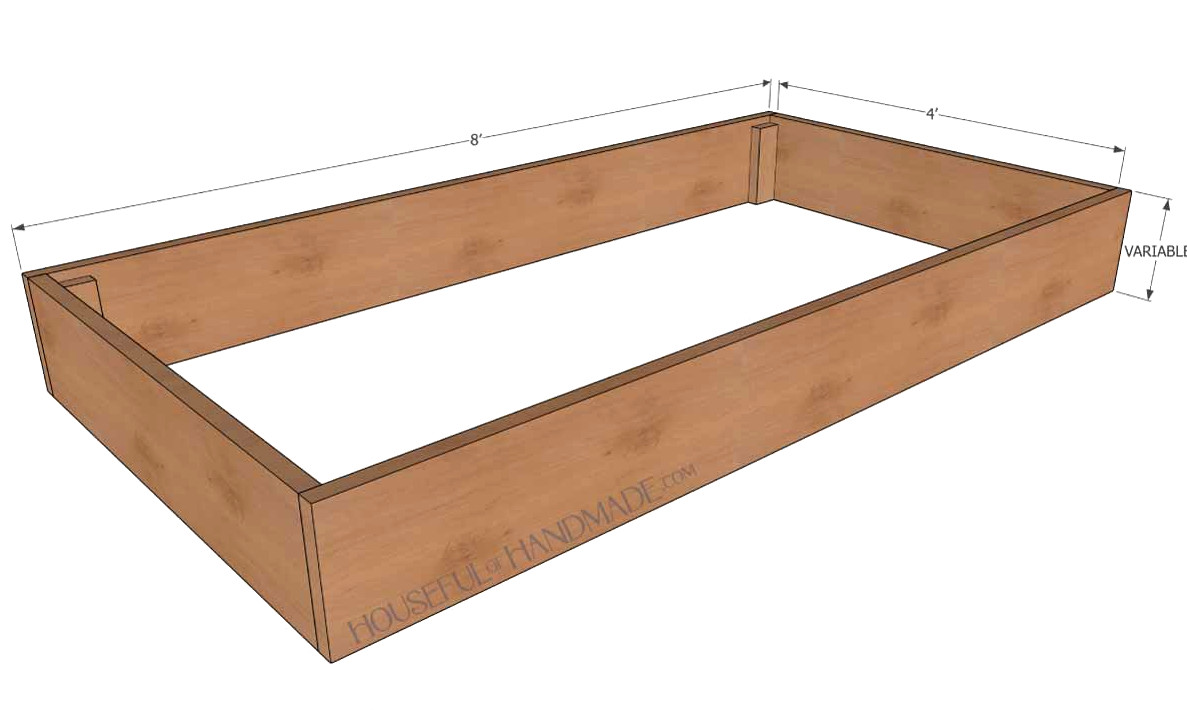
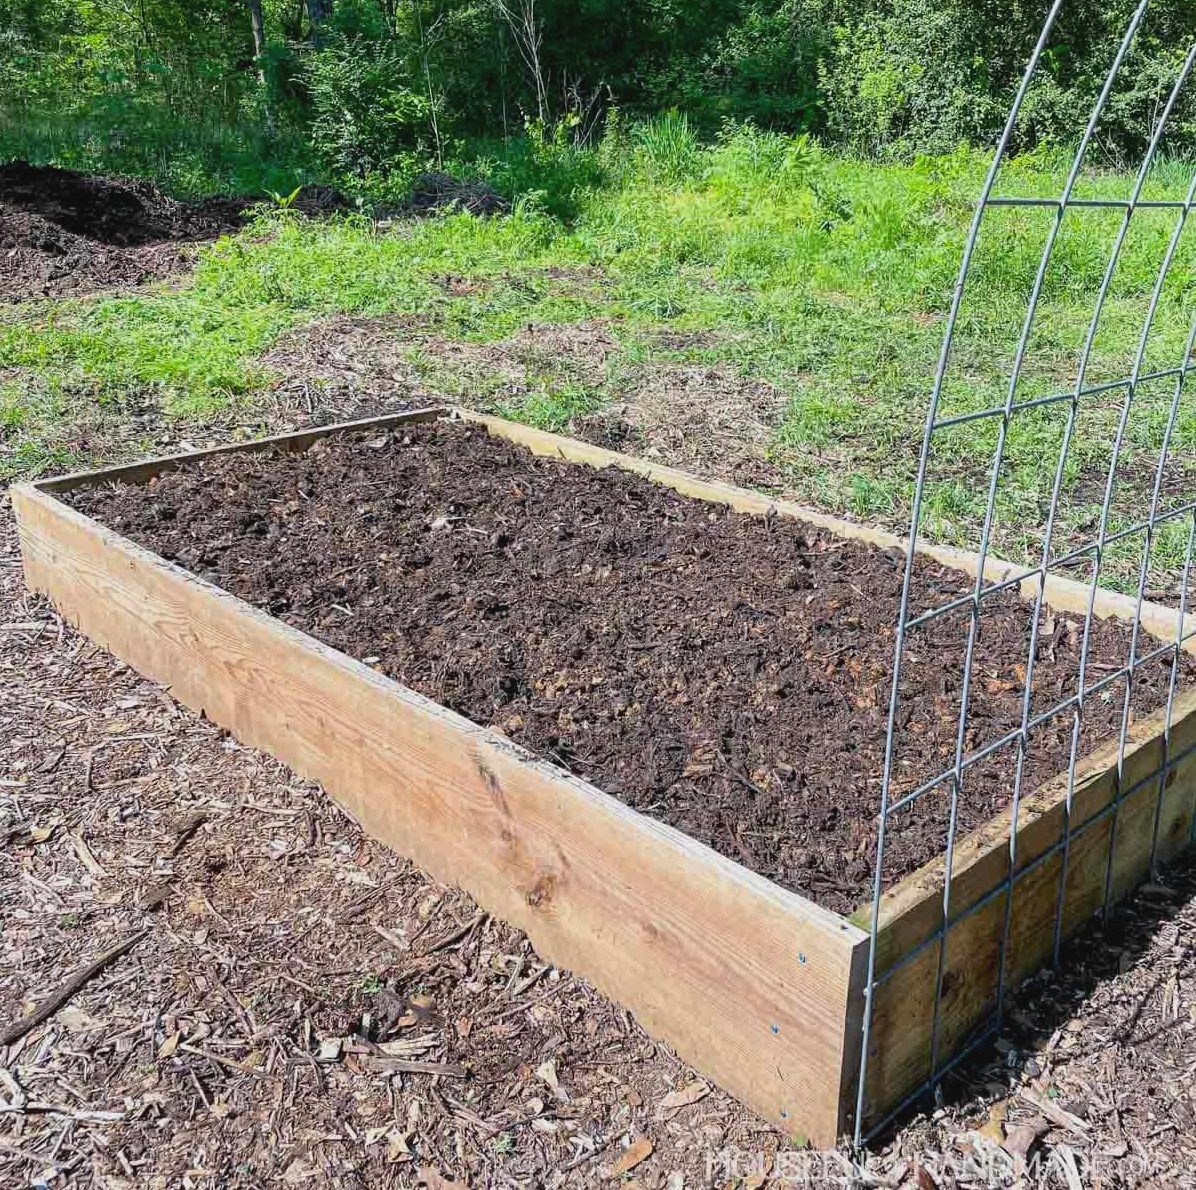
Once completed, the garden bed measures 8′ long by 4′ wide. Its height will vary depending on the width of the 2x board you purchase (details are listed below).
Cutting List
Cut the components based on the easy-to-follow table provided in the PDF plans.
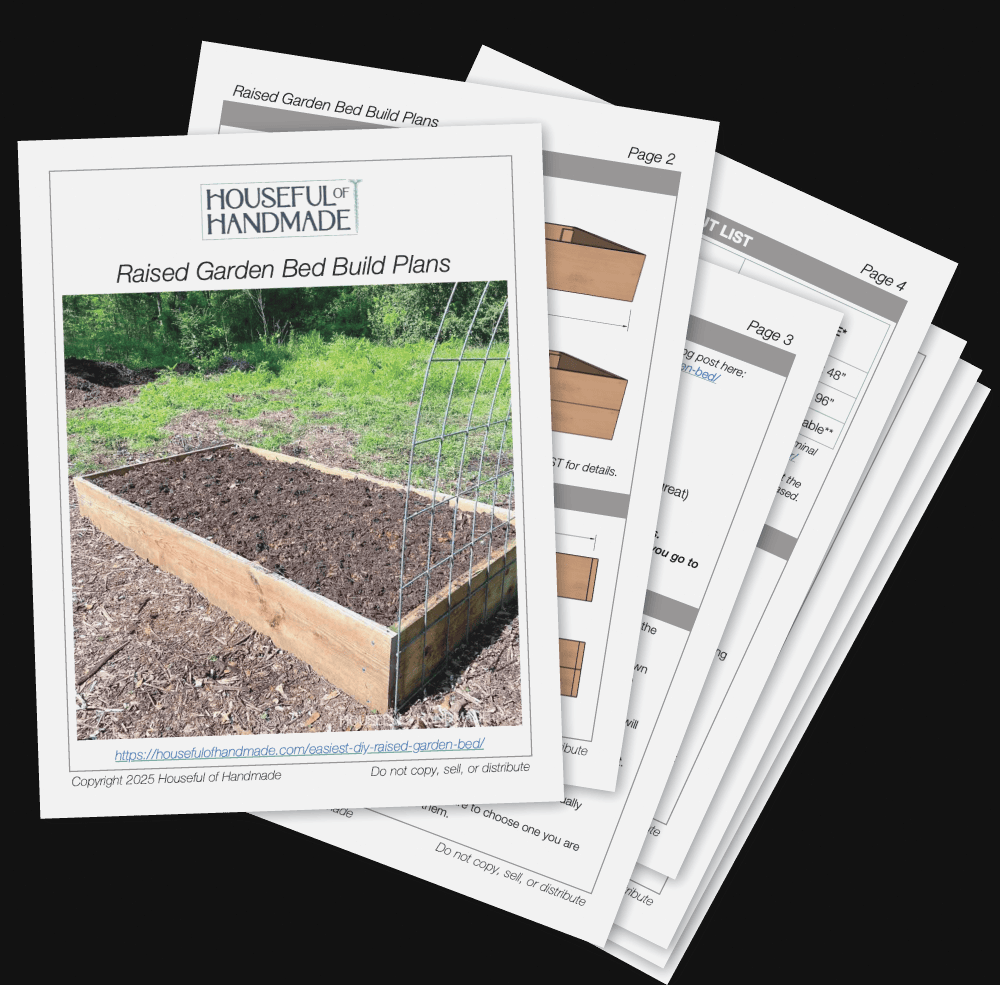
Download the Premium PDF Woodworking Plans
PDF plans contain- Simple Cut List, Shopping List, Suggested Tools, Step-by-Step Directions with 3D drawings, & Useful Resources
BONUS- 3D SketchUp Model
The finished height of your garden bed depends on the width of the 2x boards you use.
- 2×6 boards = 5 1/2″ high bed
- 2×8 boards = 7 1/4″ high bed
- 2×10 boards = 9 1/4″ high bed
- 2×12 boards = 11 1/4″ high bed
If you need a taller bed, which is helpful when bending is difficult, stack two boards during assembly.
For instance, placing two 2×8 boards together produces a 14 1/2″ tall bed.
STEP 1- Prepare your boards
Each garden bed requires one of the 2x boards to be cut in half.
I prefer using a cordless circular saw and making the cut right in the garden, since sawdust is useful for introducing organic material into the soil.
EXPERT TIP:
Rest the side of the speed square against the circular saw’s base. This makes it easier to create a straight cut.
Next, cut 4 pieces from the 2×4 scraps so they match the height of your bed minus approximately 1″.
I prefer cutting them roughly an inch shorter so the interior support remains concealed inside the bed after it is filled with soil.
STEP 2- Secure supports to the ends
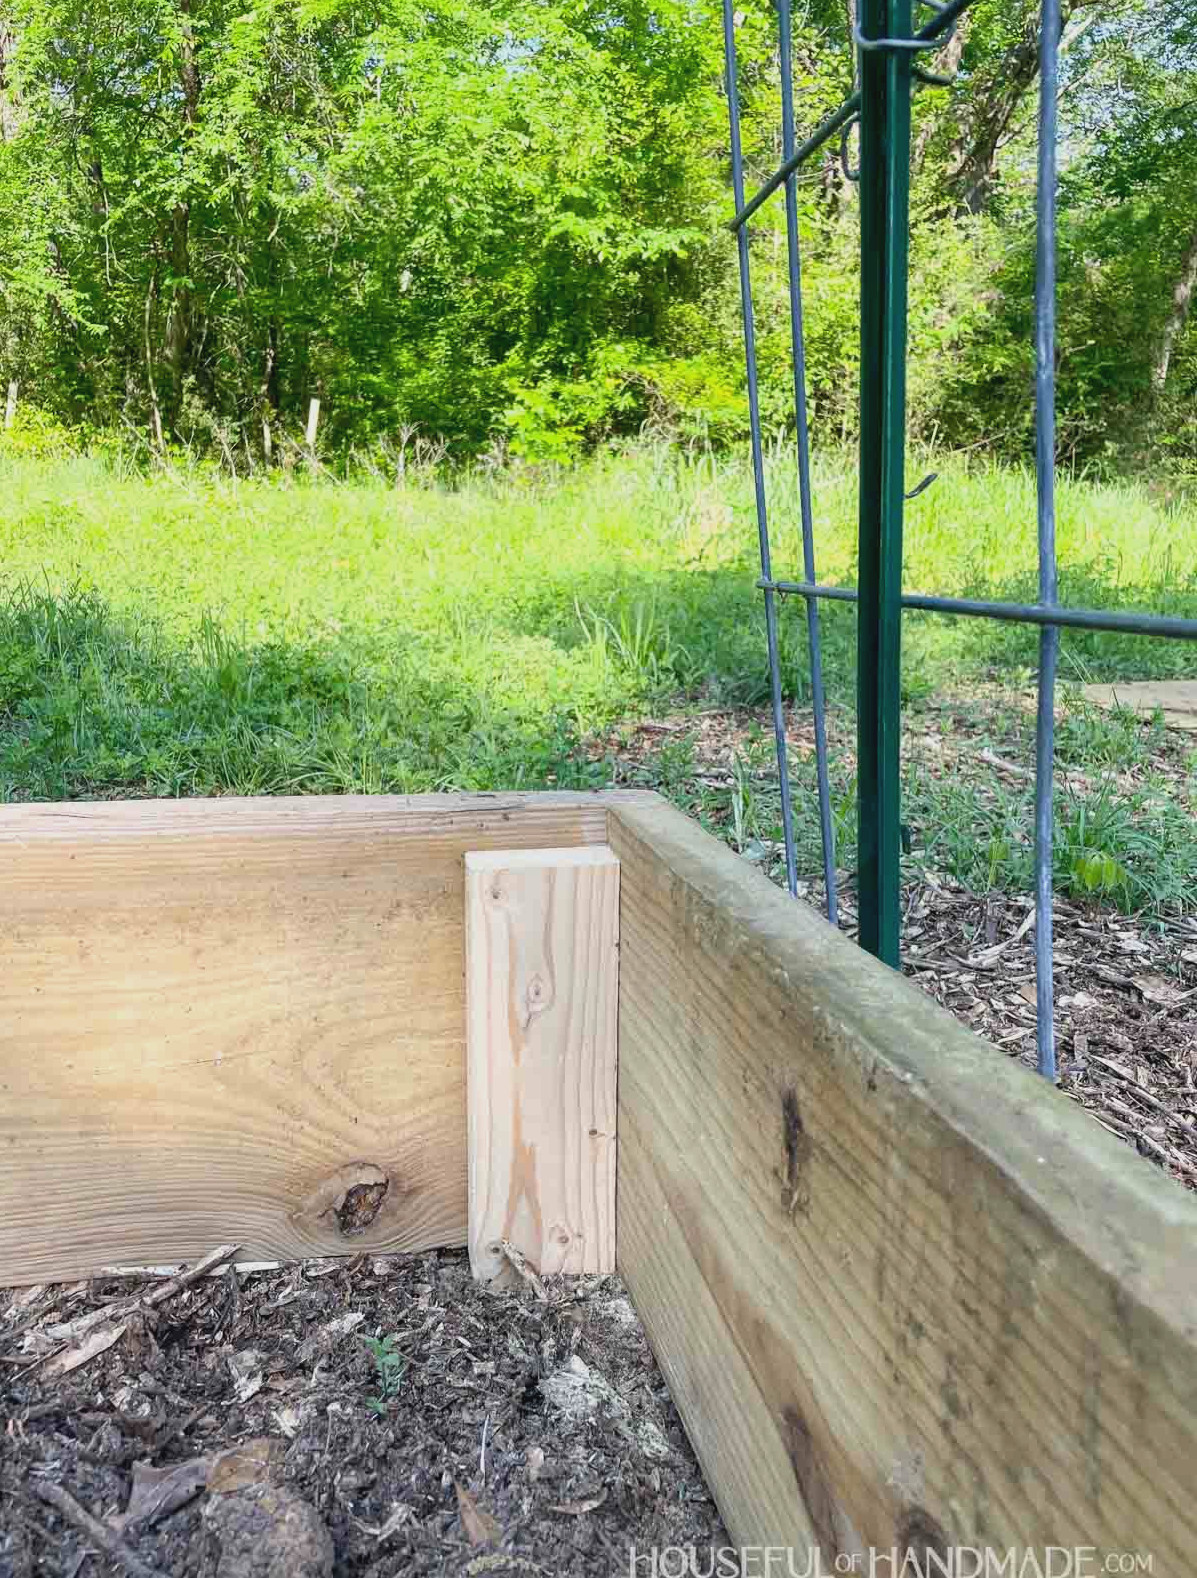
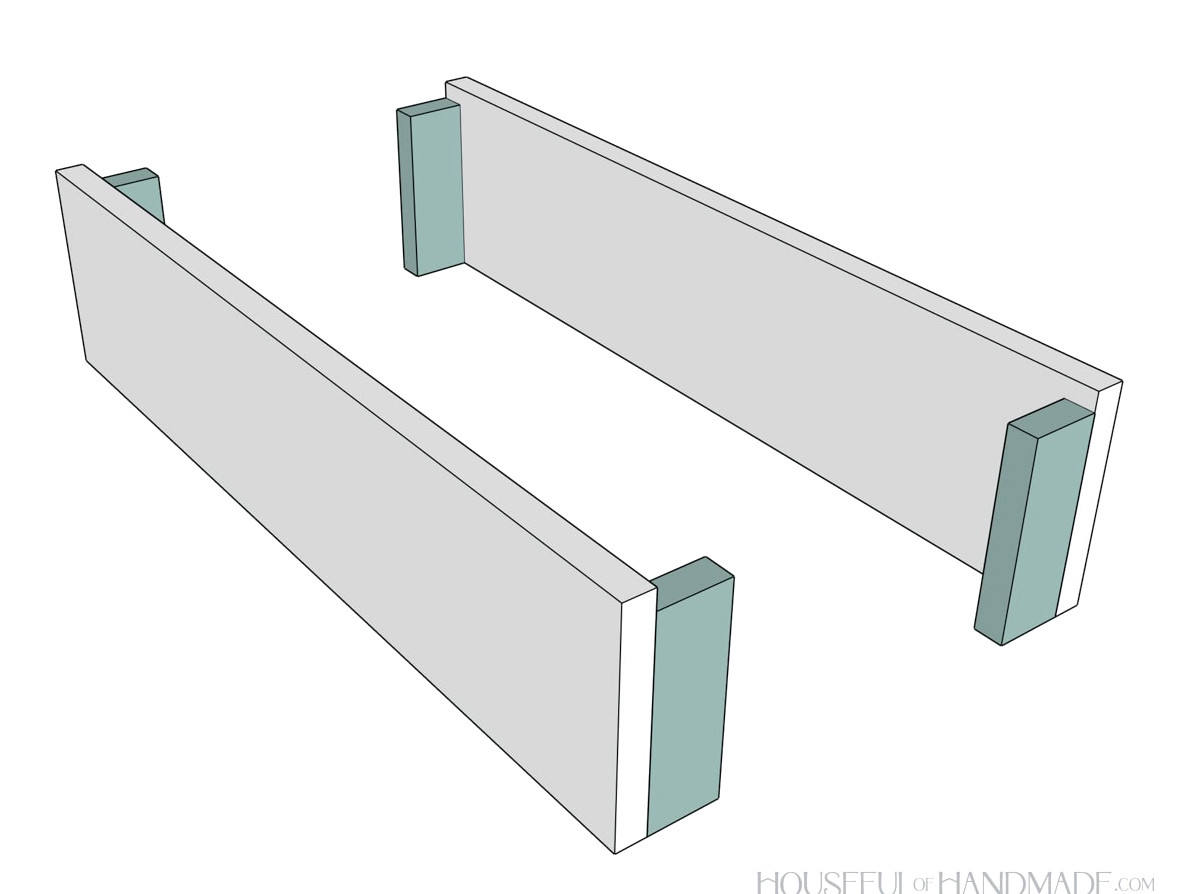
Fasten the 2×4 boards onto the ends of the shorter boards.
I prefer positioning them with the narrow side against the board, keeping them even with the bottom and edge.
Use a minimum of three 3″ wood screws to secure them.
STEP 3- Join the sides
Now connect the ends with the side boards.
Position the longer section of the 2×4 support against the 8′ long board. Check that both boards line up evenly at the corner.
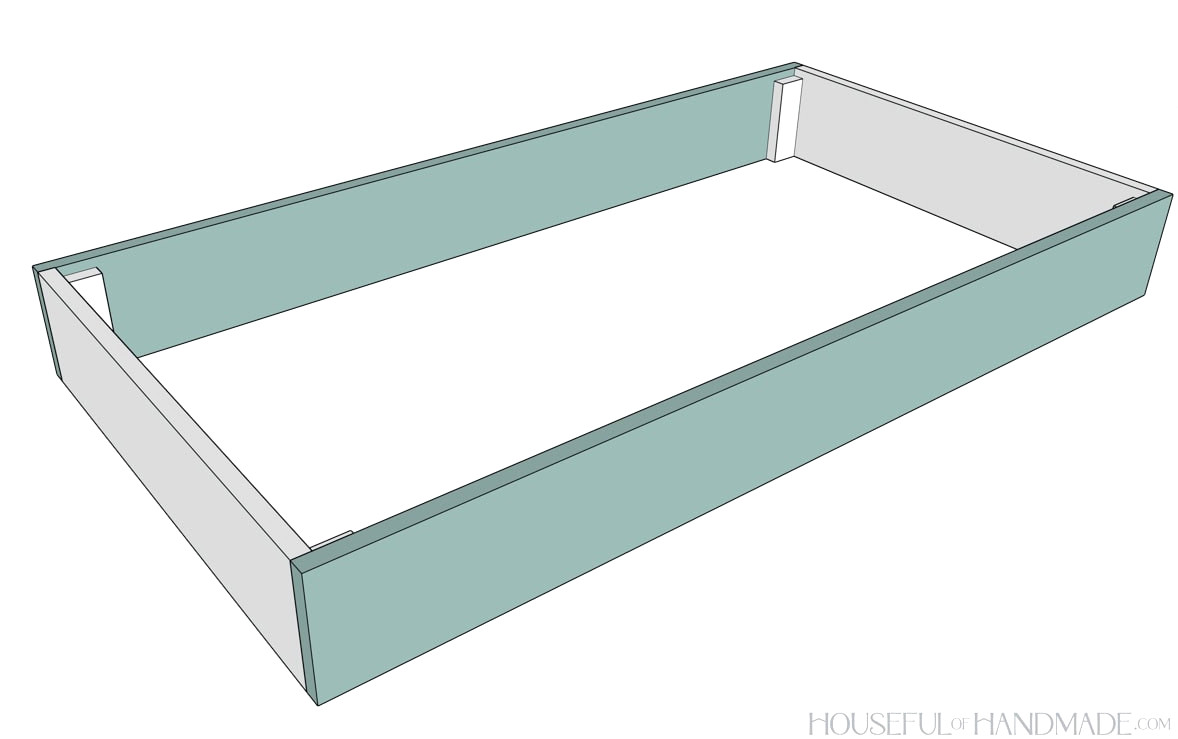
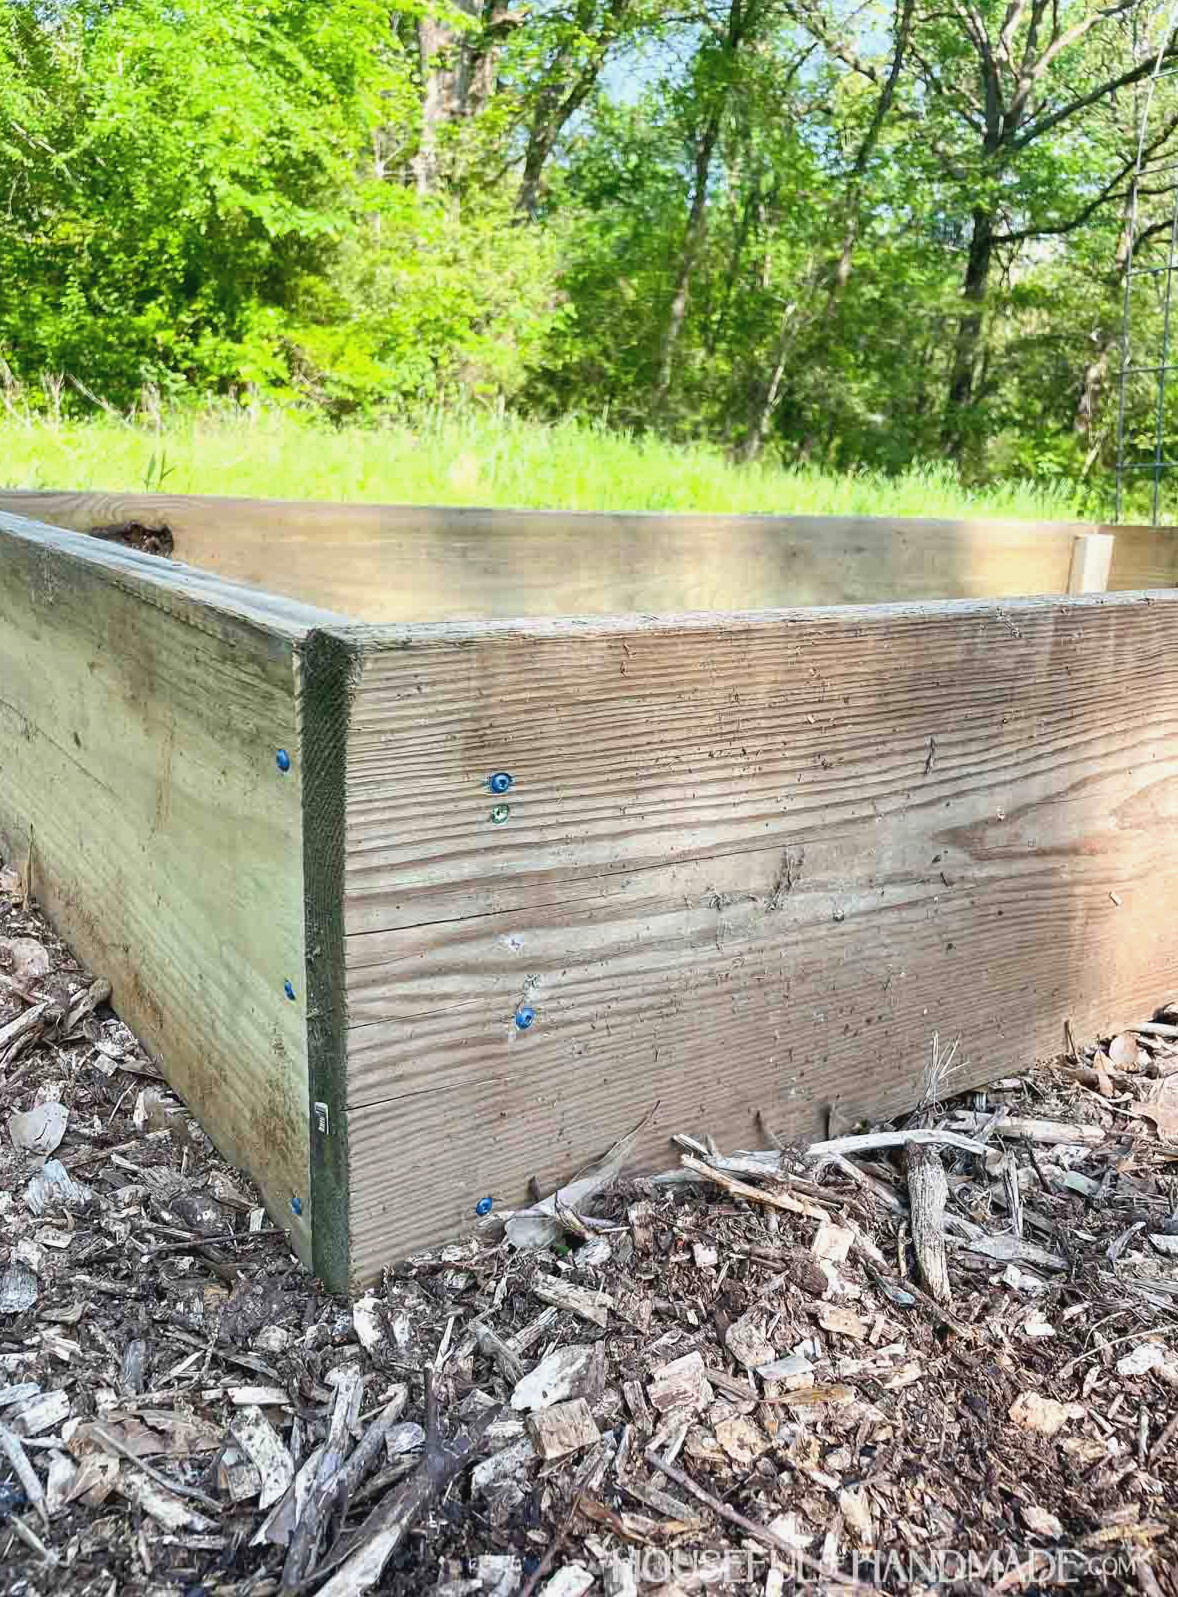
Fasten each board with at least three screws. Ensure the screws enter the support board.
Avoid bypassing the support and fastening the screws straight into the board’s side, or the bed may not remain intact for long.
Screws hold less securely in end grain than they do in the face or edge grain of a board.
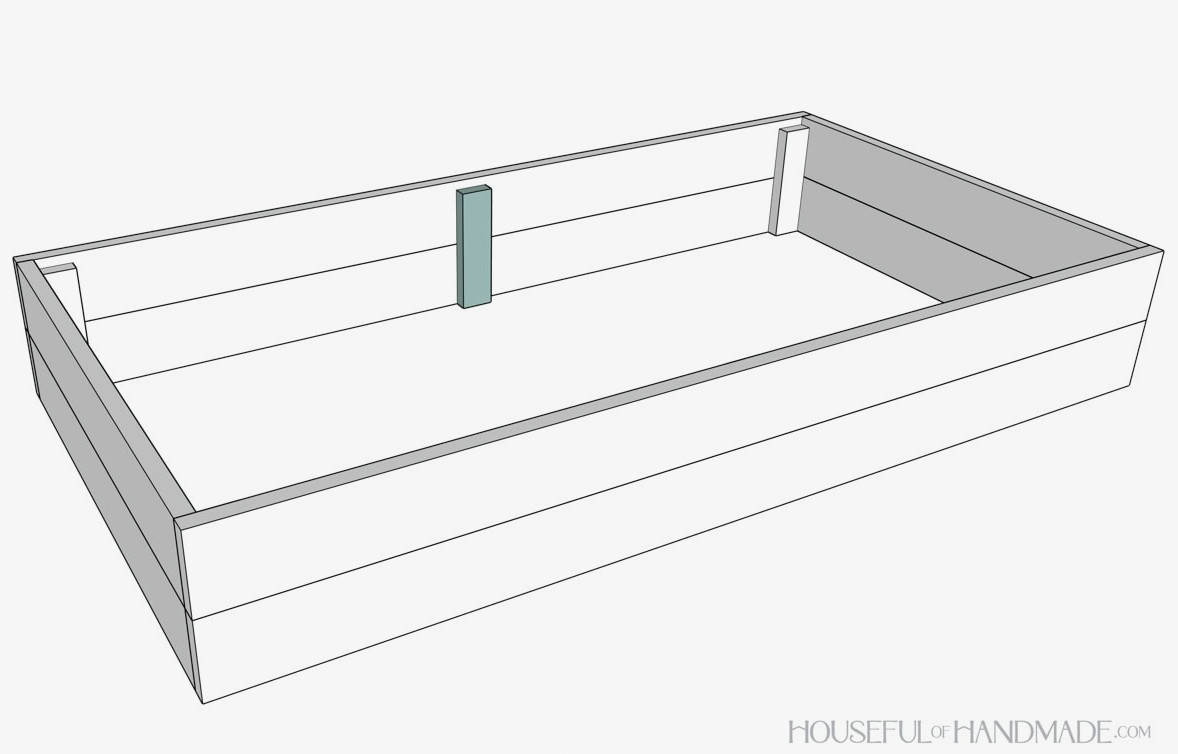
For a taller bed made by stacking boards, I suggest installing a center support along the long side.
Cut 2 additional 2×4 boards that are ~1″ shorter than the bed’s height. Position each one in the middle of the sides and align it with the bottom before attaching.
For additional corner reinforcement, you can install corner brackets. These can help keep the corners from separating as the supports gradually deteriorate.
STEP 4- Add soil and plant
Your garden bed is now ready to be filled.
For a fresh bed, fill the top 6-12″ with high-quality compost or garden soil.
When the bed is deeper, use logs, sticks, leaves, and similar materials to fill the lower portion. They will decompose gradually and add nutrients to the soil.
Be Sure to Get the Printable PDF Plans Here!
Premium plans feature:
- Suggested Tools
- Materials list
- Simple cut list chart
- Cutting diagrams
- Detailed instructions with 3D renderings
- Useful resources
- BONUS: 3D SketchUp file