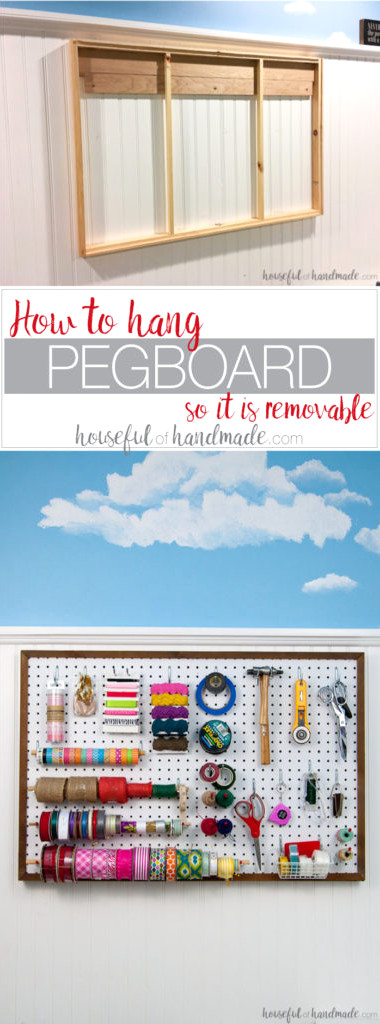
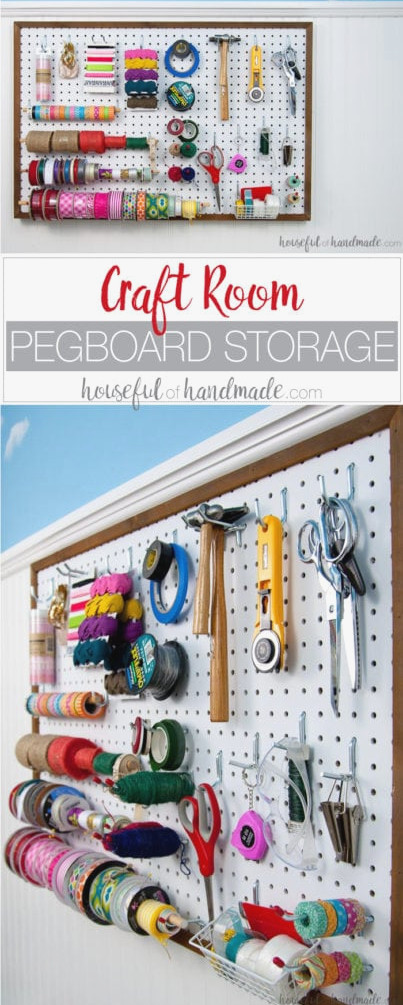
If you have not used pegboard to arrange your sewing or crafting materials, you absolutely should! Truly, creating a pegboard in my former craft nook completely changed the way I worked.
Keeping my scissors, washi tape, ribbons, and other commonly used craft items close at hand and ready whenever I need them makes crafting so much simpler.
However, when I relocated my craft nook and living room desk to my new office & craft room, I wanted my pegboard mounted without permanently fixing it to the wall. After adding a few extra steps, I worked out how to hang a pegboard so it could be removed or repositioned with ease.
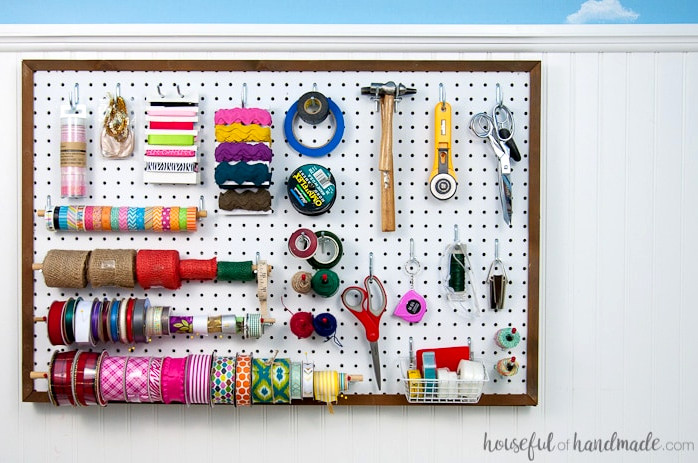
If you missed yesterday’s article, I am spending this month renovating my new office & craft room while keeping expenses under $100. Yikes! That is an extremely limited budget for everything I have in mind.
Fortunately, this pegboard was already mounted in my former craft nook. I only had to find a way to move it into the new room and give it a nicer appearance. I am pleased to say that I figured out how to hang the pegboard so it remains removable and spent just $0!
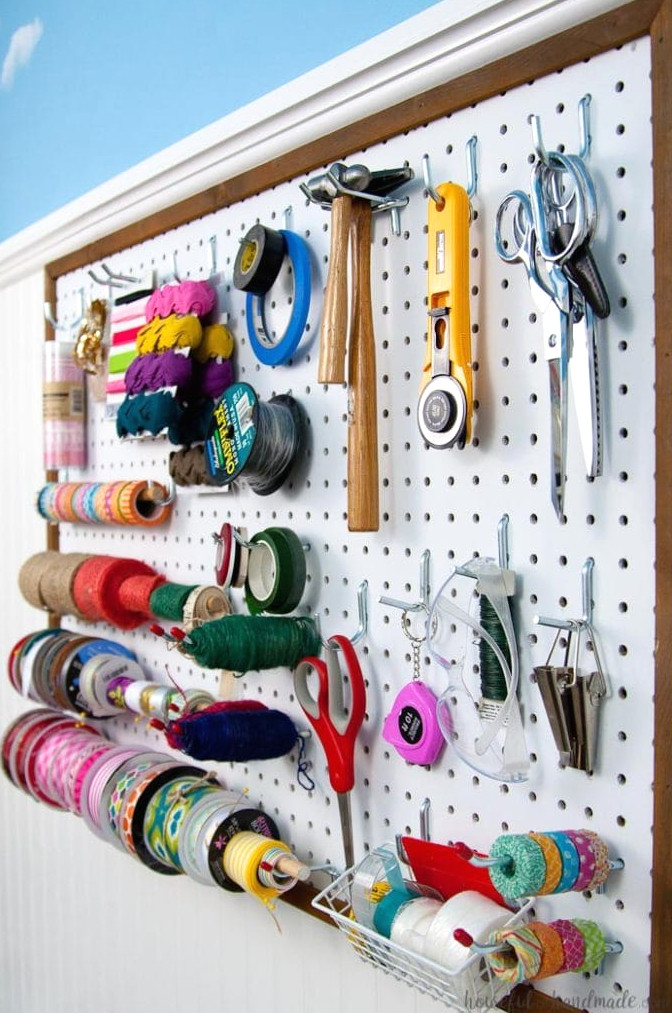
Without an old pegboard and a collection of leftover lumber on hand, you might spend a little money creating this excellent craft room storage idea. Even so, it remains a very affordable option.
Pegboard hooks are available in multipacks at a reasonable price. I also constructed the supporting frame from 1x2s and 1x1s, which cost less than $2 per 8′ board. For my 3 foot by 2 foot pegboard, I would have needed 1 1×1 and 2 1x2s, leaving plenty of material for a future project.
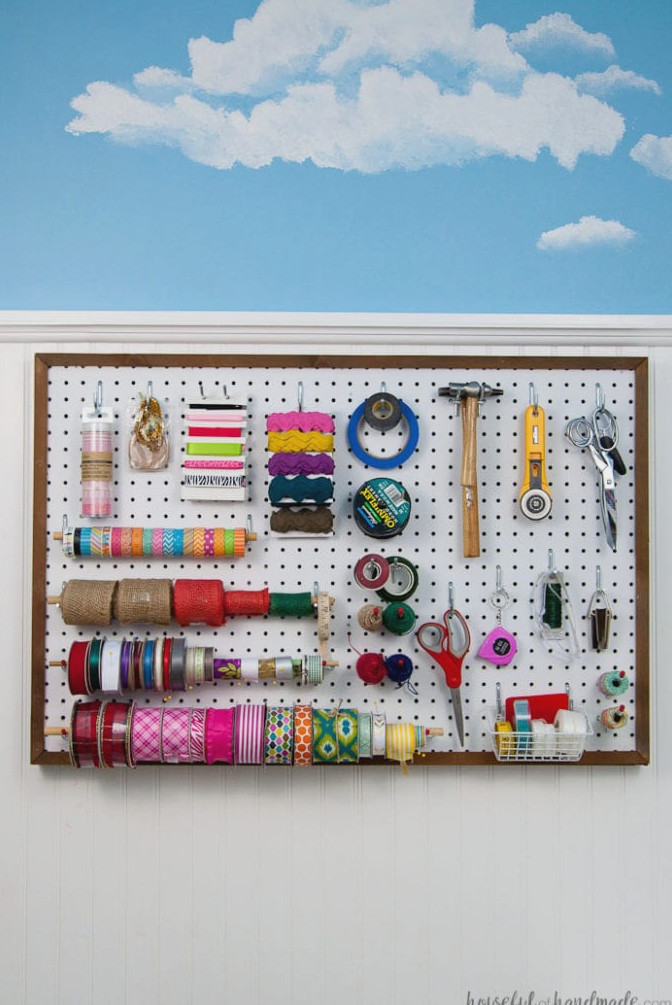
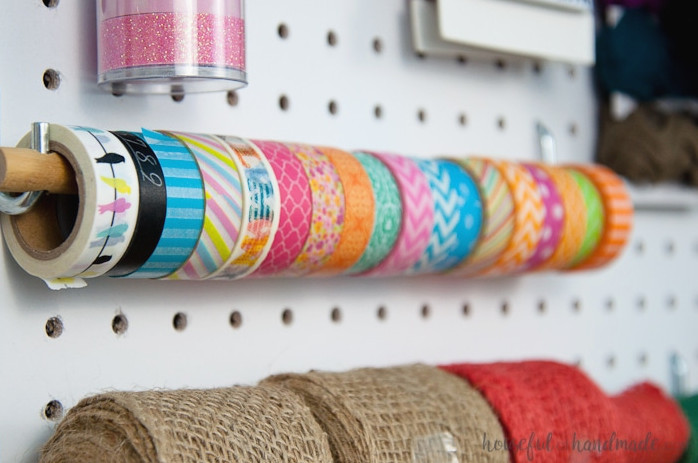
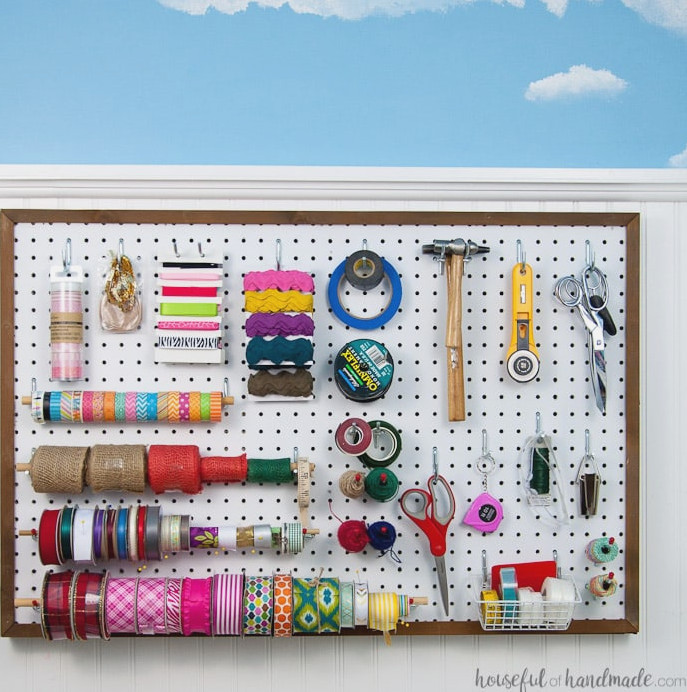
Can we also appreciate how attractive the pegboard is when it is filled with craft supplies and tools? That brightly colored roll of washi tape especially makes me smile.
With my special sewing scissors—ones that NO ONE but me is permitted to use—always within reach, crafting becomes much more convenient. I also keep my rotary cutter hanging there because I use it for nearly everything.
This is honestly one of my favorite cutting tools. With a ruler, you can make quick, precise cuts through paper, trim patterns in much less time than with regular scissors, and accomplish even more. The blades are incredibly sharp, allowing them to cut smoothly, and they are easy to replace once they have seen plenty of use.
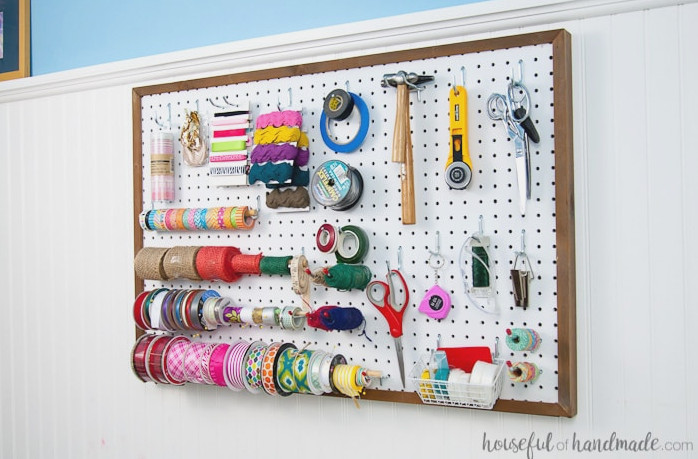
Now that my pegboard is useful again, I have several more work areas to create so I can be highly productive in my new office & craft room. Be sure to visit next week, when I explain how I transformed a pair of inexpensive white bookcases into an ideal rolling worktable!
This room will include plenty of budget friendlyideas, so subscribe to my newsletter and make sure you do not miss anything!
How to Mount a Removable Pegboard
Materials:
- Pegboard
- Lumber: the quantity required will vary according to your pegboard’s dimensions. Measure the pegboard to determine how much wood is needed in the tutorial.
- 1×2 boards
- 1×1 boards
- 1/2″ plywood
- Wood adhesive
- Finishing nail gun and nails
- Table saw
- Miter saw
- Clamps
- Stain or paint
- Spray paint works best for coating pegboard because it will not block the holes required for the pegs.
- Pegboard hooks
- Optional: a large assortment of craft supplies
Begin by taking measurements of your pegboard piece. My mother gave me a leftover section, so I needed to build my pegboard to match its dimensions.
A frame must be made for the pegboard to rest inside. Because the outer edge of the pegboard is unattractive, we will cut a notch into the frame so the board fits within it, then conceal the rough edge with another narrow frame.
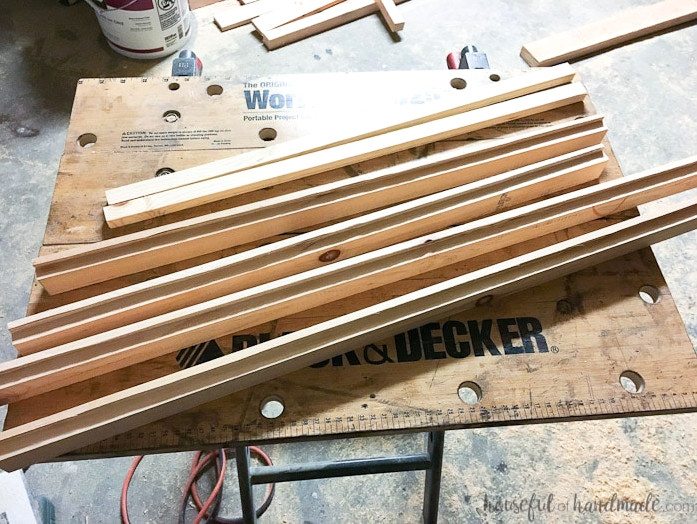
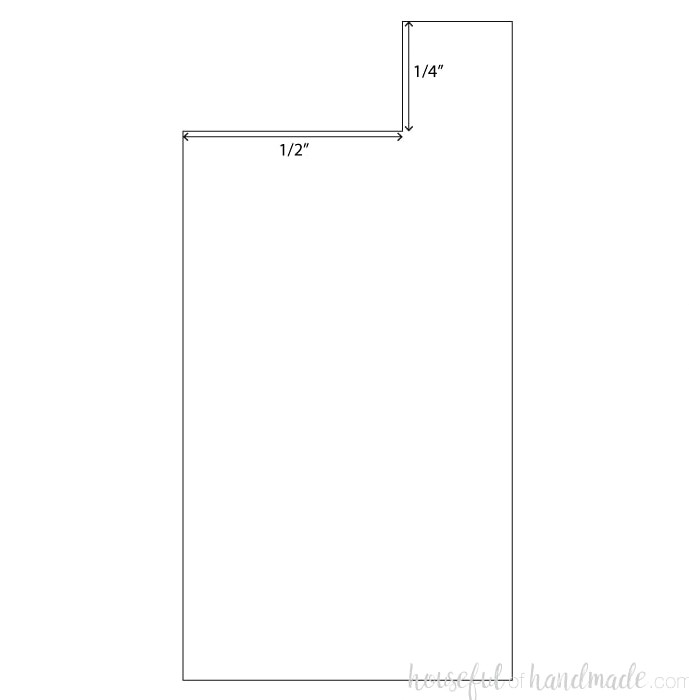
Cut 2 1×2 boards to the widthof your pegboard minus 1″, then cut 2 1×2 boards to the height of your pegboard plus 1/2″. Next, cut a notch into one of the short sides of each 1×2 board. The notch should measure 1/4″ deep by 1/2″ wide, as shown in the image below.
This notch will allow the pegboard to fit into the frame, making it possible to hide the rough edges afterward. I cut my notches using a table saw. Adjust the blade height to 1/4″ and position your fence
at 1/4″. Feed the boards through.
Next, shift your fence another blade width away from the blade and pass the boards through once more. Continue this process until the boards are fully notched.
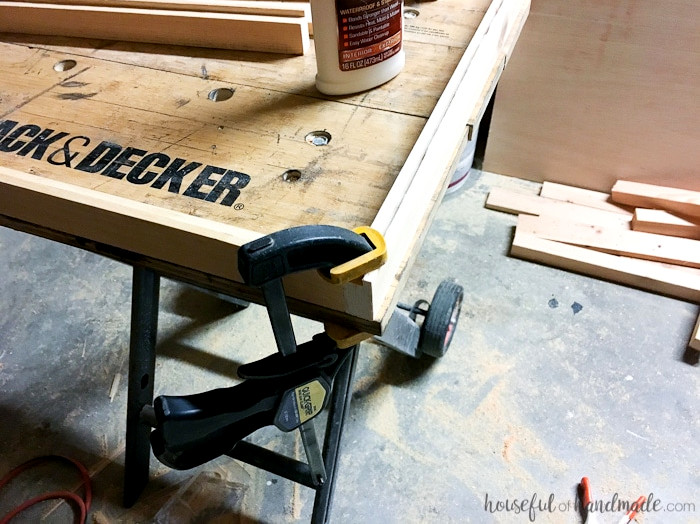
Next, build the frame. Apply wood glue along the edges of the top board, then fasten it to the side board so the top edges are even. Clamp the pieces together and secure them with finishing nails or a screw (I prefer my battery powered nail gun for this job because it creates only tiny holes and works quickly and easily).
Do the same thing on the opposite side.
After that, install the bottom board on both sides to complete the frame.
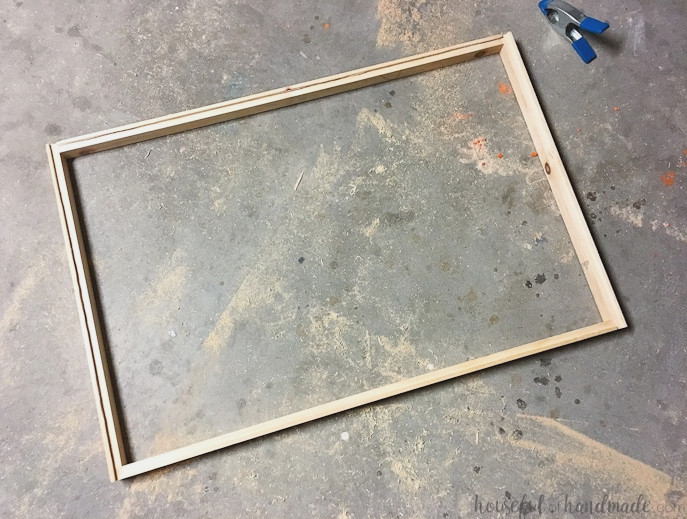
Check once more that the pegboard fits within the notched frame. If needed, cut the pegboard down to size.
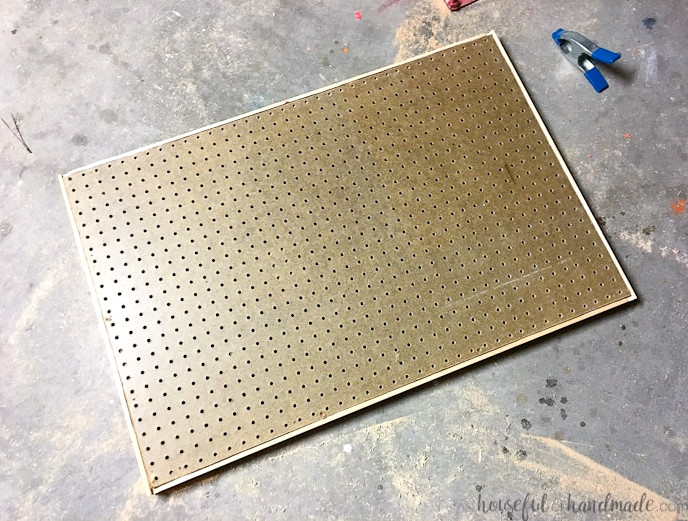
Next, reinforce the frame with a couple of supports. These will help it withstand weight and regular use. Cut two 1×1 boards to match the height of the opening. With wood glue and your nail gun, fasten them between the top and bottom of the frame.
Position them flush with the lower edge of the notched frame, allowing the pegboard to rest on them once inserted. Complete the frame with your preferred finish.
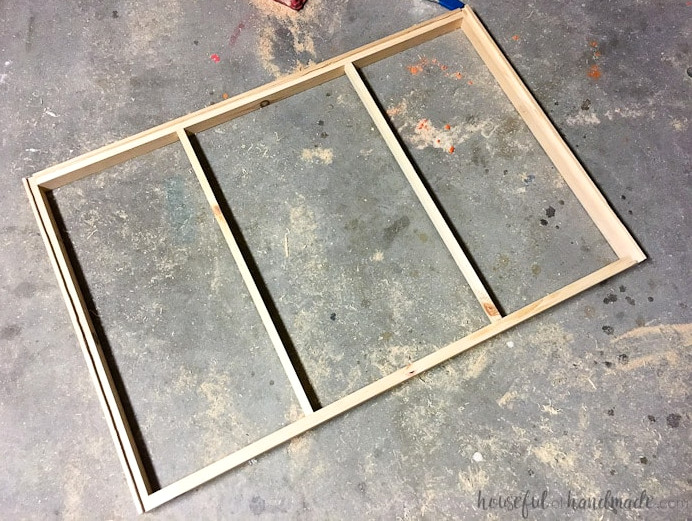
Now you can create a hanging system that keeps the pegboard removable rather than permanently fixed to the wall. French cleats have become a favorite of mine, and they are an ideal option for this project.
You might see that the support boards sit roughly 1/2″ inside the back of the frame. This leaves room for a 1/2″ french cleat on the rear, where the frame will conceal it completely. Even so, you can lift the pegboard away from the wall and reposition the wall-mounted cleat within minutes.
To create a french cleat, rip a piece of 1/2″ plywood to approximately 4-5 inches wide and cut it to the same length as the frame opening. Next, rip the plywood lengthwise down the center at a 45 degree angle. This produces two pieces that lock together.
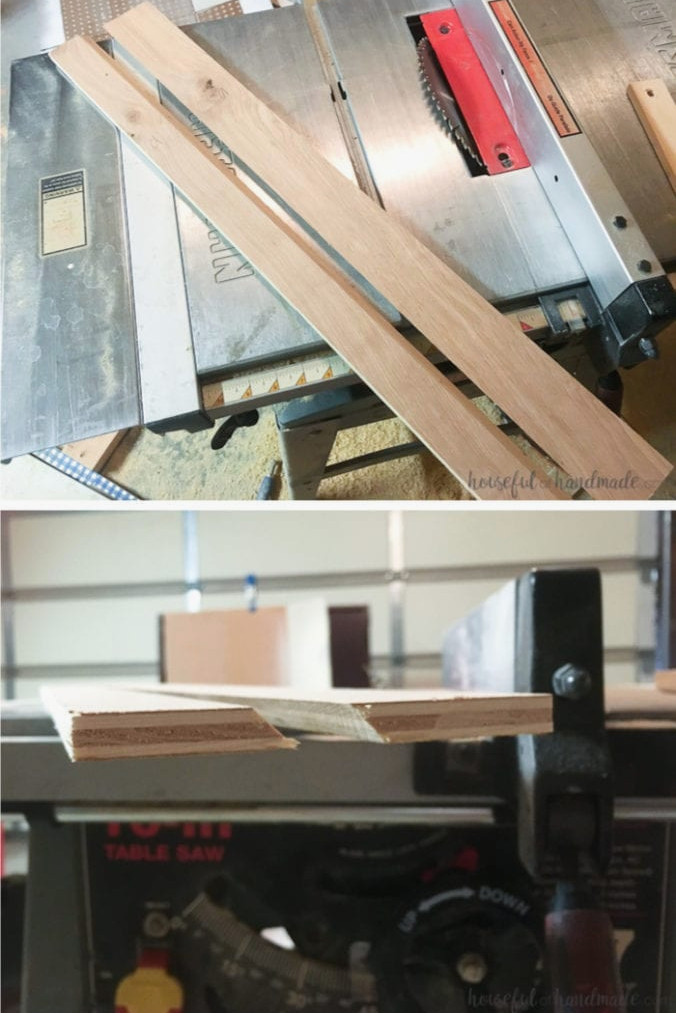
Fasten one french cleat piece to the upper back of the frame, placing it inside the frame.
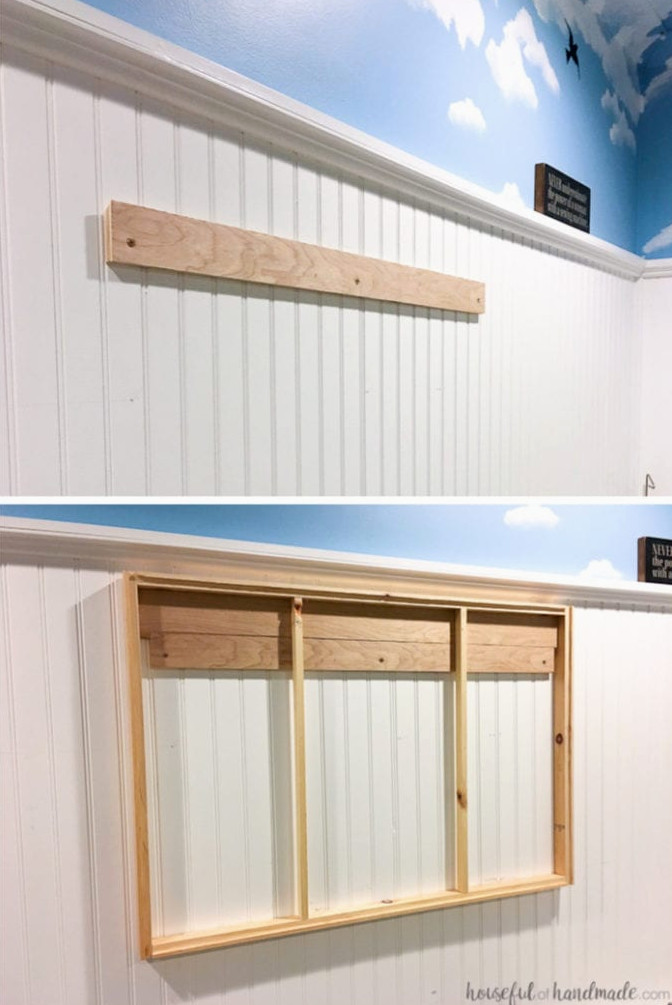
Install the french cleat with its angled edge pointing down and its longer section against the rear of the frame. This forms a tooth that will catch the second cleat later. Secure it with wood glue and your nail gun.
Cut the second french cleat so it is approximately 1-2″ shorter than the frame-mounted piece. The shorter length will allow the two cleats to slide together more smoothly.
Using a level, attach this cleat to the wall. Its angled edge should point upward, while the longer section of the angle should extend away from the wall, creating a tooth for the other cleat to engage.
At this point, finish the pegboard and its frame. I chose to stain the frame with a natural mixture made from black tea and steel wool soaked in vinegar.
For the pegboard itself, spray paint is preferable to paint applied with a roller or brush. It is less likely to clog the holes, making them easier to use afterward.
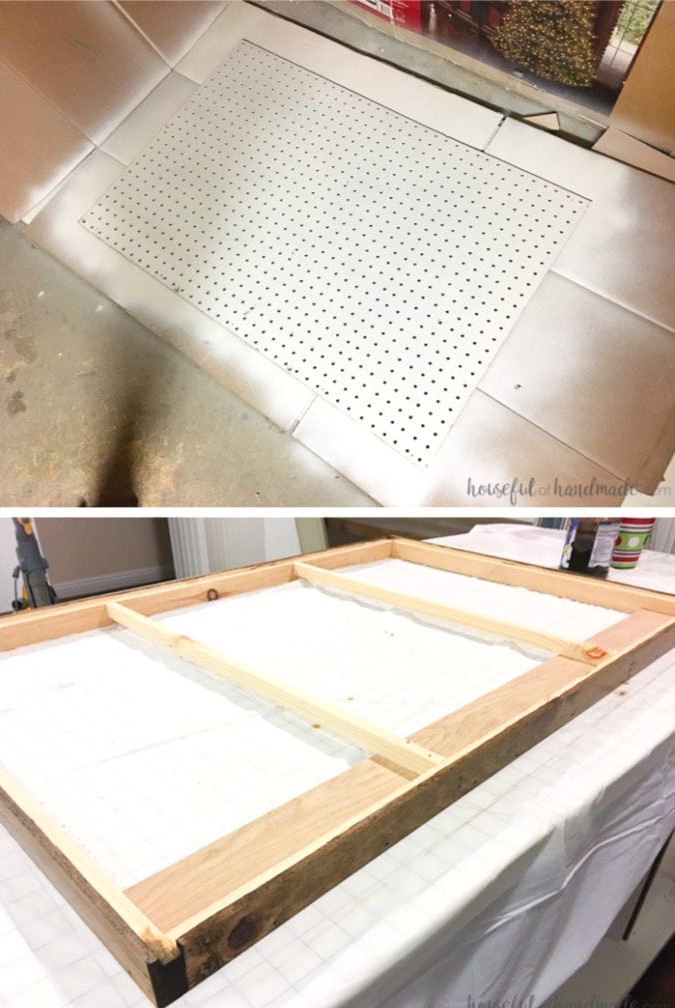
After the paint has completely dried, place the pegboard inside the notched frame. Nail it securely around the perimeter and along the center supports.
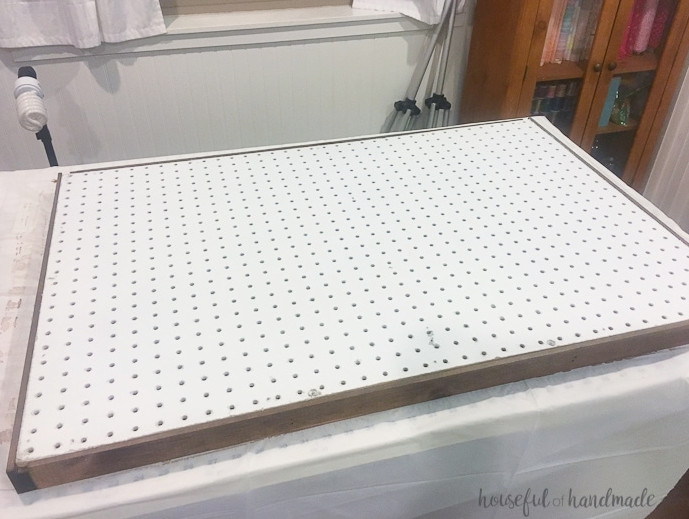
Your pegboard is now ready to hang and use, but don’t forget that I mentioned concealing the not-so-attractive edges?
For this step, cut 3/4″-wide pieces of stock and miter the corners so they fit around the outside of your frame. I preferred a very slim frame so it would not get in the way when inserting pegs or using the board’s full surface.
I ripped 1×2 boards into 1/4″ x 3/4″ strips to create the frame trim. Paint or stain these pieces so they coordinate with the frame.
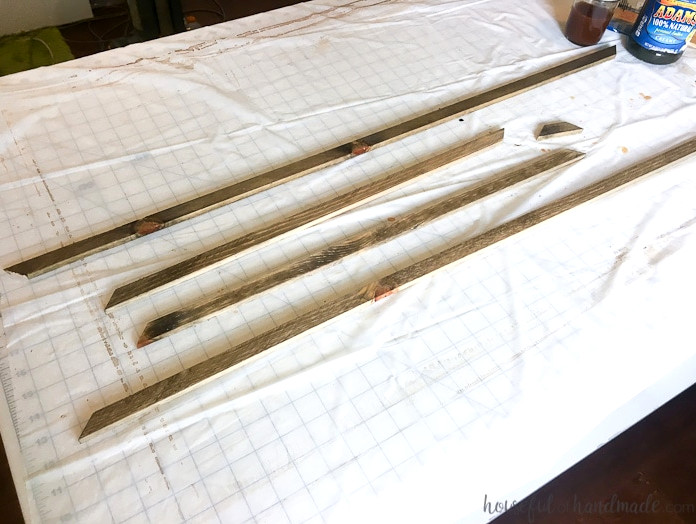
After the paint or stain has dried, secure the trim around the pegboard’s perimeter using finishing nails. Usually, you would organize the pegboard after completing the trim, but I’m quite impatient and couldn’t wait to start sorting everything 🙂
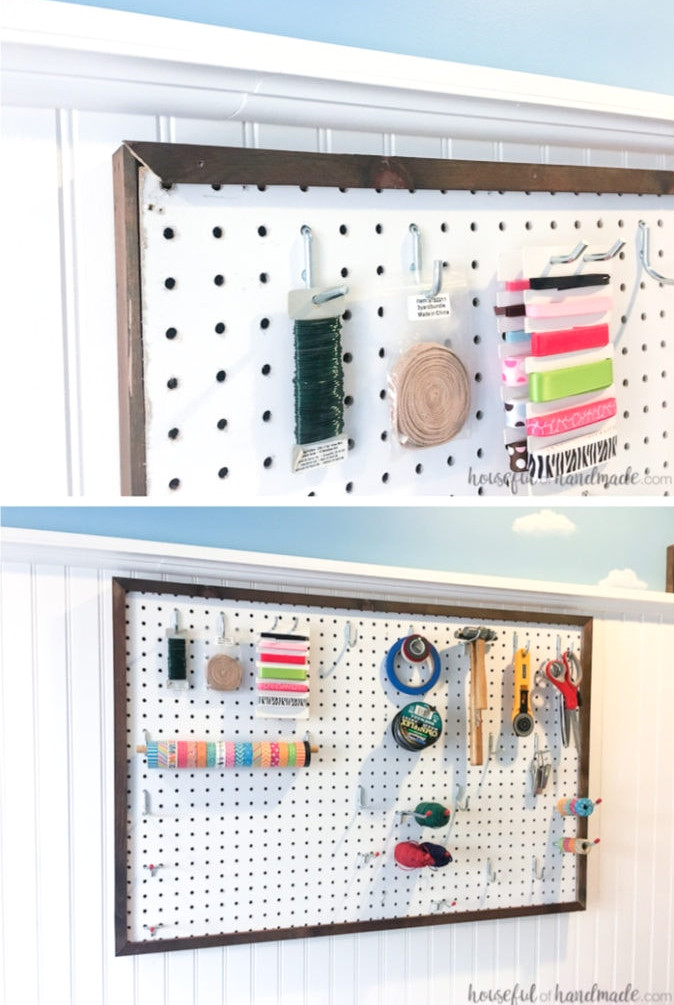
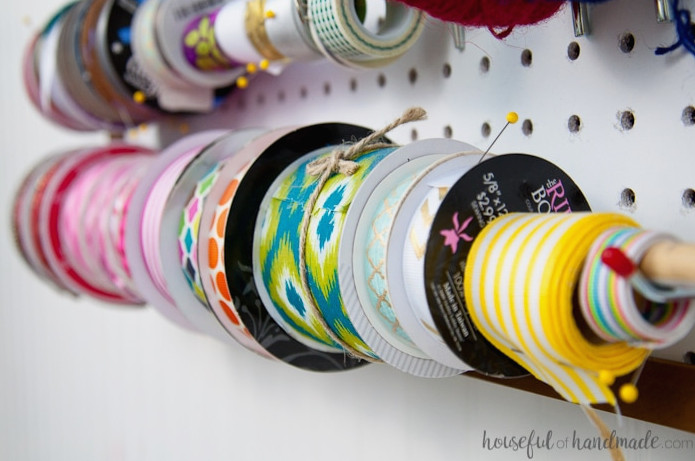
Arrange everything with pegboard hooks. I especially enjoy placing dowels on the hooks for storing items such as ribbon and tape. With all your supplies clearly visible, you can reach them easily whenever you feel like crafting!
You now have an attractive pegboard for keeping nearly everything in your life organized! Well, perhaps not everything, but having my craft supplies tidy and within reach makes me feel much more in control. It’s the small details that bring me the most joy.
Be sure to follow along while I complete this room using just $100!